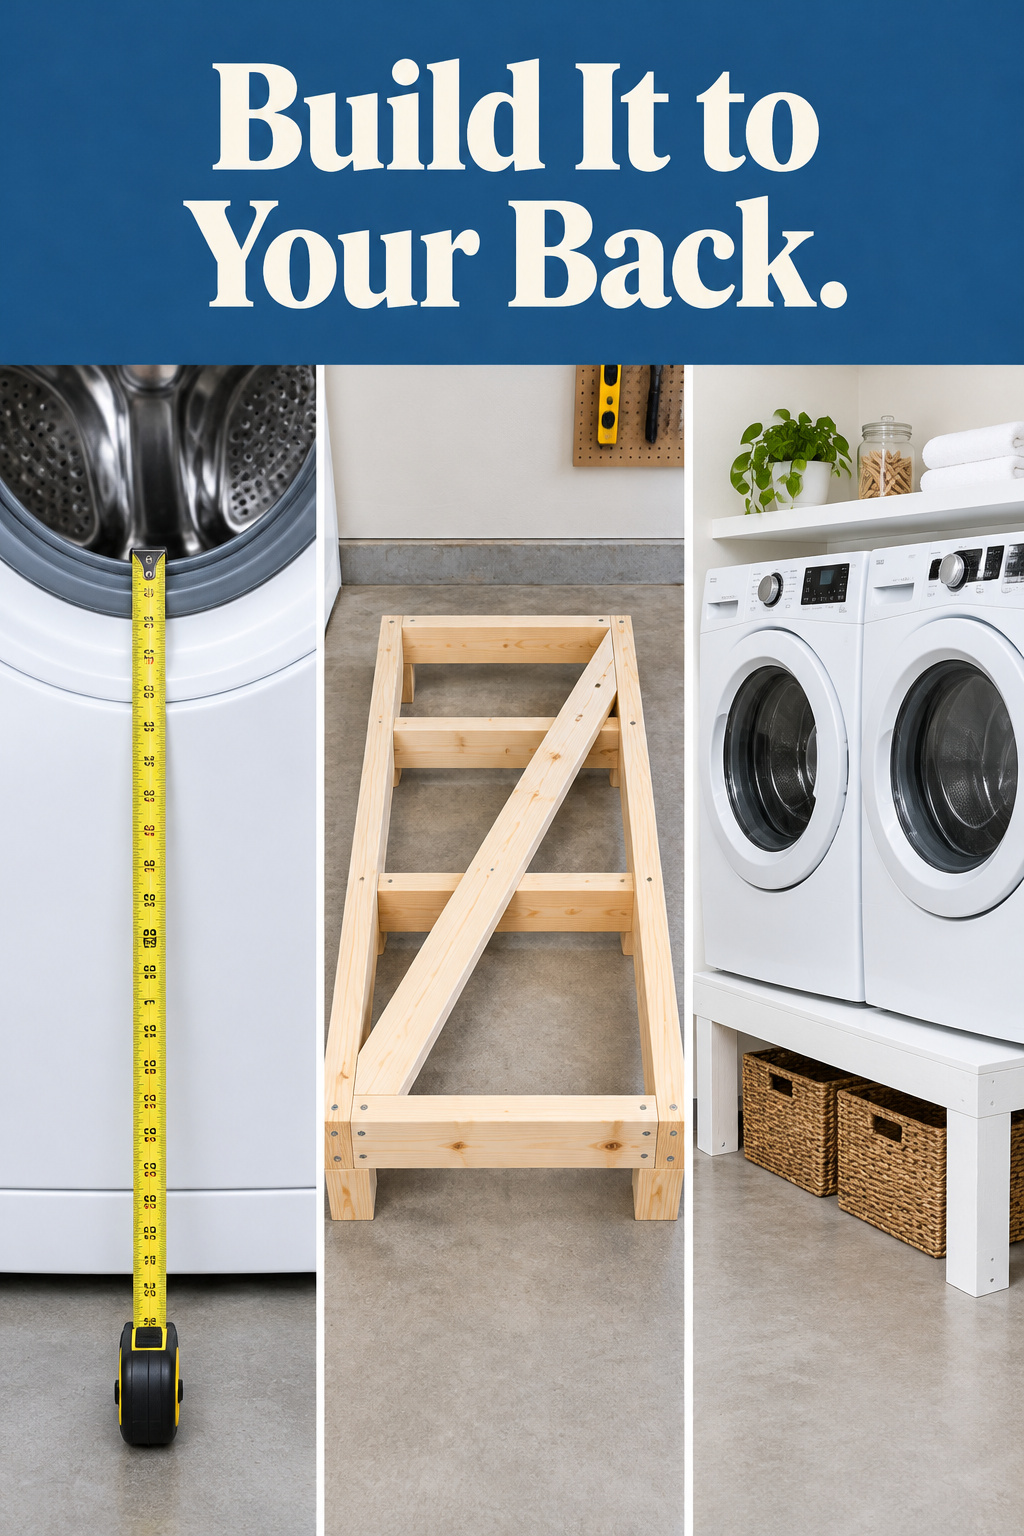

For the first hour of my Saturday beginners’ class, all anybody hears from me is “Measure it again.” Nobody touches a saw. They measure the same board until every tape in the room gives the same number.
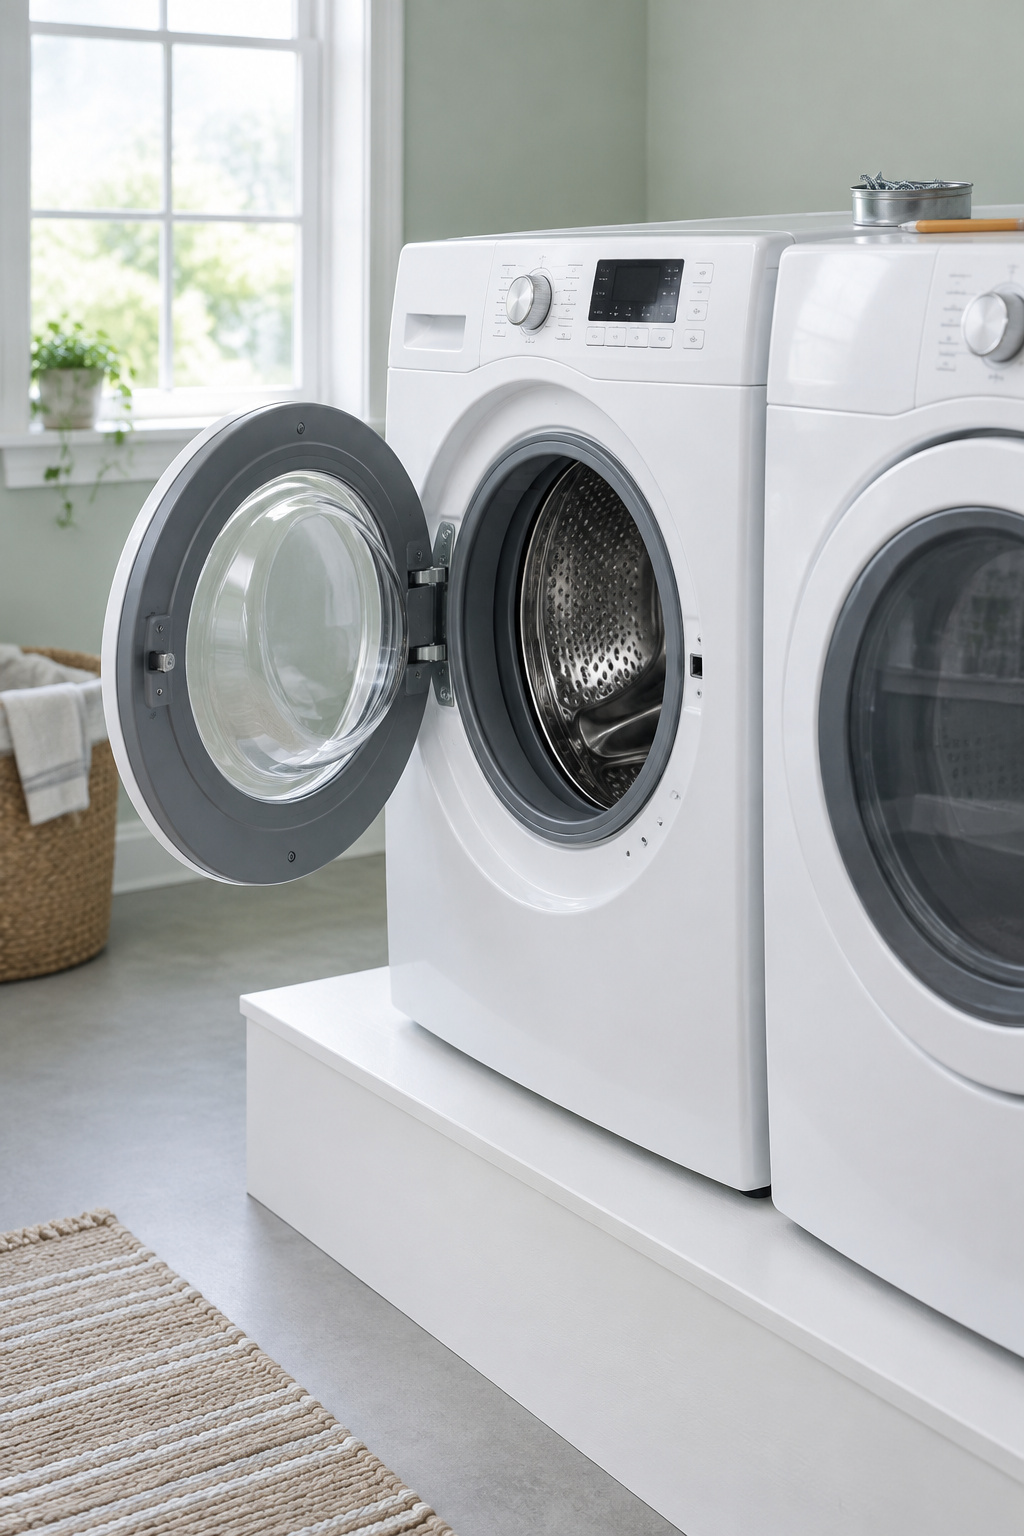
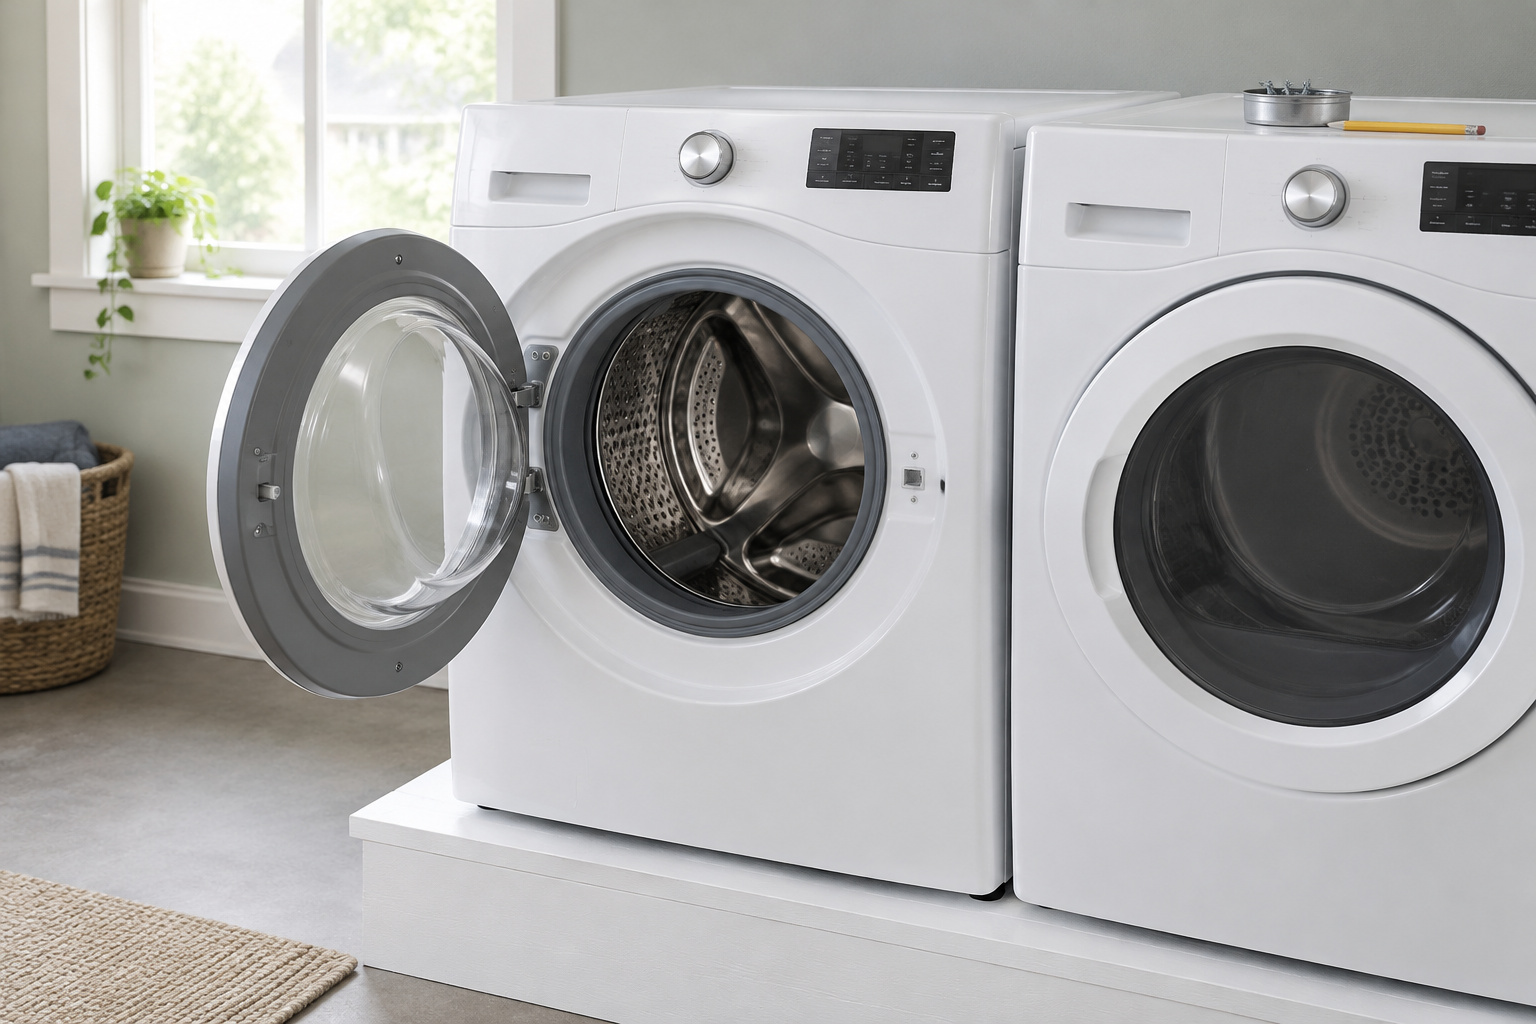
A DIY washer dryer pedestal deserves that hour, and the first thing to measure is the person who loads the machine. Published builds take two days. Plan on three. Lumber for one platform ran $120–$150 in a 2018 build post; reprice at the store. I rate it a some-builds project: straight cuts, a frame that has to stay square, and two heavy machines to lift at the end. Height comes from the loader and the controls, then the frame, then the top, and drawers last.
TL;DR
- Pedestal height is the loader’s knuckle height minus the washer’s door-opening bottom (about 13.9 in on a 27 in LG front-loader), about 11–16.6 in across US adults; then check the controls stay at or under 48 in.
- A loaded LG WM4000HWA and DLEX4000W put about 350 lb on the platform, so brace the frame, screw it to wall studs and fix every machine foot.
- The worked platform is 57 x 32 x 15 in from seven 8 ft 2x4s and one sheet of ¾ in plywood; maker pedestals cost $259–$299 each.
DIY washer dryer pedestal height: measure the person who loads it
Published plans pick a height between 12 and 16 in and move on. The number isn’t wrong. It’s just somebody else’s. Two things decide whether a front-loader is comfortable, the door opening and the controls, and the spec sheet prints neither.
Three measurements before any cut
- Measure the loader’s knuckle height: standing straight, arms hanging, in the shoes they do laundry in. Ergonomics guidance puts anything you handle between knuckle and elbow height.
- Find the door-opening bottom and control height. LG’s ADA pedestal sheet gives them: on its 5⅛ in pedestal the controls sit at 43 in and the opening at 19 in, so a floor-standing LG front-loader has its opening at about 13.9 in and its controls at about 37.9 in.
- Subtract the door-opening bottom from the knuckle height. That’s the pedestal height. Add it to the control height and keep the total at or under 48 in.
That subtraction is my rule. I teach it because it starts from a body instead of a blog. Army survey knuckle heights run from 24.9 in at the 5th percentile for US women to 30.5 in at the 95th for men, so the pedestal runs from 24.9 − 13.9 = 11 in to 30.5 − 13.9 = 16.6 in. British body data sits higher and gives about 12.5 in to 18.8 in. Both overlap the band every plan copies. What the band hides is a spread of about 6 in between people.
The controls check catches people out. LG’s own 13⅝ in pedestal puts the controls near 51.5 in, above the 48 in reach limit LG’s accessibility sheet cites. For a shorter loader the controls set the ceiling, at about a 10 in raise. If kids help with the wash, raising the pair decides whether they have machines at a height kids can load, so measure the smallest person who will use them.
Frame it for a spinning load, not a still one
The worked pair is an LG washer at 187.4 lb and a dryer at 125.3 lb. Add about 19 lb of spun-wet laundry to each and you get about 206 lb plus about 144 lb, about 350 lb on one top.
That’s the still load. In the fast spin, clothes cling unevenly to the drum, and the unbalance makes a front-loader shake and walk across whatever it sits on. No maker publishes a weight or spin rating for a pedestal, so judge a frame by stiffness and tie-in: bracing over thicker lumber, screws into wall studs, and a stop at every machine foot, the way maker pedestals screw the machine down.
| Option | Cost | How it handles the spin | Access | Skill level |
|---|---|---|---|---|
| One DIY platform | $120–$150 in 2018 lumber | One braced frame, screwed to studs, feet held by stops | Height set to the loader | Some builds |
| Two DIY pedestals | Lumber for two frames | Two separate frames to brace and tie in | Height set to the loader | Some builds |
| Two maker pedestals | $259–$299 each, $518–$598 a pair | Machine screwed to each pedestal by the maker’s hardware | Fixed at 13⅝–15.5 in, drawer included | First build |
My pick is the single platform. One top ties both machines into one frame, one row of studs holds it, and the height comes from the person instead of a catalog. Raising the machines belongs on the list of what to decide first in a farmhouse laundry, so settle it before anything goes on the wall above.
The worked build: dimensions and cut list for a common pair
Overall dimensions for one common pair
Both LG machines are 27 in wide and 39 in tall, and the washer is 30¼ in deep. Width is two machines plus three 1 in gaps, one between and one at each end: 57 in. Depth is the washer plus a 1¾ in front overhang: 32 in. Height is 15 in, what the knuckle rule gives the median US man (28.78 − 13.9 = 14.9). The median US woman would get 13 in, and at 15 in the controls land near 52.9 in, past the 48 in check, so build lower if a shorter person does most of the wash. Leave about 6 in behind the machines for hookups and venting, and about 4 ft of open floor in front of the doors.
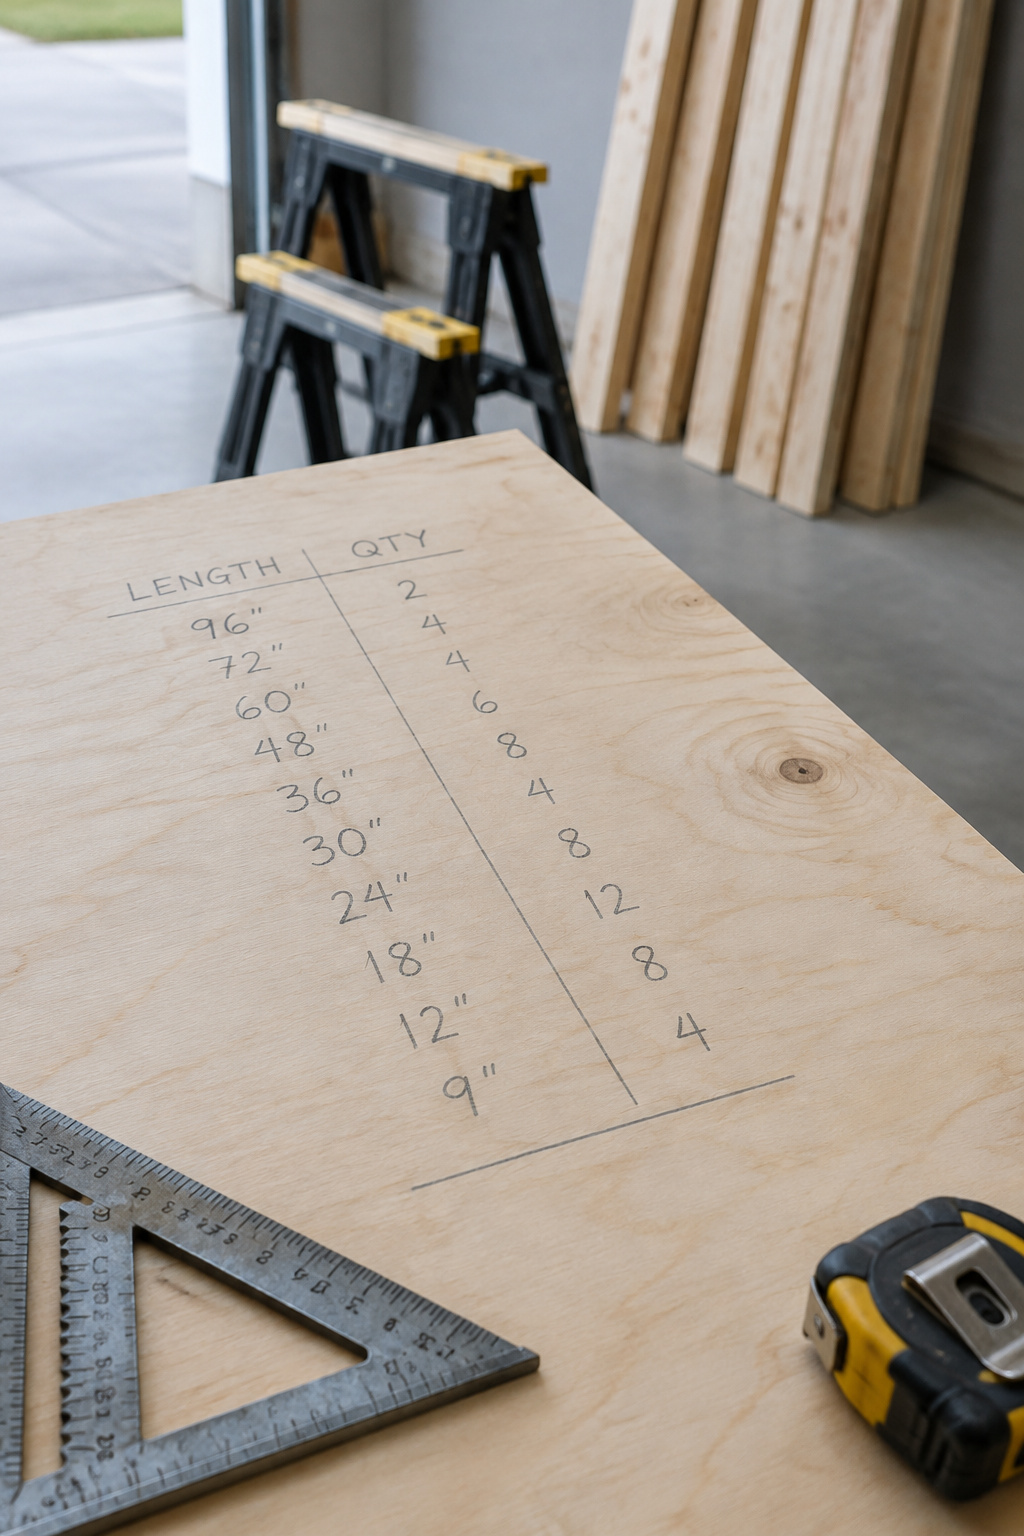
The cut list
A 2×4 is really 1½ x 3½ in, so cut to the real size, never the name on the tag. I write the cut list on the back of the receipt and tape it to the first board, so the numbers travel with the wood.
| Part | Stock | Length | Count | Job |
|---|---|---|---|---|
| Top | ¾ in plywood | 57 x 32 in | 1 | Carries both machines |
| Upper front and back rails | 2×4 on edge | 57 in | 2 | Frame the top |
| Upper end rails | 2×4 | 29 in | 2 | Close the top frame |
| Joists | 2×4 | 29 in | 4 | Sit under the foot lines |
| Legs | 2×4 | 10¾ in | 6 | Four corners, two under the gap |
| Lower front and back rails | 2×4 | 57 in | 2 | Stop the legs racking |
| Lower end rails | 2×4 | 29 in | 2 | Close the lower ring |
The legs are 15 − ¾ − 3½ = 10¾ in, because the top and the upper rail sit on them. The whole list comes to 524.5 in of 2×4, about 43.7 ft. Buy seven; the spare is for the cut you’ll get wrong. I’d use paint-grade pine and construction lumber for a first frame, since it’s getting painted anyway. This design has not been engineered or load-tested.
Frame and top, step by step
Most beginners buy too many tools. A drill, a level and a good tape measure carry this build, plus a saw or a store that will make the long cuts. My dog, Biscuit, sleeps under my table saw while it’s off and leaves the second it starts, and I’ve never had a better reminder to respect the tool.
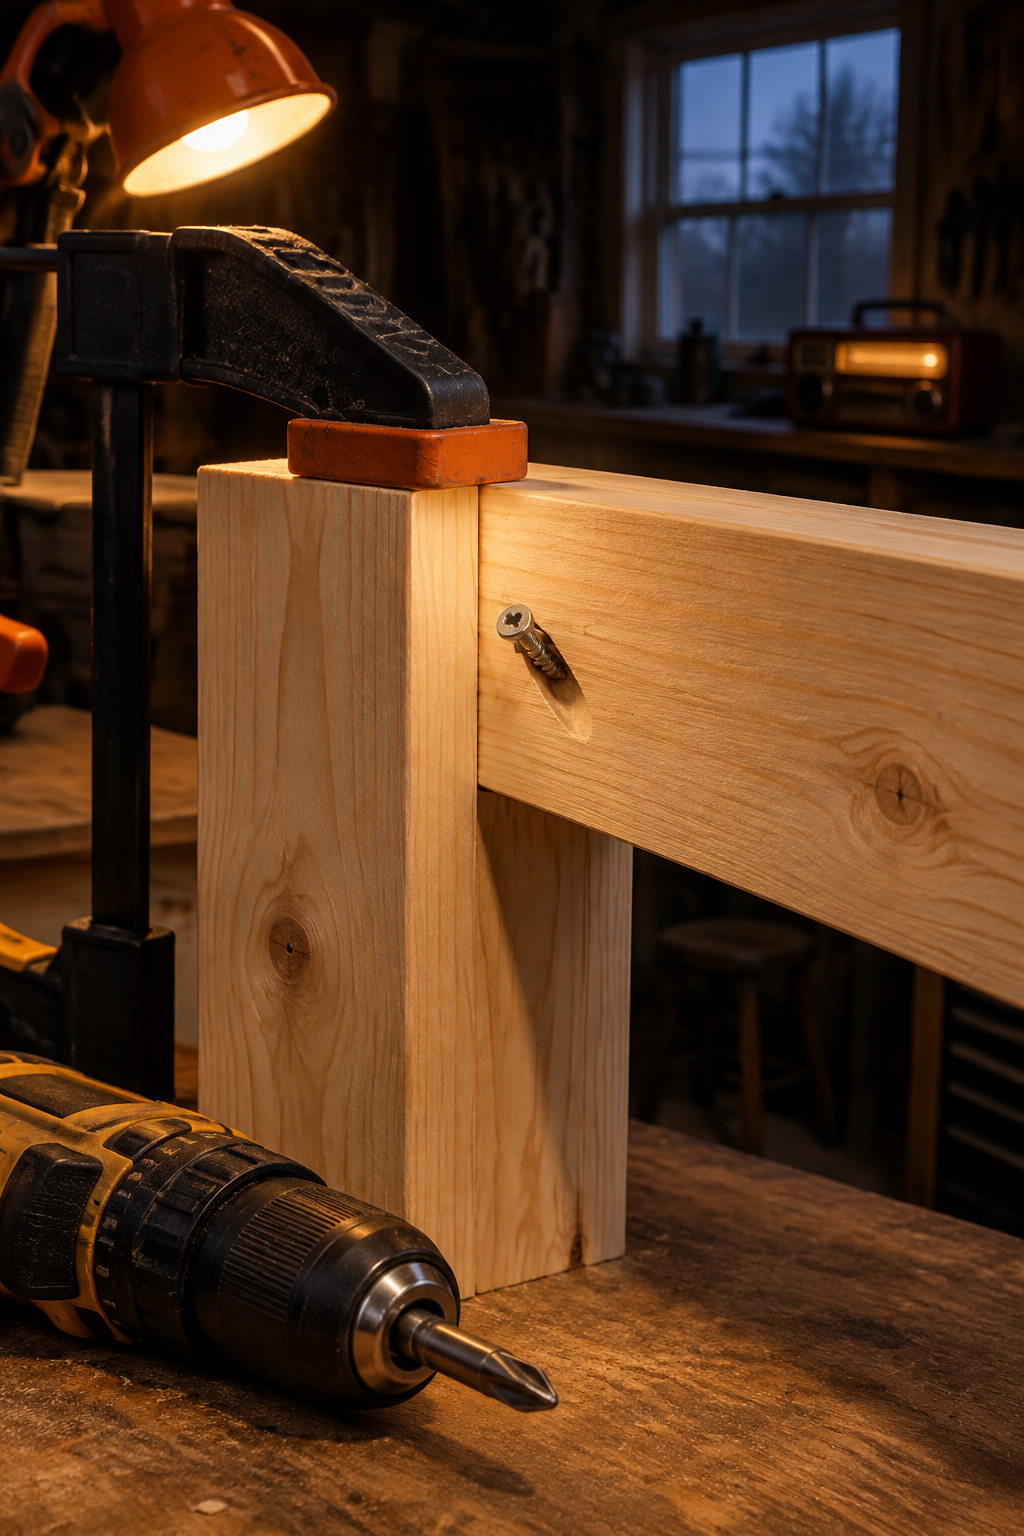
- Cut every part and label each one in pencil.
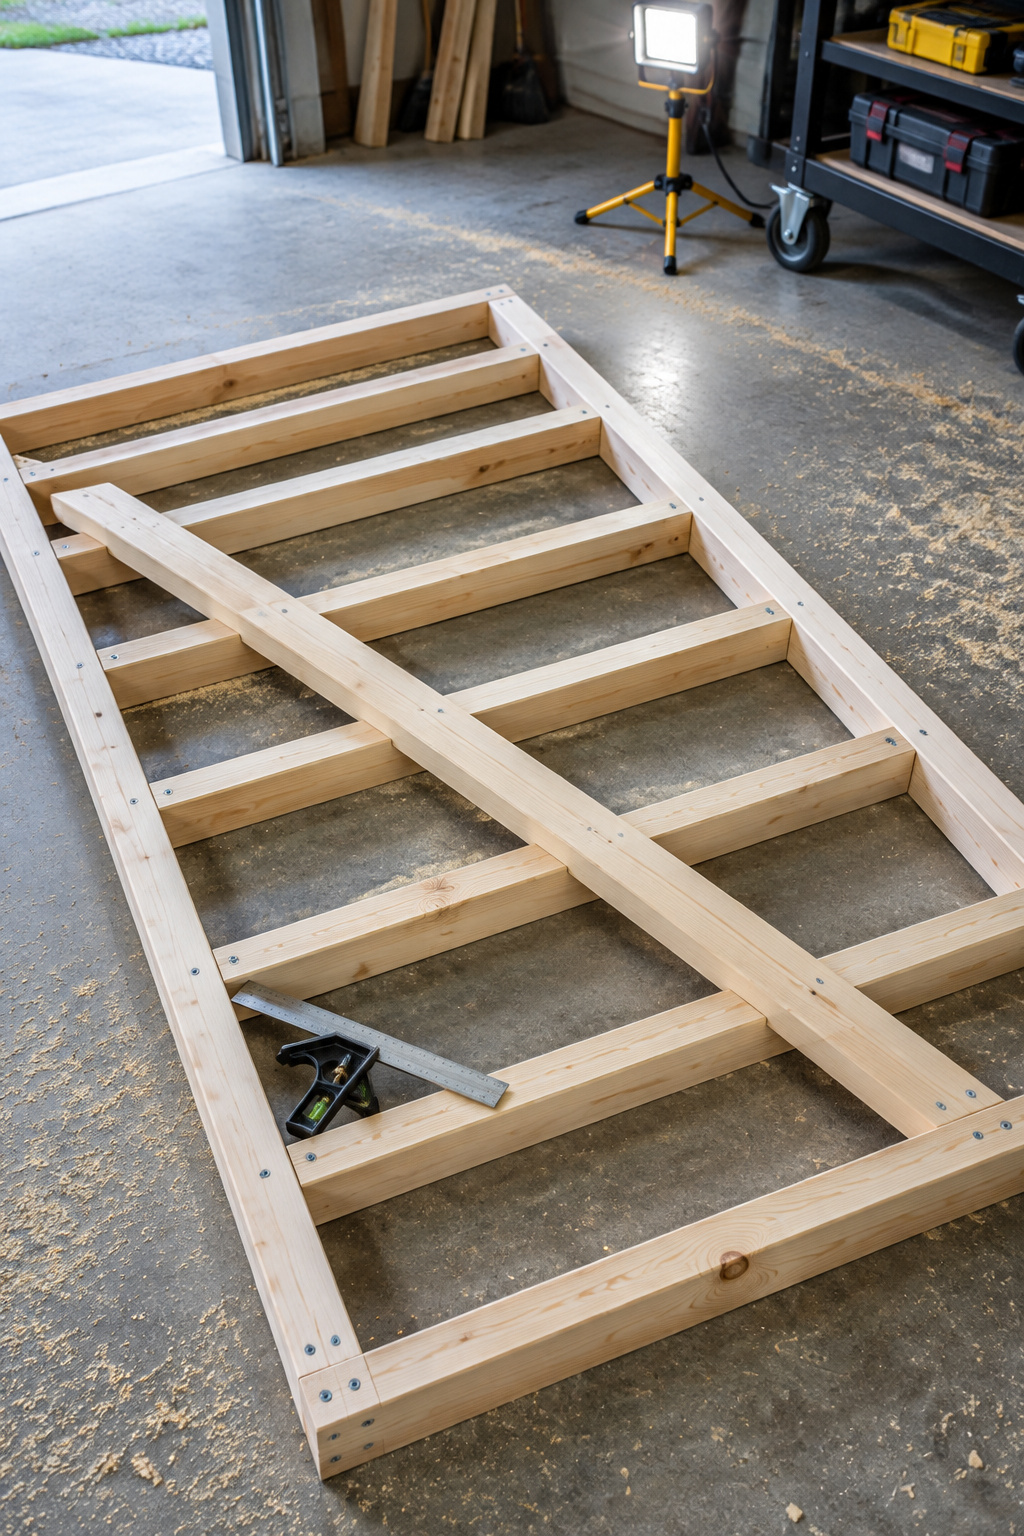
- Dry fit the frame with no glue. I stand every project up once dry and walk away for the length of a coffee, because problems show when you come back. Check that the diagonals match.
- Join the upper and lower rings with glue and screws: a pocket-hole jig, or glue and a pair of deck screws per joint if you’d rather not buy one. Pre-drill and countersink.
- Fix the legs at the corners and under the gap with construction adhesive and deck screws.
- Mark where the real machine feet land and set the joists under those lines.
- Glue and screw the plywood top to the upper frame.
- Find the wall studs and screw the frame to them. Check it twice. Walls lie.
- Screw a stop at each foot mark so the feet can’t creep.
- Take out the washer’s shipping bolts with a 5/8 in wrench, then lift each machine on with two people and felt slides under the base.
The usual mistake is screwing the top down before checking the frame is square. You find out when the plywood overhangs one corner and comes up short on the opposite one. Back the screws out, push on the long diagonal until both match, clamp a scrap across the corner and drive the screws again. It’s a dull half hour, and still cheaper than a washer that rocks for years.
Drawers come last: what fits under a loaded top
The opening under the top is the same 10¾ in as the legs. Keep a lower front rail and you’re down to 7¼ in. A 10 in drawer box from the published plans only fits if you leave that rail out where the drawer goes. Decide that on the cut list.
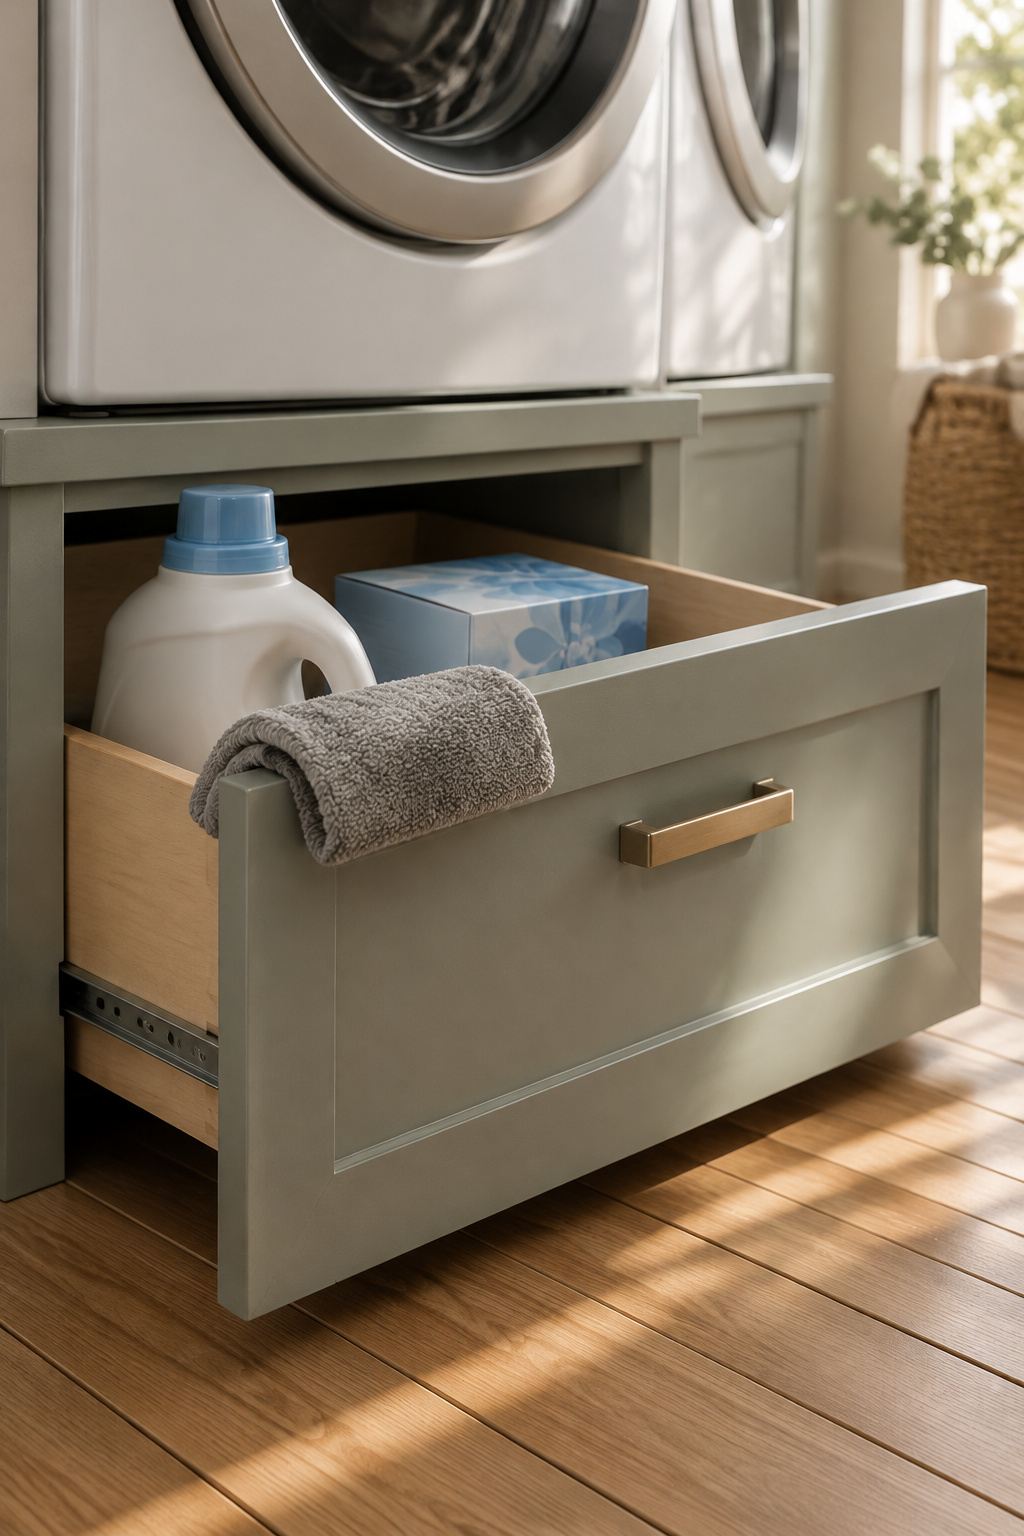
- Open cubby, a first build: A basket slides straight onto the lower ring.
- Basket shelf, some builds: A ½ in plywood shelf on the lower ring, and the better fit for rear-control machines.
- Drawer, confident builder: slides need a true opening, and Samsung’s maker drawer holds up to 26 lb.
One blogger who skipped drawers wrote that they “would NEVER be used since I would not want to bend over that far,” and I think that blogger had it right. You raised the machines so you’d stop bending.
Level it, finish it, and know when to buy the maker pedestal instead
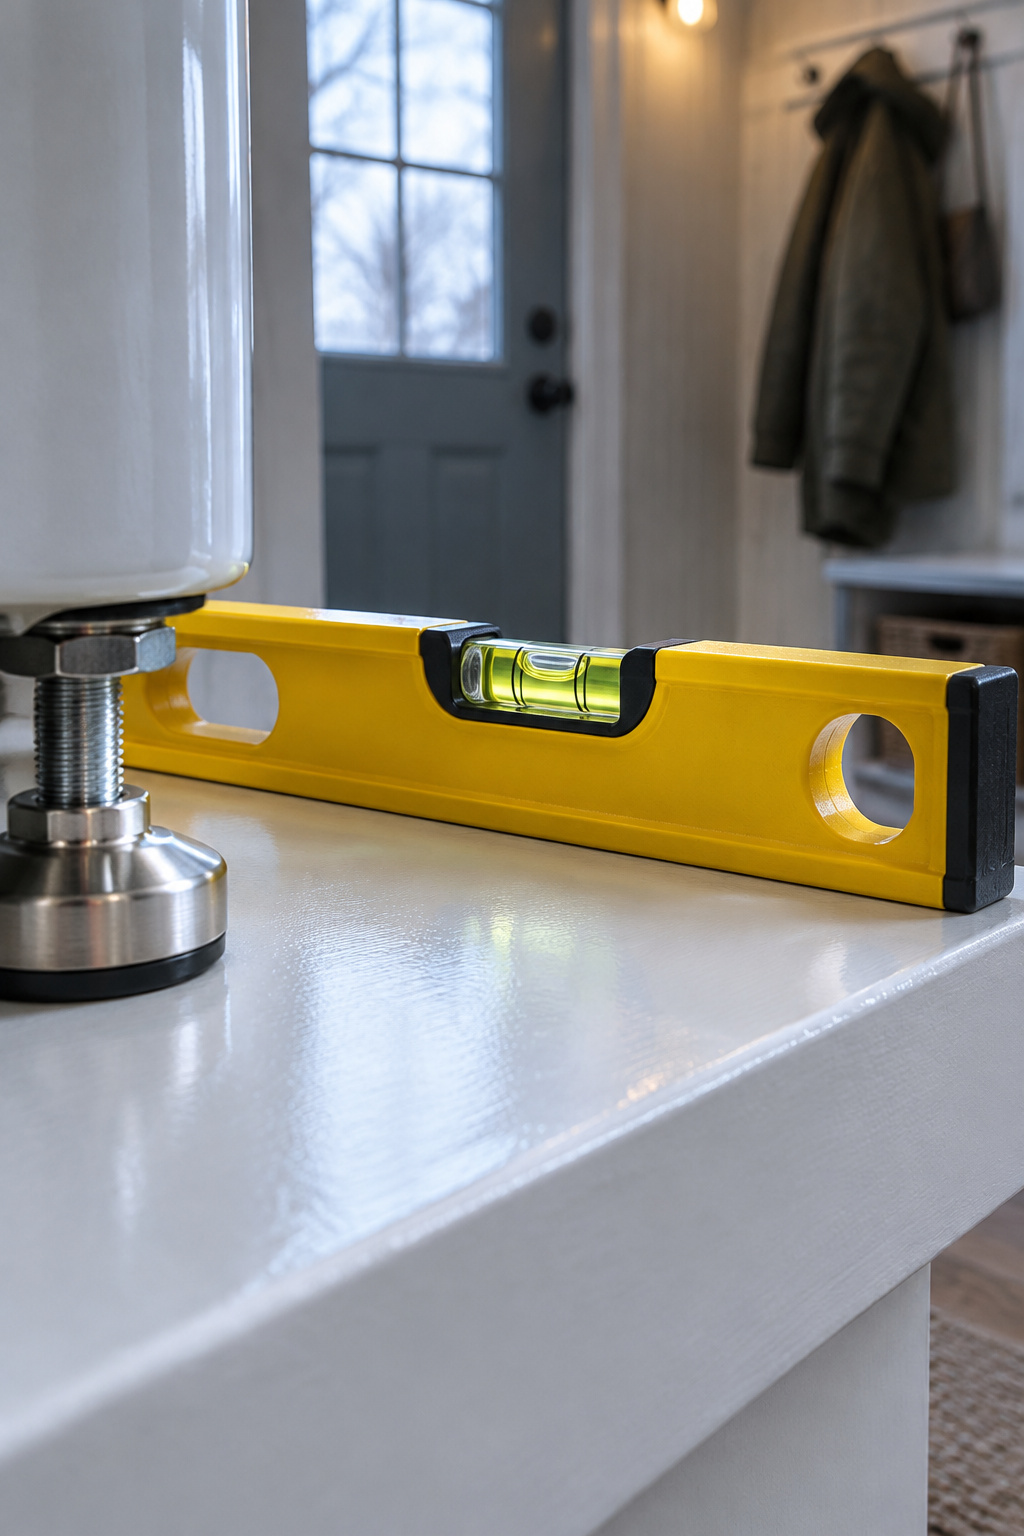
Before I trust a level, I check it against itself: read it, flip it end for end on the same spot, read it again. Level the platform on the floor, then each machine on the platform, extending the machine’s feet as little as you can, since more extension means more vibration. Push down diagonally on the top; nothing should move. Run a rinse and spin with about 6 lb of laundry and watch for rocking. On a smooth floor like tile, Samsung says to put double-face tape under the legs. Paint the frame like the room’s trim; our laundry room paint colors guide covers which sheen stands up to steam.
Buy the maker pedestals if you rent, if a maker height already fits your knuckle rule and keeps the controls in reach, or if you won’t screw a frame to the studs. On the worked platform the machine tops sit at 54 in, so hang a peg rail where the raised machines will not block the ironing board.
I’ll talk anyone through every cut of this box. The water supply, the drain and the power stay where they are unless a licensed plumber or electrician moves them. That’s a pro job. The number comes off your own knuckle and your own machine’s door. No plan can print it for you.
FAQ
Can you build the same pedestal for a top-loading washer?
You can, but a top-loader rarely needs one. Its rim already sits about 36 to 40 in off the floor, close to the US standing elbow-height range, and an LG top-loader’s lid opens to about 57 in, which would reach near 72 in on a 15 in platform. Houseful of Handmade suggests basket shelves for top-loaders instead.
Will a raised washer shake or walk more than one on the floor?
Walking comes from an unbalanced load in the fast spin of any front-loader, raised or not. A frame that flexes, or feet held only by friction, will make it worse, and makers ask for a firm base with every foot fixed. For a pair that already walks, see our washer dryer vibration guide.
Do you need a drain pan or any plumbing changes when you raise a washer?
Check the drain hose first. Raising the washer raises where the hose leaves it, and Electrolux, for one, wants the standpipe between 24 and 96 in above the floor. Measure before the machine goes up. If your area requires a pan, LG warns it can add vibration unless the feet sit firm and level.