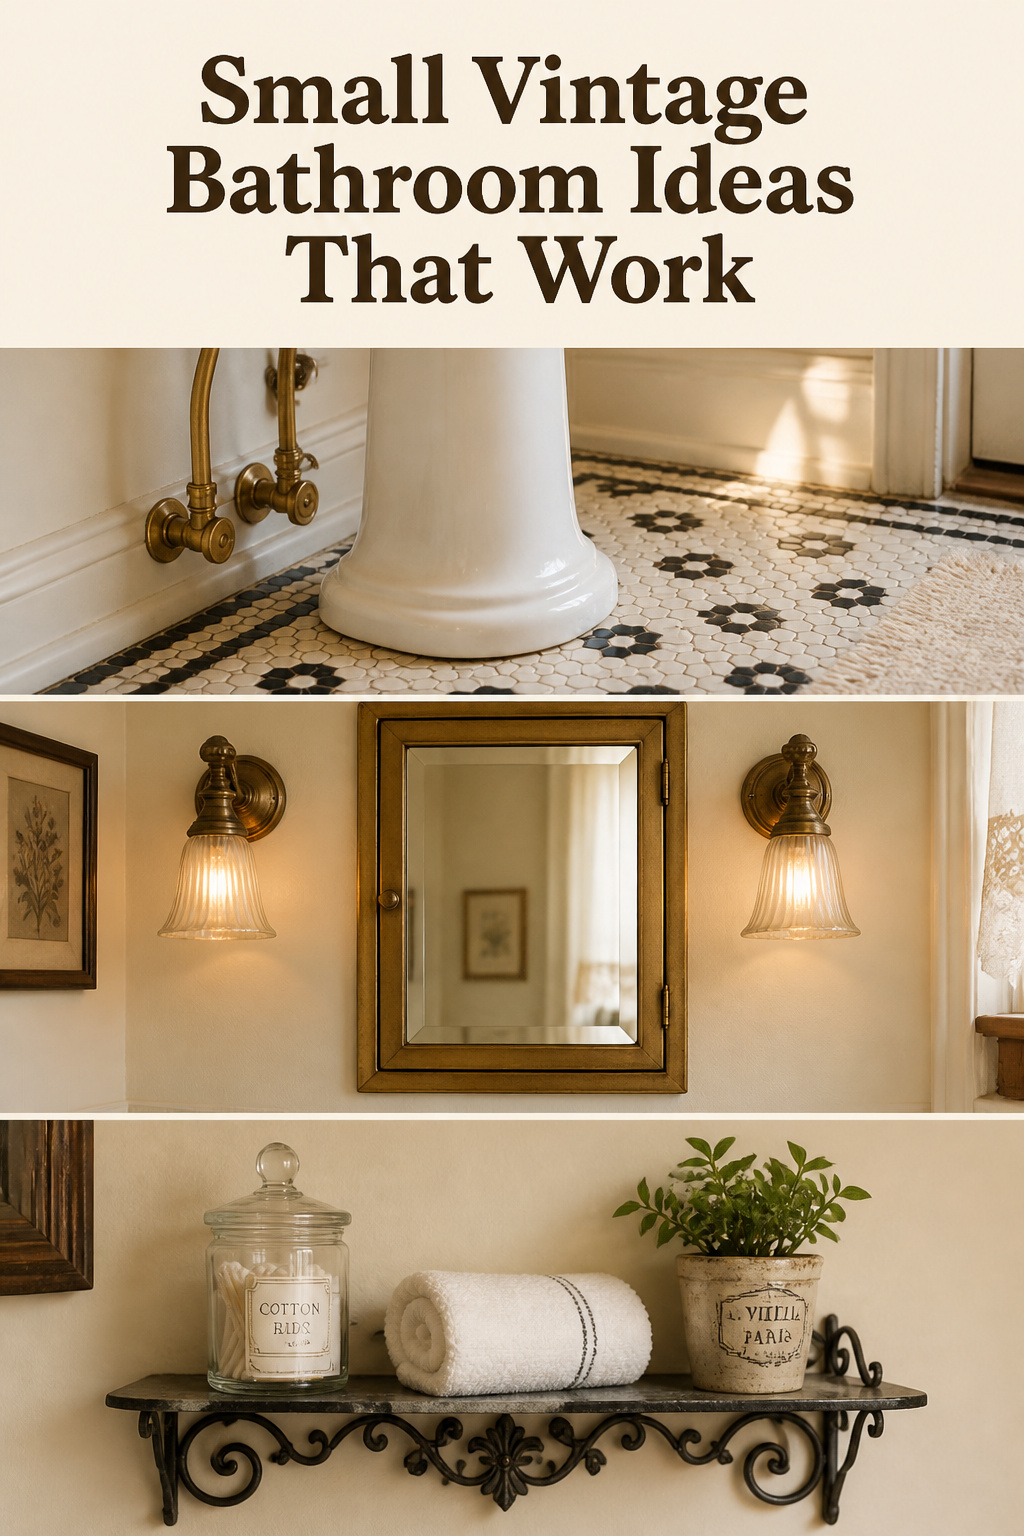
A basic small bathroom update runs $2,000–$5,000 for a half-bath and $6,000–$10,000 for a full one, and most of that money gets wasted on the wrong order of operations. The good news for small vintage bathroom ideas: the look does not need a bigger room. It needs three decisions made in sequence — one fixture, two tile moves — and the discipline to stop there. Get the order right and a 35-square-foot box reads as a period room, not a cramped one.
TL;DR
- The three highest-impact changes: swap the vanity for a pedestal sink, set floor tile at 45 degrees, and pick one vintage focal point. Diagonal tile adds 15–35% to labour but widens the room visually.
- A compact pedestal sink (as small as 19½ inches wide) opens floor space a vanity blocks; budget $330–$730 labour plus $250–$2,000 for the fixture, plus $200–$800 if you are converting from a vanity.
- Renter version costs $150–$500: a large mirror on Command strips, a tension-rod café curtain, swapped hardware, and removable wallpaper on one wall.
The Small Bathroom Is Not the Problem — the Wrong Decisions Make It One
Here is the thing nobody tells you: your bathroom is small because it was supposed to be. The standard small full bath is 5×7 feet, about 35 square feet, and code minimum sits near 5×8. A powder room is often 3×6, roughly 18 square feet. Those dimensions trace back to early plumbing layouts, when bathrooms were carved out of existing rooms — so the scale you are fighting is the same one the period vintage bathroom was built around in the first place. (That period-and-plumbing history is my read of how these sizes came to be, not a single sourced fact, so take it as background.)
The actual problem is mismatch. A builder-grade vanity 18–21 inches deep eats the floor. Large-scale pattern overwhelms the room. A pile of period accessories crowds instead of charms. None of that is the room’s fault.
Here is the path out. One fixture swap and two tile moves change how the whole space reads: replace the vanity with a pedestal sink, set the floor tile on the diagonal, and choose a single vintage focal point. Everything below walks that sequence in order.
Start With the Fixture: The Pedestal Sink as the Small-Bathroom Decision
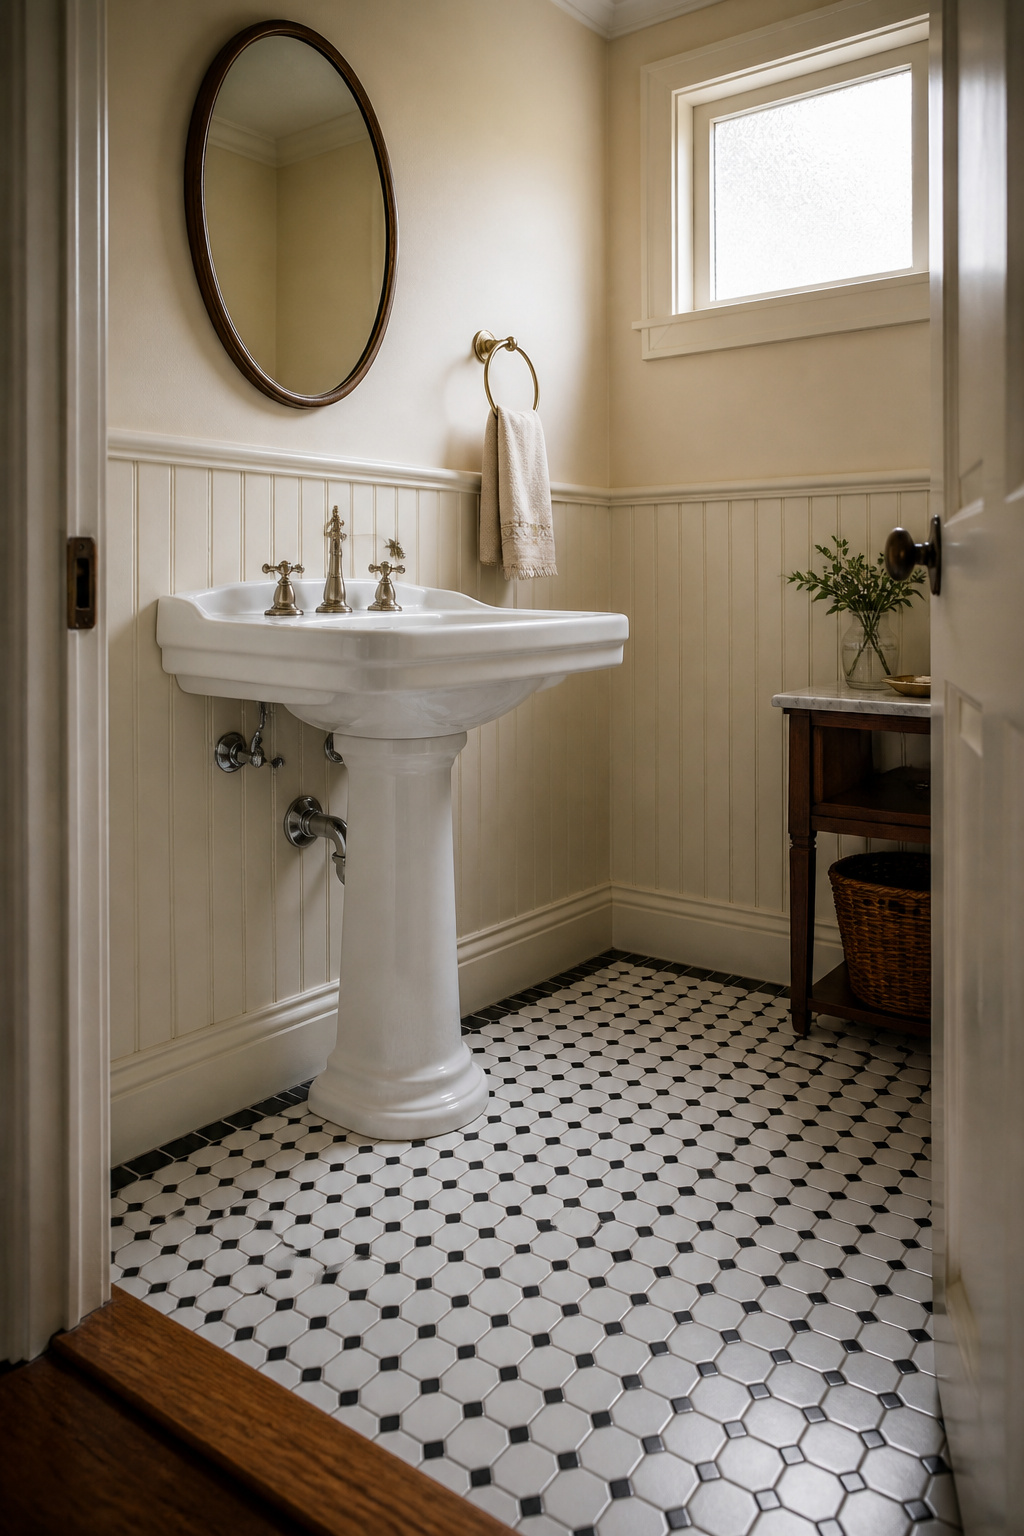
The pedestal sink is a space decision first and a period-accuracy decision second — it just happens to be both. A vanity hides the floor behind a closed cabinet face; a pedestal keeps the floor visible, which is what makes a tight room read lighter. Compact models run as small as 19½ inches wide by 9¾ inches deep. A standard vanity projects 18–21 inches from the wall. In a 5×7 where the door clears the toilet by the bare IRC minimum of 21 inches, those recovered inches decide whether the door swings freely.
Size it down on purpose. In a narrow room, pick a basin no wider than 19–20 inches and centre the column on the wall so both sides of the basin stay usable. Standard pedestals run 22–24 inches wide and 29–34 inches tall; the slim column draws the eye up, which reads as height.
Here is what goes wrong. A pedestal sink is top-heavy, so the pedestal alone will not hold it. As This Old House contractor Tom Silva puts it, “you will likely need to mount blocking — a horizontal piece of wood that’s screwed between the studs at basin height, beneath the plaster.” Your plumber’s job now includes a carpentry step. Swapping a vanity for a pedestal also leaves bare floor and wall where the cabinet stood — budget $200–$800 for the plumbing adjustment and patching. The storage you lose is real too, which the shelf section solves. The pedestal is the first of the space-saving fixtures that make a small period bath work.
Tile Choices That Make a Small Vintage Bathroom Feel Larger
Two tile moves physically change how the room reads. Both are cheap relative to their effect, and both are period-correct.
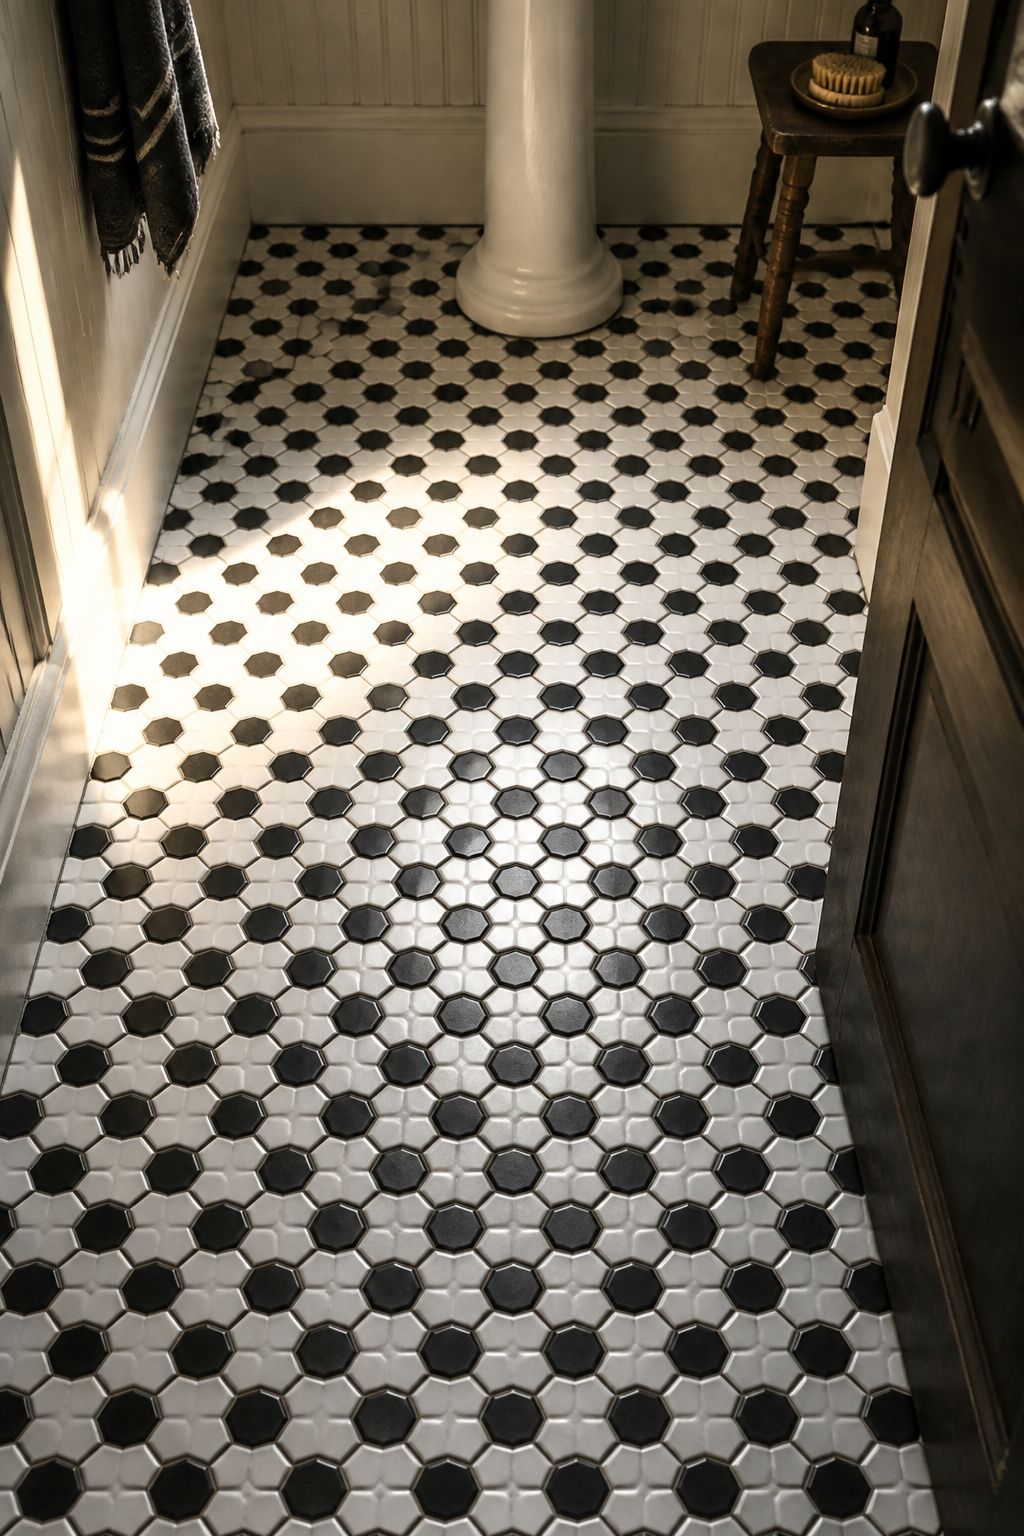
First, set the floor on the diagonal. Tile at 45 degrees pulls the eye corner to corner — along the room’s longest dimension — instead of across its short width. Your brain also can’t easily count tiles laid on the angle, so the floor stops reading as a measured grid and the room feels less boxed-in. It is the easiest apparent-width gain you can buy without touching a wall.
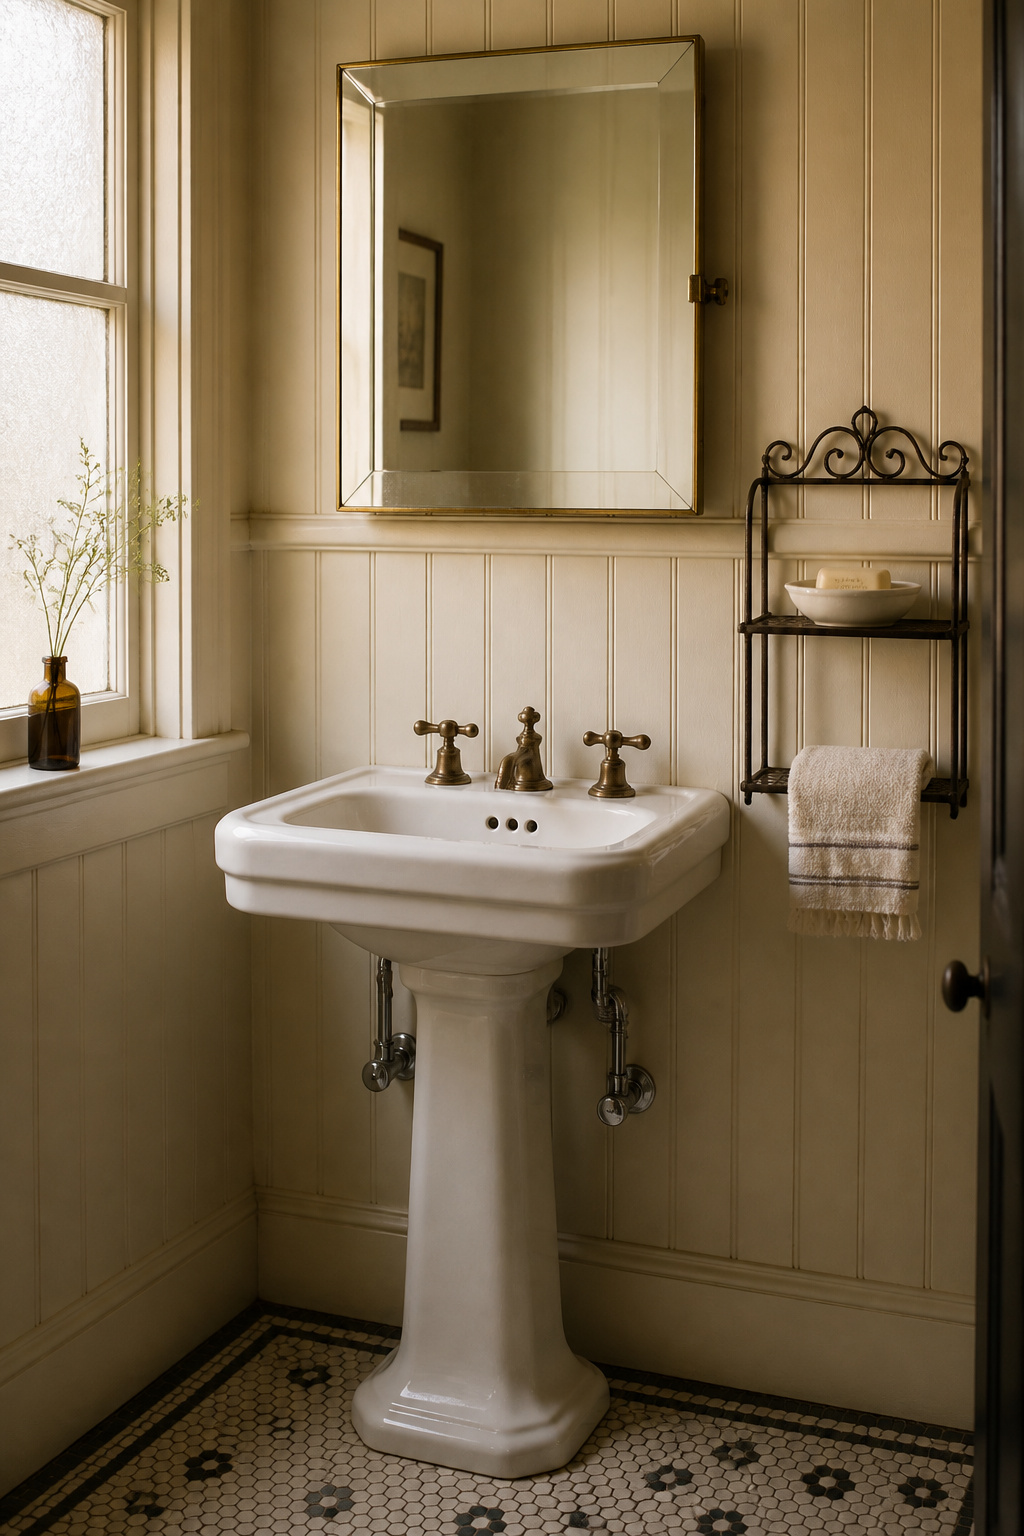
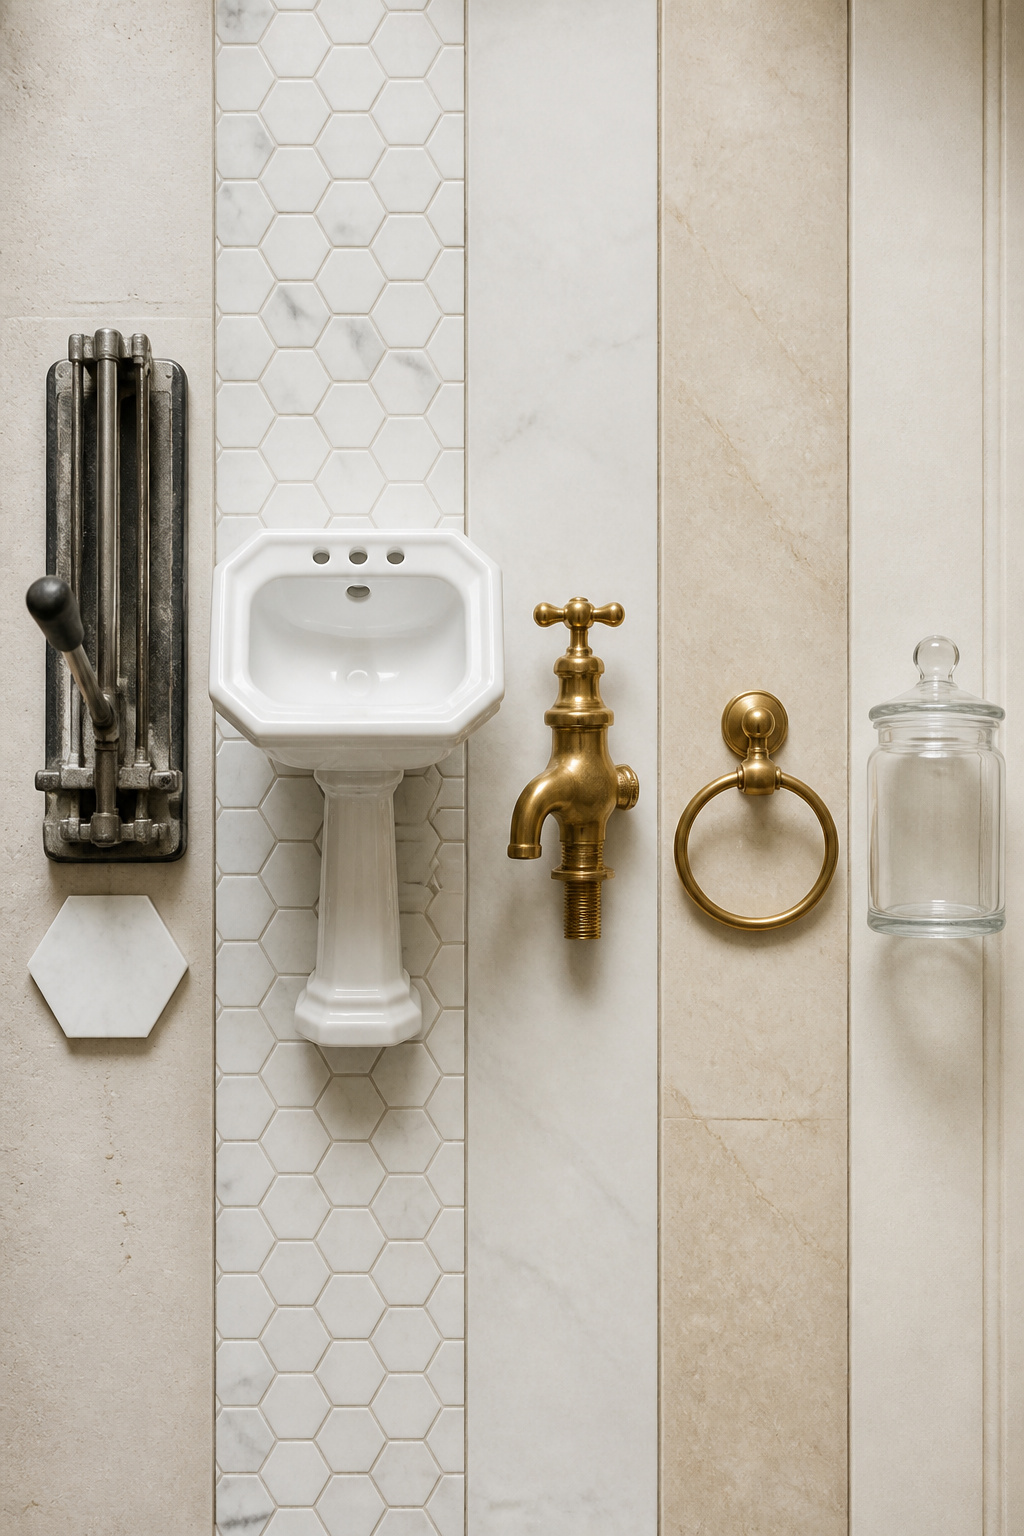
Second, ignore the “large tile only” rule for vintage floors. Small hex and penny rounds, 1–2 inches across, are the exception: they read as texture rather than a grid, the eye can’t parse them into rows, and black-and-white penny or hex with white grout is exactly right for a 1900s–1930s floor.
The table below weighs the three small-room strategies. Diagonal tile is the one to spend on if you only do one.
| Tile layout | Effect on perceived width | Skill level | Cost vs standard set |
|---|---|---|---|
| Diagonal (45°) small hex/penny | Widens; eye reads corner-to-corner | Some builds | +15–35% labour ($7–$14/sq ft); order 15% extra tile |
| Small-scale hex/penny, straight | Reads as texture, not grid | First build | Standard ($5–$10/sq ft) |
| One-colour floor-to-wall (all-white/cream) | Removes the floor-to-wall horizon line | First build | Standard; cheapest in paint for renters |
Diagonal setting adds 15–35% to labour and 10–15% to waste from corner cuts. On a 5×7 floor that is roughly $70–$175 extra in labour — small money for the biggest visual return. These are the tile that enlarges a room moves; the patterns themselves go deeper there.
The Single Focal Point: One Vintage Statement Instead of Many
In a room under 40 square feet you take in the whole space in one glance. There is no corner to explore. So five vintage pieces competing in that single field of view read as noise, while one confident element with space around it reads as a designed room. Crowding makes a small space feel smaller, not just busier.
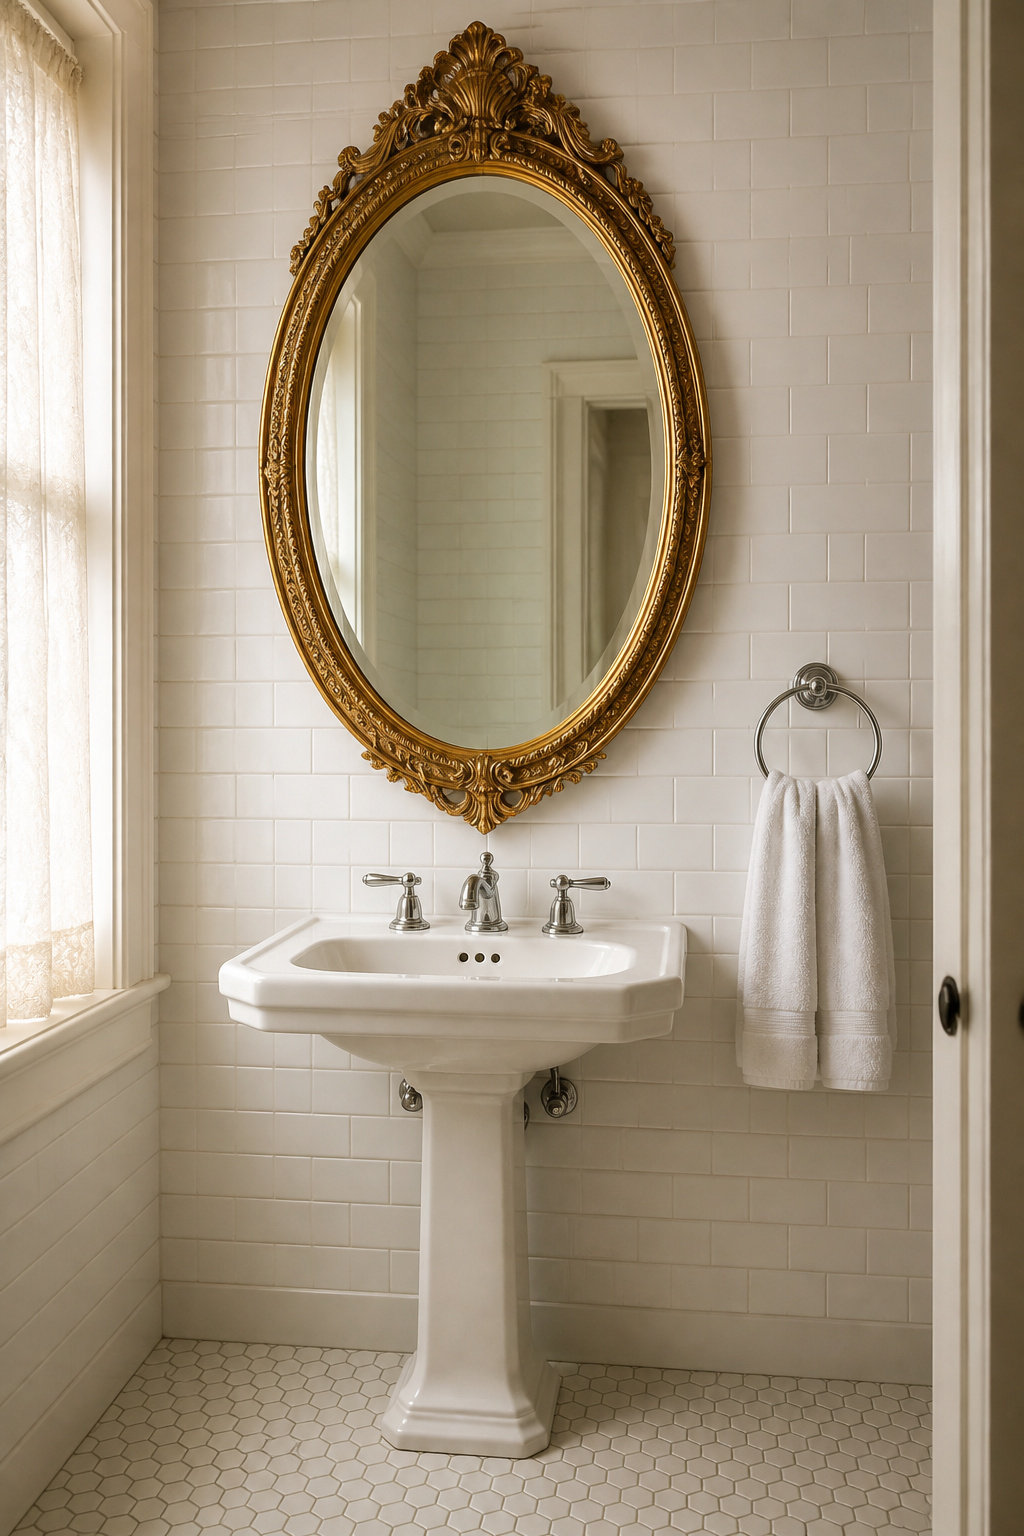
Pick one piece to carry the character, then edit everything else back to neutral. The hierarchy, in order of impact: the pedestal sink, then an oversized vintage-style mirror, then a dramatic wallpaper on one wall, then the floor tile, then accessories last. An ornate gilded or distressed oval mirror is the most reliable single signal; it reads vintage instantly, takes only wall space, and never competes for floor clearance. Once it is chosen, push the rest down: white towels, white soap, one plant, two glass jars maximum. The vintage piece stands out against the restraint.
Renting and the fixtures are off limits? The focal point just has to be non-structural. A large framed mirror (20×30 inches or bigger) on adhesive strips rated to 20–30 pounds is the highest-impact renter move — check the strip rating against the mirror’s real weight, because that is exactly what goes wrong here. A tension-rod café curtain adds period character with no holes. And peel-and-stick wallpaper on one wall — the toilet wall or behind the sink — now comes in toile, small floral and stripe, and peels off clean.
The Budget Remodel Order for a Small Vintage Bathroom
Work in the wrong order and you damage finished surfaces you just paid for. The sequence below is the one that avoids rework. Each step lists what it costs.
- Rough plumbing and electrical first. Move any lines now, while the walls are open. A permit runs $30–$500 and is required almost everywhere for relocating plumbing — skip it and it bites you at resale.
- Floor tile next. Tile must run under the pedestal base, so it goes down before the sink. Set the pedestal first and you are cutting tile around the base — a hard cut that leaves visible gaps. DIY ceramic runs $2–$8/sq ft in materials; pro labour adds $5–$14/sq ft with the diagonal premium.
- Wall treatment. Subway tile, paint, or wallpaper, up to the height you have chosen.
- Fixtures. Pedestal sink, toilet, tub if any. Installed pedestal: $330–$730 labour plus $250–$2,000 for the fixture.
- Hardware, then accessories. Towel bars, hooks, paper holder; then the mirror, jars and textiles last.
The mistake I see most: buying hardware before the fixture is settled. Your towel-bar finish has to match the faucet and supply lines, and you cannot know those until the sink is chosen.
The renter’s version collapses to four zero-damage moves: hang the mirror, add the café curtain, swap the towel bar and paper holder (save the originals for move-out), then style the jars. The three tiers, honestly:
| Tier | What it covers | Cost |
|---|---|---|
| 1 — Renter refresh | Mirror, café curtain, swapped hardware, jars, removable wallpaper on one wall | $150–$500 |
| 2 — Tile/wallpaper | Diagonal hex floor or wainscot, period paper, DIY plus pro tile labour | $800–$3,000 |
| 3 — Pedestal + tile + hardware | Full small-bath update, professional install | $3,500–$8,000 (full); $2,000–$5,000 (powder room) |
Do your own demo, painting and accessory work and hire out only the licensed plumbing and tile-setting, and Tier 3 drops to $2,000–$4,500. As This Old House plumber Richard Trethewey says of pedestals, “they are not the plumber’s best friend. It’s a really tight little space to work right here.” Budget an extra hour or two of his time.
Vertical Space and Storage in a Room With Almost None
Lose the vanity and you lose the storage with it. In a room this small the only underused real estate is the wall above eye level, so that is where the recovered storage goes — and it can read period while it does the work.
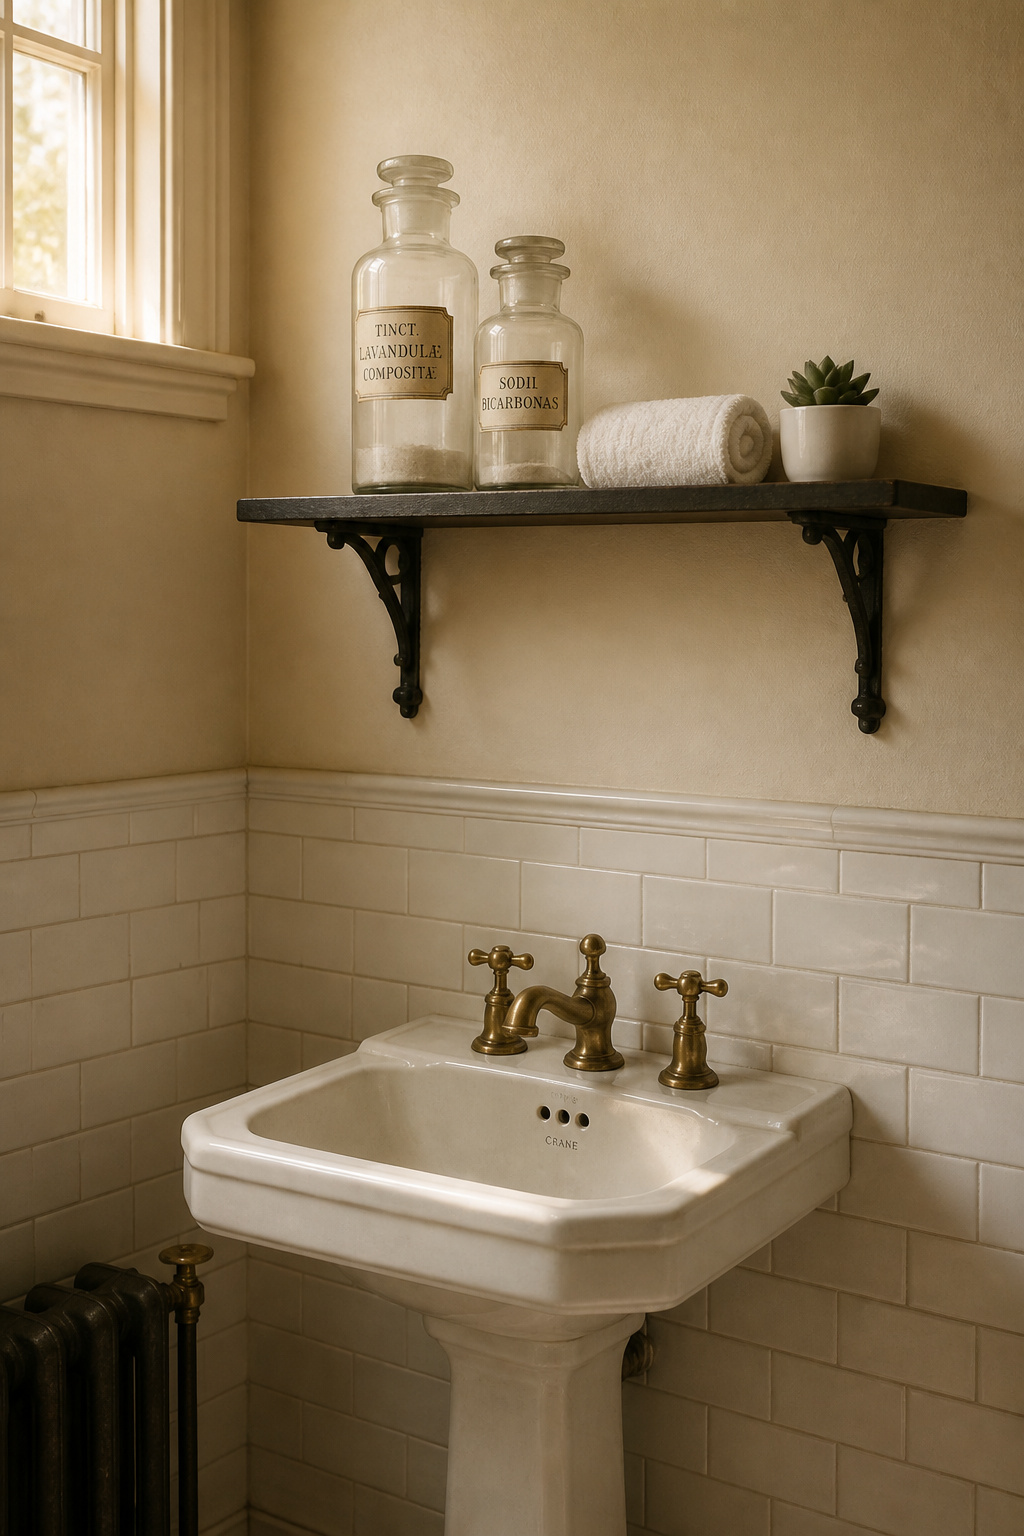
The pharmacy-shelf look handles display and secondary storage at once: a narrow open shelf high on the wall, holding glass jars and rolled towels. Mount it around 60–66 inches up so it clears the toilet tank, the door swing and your head — though treat that height as general guidance, since it is inferred from ergonomics, not a published spec. Keep it shallow up there, 4–6 inches, since it is for display, not bulk. A pre-made iron pipe shelf runs $63–$132 with hardware and reads right in an apothecary-styled room; western red cedar at $6–$12 a board foot is the practical, moisture-resistant board if you build your own.
The medicine cabinet is the efficient half of the pair, because it hides storage inside the wall and adds no depth to the room. A recessed unit needs a wall at least 4 inches deep between stud faces; standard openings are about 16 inches wide by 23–24 tall. Restored 1930s cabinets from specialist suppliers run $150–$400; reproductions, $200–$600. Renting, or working a wall with pipes behind it? A surface-mount vintage-style cabinet adds 4–5 inches of projection but skips the cut, and runs $80–$200.
Split the duties honestly. Daily-use items — toothbrush, face wash, medication — go behind the mirror, within reach. The high shelf holds what you touch weekly or less, plus display: jars, a small plant, rolled towels. Put shampoo bottles up there and the period effect collapses into overflow. Done right, that shelf is what confirms the room was a choice, not an accident — and the tight bathroom finally works harder than its square footage suggests.
FAQ
Can a clawfoot tub work in a small bathroom or is it always too big?
It can, with care. A standard clawfoot runs 59–60 inches long; compact models drop to 48–54 inches and fit a 5×7 with clearance on one long side. A standard tub realistically needs a 5×8 room — a figure derived from NKBA clearances, not a maker’s spec. Because clawfoots are freestanding, you usually lose the separate shower.
What size pedestal sink fits in a very small bathroom without blocking the door?
Where the door swings toward the sink, choose a basin no wider than 19–20 inches and as shallow as 9¾–14 inches deep; some compact models are just 19½ wide. The IRC requires 21 inches of clear floor space in front of the basin, and the NKBA recommends 30. If the door still conflicts, fit a pocket door.
How do I make a 5×7 bathroom look bigger without knocking down walls?
Three moves, no structural work. Swap the vanity for a pedestal sink to open the floor; set floor tile at 45 degrees to draw the eye diagonally across the longest dimension; and run one white or cream colour from floor to ceiling to erase the horizon line that boxes the room in. A large mirror does the rest.