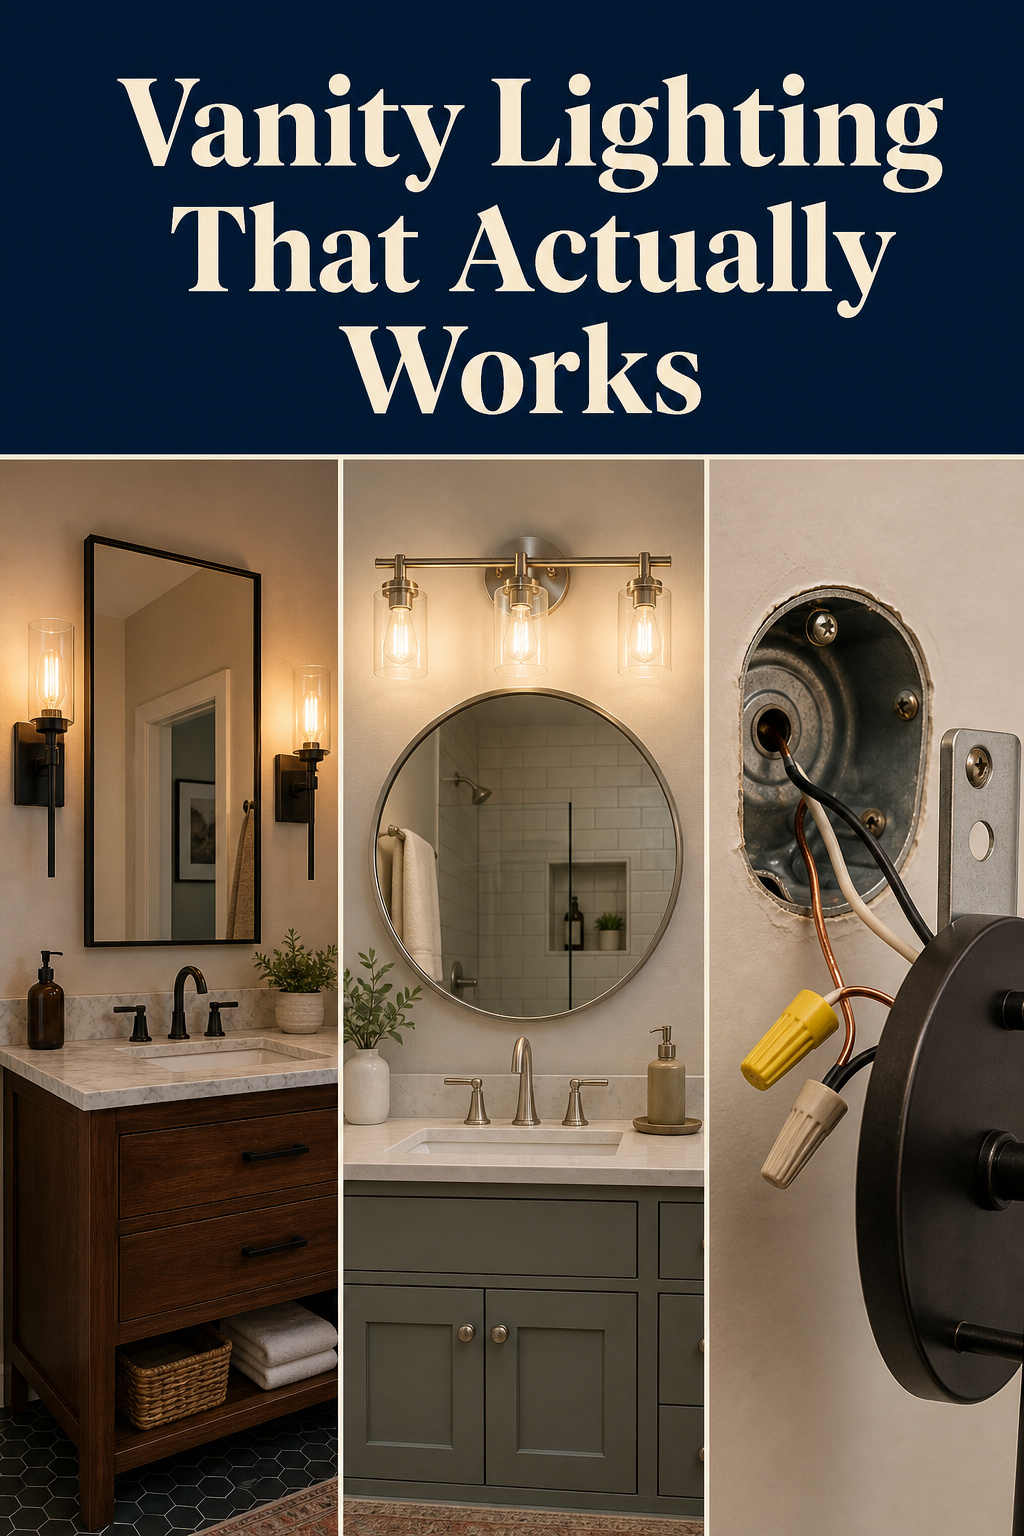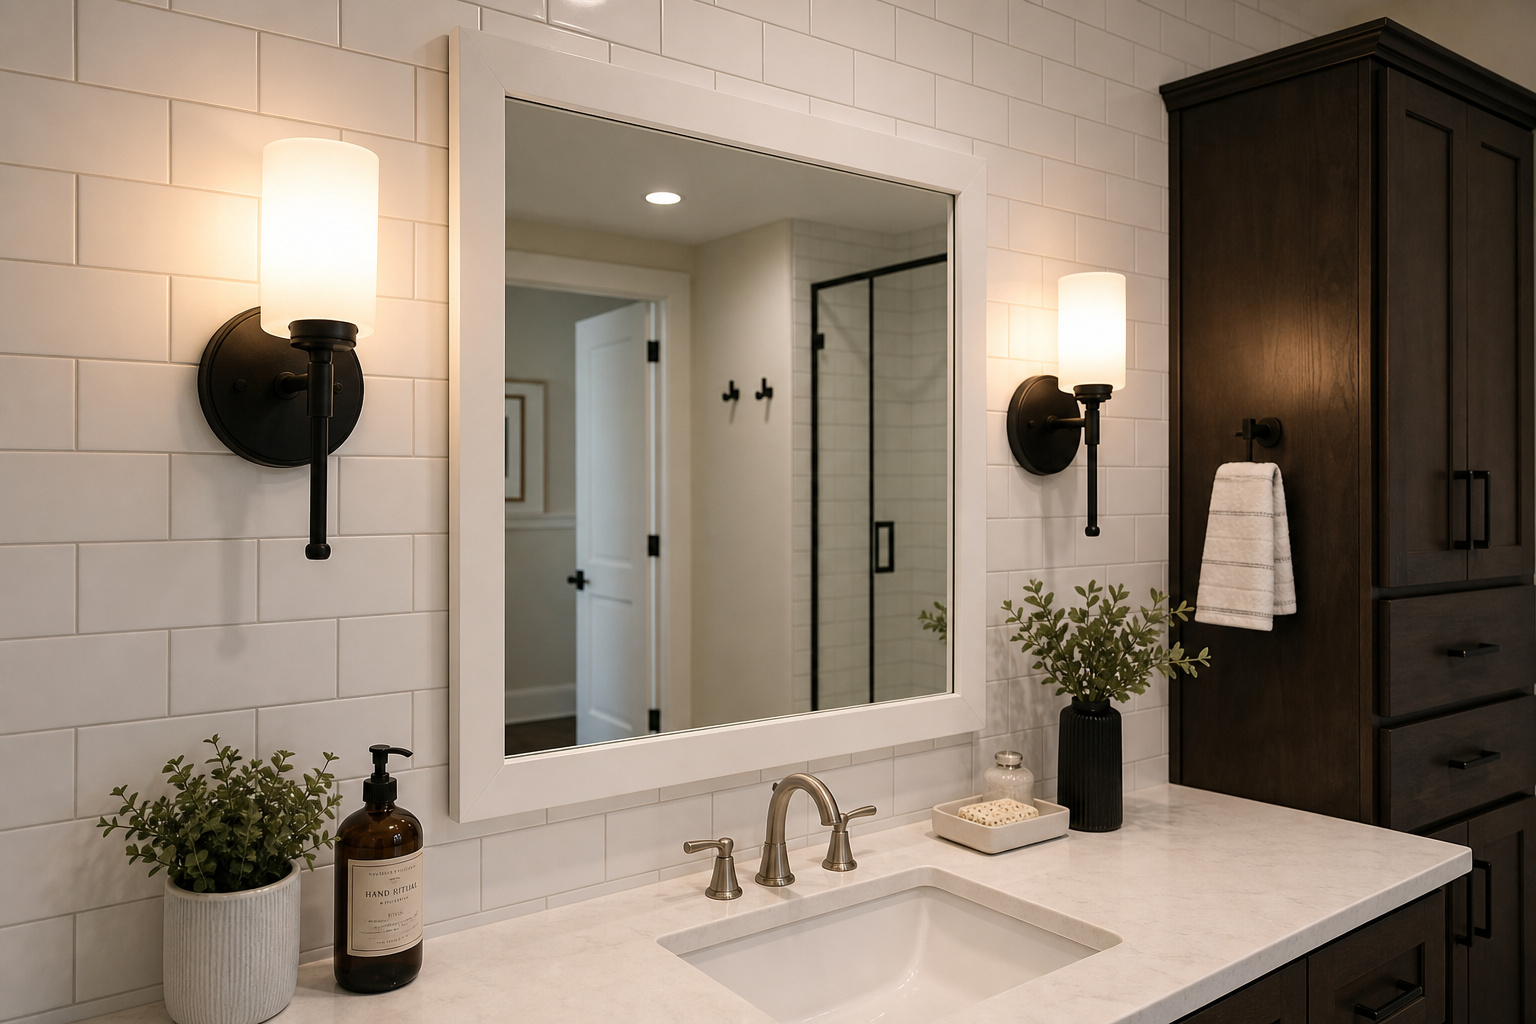

A vanity light goes up once, dead wrong, and stays there for years because nobody wants to cut tile to move a box. The box gets centered above the mirror at rough-in, before anyone decides whether they want side sconces. Then the bar throws a shadow under the nose like a streetlamp, every morning. Bathroom vanity lighting fails like this constantly, and the fix is almost never the fixture. It is where the wire comes out of the wall — decided long before the pretty part.
TL;DR
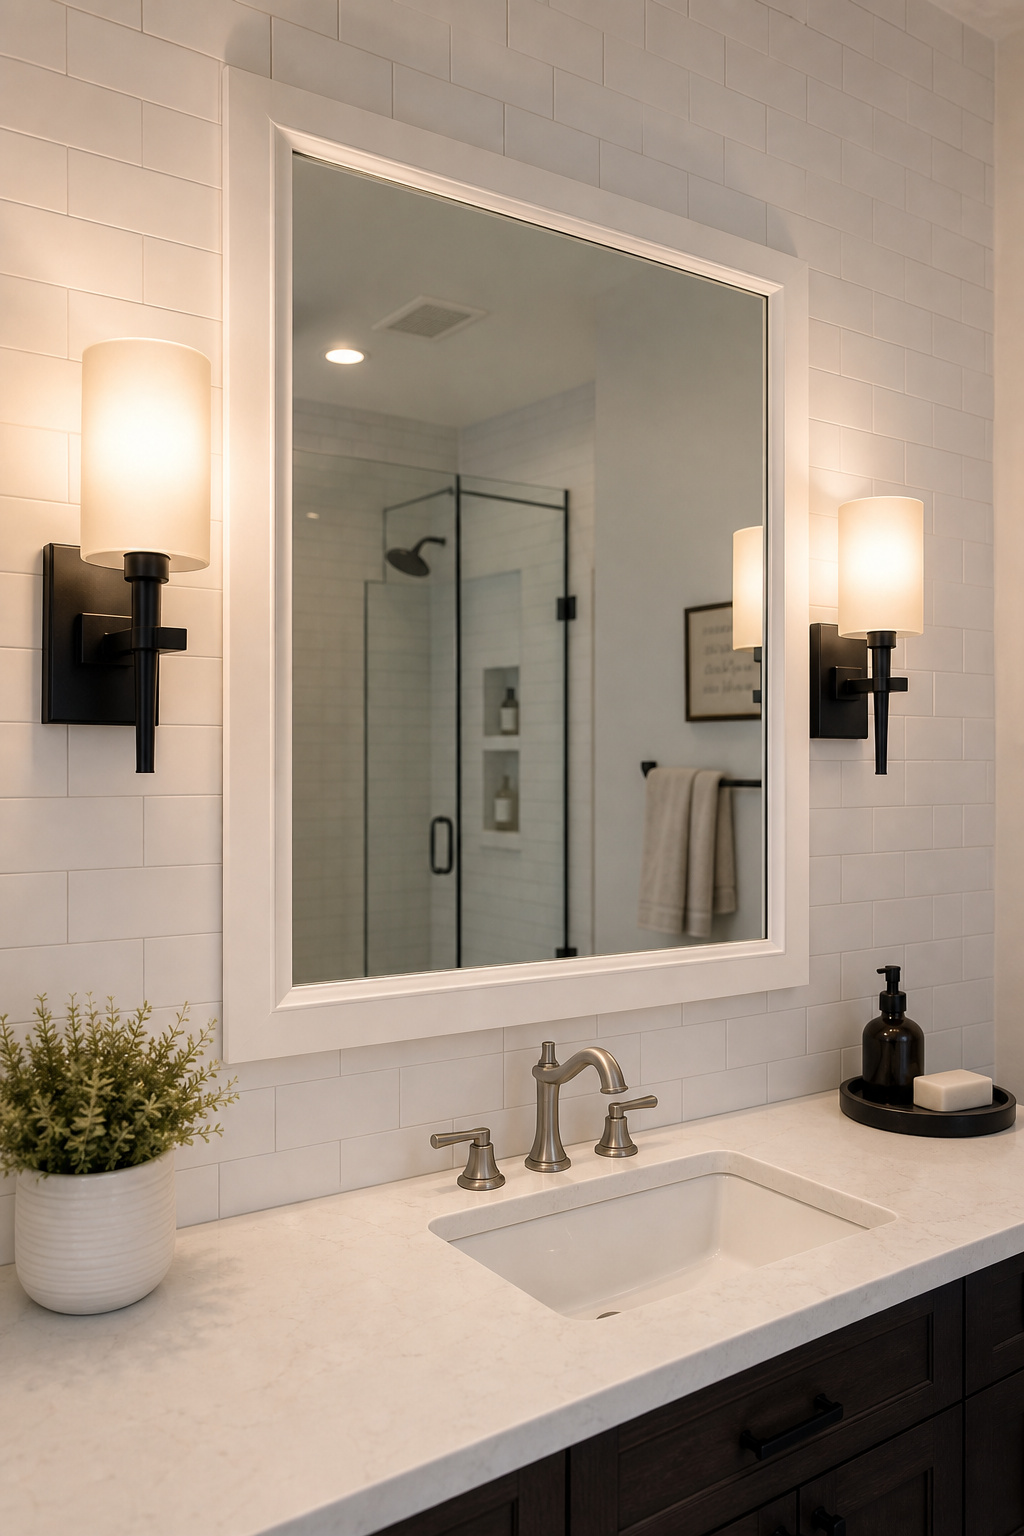
- Flanking sconces at 65–70 inches from the floor (eye level) light the face from both sides and beat any over-mirror bar for shadow-free grooming.
- A single bar belongs above the mirror at 75–80 inches and about 75% of mirror width — the right call for narrow walls or a one-fixture budget.
- Swapping a fixture on an existing box is a first-build job; running new wire to add sconces is a licensed-electrician job, every time.
Why Getting the Vanity Light Wrong Is the Most Expensive Bathroom Mistake
Most bathrooms get one light: a fixture in the ceiling, centered, done. It is the most common setup and the one lighting pros flag most often as wrong for the mirror. Here is why.
The shadow problem
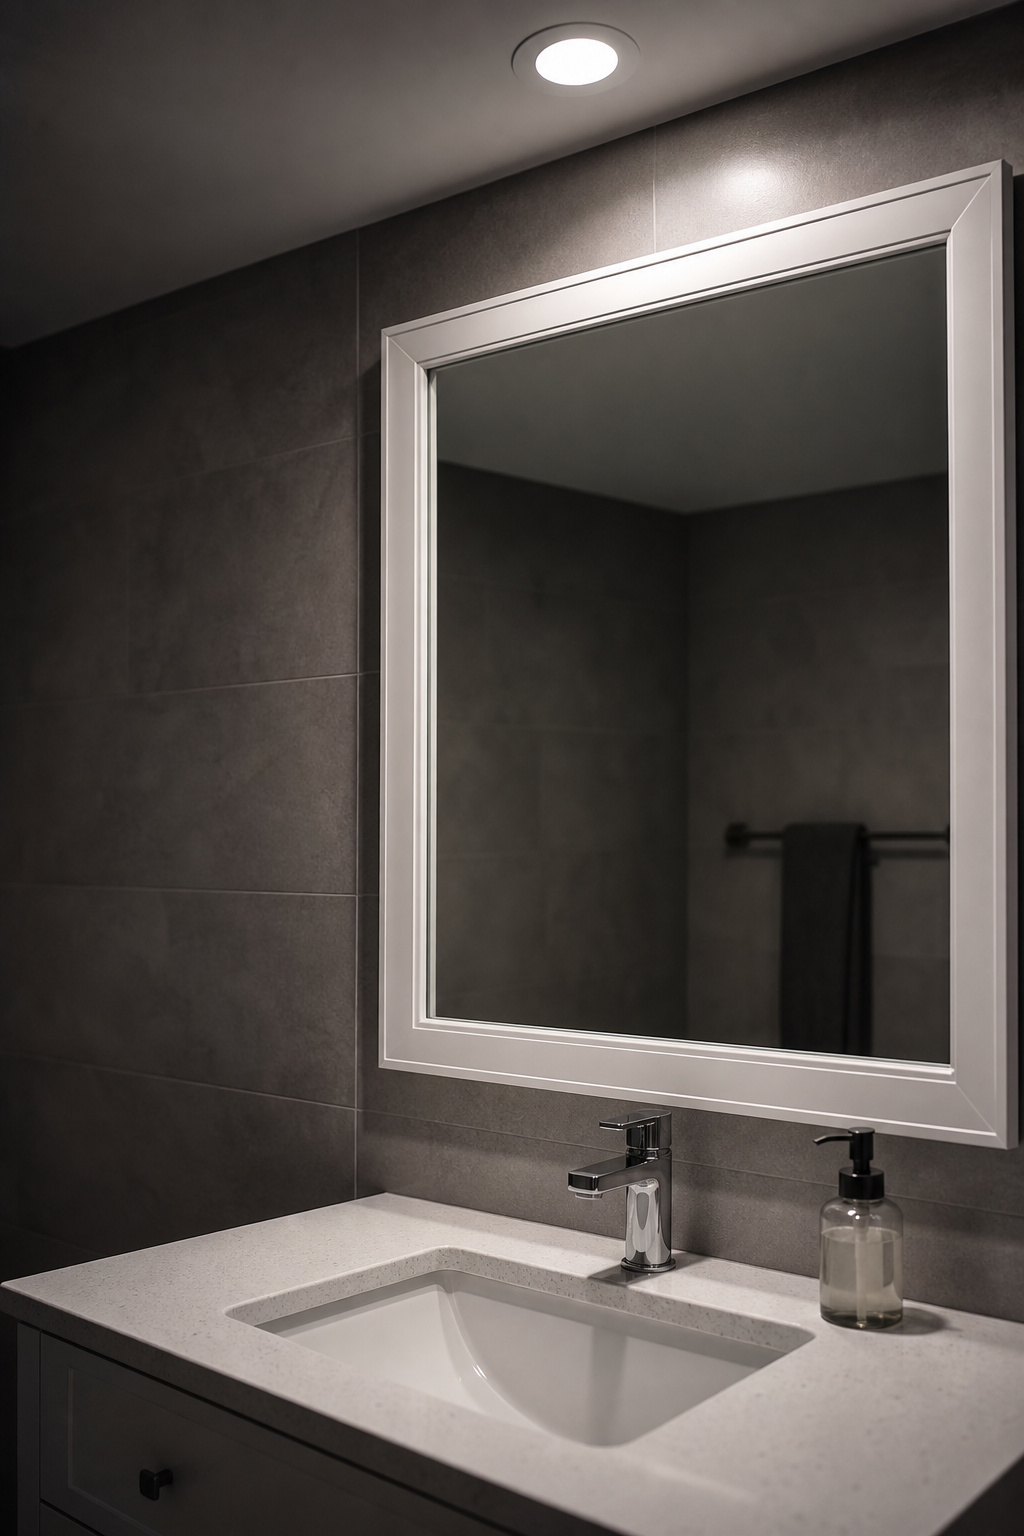
Light coming straight down hits the top of your face and stops. Your brow shades your eyes, your nose shades your lip, your chin goes dark — the exact zones you need for shaving, skincare or makeup. A ceiling can light the room beautifully and still leave the mirror useless, because the room and the face are two different jobs.
What side light actually does
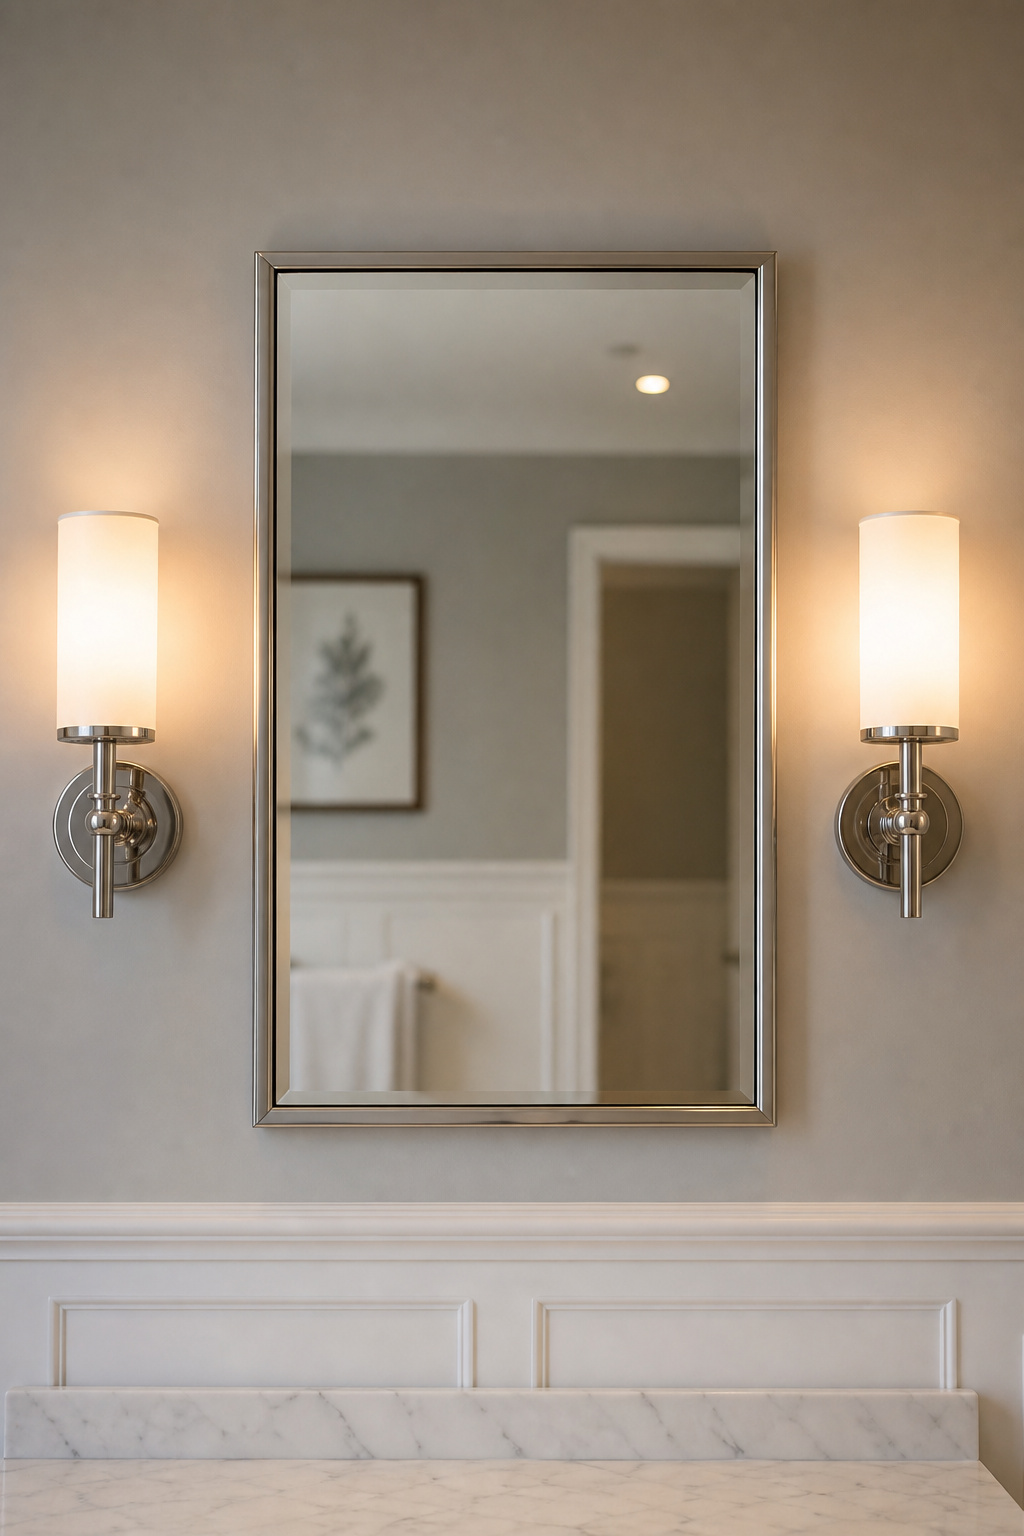
Move the source to eye level beside the mirror and the angle flips from vertical to near-horizontal. Now light crosses the face instead of dropping onto it, and the shadows have nowhere to land. Flanking sconces at 65–70 inches are the gold standard — they hit you from both sides at once, which even a well-placed bar cannot. A bar mounted high enough (75–80 inches) works for everyday grooming: not makeup-mirror accurate, but functional.
The one decision that locks in the rest
Pick your placement type before you buy anything, including the mirror. Sconces mean two boxes flanking the mirror; a bar means one box centered above it. That box gets set at rough-in, before drywall closes. Switch configurations after the tile is up and you are chasing a wire through tile and wall — easily a $300–$800 repair on top of the fixture. Robern puts it plainly: side-mounting gives the most even face light, but the mirror’s size sometimes makes a bar the practical call. That’s the whole picture in the bathroom lighting ideas guide.
Flanking Sconces: The Numbers That Eliminate Shadows
Side sconces are where the specifics earn their keep. Get these numbers right and the fixture choice barely matters.
| Specification | Value | Why it matters |
|---|---|---|
| Height (center of fixture) | 65–70 in from finished floor | Puts light at eye level so it crosses the face, not down it |
| Spacing (center to center) | 36–40 in standard; 28–30 in tight | Keeps each source beside the face, not reading as one light above |
| Each sconce width | ~25–30% of mirror width | Present without competing with the mirror as the anchor |
| Glass | Frosted or opal | Diffuses the bulb so there’s no glare in the mirror |
Height: why 65–70 inches works
The American Lighting Association’s rule is 65–70 inches to the center of the fixture — eye level for most adults. If the sconces have shades, drop them so the bottom edge sits just below eye level, around 60–68 inches, and you never stare straight at the bulb. Below 60, the light catches your cheeks instead of your whole face. Above 70, you start re-introducing the downward shadow you bought sconces to avoid. Sixty-five is a safe single number if you want one.
Spacing: where the sources disagree
Guides split here. LightsOnline leads with 36–40 inches center to center as standard and calls 28–30 the tight-space minimum; other guides treat 28–34 as their working range. Both are right for different walls. Wide wall: go 36–40, a sconce beside each side of the face. Narrow wall: 28–30 is your floor, because below 28 the two sconces start reading as one source above the mirror and the bilateral benefit fades. Either way, leave at least 4 inches of clear wall between the mirror edge and the sconce plate, or the fixtures read as centered on the mirror rather than flanking it.
Sizing so it looks deliberate
Each sconce should be roughly 25–30% of the mirror’s width — for a 36-inch mirror, about 9 to 11 inches. Keep it shorter than the mirror so the mirror stays the anchor: 12 inches tall for a small bath, up to 18-plus for a large one. And buy frosted or opal glass. Clear glass and open bulbs throw glare straight into a mirrored room — the one place you cannot hide a bright filament.
Over-Mirror Bars: When a Single Bar Is the Right Call
Sconces are not always possible. A narrow vanity with tile returns, or a mirror that runs the full cabinet width, can leave under 4 inches of wall beside the glass — less than a sconce mounting plate needs. That is when a bar above the mirror is the right answer, not a compromise.
Height: 75–80 inches, and why lower hurts
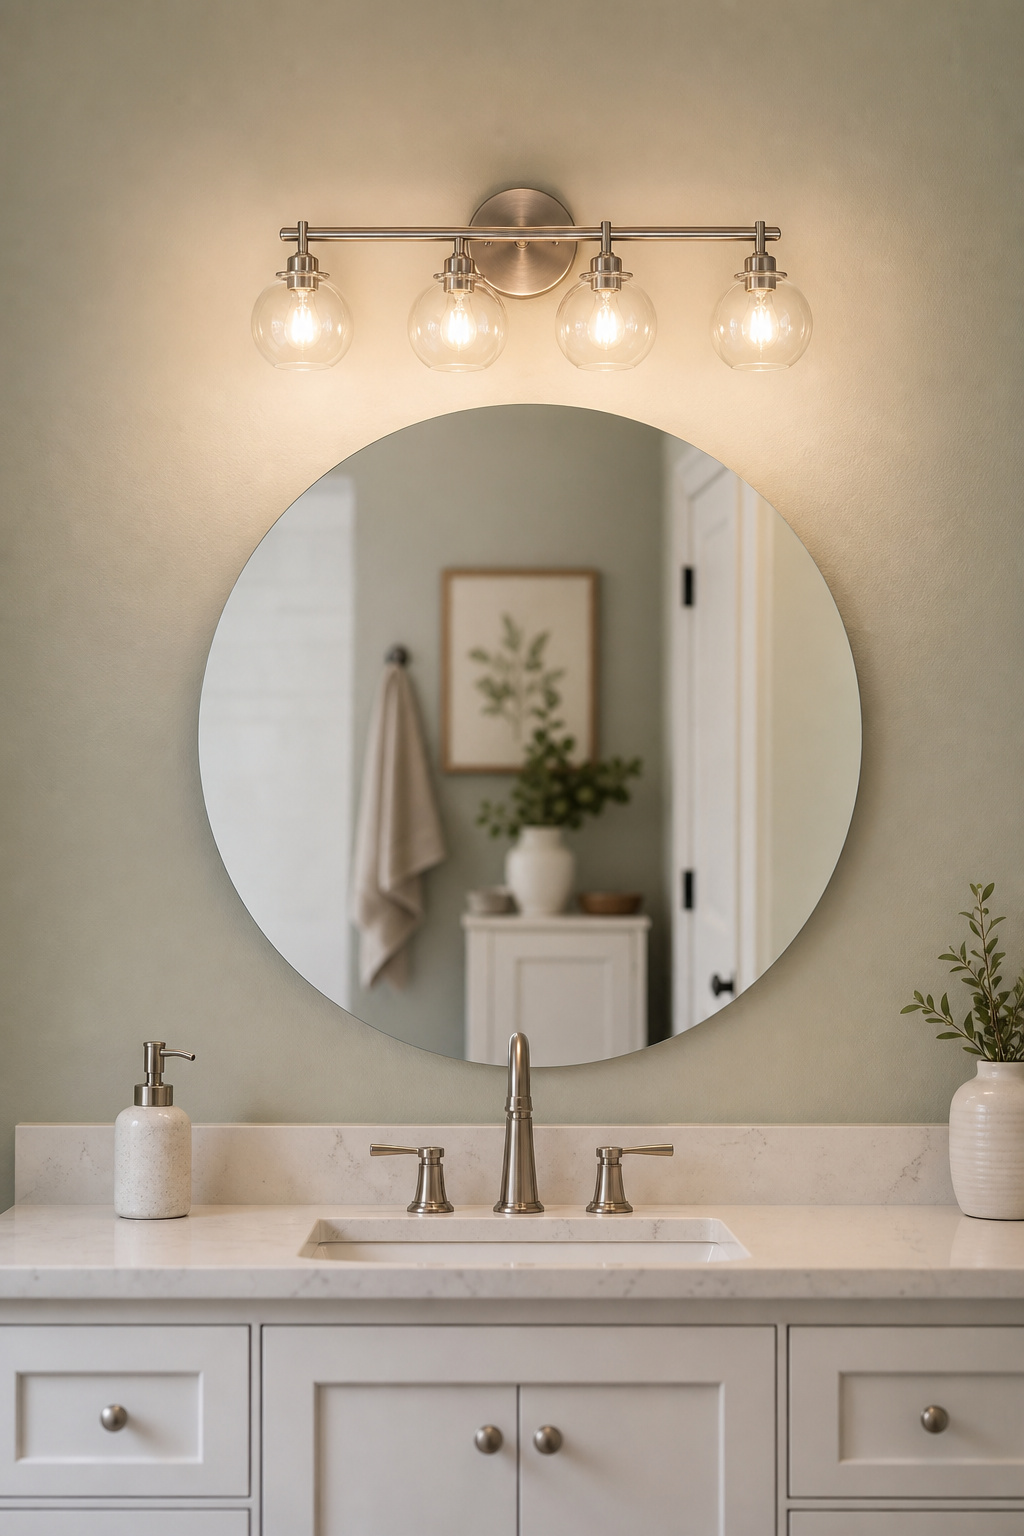
Mount the bar 75–80 inches from the floor to the center of the fixture. Where corroborated, sources add roughly 3 inches of clearance above the mirror frame — treat that as a guideline to aim for, not a hard rule, since it depends on mirror height. The height is about glare: drop a bar below 75 inches and the bulbs reflect off the mirror into your eye. At 75–80, the light projects down at an angle steep enough to miss the glass and land where you need it.
Width: the 75% rule
Size the bar to about 75% of the mirror’s width, and never wider than the mirror. A 42-inch mirror takes a 31–32 inch bar. Go full width and you drift into Hollywood-vanity territory — a real look, but it pulls focus to the fixture. Go much narrower than 75% and the mirror’s outer edges sit underlit. For a double vanity under one long mirror, don’t run one continuous bar: split it, target 75% per half, and center a bar over each sink so each face gets its own light.
Lumens: paying the shadow tax
A bar fights a steeper angle than side sconces, so it makes up the difference in output. The American Lighting Association puts a single-sink vanity around 1,600 lumens; 1,600–2,400 covers most single vanities, and double or extra-wide setups want 3,000-plus. Designers’ rule of thumb: spec 20–30% more lumens than two flanking sconces on the same mirror. Under-light it and you will wonder why a correctly-placed bar still feels dim. The color of those lumens matters as much as the count — that’s the right colour temperature at the mirror, its own decision.
Fitting Bathroom Vanity Lighting Into the Layered Scheme
Here is the part people skip: the vanity light is not the room’s light. It is one layer doing one job — the task layer, lighting the face — while the ceiling lights the room. Treat them as one and you lose the whole benefit.
Give the vanity its own switch
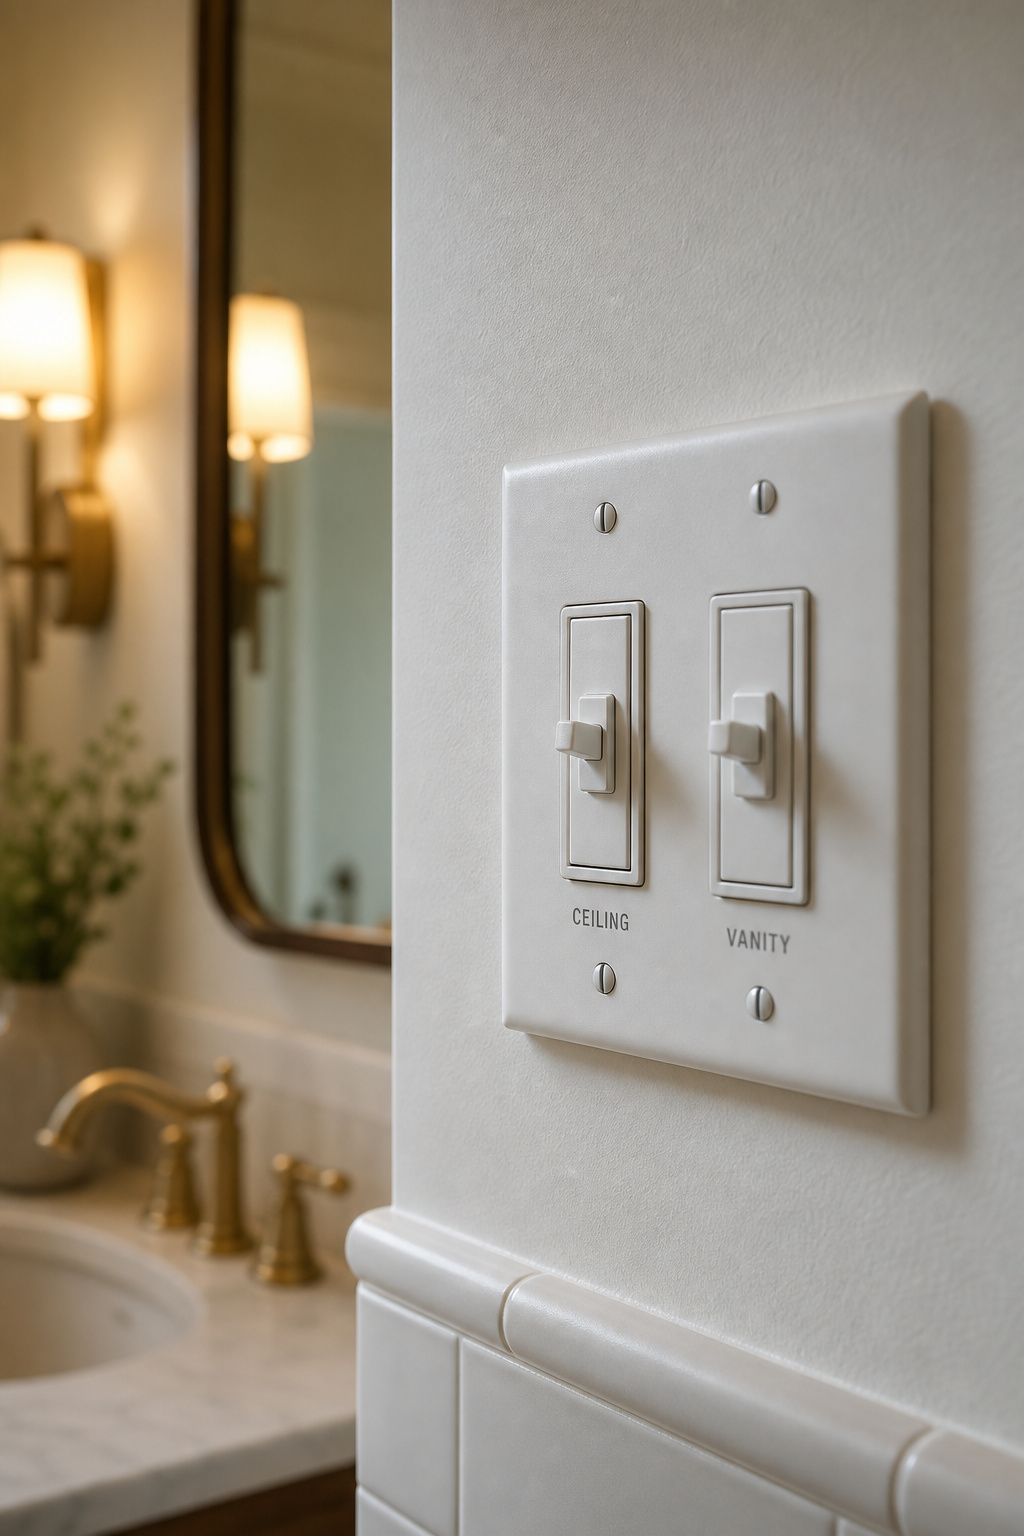
The vanity and the ceiling belong on separate switches. That lets you run just the ceiling for a quick trip in, just the vanity for grooming, or both together for a fully lit room. Wire them to one switch and you have signed up for maximum brightness at 3am every time — a complaint that shows up across homeowner forums for good reason.
Put it on a dimmer
Then add a dimmer to the vanity circuit. One catch — not every bar and sconce is dimmable, so check the spec sheet first. And an LED fixture needs an LED-rated dimmer; a standard incandescent dimmer will buzz or flicker.
How the layers trade off through the day
Morning: run both ceiling and vanity at full for the brightest, shadow-free grooming light. Evening: vanity dimmed to 40–50% with the ceiling off gives a warm, low-contrast room. That daily range is the whole point of the separate dimmer. The full layering logic is its own subject — this is how the vanity fits the layers.
The Install Reality: Boxes, Wiring and When to Call an Electrician
Time to rate it. Swapping a fixture onto an existing box is first-build territory — under an hour, no permit in most places. Adding wire where none exists is a licensed-electrician job, and that line isn’t about confidence; it’s about code and permits.
What a DIYer can actually do
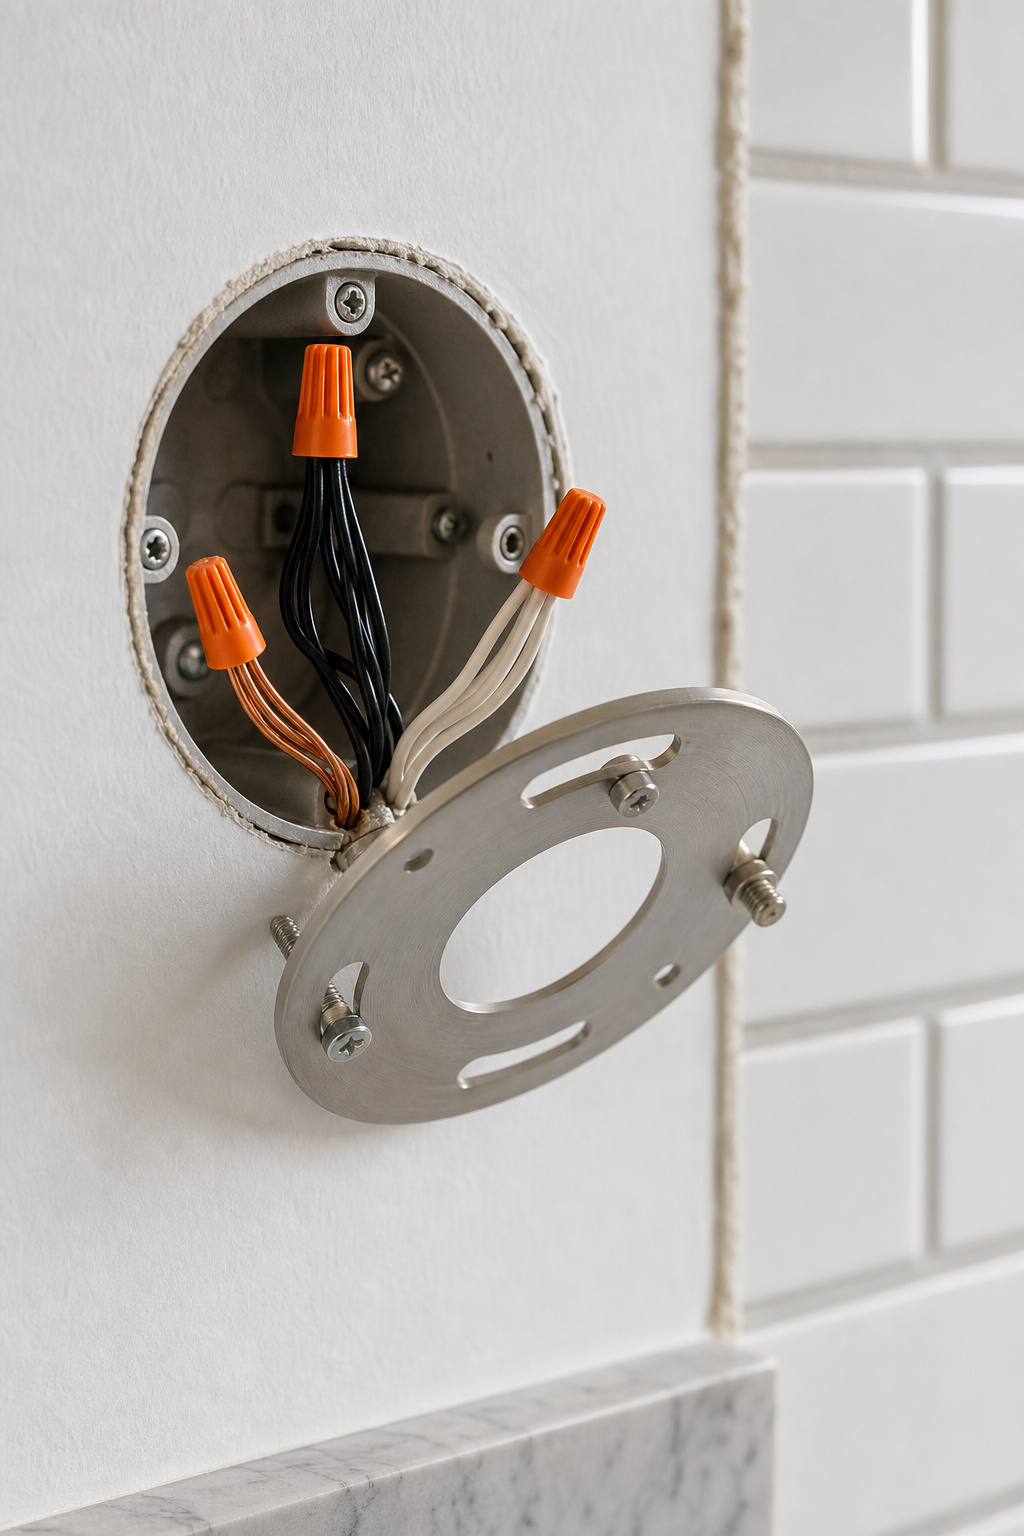
If the box is already there and approved, replacing the fixture is six steps:
- Switch off the circuit breaker.
- Confirm the power is dead with a non-contact voltage tester — do not skip this for the breaker label.
- Unscrew the old fixture and expose the wires.
- Twist off the old wire nuts.
- Connect the new fixture: white to white, black to black, ground to ground.
- Mount the new bracket and restore power.
You need a voltage tester ($15–$25, the one tool you cannot work around), a Phillips screwdriver, the wire nuts that usually ship with the fixture, and a helper to hold it while you connect. Most sconces and bars come with an adjustable bracket that fits both 3.5- and 4-inch boxes.
When new wiring is involved
Adding flanking sconces where only an over-mirror box was roughed in is a different animal: fishing wire through walls, setting new boxes, tying into the panel. That needs a permit and, in most US jurisdictions, a licensed electrician. Panel-level work and new circuits are where DIY stops — hand it off.
GFCI, briefly
The NEC requires GFCI protection for bathroom receptacles. Lighting circuits aren’t universally required to be GFCI-protected, but some local amendments and inspectors want it for vanity lighting near the sink — so check your local code first. Wet-zone ratings, IP numbers and the full code picture are their own subject; if your vanity sits close to the shower or you are adding a new circuit, confirm the requirements with your local authority or a licensed electrician.
The mistake paragraph
What goes wrong at rough-in is almost always the box. The classic error: set it 3–4 inches too high for the planned mirror, then tile — now the fixture floats on bare wall instead of reading as “above the mirror.” Recover with a longer-stem or pendant-style fixture that drops the light into the right zone without moving the box. For flanking sconces, the common one is two boxes at the same height but unequal distances from the mirror center; measure from the mirror center, not the wall corner, before rough-in, because that asymmetry is hard to fix once tile is on. And if a correctly-set box leaves a small gap from an oversized tile opening, a box extender ring ($3–$8) brings the surface flush.
Choosing a Vanity Fixture That Will Still Look Right in Ten Years
Placement is the hard part. Now the buying lens — and the finish, not the shape, decides how this fixture ages.
Finish: what survives a steamy room
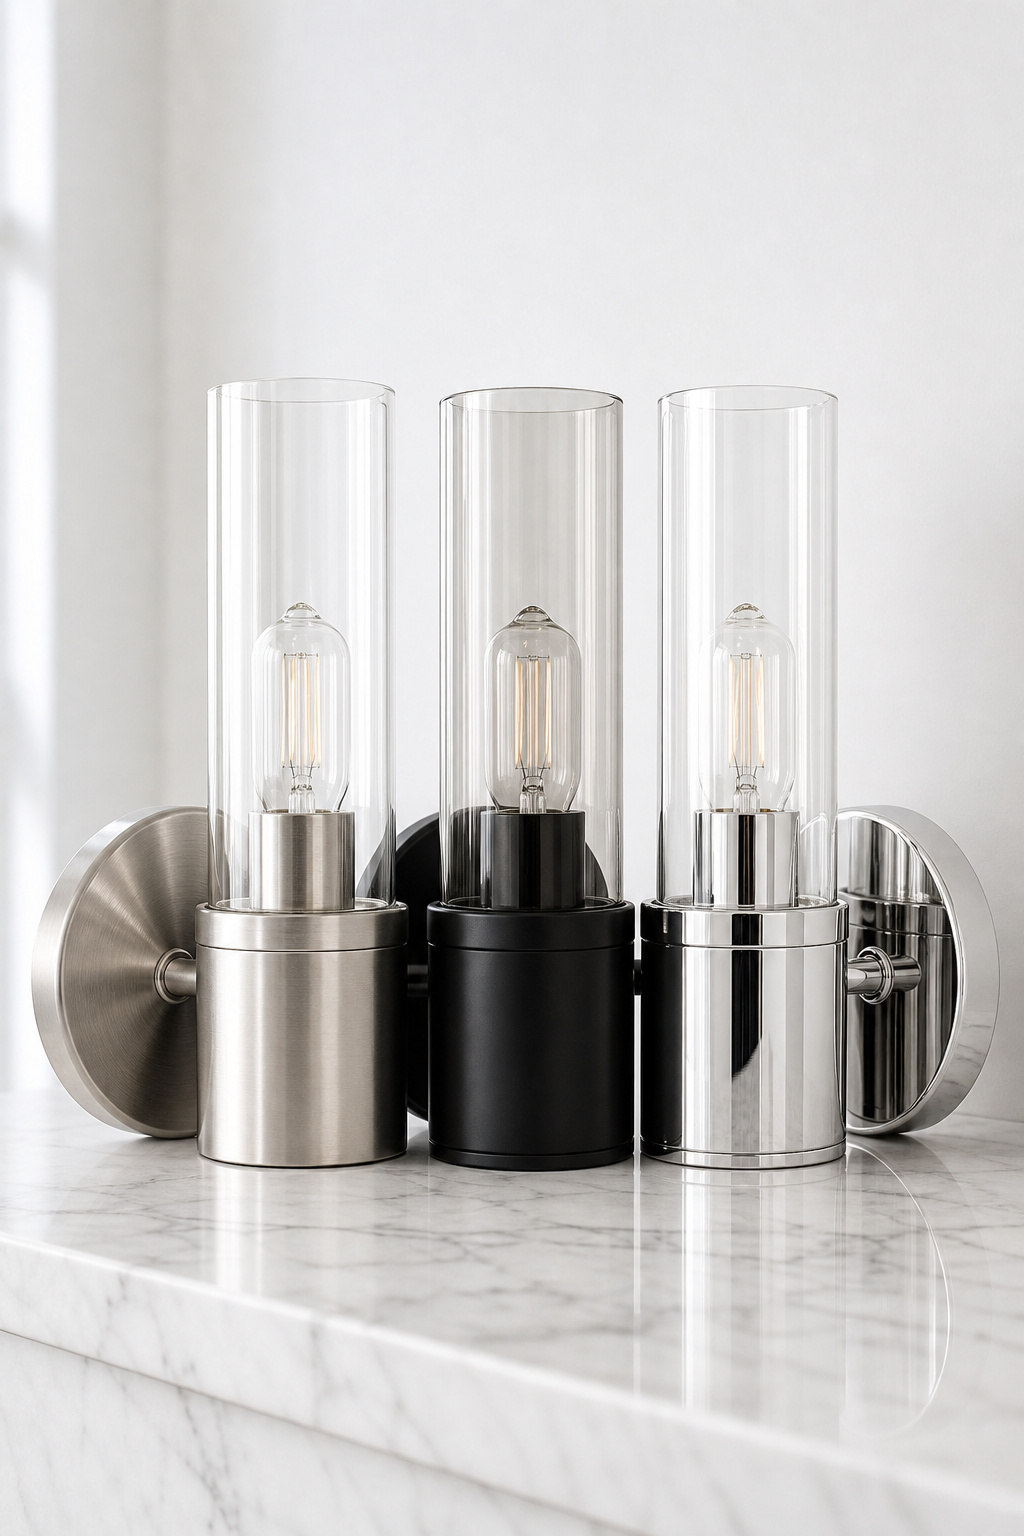
These lifespans are industry and manufacturer claims, not long-term lab testing, but the pattern is consistent. Polished chrome is the hardest, most scratch-resistant finish — 20-plus years, looking new at 15 — but it shows every water spot and wants frequent wiping. Brushed nickel is the easiest to live with: high scratch resistance, and the matte texture hides spots and fingerprints, 15–20-plus years with the least fuss. Matte black is the wild card. PVD-coated, it’s UV-stable and lasts like the others; powder-coated, it can go chalky grey in 5–10 years, faster in a humid primary bathroom. So read the spec — “PVD” or “electro-plated” separates durable matte black from the kind that fades.
Scale: heads and length for your mirror
Match the fixture to the mirror, not the wall: 2-light bars for a 24-inch mirror or under, 3-light for 30–42 inches, 4-light for 42–54. Whatever the head count, length still follows the 75% rule. A 36-inch single-sink vanity wants a 24–28 inch bar or two 9–11 inch sconces. And for a double vanity, two separate bars beat one long one every time — one light centered per face.
Budget: what $80 versus $300 buys
This one’s practitioner observation, not a formal study — the price gap shows up in forum comparisons more than test data. Going by what trade folks report: a budget bar around $80–$100 (a Quorum, say) gives you the look and basic function on thinner metal and lighter hardware. A premium bar at $250–$350-plus (Kichler, Hinkley, Rejuvenation) buys heavier-gauge metal, better mounts, and glass that holds its look longer in steam. The same-looking light can run $100 from one maker and over $300 from another. Budget fixtures can look great and work fine — the trade-off is finish life in daily humidity.
Before you buy, ask three things:
- Is the matte-black finish PVD-coated, or will it chalk out in five years?
- Does the shade diffuse the light, or leave the bulb staring at the mirror?
- Is the fixture damp-rated at minimum for bathroom use?
Here, the job was the mirror: get the light to face level, get the box in the right place before the tile, and the fixture you hang on it is the easy part.
FAQ
How high should bathroom vanity lights be above the sink?
For a bar above the mirror, mount it 75–80 inches from the finished floor to the center of the fixture, roughly 3 inches above the mirror’s top edge as a guideline. For flanking sconces beside the mirror, mount at 65–70 inches (eye level), about 24–30 inches above the countertop. The numbers differ because the bar must clear the mirror while sconces sit at face level.
Should vanity lights be centered over the mirror or on the sides?
Flanking sconces on both sides at eye level are the professional preference — they light the face from both sides and eliminate the downward shadows a single overhead bar can’t avoid. A centered bar is the practical choice when wall space beside the mirror is under 4 inches, when the mirror spans the full vanity, or when the budget covers only one fixture.
Can I install bathroom vanity lights myself without an electrician?
Yes, if the junction box already exists and is approved — swapping a fixture is a six-step job: cut power, verify with a voltage tester, disconnect the old fixture, connect the new one, mount and restore power. No, if a new circuit or cable run is required: that needs a permit and a licensed electrician in most US jurisdictions. The one tool you can’t skip is a non-contact voltage tester.