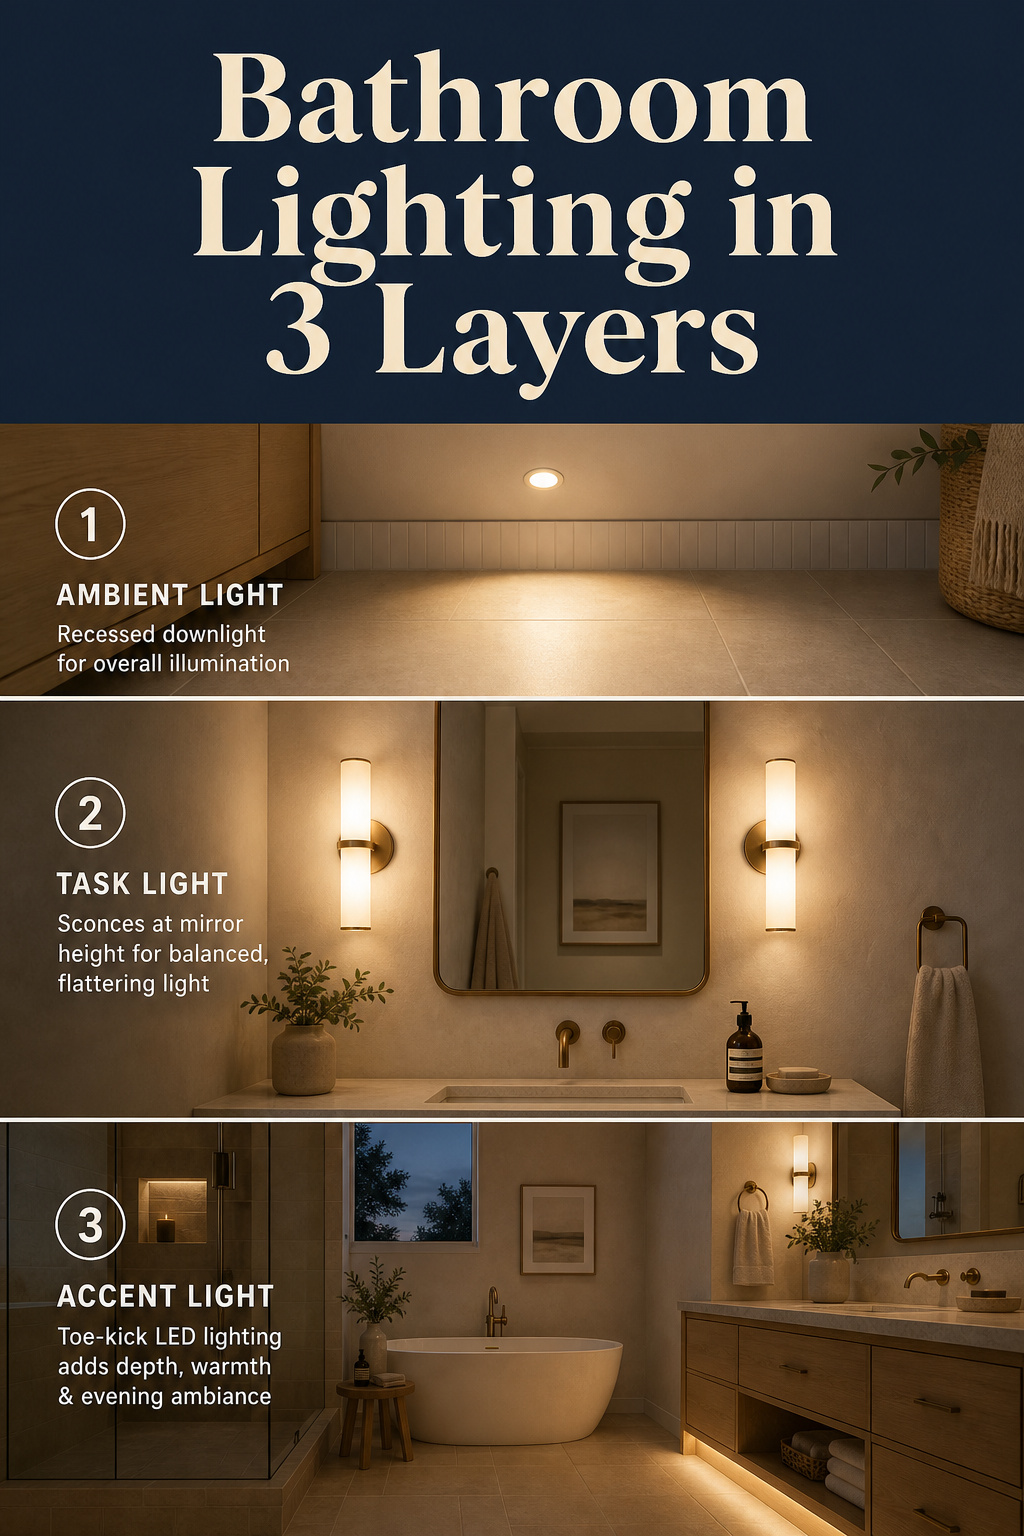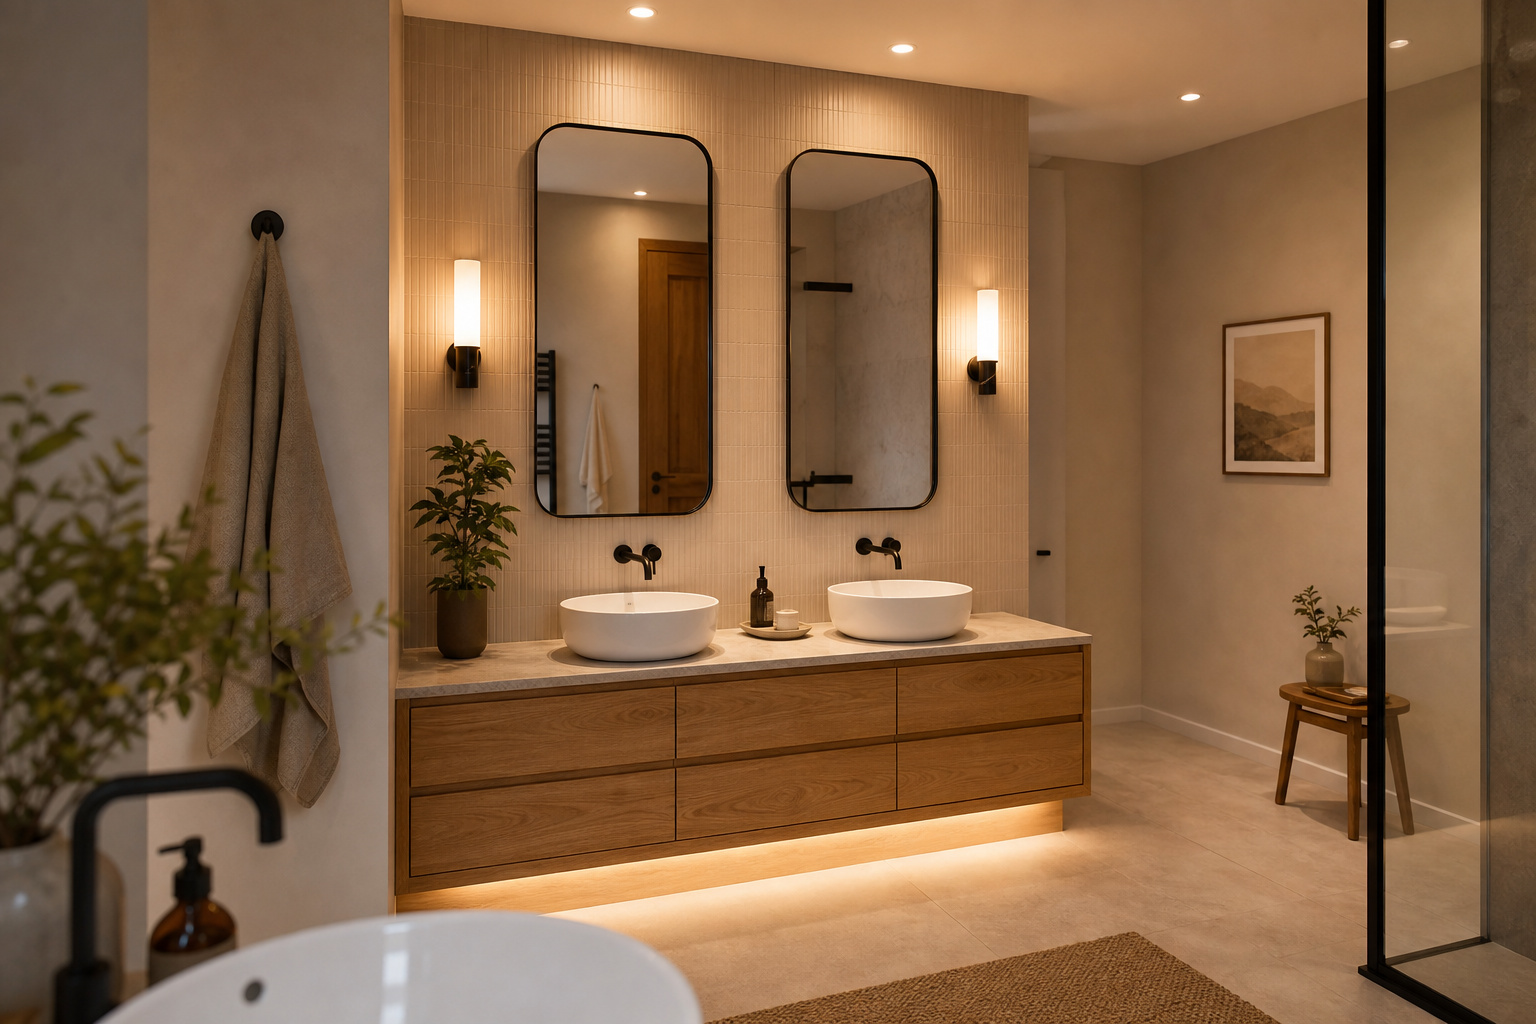

Most bathrooms are lit by a single switch on one overhead fixture. No professional lighting designer would light any other room in the house that way. Yet the bathroom — the room you stand in at 6am with a razor and at 10pm with a candle — usually gets the crudest scheme in the home. Layered bathroom lighting fixes this by doing what designers do everywhere else: splitting the light into three jobs, ambient, task and accent, each on its own control.
TL;DR
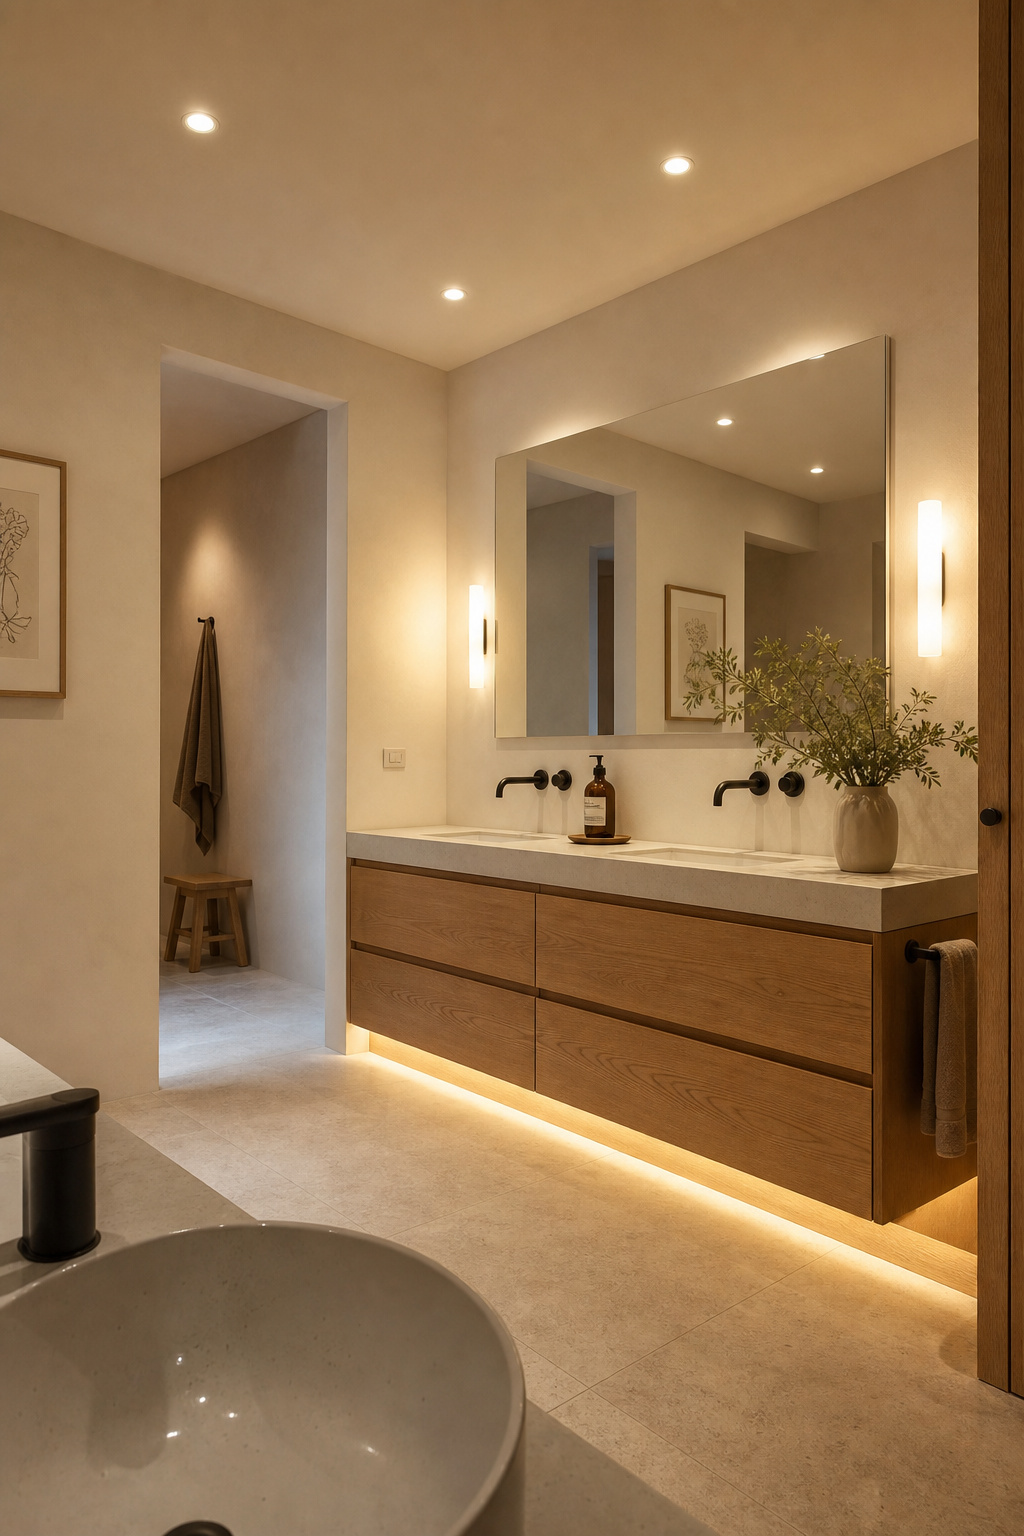
- Layered bathroom lighting uses three independent layers — ambient (recessed or ceiling), task (face-level at the mirror), and accent (depth from LED strips or niche lights) — each on its own switch.
- Recessed downlights space at roughly ceiling-height-divided-by-two: a 4-foot grid on an 8-foot ceiling, first row 2 feet off the wall, never directly over the mirror.
- Put each layer on its own dimmer. That single upgrade gives one room three settings — bright at the mirror in the morning, low and warm in the evening.
I spent six years in a 38-square-metre apartment in Malmö where one room did several jobs in a day. That discipline applies to a bathroom: a small space asks each element to earn its place and to change character through the day — exactly what a layered scheme delivers.
The Single-Switch Problem Most Bathrooms Have Never Solved
Ask what you want this room to be at different hours, and the single switch fails the question immediately. The same light that lets you apply foundation at 7am will ruin a bath at 10pm.
Why professional lighting designers never use one source for an entire room
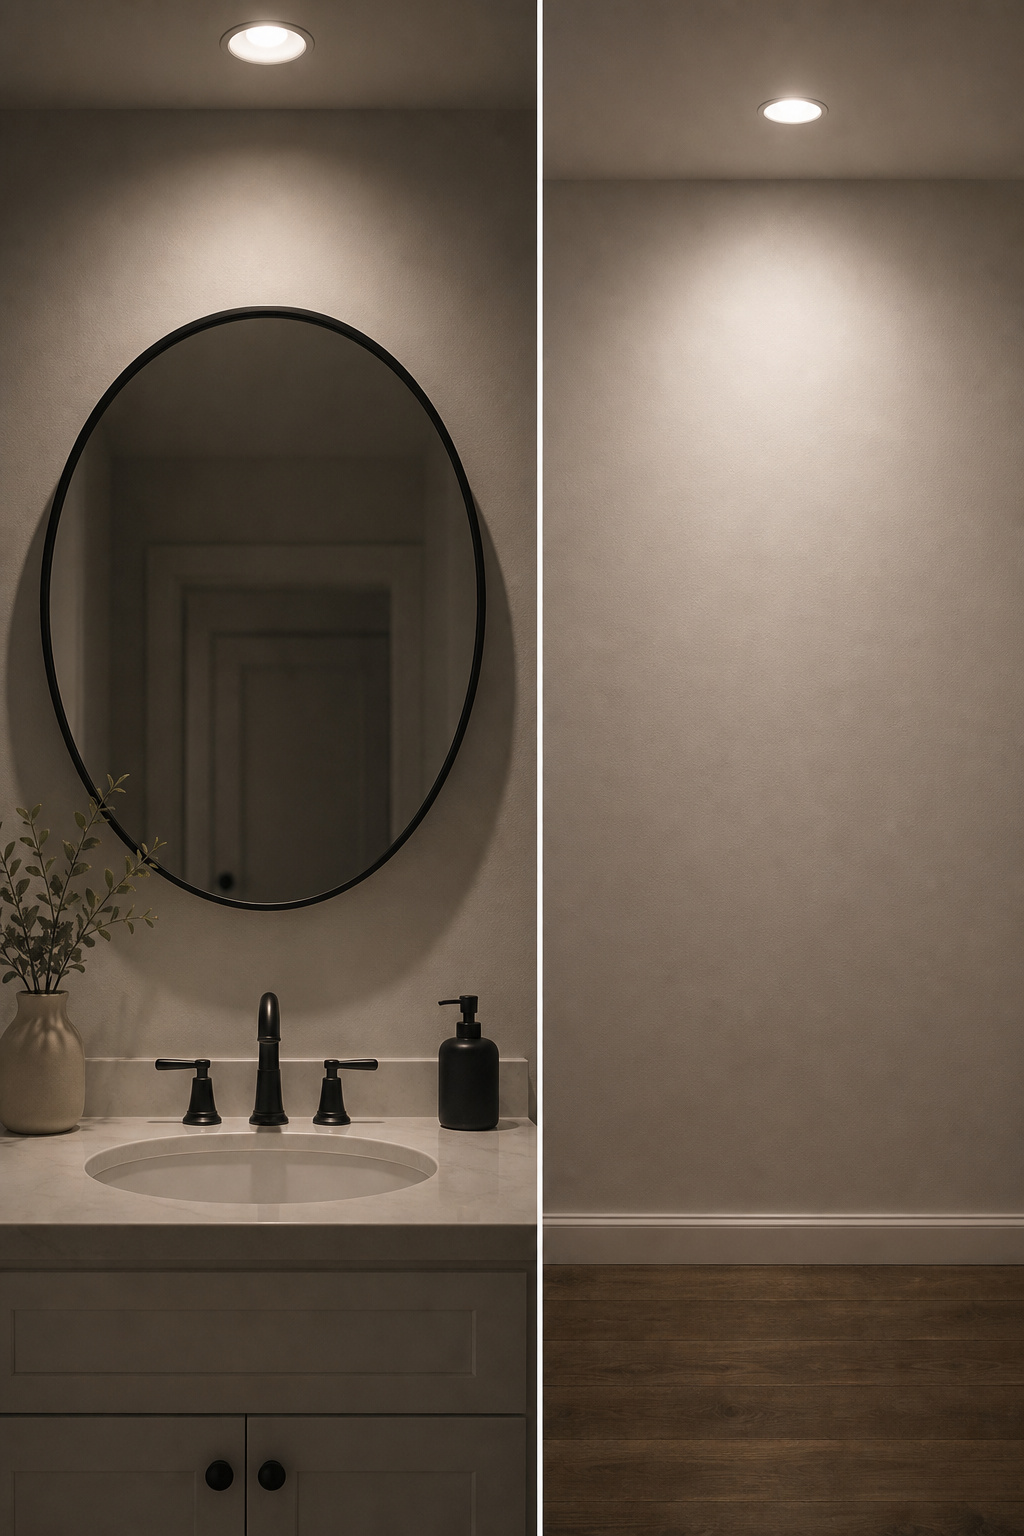
The most common bathroom lighting mistake designers name is relying on a single overhead fixture. It produces flat light with harsh shadows that interfere with grooming. A downlight directly above the mirror throws shadows under the nose, chin and eyes — the opposite of what shaving or makeup needs — while side-mounted light at the face removes them entirely. Professional design splits any room into ambient, task and accent layers, each on its own control. The bathroom is no exception; it simply asks for a more compact version.
What the three layers are — and what happens when one is missing
Ambient is the base — general room brightness from ceiling fixtures or recessed downlights, targeting roughly 20 foot-candles per IES guidance. Task lights the face at the mirror, usually with sconces or a lighted mirror. Accent highlights a feature — a niche, a tub, tilework — and gives the room depth. Remove task and grooming depends on shadow-casting overhead light. Remove accent and the room reads flat even when adequately lit. All three together is what makes a bathroom feel designed rather than merely functional.
The simplest test: how your bathroom reads at 6am, at noon, and at 10pm
In the morning you want bright, clear light — it wakes the body and gives the acuity for shaving and makeup. By evening you want the opposite: softer, warmer light dimmed low for a calm wind-down before sleep. Cooler light in the morning helps alertness; warm light at night supports the body’s preparation for sleep. A single on/off switch cannot serve both ends of that day. If your bathroom looks identical at 6am and 10pm, that is the problem this whole complete bathroom lighting guide exists to solve.
The Ambient Layer: Lighting the Room Without Lighting the Mirror
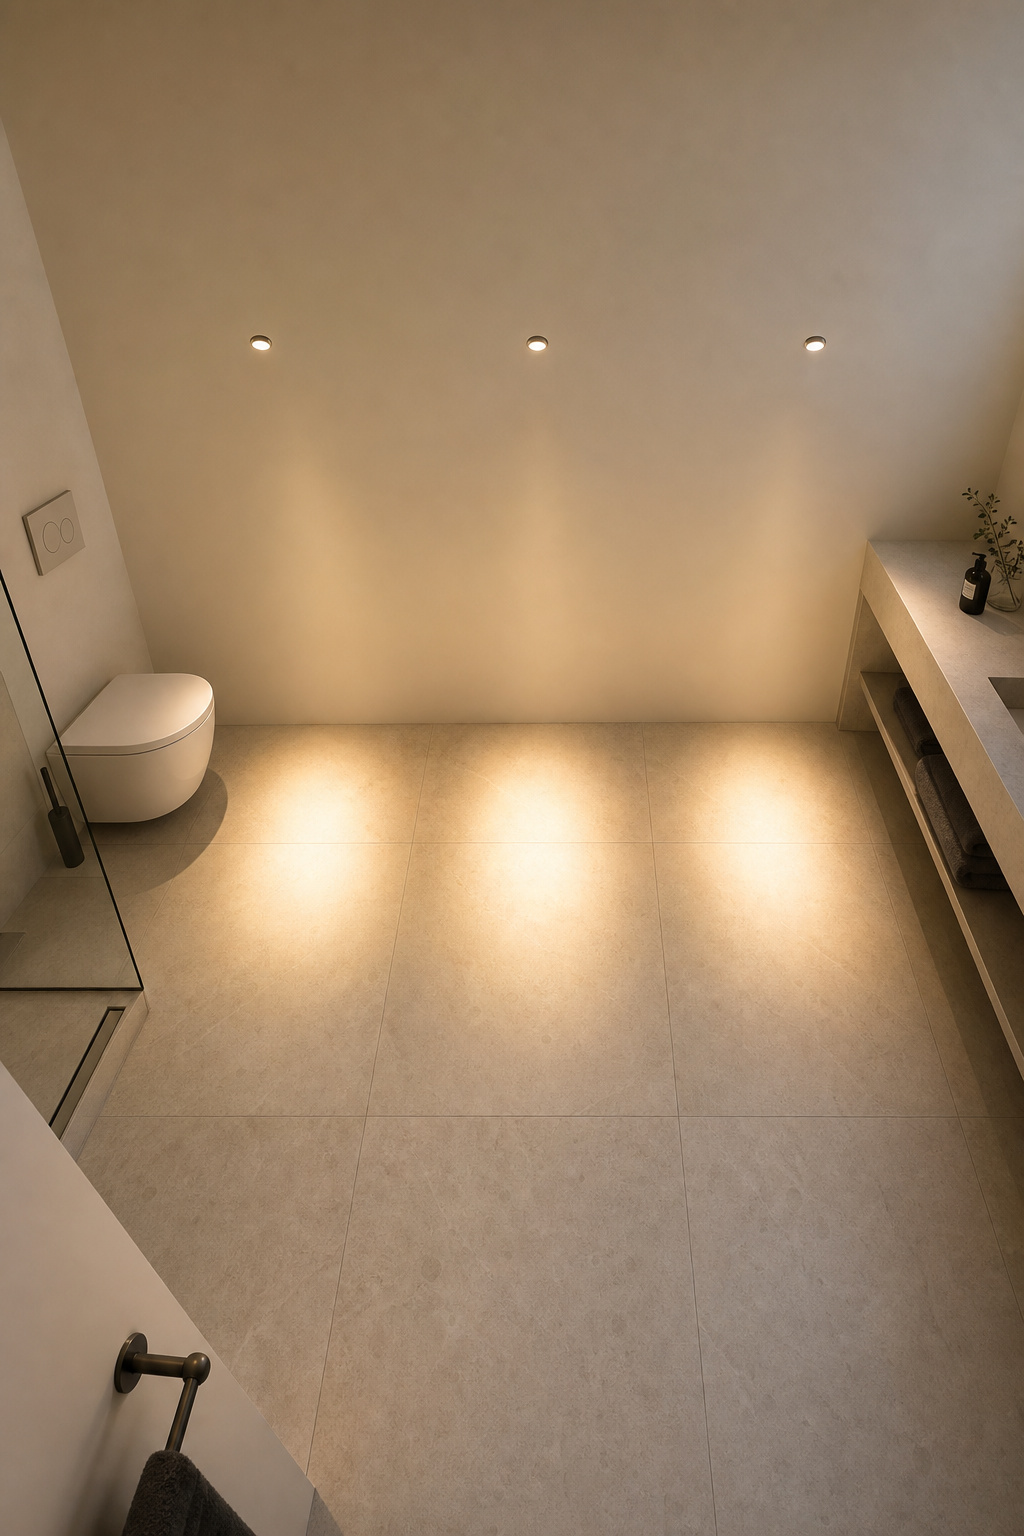
The ambient layer’s only job is room-level light — enough to navigate and clean the space safely — without pointing a beam at the mirror, where it makes shadows.
Recessed downlights: placement, spacing and what CRI to specify
The spacing rule is simple: divide the ceiling height by two. An 8-foot ceiling calls for downlights 4 feet apart on-centre, with the first row set 2 feet from the wall so you avoid a hot pool in the middle and a dim perimeter. Specify CRI 90 or above; residential and spa spaces benefit from CRI 95+, because accurate colour rendering matters for grooming. For warmth, 2700K reads relaxing; 3000–3500K is a neutral white. When you order trims, confirm:
- CRI 90+ (95+ if budget allows)
- Colour temperature 2700–3000K for a residential feel
- Damp-rated housings for the general ceiling
- Trim offset forward of, never over, the mirror
Flush-mount ceiling fixtures as the single-source ambient for smaller baths
Not every bathroom can take a recessed grid. Flush-mount ceiling lights suit ceilings of 8 feet or lower — they sit tight to the plane and spread even light without dropping into the headspace. A semi-flush works in medium-height rooms of 8 to 9 feet and adds a little character. In a small bath under 40 square feet, a single central flush-mount plus a pair of sconces at the mirror covers both ambient and task without any cans at all — clean ceiling, simpler wiring.
Why ambient light must be warm and diffuse, not pointed at the face
Ambient light shining down on the face is the defining feature of a poorly lit bathroom — which is why task light at eye level is non-negotiable. Choose warm LEDs at 2700–3000K; higher Kelvin sources cast a blue-green note that makes skin look sallow under downlights. Frosted or translucent lenses soften shadows further. The goal is to light the room, not to aim a beam at any one surface.
The Task Layer: Face-Level Light Where Grooming Happens
The task layer lights the face at mirror level — not the mirror, not the ceiling above it. This is the heart of the whole scheme, and the layer most worth getting right.
Why task light belongs at the mirror, not above it
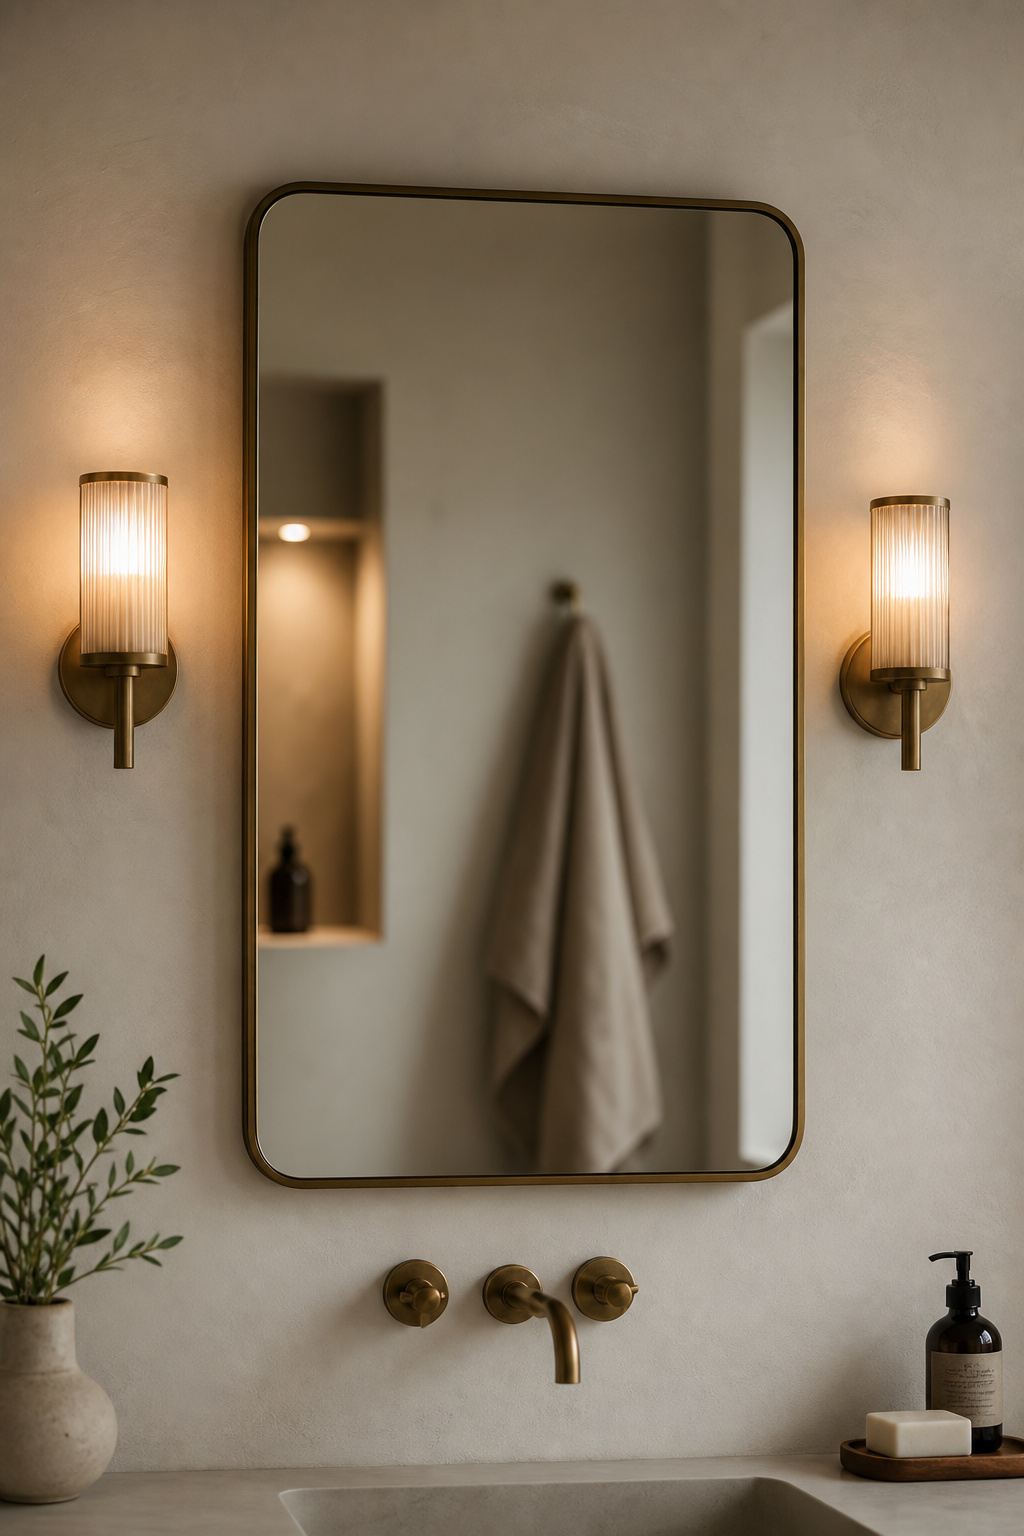
An overhead light above the mirror throws shadows under the brow, nose and chin — the very features you are examining. Light from the sides at eye level removes those shadows by lighting the face horizontally rather than from above. Vertical placement either side of the mirror gives the most comfortable, useful result. The placement specifics — exact heights, sconce spacing and the install detail — belong to our guide on lighting the vanity, where they get the depth they deserve.
The vanity as the task layer’s natural home
The vanity is where task light lives, and the main reason this layer needs its own switch, independent of ambient. Sconces flanking the mirror at roughly 65–70 inches from the floor, spaced 36–40 inches apart, give even cross-illumination with no shadow zone. The principle to carry away here: the task layer operates on its own and ideally on its own dimmer, so you can run the mirror bright in the morning without lighting the whole room.
Getting the colour temperature right for the face — the CRI issue
CRI of 90 or above is the number that matters at the mirror. A lamp can have the right Kelvin and still render colour poorly, which means makeup applied under CRI 80 light looks different in daylight. A CRI of 90+ approximates a natural white, so the face you see is the one you present to the world. There is a real tension between warm ambient light and accurate task light — the full treatment of Kelvin and CRI sits in our colour temperature guide.
The Accent Layer: Depth, Warmth and the Spaces Overhead Can’t Reach
Accent is the optional third layer that separates a thoughtful bathroom from an adequate one. Its job is depth — the contrast between lit and unlit surfaces that flat ambient light can never produce.
What accent lighting does that ambient cannot: shadows that give depth
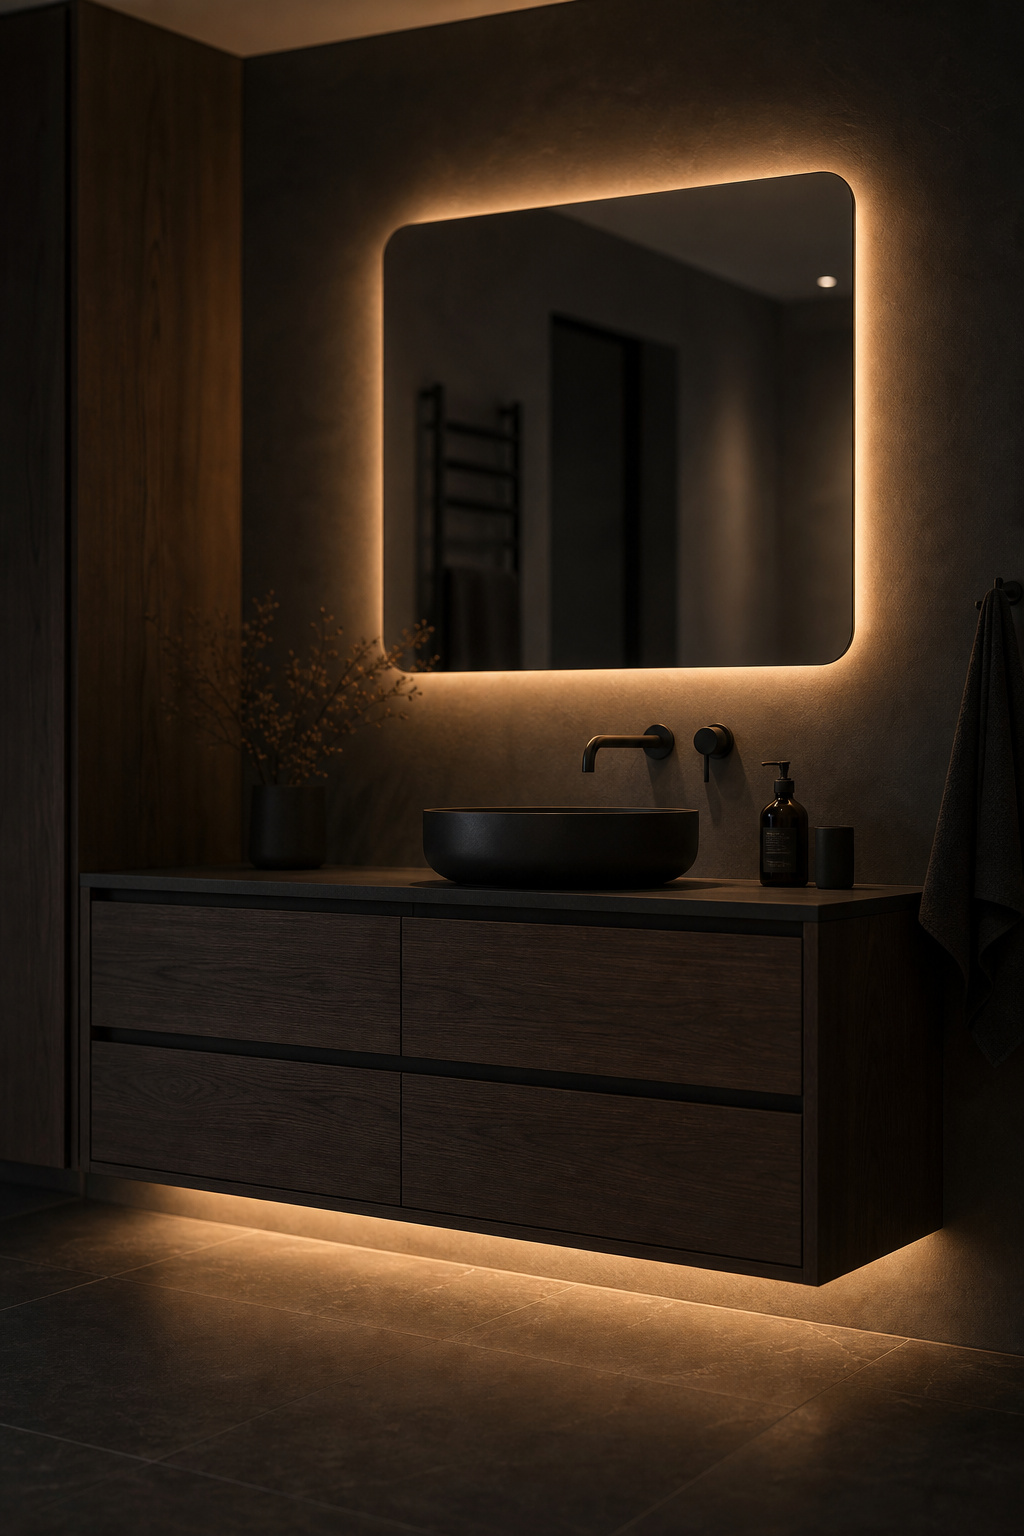
Accent picks out a feature — a niche, a tub, a run of tile — and lights it brighter than its surroundings. A common trade rule of thumb is to light the feature at roughly three times the ambient level; the contrast is what makes it read. LEDs low on the perimeter add another kind of depth: the low angle models the floor and lower walls, and the room feels larger and more considered for it.
Toe-kick lighting, backlit mirrors and niche lighting as accent sources
The cheapest, highest-return accents are the obvious ones. A strip under the vanity toe-kick gives a soft nightlight glow with no upward glare — useful as well as pretty for a late-night visit. An LED strip behind the mirror produces a halo that opens the space and adds indirect light. A small waterproof strip along the top edge of a shower niche turns a functional recess into a focal point. Each is modest work for a disproportionate effect.
How much accent is enough — the Nordic instinct for restraint
Here Scandinavian habit is useful: one accent that earns its place is worth more than five competing ones. The aim is to see the light’s effect, not the source — so strips go inside or behind elements, never on show. For most bathrooms, one accent at the vanity (toe-kick or backlit mirror) plus one feature accent (a niche or the tub) is a complete scheme. Add more and you create the visual clutter the layer was meant to prevent. Use IP44 strips in the general room and IP65 or IP67 inside wet zones.
Planning the Recessed Layout: Where Lights Go and Why
This is where the concept becomes a plan on the ceiling. Now that the three layers are clear, the layout follows from them.
The grid principle: spacing downlights at 4-foot centres for even wash
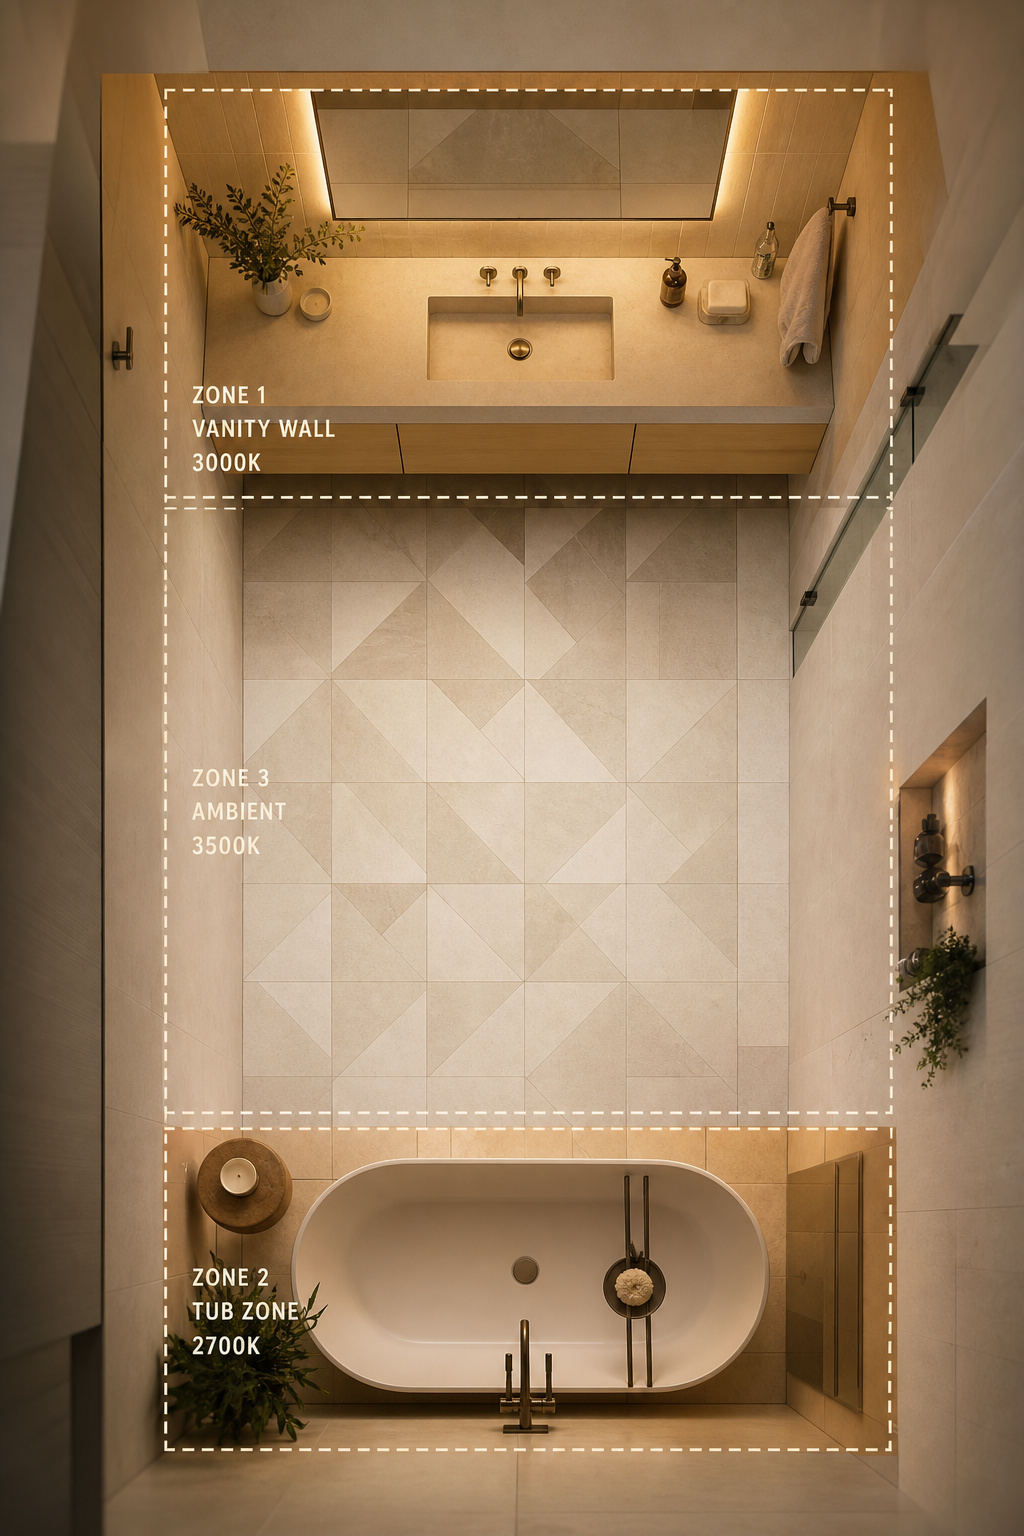
The formula again: ceiling height divided by two. An 8-foot ceiling gives a 4-foot grid for an even ambient wash. For a concentrated task spot — over a shower, say — you can tighten to 2–3 feet. Small bathrooms rarely need more than two to four downlights; a 6×8-foot room is well served by two ceiling fixtures plus sconces at the mirror. On safety, the picture is high-level and varies by jurisdiction: GFCI protection and damp- or wet-rated fixtures apply near water, wet-rated inside the shower. Confirm the specifics with a local electrician rather than treating any one rule as universal.
A simple way to plan it is by zone rather than by fixture count:
| Zone | Fixture type | Circuit | Dimmer |
|---|---|---|---|
| Central ceiling | Recessed downlights / flush-mount | Ambient | Yes |
| Vanity / mirror | Sconces or lighted mirror | Task | Yes |
| Shower / tub | Wet-rated recessed | Ambient or own | Optional |
| Toe-kick / niche | LED strip | Accent | Yes |
Where not to put a downlight: directly over the mirror, above the tub
Never set a downlight on the direct vertical axis of the mirror — it casts top-down shadows on the face and undoes every other effort. Keep fixtures roughly 3 feet off walls to avoid scalloping, and let the task layer own the mirror zone entirely. Above the tub, a recessed light can make the bath a focal point, but the fixture must be wet-rated and offset from the bather’s line of sight to avoid glare.
How many circuits: the case for separating ambient from task from accent
Separating the layers onto their own circuits — or at minimum their own switch legs — is the single most valuable electrical decision in the room. As one placement guide puts it, you don’t use the sink, tub and shower all at once, so you don’t need them all on one switch. Even where ambient and task share a breaker, separate switch boxes give independent control. Plan it at rough-in: specifying three controls before the plasterboard goes up costs almost nothing, while retrofitting a circuit into a finished wall is real cost and disruption. This compact layering also rescues a tight footprint, which is why layering a small bathroom starts here.
Each Layer on Its Own Dimmer: The Single Most Useful Upgrade
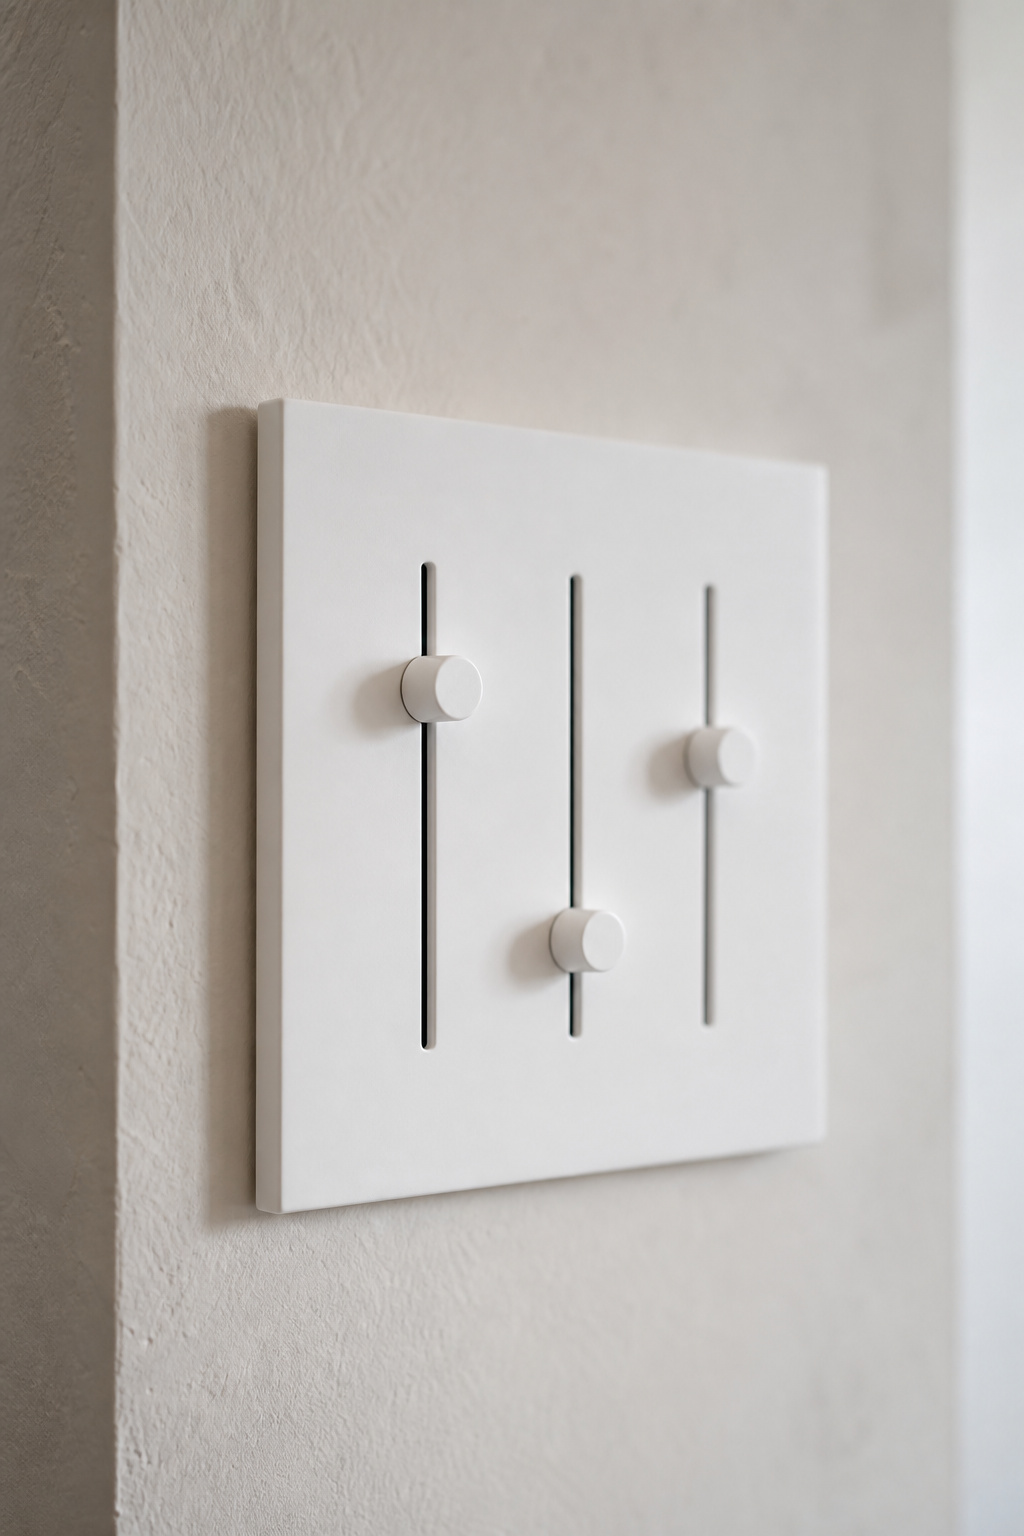
Three circuits still only offer on or off without dimmers. Dimmers are what turn the layers into a system — one room with several settings.
Why dimmers must be specified per circuit, not retrofitted
Build dimming in from the planning stage rather than adding it later; it is the upgrade designers recommend most for flexible use. The case for a dimmer per circuit, not one for everything, is that each layer does a different job at a different brightness. One dimmer trying to control all three defeats the separate circuits you ran. Keep one dimmer to the fixtures on its own circuit and the controls stay clean.
The morning mode, the task mode, the evening mode — one room, three settings
Think of three everyday settings — treat the percentages as starting points, not fixed specs, and adjust to your own room and lamps:
- Morning: ambient near full, task full, accent as preferred — maximum output for grooming.
- Task (quick daytime routine): task on alone at full, ambient dimmed to roughly 30–50%, accent off.
- Evening: ambient low at around 20–30%, task off, accent on — warm and quiet for a bath and wind-down.
Smart LED systems can automate these scenes, but manual dimmers per circuit reach the same result for less.
Dimmer compatibility with LED: what to check before buying
Most modern LED trouble at the dimmer comes from the wrong dimmer type. Trailing-edge dimmers are designed for LED and suit their low wattage; leading-edge dimmers were built for incandescent and halogen and often cause flicker. Before buying, check three things: that the lamp is rated dimmable (not all are), that the dimmer’s load range matches the total wattage on the circuit, and the lamp maker’s compatible-dimmer list. Buzzing, flicker at low settings, or a floor it won’t dim below all point to a mismatch. Any bathroom dimmer fitted for incandescent more than a decade ago is almost certainly leading-edge and should be swapped when new LED fixtures go in.
The three-layer system is not a designer indulgence. It is simply how light is handled correctly — splitting one room’s lighting into the jobs it performs, putting each on its own control, and dimming each to suit the hour. Get the layers and dimmers right and the bathroom stops being a harsh box of light and becomes a room that works at 6am and settles you at 10pm. Avoid the three mistakes that undo it: one fixture for everything, a downlight over the mirror, and every layer on one switch.
FAQ
What is layered bathroom lighting and do I really need all three types?
Layered bathroom lighting combines three independent types — ambient (general room light from the ceiling), task (face-level light at the mirror), and accent (depth from strips, niche or toe-kick glow) — each on its own switch. You can manage without accent, but skipping task leaves the grooming-shadow problem. All three let one room serve a sharp morning and a relaxing evening.
How far apart should recessed lights be in a bathroom?
Use the standard formula: ceiling height divided by two. On a typical 8-foot ceiling, space recessed downlights 4 feet apart on-centre and set the first row 2 feet from the wall. Most bathrooms need only two to four fixtures for ambient; a 6×8-foot room needs as few as two, supplemented by vanity sconces. The residential IES target is about 20 foot-candles.
Can I add a second lighting circuit to an existing bathroom without rewiring?
A new circuit means running cable from the panel, which an electrician should handle; full wall rewiring is usually not needed, though accessing the ceiling often means some plasterboard work. For renters, a plug-in or battery accent source avoids wiring entirely. At minimum, run ambient and task to separate switches on the same breaker — that alone restores the independent control layering needs.