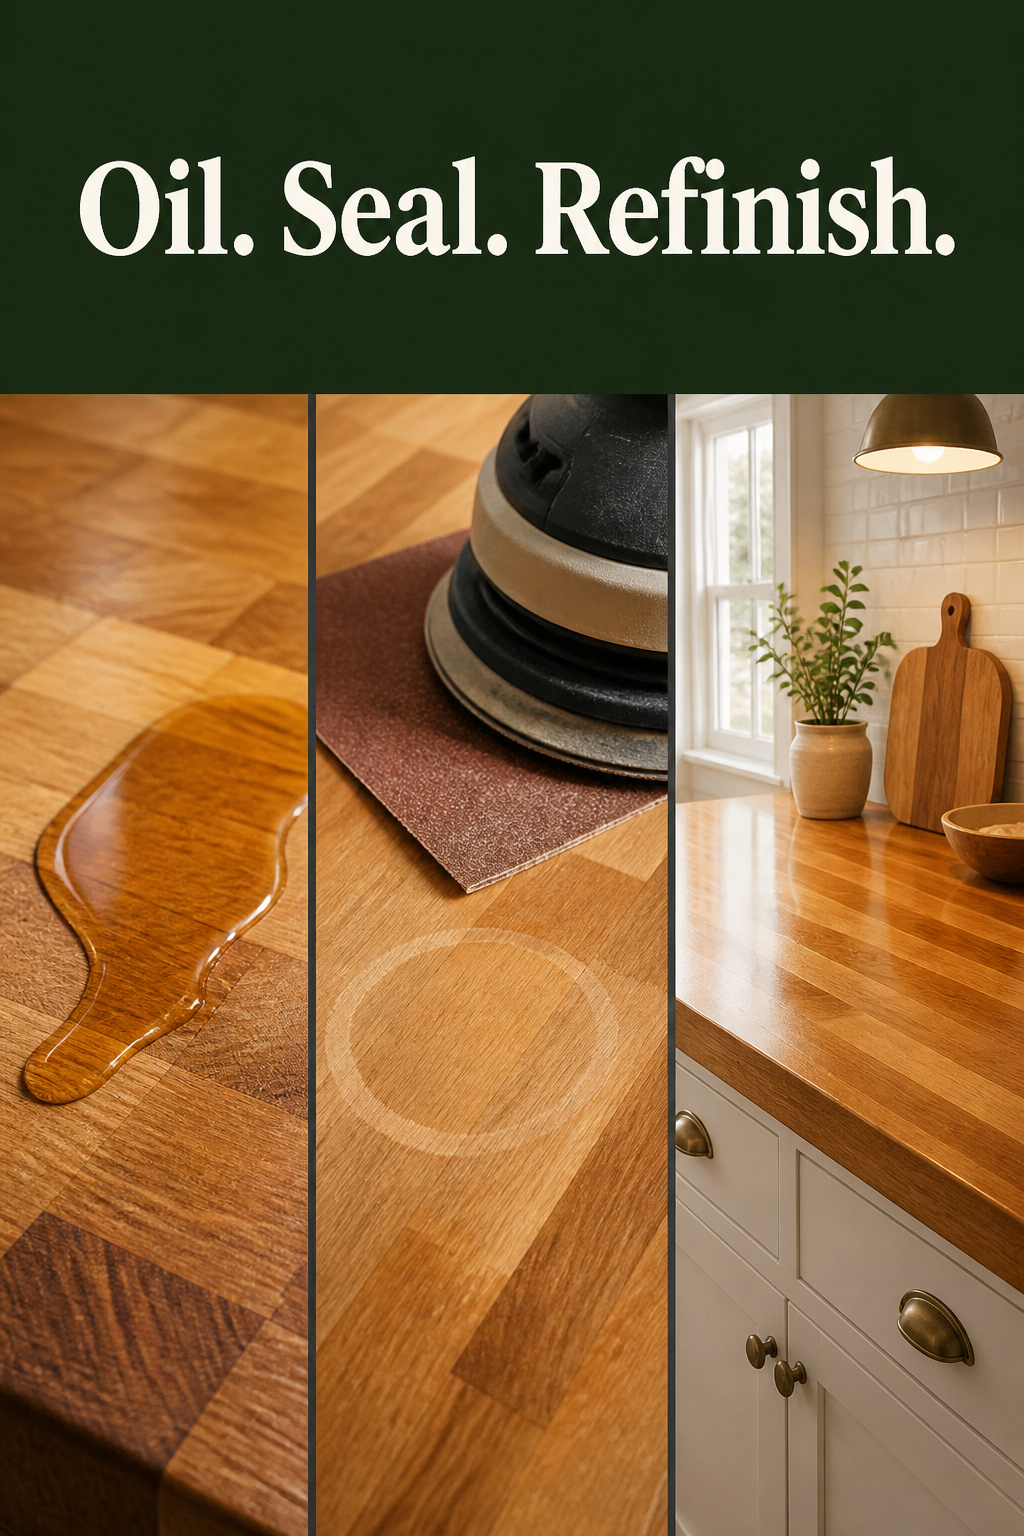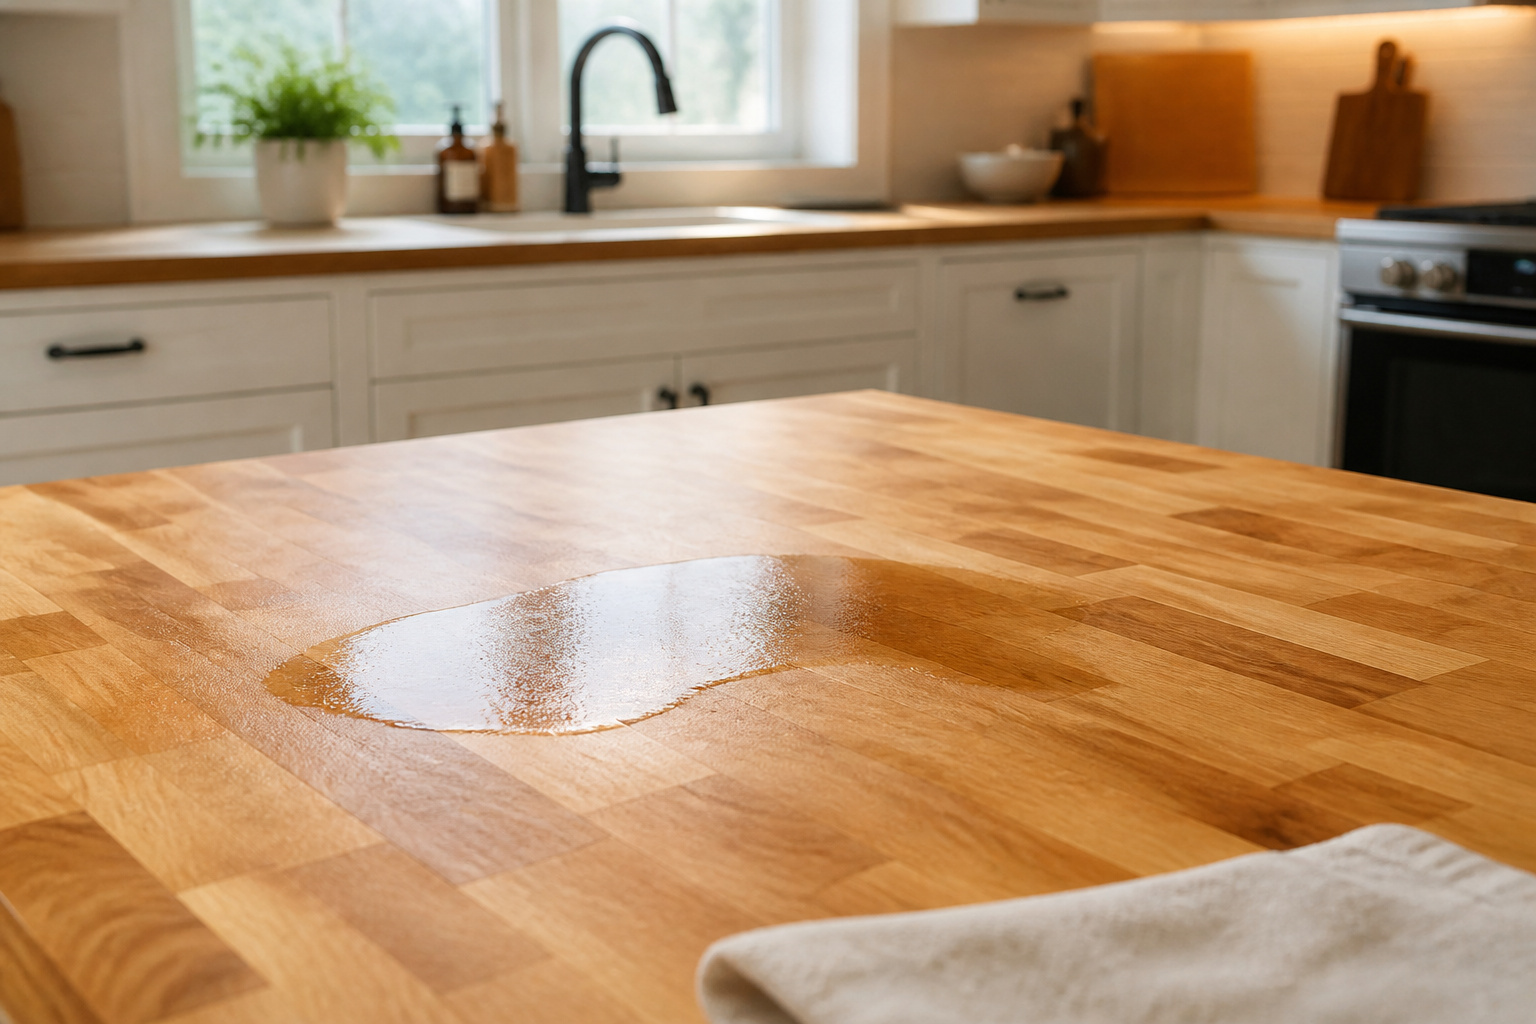
The first butcher block top I broke in, I treated like a one-afternoon job — wipe on some oil, done by lunch. The wood drank the first coat in under five minutes and looked exactly as dry as before I started. That is when I learned the truth about butcher block countertop maintenance: not hard, but patient. Get the first week right and the rest is a fifteen-minute job a few times a year.
TL;DR
- New butcher block needs 4-7 coats of food-grade mineral oil applied daily for the first week, until it stops soaking oil in within 15-20 minutes — end grain needs the upper end.
- After break-in, oil monthly in an active kitchen, more in dry winters. Skip the calendar and use the water-bead test: if water soaks in within 30 seconds, oil now.
- Most stains, rings and burns sand out with 220-grit along the grain; black iron-tannin stains need oxalic acid, not bleach.
The First Week: Your Break-In Oiling Schedule
Cost: a $5-15 bottle of mineral oil and a lint-free rag. Time: ten minutes a day for a week, almost all of it waiting. Skip this step and the top stains on day three.
Why new butcher block needs 4-7 coats before anything else
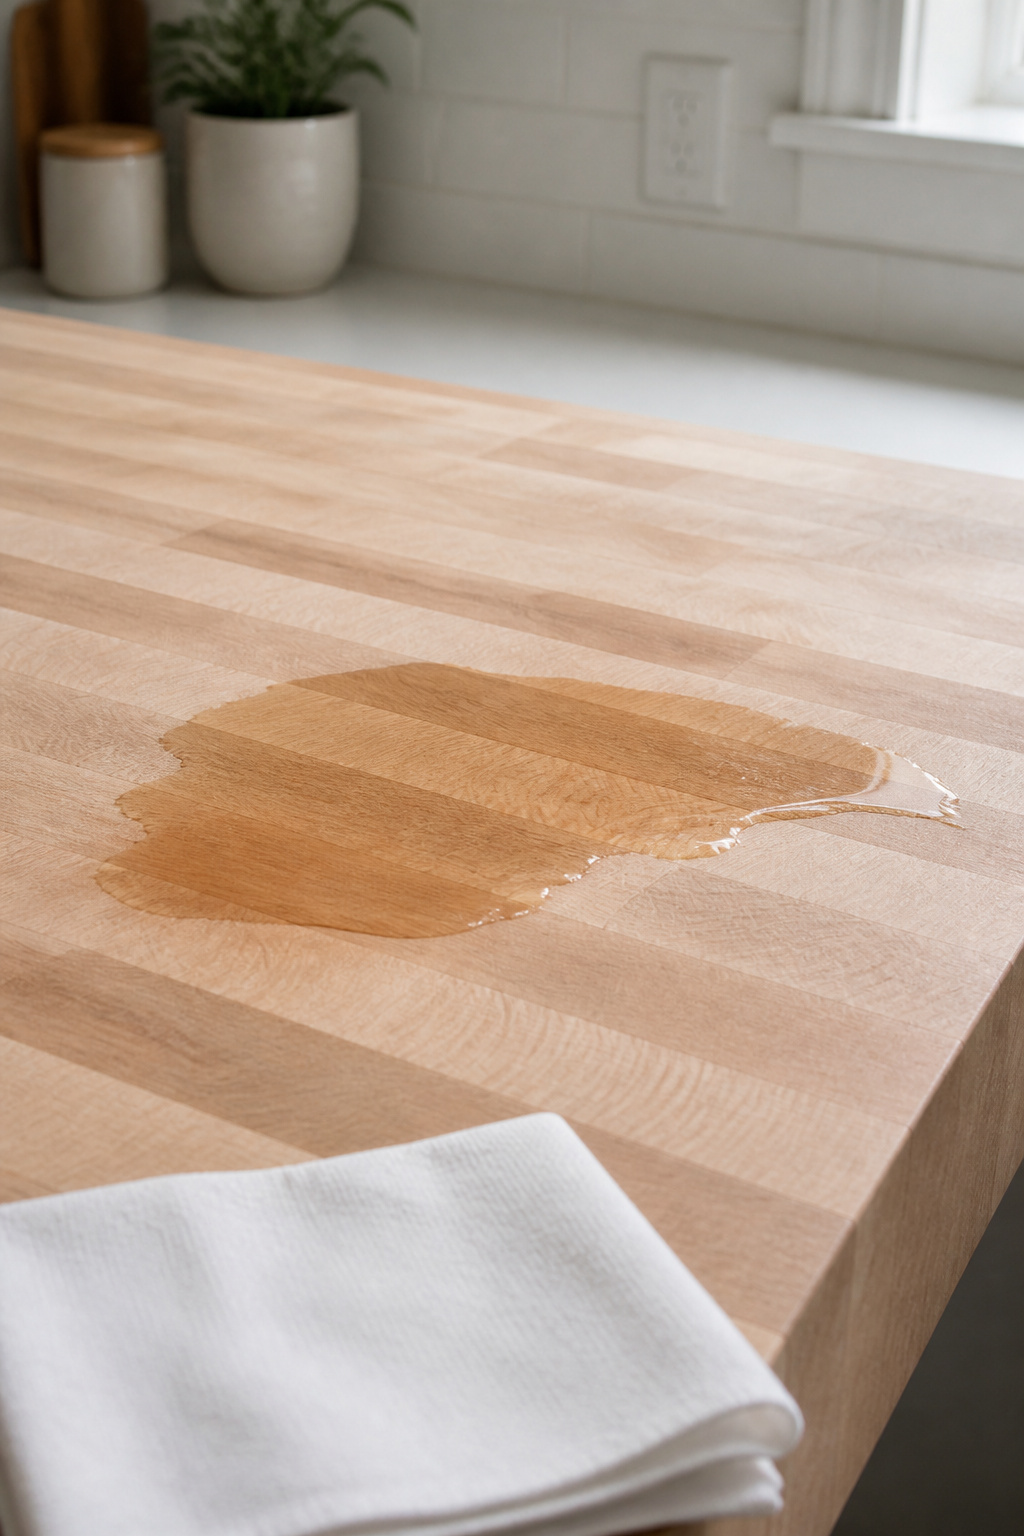
New butcher block arrives bone-dry from the mill, so the first coat can vanish in minutes. Plan on 4-7 coats over the first week. Grain sets the exact count: end grain absorbs roughly five times more than long grain because its tube-like vessels run straight to the surface, so an end-grain top wants seven coats or more while an edge-grain top saturates around four or five. Treat the number as a floor — if oil still sinks in fast after coat seven, give it another.
The right food-safe oil and how to apply each coat
Use food-grade mineral oil — “Mineral Oil USP” at a drugstore or “butcher block oil” at the hardware store, same cheap product, never goes rancid. Skip cooking oils: olive, canola, coconut and vegetable all go rancid in about 90 days inside the wood. Each coat:
- Pour the oil on liberally.
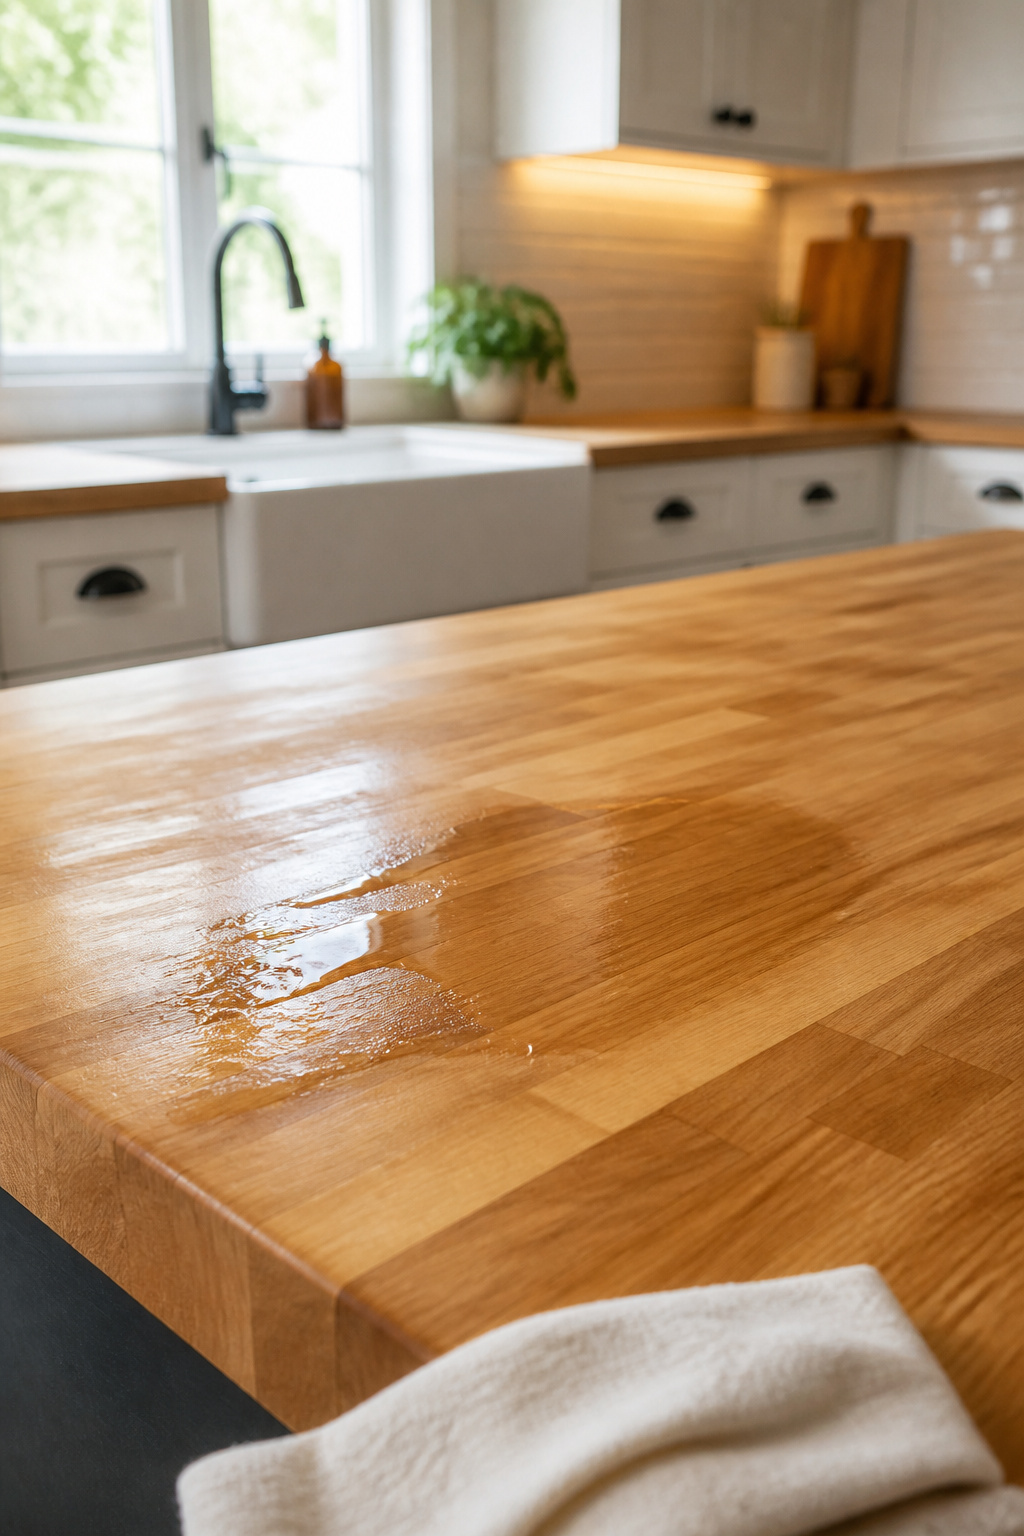
- Spread immediately with a clean lint-free cloth, working with the grain.
- Let it absorb 15-20 minutes, or overnight on very dry new wood.
- Wipe off what has not soaked in. The surface should feel smooth, not greasy.
The top is ready to use 6-8 hours after the final coat is wiped down.
Timing between coats: when the wood is actually ready
Leave 24 hours between coats — long enough to absorb fully, short enough that the wood never dries back out. Before each coat, run a hand over the surface: slick or tacky means wait; dry and slightly thirsty means oil it. End grain in a dry kitchen can drink a coat in four to six hours. Get this foundation in and the rest of caring for butcher block countertops is just keeping the barrier topped up.
Choosing Your Finish: Food-Safe Oils vs Film Finishes
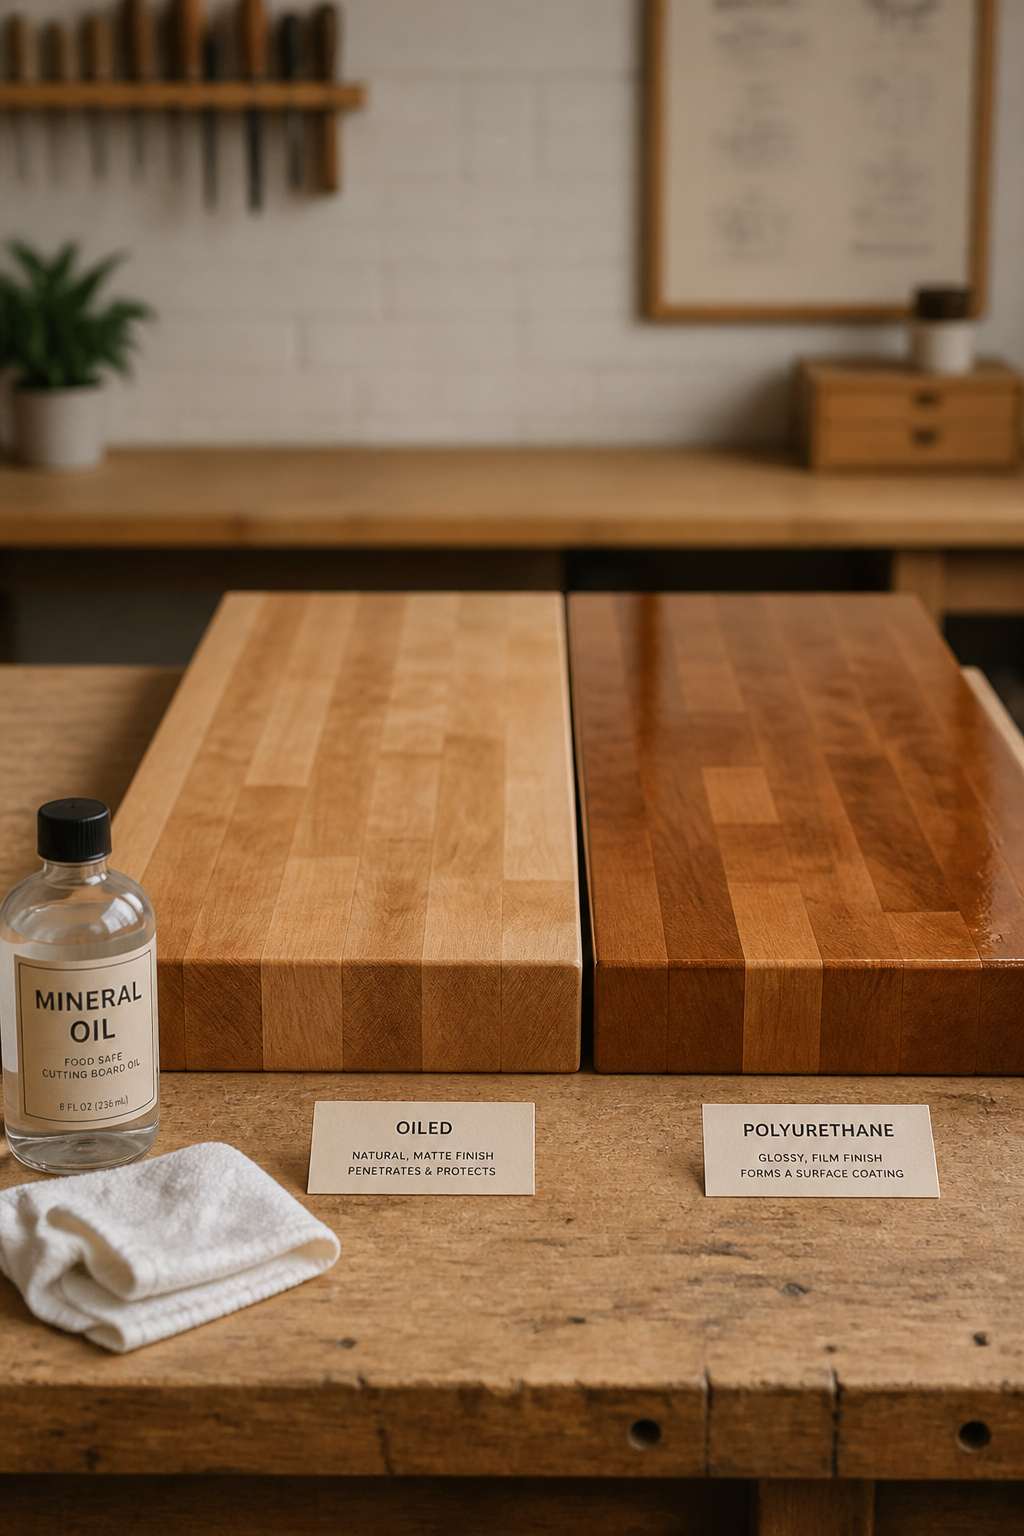
Penetrating oils are food-safe and endlessly renewable; film finishes last longer between coats but are not food-safe for cutting and cannot be spot-repaired. Here is how the common options compare.
| Finish | Food-safe for cutting | Reapply | Best for |
|---|---|---|---|
| Mineral oil | Yes | Monthly | The cheap, always-safe default |
| 100% pure tung oil | Yes (after 72-hr cure) | Yearly-ish | Harder, more water-resistant penetrating finish |
| Oil-wax blend (beeswax/carnauba) | Yes | Per season | More water repellence than oil alone |
| Hard-wax oil (e.g. Rubio Monocoat) | Yes (once cured) | ~Once a year | Durable, spot-repairable, low upkeep |
| Polyurethane | No | Sand + recoat | Decorative, non-cutting counter |
Mineral oil: the cheap, always-safe default
Mineral oil is non-toxic, odourless, colourless, and never goes rancid in wood. About $5-15 for a 16 oz bottle — the cheapest option by far. It stays liquid in the fibres, so it needs the most frequent reapplication, but it renews forever without stripping. It is also the safest pick for a nut-allergy household, since walnut oil and some tung blends can trigger reactions.
Tung oil, linseed, and walnut oil: what each actually does
Pure 100% tung oil polymerises in air to a hard, water-resistant finish — but needs a full 72-hour cure after the last coat before food contact. The trap: most “tung oil finish” products contain solvents and driers that are not food-safe, so only a label reading “100% pure tung oil” qualifies. Linseed is a hard no — raw goes rancid, boiled contains toxic metallic driers. Heat-treated walnut oil is food-safe and cures like tung; skip it where nut allergies are a concern.
Polyurethane and hard-wax oil: when a film finish makes sense
Polyurethane is durable and water-resistant but not food-safe to cut on, and recoating means sanding the whole surface first. Hard-wax oil (Rubio Monocoat and similar) is the middle path — penetrates the fibres, food-safe once cured, spot-repairable without stripping, with reapplication roughly once a year (a working estimate, not a guarantee). For a counter that sees food prep, General Finishes is plain: a penetrating finish wins because spot repairs are easy. Breach a film finish and you are stripping the entire top.
Ongoing Butcher Block Countertop Maintenance: How Often and What Signs to Watch For
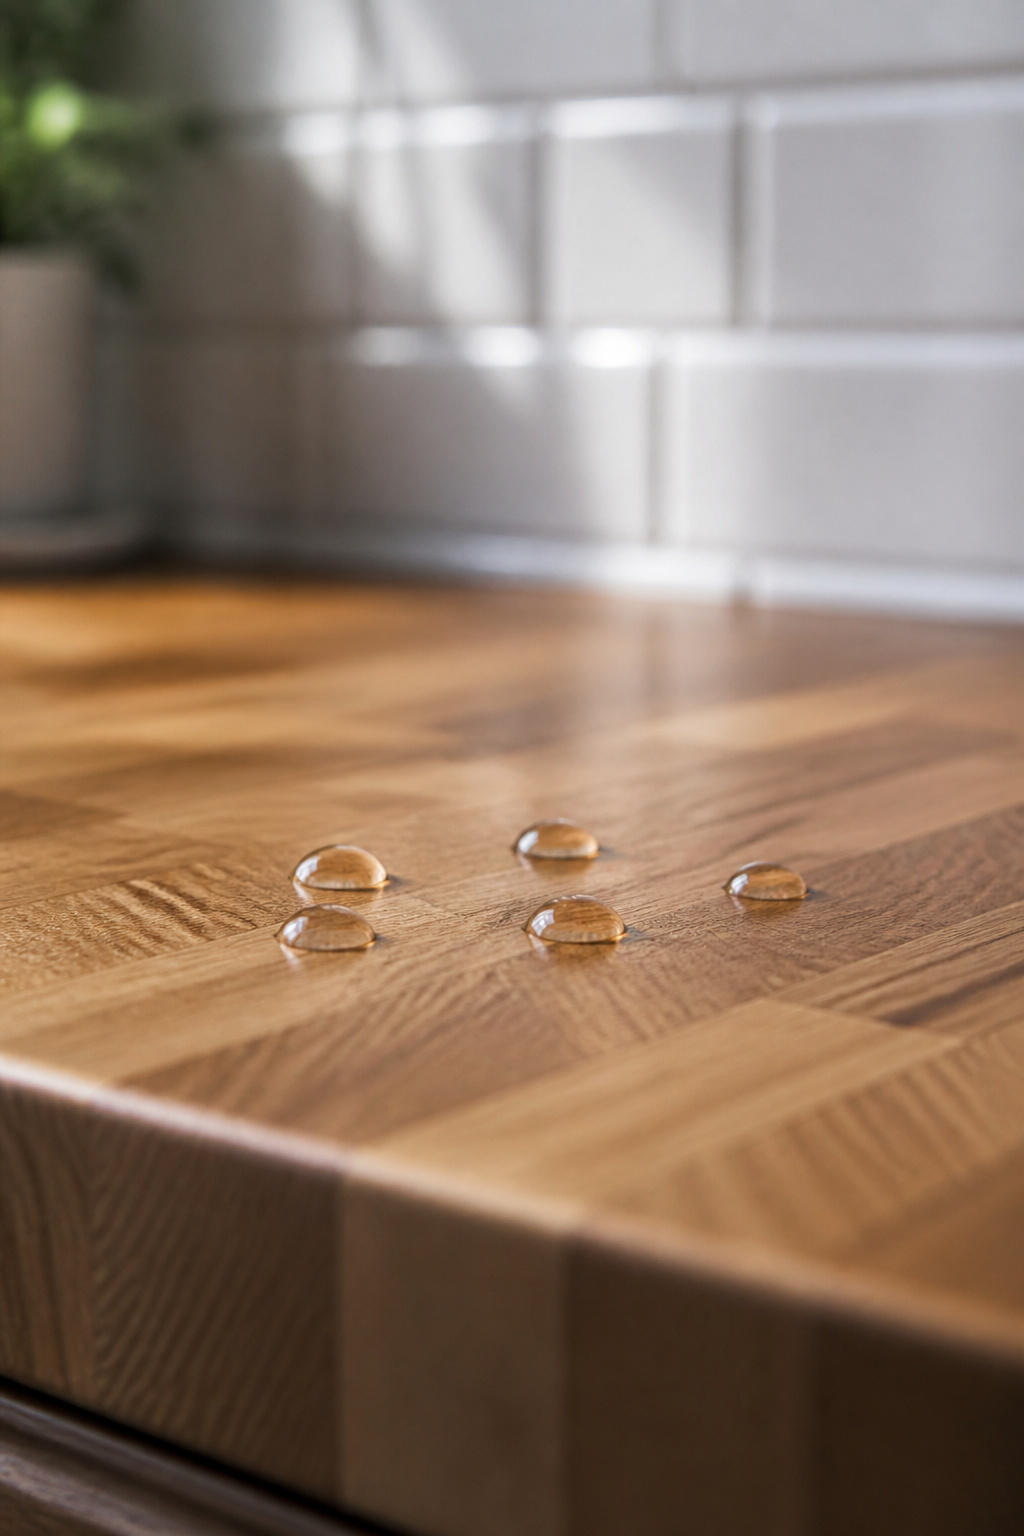
Once break-in is done, the routine is light. The mistake is following a calendar — a fixed date means over-oiling in humid summers and under-protecting in dry winters. The water-bead test fixes that.
The water-bead test: the only signal you need to follow
Sprinkle a few drops of water on the counter. If they bead into rounded domes, the barrier is intact. If they soak in and darken the wood within 30 seconds, oil now. Manufacturers from Butcher Block Co. on down use this test because it responds to your actual kitchen — use, climate, humidity — not a calendar. A surface that looks dry or chalky is only a secondary hint; wait for it to also fail the bead test, since some woods look paler when dry without losing protection.
Seasonal reapplication: why summer and winter are different
Winter heating drops indoor humidity, often below 30%, and you may need to oil every two to three weeks instead of monthly — Seal It Green flags 30% as the trigger for switching to biweekly. Summers run the other way: above about 60% humidity, a well-oiled top can coast 8-12 weeks between coats. Treat monthly as the floor and let the bead test override it. Zones near the stove and dishwasher can need oiling twice as often as the rest of the run.
Daily habits that cut the oiling frequency in half
- Wipe spills right away — water, vinegar, citrus and wine all deplete the barrier, standing water fastest.
- Towel-dry after washing instead of air-drying; evaporation pulls moisture from the fibres.
- Use trivets under hot pots and appliances; sustained heat evaporates oil and can leave a pale ring.
- Skip ammonia, undiluted bleach and abrasive pads — all strip oil. A 1:4 white vinegar to water spray disinfects safely.
Use a cutting board for heavy knife work: every cut opens a micro-channel that wicks oil out. The sink zone earns its own approach — see sealing the sink area — and how grain changes the care matters if you are unsure which you own.
Removing Stains, Burn Marks, and Water Rings
Almost everything that goes wrong on butcher block can be undone — a scorched stone counter is ruined, but a wood one sands back to new. Match the fix to the damage.
Light stains and discolouration: the fine-grit sanding approach
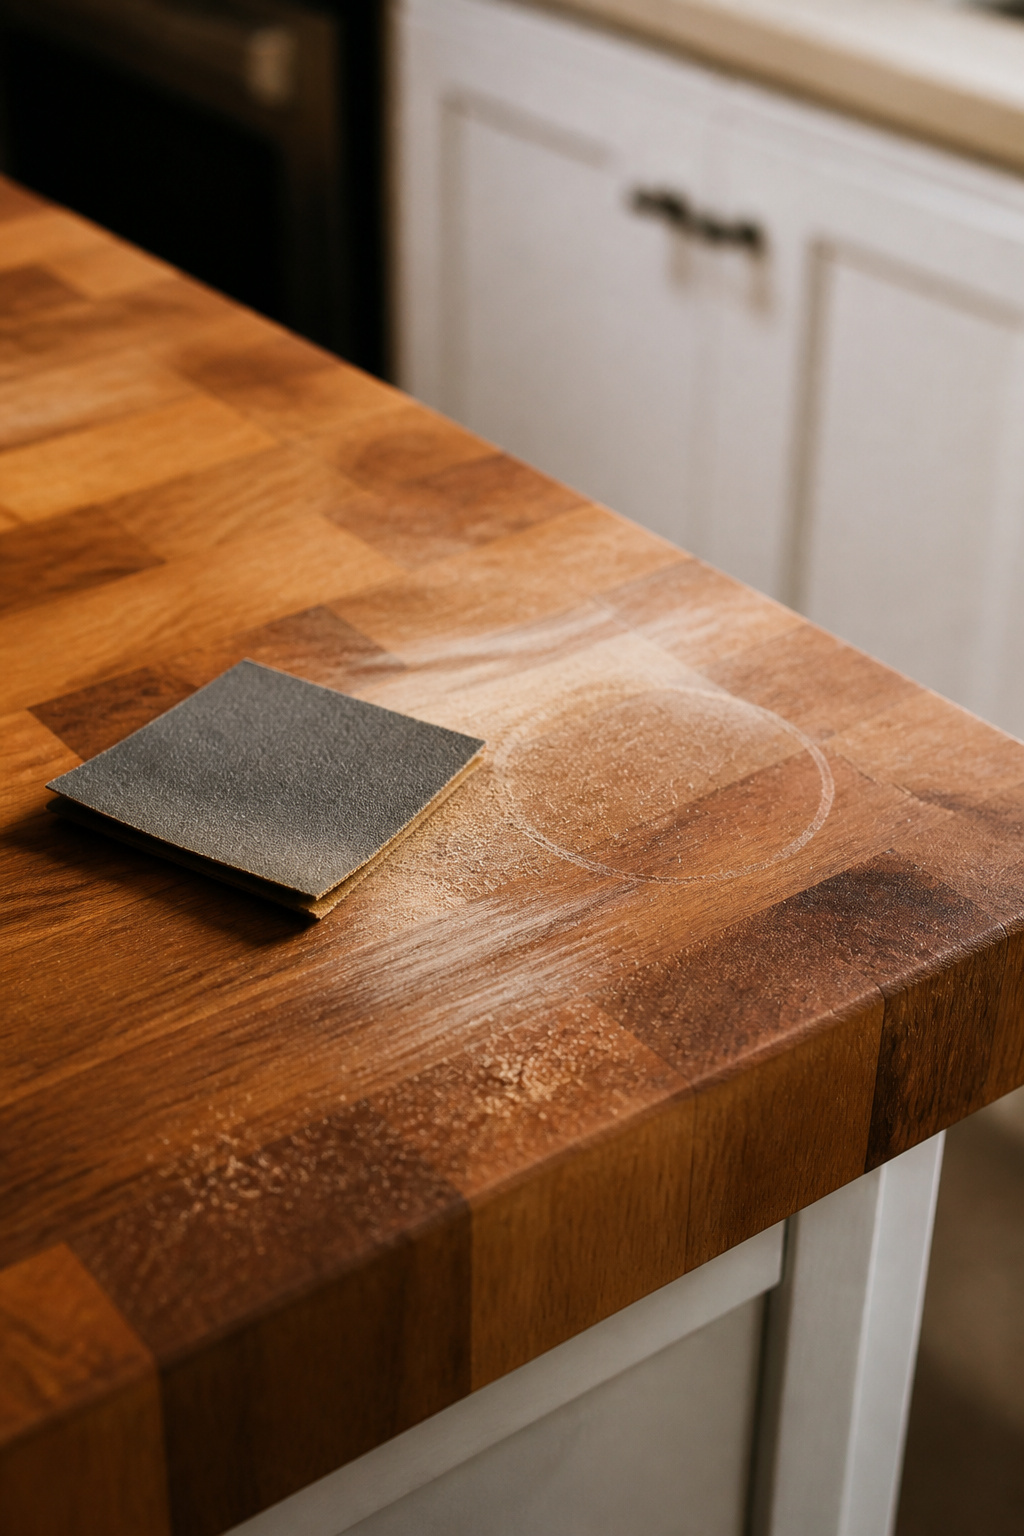
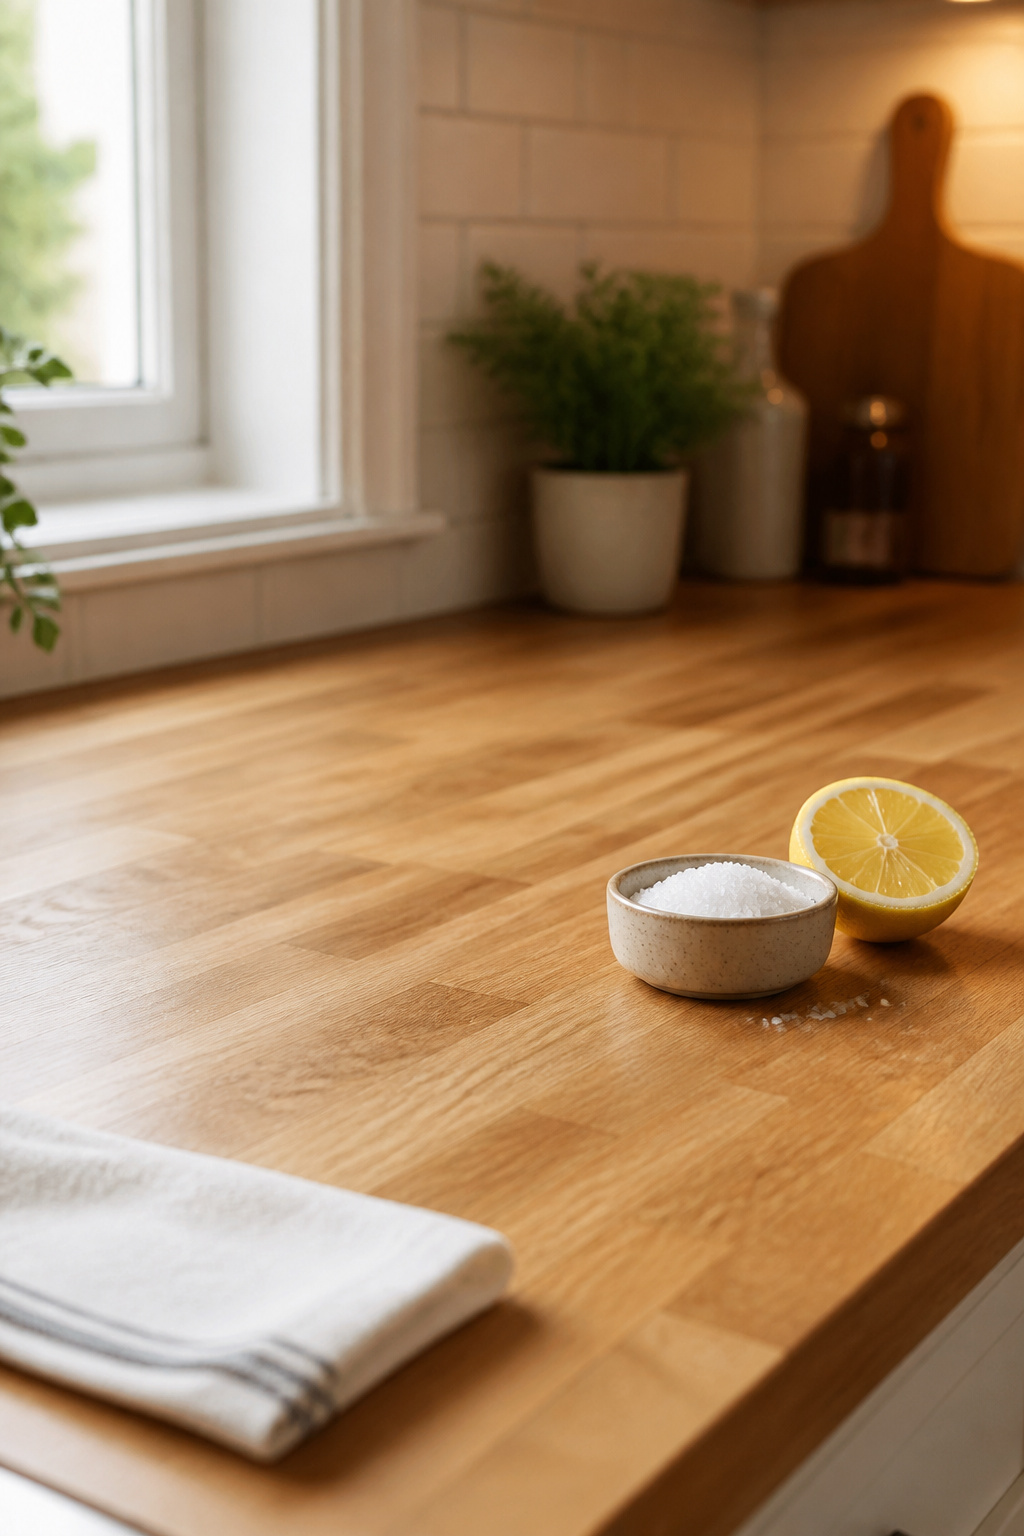
For water rings and minor discolouration, a light pass with 220-grit sandpaper along the grain lifts stained fibres without leaving a dent; follow immediately with mineral oil to rehydrate the raw wood. For tannin stains from wine, coffee or tea, try lemon-salt first: cover with coarse salt, scrub with the cut face of a halved lemon along the grain, then rinse, dry and oil. Persistent spots respond to 3% hydrogen peroxide under a saturated cloth overnight — test somewhere hidden first, as peroxide can lighten adjacent wood.
Water rings and dark patches: how deep the damage actually goes
A black patch is almost always an iron-tannin reaction — metal ions from a cast-iron pan, steel wool or wet cutlery reacting with the wood’s tannins. It does not respond to lemon-salt or bleach. The fix is oxalic acid: Bar Keepers Friend powder mixed with water to a paste, left on the stain 10-15 minutes, then wiped off. If the black survives, sand it: start at 100-grit, finish at 220, feathering the edges so you do not leave a bowl. As This Old House warns, sanding too hard in one spot leaves a visible dip.
Burn marks: when to sand and when the wood is past saving
A pale or cloudy heat mark is usually trapped moisture: lay a thick towel over it, press with a warm — not hot — iron for 10-15 seconds, repeat a few times, then oil. A dark brown or black burn means charred fibres — sand it: 60-grit to remove the char, 100 to level, 150 to smooth, always with the grain, vacuuming between grits. A burn through a glue line, or warping the wood more than about three inches across, is past DIY repair. Whatever you sand, oil the entire surface afterward so colour stays even.
Keeping Butcher Block Countertops Sanitary
Wood’s hygiene reputation is worse than it deserves. The research runs the other way.
What food safety research actually says about wood vs plastic
University of Wisconsin food science research found that 99.9% of bacteria placed on a wooden surface began dying within minutes, while the same bacteria on plastic boards survived and multiplied in knife grooves where cleaning never reaches. Wood’s tannins and the capillary action of its fibres pull bacteria below the surface to die from dehydration. The advantage only holds for maintained wood — micro-cracks from drying and knife cuts create the same pockets plastic grooves do, one more reason to keep the oiling schedule.
Cleaning between uses without drying out the wood
Day to day: wipe with a damp cloth and mild dish soap, follow with a clean damp rinse, then dry thoroughly right away. To disinfect after raw-protein prep, spray 1:4 white vinegar to water, let it sit ten minutes, and wipe. For stronger disinfection — visible mildew, real cross-contamination — mix a tablespoon of bleach per gallon, apply briefly, rinse, dry, and re-oil within 24 hours, since diluted bleach strips the oil layer. Keep water off seams and the sink cutout: standing water is the leading cause of glue-line separation.
When to use cutting boards on butcher block (and when not to)
Always cut raw meat, poultry and fish on a separate board — the cross-contamination risk is too high to spread across the whole surface, and a board preserves the oil barrier for everyday knife work too. One firm rule: a film-finished top must always have a board between knife and surface, since any breach in the film lets moisture in where it cannot be spot-repaired.
When Butcher Block Needs a Full Refinish
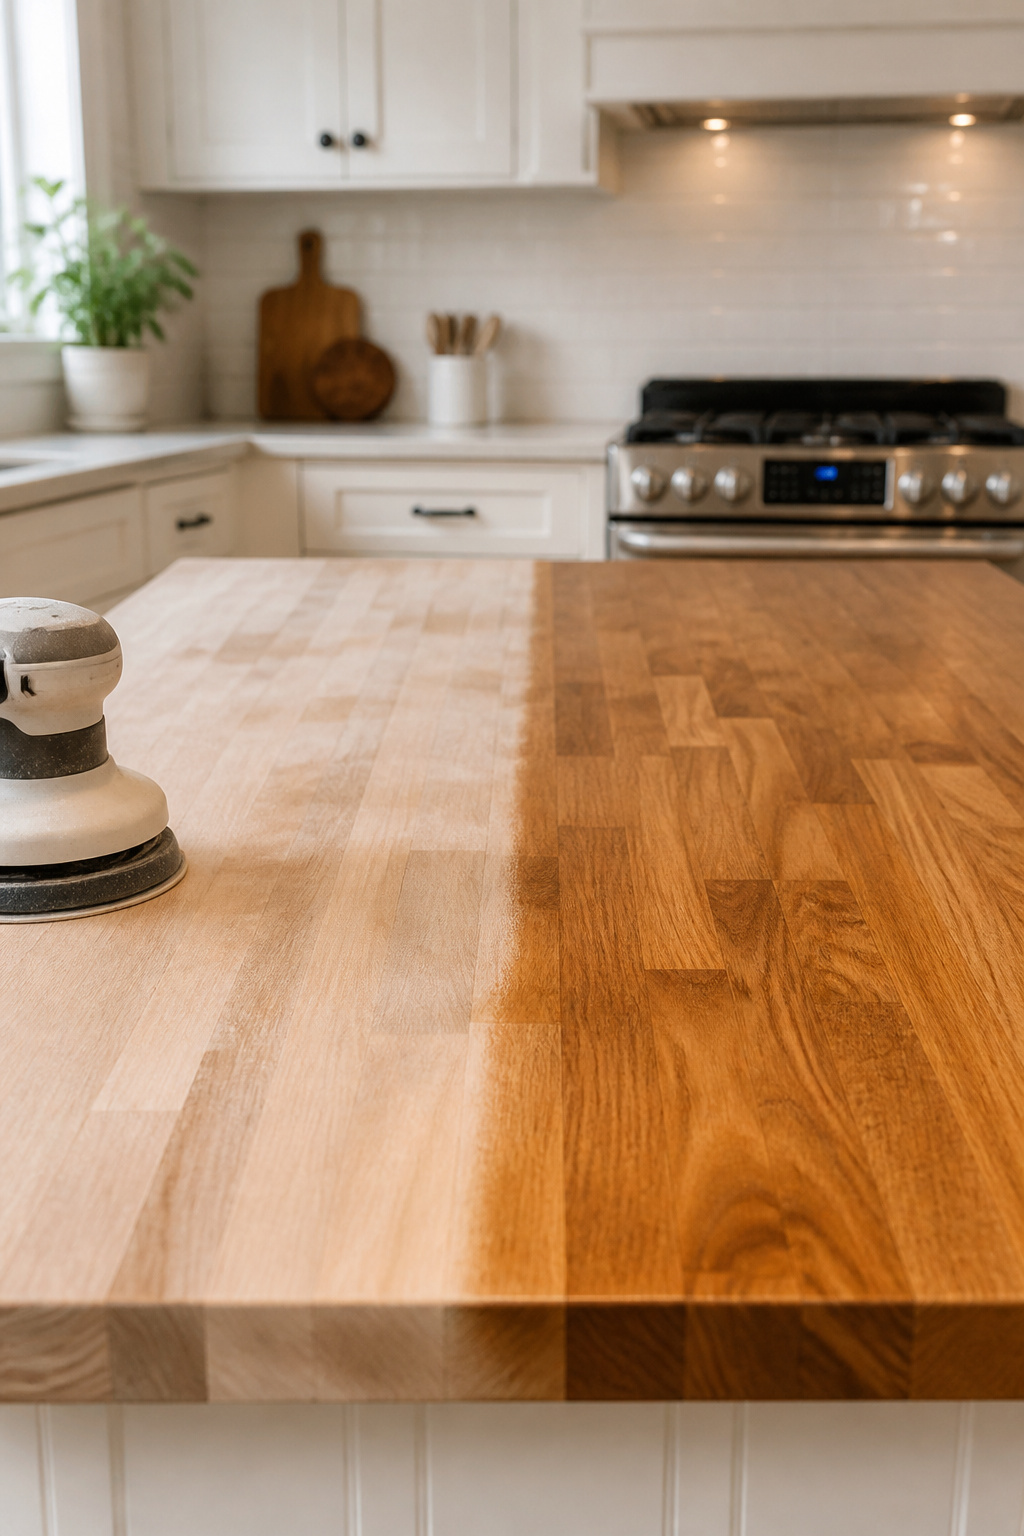
When spot fixes stop blending and the whole top reads tired, it is time to sand back to raw wood across the entire surface — a weekend job that buys butcher block its long life.
Signs it’s time to sand the whole surface back
The clearest signal is a patchy finish where some areas bead water while others soak it straight in. Add deep scratches that catch a cloth, raised grain, and staining across more than a fifth of the surface. How often depends entirely on use — every one to three years in a heavy daily-cooking kitchen, every three to five in a lighter one. Press the surface first: firm with no sponginess means it is structurally sound and worth refinishing rather than replacing.
The refinishing sequence: grit progression, oil, cure
- Start with 60-grit to abrade discoloured or damaged wood — keep the sander moving, never dig a furrow in one spot.
- Move to 100-grit with a random-orbit sander to clear remaining marks and level the surface.
- Finish with 150-grit for smoothness. End-grain tops: run a belt sander at 80-grit first — orbital alone struggles to level end grain.
- Vacuum all dust between every grit change; stray coarse grit will scratch the finer passes.
- Wipe with a slightly damp cloth, let it dry completely, then restart the break-in protocol — fresh-sanded wood is as thirsty as new wood.
For cracks or glue-line gaps, melt food-safe canning wax into them and scrape flush once cool. Persistent cracking points to a structural problem.
How many refinishes a good top can take over its lifetime
Each full sand removes only 1/32 to 1/16 of an inch, so a 1.5-inch top can take 20-plus refinishes before thinness becomes a concern. With periodic refinishing, butcher block has a realistic 20-30 year lifespan, and a professional refinish runs about 30-50% of replacement cost. Replace only when cracks run the full thickness, warping cannot be corrected, glue lines have separated in several large areas, or mould has gone deep below the surface.
Start with the bottle of mineral oil and the bead test this week — that is the whole habit, and it is the difference between a counter you baby and one you simply use.
FAQ
How often should you oil butcher block countertops?
Oil about once a month in an active kitchen, through the first year and beyond. In dry winters, when indoor humidity drops below 30%, go to every two to three weeks; in humid summers you can stretch to six to eight weeks. Let the water-bead test override the calendar: if water soaks in within 30 seconds, oil immediately.
Can you use coconut oil on butcher block countertops?
Standard coconut oil is a no — it goes rancid in about 90 days inside the wood, creating a sticky biofilm that traps bacteria. Fractionated coconut oil, with most fatty acids removed, is rancid-resistant and food-safe, but harder to find and pricier. Food-grade mineral oil stays the simplest, safest and cheapest choice, around $5-15 a bottle, and never goes rancid.
How do you get black stains out of butcher block?
Black stains are almost always an iron-tannin reaction — cast iron, steel wool or wet cutlery reacting with the wood’s tannins. Bleach and peroxide won’t touch them. The fix is oxalic acid: Bar Keepers Friend powder mixed to a paste, left 10-15 minutes, then wiped off. For deep stains, sand to 100-grit, finish at 220, and re-oil.