Here is the thing nobody tells you in the showroom: a butcher block countertop you don’t cut on can outlive your mortgage. Industry figures put well-maintained butcher block countertops at 20-plus years when you chop on them, and 60 years or more when you don’t. No granite, no quartz, no laminate offers that. The reason is the one property that makes wood feel risky to first-time buyers — and is actually its hidden advantage: when it gets beat up, you sand it back to new and re-oil it, instead of paying to rip it out. So the real question isn’t whether butcher block is durable enough. It’s whether you’ll do the small, boring maintenance that keeps that advantage switched on.
This guide covers the whole decision. What the product actually is, the grain and species choices at a glance, the honest pros and cons, what it costs in 2026, the maintenance reality, the sink problem that sinks most installs, and where wood reads best in a kitchen. Each section sends you to a deeper guide when you’re ready to commit to specifics.
What Butcher Block Countertops Actually Are (And Aren’t)
Before you price anything, get the product straight, because half the confusion in this category comes from two different things sharing one name.
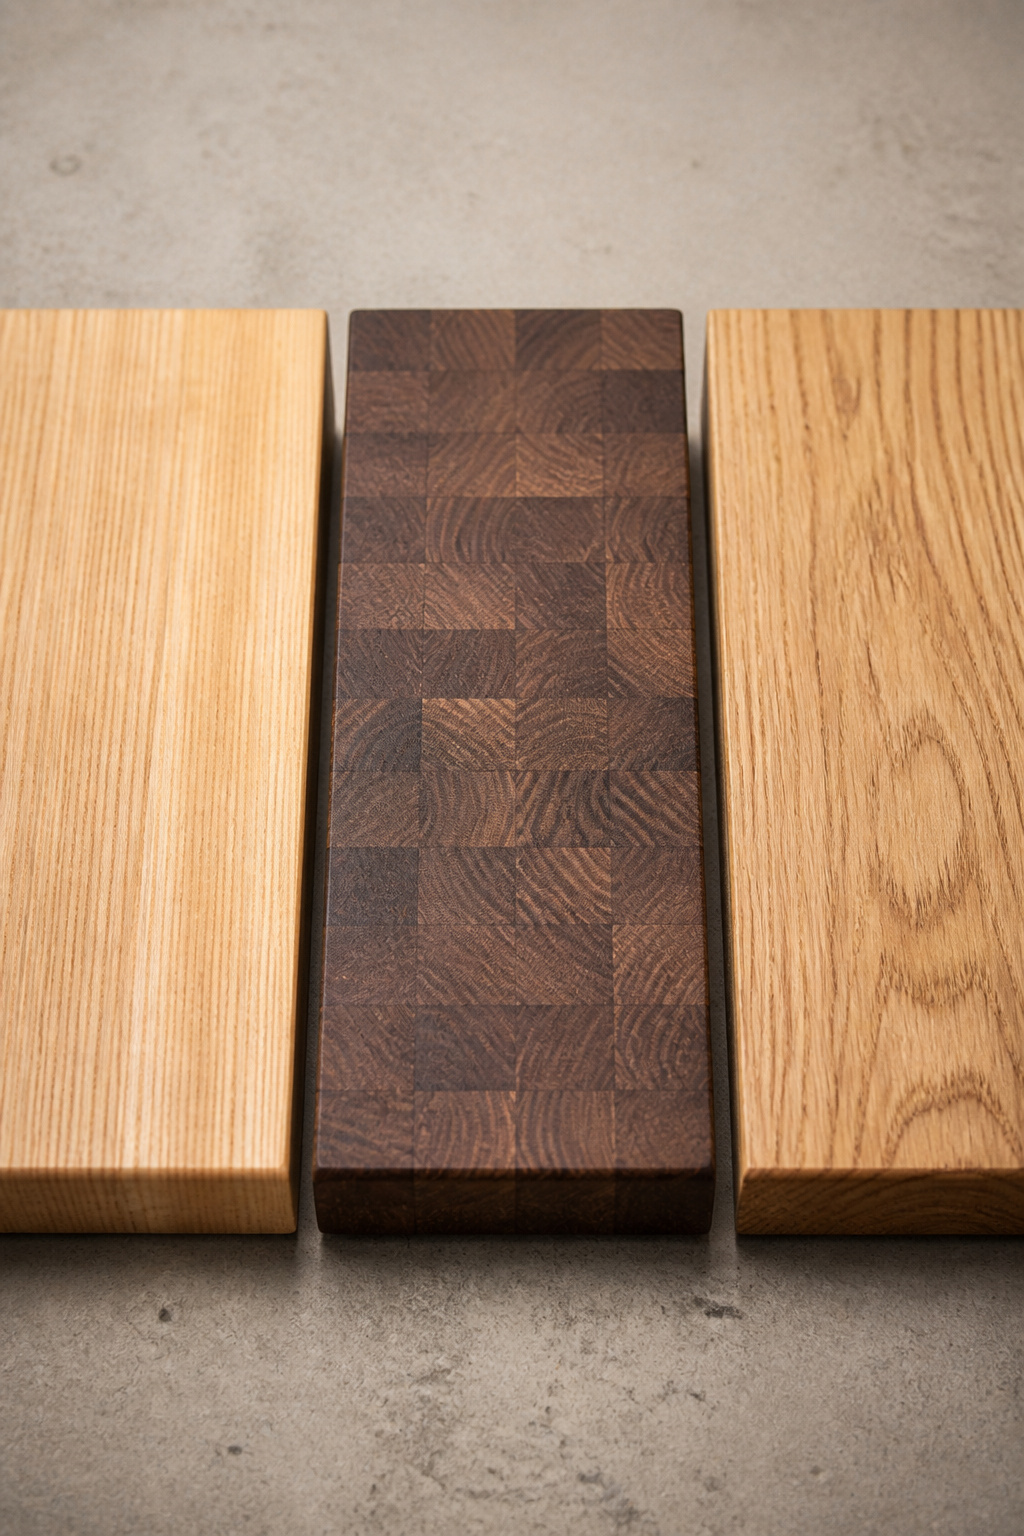
Butcher block is a laminated wood product. Strips or blocks of hardwood are glued together under pressure into a single slab. The lamination strips typically run 1 to 2 inches across the surface, and the woodworker decides which face of each strip points up. That one decision sets the grain type of the finished top.
How the wood is milled and laminated into a slab
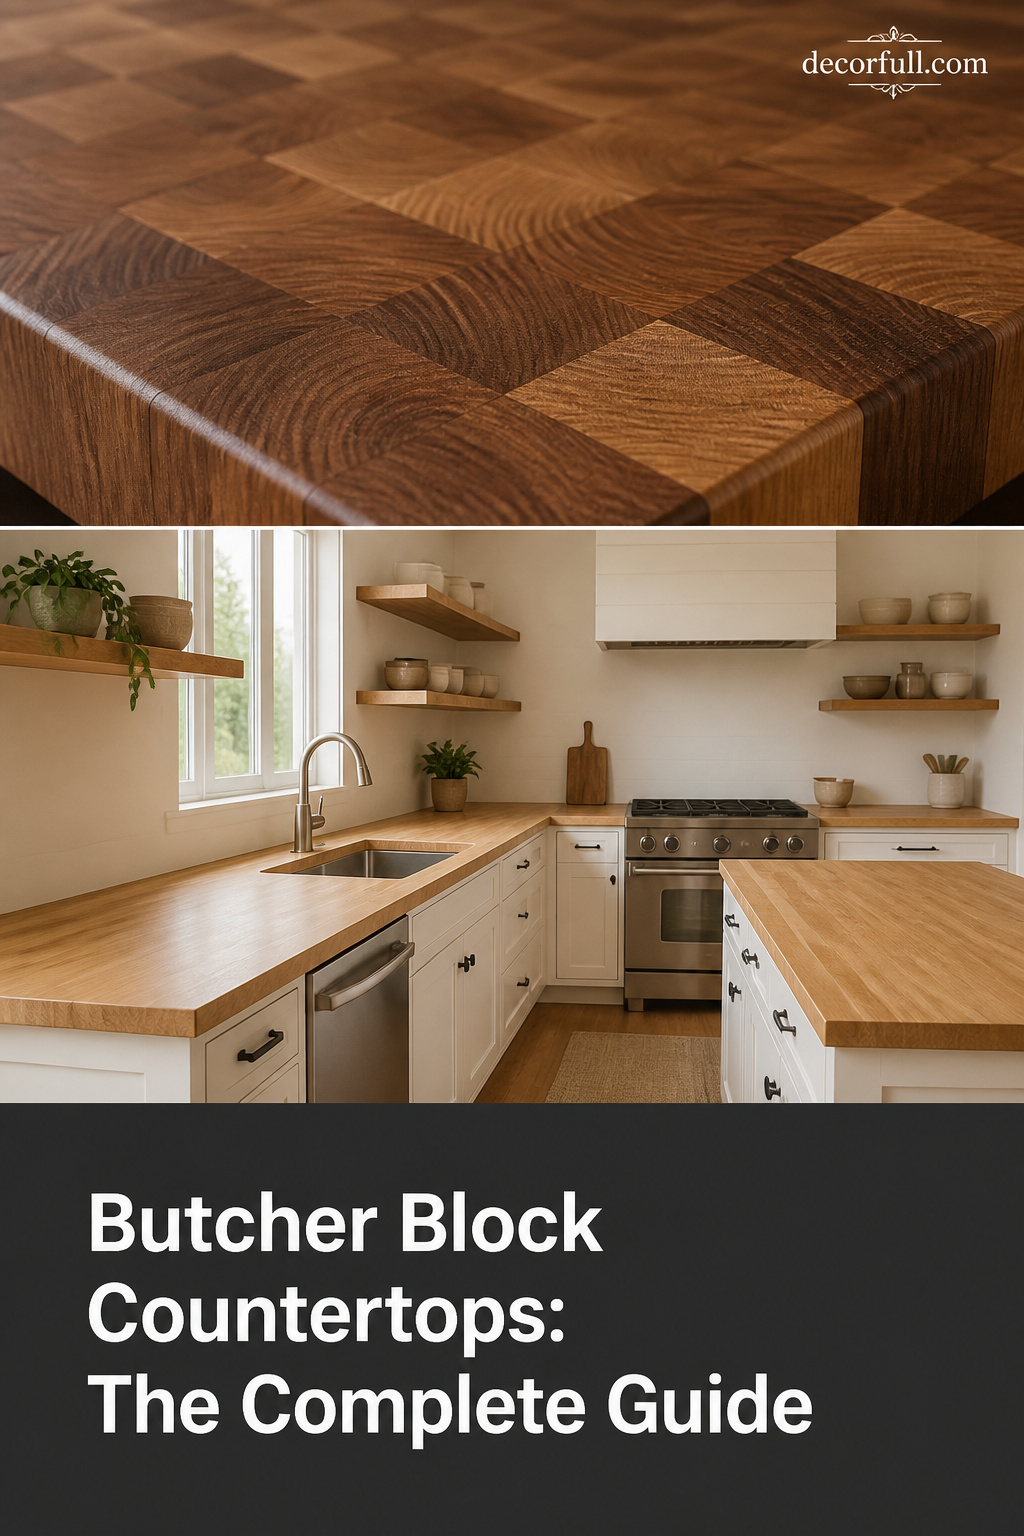
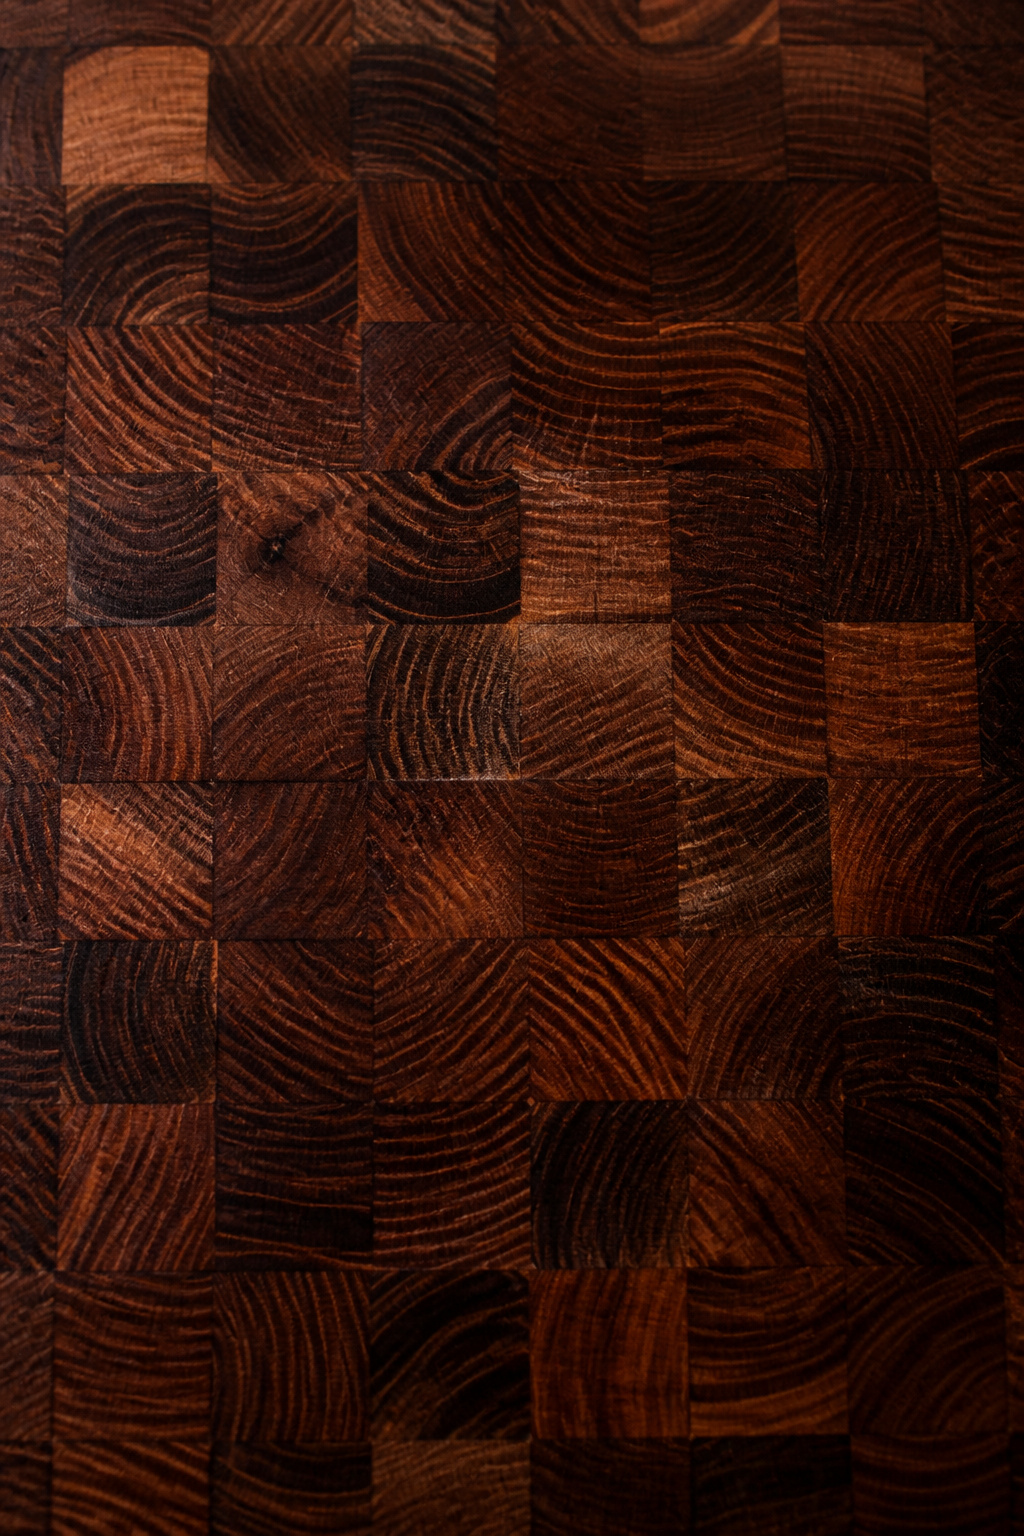
The construction is simpler than it looks. Edge-grain slabs use full-length strips laid on their narrow edge, so the surface shows long, straight grain like a wood floor, with no butt joints crossing it. End-grain slabs stand short rails on end — each piece is only 1 to 10 inches long — so you see a cross-section of the tree’s growth rings. That is where the checkerboard look comes from.
Off-the-shelf, edge-grain widths run 25, 27, 30, 32, 36, 42 and 48 inches, in lengths from 12 inches up to 144. End-grain slabs come in narrower and shorter ranges because the construction eats more material. One trap worth flagging early: Butcher Block Co. counts a fourth orientation, blended or jointed-edge grain, where shorter pieces finger-join across the rows and create seams in both directions. It looks distinct, but it is a variation of edge grain, not its own category — a common source of buyer confusion.
Why “butcher block” and “wood countertop” aren’t quite the same thing
True butcher block is defined by that block-laminated build. A face-grain “plank” countertop — the wide flat face of a board turned up — gets sold as a wood countertop, but it isn’t technically butcher block. The distinction matters because face-grain planks behave differently: more seasonal movement, marks show faster, and you can’t refinish them as many times.
The bigger trap is veneer. IKEA’s KARLBY range starts around $179 a slab, which is tempting, but the current KARLBY is veneer over a particleboard core — not solid wood. (IKEA doesn’t say “veneer” loudly on the product page, and the line has changed over the years, so verify the spec on the slab you’re actually buying.) Solid-wood butcher block can be sanded and refinished many times across its life. A veneer-over-particleboard top can usually take one or two light refinishes before the veneer wears through. That’s the difference between a 20-year surface and a budget one.
The thickness and size reality: what’s available off the shelf
Three thicknesses cover almost everything. The 1.5-inch slab is entry-level — light prep or decorative use. The 2-inch slab is the industry standard: strong enough for daily cooking, light enough that standard cabinets carry it without reinforcement, deep enough to take an edge profile. The 3-inch slab is a premium or statement-island choice, usually special order. End grain is the exception: it needs a minimum 2.5 inches for structural stability, and most residential end-grain tops run a full 3.
Home Depot and Lowe’s stock solid edge-grain maple, oak and bamboo in common 25- and 36-inch widths and lengths up to 8 feet. Anything beyond that — custom lengths, premium species, end grain — means a specialty fabricator and a 2- to 4-week lead time.
The Three Grain Constructions: Edge, End, and Face
Grain construction matters more than species for how a top performs, and it’s the single biggest lever on price within any given wood. Here are the three, compared on what actually changes your daily experience.
| Construction | Durability | Knife-friendliness | Approx. price (installed) | Care intensity |
|---|---|---|---|---|
| Edge grain | High; most warp-resistant on long spans | Marks the surface over time | $40–$150+/sq ft | Lower — oils monthly |
| End grain | High; self-heals cut marks | Best; blade slides between fibers | $50–$350+/sq ft | Higher — oils every 2–4 weeks at first |
| Face grain | Lowest; cups and moves most | Shows every mark | $30–$200/sq ft | Moderate; not for daily prep |
Edge grain: the durable everyday default
Edge grain is the residential standard, and it’s the one I steer most first-time buyers toward. The narrow strips move less across their glue joints, so it resists warping and cracking better than the other two — genuinely more stable on a long run than even end grain. It handles chopping, prep and a set-down hot pan on a trivet. It will show knife marks over time, because the blade cuts across the grain fibers rather than between them, but it’s the cheapest of the three and the least thirsty for oil. Monthly oiling after break-in keeps it happy.
End grain: the knife-friendly checkerboard that costs more
End grain is the one people lust after, and for a real reason. When a knife strikes the vertical fiber ends, the wood parts and closes back around the blade — the “self-healing” effect. That saves both your blade’s edge and the surface from visible scarring. The cost is the catch: $50 to $350 per square foot installed, roughly 2 to 3 times an equivalent edge-grain slab in the same species. It also drinks oil from all those exposed fiber ends, so the break-in runs longer and you re-oil more often, especially in the first year. If you want the construction explained in full, with the build premium broken down, see the deeper guide on end grain vs edge grain construction.
Face grain: cheapest, shows marks, best for looks not cutting
Face grain shows the wide plank face, which gives you the most dramatic figure and the fewest seams. It’s the cheapest to produce and the prettiest to look at — and the worst choice for a primary prep surface. Wide planks expand and contract more across the grain with humidity, so face grain cups and moves more than the other two, which makes it a genuinely risky pick next to a sink. It earns its place in low-traffic decorative roles: a coffee station, a bar top, a vanity. Just don’t make it your daily cutting board.
Wood Species: Maple, Walnut, Oak, and the Rest
Once you’ve picked a construction, species sets the color, the hardness, and a big chunk of the price. The honest news for most buyers: the default is the right answer.
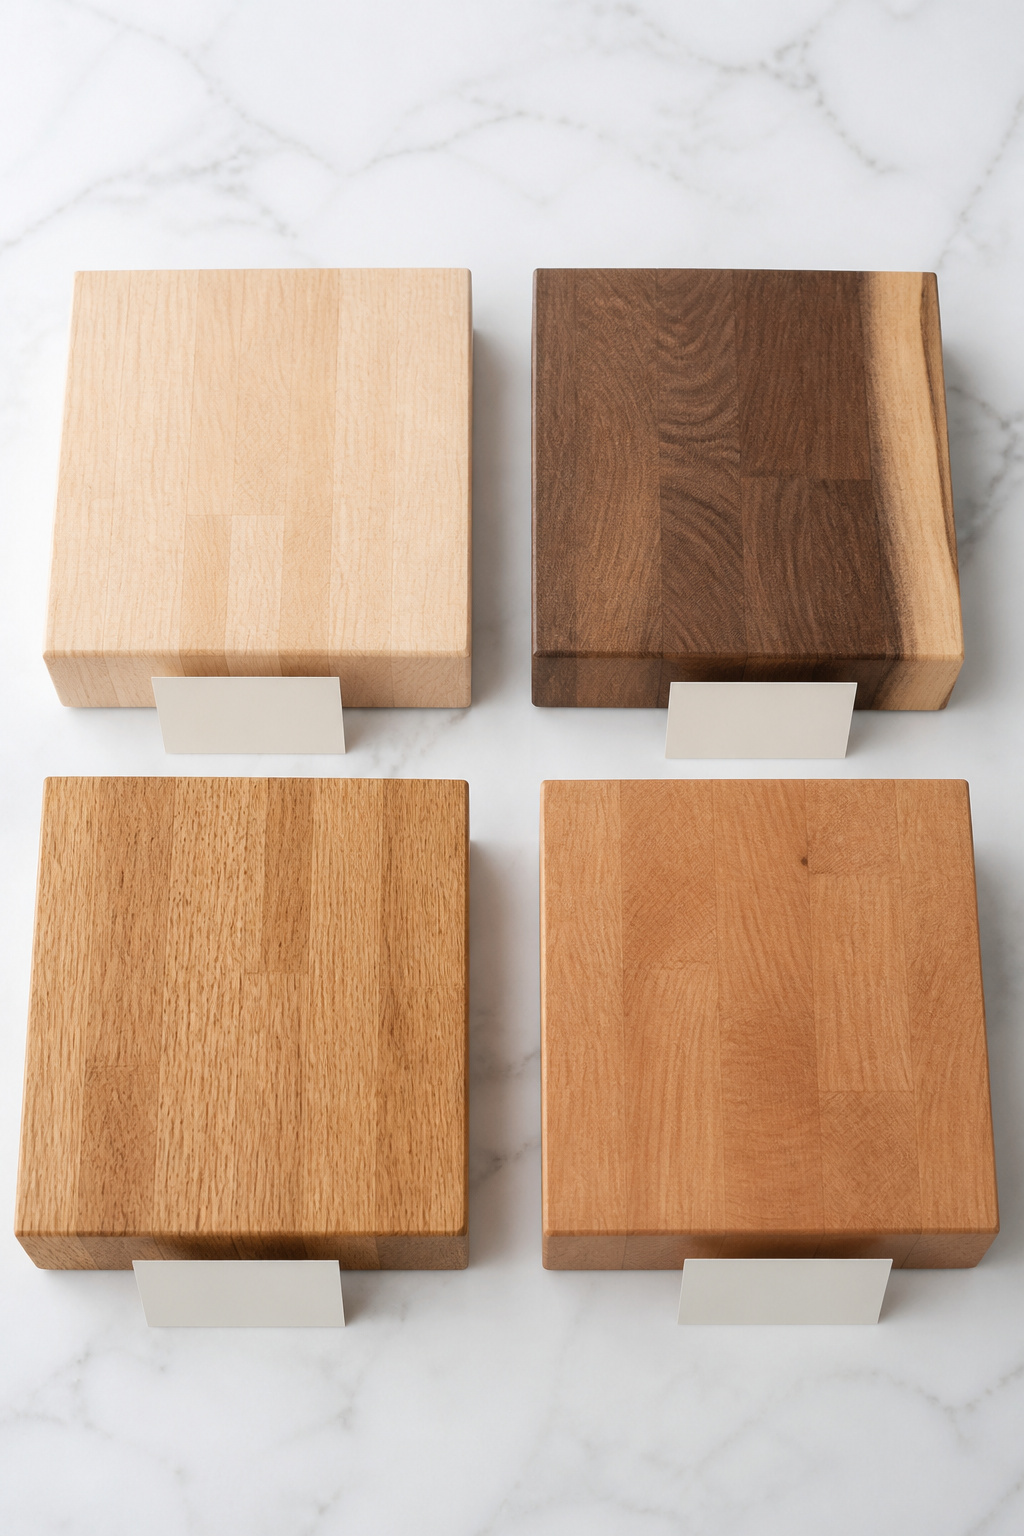
Maple: the hard-wearing value default
Hard maple (the same tree people tap for syrup) is the industry workhorse. At 1,450 on the Janka hardness scale, it’s the hardest of the four primary domestic species — roughly 15% harder than red oak — and its fine, tight grain resists scratching. The pale cream-to-gold color reads neutral against almost any palette. It’s also close-pored, which limits where bacteria can hide and keeps the surface clean with proper sealing; hard maple is the species commercial fabricators like John Boos and Forever Joint Tops use for their base ranges, and the one most often NSF-certified for food prep. Installed, it runs roughly $40 to $80-plus per square foot. For most kitchens, maple is the easy recommendation.
Walnut and cherry: premium tone at a premium price
Walnut is the luxury pick, and the chocolate-to-brown heartwood against pale sapwood is why people pay for it — $75 to $300 per square foot installed. But walnut is soft, at 1,010 Janka, below red oak. It shows knife marks faster than maple, so designers usually steer it to islands and decorative tops, or recommend it as end grain where the self-healing fiber orientation makes up for the softer wood. Cherry is softer still, around 950 Janka, and its signature trick is photosensitivity: it starts a light pinkish brown and deepens to a warm golden brown over months of light exposure. That’s not a defect — but buy it knowing the top you install will not be the color you live with in a year.
Oak, hickory and the alternatives worth knowing
A quick Janka reference, since hardness is the number buyers ask about most: hickory 1,820, hard maple 1,450, white oak 1,360, red oak 1,290, black walnut 1,010, cherry 950. Red oak is the budget species at $15 to $50 per square foot installed, but its large open pores are a real drawback for food prep — bacteria settle into them and oil soaks in unevenly. White oak, with tighter pores and better moisture resistance, is the smarter oak for a kitchen. Hickory is the hardest domestic option and nearly indestructible as a cutting surface, but its wild light-to-reddish color swings within a single slab are a strong statement that suits some kitchens and fights others. Bamboo (technically a grass) is a renewable alternative at $50 to $125 per square foot that resists water well but refinishes poorly. One caution worth holding onto: harder species resist denting, but they aren’t automatically knife-friendlier — construction matters more than hardness for saving your blades. If you’re choosing between woods for a specific kitchen, the full breakdown lives in the guide on choosing the best wood species.
Honest Pros and Cons of Wood Kitchen Countertops
This is the section to read twice, because butcher block is a material you have to be honest with yourself about. Here’s the balance sheet, no spin.
| The case for | The case against |
|---|---|
| Cheaper than stone for most species | Water is the enemy — spills must be wiped fast |
| Sands and refinishes in place — no rip-out | Needs oiling on a schedule, no exceptions |
| 20–60+ year lifespan when maintained | Not heat resistant — trivets are mandatory |
| Warm, quiet, kind to dropped glassware | Moves seasonally; shows marks and character |
The real advantages: warmth, repairability, cost vs stone
Standard butcher block material runs $30 to $70 per square foot, and installed it lands at $50 to $150 — below granite ($80 to $150 installed) and at the low end of quartz. Big-box maple edge grain can drop to $20 to $35 a square foot for the slab. But cost isn’t the headline advantage. Repairability is. Butcher block is the only mainstream countertop you can sand and refinish in place: knife scratches, stains, water rings, even shallow scorch marks come out — 80 grit for deep damage, finishing to 150-220 — and a re-oil gives the surface a new life. That’s what underpins the long lifespan, and it’s why wood survives where a cracked stone slab has to be replaced. Wood is also quieter to work on, easier on glassware you set down hard, and warmer to the touch than any stone.
The real drawbacks: water sensitivity, oiling schedule, scratches
Wood is absorbent — that’s the whole problem in one word. Standing water stains, swells and eventually warps it, and even a well-sealed top needs spills wiped promptly. Oiled tops want mineral oil roughly weekly for the first month, then monthly, and more often in dry winters when indoor humidity drops below 30%. Butcher block is not heat resistant: a hot pan set straight down will scorch it, so trivets are mandatory, not optional. And wood moves with the seasons — that’s behavior, not a defect, which is why a long run shouldn’t be glued down rigidly past about 8 feet, or it will crack.
Who butcher block countertops actually suit
Butcher block suits people who cook actively and like a working, tactile kitchen more than a showroom-perfect one. The material develops character — marks, small scratches, a deepening amber — and some households love that while others can’t make peace with it. It’s a bad fit where counters sit wet for long stretches, where maintenance will be inconsistent, or where you expect the day-one surface to last forever. A practical middle path that designers increasingly recommend for 2026: put butcher block on the island where prep and gathering happen, and keep stone on the perimeter near the sink and dishwasher. As Block Renovation frames it, “stone by the heat and water, wood where you gather and prep.”
What Butcher Block Costs — and Whether DIY Makes Sense
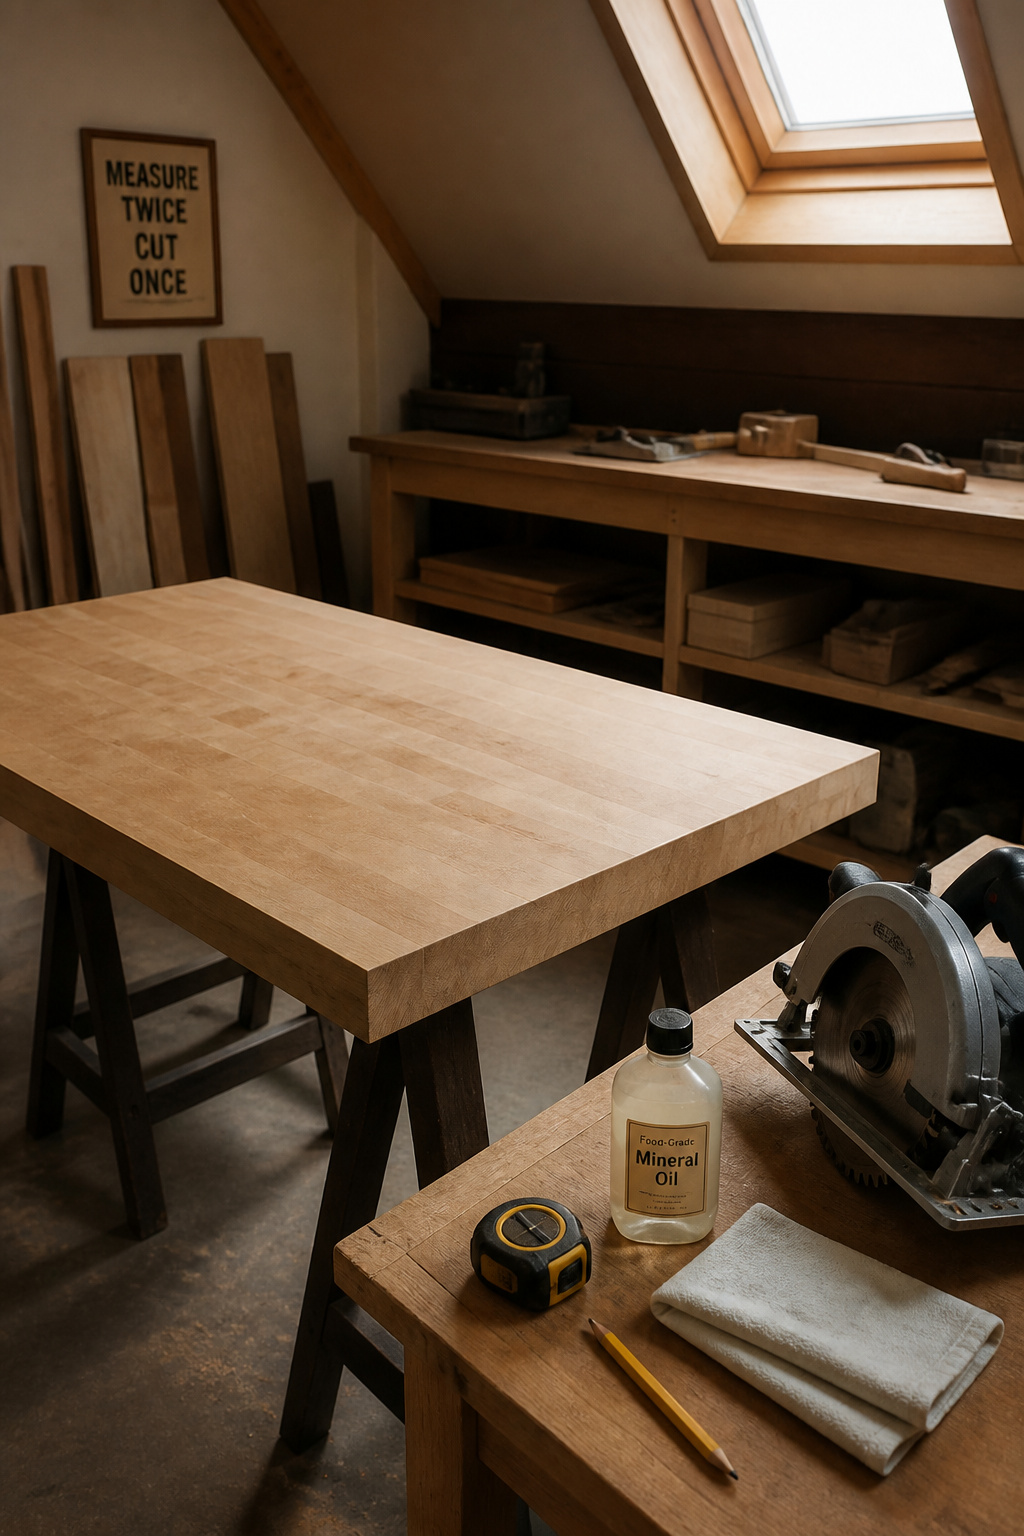
Cost is where butcher block makes its strongest case, and where DIY can turn a good price into a great one. Here’s the survey; the full numbers and the step-by-step install live in the cost spoke.
| Option | Material cost | Install cost | Total estimate (per sq ft) |
|---|---|---|---|
| Big-box solid maple, DIY | $20–$45/sq ft | Your weekend | ~$25–$45/sq ft |
| IKEA KARLBY (veneer), DIY | from ~$179 entry / $199–379 typical | Your weekend | Lowest entry point |
| Maple edge grain, pro install | included | $20–$80/sq ft labor | $67–$94/sq ft (May 2026 avg) |
| Custom end-grain walnut | $75–$300/sq ft | premium | up to $350+/sq ft |
Material cost: ~$20–60/sq ft and what moves that number
By species, solid-slab material (uninstalled) runs roughly: red oak $15-$50, birch $25-$75, maple $40-$80-plus, cherry $50-$275, walnut $75-$300. Grain is the other big lever inside any species — edge grain installs at $40-$150-plus, end grain at $50-$350-plus, face grain at $30-$200. Thickness adds too: going from 1.5-inch to 2-inch maple adds about 25-30% to the slab. Don’t forget the small consumables: sealant is $20-$50 a pint (it covers 400-plus square feet) and ongoing oil runs $10-$50 a year. Treat every figure here as a US-average range — urban markets run well above it and rural areas below, so price against your own quotes.
IKEA tops and big-box alternatives
IKEA KARLBY tops start from around $179 for the smallest entry slab, with the standard range running $199–379 per slab — the cheapest door into a wood-toned kitchen, as long as you remember it’s veneer over particleboard, with limited refinishing. Home Depot and Lowe’s sell genuine solid edge-grain maple and oak at roughly $20 to $45 a square foot, but in limited species and dimensions; custom sizes mean a fabricator order. For a budget-first buyer, an IKEA veneer top or a big-box solid slab plus your own labor is the lowest total cost — the trade-off being limited refinishing (veneer) or limited size and species (big-box solid).
Pro install vs DIY weekend: where the math lands
Here’s where the savings live. Homewyse’s May 2026 national average for a pro-installed maple edge-grain top is $67 to $94 per square foot all-in, with each sink or faucet cutout adding $100 to $200. A small DIY kitchen — say 30 square feet of big-box maple at about $25 a square foot — runs roughly $750 in materials plus consumables. The same job with pro labor lands at $2,000 to $2,800. That’s $1,200 to $2,000 saved for a homeowner with basic tool skills, which is why butcher block is one of the most DIY-friendly countertop materials going: it’s light, it cuts with standard woodworking tools, and it forgives small fitting gaps. The parts that genuinely reward a pro are precise undermount sink cutouts, long mitered seams, and sealing end-grain cuts against water. Budget 1 to 2 hours per square foot, and let the slab acclimate in the room for 2 to 5 days first. The complete pricing scenarios and the install walkthrough are in what butcher block costs and DIY install.
The Maintenance Reality: Oiling, Sealing, and Repair
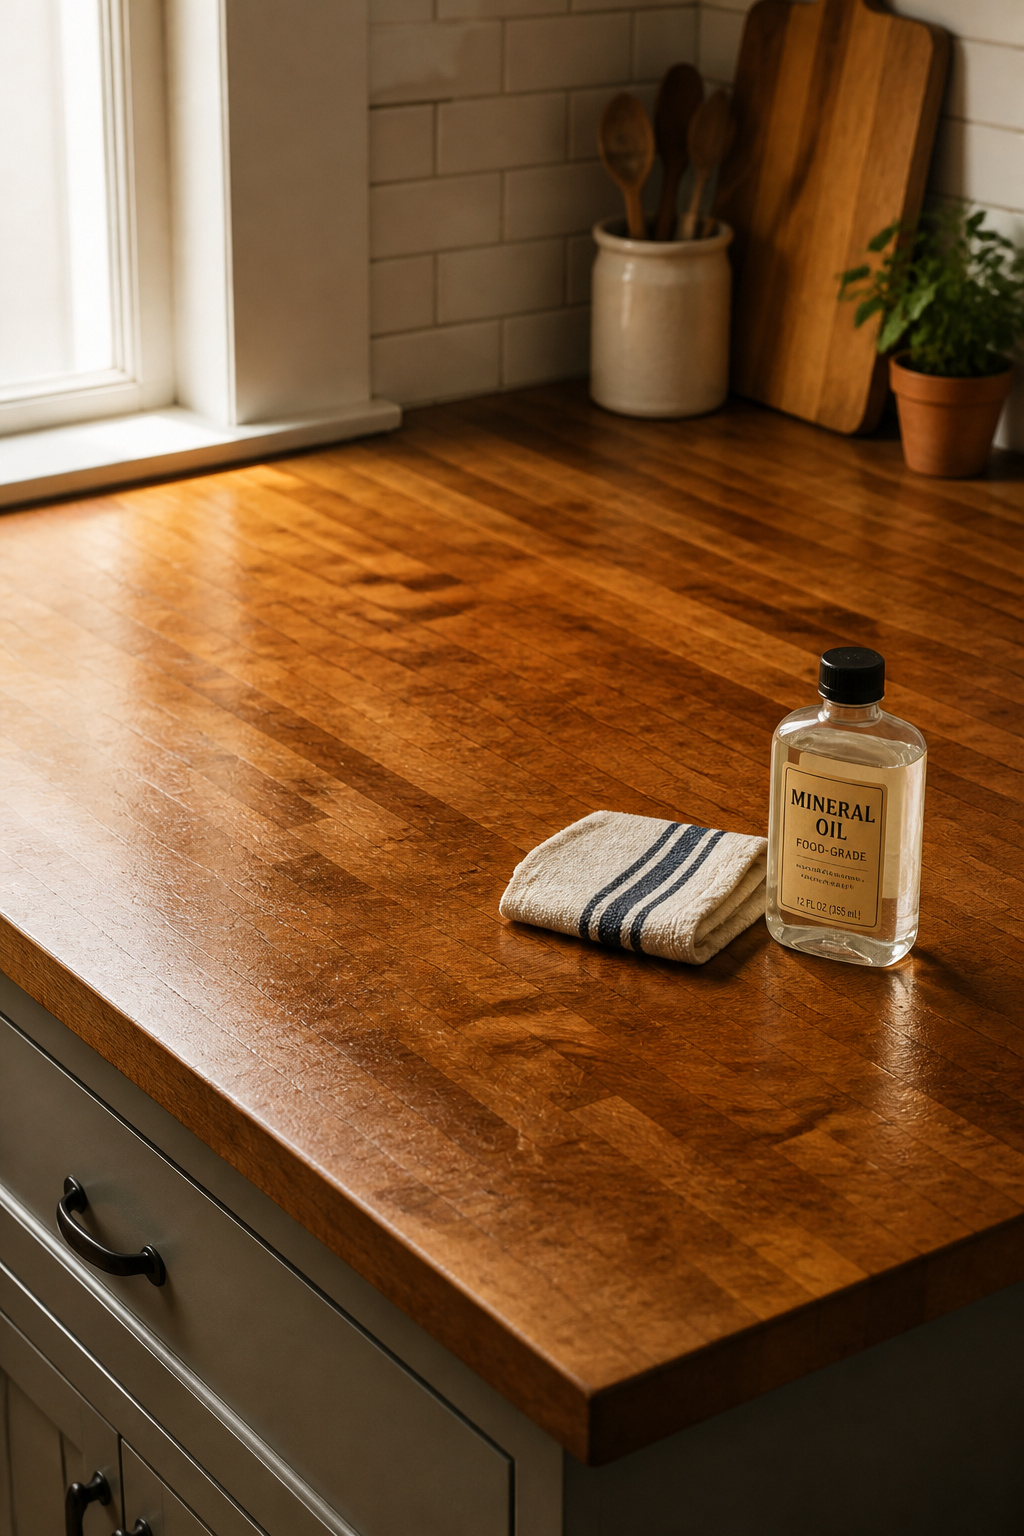
Maintenance is the deal-breaker for the wrong buyer and a non-issue for the right one, so be honest here. The headline is that the first month is the work, and after that it’s a fifteen-minute habit.
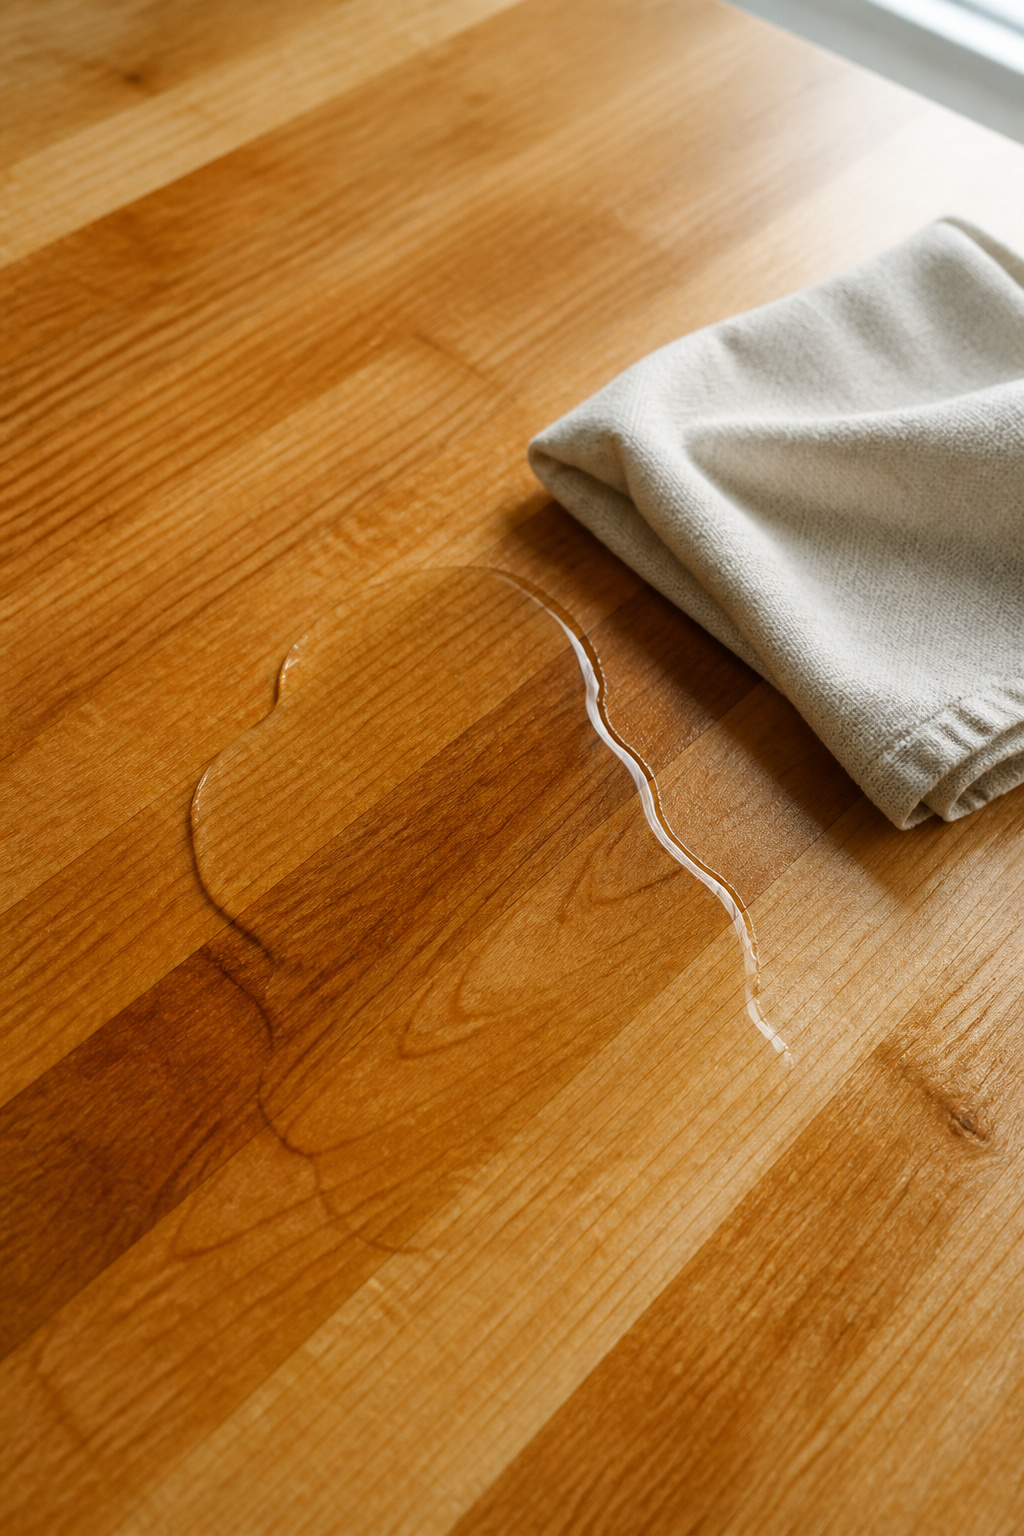
The break-in sequence goes like this:
- Apply food-grade mineral oil generously with a lint-free cloth, working with the grain.
- Let each coat soak 20 to 30 minutes, then wipe away the excess.
- Repeat for 4 to 7 coats total — one a day for a week, or one a week for a month.
- After break-in, switch to roughly one coat a month, more often in dry winters.
The wood absorbs heavily on the first coat or two and progressively less as the pores fill, which is your signal that it’s getting there. The hard rule: never use cooking oils. Olive, vegetable, coconut and flaxseed all go rancid inside the wood, leaving an odor and little protection. Food-grade mineral oil or a mineral-oil-and-beeswax conditioner is the correct choice for an oiled finish.
Food-safe oils vs film finishes: which to choose
You have two real paths. Mineral oil is cheap, odorless, food-safe and available at any pharmacy — but the surface stays slightly oily to the touch and can transfer to papers left on the counter. A film finish like Waterlox (a resin-modified tung oil) cures to a hard, water-resistant surface that’s food-safe once fully cured, needs 3 to 5 coats up front, and then resealing only annually rather than monthly. Kris Jarrett of Driven by Decor tested both on her own IKEA oak tops over several years and preferred Waterlox for an active family kitchen — better water resistance, no oil transfer, no monthly chore — but noted it darkens the wood to a slightly more orange tone than the lighter, natural look of mineral oil. Polyurethane is the most waterproof film, but it isn’t food-safe for a prep surface and can’t be spot-repaired, so save it for a bar top.
Sanding out scratches, stains, and water rings
This is the repairability advantage in practice. Shallow knife marks and light stains sand out at 150-180 grit with a hand or orbital sander. Deeper cuts, burns or water-stain halos start at 80-100 grit, then step up to 150 and finish at 180-220 before re-oiling. The one rule people forget: re-oil the freshly sanded wood immediately, in 2 to 3 quick coats, because bare sanded wood absorbs water and stains fast. A scratched top is an afternoon with a palm sander, not a contractor’s invoice. Each 1.5-inch slab takes roughly 3 to 5 refinishes across its life; a 2-inch slab gives you more. The complete care routine — the water-bead test, the full schedule, every stain type — is in the guide on how to oil and seal butcher block.
The Sink Problem: Protecting the High-Water Zone
If butcher block fails, it fails at the sink. This is the single most important paragraph in the guide for anyone planning wood near water, so read it before you commit to a layout.
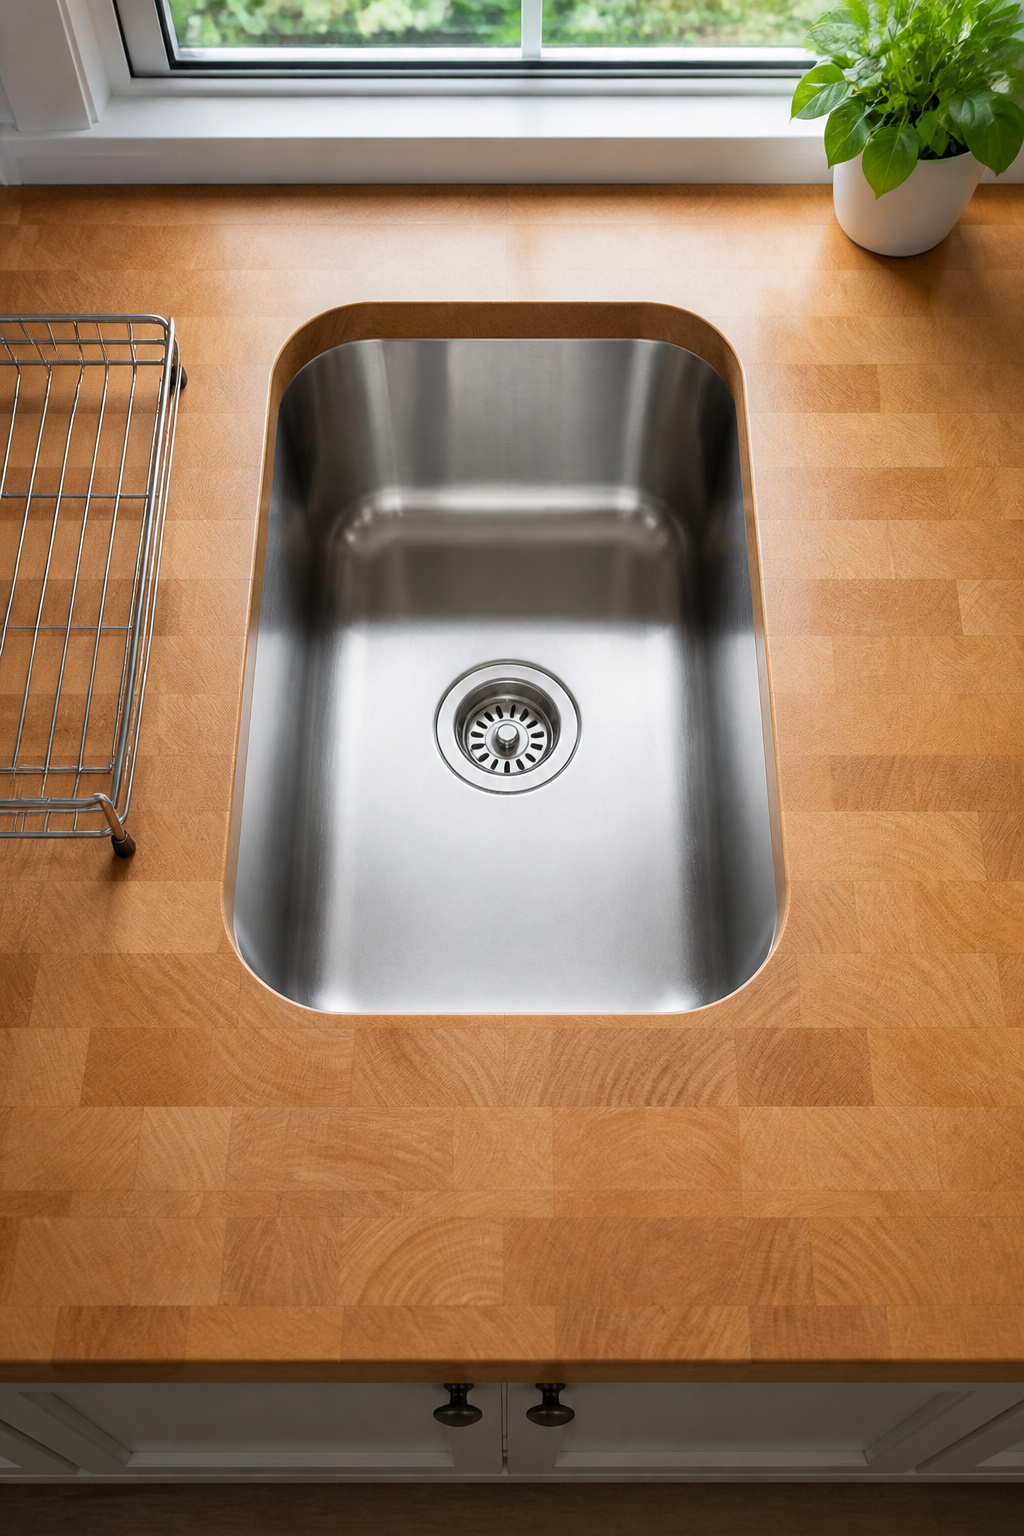
Why the area around the sink is where butcher block fails
The sink zone gets exponentially more water than anywhere else on the counter, and repeated wet-dry cycles swell the fibers, break glue joints, leave dark halos, and eventually warp or split the slab. Worse, the sink cutout exposes end grain on all four sides of the opening — and end grain is the most water-absorbent surface of any wood, wicking moisture deep and fast. If that cutout end grain isn’t sealed before the sink goes in, damage often starts within months. The faucet base is the second weak point: water collects in the gap around the collar and wicks under the fitting, so every faucet penetration needs silicone.
Undermount vs drop-in: which sits better with wood
Undermount sinks keep the surface more hygienic — water and crumbs sweep over the rim instead of pooling under a lip — but they expose the full cutout edge to the underside of the basin, which demands thorough end-grain sealing (epoxy or 3 to 4 coats of film finish, fully cured) before mounting. Drop-in sinks shield that cutout edge with their rim, but the rim-to-wood joint collects water and debris and has to be siliconed and cleaned regularly. Neither is set-and-forget; both succeed with proper sealing.
The quick answer on keeping it dry and sealed
The short version: dry the surface promptly after use, lift wet items off the wood with a rack or mat, use a film finish rather than plain mineral oil in the splash zone, and re-seal the sink area more often than the rest of the counter. Inspect and replace the silicone at the sink and faucet annually — failed caulk is a quiet, common cause of slow water ingress you won’t notice until the damage is done. For the full solution — cutout sealing, finish choice, the install order that prevents all of this — see protecting butcher block around a sink.
Butcher Block in the Kitchen: Design Ideas That Work
Once the practical decisions are made, the fun part is placement — and here the data is unusually clear about what’s working in 2026.
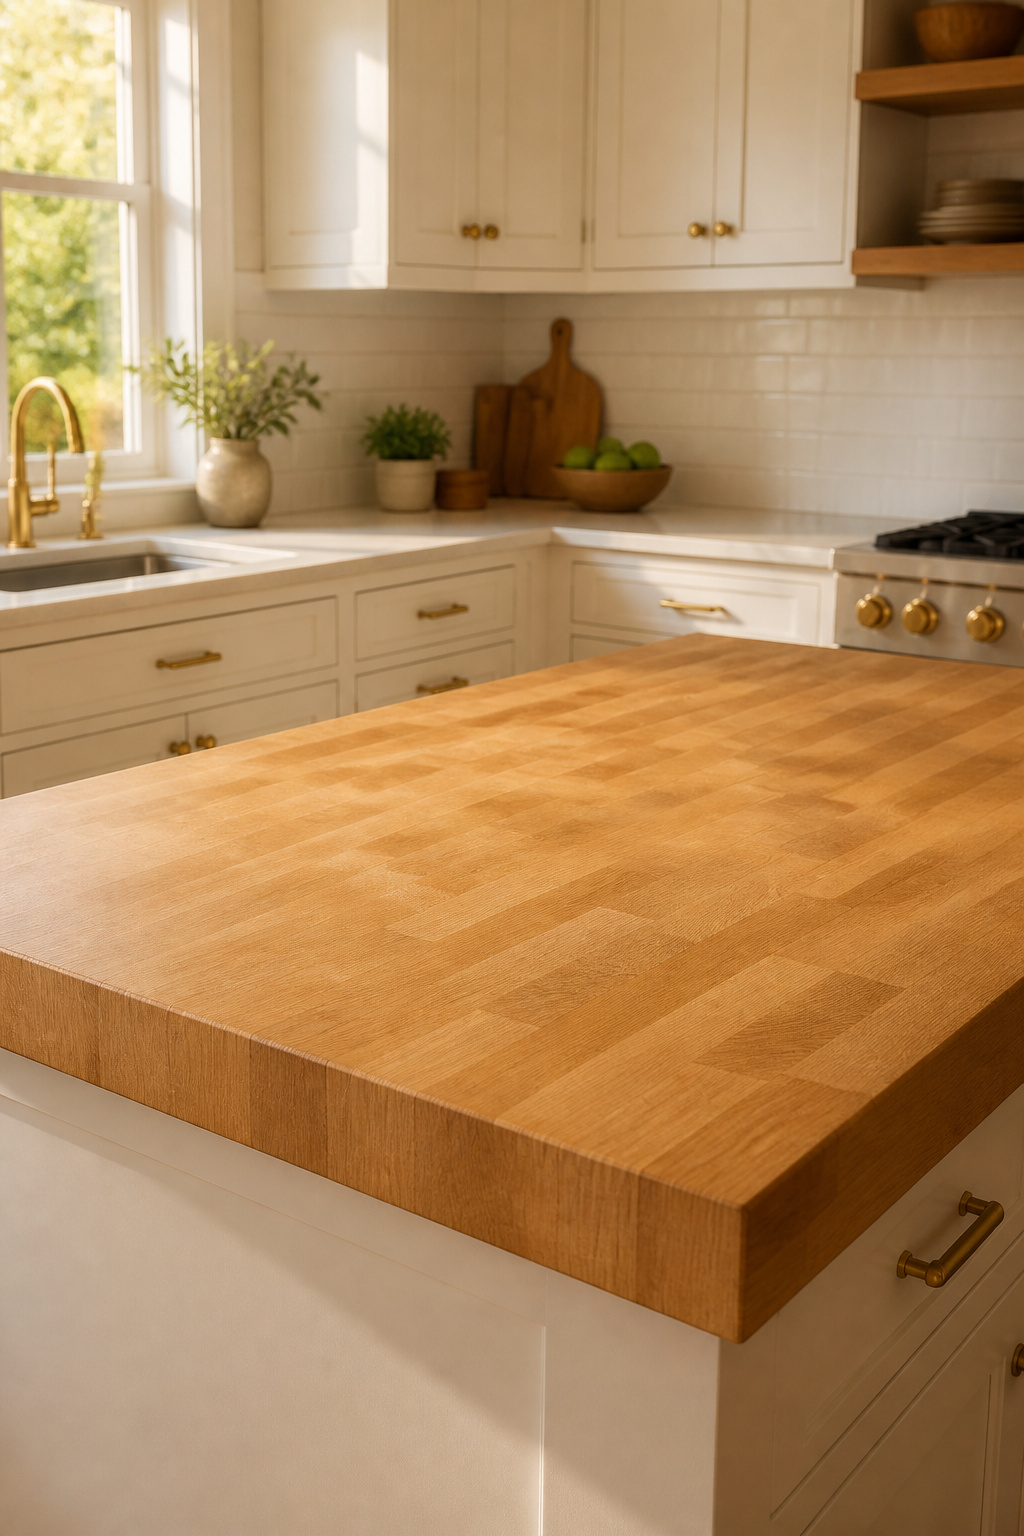
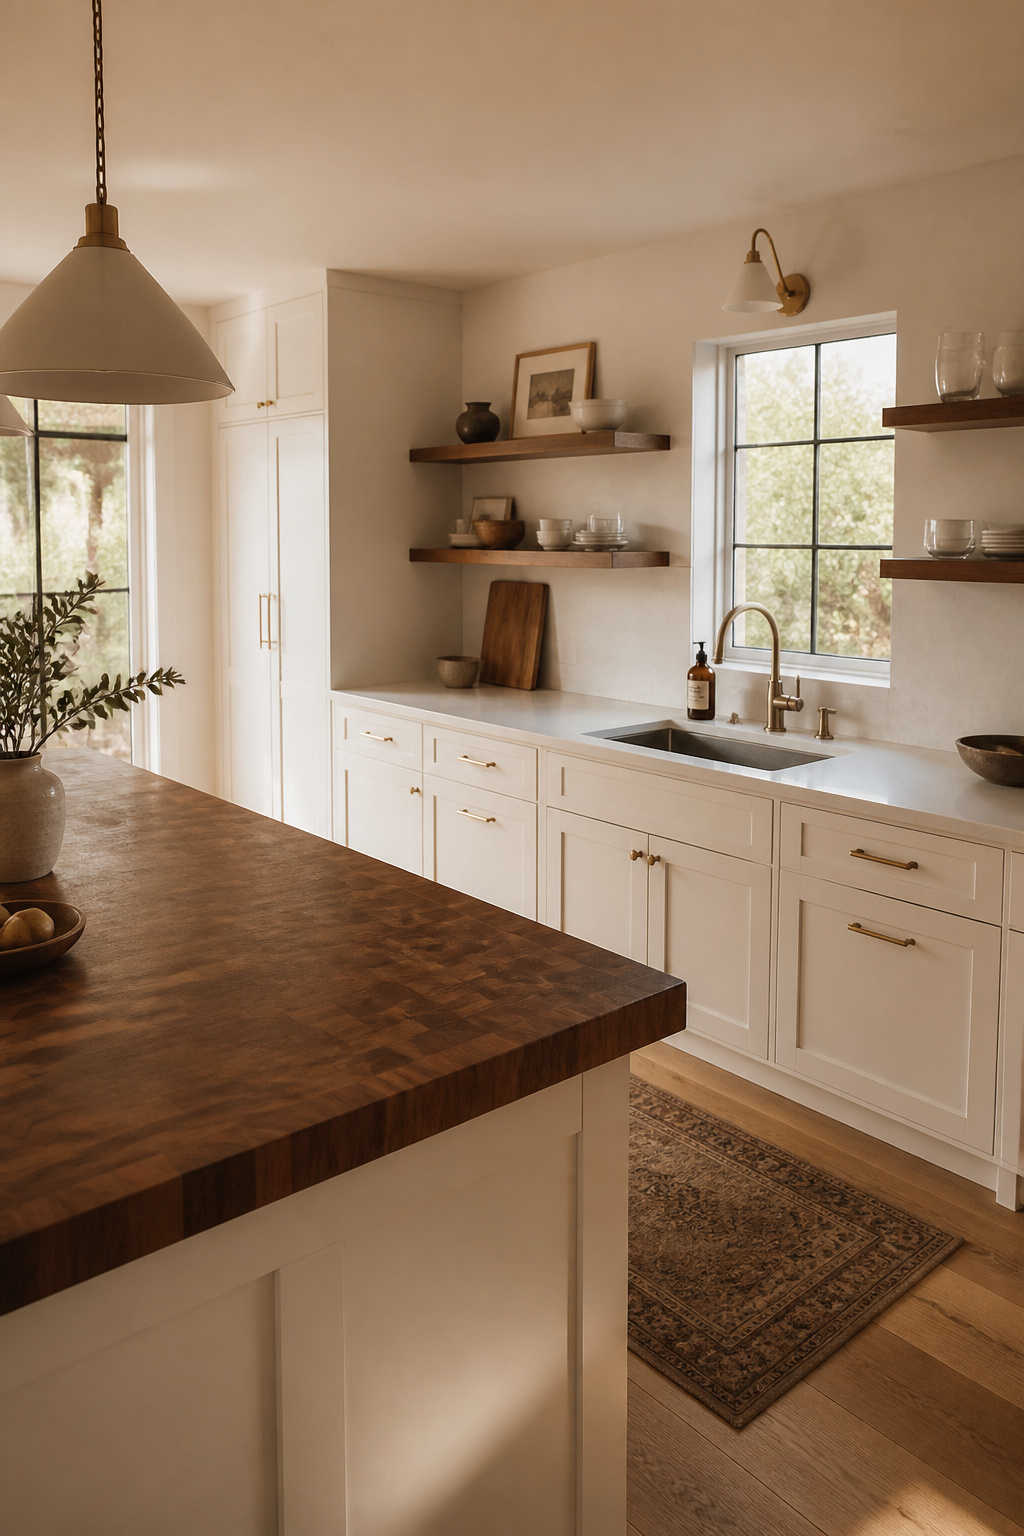
Pairing wood counters with white cabinets
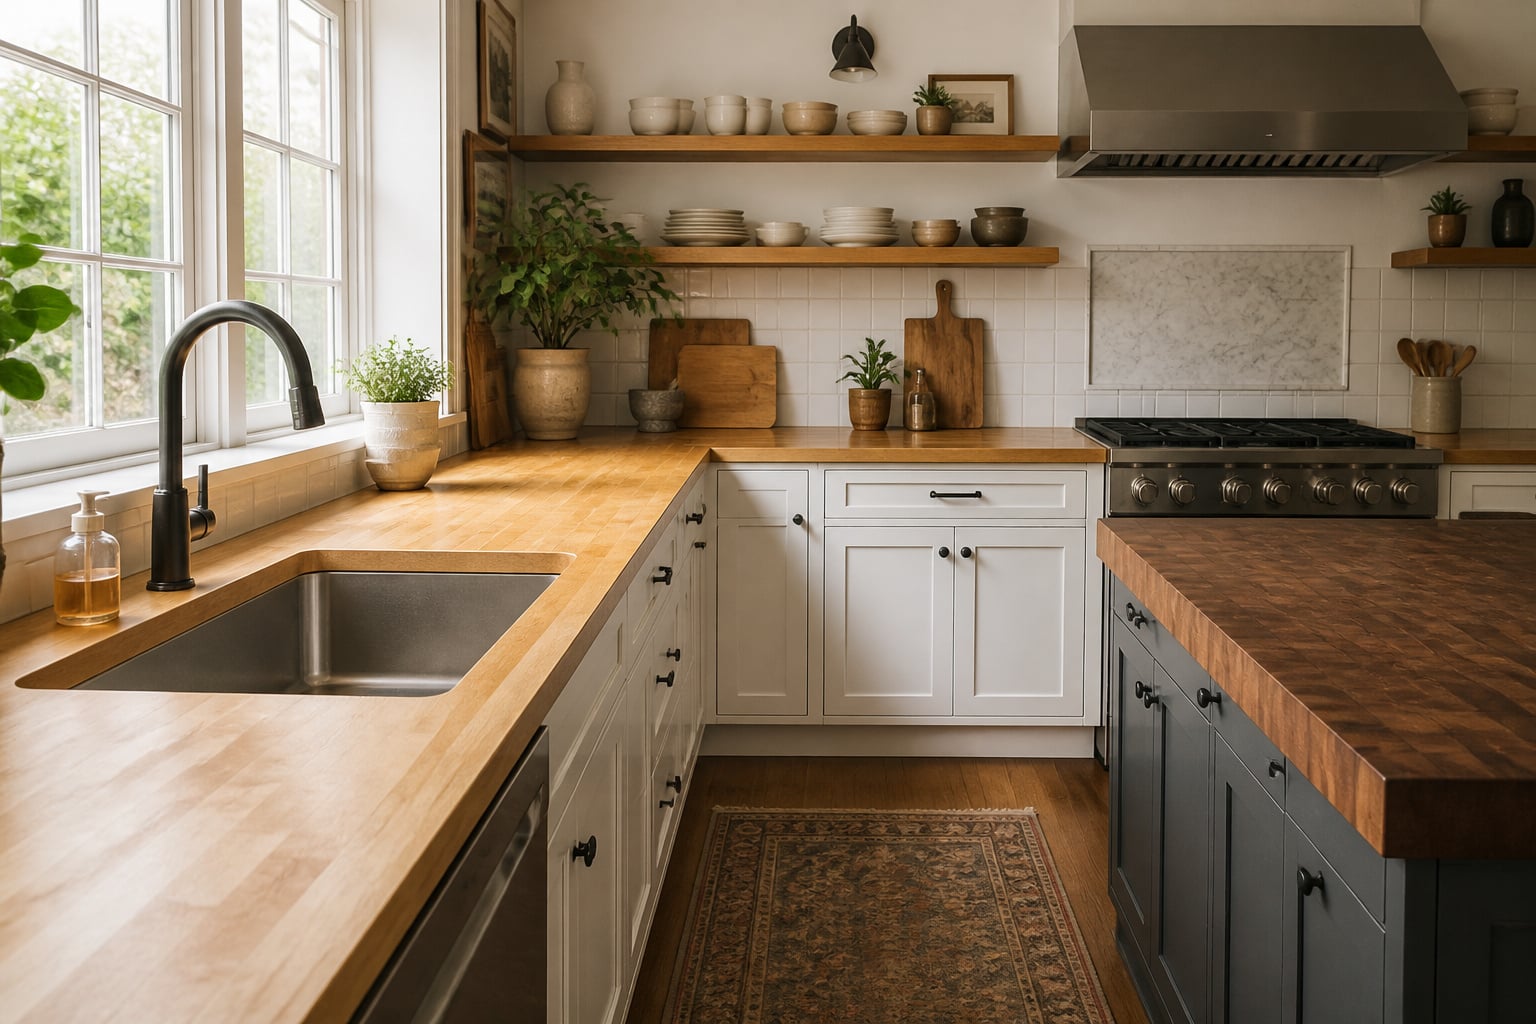
Warm wood against white cabinets is the pairing that rescues an all-white kitchen from feeling clinical. Honey-toned maple reads warmest against a pure white; darker walnut sits better against a warmer off-white or greige. Hardware tunes it: brass or unlacquered bronze pulls complement maple and walnut, while chrome or brushed nickel keeps the scheme cooler and suits maple better than walnut (skip matte black against pale maple — the contrast turns stark). It fits the broader 2026 shift away from the all-white kitchen toward what designers are calling “cozy luxury,” and it’s a far cheaper way to add warmth than repainting cabinets. The full tone-matching playbook is in the guide on pairing it with white cabinets.
The mixed-material kitchen: wood island, stone perimeter
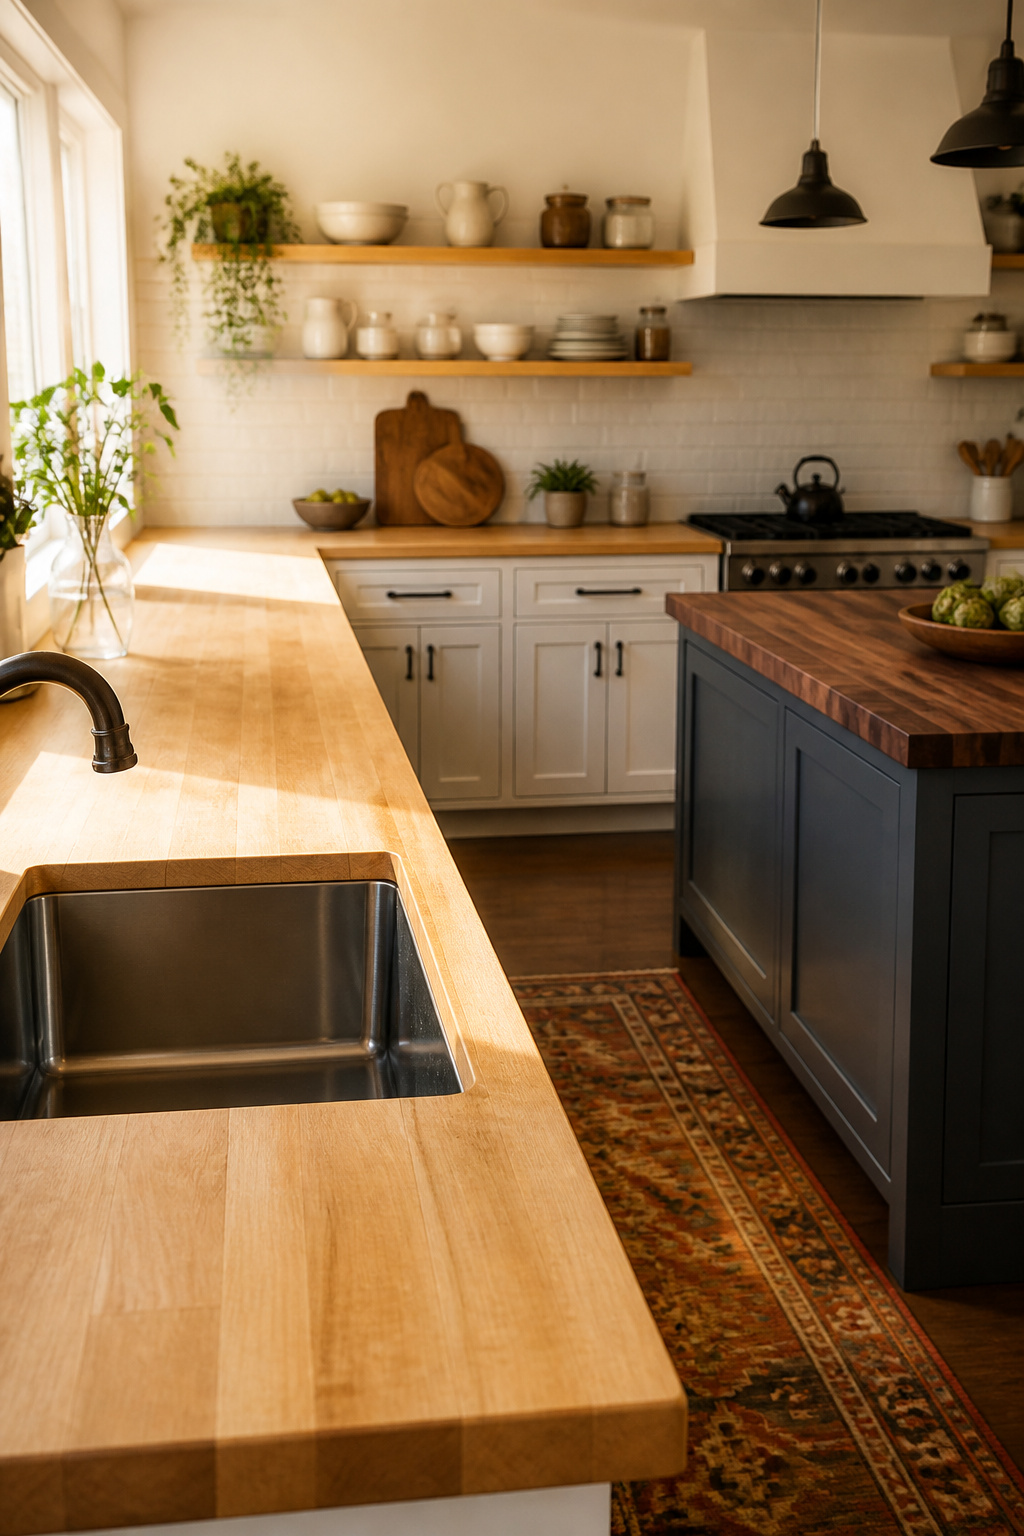
This is the move with the hardest numbers behind it. In a 2026 homeowner survey reported by Florida Realtors, wood and butcher block jumped 12 points in a year to 39%, claiming the top spot for island countertops — while engineered quartz stayed dominant on the perimeter. The logic is functional: stone handles heat, water and heavy cleaning where the sink, dishwasher and stove live, and wood handles prep, serving and gathering on the island where water exposure is controlled and the warmth reads best. A walnut or honey-maple island a few feet from warm-veined quartzite feels intentional; match the wood tone to the stone’s undertone and the two materials hold a conversation. The proportions and the budget logic are covered in a wood island with stone perimeter.
Where wood reads best and where it fights the room
Butcher block reads best as a contrast surface — warm wood against painted cabinets in white, navy, dark green or charcoal. It reads worst in a kitchen that already has heavy natural-wood cabinetry, where the two wood tones compete instead of complement. It’s strongest on an island (four visible sides, center-stage prominence) and as a breakfast-bar overhang; across a full perimeter it can feel visually heavy and is harder to maintain consistently through the water zones. One last principle from the 2026 coverage: let other natural materials appear nearby — linen, rattan, stone, ceramic — so the wood reads as part of a considered palette rather than an isolated feature.
The Verdict: Is Butcher Block Right for Your Kitchen?
Strip away the showroom appeal and the decision comes down to honesty about how you actually live. Three questions settle it:
- Will you oil it? Once a month for an oiled finish, or one good Waterlox sealing job plus annual resealing. If the honest answer is no, stop here — no amount of loving the look survives a neglected surface.
- Where’s your sink? If butcher block is going right around the sink, you’re committing to aggressive cutout sealing at install, prompt drying, and accepting that this zone ages faster than the rest.
- Can you live with character? Knife marks, subtle color shifts, the occasional repair scar. To some buyers that’s the charm; to others it’s a daily irritation. Know which one you are.
Choose wood over stone when budget matters, when warmth and texture are the priority, when the counter sits on an island away from the primary sink and stove, and when you genuinely cook and will keep up the oiling. Choose stone when the counter must sit beside the sink with no way around daily water, when monthly oiling won’t happen, when the kitchen does high-heat, high-volume work, or when you want a surface that looks identical in 20 years. And for most kitchens, the smartest answer in 2026 isn’t either-or — it’s stone on the perimeter, butcher block on the island. That isn’t a compromise. It’s the most considered version of this decision, putting each material exactly where it’s strongest.
From here, go where your next question lives. If you’ve decided on wood and need to pick the build, start with the grain construction and species guides. If you’re pricing the job or weighing DIY, the cost and install guide has the scenarios. And if you’re already shopping for the day you take delivery, the maintenance and sink guides are the ones that will keep that long lifespan going.