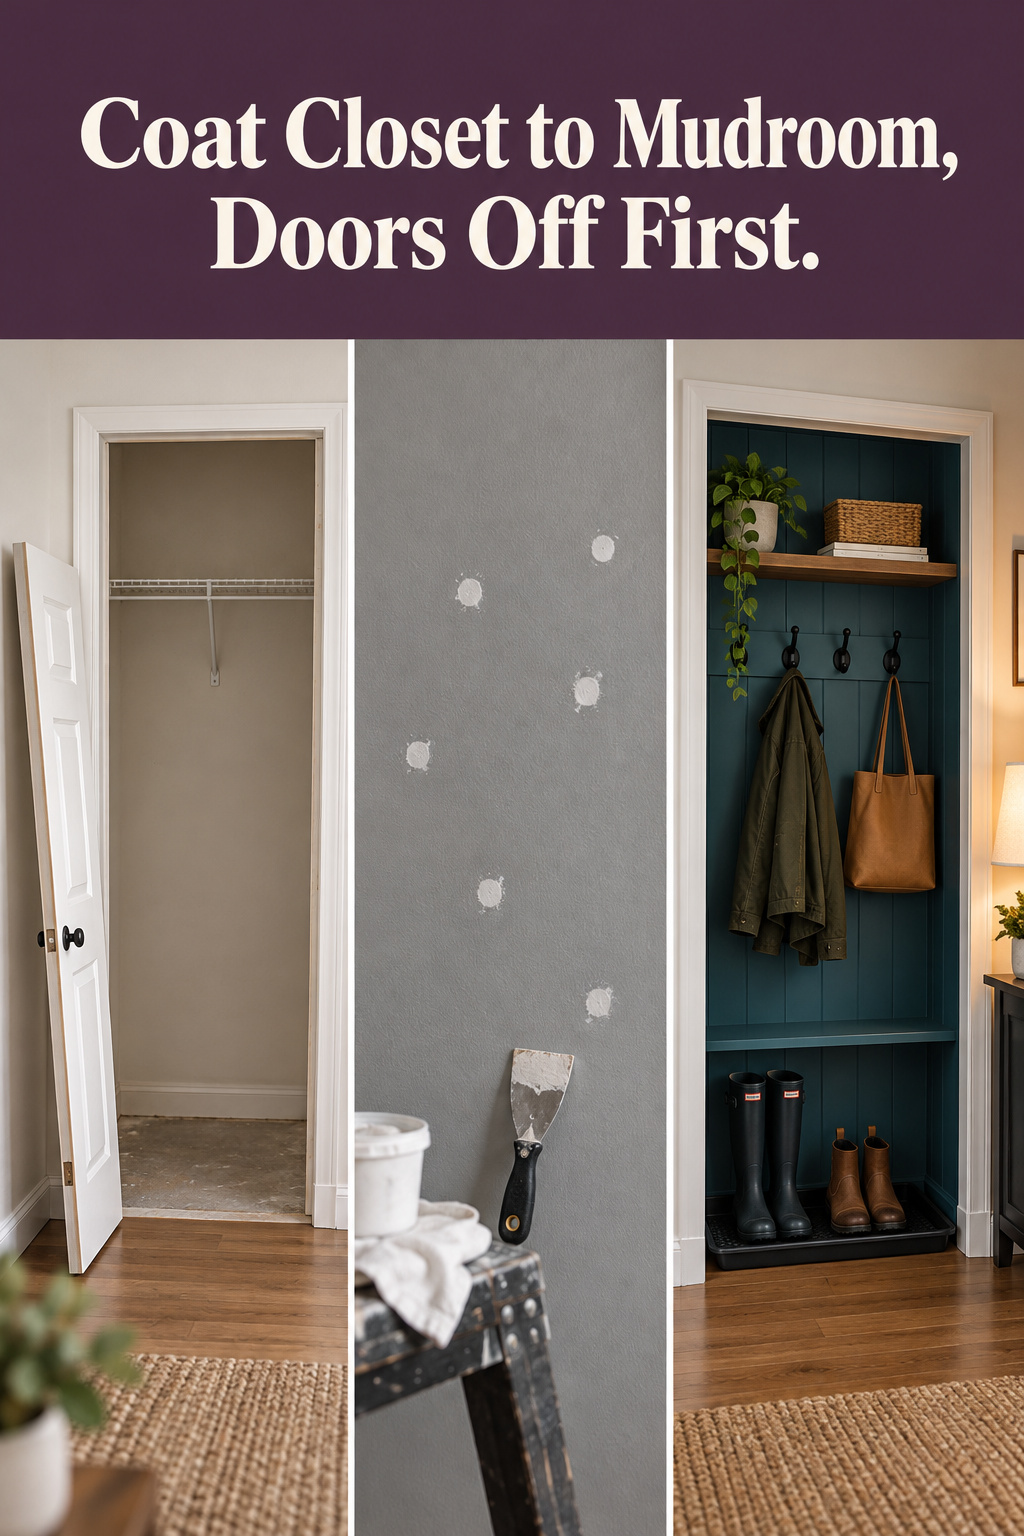
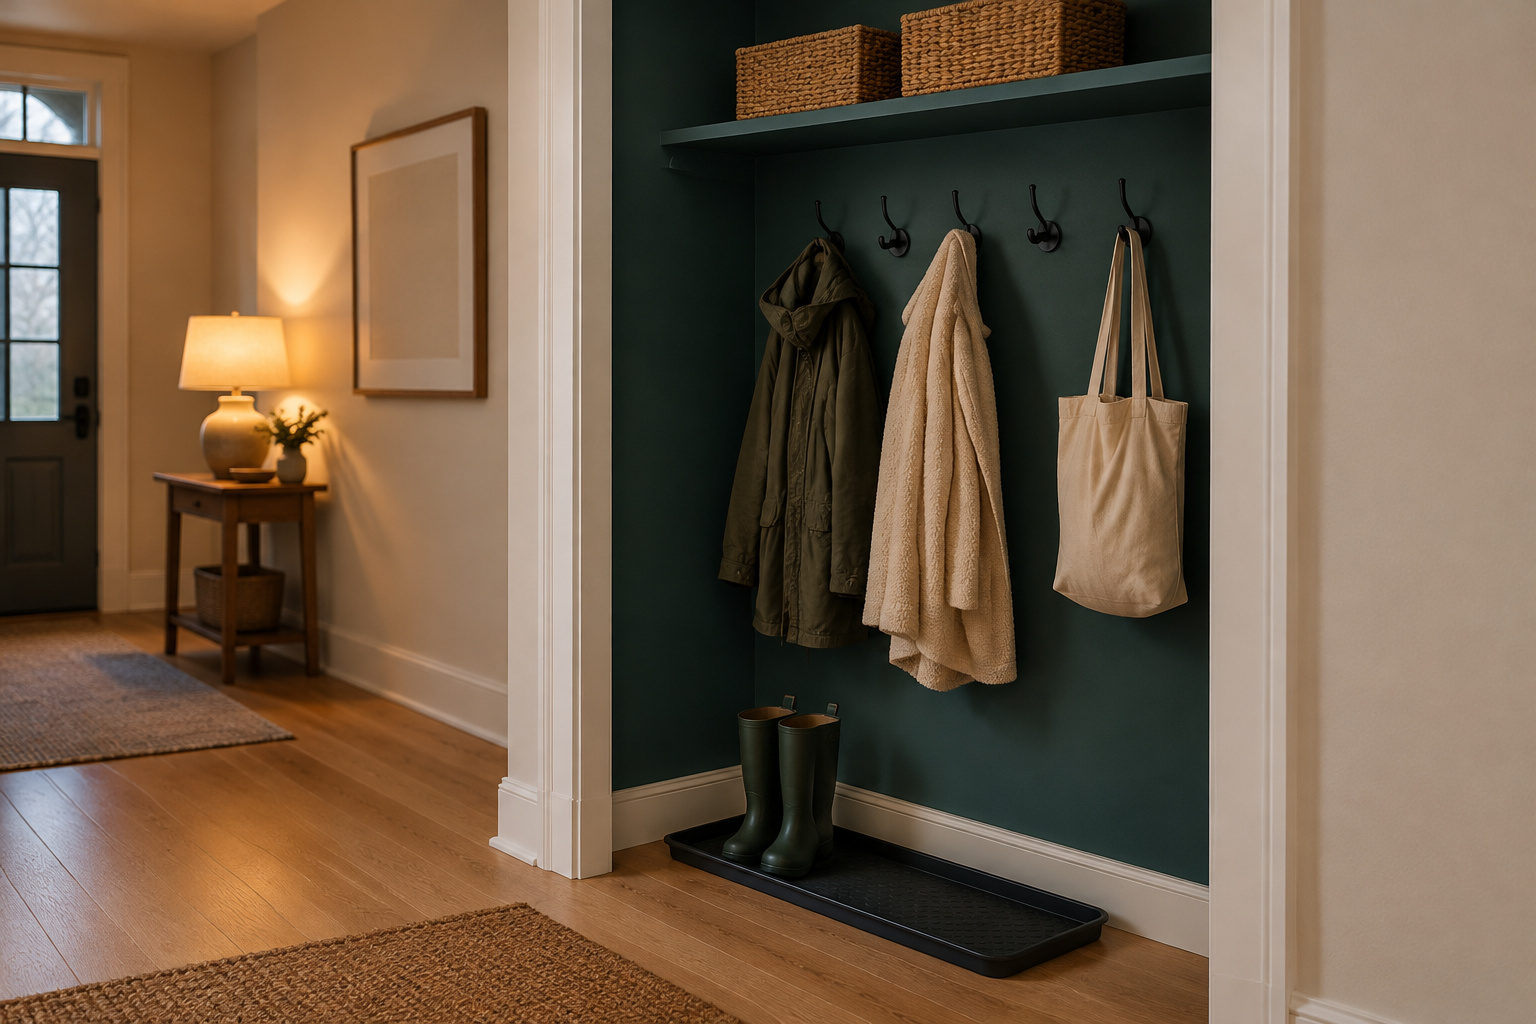

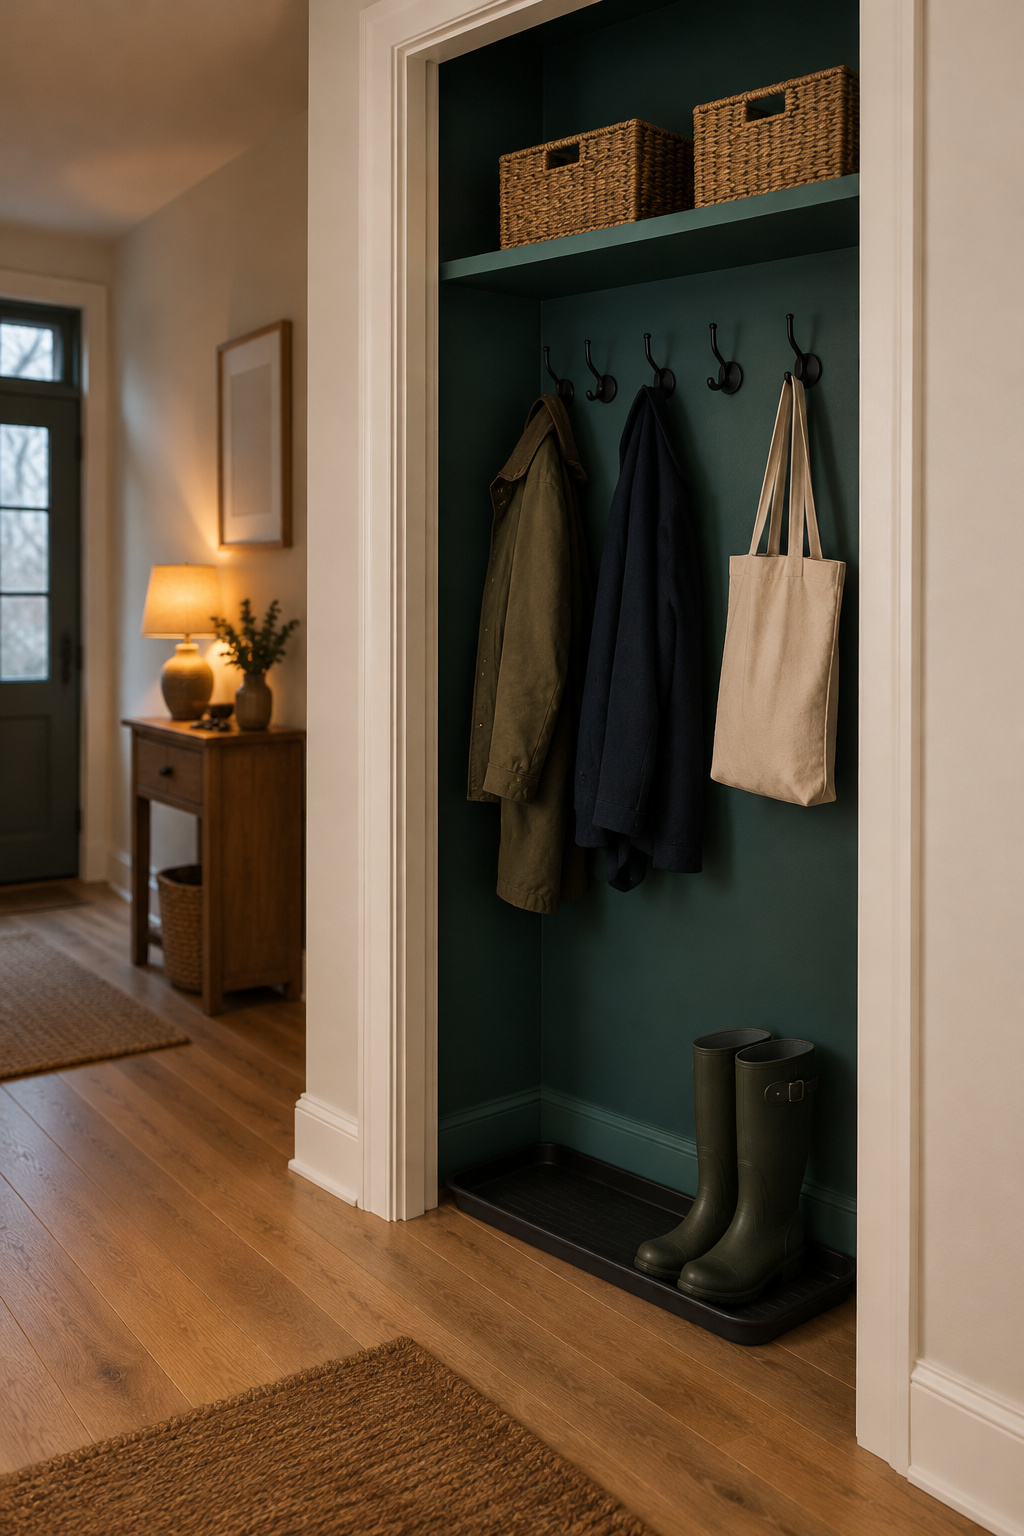
The usual mistake with a coat closet to mudroom conversion happens before anyone picks up a drill. People build the nook from a photo, then watch their household ignore half of it. Behind most closet doors is a heap you stopped seeing years ago: coats on shoes on a bag nobody claims. What you want is an open nook where everything has a spot. It costs about $30 to $165 in paint, hooks and a shelf, and it takes me two weekends with a week of doing nothing in between. Most people skip that week, and it’s what tells you what to build.
TL;DR
- Take the doors off first and live with the open closet for a week. What lands on the floor, and where coats get draped, tells you whether you need a rack, hooks, a high shelf or a bench.
- A closet with 24 in of clear depth can keep a hanging rod; under about 22 in, plan on hooks instead.
- Budget about $30 to $165 for paint, hooks and a shelf, and buy a gallon of paint: two coats inside a 2 by 5 ft closet come to about 164 sq ft, and a quart won’t stretch that far.
Coat Closet to Mudroom Starts With Taking the Doors Off
A doors-off nook is one of the few changes you can fully undo, as long as every door, pin, bracket and screw stays together, because rehanging needs only the same hardware. Renters should still check with the landlord first.
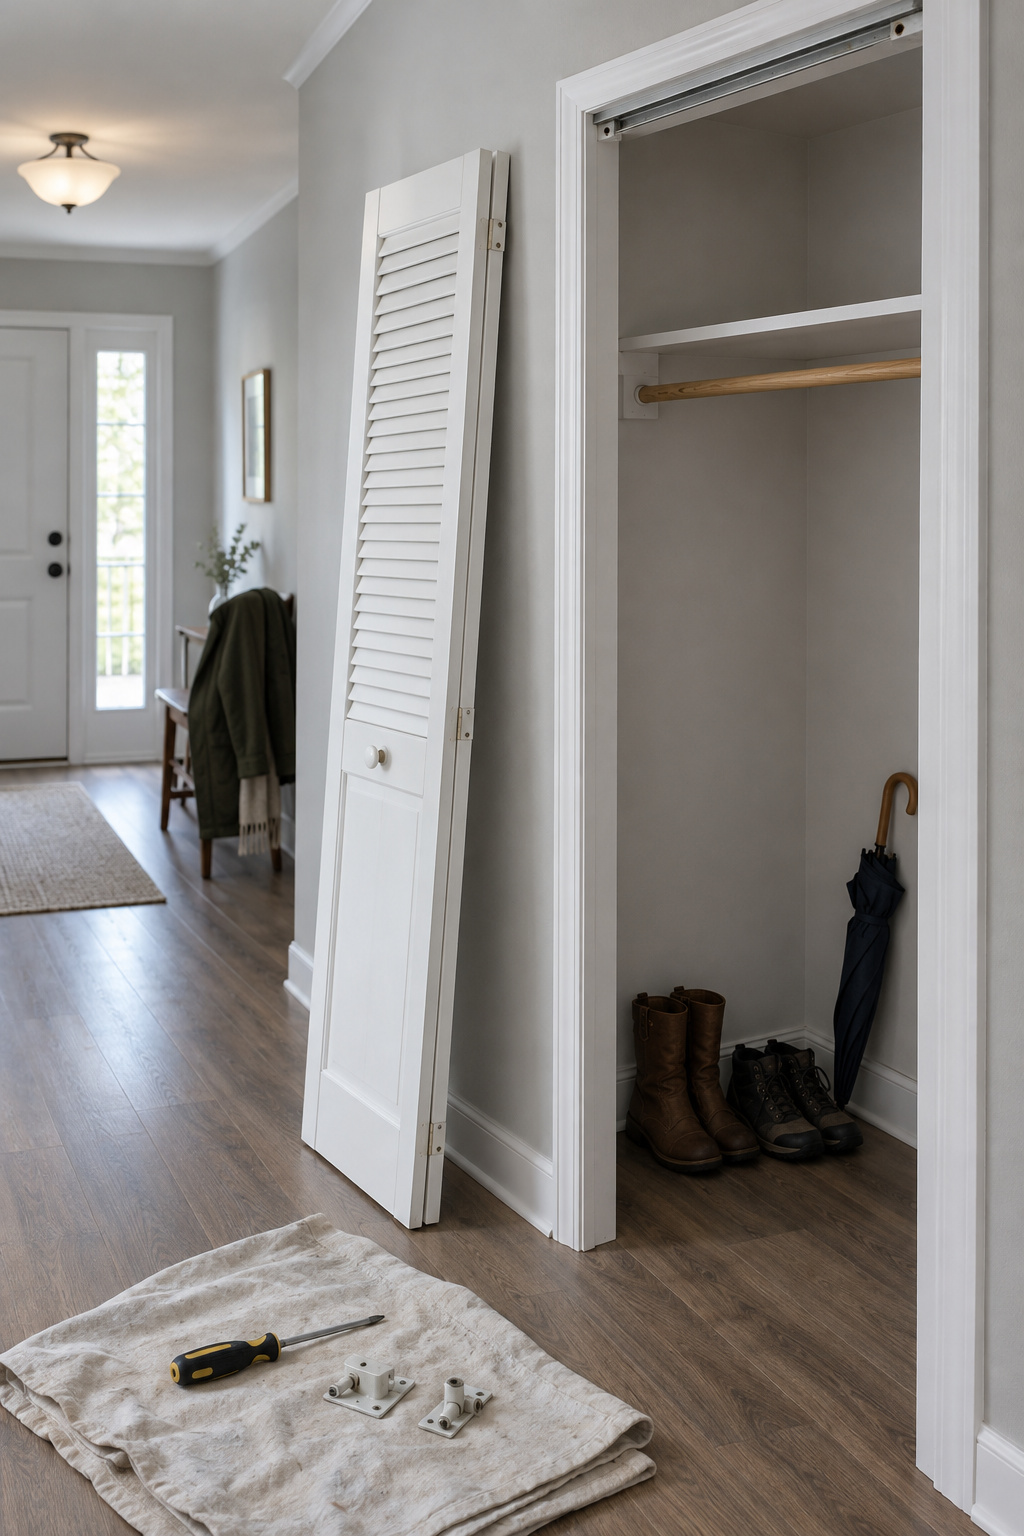
You need a flat screwdriver, a hammer, a long nail and some cardboard. For a hinged door, close and latch it, then tap each hinge pin up from below with the nail. Once a pin rises about an inch, pull it by hand, slide the cardboard under the door and lift it off. A bifold comes off by pushing down the spring-loaded top pivot, swinging the top out of the track and lifting the door off the bottom bracket. For a bypass slider, move the outer door to the center, lift and tilt it off the bottom track, pull the top free, and repeat. Sliders are heavier than they look, so get a second pair of hands.
None of this touches the framing. The door and jamb hang inside the opening, the header stays where it is, and the opening gets no wider. Widening it to the full closet, or touching a bearing wall, is a different job, for an engineer and a permit. If you’re unsure about anything, check with your local building office.
The front door and floor come first; the entry projects to do before this one are laid out in order.
Live With the Open Closet for a Week and Watch the Floor
Pros measure and beginners guess, and a mudroom designed from a photo is a guess. A week with the doors off is how you measure your household.
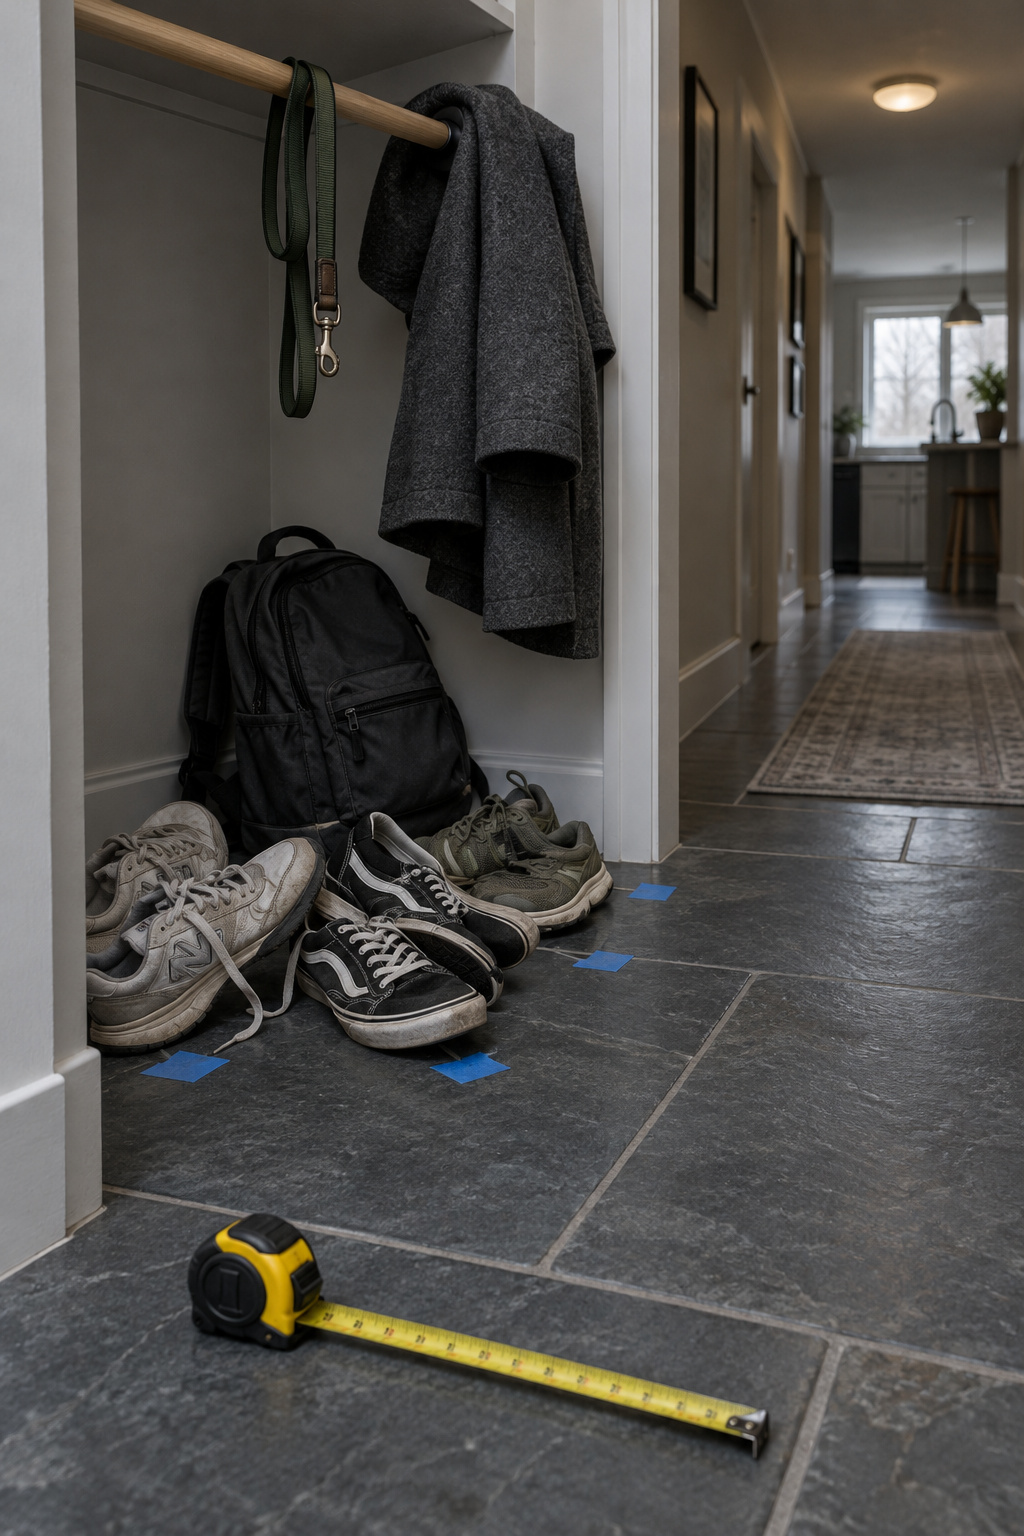
Mudroom builders and organizers advise watching your entry for about a week before designing it; I take the doors off first. With them on, the closet hides the evidence. With them off, the pile is in plain view every time you walk past, and so is the coat that ended up over a chair.
Don’t tidy during the week. Write down what you see each evening, then turn the list into decisions:
| What you see | What it tells you | What to build |
|---|---|---|
| Shoes spread past the closet onto the hall floor | Shoes are the biggest load | An open rack sized to the pairs, and fewer pairs kept at the door |
| Coats draped on a chair or the stair rail | Hanging in the closet takes too much effort | One hook per person |
| Backpacks on the floor under the rod | The hanging point is too high for whoever carries them | Hooks within that person’s reach |
| Hats, gloves and scarves on top of the pile | Seasonal things have nowhere to go | A high shelf or cubbies |
| Someone sitting on the stairs to pull boots off | The door needs a seat | Room left for a bench |
| A lidded basket nobody opens | The lid slows people down | An open bin |
Shoes are the biggest load in most homes, and that pile wants a shoe rack built to your shoes rather than one sized to the closet. If the boot row shows up, a bench may fit the nook, and the bench article covers that build.
Before you plan anything that hangs, measure the depth. A standard reach-in closet is 24 in clear, sized around a 17 to 19 in hanger plus the bulk of a coat. Under about 22 in, a rod stops working and hooks make more sense. Hold a wooden hanger with a coat on it square across the closet; if it can’t sit at 90 degrees to the back wall, the rod goes.
Pull the Rod and Shelf, Then Patch the Inside Until It Disappears
A closet rod leaves a cluster of screw holes on each side wall where the end cups sat, most of them ringed with a raised collar of drywall paper. Mark the holes before you fill them, because they usually sit on studs.
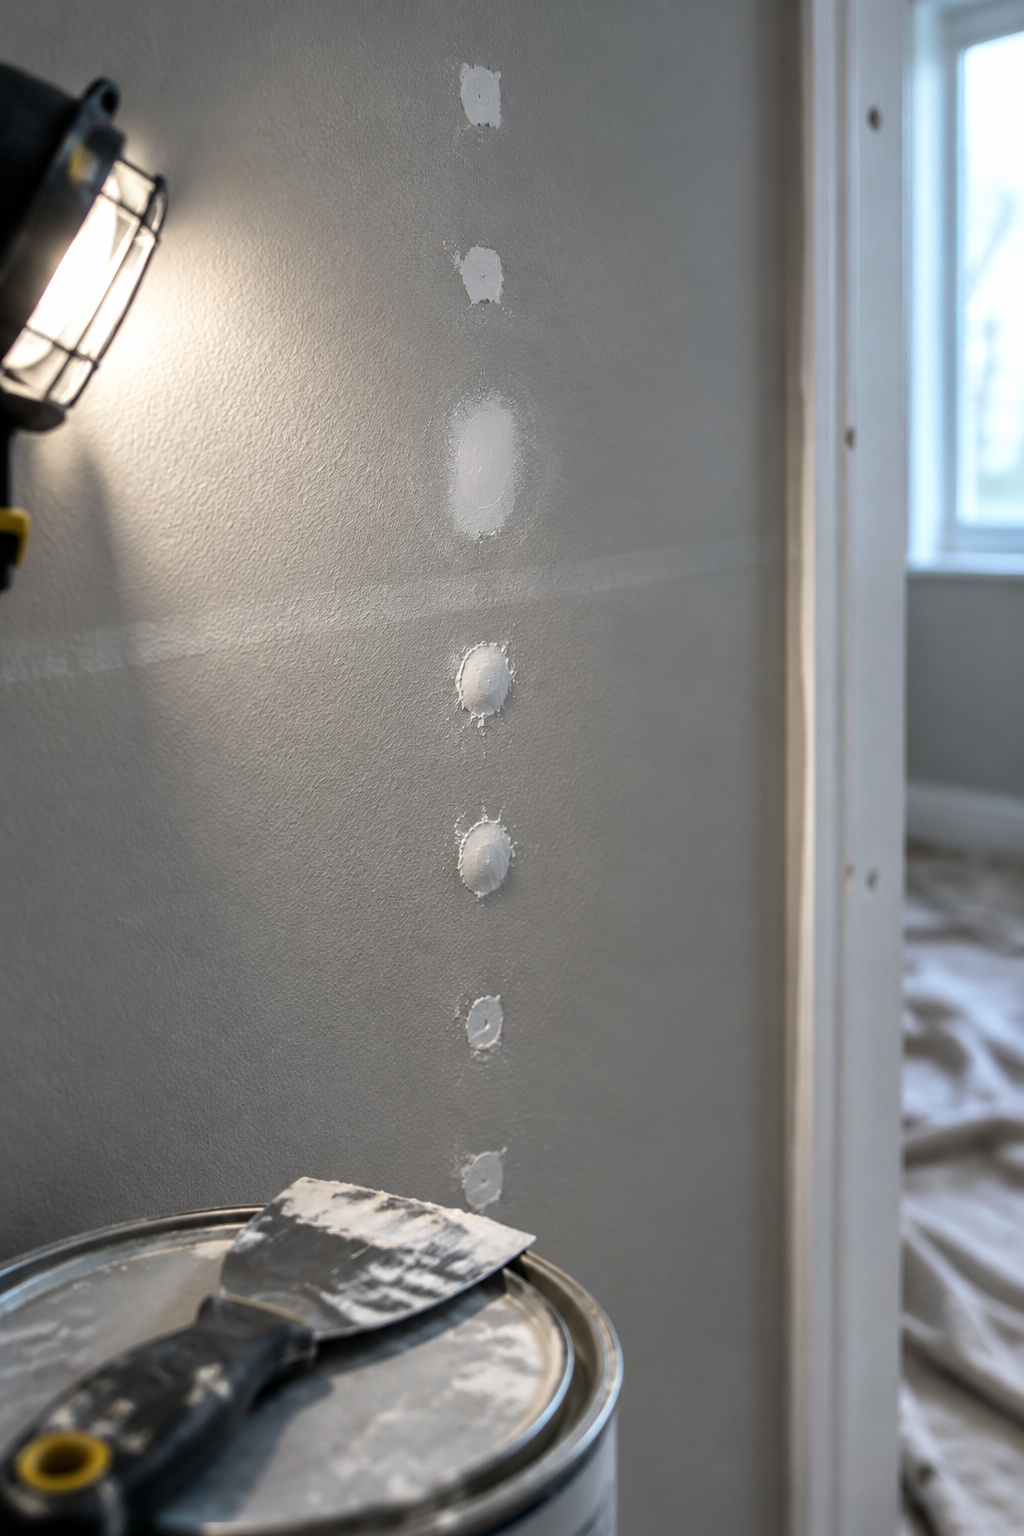
- Take out the rod, shelf, cleats and brackets.
- Press each raised rim down with the butt of a putty knife so the filler sits flush, and trim torn paper.
- Fill holes under half an inch with spackle, scraping off the excess while it’s wet. Holes from half an inch to an inch and a half get a self-adhesive mesh patch first, with compound pushed through it.
- Let it dry: a few hours for small holes, overnight for mesh patches.
- Sand with a fine-grit sponge and light pressure. Press hard and you dish out a hollow that shadows through the paint.
- Prime every patch, a little past its edges.
Step 6 is the one people skip, and I’ve skipped it myself. I once left out a primer coat to save a day and had to repaint the whole wall two weeks later. Spackle is porous and soaks up moisture from the paint, so the old rod holes come back as a row of dull, flat dots. Prime them and they stay gone.
If the closet trim is old enough to carry lead paint, test before you sand, and work lead-safe if it does. Expect a day of filling and sanding, a shorter session for primer, and one trip back to the store for mesh.
Paint the Inside and Trim the Jambs Like It Is a Room
Take a typical closet, 2 ft deep, 5 ft wide and 8 ft tall. The back wall is 40 sq ft, the two sides 32 together and the ceiling 10, so one coat covers about 82 sq ft and two coats about 164. A gallon covers 350 to 400 sq ft a coat and a quart a quarter of that, so one quart won’t make two coats. Buy the gallon.
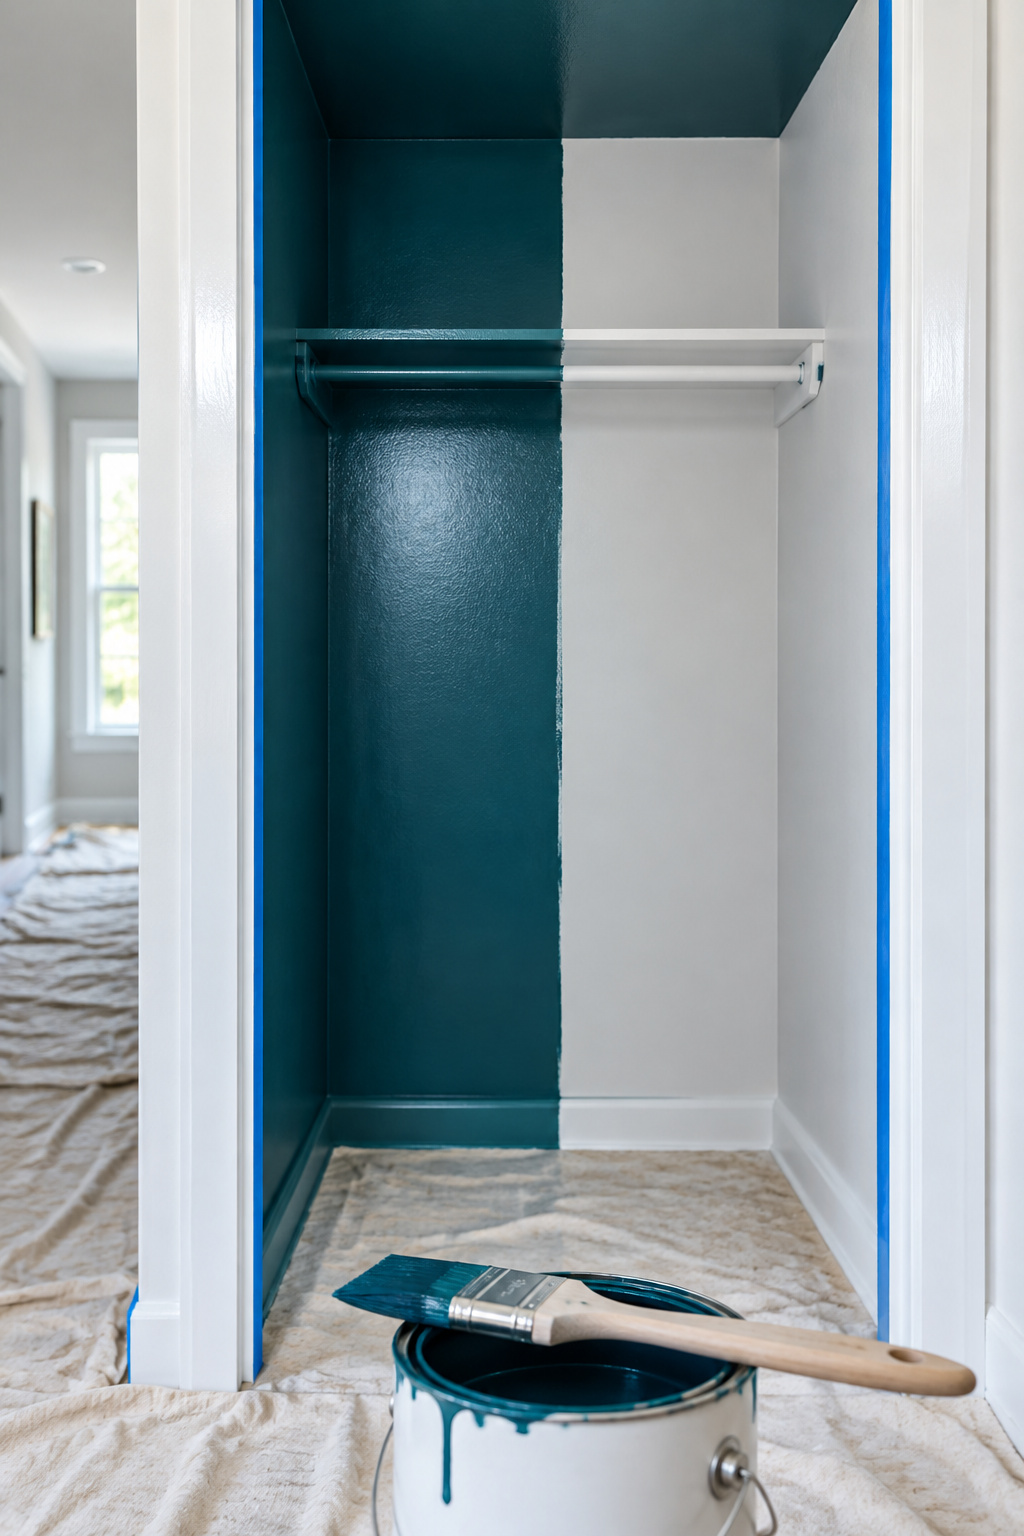
With the doors gone, the closet is a small room you see every day, so finish it like one: two coats of color on the walls, ceiling and trim alike. One color everywhere takes away every contrast line, which suits a small recessed nook. I’d use satin on the walls and semi-gloss on the jambs and trim, since hands grab the edge of the opening every time someone reaches in.
The jambs carry the scars: hinge mortises on one side, screw holes from bifold brackets or a bypass track. Either keep the jamb and case the opening square with trim, which is quicker and cheaper, or pull the jamb and wrap the drywall into the opening, which leaves a clean edge but costs a day of mud, sanding and paint. Both leave the header alone.
A typical opening has two 7 ft sides and a 5 ft head, so 19 ft of casing. Always buy 10% more material than the plan says: 19 ft plus 10% is about 21 ft. Painting it is 38 linear ft for two coats, well inside one quart of semi-gloss at 100 to 150 linear ft a coat.
Fit the Nook Out From What the Week Showed You
Go back to your list. Every fitting should answer a line on it, and anything that doesn’t can wait.
The upper shelf or cubby
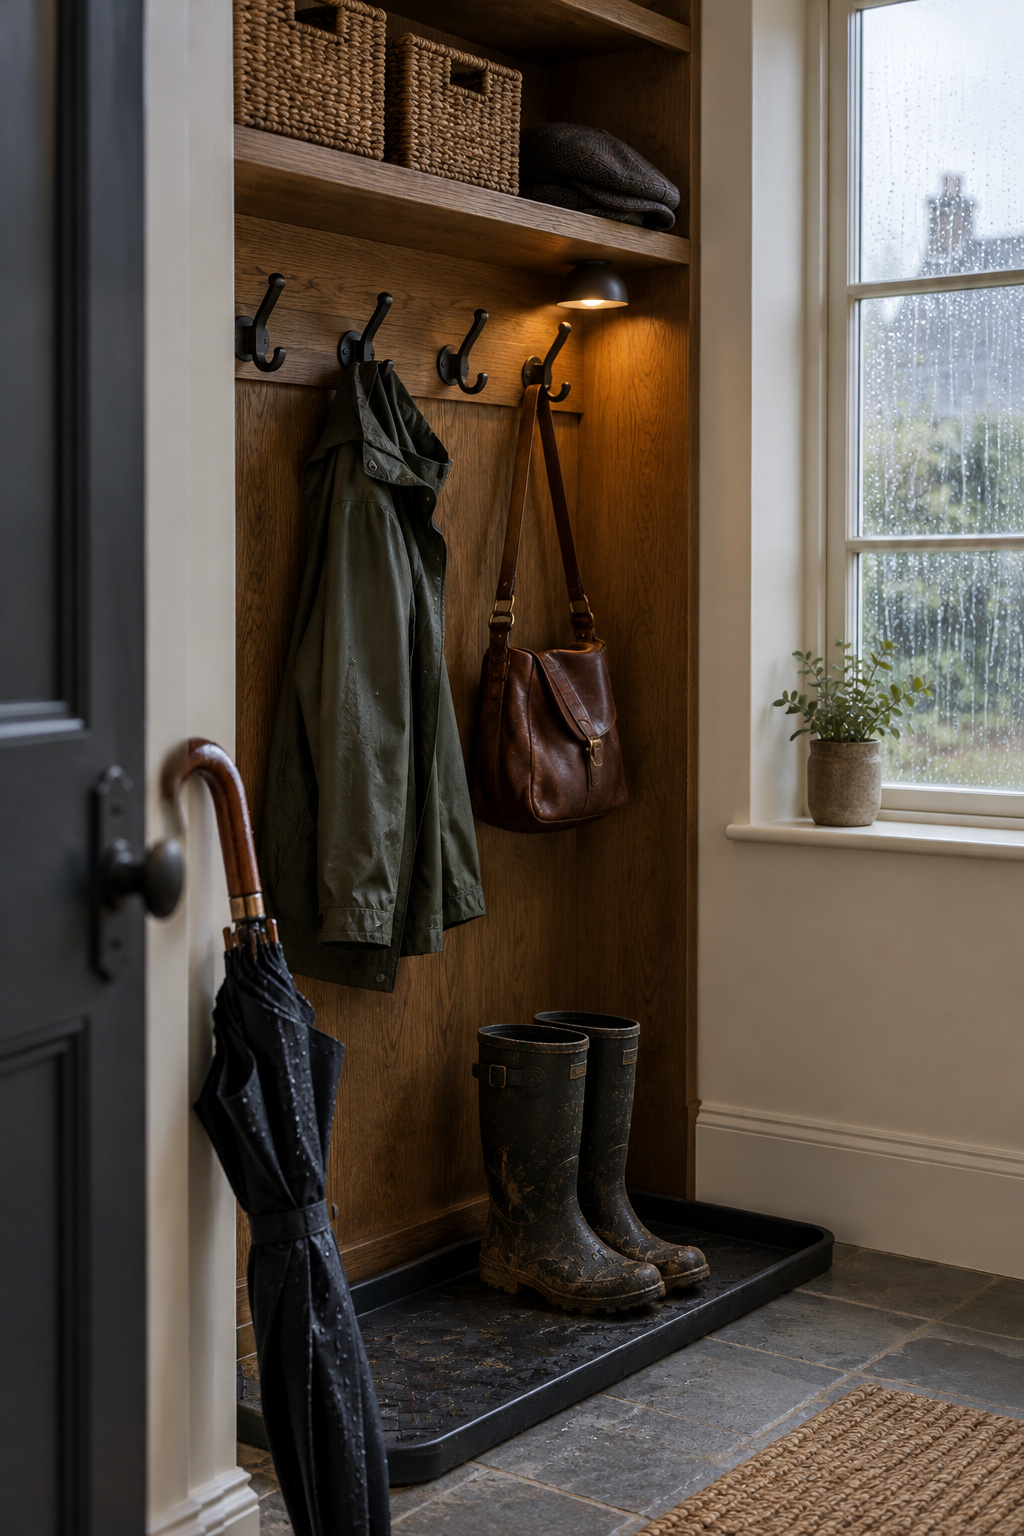
If hats and gloves landed on top of the pile, they need a shelf up high. Coat closets usually have one at about 72 in, so start from the old height. Run a new shelf the full depth of the closet, or allow at least 12 by 12 in per person for cubbies.
Hooks at one height
Hang the hooks in one line at one height, one per person, on a backer board fixed to the wall rather than straight into bare drywall. The heights, spacing and build are in building the hook shelf.
Floor and light
The floor takes the rack you sized from the shoe row.
The light is where I stop. I hand wiring to an electrician. NEC 410.16 sets clearances between a fixture and the closet’s storage space: 12 in for a surface-mounted LED or incandescent fixture with an enclosed lamp, 6 in for a recessed one. Fixtures with an open lamp, and pendants, aren’t permitted, and a bare bulb is the cheap choice people reach for. Whether a closet without doors still counts as a clothes closet is unsettled, so that’s the electrician’s and your inspector’s call. Until then, a battery puck light needs no wire.
Two Weekends, a Cost Line and What to Do With the Doors
Two weekends is my estimate, split like this:
- Weekend one: doors off, rod and shelf out, holes filled, sanded and primed.
- The week between: live with it and write down what lands.
- Weekend two: paint, case or wrap the jambs, then fit out from your list.
Published conversions fall into cost tiers, and the cheap ones are 2020 prices, so expect to pay more now:
| Scope | What it includes | Cost |
|---|---|---|
| Paint and hooks | Primer, paint, hooks, a shelf and fasteners; leftover paint brings it down | About $30–$165 |
| Styled nook | Hooks, a secondhand bench and cushion, baskets, trim paint and a print | About $286 (Houzz, 2014) |
| Built-in bench | Plywood bench and cubbies, paint, heavy-duty hooks and trim | $450–$900 |
| Prefab hall tree | Bench, cubbies and hooks bought ready-made | $850–$1,500 |
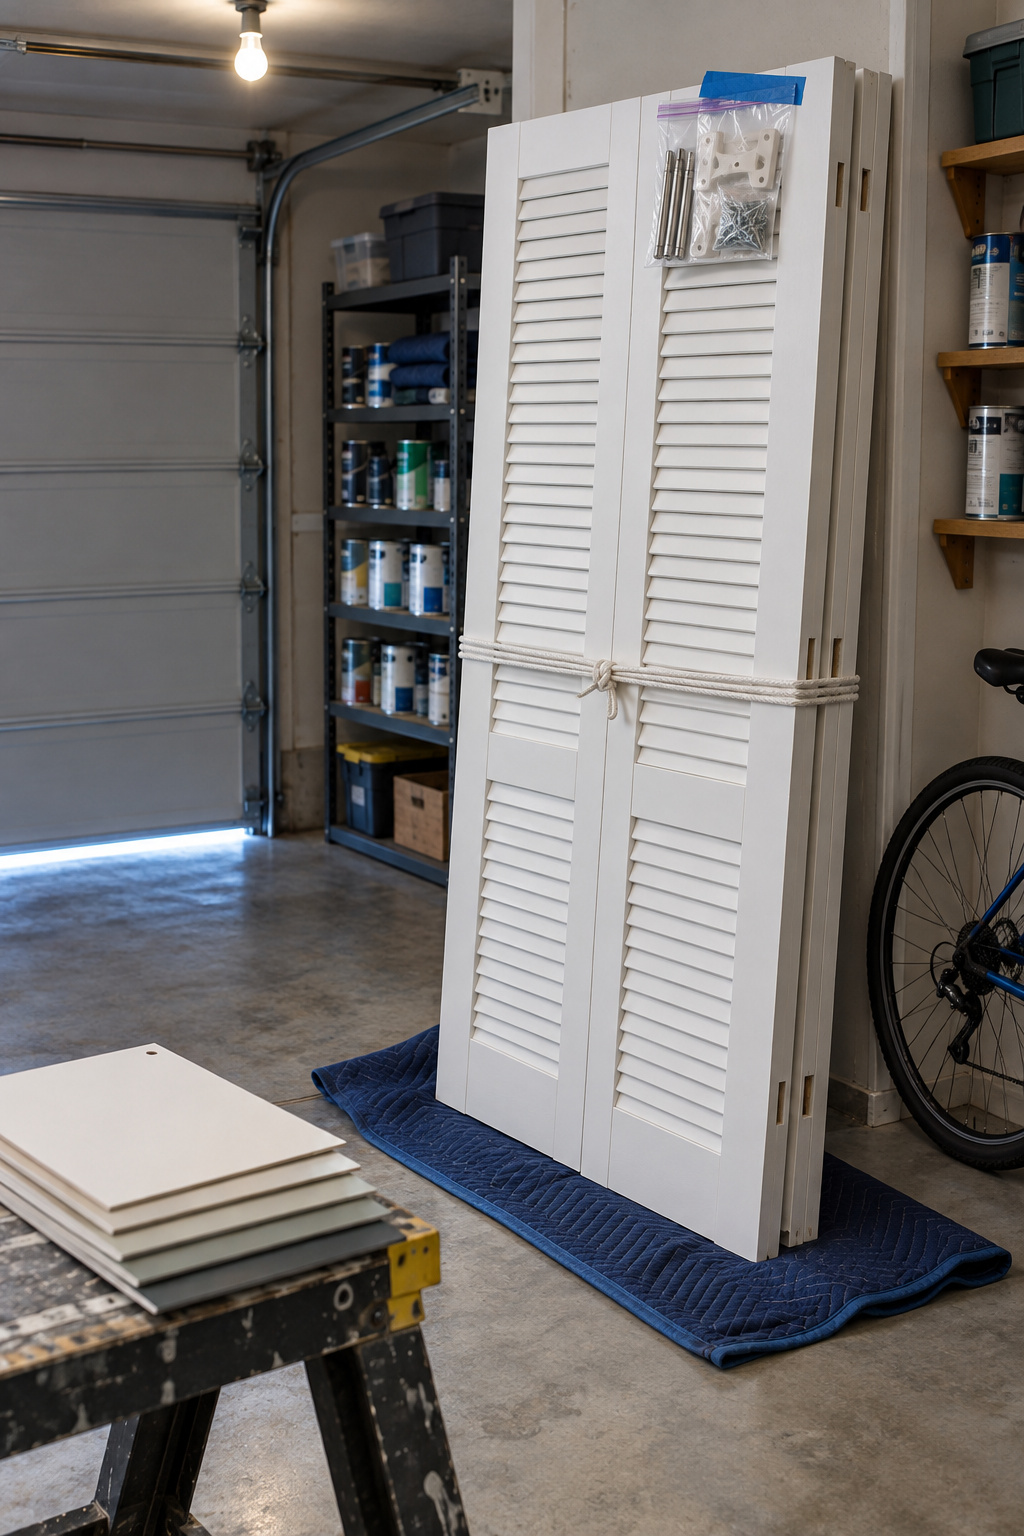
Then the doors. Bag the pins, brackets and screws, tape the bag to a door and store the set flat somewhere dry. That bag is how a tenant hands the closet back the way they found it. A solid door can become a tabletop, once you’ve checked old paint for lead.
Now go back to that heap behind the closed door. The cheapest version of this project costs nothing and comes undone with the same pins: take the doors off, bag the hardware and leave the closet open for a week. If you hate it, rehang them. If you don’t, the pile on the floor has just written your fit-out list.
FAQ
How deep does a closet need to be to work as a mudroom nook?
A closet needs about 24 in of clear depth to keep a hanging rod, because a standard adult hanger is 17 to 19 in wide and a heavy coat adds 2 to 3 in. Under about 22 in, switch to hooks on a backer board. Test it by holding a wooden hanger with a coat square to the back wall.
How do you keep a doorless coat closet from looking messy?
Zone it from what a week of use showed you: hooks within reach, a high shelf for seasonal things, and a rack or bins on the floor for shoes, usually the biggest load. Give each person one hook and a limit; one family allows two items per hook. Then paint the inside so the open box looks deliberate.
Do you need a permit to take closet doors off?
Ask your local building office first, because the answer is local and I can’t give you a blanket yes. Chicago and San Francisco exempt interior finish work and in-kind door replacement, but neither list names plain removal. Widening the opening, removing framing or adding wired lighting is where permit questions start.