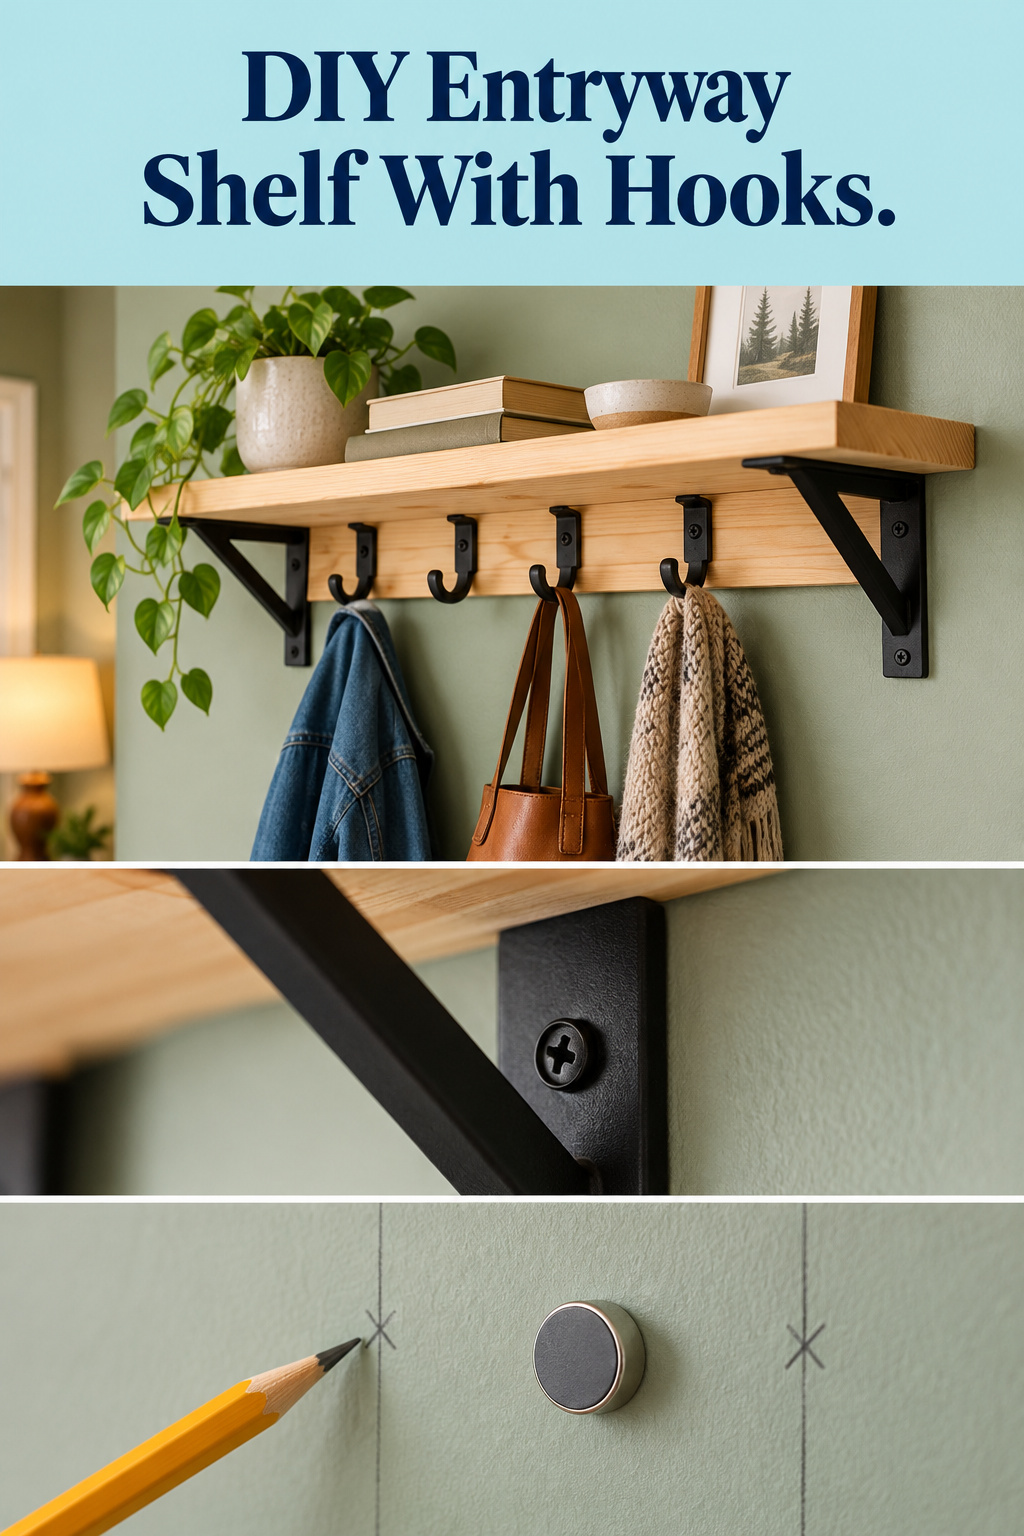
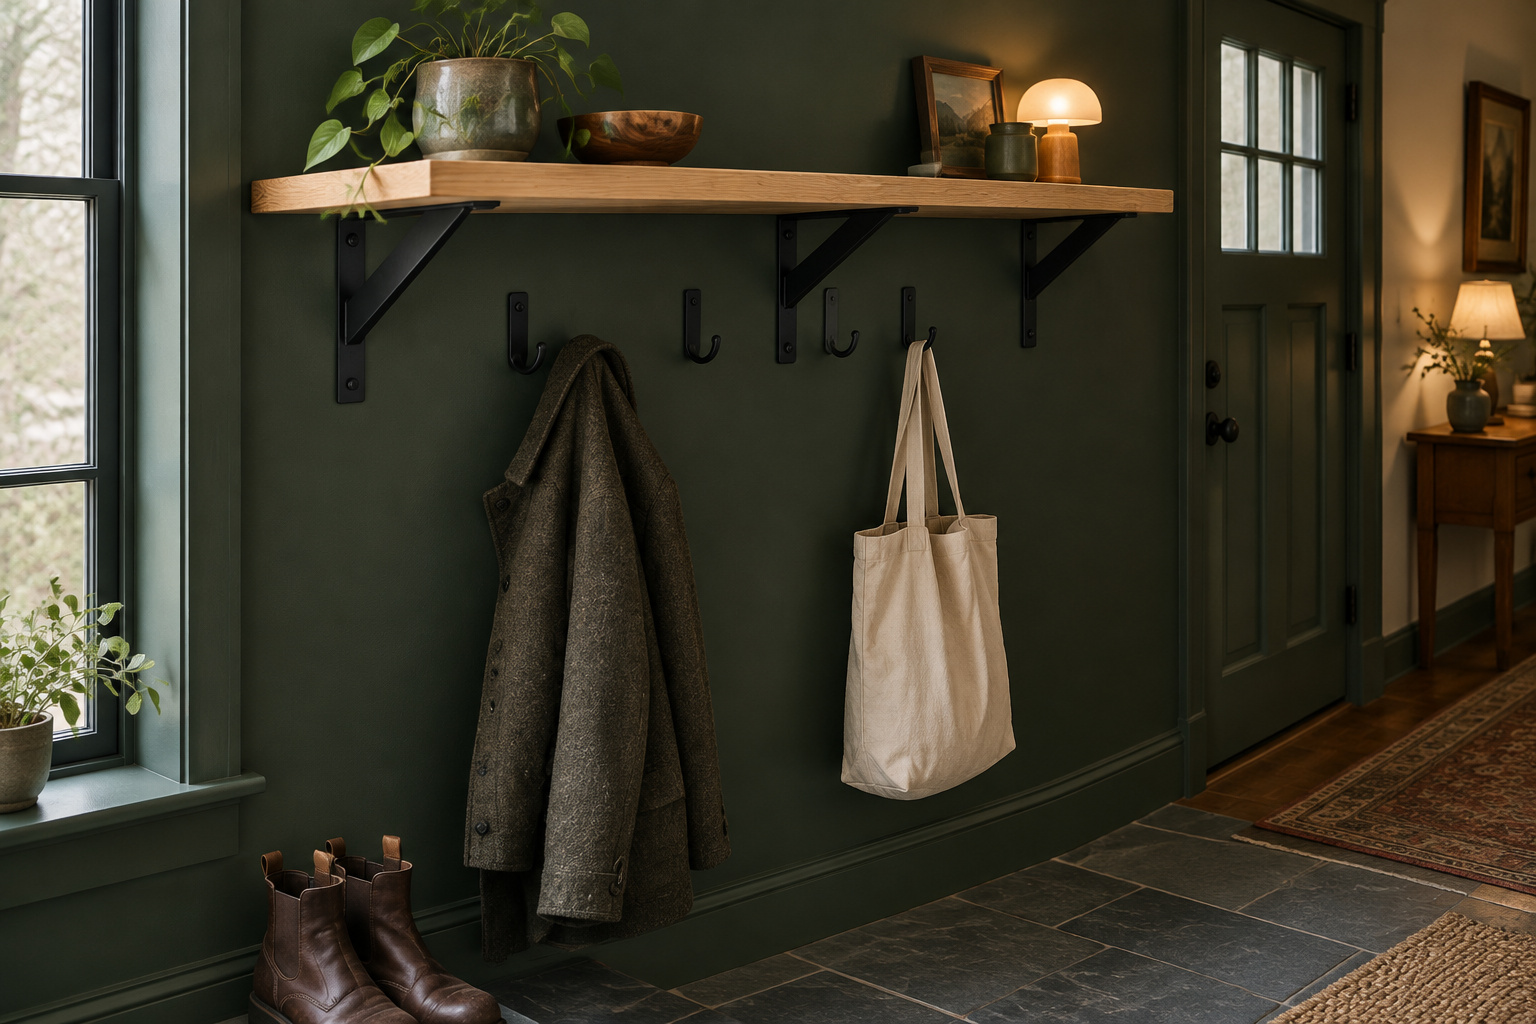
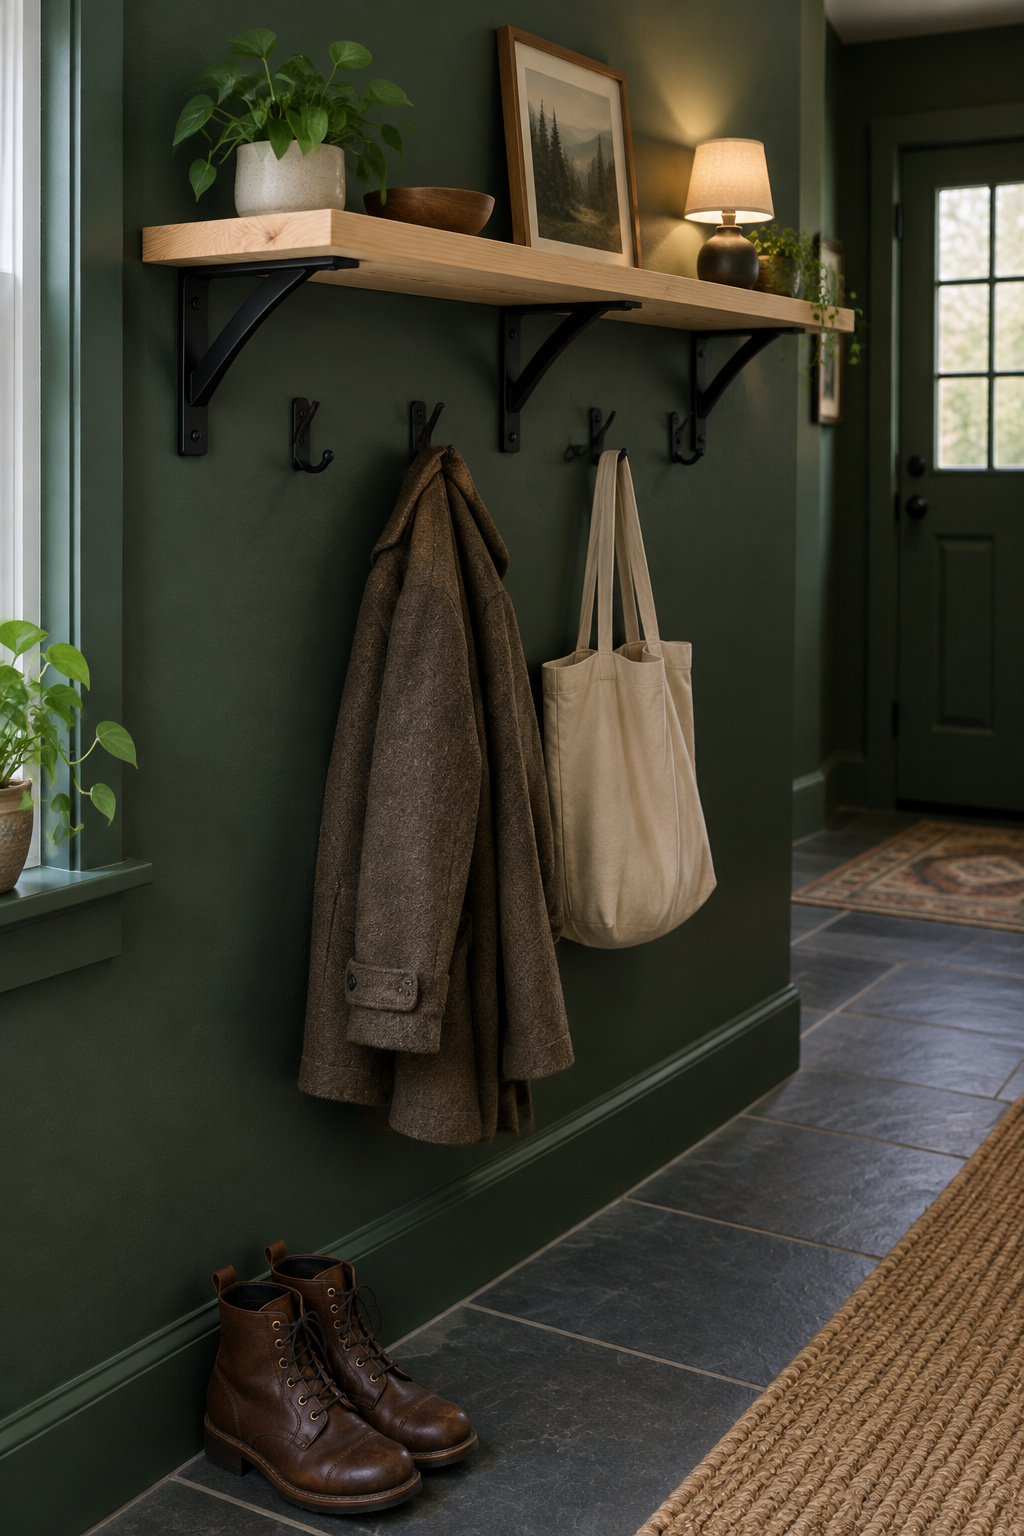
A DIY entryway shelf with hooks has to carry more than the coats weigh. Every coat hangs a few inches out from the wall, and that distance turns its weight into a lever that pries at the top screws while the bottom of the assembly presses into the drywall. So build around the pull: brackets you can see, a hook board fixed tight under the shelf so the brackets carry the coats as well as the shelf, and screws into studs you’ve confirmed. Budget $117 to $189 for three brackets, plus two boards.
TL;DR
- Fix the hook board directly under the shelf and drive the bracket screws through it into the studs, so three brackets carry the coats as well as whatever sits on top.
- Size the bracket arm to at least two thirds of the shelf’s real depth: 6.17 in for a 1×10, which an 8 in arm covers.
- Hang the hooks 60 to 66 in above the finished floor and 10 to 12 in apart, or 15 in apart for heavy parkas.
Every Coat on a Hook Levers Your Shelf Off the Wall
Think about pulling a nail with a hammer. The engineer Harris Hyman used that picture in the Journal of Light Construction: your arm’s force times the handle’s length beats the nail’s grip. A loaded hook does the same to a shelf. The coat is the force, the distance it hangs out from the wall is the handle, and the top fixings are the nail. Hang the same weight twice as far out and the pull on those top screws doubles.
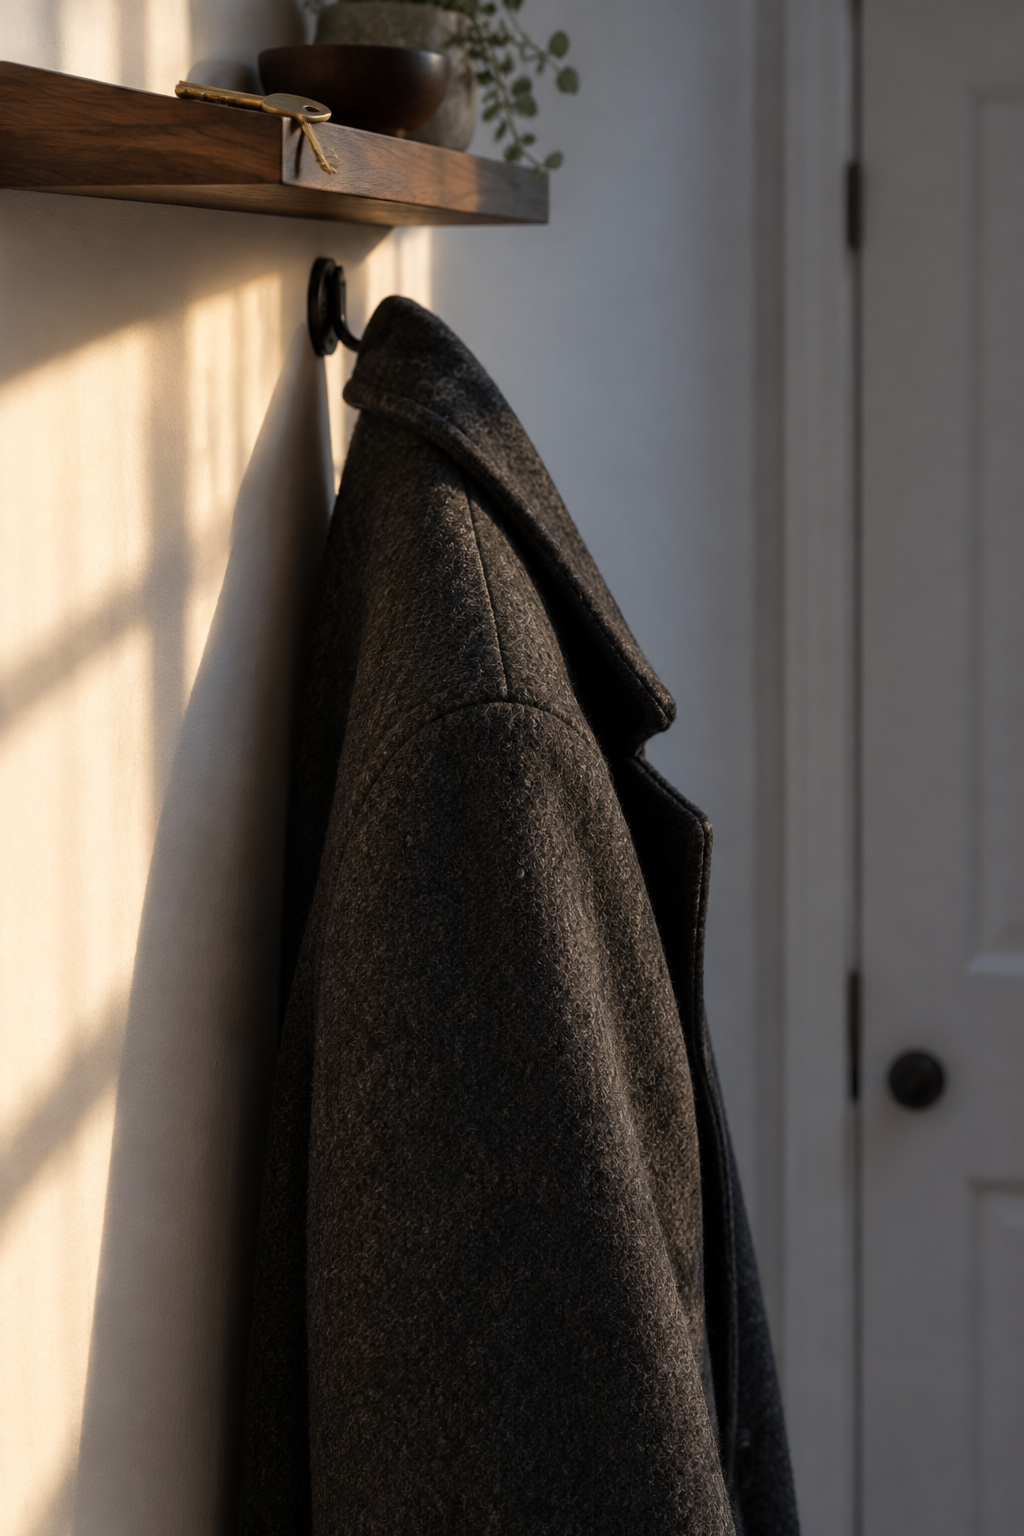
Run the numbers for this shelf as an illustration. Four wool coats at about 6 lb each is 24 lb. A two-prong hook projects nearly 4 in, so call the weight 4 in out from the wall: 24 × 4 = 96 in-lb. If the top and bottom screws in each bracket sit about 2.25 in apart, the top fixings resist 96 ÷ 2.25, about 43 lb across the whole shelf. Over three brackets that’s about 14 lb per bracket, or 28 to 43 lb at the moment someone yanks a coat off and doubles or triples the load. The coat weights are rough trade figures, so take the direction, not the exact number: the top screw sees more than the coats weigh.
I used to start my beginners on floating shelves because they look clean, until too many ended up with sagging boards. Now they start on brackets. Floating shelves are harder than brackets.
This is a wall project: it goes up after the floor and closet, before the freestanding pieces, in the order to tackle DIY entryway projects.
Brackets You Can See: Arm Length and the One Bracket Used Here
The arm decides most of it. A bracket’s horizontal arm should reach at least two thirds of the shelf’s depth. That’s a bracket seller’s rule of thumb, not a building standard, but it’s a good one. Work it from the board’s real width:
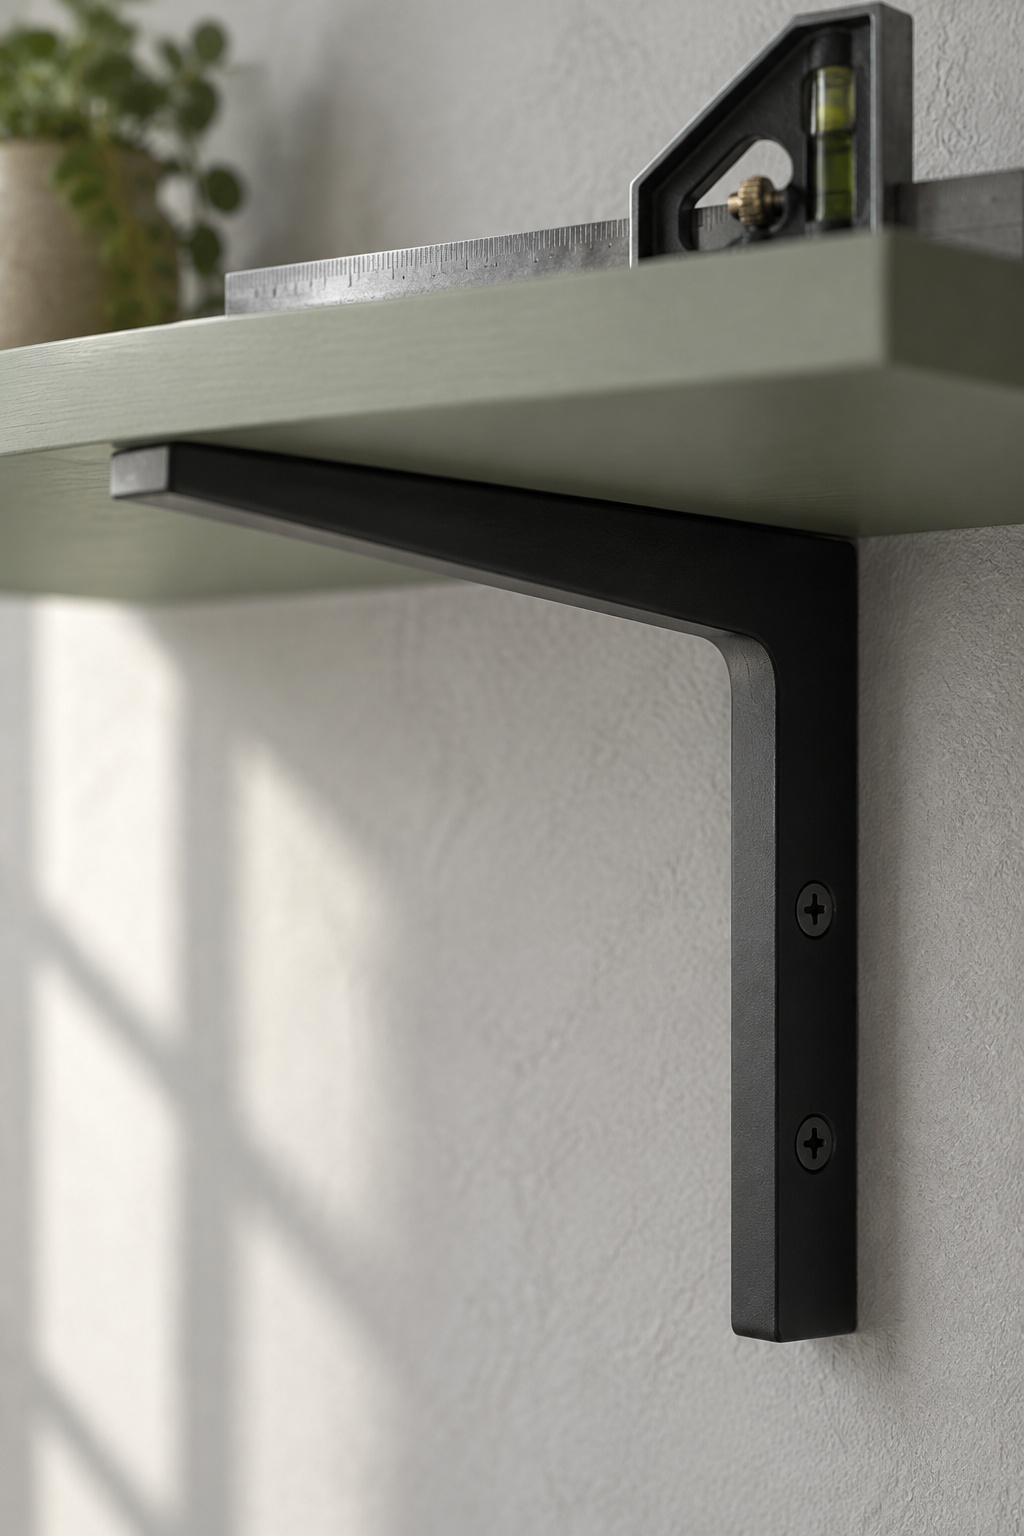
- 1×8 (7-1/4 in): needs 4.83 in. An 8 in arm sticks out past the front, so that pairing is out.
- 1×10 (9-1/4 in): needs 6.17 in. An 8 in arm reaches 86 percent of the depth.
- 1×12 (11-1/4 in): needs 7.5 in. An 8 in arm reaches about 71 percent.
Visible brackets don’t carry more on paper. Federal Brace rates its hidden bracket at the same 50 lb each as its industrial one. Its own guide says hidden brackets need precision installation and generally carry lighter loads, while exposed ones are the easier install. A bracket you can see lets you check the arm and count the screws. When every coat is prying at the top fixings, being able to check your work beats a clean look.
The bracket for this build is the Federal Brace Industrial Shelf Bracket, rated 50 lb each with no more than 18 in between brackets. On November 7, 2026, three stainless 8 in brackets cost $188.97 and three black 10 in brackets cost $116.97. The 8 in goes with a 1×10; the 10 in clears the 7-1/2 in a 1×12 needs and stops short of its front edge. Comparing bracket styles and finishes is a separate decision, covered in the kitchen shelf brackets guide.
On a 48 in shelf, three brackets at 16 in on center leave (48 − 32) ÷ 2 = 8 in of shelf past each end bracket, and 16 in is inside the 18 in maximum.
Find the Studs Before You Buy the Board
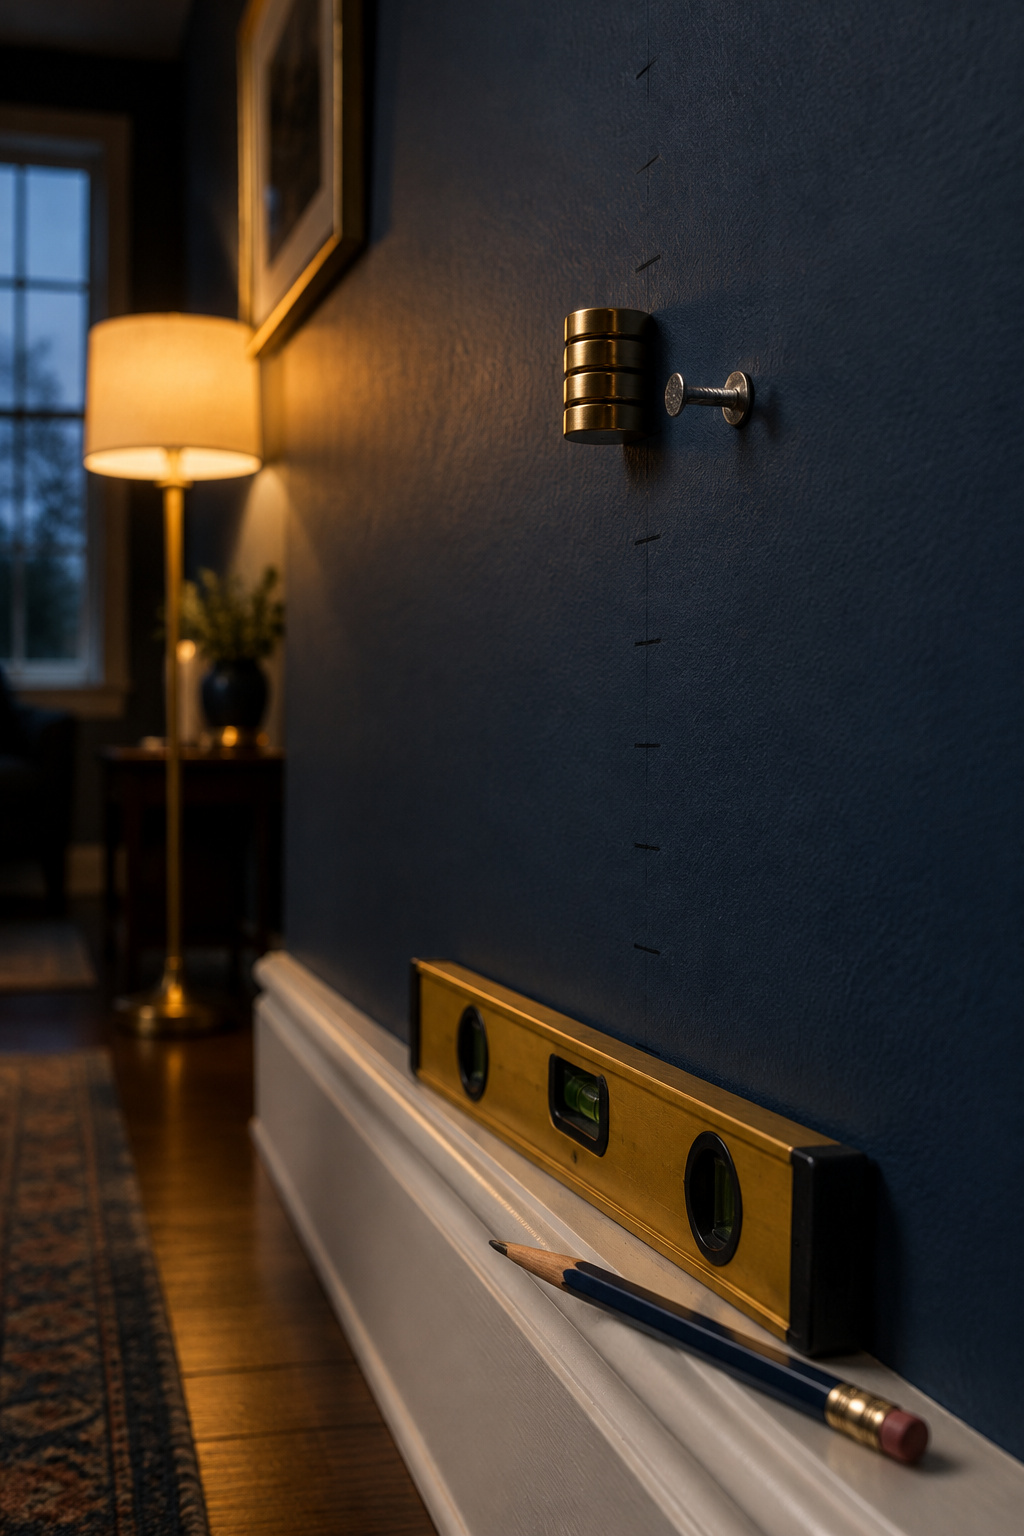
Mark the studs before you spend anything on lumber. Walls lie. Studs are often 16 in apart but not always, and a nonbearing 2×4 wall can be framed at 24 in, so check the wall you actually have. The three-bracket layout needs three studs in a row at 16 in. A stud is only 1-1/2 in thick, a narrow target for a screw you can’t see, so confirm wood before you drill a single pilot hole. The full method for finding and confirming studs is in the laundry room floating shelves guide, and it works the same on an entry wall.
If the studs don’t fall where the shelf has to go, you can add blocking behind the drywall to tie the brackets in, a bigger job than the shelf. Brackets fixed only into drywall will likely fail. Or skip the wall: a narrow entry table does the same landing job without a single stud.
Build a DIY Entryway Shelf With Hooks: Back Board, Shelf and Brackets
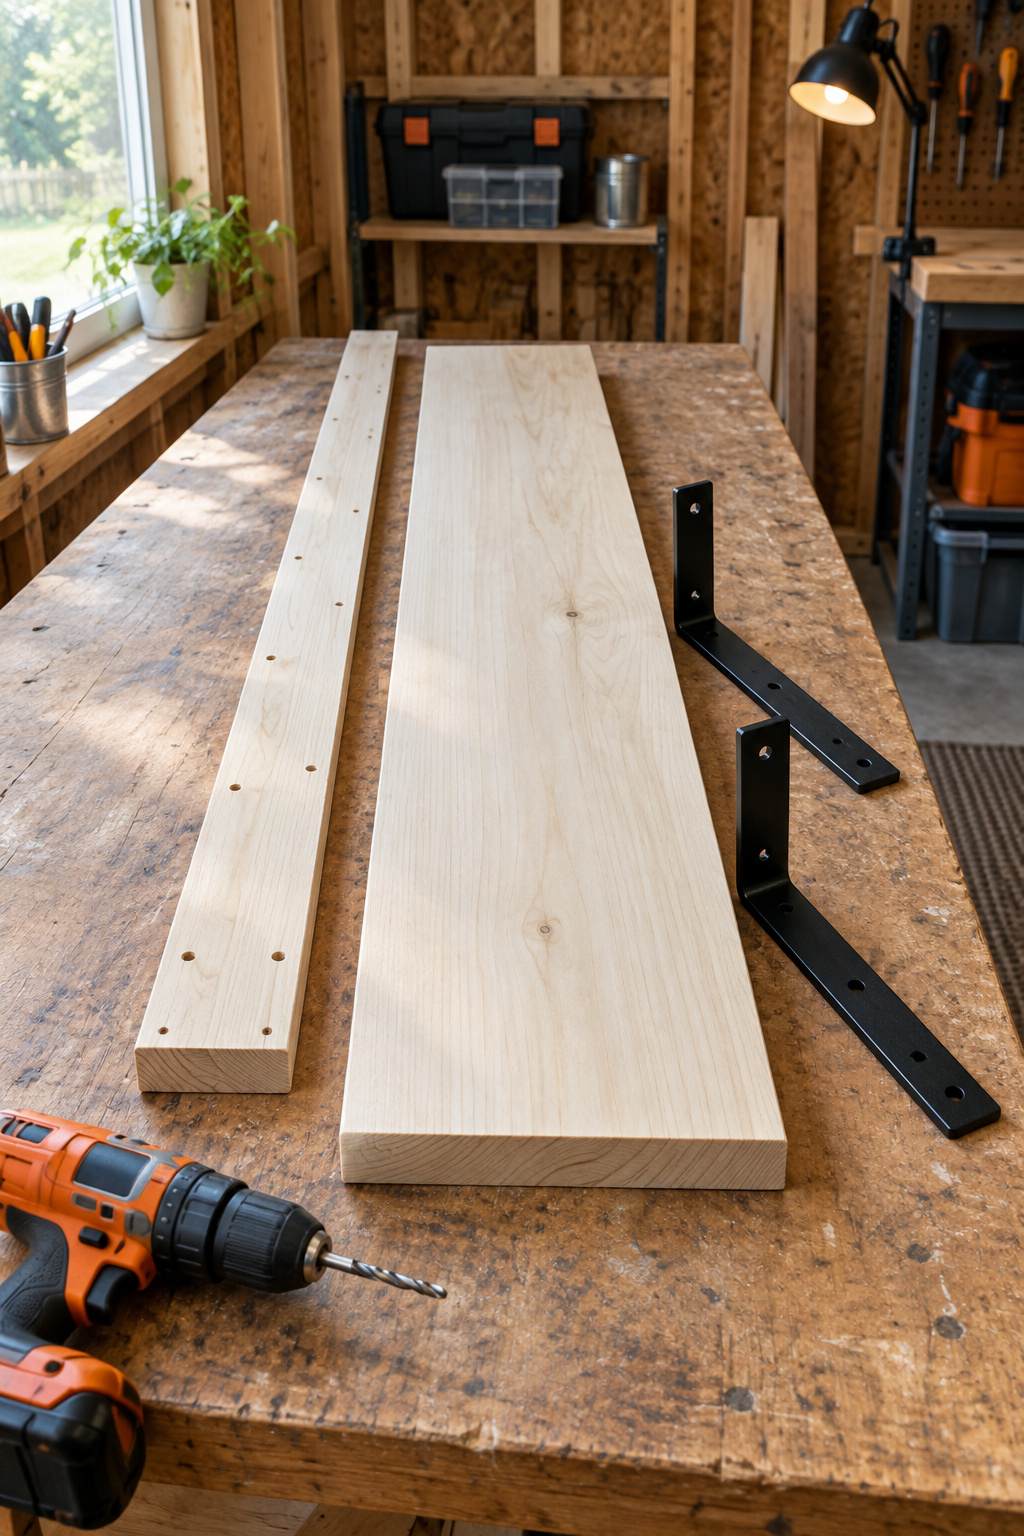
Skill level: some builds. Published builds like this run from under an hour to a weekend, depending on glue drying, with paint days on top. Tools: a drill/driver, a level, a tape and clamps, plus a miter saw or hand saw, or let the store’s cut counter make your two cuts.
| Part | Stock (actual size) | Cut length or count |
|---|---|---|
| Shelf | 1×10 (3/4 × 9-1/4 in) | 48 in |
| Hook board | 1×8 (3/4 × 7-1/4 in) | 48 in |
| Brackets | Federal Brace Industrial, 8 in | 3 |
| Hooks | two-prong coat hooks | 4 |
I’m not quoting a lumber price; it swings too much from yard to yard. Buy straight-grained 1×10 and 1×8 in a paint-grade species. Each part comes out of a 6 ft board.
- Cut both boards to 48 in.
- Lay out the hooks on the hook board: 6 in from each end, then 12 in on center, so 6 + 36 + 6 = 48 in. Keep them low on the board.
- Mark the brackets 8 in in from each end and at the middle, matching your stud marks. If a hook plate runs into a bracket leg, move the hook, not the bracket.
- Pre-drill every hole so the board doesn’t split. Check the screws packed with the hooks against the 3/4 in board; two published builds found them long enough to poke out the back.
- Glue and screw the shelf down onto the top edge of the hook board, flush at the back, so the two parts make one L.
- Hold the L on the wall with the hooks at height, level it, and drive the bracket screws through the hook board and into the studs: #10 × 2-1/2 in wood screws in 1/8 in pilot holes, snug, not overtightened. Check that each screw clears bracket, board and drywall and still has real thread in the stud.
- Screw up through the bracket arms into the shelf, then fit the hooks.
The design comes down to step 6: because the bracket screws pass through the hook board, the screws holding the shelf up also hold the hooks on. A hook board screwed to the wall by itself takes the pull on its own top screws, and the brackets carry only the shelf.
Set the Hooks and Choose the Screws That Carry the Load
Hook height and spacing
Set the hooks 60 to 66 in above the finished floor. Sixty-six is the usual builder default. For spacing, 10 to 12 in center to center is the common figure for winter coats, with 15 in for heavy down parkas, though guides range from 6 in to 16 in. This build uses 12. The drop zone guide compares hook and shelf hardware if you’re still choosing.
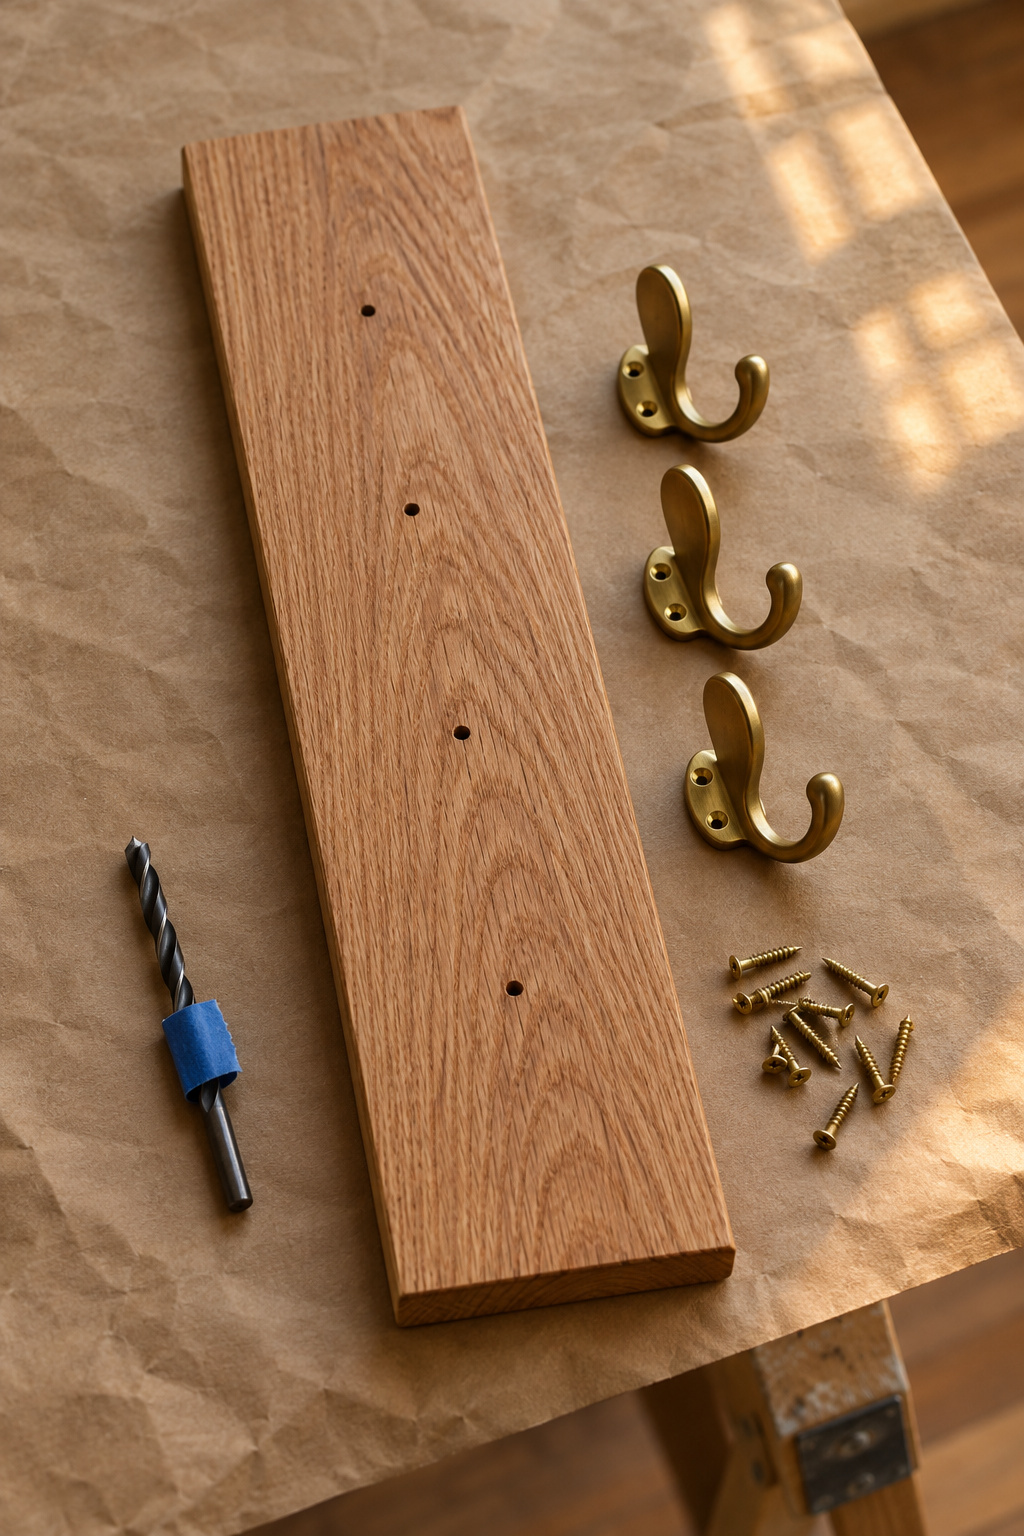
Screw and fixing ratings
Nobody publishes a pounds-per-hook figure for a home-built shelf. You can still set the pull from the coat example against figures for the parts that resist it.
| Fixing | Published figure | Where it goes |
|---|---|---|
| Federal Brace Industrial bracket | 50 lb each, max 18 in apart | Under the shelf, into studs |
| 4 in structural timber screw in a stud | 380 lb reference withdrawal value in spruce-pine-fir | Shows the margin a stud gives |
| Drywall anchor alone | roughly 50 to 350 lb, by anchor and product | Between studs only |
| Top-fixing pull in the coat example | about 14 lb per bracket, 28 to 43 lb yanked | What the screws resist |
The screw figure is a structural reference value, not a shelf rating, but it shows the scale: a good screw in a stud has plenty of margin over 14 lb. In my experience drywall-only fixing is where shelves fail. My neighbors call me when something falls off the wall, and I look at the top hole first, where a screw head has pulled through the soft drywall paper. Buy the extra box of screws and put every one of them into wood.
Finish the Shelf, Test the Load and Move It Inside a Doorless Closet
Paint is the boring step, and it sets the schedule. Finish both boards before you hang them. Sand at 80, 150 and 220 grit, then prime and paint, leaving each coat overnight. Give it 24 hours before you handle it and a week before heavy use. Poplar can sand up fuzzy, so go finer if it does.
Then test it with real coats, a few pounds at a time, watching the top edge for any gap opening against the wall. Don’t test it by swinging on it. Wood under a load that stays on all winter gives way at a lower force than wood loaded briefly, so check the screws now and then and tighten any that have backed off.
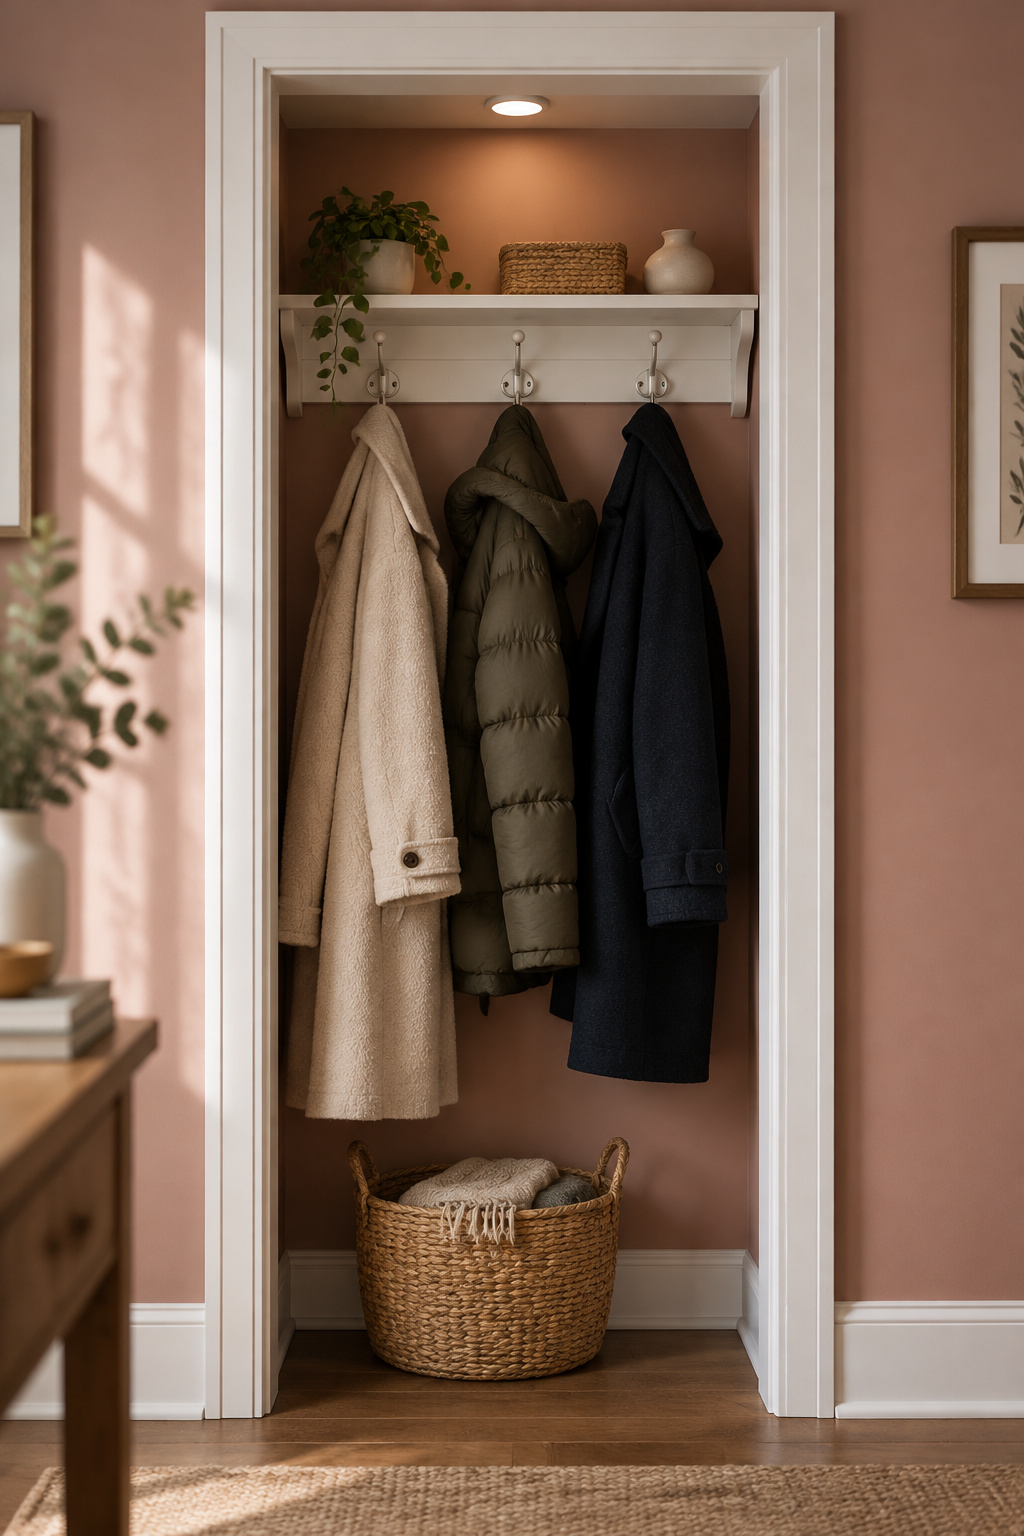
The same assembly works inside a doorless closet, where a coat stands 8 to 10 in off the wall, so leave the hangers room in front of it. Taking the doors off and fitting out that nook is its own project, and converting the coat closet is where to start before you pick up the drill.
FAQ
What depth should an entryway shelf with hooks be?
A 1×10, at 9-1/4 in deep, is the depth this build uses. A two-prong hook projects nearly 4 in, so any shelf 5-1/2 in or deeper clears the hook tips. Whatever board you choose, size the bracket to it: the arm should reach at least two thirds of the real depth, which is 6.17 in for a 1×10.
What is the best wood for a DIY wall shelf with hooks?
Paint-grade pine or poplar is the best wood for most builders, because the brackets and the screws in the studs carry the load, not the board. Poplar takes paint well. Red oak grips hook screws harder but splits without pilot holes. Whatever the species, use 3/4 in stock and make sure the hook screws are shorter than the board.
Should the shelf sit above or below the hooks?
Above. Guides put the shelf 8 to 14 in over the hooks. Here the hook board sits under the shelf, so the hooks land within its 7-1/4 in height, a little closer. The pull comes from coats hanging out from the wall either way, so brackets and stud screws matter more than which side the shelf sits on.