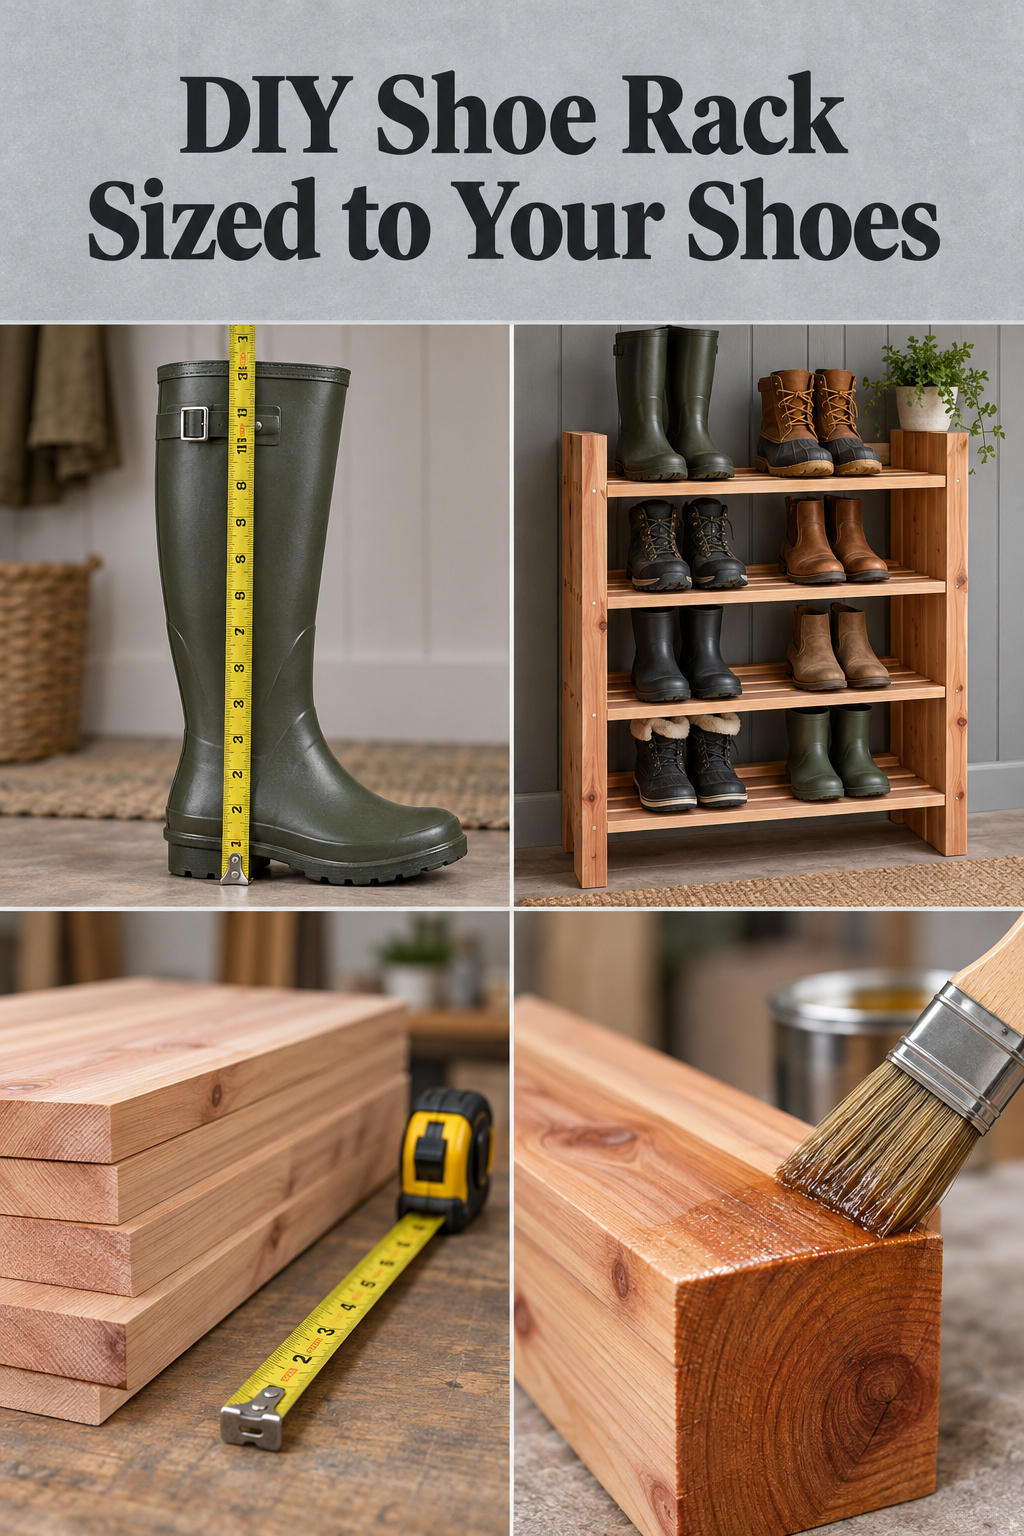
Start with a sum. Count the people who come in through your front door, then multiply by three, the average number of pairs a person has in daily rotation. A household of four lands on 12 pairs. Picture those 12 on a wet November evening: rain boots tipped over, sneakers soaking into the mat. A DIY shoe rack built to the wall’s width or a plan’s fixed size can leave the rain boots without a tier tall enough. The wall tells you how much room you have. Only the shoes tell you how tall each tier needs to be and how long the rack should run.
TL;DR
- Set each tier’s clear height from the tallest pair that lives on it: shaft plus heel plus about an inch, which comes to roughly 8 in for ankle boots and 18 in for a tall rain boot.
- Size the length from your pair count: a 36 in tier holds about four pairs of women’s size 8 but only three pairs of men’s size 12, so 12 mixed pairs need three or four tiers depending on whose feet they are.
- Build it from rot-resistant wood such as cedar heartwood, seal every cut end, and use stainless screws; pine slats for a 36 in, three-tier rack cost $44.90 at Lowe’s.
Count the Pairs That Live at the Door and Measure the Tallest
Before I build anything, I ask what people actually do in the space. At the front door, they kick off whatever they wore today, which is fewer pairs than you own. When my two teenage nieces spend the summer with me, the pile at my door grows by two people’s worth.
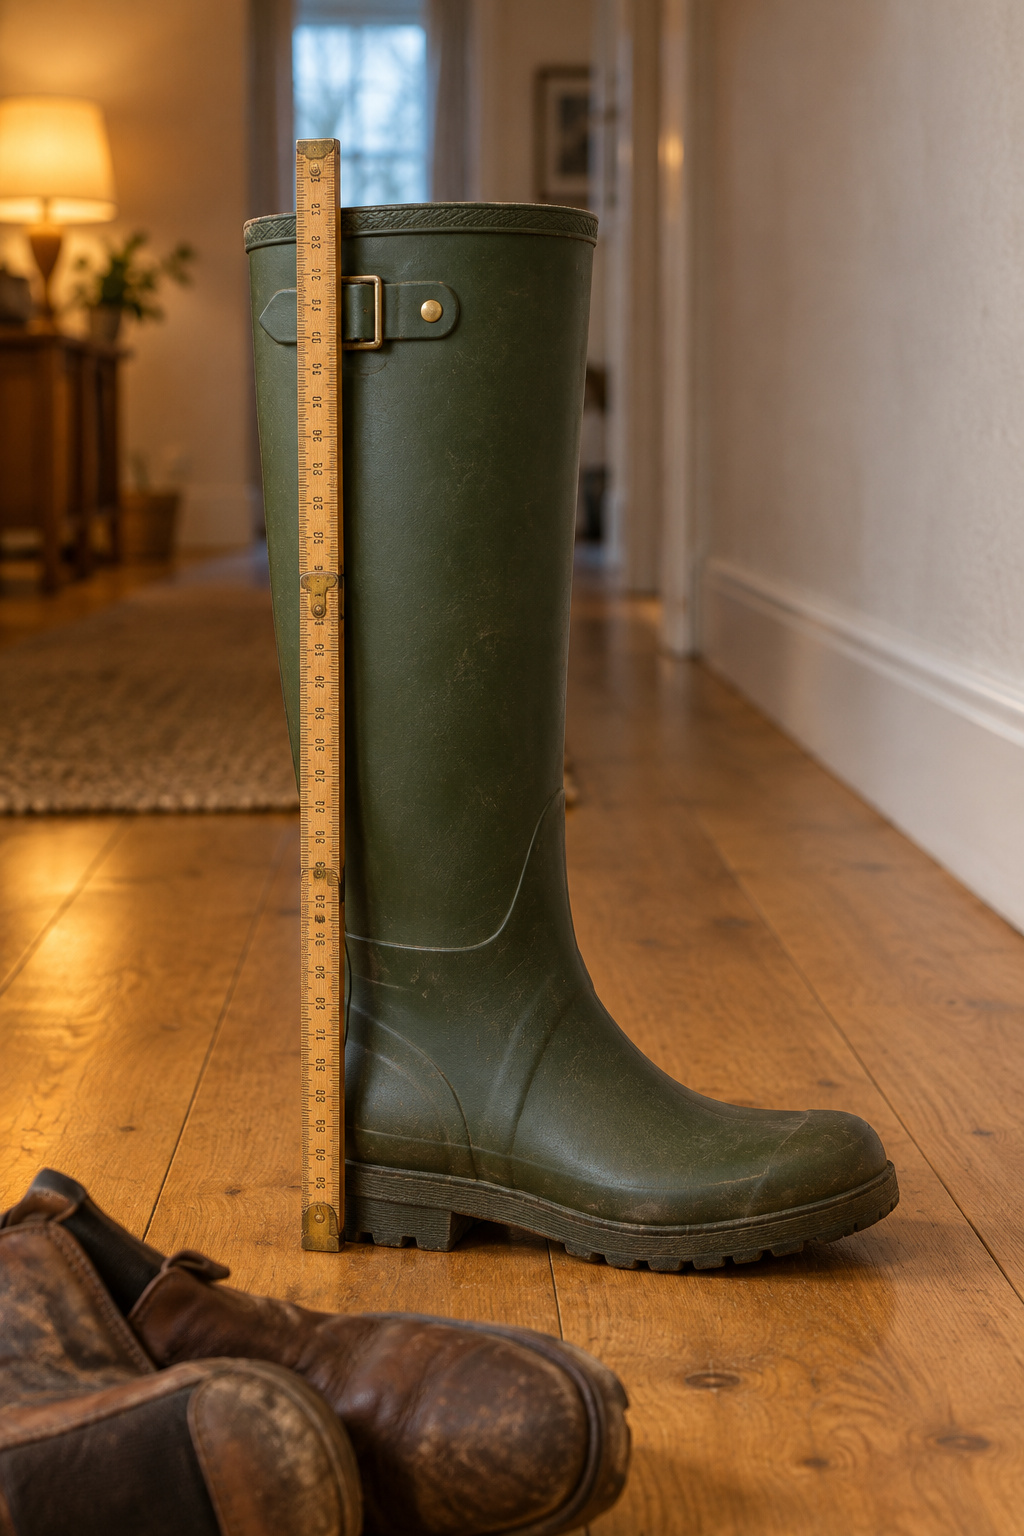
The routine:
- Count the pairs worn in a normal week, not every pair in the closets.
- Sort them by type: low shoes, ankle boots, tall rain boots or tall leather boots.
- Measure the tallest pair standing on the floor. Boot listings give shaft height from the arch, which leaves out the heel, so a 15 in shaft on a 3 in heel stands about 18 in tall.
- Measure the longest shoe in the house along the outsole. Size charts give foot length, and the shoe is longer.
Everything after this comes from those four numbers.
Set Tier Spacing and Rack Length From Your Shoe Numbers
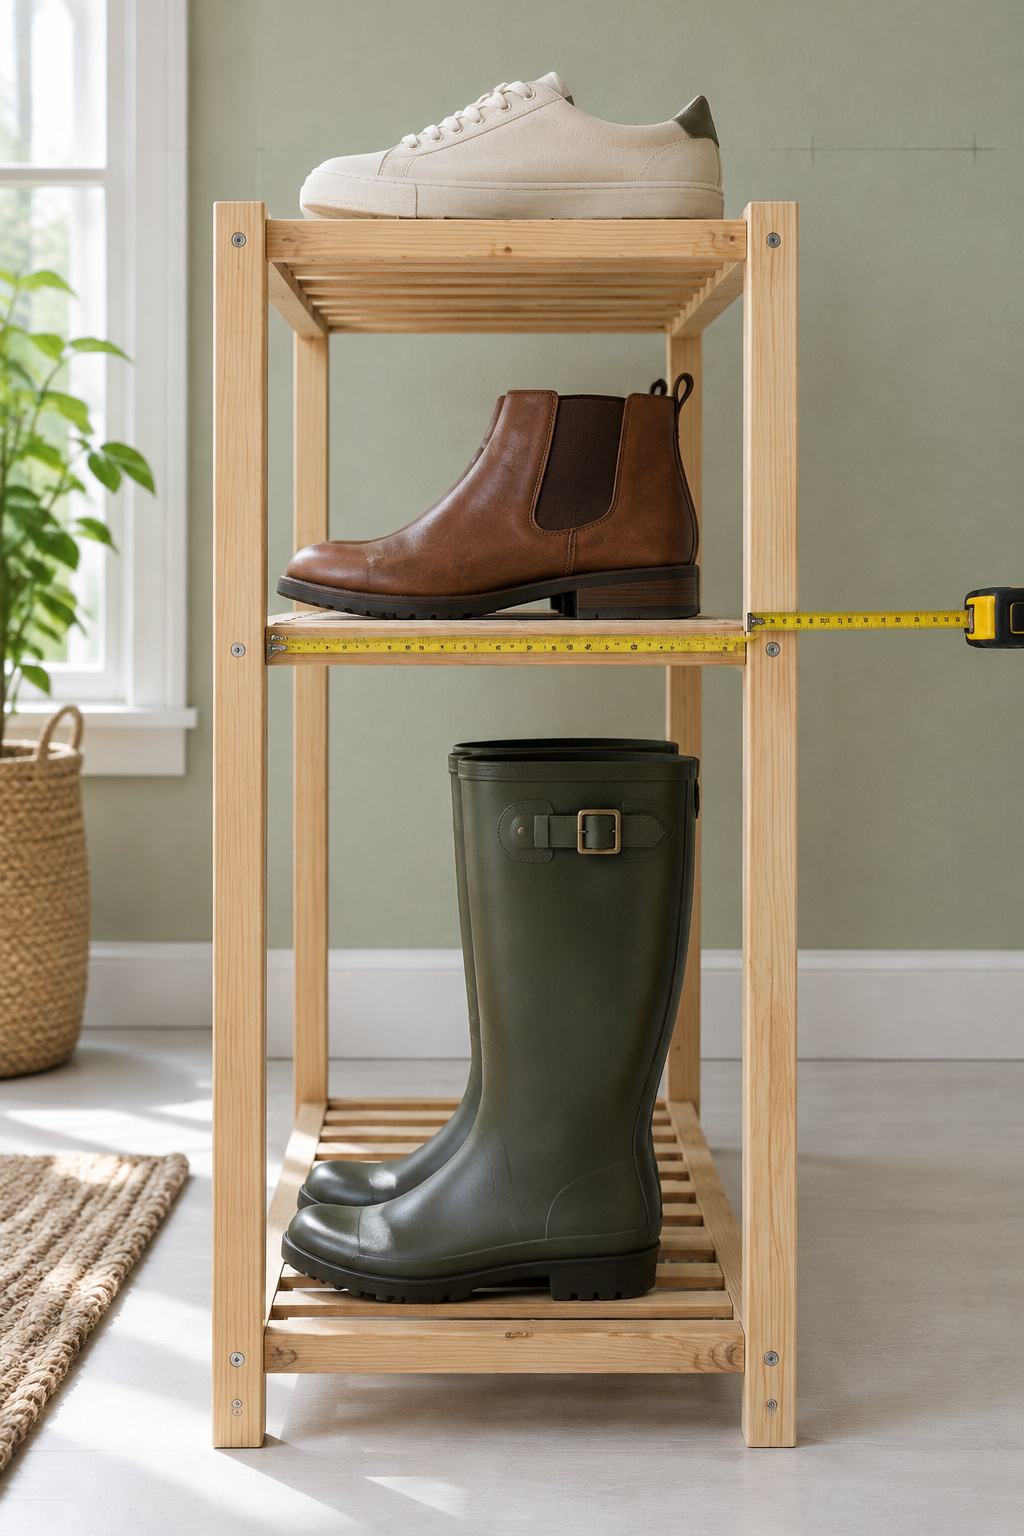
Every tier gets its own gap. I use the shaft, plus the heel, plus an inch of ease so the boot slides in without scraping the slat above. For length, I give each pair twice the shoe’s width plus an inch between pairs. Both inches are my allowances, not rules. The widths below come from brand size charts.
| Shoe type | Typical shaft | Clear height per tier | Length per pair |
|---|---|---|---|
| Ankle or Chelsea boot | 5–6 in | 8 in (6 + 1 heel + 1 ease) | as for the shoe size |
| Women’s size 8 shoe | low | 8 in tier works | 8.1 in (2 × 3.56 + 1) |
| Men’s size 12 shoe | low | 8 in tier works | 9.6 in (2 × 4.3 + 1) |
| Hunter Original Tall rain boot | 14.76 or 16 in | 18 in (16 + 1 heel + 1 ease) | 10.9 in (2 × 4.93 + 1) |
| Knee-high leather boot | 14–18 in | measure yours | measure yours |
The Hunter row is the one to check: Zappos and Amazon list a 16 in shaft, and Hunter’s own page lists 14.76. That’s two numbers for the same boot, so stand yours against a tape.
A 36 in tier fits 36 ÷ 8.1 = 4.4, so four pairs of women’s 8. The same tier fits 36 ÷ 9.6 = 3.75, so only three pairs of men’s 12. Twelve mixed pairs therefore come to three tiers if most of the shoes are smaller, and four if most belong to people in a men’s 10 or up. An IKEA KOMPLEMENT shoe shelf agrees: 28 in for three pairs, about 9.3 in each.
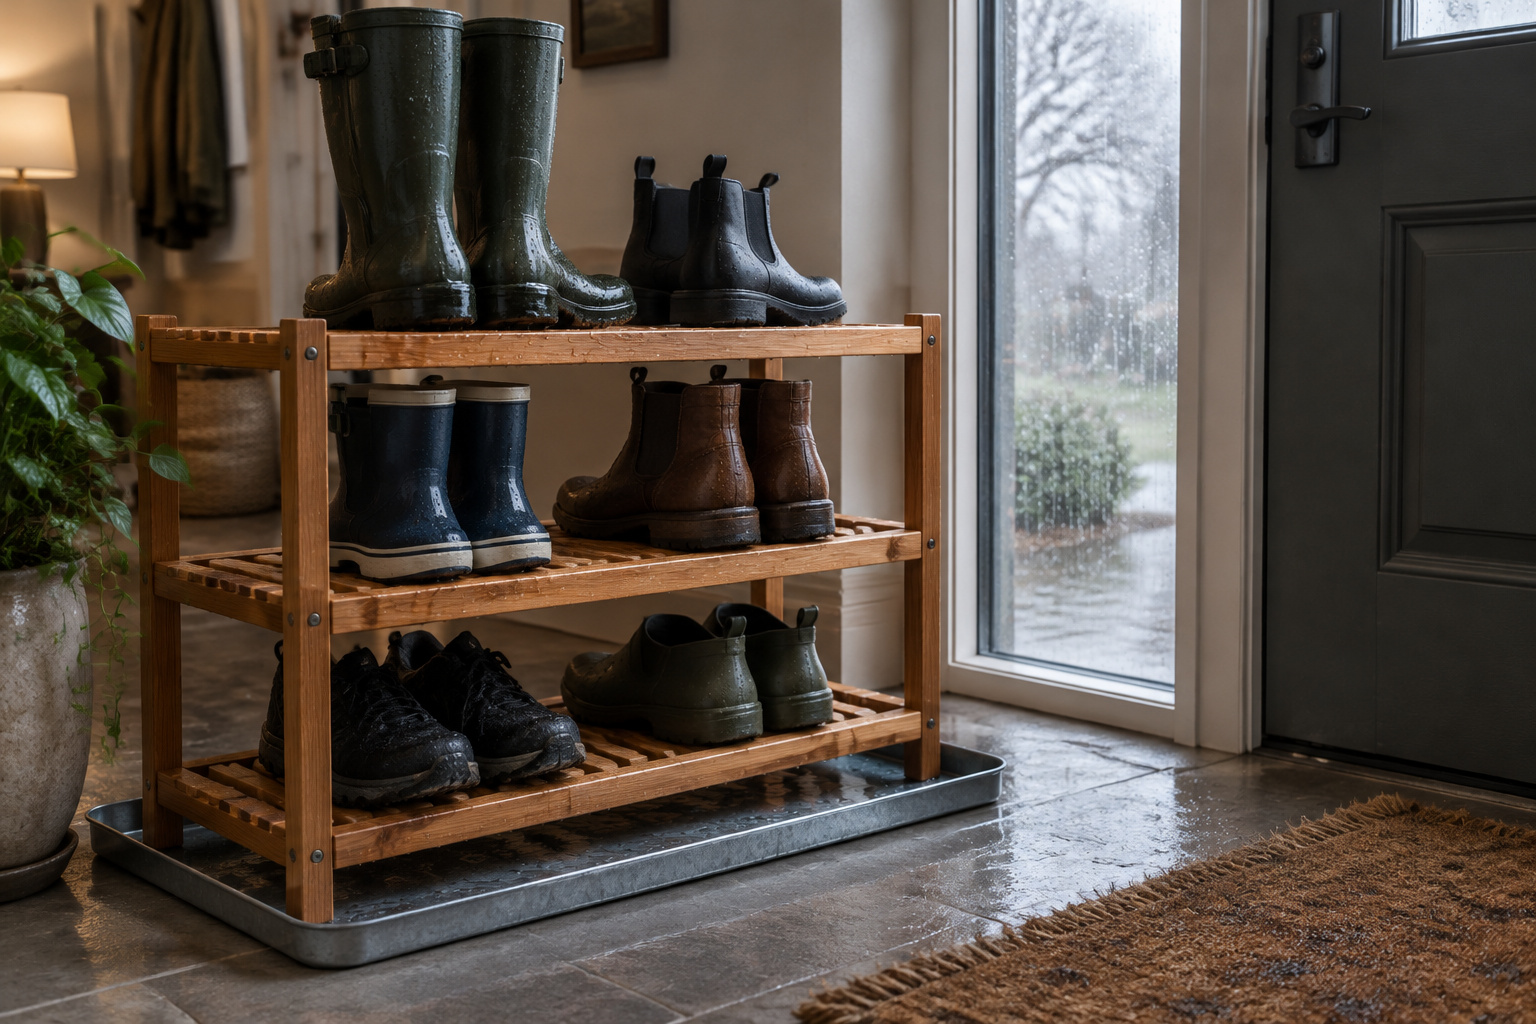
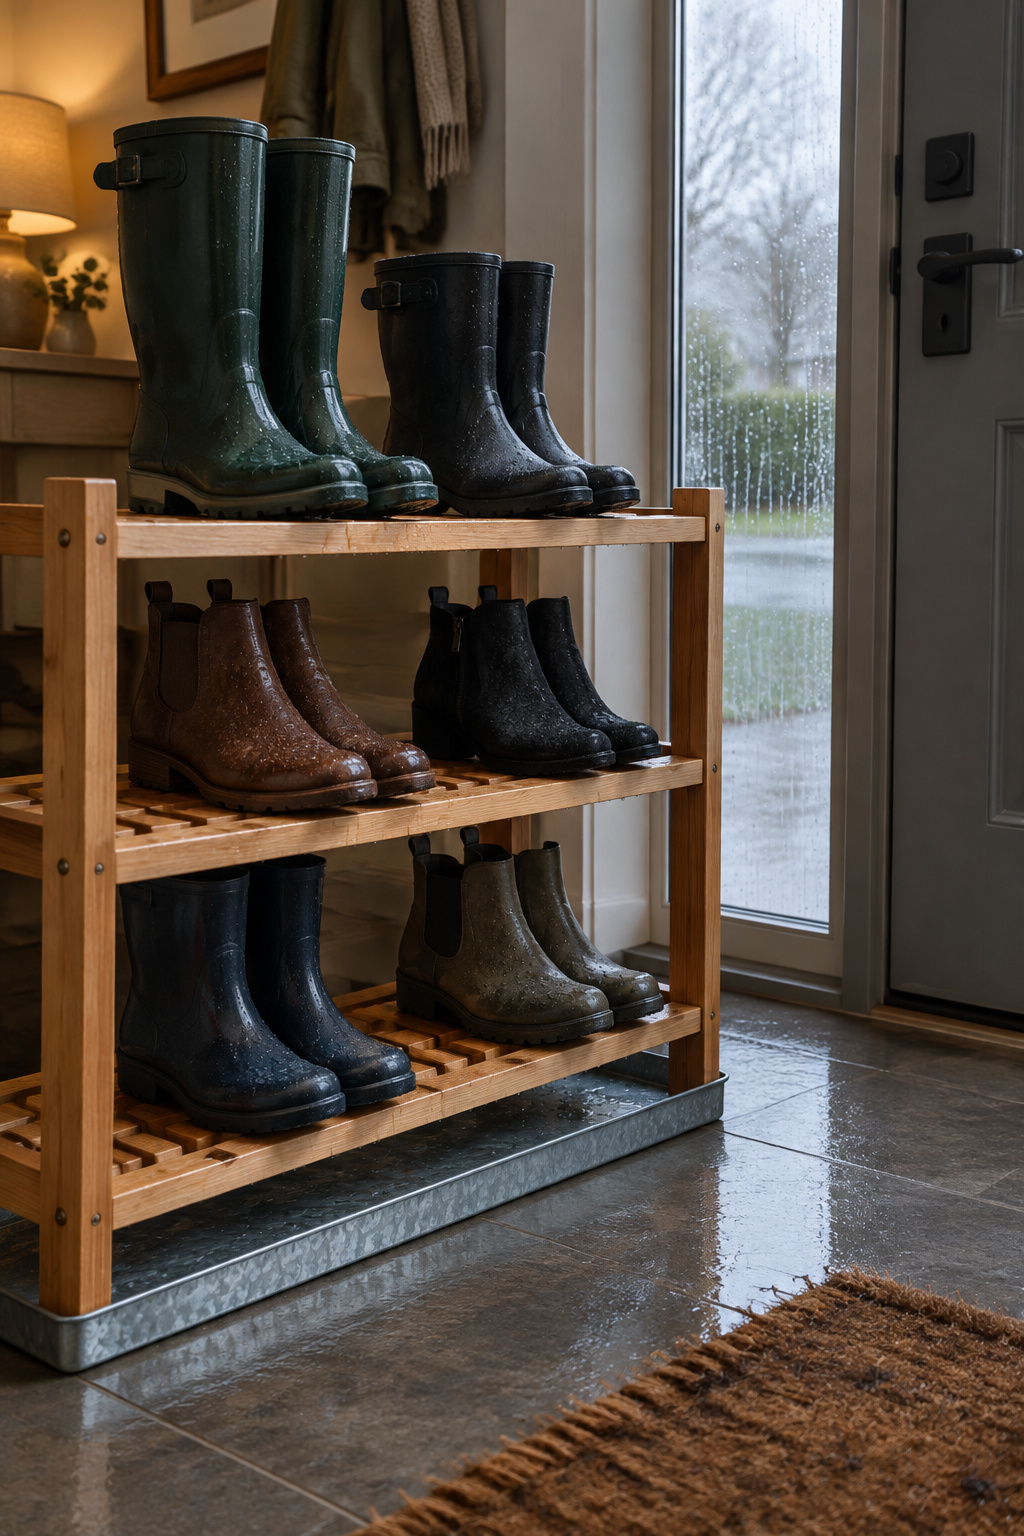
For that household of four with tall rain boots, the rack is three 36 in tiers: an 18 in gap at the bottom for the boots, an 8 in gap above, then an open top tier.
Pick Wood and a Finish That Survive the Wet Half of the Year
What does a wet week do to wood? Water that sits in it feeds decay fungi, and it enters through cut ends about 11 times faster than through the faces, so the weak points are exactly where you sawed. The rack lives indoors, and the finish advice I trust was written for decks and siding, but the shoes bring the weather in.
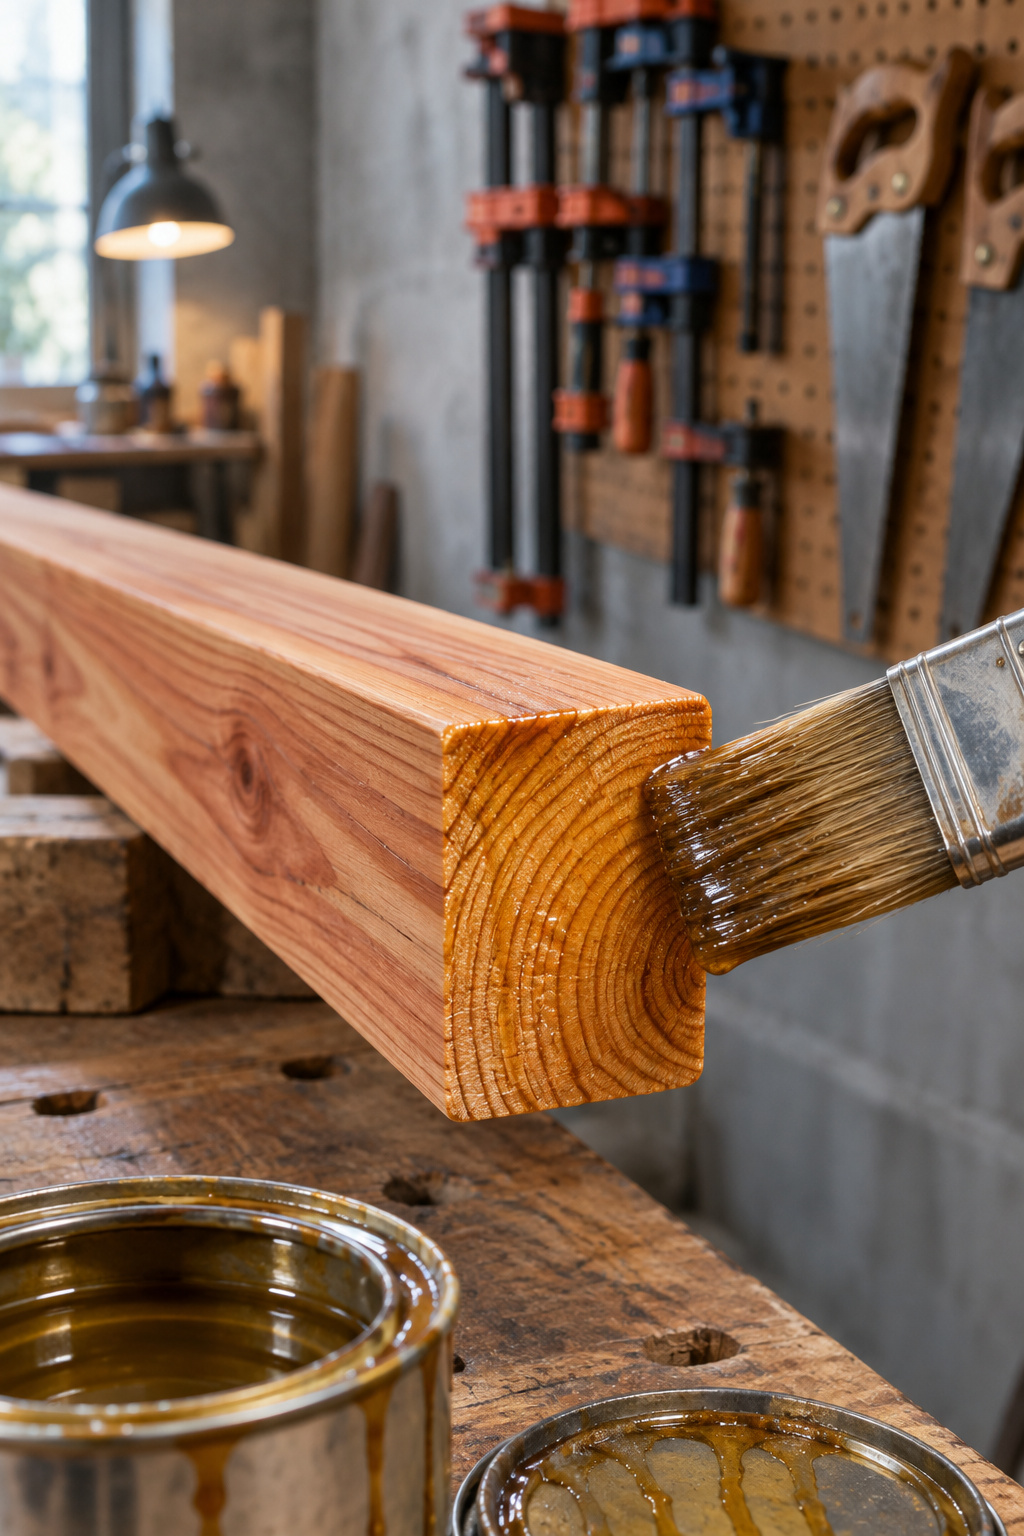
- Cedar or redwood heartwood. Only the heartwood of these species resists decay. Sapwood, the outer wood, doesn’t, whatever the species, so pick boards with as little of it as you can find. This is the one I’d buy.
- White oak heartwood. Also decay resistant.
- Pine. The cheapest board, but it needs a proper finish and won’t forgive bare ends.
- The finish: a penetrating water-repellent preservative, which soaks into end grain and carries a mildewcide. Paint and solid stains trap moisture and peel on wood that keeps getting wet.
Cedar, oak and redwood stain blue-black around plain steel screws, so use stainless.
Put a drip tray under the bottom tier so runoff stays off the floor, which matters most if you’re painting the entry floor. Slats let air reach the soles. Open versus closed shoe storage, and how to size a boot tray, are both covered in the shoe storage bench and garage drop zone guides on the site. If you need doors, buy a cabinet.
I treat the tray and the door mat the way I treat an outdoor rug: as seasonal, out for the wet months and put away when summer comes.
Build the DIY Shoe Rack: Cut List, Cost and Assembly
Here is that three-tier, 36 in rack, cut from 1×4 slats and 2×2 legs. Swap in your own tier gaps and depth.
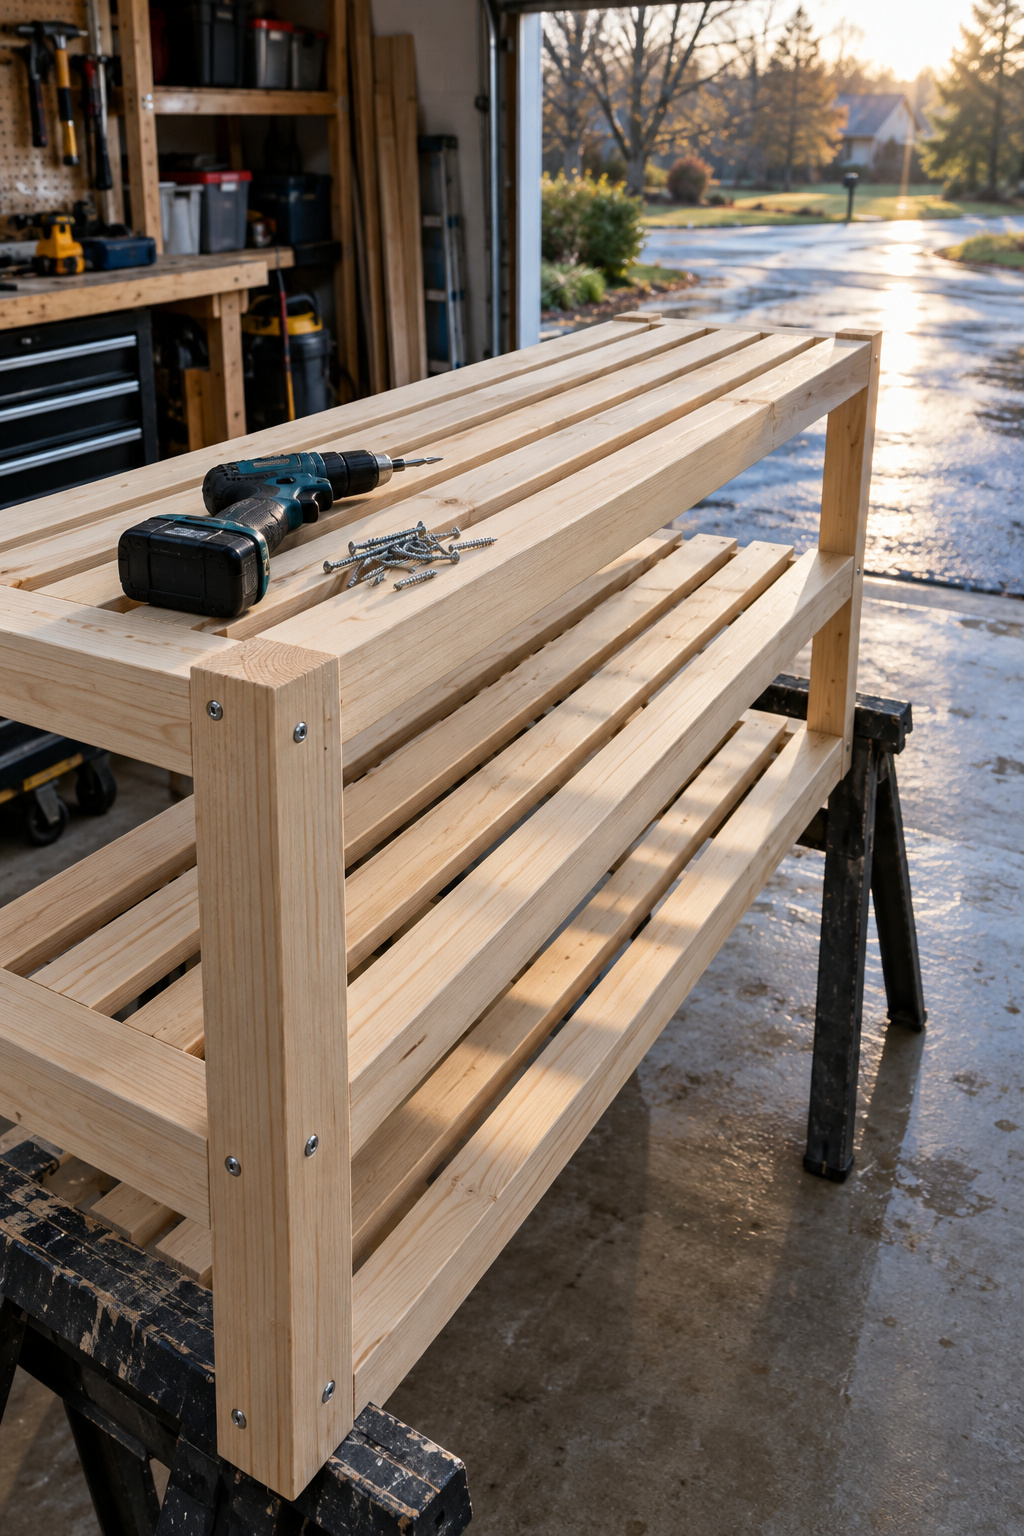
Cut list and cost
A 1×4 is actually ¾ in by 3½ in, and a 2×2 is 1½ in square.
Depth comes from the slats. Three 1x4s with two 1¼ in gaps make 3 × 3.5 + 2 × 1.25 = 13 in, which suits smaller shoes. If anyone at the door wears a size 9 or larger, widen the two gaps to 1¾ in: 10.5 + 3.5 = 14 in.
The legs run from a 2 in foot clearance up to the top slat: 2 + ¾ + 18 + ¾ + 8 + ¾ = 30.25 in, so cut them at 31 in.
| Part | Stock | Length | Quantity |
|---|---|---|---|
| Slats | 1×4 | 36 in | 9 (three per tier) |
| Legs | 2×2 | 31 in | 4 |
| Tier rails | 1×2 | 10 in (11 in for the 14 in depth) | 6 |
To buy: five 1x4x8 boards for the slats (two slats per board, with 24 in left over), two 2x2x8s for the legs and one 1x2x8 for the rails. In pine, the slats are 5 × $8.98 = $44.90 at Lowe’s as of November 2026. Cedar costs more and varies a lot from yard to yard. The 2x2s, the 1×2, finish and screws come on top.
Assembly in order
The first step is what keeps water out of the joints.
- Cut everything, then seal every cut end before a single screw goes in. Decay starts at joints and ends.
- Sand the faces to 150 grit at most for an oil-based finish.
- Build two end frames, each from two legs and three rails, with the rails set at the tier heights you measured.
- Join the frames with the slats, three per tier, leaving the gaps you chose for depth. Use 1¼ in stainless screws through the ¾ in slats.
- Finish the whole rack with the water-repellent preservative, and give the end grain an extra coat.
Where the Rack Sits Relative to the Door and the Mat
Where does the water go? I keep a bag of gravel in the truck because a soggy path is where wet shoes start. Inside, you get to decide.
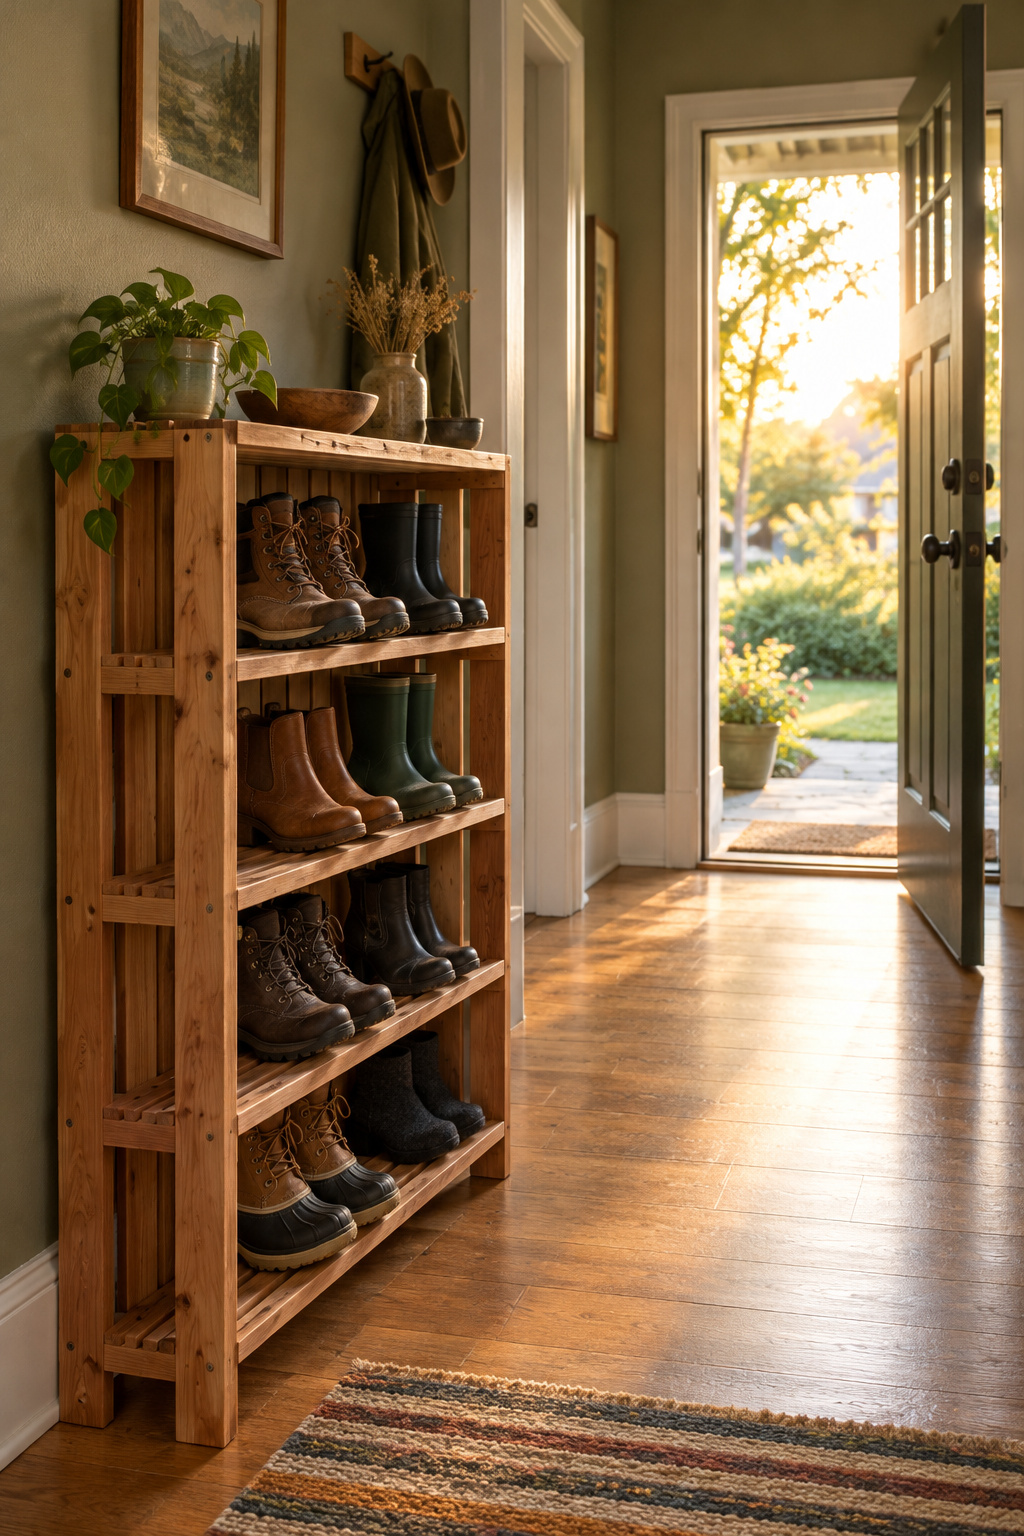
My rule is door, then mat, then rack. Wet soles should cross the mat before they reach the slats, and nobody should have to carry dripping boots across the walkway to put them away. That usually means the wall the door opens against, clear of the door’s swing. A 13 or 14 in rack is shallow, but in a narrow hall it still eats into the path; the entry table guide covers walkway clearance.
If the hall has nothing to spare, the better home may be a few steps away: a coat closet turned mudroom gives a rack this size a floor of its own, out of the traffic.
Test It in a Wet Week, Then Adjust the Tiers
Load every real pair and wait for a week of bad weather. A rack that looks right empty can be wrong by Thursday.
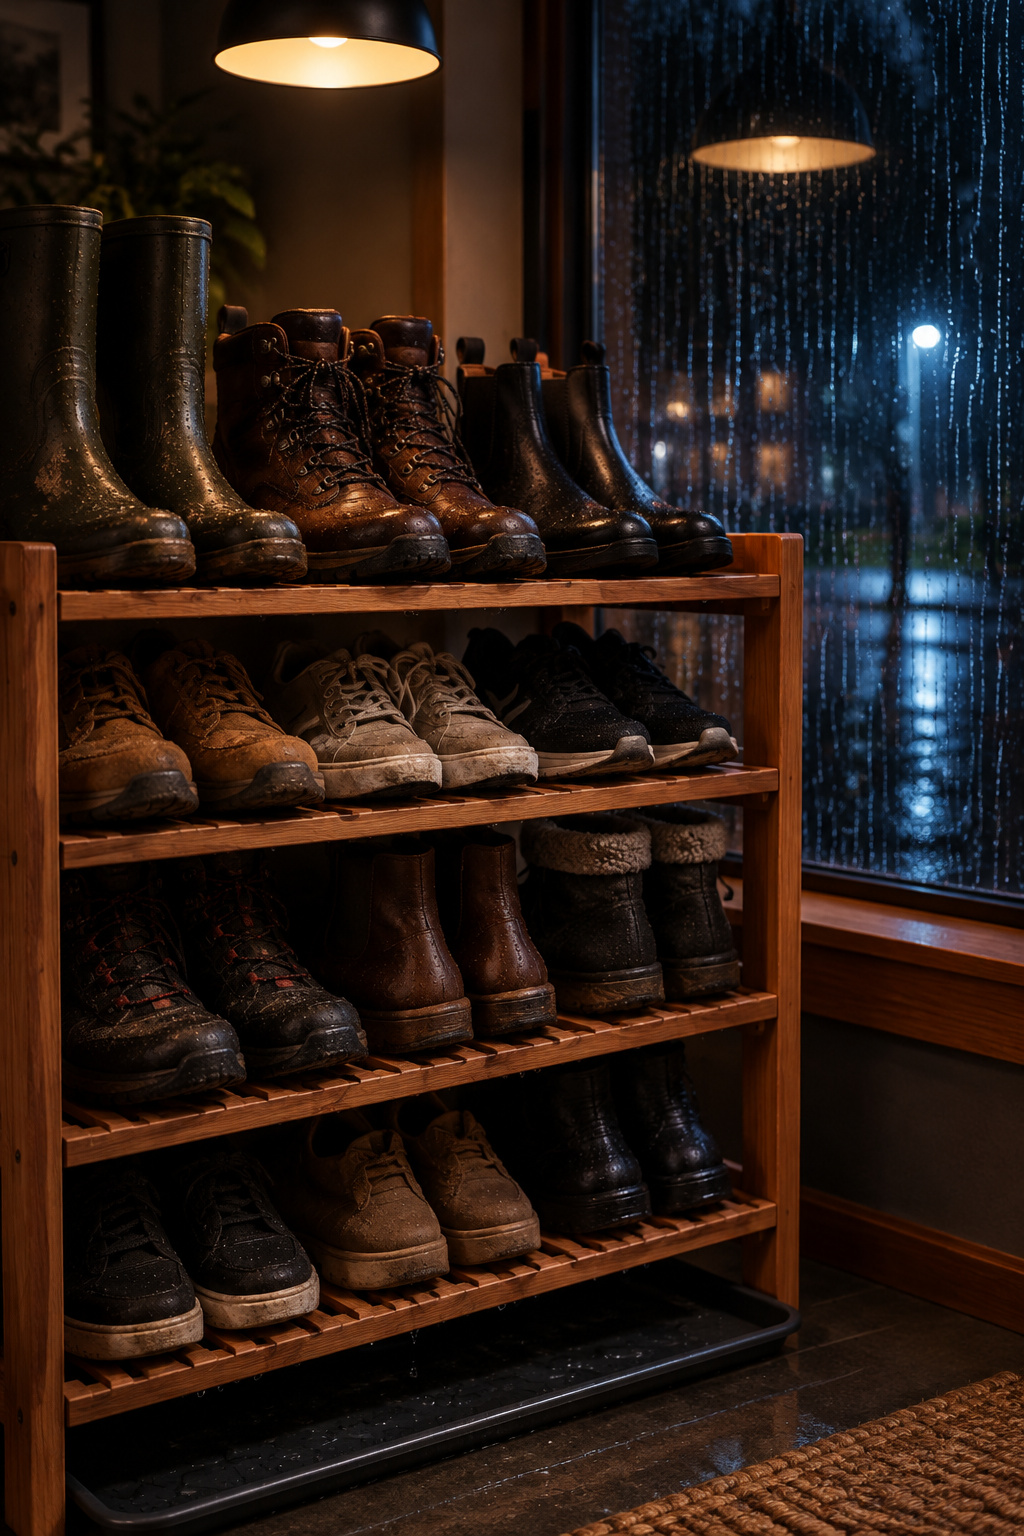
The tallest boot should clear the slat above by about an inch. Press down on each tier and rock it; if it moves, check the screws into the rails. Look for water standing on the slats once the boots come off. New, stiff tall boots also stand taller than they will once broken in, by 1 to 2 in on riding-boot guidance, so check the tall tier again in a month.
If a tier needs to change, move one rail and leave the rest alone, and seal any fresh cut. When the finish looks tired, scrub the slats with a stiff brush, let them dry for several days and recoat.
There are other entryway projects you can build once the shoes have a place. First, go to your own door, find the tallest pair standing there, and measure it, heel and all. That number is your bottom tier, and the pairs you counted set the length.
FAQ
How much weight can a slatted wooden shoe rack hold?
There is no rated figure for a homemade rack, so test yours with the shoes it will actually carry. For comparison, IKEA rates its KOMPLEMENT shoe shelf, which holds three pairs, at 8 kg, about 17.6 lb, spread evenly. Load your rack fully, press on each tier and check for movement before trusting it.
What is the cheapest wood for a DIY shoe rack?
Pine is the cheapest practical choice, at $8.98 for a 1x4x8 board at Lowe’s, but it needs a proper finish and sealed ends to handle wet shoes. Cedar, redwood or white oak heartwood resists decay on its own and costs more, with cedar prices varying widely between lumber yards and big-box stores.
Can you build a shoe rack without power tools?
Partly. Home Depot gives about ten free straight cuts per visit, and Lowe’s policy varies by store, so the slats and legs can be cut for you. Neither store cuts pieces under 12 in, so the short rails need a handsaw. The Bob Vila boot rack plan lists a cordless drill beside its handsaw, and I’d budget for one.