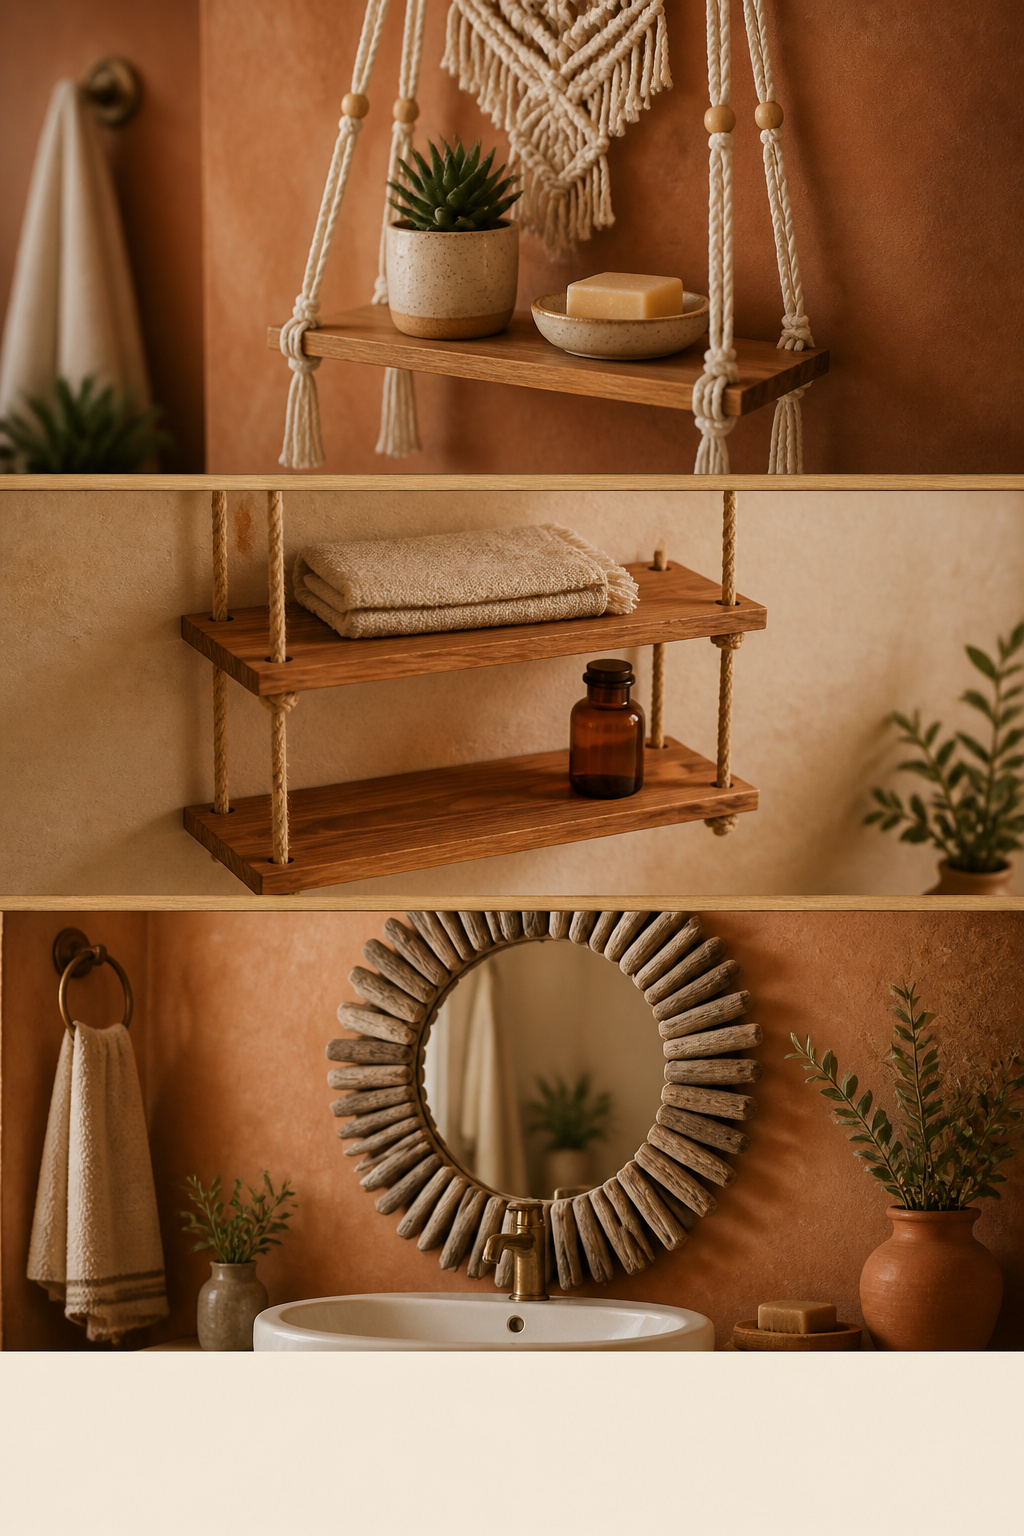
On my old crews, the line was simple: pros measure, beginners guess. The boho bathroom look gets sold as the easy one to build yourself — and most of that is true, as long as nobody lies to you about the time. Here are three real projects, three honest difficulty levels, and what each actually costs.
TL;DR
- Three projects, all under $40 in materials each: a macrame hanging shelf (no tools, $15–$25, 2–3 hrs), a wood-and-rope cedar shelf (drill needed, $25–$40, 3–4 hrs), and a hand-finished mirror frame (miter cut, $15–$35, 4–5 hrs with dry time).
- The macrame shelf is a true first build: two knots (square and spiral) plus a lark’s head, and the hardware store will drill the shelf-board holes for you.
- Use 100% cotton cord in a bathroom, not jute — jute biodegrades in humidity. Seal all wood faces, including end grain, before it goes near steam.
What These Projects Actually Cost and Take
Cost and difficulty decide which project you start with. Here are all three at a glance.
| Project | Materials cost | Time | Skill level | The mistake to dodge |
|---|---|---|---|---|
| Macrame hanging shelf | $15–$25 | 2–3 hrs | First build (no tools) | Uneven cord tension tilts the board |
| Wood-and-rope floating shelf | $25–$40 | 3–4 hrs | Some builds (drill) | Cutting rope before testing the layout |
| Hand-finished mirror frame | $15–$35 | 4–5 hrs | Some builds (miter box) | Stain or paint bleeding onto the glass |
The macrame cost is assembled from component prices — no tutorial published a combined total — so treat it as a guide, not a receipt.
Why the honest numbers come first
Pick the project that matches your tools and your afternoon, not the one whose photo you liked. The timelines already count knot practice, dry time and the hardware store run.
Skill ratings explained: what ‘first build’ means here
“First build” means no power tools, no measured cuts — the macrame shelf qualifies. “Some builds” means you have used a drill once and can read a level; the rope shelf and the mirror sit there.
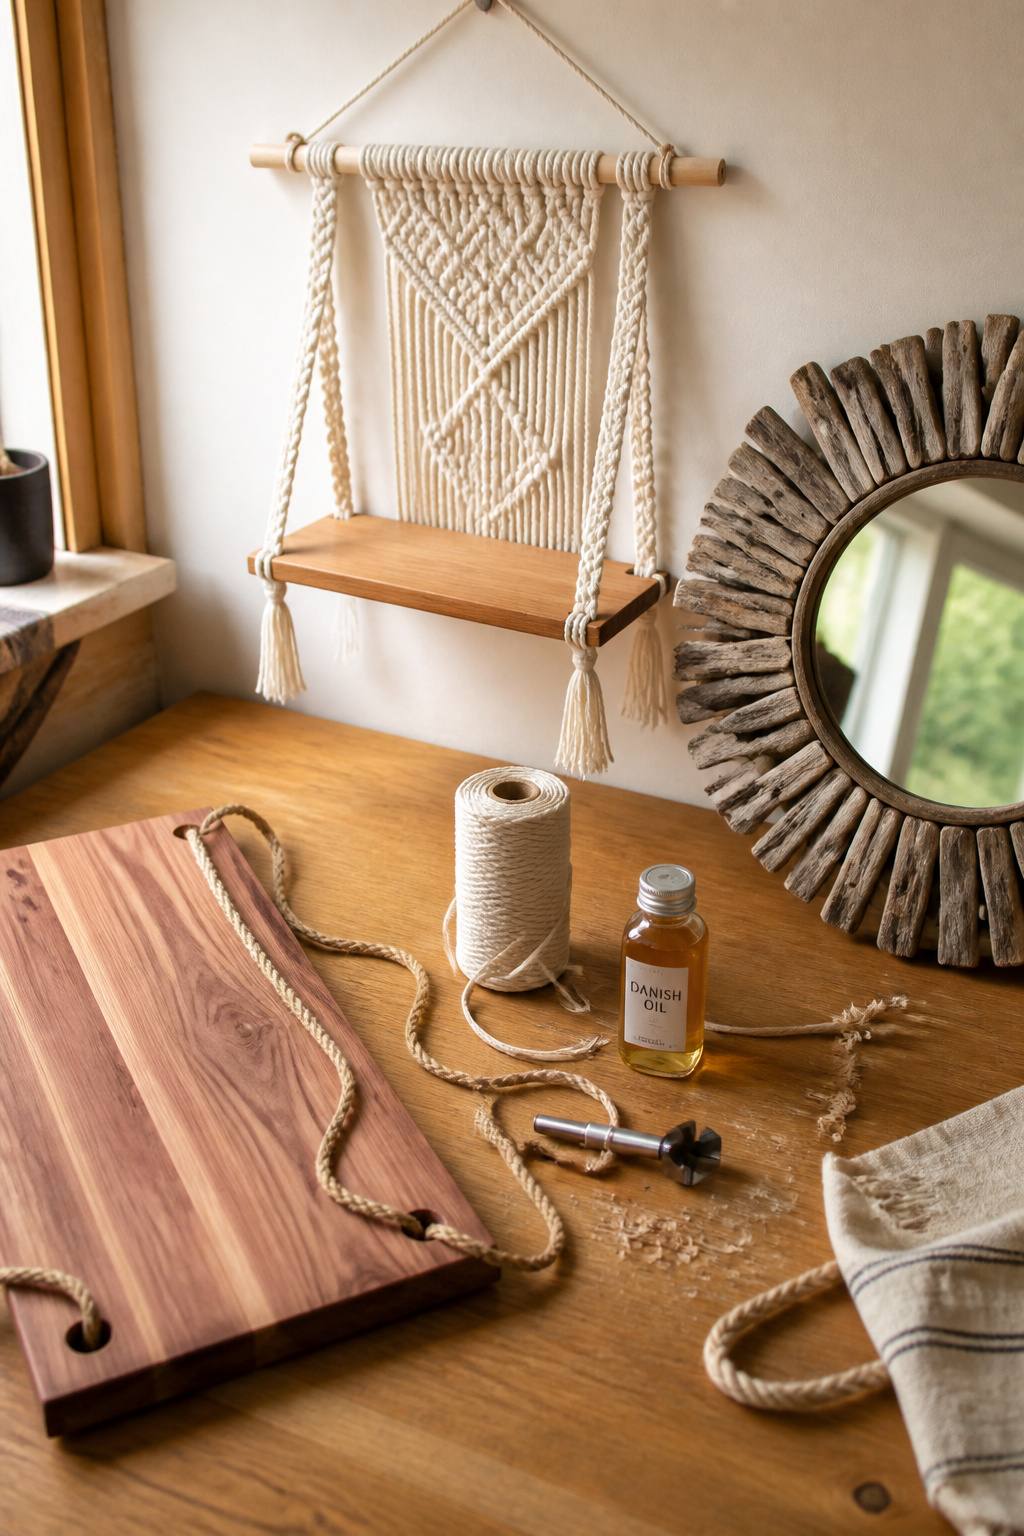
What you’ll need across all three projects
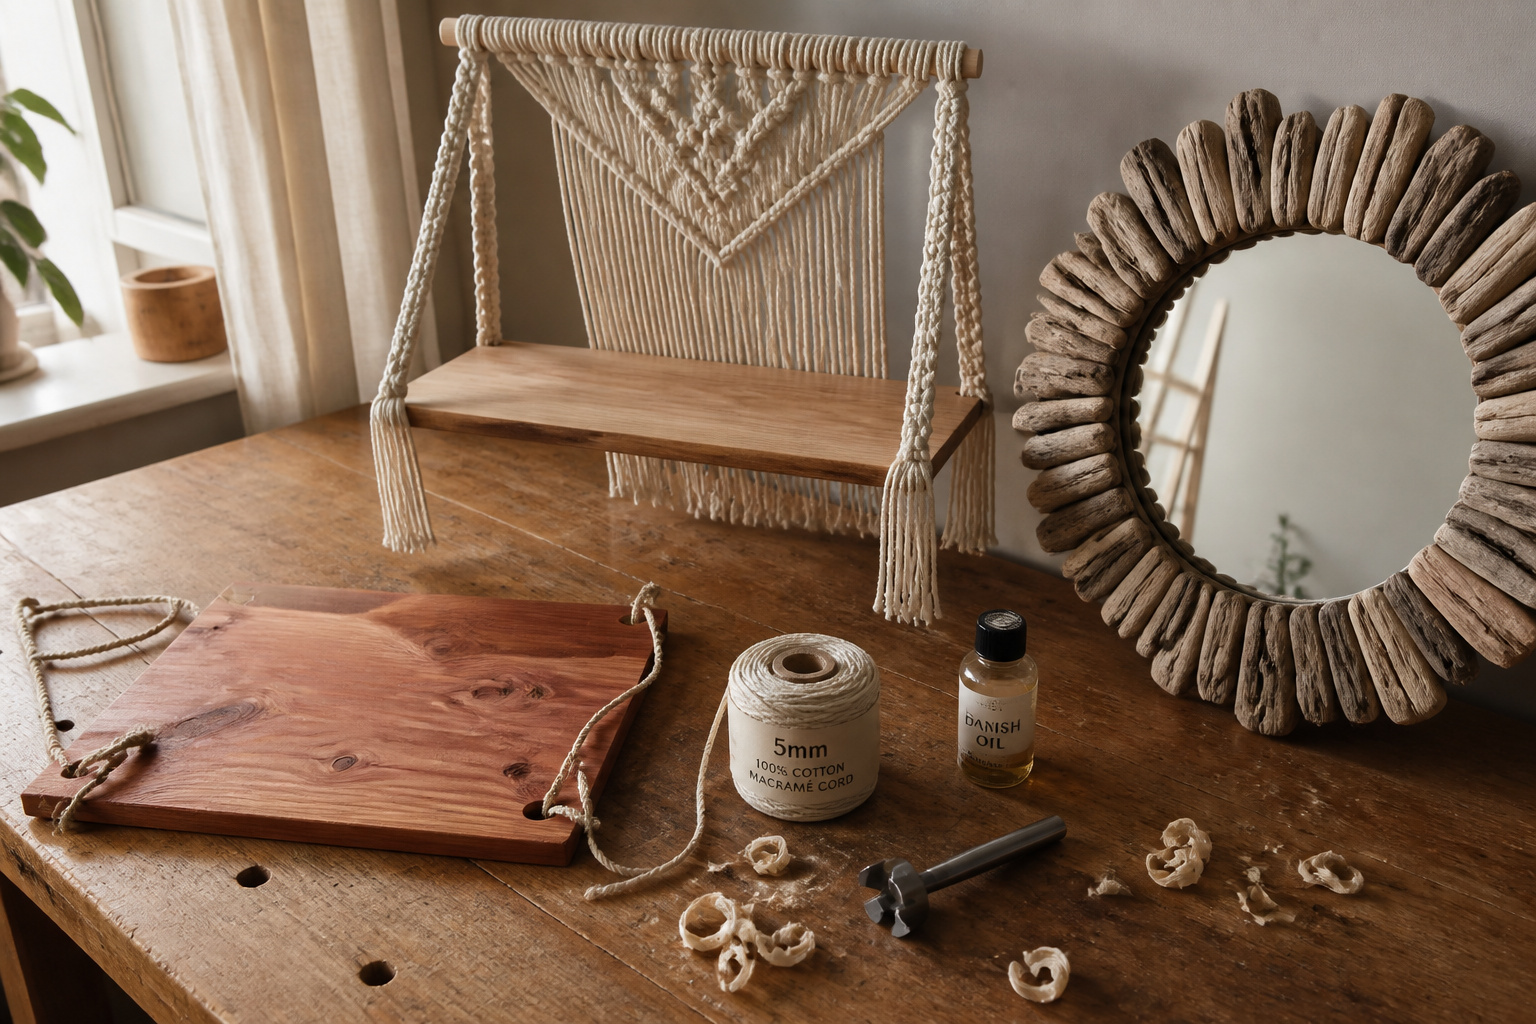
Five tools and shared consumables cover all three, listed below. For what to buy instead of build, creating a boho bathroom on a budget — and all three feed into bringing the whole boho bathroom look together.
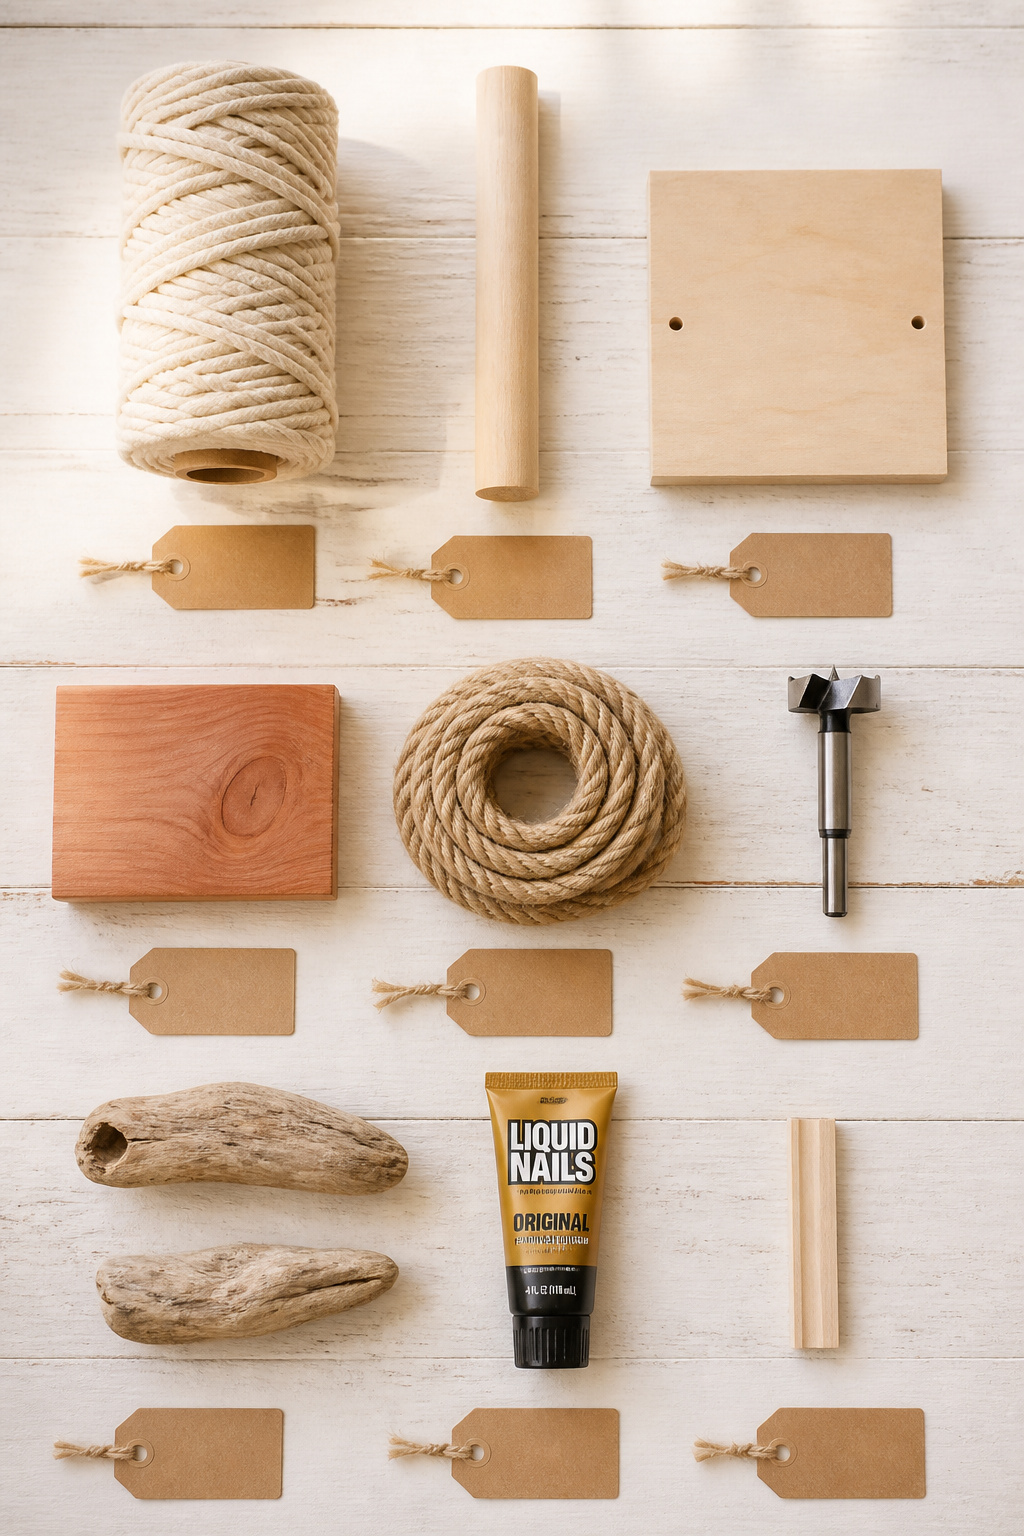
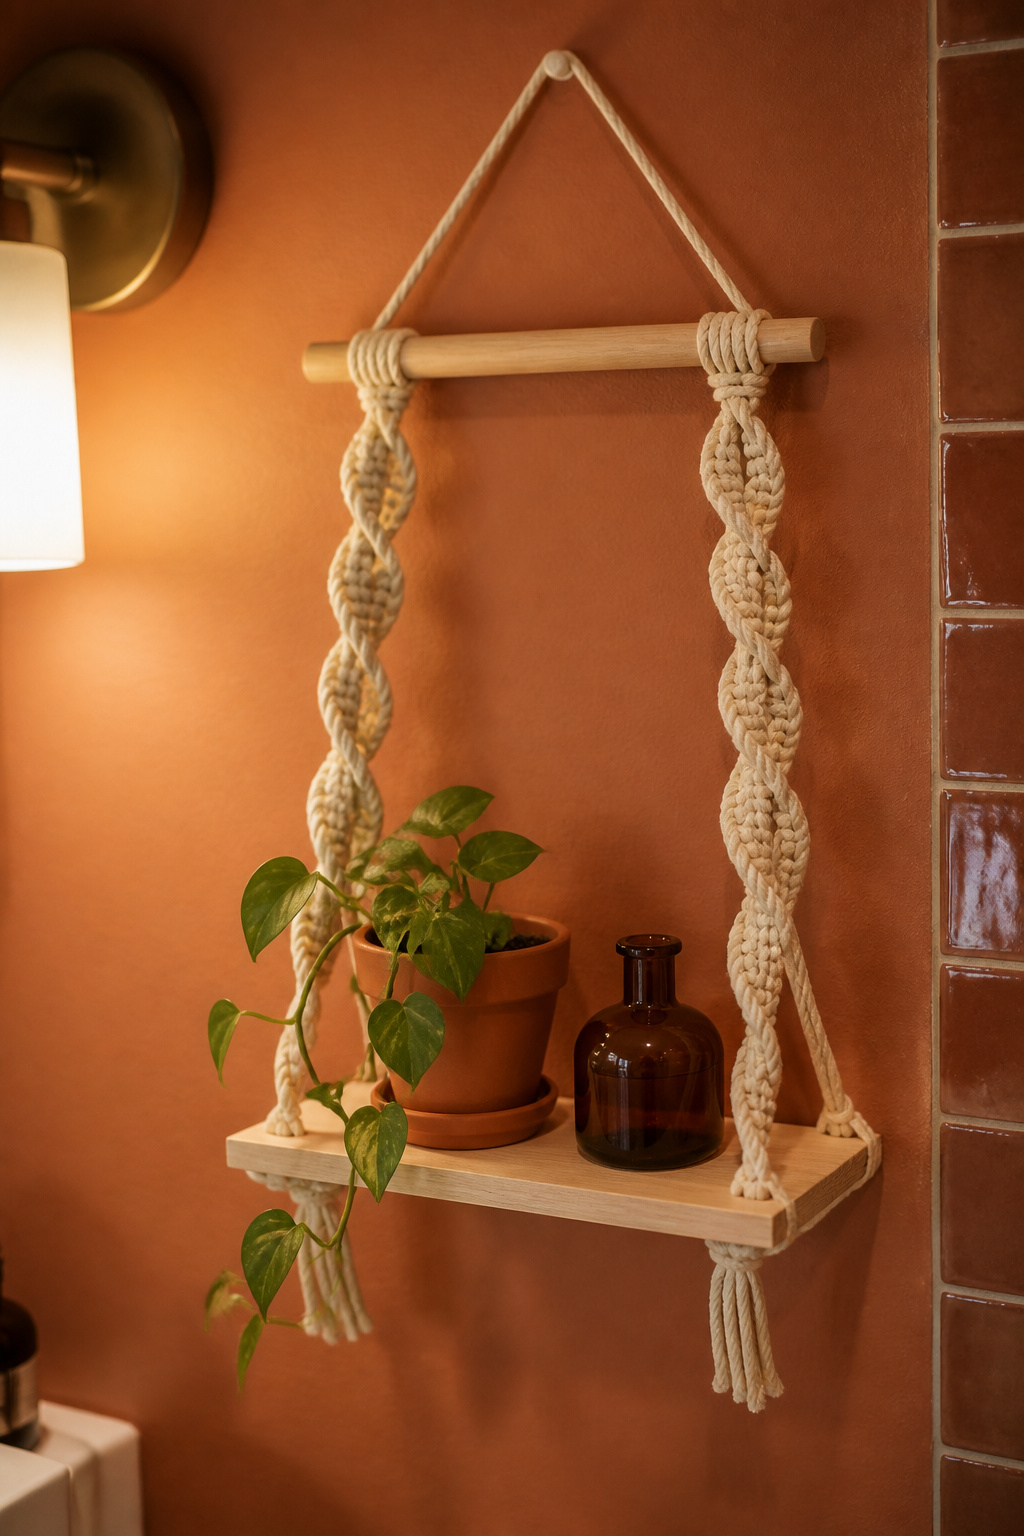
Project 1: A Macrame Hanging Shelf (First Build)
Cotton cord, a dowel, a board, and knots learned in under an hour.
Materials, cord thickness and where to buy
Use 5mm three-strand twisted cotton cord — thicker than the 3mm sold for wall hangings, strong enough for a light bathroom load. A 100m spool runs $12–$16. Add a 25mm birch or beech dowel ($3–$5; pine splits) and an 18–20mm shelf board, 20–30cm wide.
The knots you actually need (just two)
Three, counting the attachment — all easy:
- Cut 20–24 working cords at 4× your finished drop — for a shelf 45cm below the dowel, that is 180cm per cord. Cutting short is the classic error; measure before you commit.
- Attach each cord to the dowel with a lark’s head knot: fold it in half, loop the fold over the dowel, pull both ends through. Ten seconds each.
- Tie square knots for the flat body: left cord over the middle two and under the right, then the right cord under the middle two and up through the left loop, and reverse to finish.
- For spiral columns, tie only the first half of that square knot, over and over. After 6–8 repeats the cord twists into a spiral on its own.
- Thread the ends through the pre-drilled holes in the shelf board — the hardware store will drill these — and secure each with an overhand knot underneath.
- Hang the dowel on a hook set into a stud, or toggle-bolted into drywall.
The mistake to avoid: cord tension and how to recover
One side knots looser than the other and the board tilts — your dominant hand quietly pulls harder when you work flat on a table. Hang the dowel at chest height and work vertically instead: gravity keeps the filler cords taut and shows the imbalance as it happens.
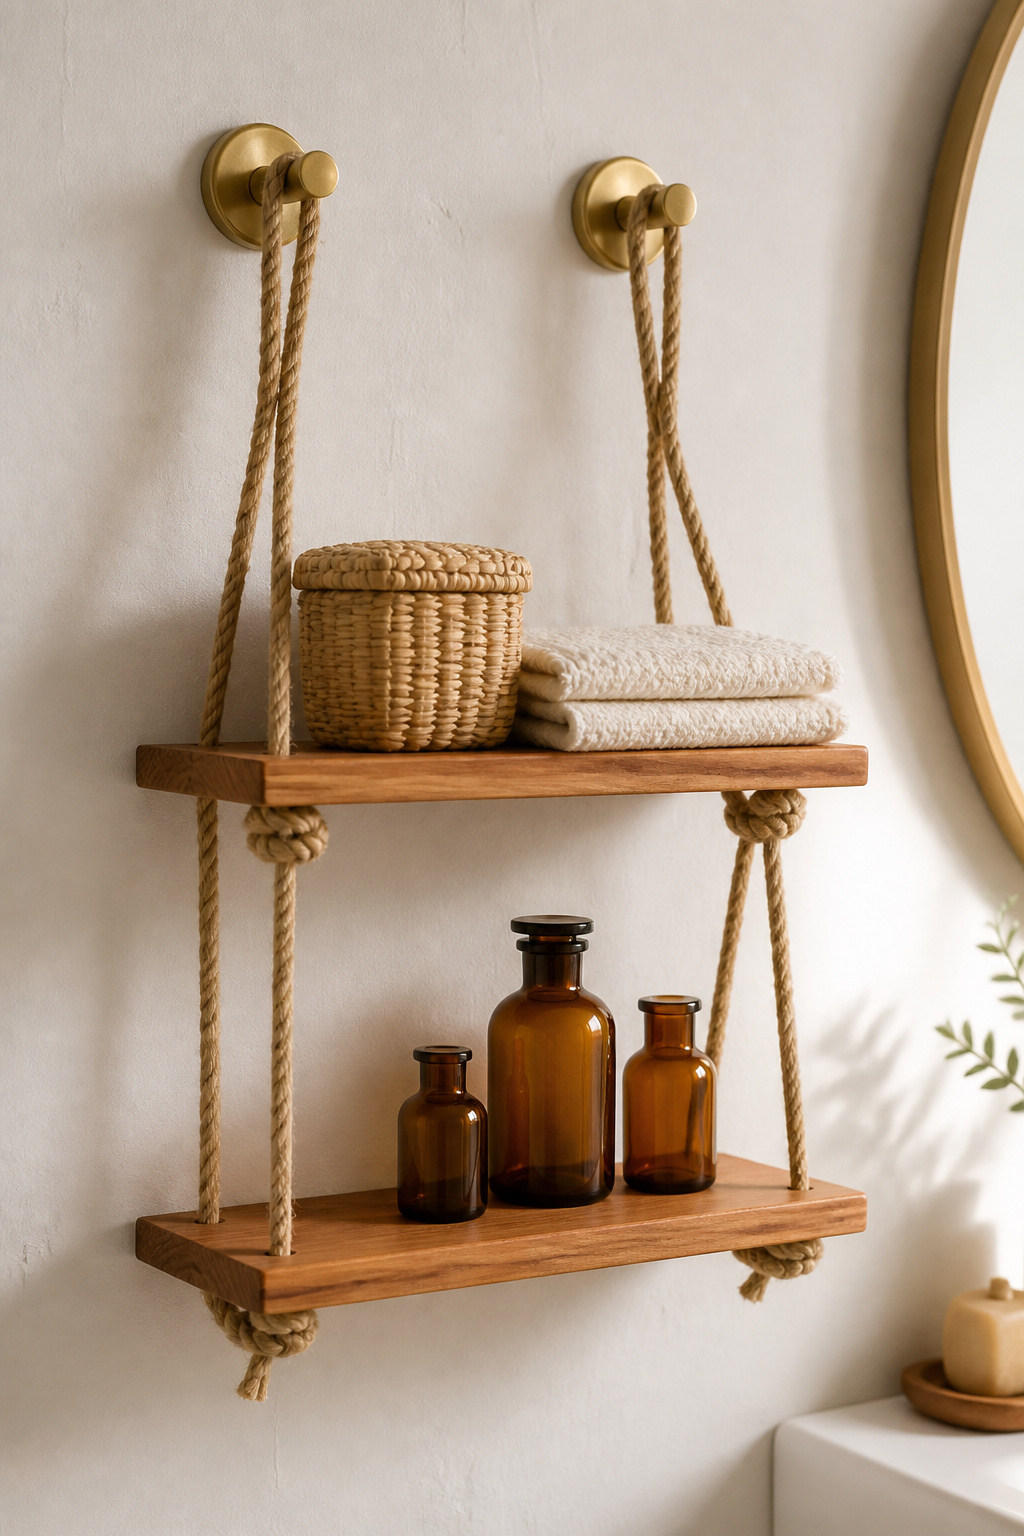
Project 2: A Wood-and-Rope Floating Shelf (Some Builds)
The rope shelf is a small step up from the macrame project — it just adds a drill. The build runs in one session:
- Cut the cedar board to length and sand it — 80-grit on the end grain, then 220-grit all over.
- Finish all six faces with Danish oil before drilling; sealing the cut edges is the step beginners skip.
- Drill a hole 25mm in from each corner with a 1/2-inch Forstner bit, so it will not split under load.
- Thread the rope through the corner holes, knotting underneath each board.
- Hang from the top knots on rust-resistant hooks, anchored as below.
Timber choice and the finish that reads as boho
Western red cedar: naturally moisture-resistant, $6–$12 per board foot, honey-brown without stain. White oak is the premium alternative. Either way, Danish or tung oil over polyurethane — a penetrating finish soaks into the grain and reads matte.
Wall anchor types for different wall constructions
Use zinc-plated or stainless hardware only — plain steel rusts within 12–18 months in the damp. SNAPTOGGLE-style toggle bolts hold 238 pounds in standard 1/2-inch drywall — well above a decorative shelf’s load. Two anchors per side, shelf depth under 20cm — leverage, not weight, pulls anchors out.
The mistake to avoid: rope length and shelf level
Cut rope only after testing the layout on the floor — lay both ropes flat, mock up the shelf, adjust until even, then cut, leaving 30cm extra per rope for knots. Natural rope stretches under load and can drop 5–10mm on one side in the first week; wait 5–7 days before final re-levelling.
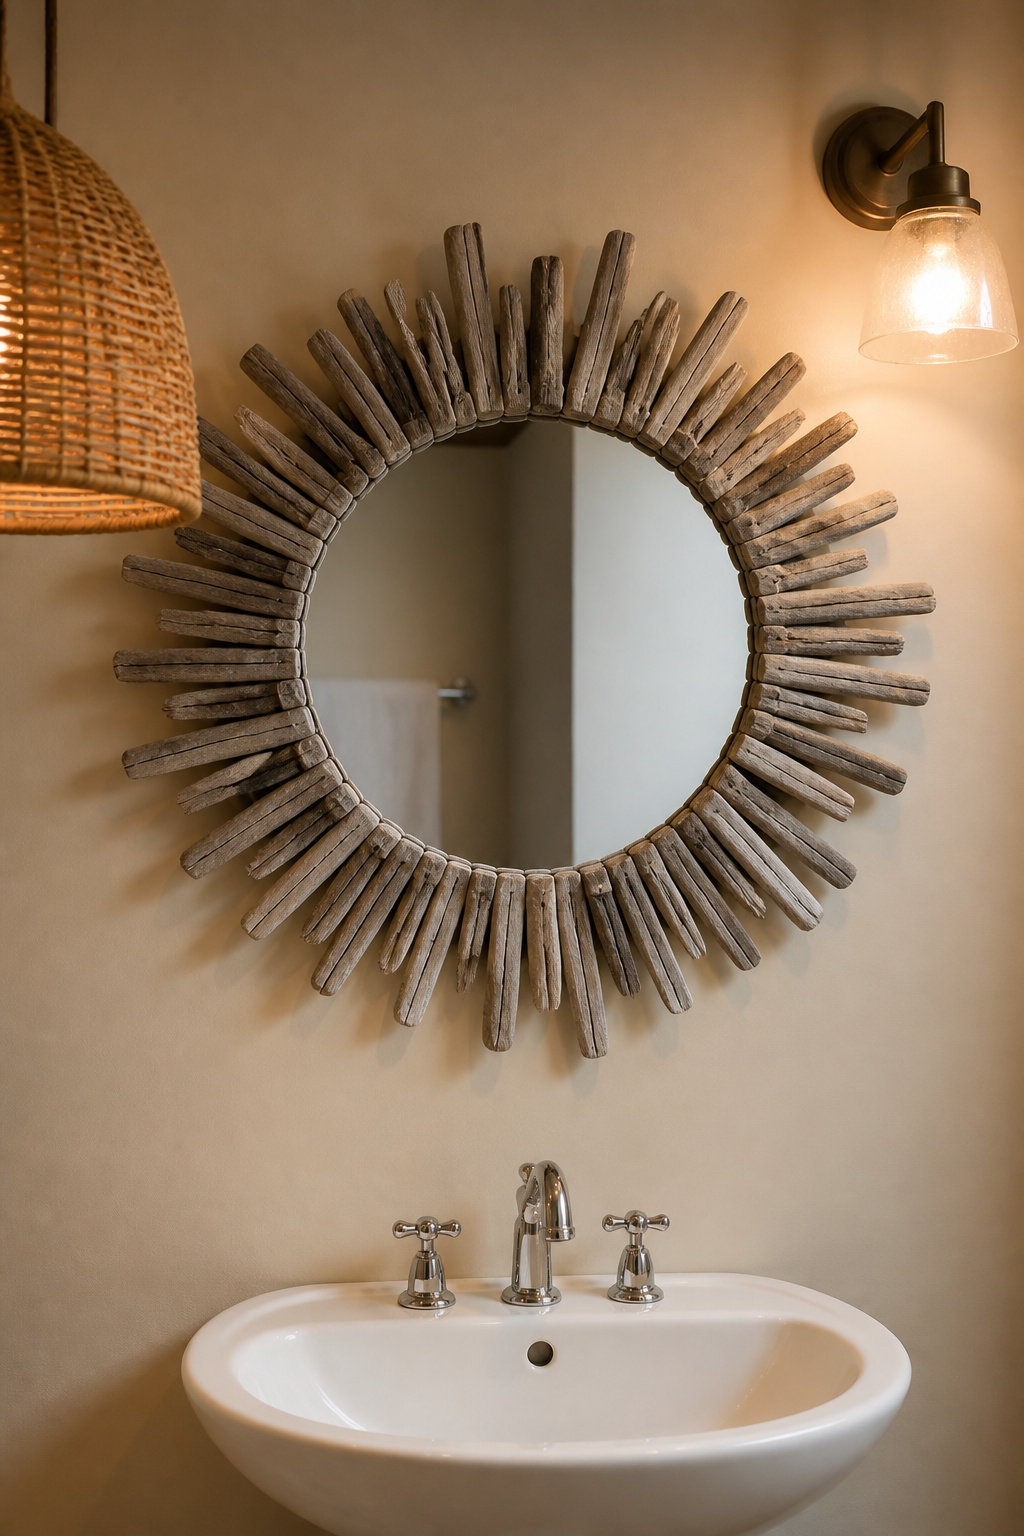
Project 3: A Hand-Finished Mirror Frame (Some Builds)
A framed mirror turns plain glass into the room’s anchor — and it is the most personal of the three.
Sourcing a plain mirror to frame (charity shops, IKEA)
Thrift and charity shops — Goodwill, the Habitat ReStore — stock plain mirrors for $5–$20; an IKEA NISSEDAL runs $79.99 new. You can also frame a builder-grade mirror in place, gluing each piece straight to its edge.
Material options: driftwood, reclaimed moulding, rope border
Three routes, by tool and budget:
- Decide your material. Thin screen or square-dowel moulding is cheapest at $0.85 per linear foot at Home Depot — about $8 for a 60×80cm frame. Driftwood needs no cuts; rope wrapped around a wooden frame copies the Anthropologie look for under $40.
- Measure the mirror and cut the frame’s inside edge to that measurement — the frame sits on top of the mirror edge, not beside it.
- Stain or oil every piece before assembly. A rag-wiped coat of diluted walnut stain reads “reclaimed” rather than “hardware store.” Dry two hours.
- If using driftwood, seal it with a matte water-based varnish first — unsealed beach driftwood releases salt that can etch the mirror backing.
- Dry-fit, then glue each piece with a thin bead of Liquid Nails and hold with spring clamps. Handle-safe in 4 hours, cured in 24.
- Hang it, or lower the framed mirror back over its existing wall mount.
The mistake to avoid: finish on the glass and how to protect it
Staining moulding after it is stuck to the mirror lets finish bleed onto the glass. Stain everything first and you skip the problem entirely. If you must finish in place, press painter’s tape along the inner edge with a fingernail; any haze wipes off with rubbing alcohol.
Where These Pieces Fit Among Your Textiles and the Rest of the Room
Placing handmade pieces so they read as collected, not crafted
Spread your handmade pieces across different walls — a macrame shelf on one, the mirror on another. Keep the macrame in a low-splash spot and let the mirror anchor the wall above the vanity where it bounces light.
How macrame and woven shelves anchor the textile layer
Macrame cord speaks the same material language as woven rugs and fringed shower curtains. Matching the cord tone to your bath mat is exactly where these pieces fit among your textiles.
When to stop making and start editing
Two handmade pieces are plenty for a bathroom under five square metres — one woven, one wood. A third tips it toward craft fair; spend the rest of your texture budget on bought rugs and towels.
Tools and Materials: What You Need to Start Today
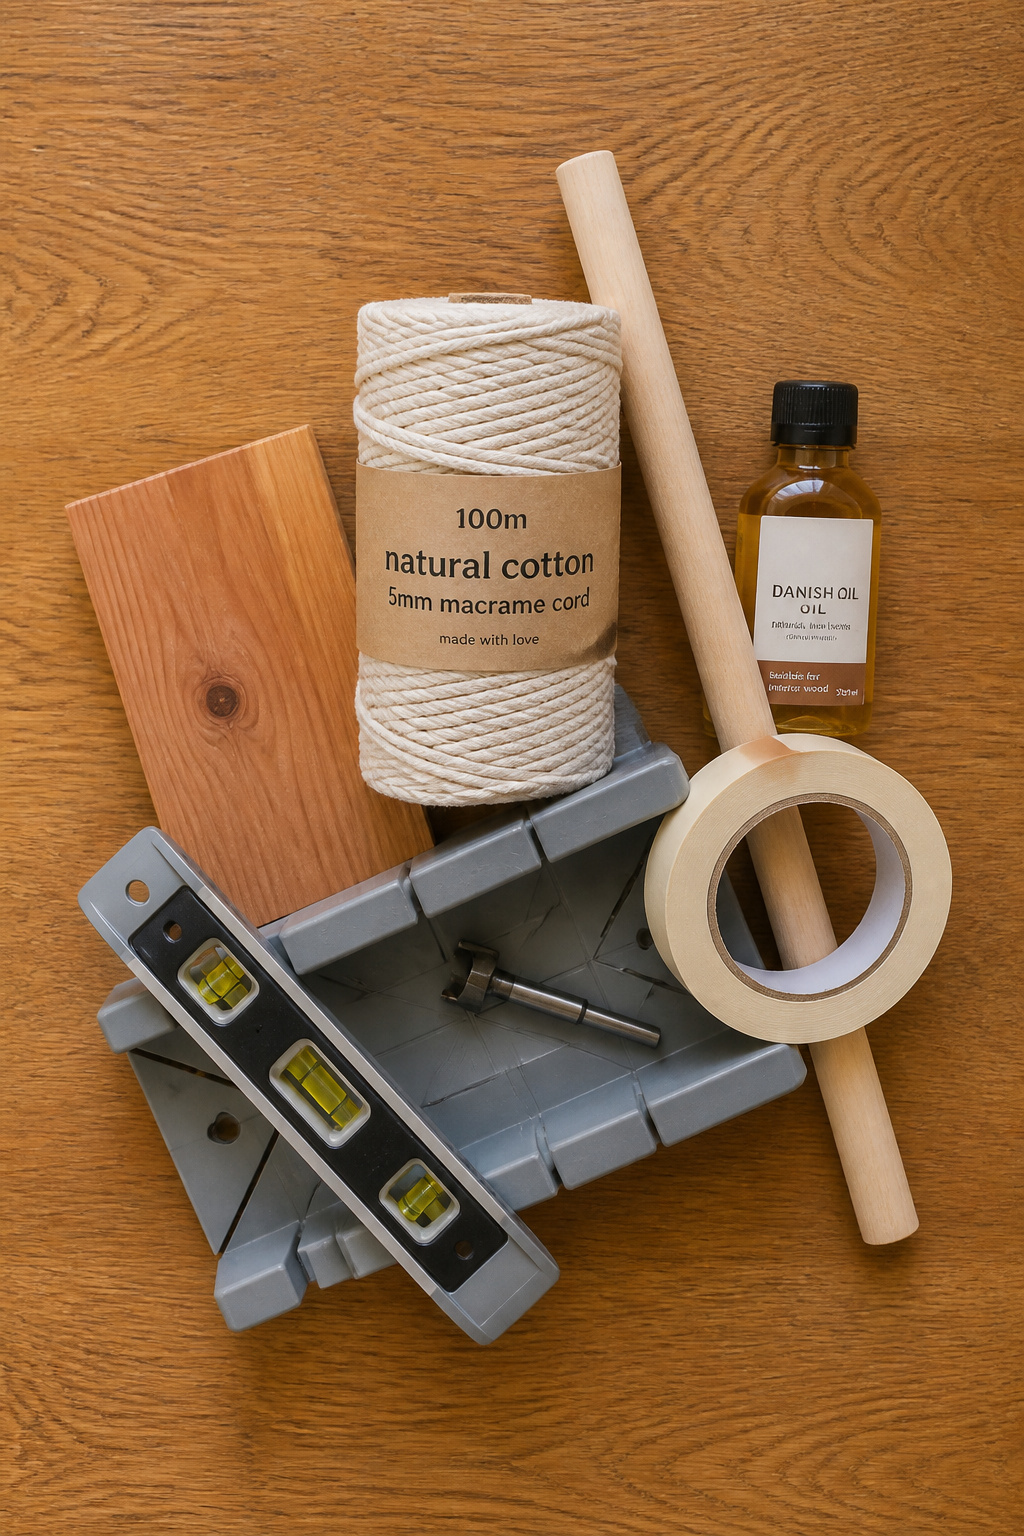
No workshop required. The short list, cheaper workaround in the same breath:
- Drill with 1/2-inch Forstner bit — for the rope shelf holes; or have the hardware store drill them, free or near it.
- Miter saw — for mitered moulding; or a $12–$15 plastic miter box and hand saw, which cuts thin moulding fine.
- Torpedo level (~$8) — to level the rope shelf. No workaround; just buy it.
- Tape measure — assumed owned, used on all three.
- Sandpaper, 80- and 220-grit — under $2 for a half-sheet of each.
Consumables: cotton cord, a birch dowel, 16 feet of 5/8-inch Manila or cotton rope.
Where to buy macrame cord and dowels without overpaying
Amazon is cheapest for cord; Michaels and Joann run 20–40% higher but stock it same-day. Pay extra for birch or beech — soft pine splits.
Beginner mistakes in material buying and how to avoid them
Do not over-buy cord: a shelf eats 25–30m, so one 100m spool is plenty. Run a stud finder before hanging — it is cheaper than a torn-out anchor and a patched wall.
Order a spool and a birch dowel, cut your cords four times longer than you think you need, and give Saturday to the macrame shelf — the one you build will outlast three you could buy.
FAQ
How do you make a macrame shelf for a bathroom?
Cut 20–24 lengths of 5mm cotton cord at 4× your finished drop — about 180cm each for a shelf 45cm below the dowel — and attach pairs to a 25mm birch dowel with lark’s head knots. Knot the body in alternating square and spiral knots, then thread the ends through a pre-drilled shelf board and secure underneath. Use cotton, never jute.
What kind of wood is best for a bathroom shelf?
Western red cedar is the best budget choice: naturally moisture-resistant, $6–$12 per board foot, with a warm honey colour that suits boho without staining. White oak is the premium pick, its tyloses resisting water at the cellular level. Whatever you use, seal all six faces including end grain, which absorbs water far faster than face grain.
Is macrame cord waterproof enough for a bathroom?
Cotton cord is not waterproof but tolerates ambient shower humidity well away from direct splash, lasting 2–3 years before it shows wear. For a spot near the shower, polyester cord resists moisture and lasts 5–10 years while looking near-identical to cotton. Avoid jute anywhere in a bathroom — it breaks down within 12–18 months in the damp.