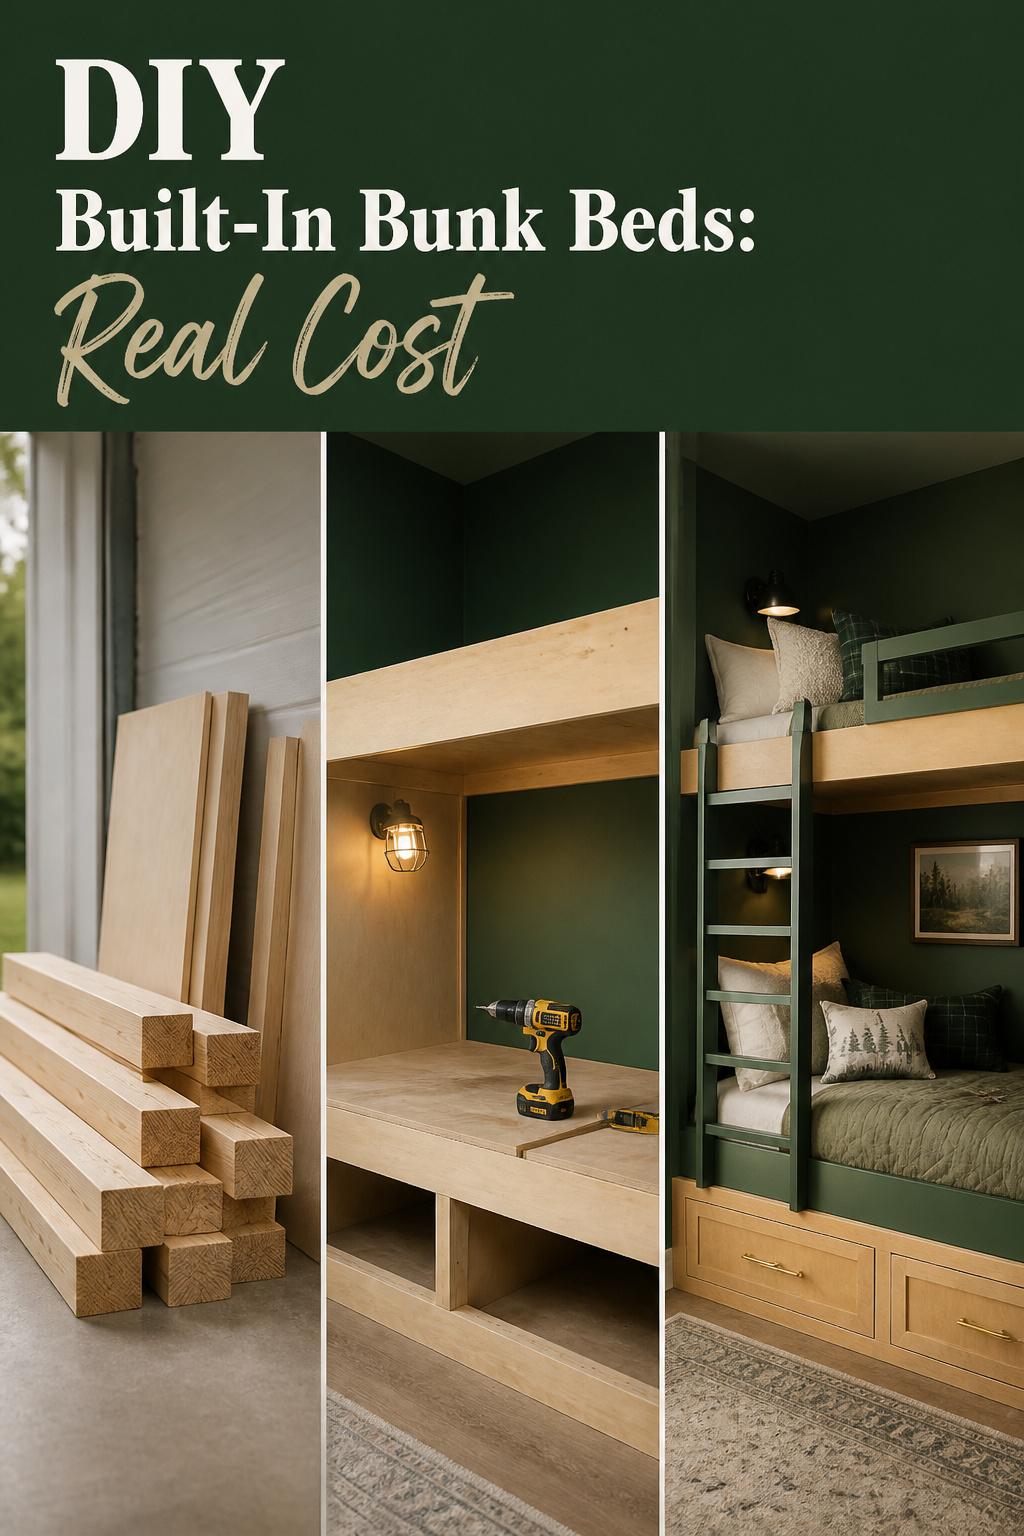
The first thing I built alone, at twenty-two, was a workbench out of two sheets of plywood. Ugly. One leg sat a quarter-inch proud and I shimmed it rather than recut it. It’s still in my garage, dented, holding whatever I put on it. That build taught me what makes DIY built-in bunk beds worth attempting as a beginner: ugly-strong beats pretty-weak, and strong is the part a beginner can actually reach.
TL;DR
- Materials for a stock-lumber twin-over-twin run roughly $200 to $700. Checked July 2026: birch plywood $55–$80 a sheet, SPF 2x4x8 $3–$6 a board — lumber moves, so budget against a range.
- The load path is the ledger: 1/2-inch lag bolts at about 15 inches on-center, or structural wood screws at about 6 inches on-center over a 12-foot span, into framing. Drywall anchors are never acceptable.
- Frame the guardrail last, against the mattress actually going in the bed. The thresholds this build must hit are set out in the bunk-bed article, not here.
A carpenter’s quote for a built-in bunk lands in four figures. The lumber underneath it does not.
What DIY Built-In Bunk Beds Actually Cost (Not What the Video Says)
The stock-lumber materials list
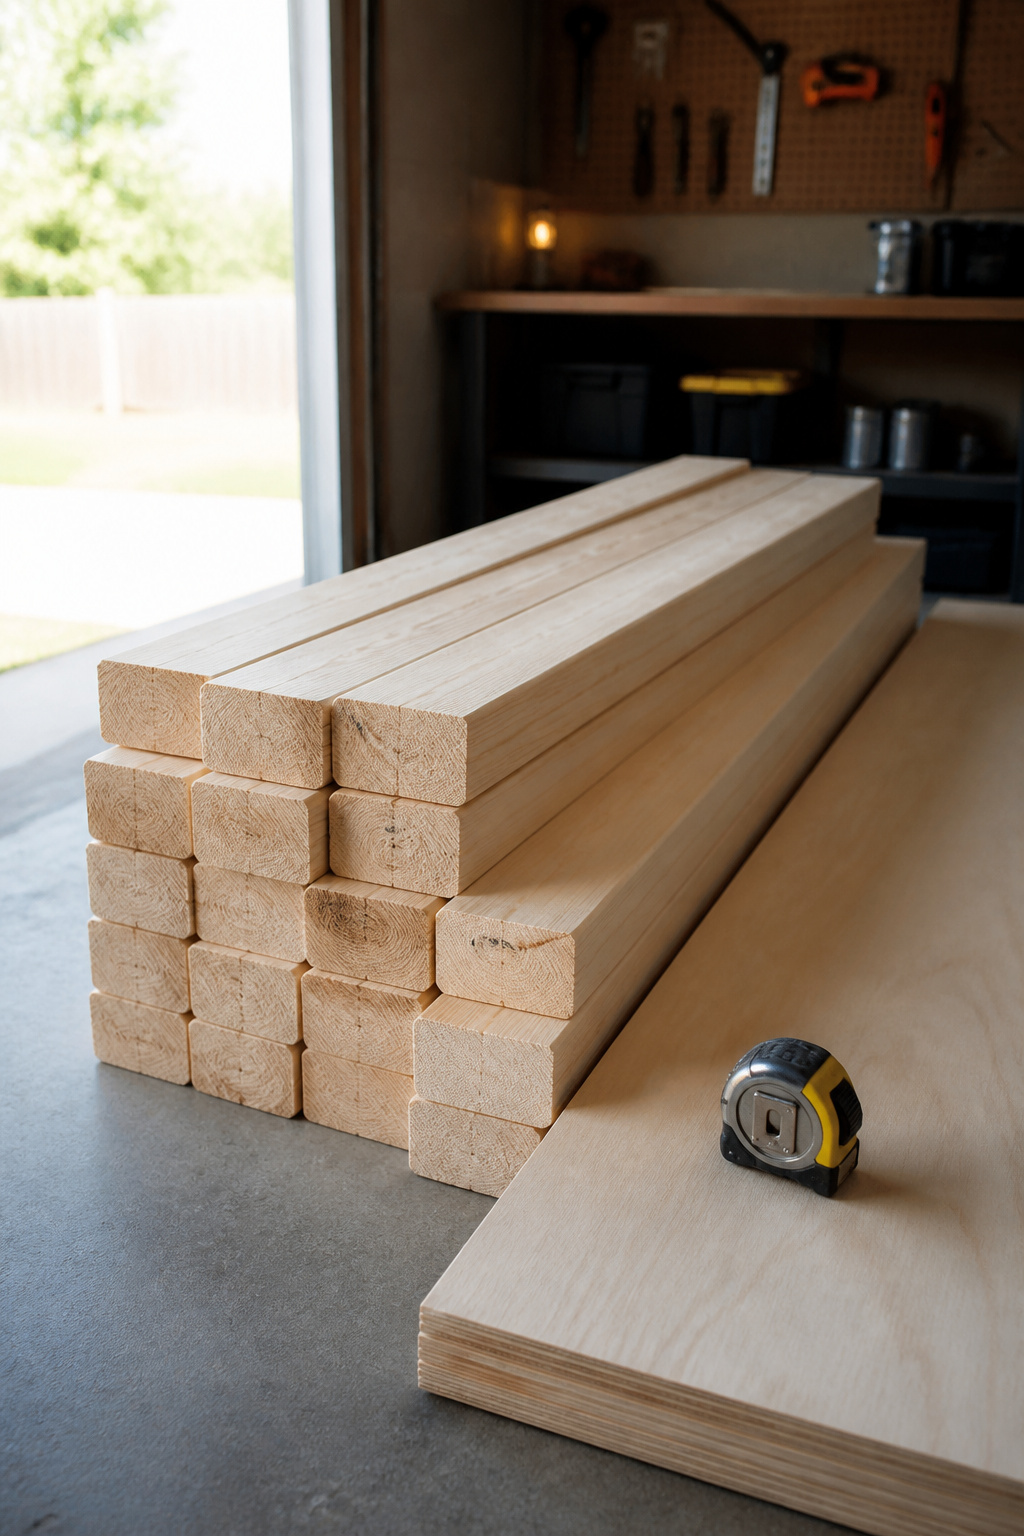
Framing lumber, a sheet or two of plywood where surfaces show, fasteners rated for the job. I checked these prices in July 2026; commodity lumber moves weekly, so read them as a range, not a number.
| Material | What it does | Range, checked July 2026 |
|---|---|---|
| SPF 2x4x8 | Frame, uprights, rungs | $3–$6 a board |
| 3/4-inch birch plywood, 4×8 | Facing — the parts that show | $55–$80 a sheet |
| 3/4-inch utility pine plywood, 4×8 | Decks, hidden bracing | $35–$55 a sheet |
| Kreg pocket screws, #8, 1-1/4 in | Face frames, cleats | about $10 per 100 |
| LedgerLOK structural screws | Ledger into framing | about $46.72 per 50 |
Nothing here needs to be bigger than 2×6.
Where the hidden costs hide
Published totals spread wider than the lumber list explains: near $200 on plain 2×4 framing and MDF finish boards, about $700 once a staircase and wired-in reading lights go in. Scope moves the number faster than finish level does.
What’s on no list: the cut fee, sandpaper, primer, two coats, and the second trip because you guessed a fastener length wrong. Somebody else’s total is a useless benchmark anyway — it’s a snapshot of whatever the lumber market was doing the week they bought, same as mine.
Buy versus build: the real math
So, $200 to $700 in materials against quotes well into four figures — real, but not free money. The builders who documented these projects describe them in weekends, not logged hours, so “a few weekends” is reported experience, not a measured average. My rule has never been wrong: it takes one more weekend than the video said.
Then the argument against building at all. Sofia’s case is that a built-in commits the room: you fasten one sleeping arrangement into the drywall for years, and can’t resell it when the ten-year-old wants a desk instead. She’s right about the commitment. I’d build it anyway — a stud-anchored frame in stock lumber outlives three flat-pack beds bought in sequence, and cost-per-year-of-use is the only cost that has ever interested me. One solid bought piece beating three cheap ones is a real argument — on a dresser I’d agree. On a bunk, paint-grade pine gets there for a fifth of the money. If the room’s plan isn’t settled, start with the full guide to planning a room for two.
Tools You Actually Need, and the Cheaper Workarounds
Do you need a table saw for this? No — five published builds converge on a list far shorter than the tool wall behind the camera.
The must-haves
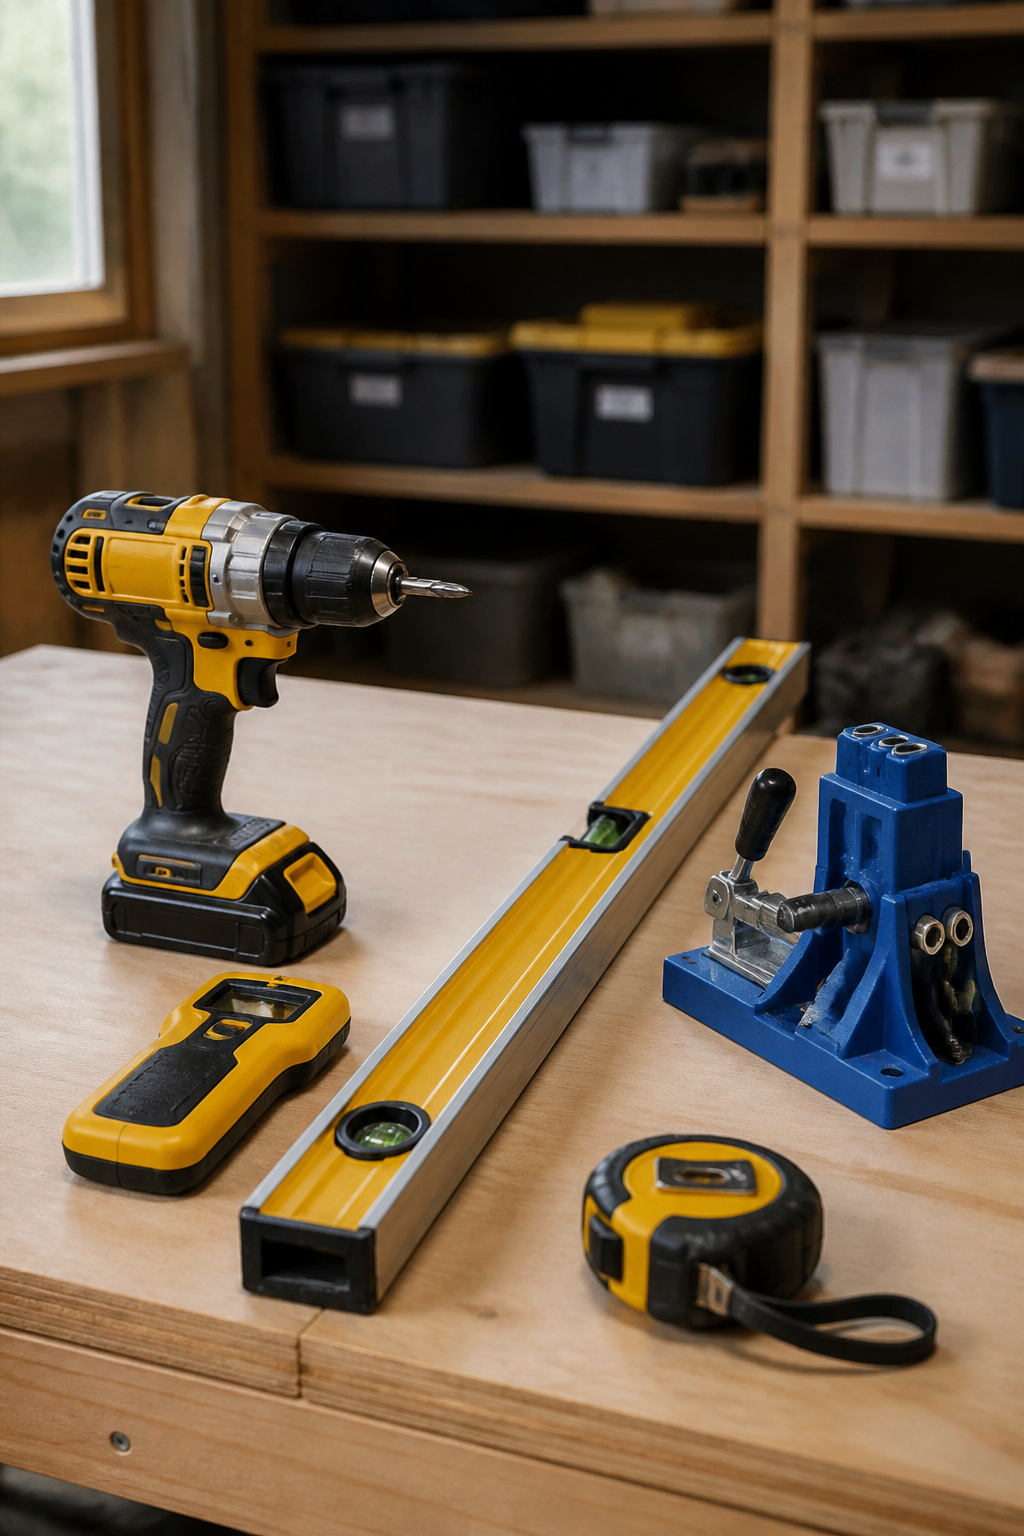
- Drill/driver — running constantly through framing, pocket screws and hardware.
- A saw, circular or miter — rent it: about $12–$35 a day, $50–$140 a week in early-2026 pricing.
- Four-foot level — it checks the ledger before you fasten, not after.
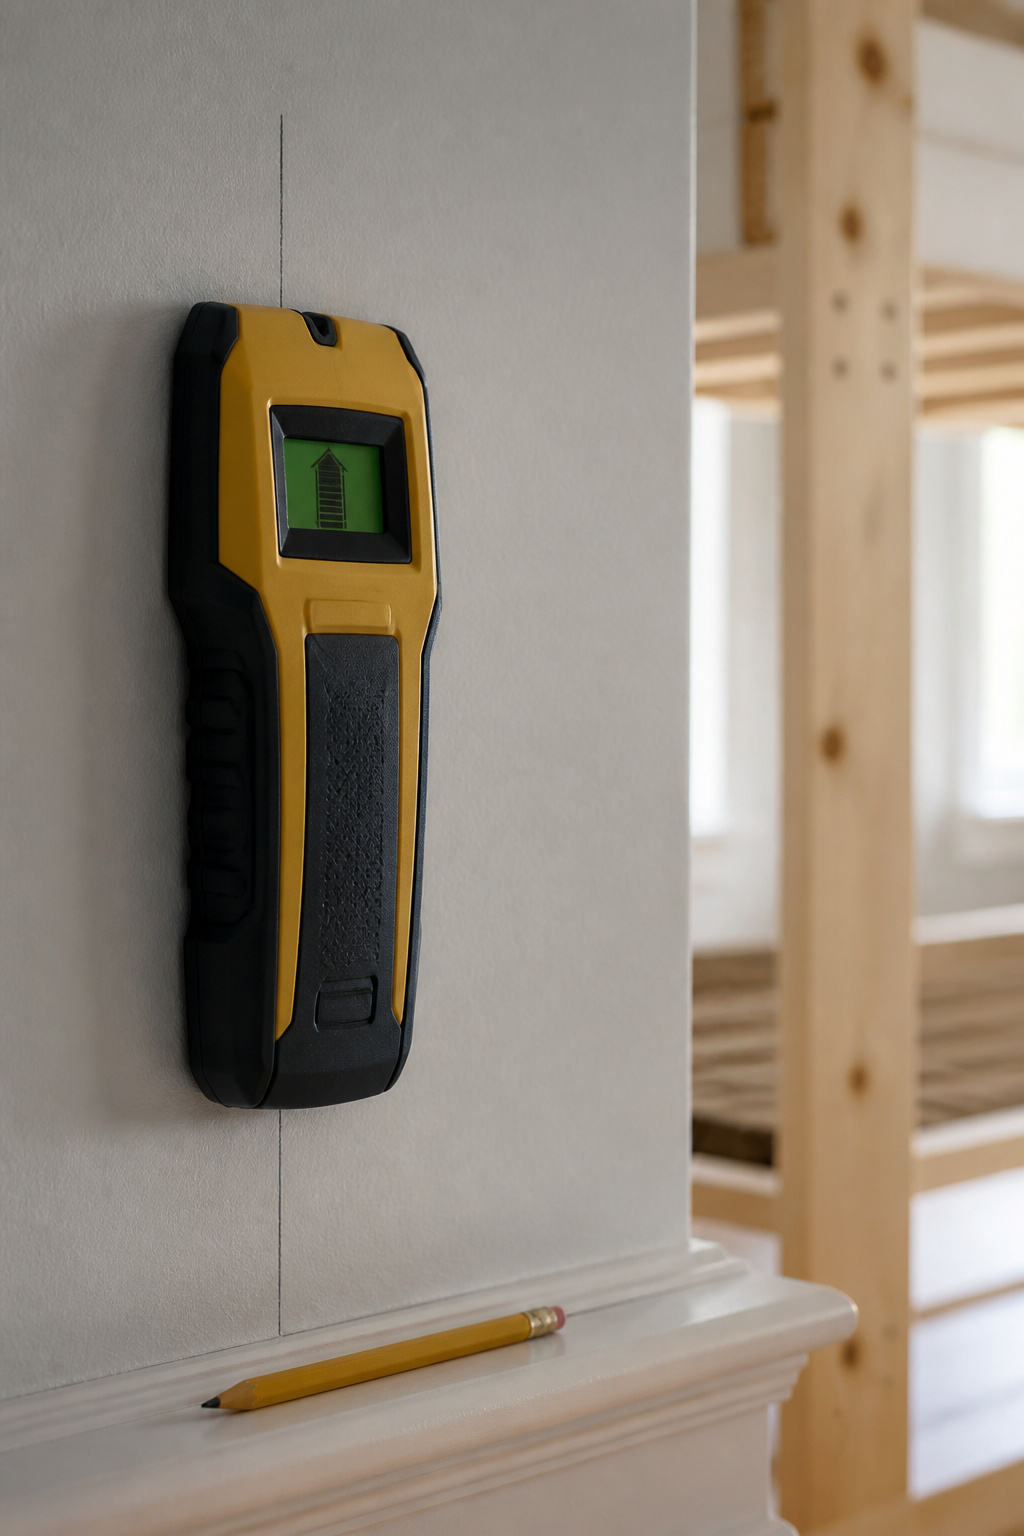
- Stud finder — the whole build hangs off it.
- Pocket-hole jig — optional; glue-and-screw holds fine.
That list builds a sound bunk; the rest is finish work.
What you can rent or borrow
The cut counter at the lumber yard is a legitimate tool, and I’ve never understood the shame around it. Most yards break down a sheet for free or a small fee, which removes the argument for owning a table saw. Miter saws and nailers buy speed, not strength.
The one tool worth buying new
Buy the stud finder. Under $30, reused on every wall project afterward — and the alternatives are bad, because knocking sounds convincing and lies.
The Guard-Rail and Clearance Rules Any Bunk Has to Meet
This is a construction guide, not a safety standard. A custom built-in isn’t exempt from the federal rules because nobody sold it to you.
Why the build follows someone else’s safety numbers
Building to spec and building safely are two jobs, and these steps cover the first. Before cutting rail stock, read the guard-rail and clearance rules any bunk has to meet — Sofia sets out where each number comes from.
Where those numbers come from
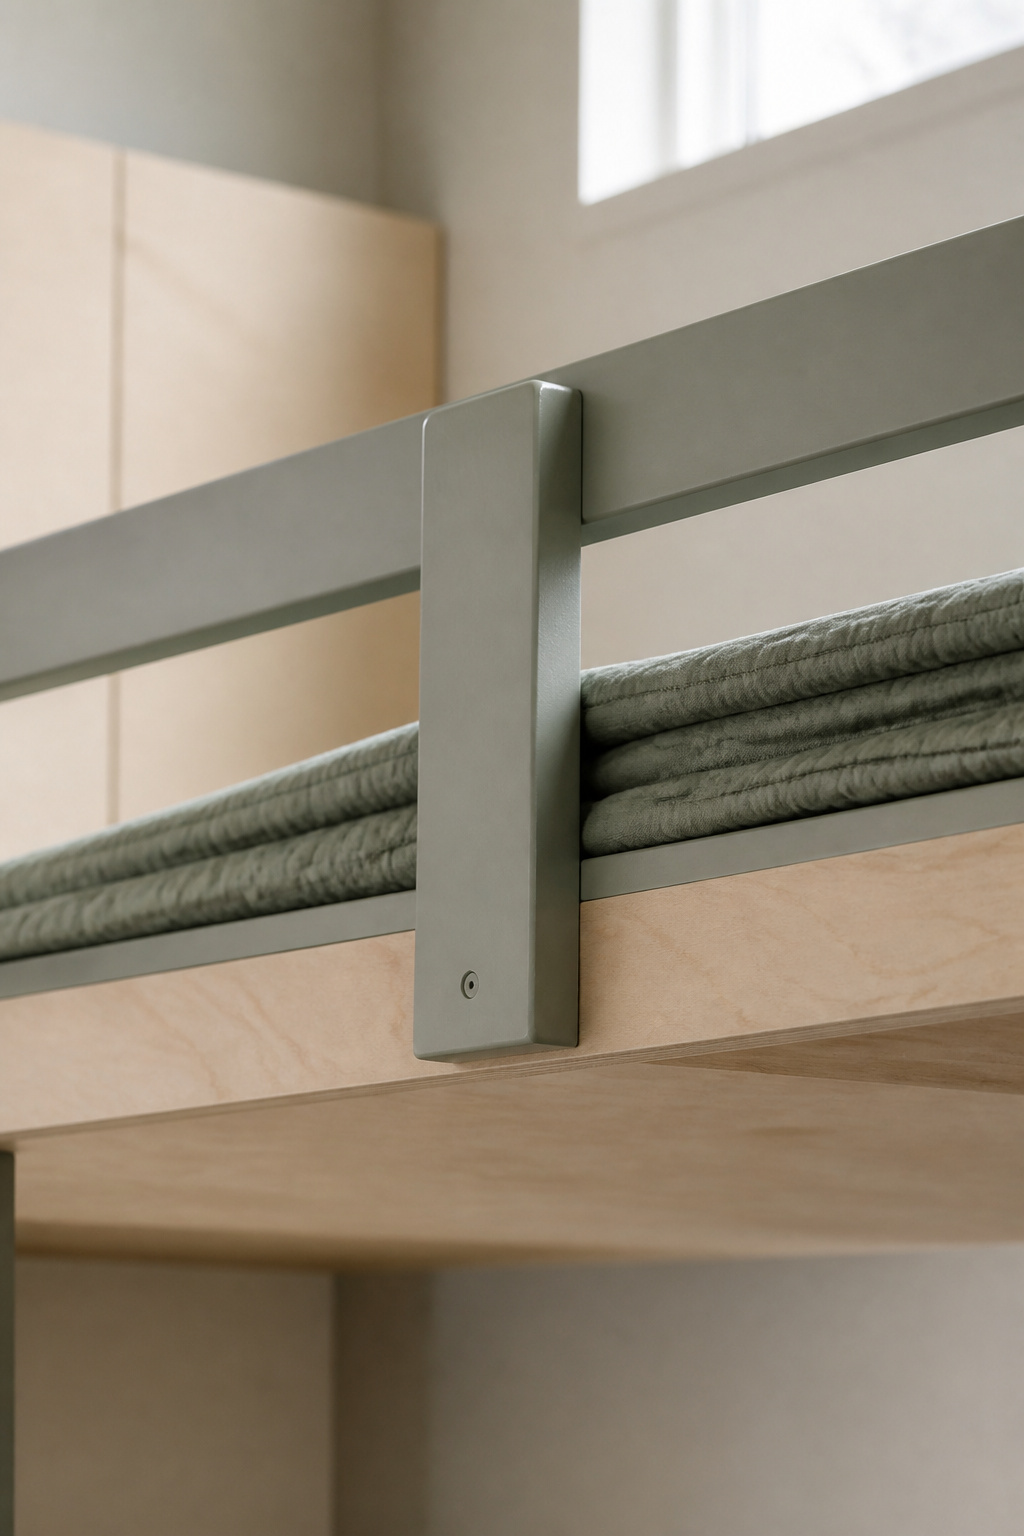
Constraints, not arguments I’m making: 16 CFR 1213 requires a continuous guardrail along each side of the upper bunk, its top at least 5 inches above the mattress surface, and no opening you create — in the rails, at the ladder gap, at the guardrail-to-frame junction — may fall inside the 3.5-to-9-inch band. No child under six sleeps on top; that has applied in the US since July 2000. US and Canadian gap limits differ slightly, so build to the tighter of the two and the question disappears.
That clearance is measured from the top of the mattress, not the platform, so rail height gets framed last. Measure the guardrail, then buy the mattress — never the reverse.
The Build, Step by Step
Start at the wall. Everything above it is carpentry; the wall connection is engineering.
Framing the ledger and uprights
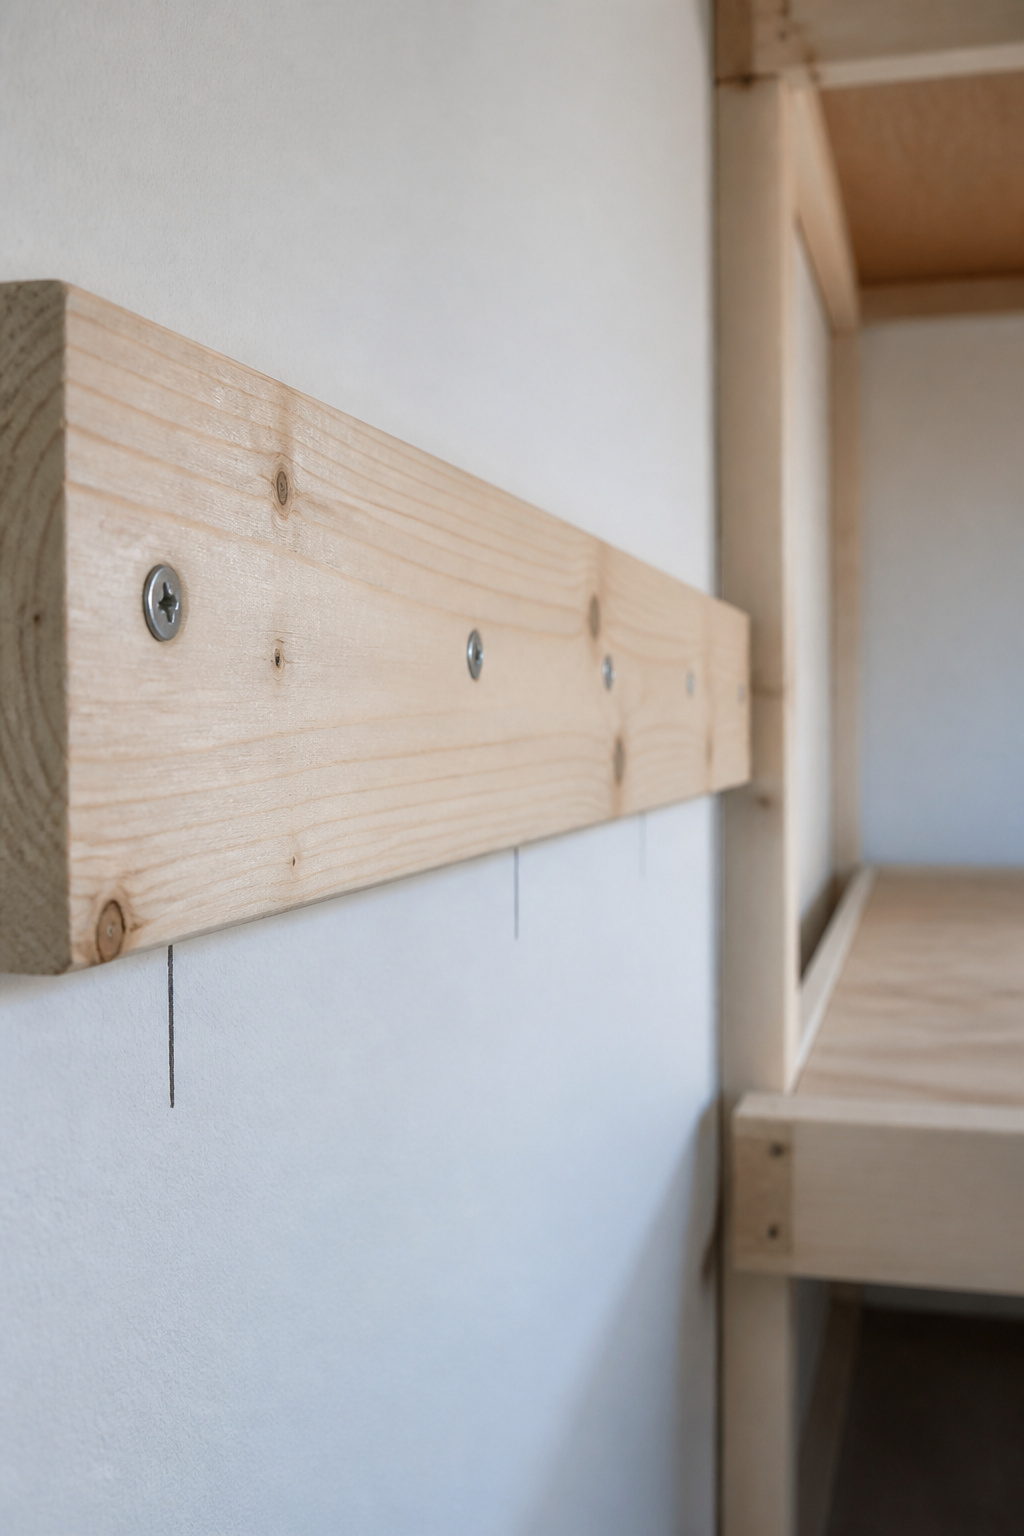
- Find every stud across the run and mark it in pencil. Not in your head.
- Cut the ledger from 2×6, about 3 inches shorter than the bed length so the mattress-box sides key into its ends — This Old House’s method.
- Level it and tack it before a single structural fastener goes in.
- Fasten into framing on a real schedule: 1/2-inch lag bolts at about 15 inches on-center, or structural wood screws at about 6 inches on-center over a 12-foot span, with fastener length sized to what it bites through. Published builds get away with two 3-inch deck screws per stud; I use the deck-ledger schedule and never think about it again.
- If the framing is unfindable or damaged, skip the ledger and build L-shaped corner posts from two 2x6s at right angles.
Setting the bunk decks
Cross-brace the platform at roughly 16 inches on-center, the same spacing as wall studs, and add diagonal bracing under the bottom bunk. Cleats in 2×2 stock inside the mattress box spread the load. Quarter-inch plywood belongs here as a skin, never as the sleeping deck.
Installing rails and the ladder
Rung spacing across DIY plans converges on about 10 inches for children, up to about 12 at adult scale — builder convention, not a codified figure. Rung stock is where I won’t bend: solid 2×4 minimum, not dowel, not 1x. Bolt the ladder into the same stud-anchored frame the platform uses; one resting against the box is a named failure mode. Rails go up in 2×2 stock fastened into that frame — only as good as the ledger work you did an hour earlier.
Three Places First-Time Builders Get It Wrong
Ledger into drywall instead of studs
Here are the numbers that end the argument. In half-inch drywall, plastic expansion anchors hold 5 to 20 pounds, zinc self-drilling anchors 25 to 50, toggle bolts near 50, a screw-and-anchor combination near 75 — the strongest thing in the aisle, against two children plus platform plus mattresses, reloaded every time they climb in. Drywall anchors are never acceptable for a ledger. Not the good ones, not four of them, not temporarily.
Undersized ladder rungs
A rung that flexes underfoot is the mistake nobody catches until a child is standing on it in the dark. Thin 1x stock and dowels feel fine going in and have more give than you want once weight and repetition arrive — which is why the plans specify 2×4 minimum.
No mattress-depth allowance
This one costs a redo. Frame the rail to an assumed mattress thickness and it can measure correct on paper but sit too low the day the real mattress arrives. Confirm the mattress first, then check the gap with it in the bed. I’ve watched people re-cut painted rails over a phone call they didn’t make.
Pairing the Build With a Two-Seat Desk
Same materials, same cleats
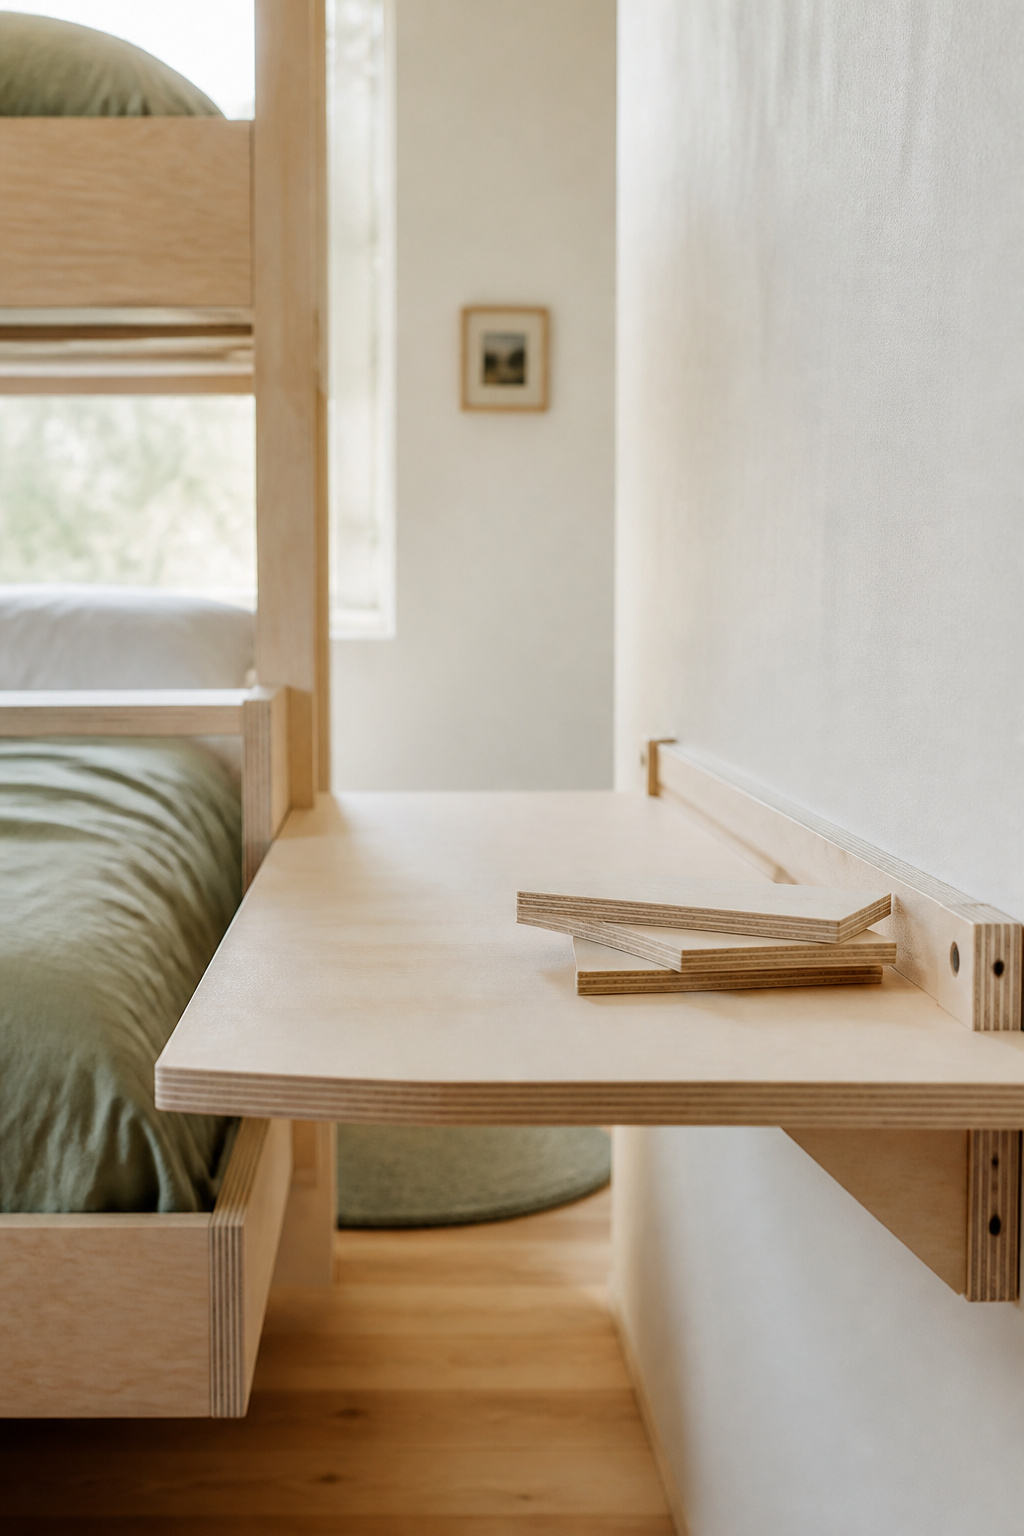
A wall-mounted plywood surface on cleats is the bunk platform’s technique again: locate framing, level a cleat, fasten into studs, drop a deck on top. Buy the cleat stock and plywood in the same trip if a desk is in the plan. Sizing two children into one surface has its own numbers, covered in the two-seat work surface build.
Sizing both builds together
Sequence the bunk first: the stud map you make for the ledger tells you where desk cleats can land without hitting the bunk’s anchors.
That’s the gap this piece actually closes: not a skill gap, a knowledge one — what the lumber costs, what the tools cost, how the ledger has to be fastened, and where the mistakes hide. Price it against a four-figure quote and the math makes itself. This isn’t a first build — it’s the one after — but it’s ordinary carpentry with one connection that has to be right.
FAQ
Can I build a built-in bunk without power tools?
Not realistically. Every published build used at least a drill/driver and a saw, and no hand-tool-only version is documented anywhere I looked. If you own nothing, rent a circular saw at roughly $12 to $35 a day or use the store’s cut counter, and borrow a drill.
Do I need a permit to build a built-in bunk bed?
Generally no. A bunk fastened to wall studs, with no walls moved, no openings cut and no trade work involved, usually falls outside residential permit requirements — one county’s guidance puts non-structural built-ins outside its list. Rules are locally determined, so call your building department.
How much weight can a stock-lumber bunk bed frame hold?
Nobody can honestly give you a number. Published capacity figures describe manufactured retail bunks, and no tested rating exists for a custom stock-lumber frame. What you can reason from is the construction: 2×4 and 2×6 framing, cross-bracing at roughly 16 inches on-center, structural fasteners into solid studs.