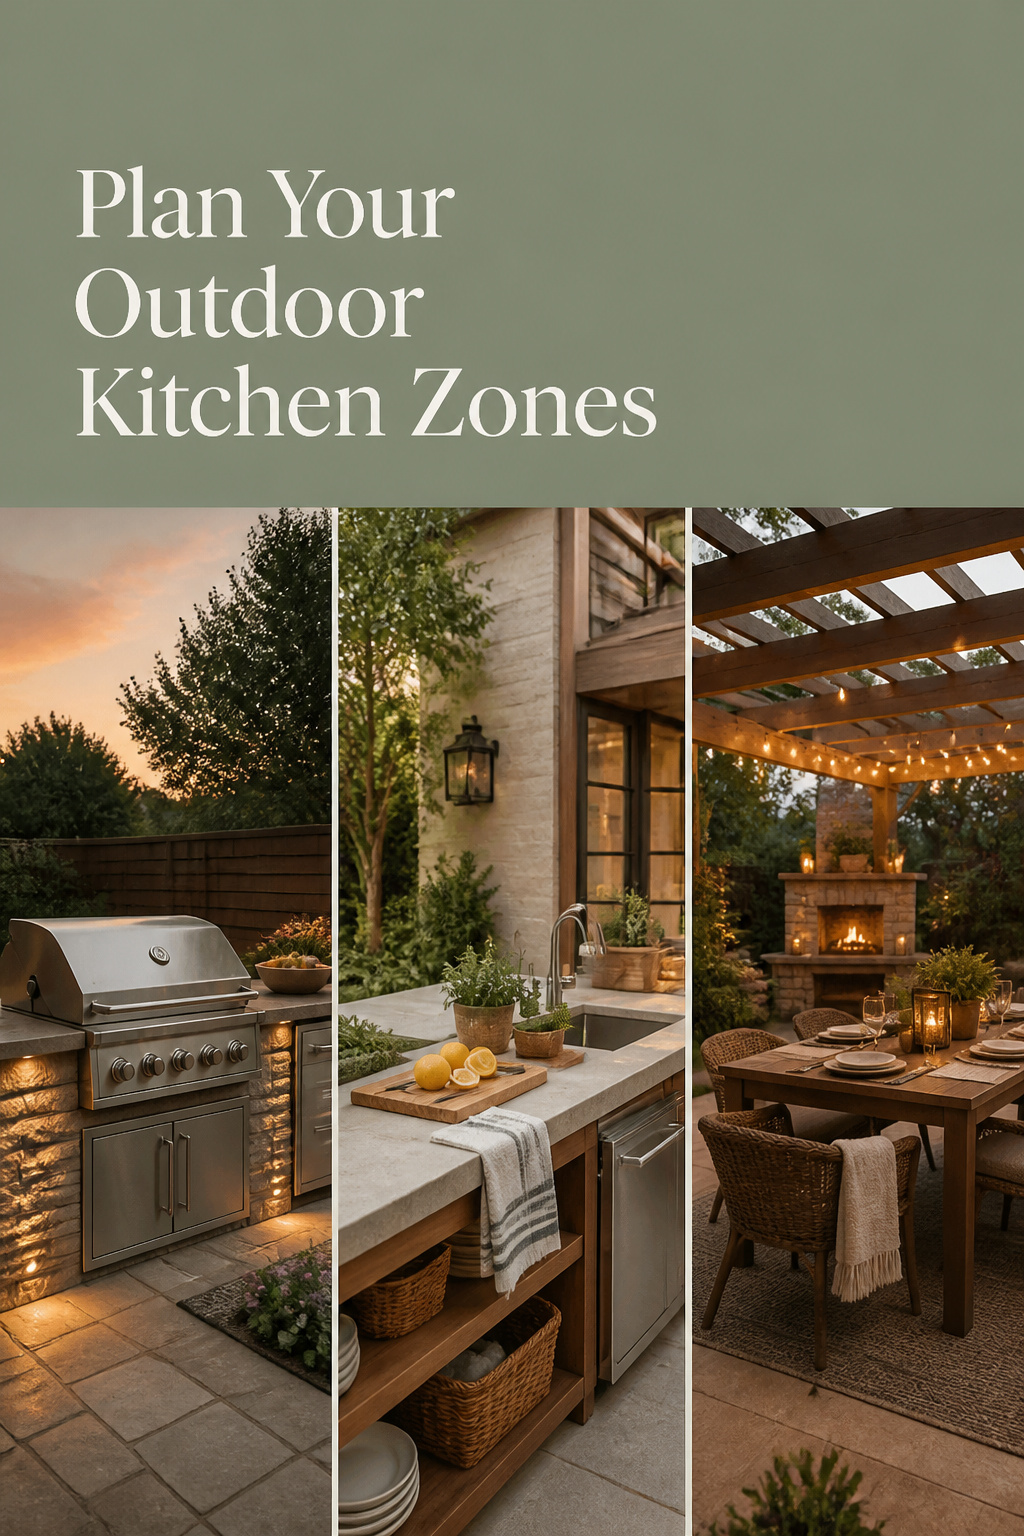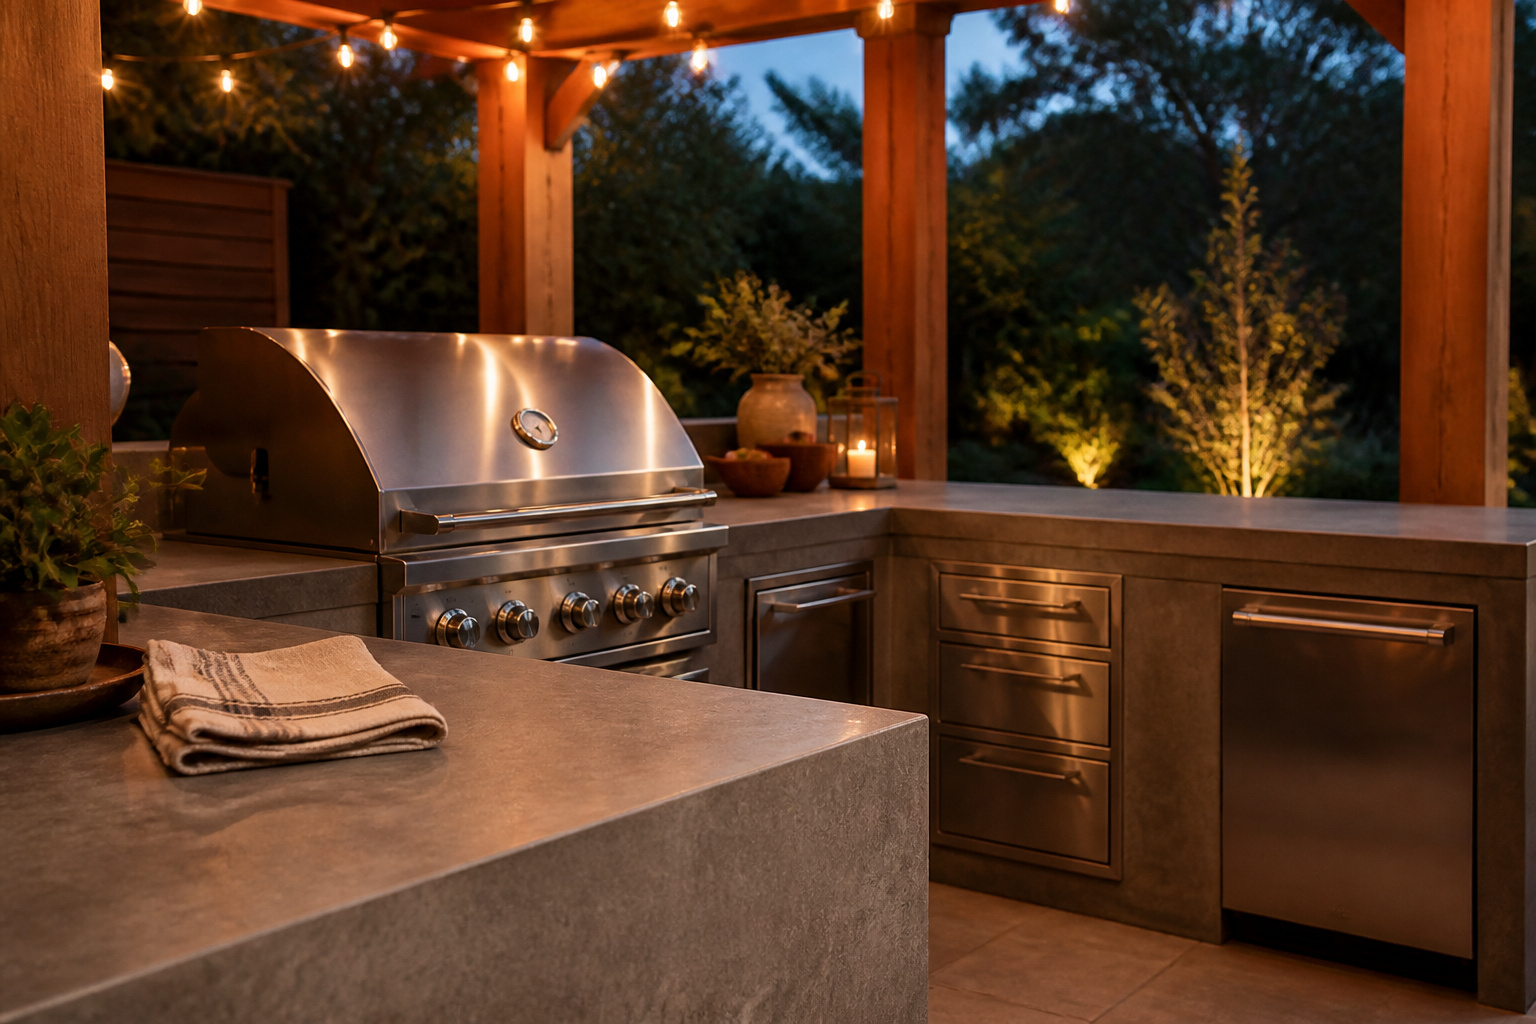

I once handed a couple the keys to a patio that had everything: heated floor, a roof, cabinetry that cost more than my first car. For a whole season, nobody cooked out there. The grill worked; the finish was flawless. But the outdoor kitchen layout was wrong — the seating faced glare every evening and the cook stood with his back to every guest — so it sat empty. We didn’t spend another dollar. I moved the seating fifteen feet to catch the low evening sun, and the patio filled up most nights that summer. Layout, not spend, decides whether the space gets used — and it costs nothing but thought to get right.
TL;DR
- Outdoor kitchens work as four zones — prep, cook, clean-up, entertain — not the indoor work triangle; group appliances by hot, wet, cold and dry so heat doesn’t cook your fridge.
- Keep 24 inches of counter beside the grill and 18 at the sink, a 42-inch work aisle for one cook (48 for two), and 5 feet of walkway alongside the island.
- Pick your shape by width: straight run at 8–12 feet, L-shape at 12–16, U-shape or galley at 16+ feet with a 7-foot minimum floor space.
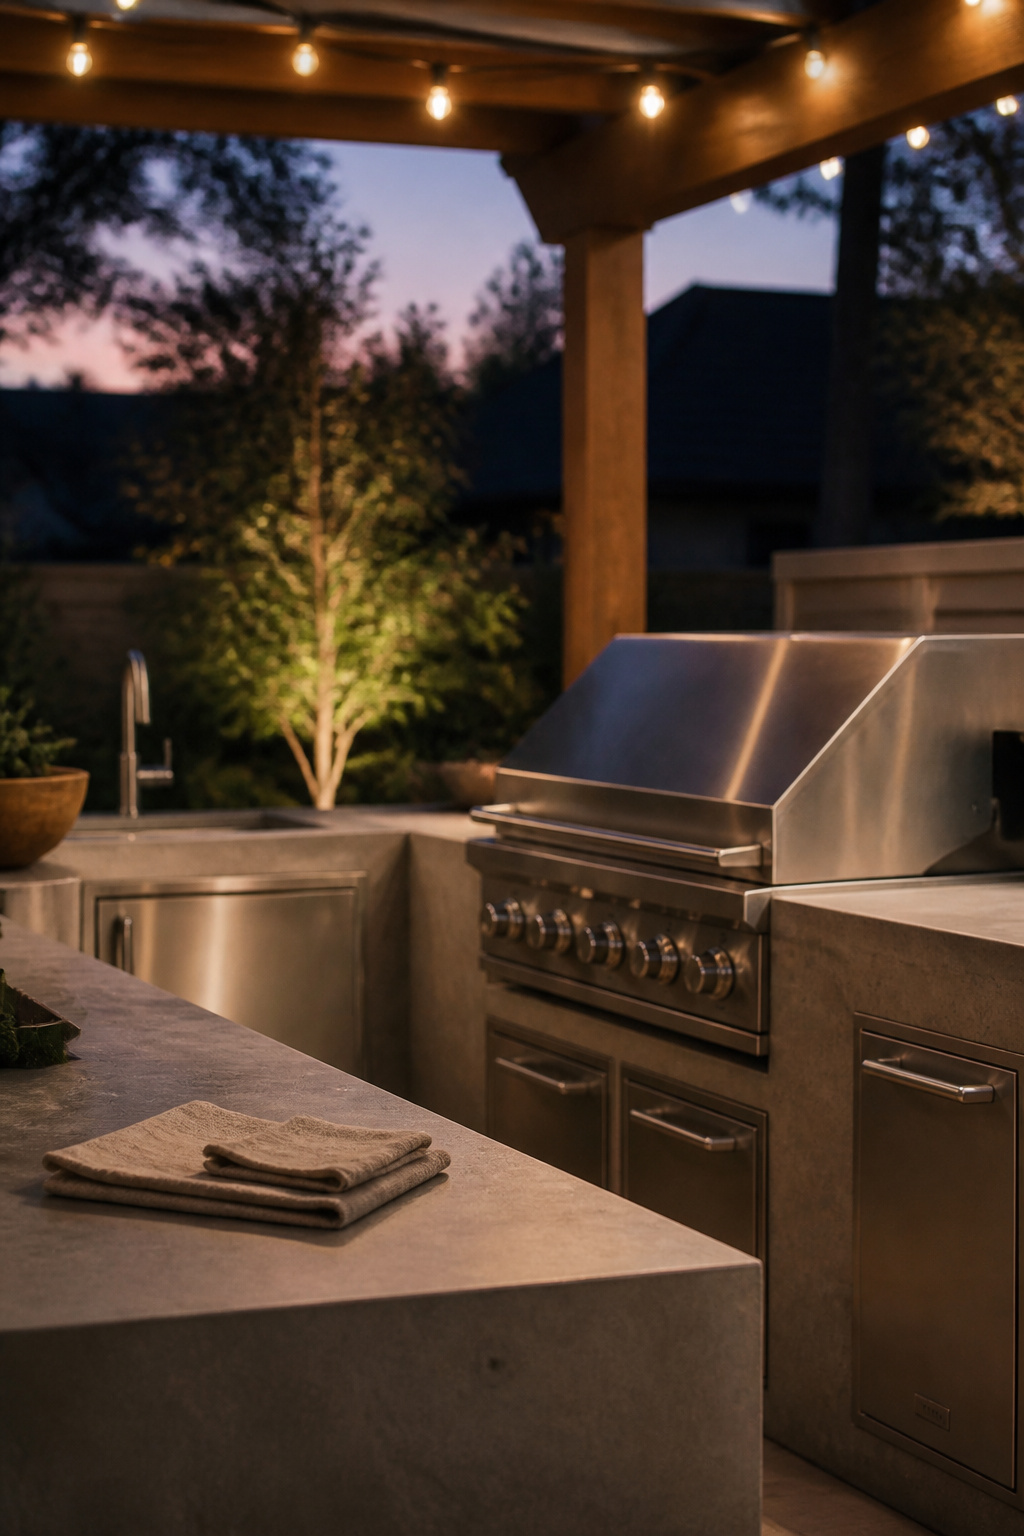
The Patio That Looked Perfect and Never Got Used
That couple’s kitchen taught me what every season since has confirmed: the problem is almost never the finish. It’s where things sit relative to how a cooking evening actually flows.
A showpiece nobody cooked in
Everything was right on paper; the failure was placement. The cook was marooned in a corner, smoke drifted across the table, and by seven the patio sat in shade while the lawn baked in gold. Moving the seating fixed all three — no new appliance would have.
Why placement solves more than a bigger budget
Most outdoor kitchens fail on two placement mistakes, not spending ones: aisles too tight, trapping the cook once guests gather, and ignored wind, smoke and sightlines, so the grill fights the table. Fix both with a tape measure, not a bigger cheque. Mock the footprint up in tape or cardboard and walk it before you break ground — you’ll feel a bad plan in thirty seconds.
The one question to ask first
Before you draw a single line, answer this: how does someone actually move through a cooking evening? Arrive with groceries, prep, cook, plate, serve, clean up — that sequence is the skeleton of your layout. Settle it, and how many people you feed, before the appliances follow. Skip it and zones land in the wrong order, which is how a beautiful patio ends up unused.
The Four Zones Every Outdoor Kitchen Needs
Indoors, kitchens run on a three-point work triangle: cooktop, sink, fridge. Outdoors that model breaks, because serving and entertaining become physically separate activities in a way they rarely are inside — so we plan around four zones instead.
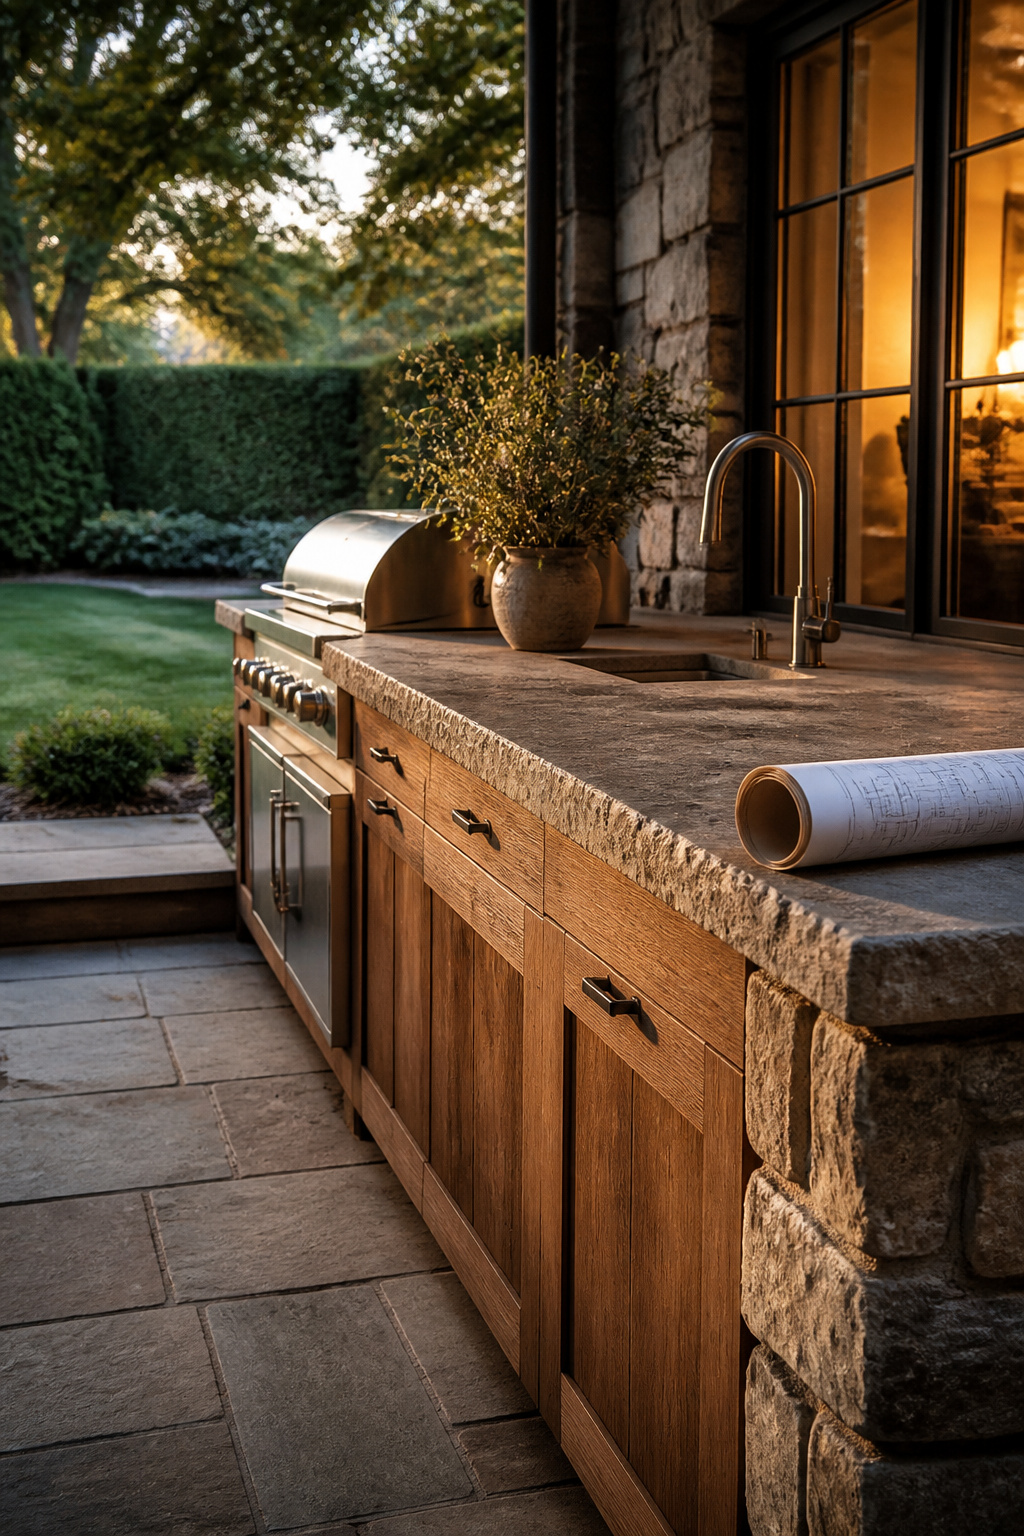
Prep, cook, clean-up, entertain
Each zone earns its footprint. Prep sits beside the cook zone — even a modest stretch of counter for cutting vegetables counts. Cook is the grill and any side burner. Clean-up holds the sink and, if you have it, a dishwasher. Entertain sits farther from the working zones, so guests don’t crowd the cook while the coals are hot.
Grouping by hot, cold, wet and dry
Group appliances by function so nothing fights its neighbour: hot (grill, side burner, warming drawer), wet (sink, ice bin), cold (fridge, beverage centre), dry (your biggest run of clear counter, knives and boards). The rule that saves you money: keep fire away from cold. A fridge set against the grill without an insulated jacket or a buffer of counter degrades over a couple of summers — six to twelve inches of cabinet between them is enough.
What happens when a zone gets skipped
Almost always clean-up. People plan the grill and the bar and forget the dishwater. A real clean-up zone just means putting the sink and dishwasher side by side, so scrubbing pans doesn’t block someone plating food. Give every zone landing space too — somewhere to set a hot tray down — or you get clutter, then a safety problem when there’s nowhere for the pan off the flame.
Clearances That Keep the Kitchen Safe and Comfortable
This is where a sketch becomes a real plan. The numbers below recur across trade guidance and the NKBA’s planning standards, converging tightly enough that I treat them as settled.
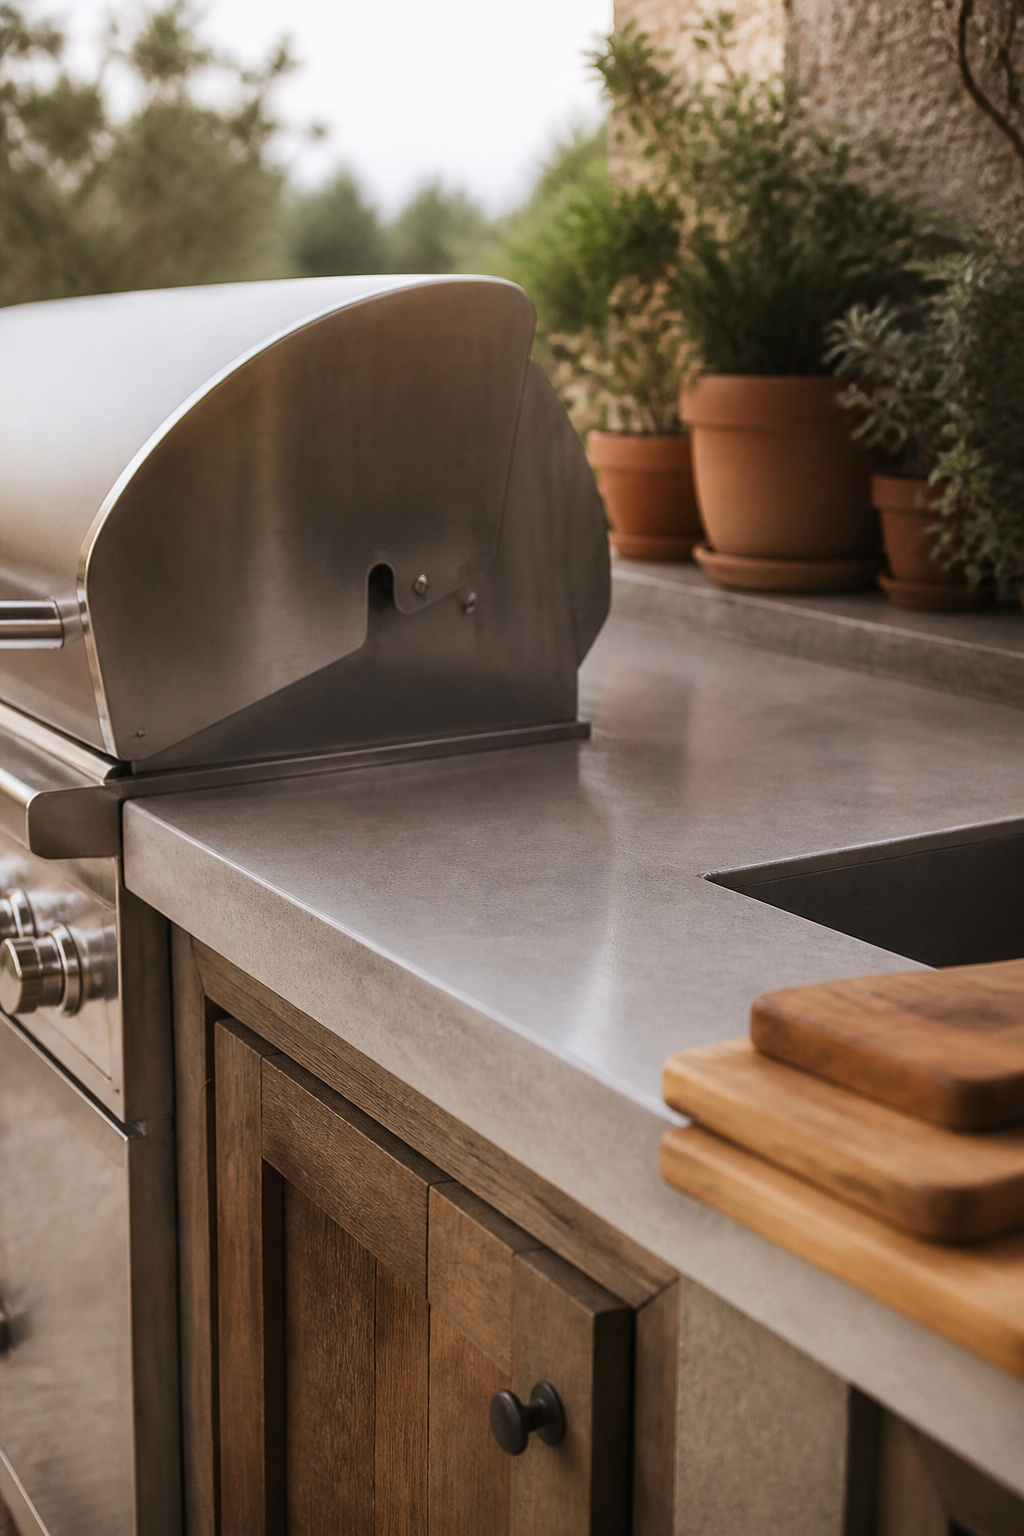
| Element | Minimum | Preferred |
|---|---|---|
| Counter beside grill | 12 in each side | 24 in one side, 18 the other |
| Counter beside sink | 18 in one side, 12 the other | more where space allows |
| Counter beside fridge | 15 in adjacent | — |
| General prep counter | 24 in uninterrupted | more for real hosting |
| Work aisle | 42 in (one cook) | 48 in (two cooks) |
| Walkway alongside island | 36 in | 60 in (5 ft) |
| Counter height, prep | 36 in | 38 in over a fridge |
24 inches beside the grill
Twelve inches each side is the floor; 24 on at least one side is what you want, so there’s somewhere to rest a platter beside open flame. One thing the table never mentions: check the rear clearance for the lid to swing fully open — that figure varies by grill, so read the manufacturer’s sheet. I’ve seen a beautiful hood stop dead against a pergola post because nobody looked.
18 inches at the sink
Eighteen inches on one side of the sink and twelve on the other gives real room to stack and rinse. For bar seating nearby, run the counter 40 to 42 inches high, with 30 inches of depth for knees and 24 inches per stool.
Aisles two people can pass in
A 42-inch work aisle suits a solo cook. Widen it to 48 if two of you regularly cook together — that six inches is the difference between teamwork and a collision when someone turns with a knife. Keep any walkway alongside the island at a comfortable five feet, and plan the same behind bar stools.
Choosing an Outdoor Kitchen Layout Shape for Your Yard
Now the zones and clearances have a home. Four shapes recur, each with a width it wants — match the shape to your yard, not to a photo you liked.
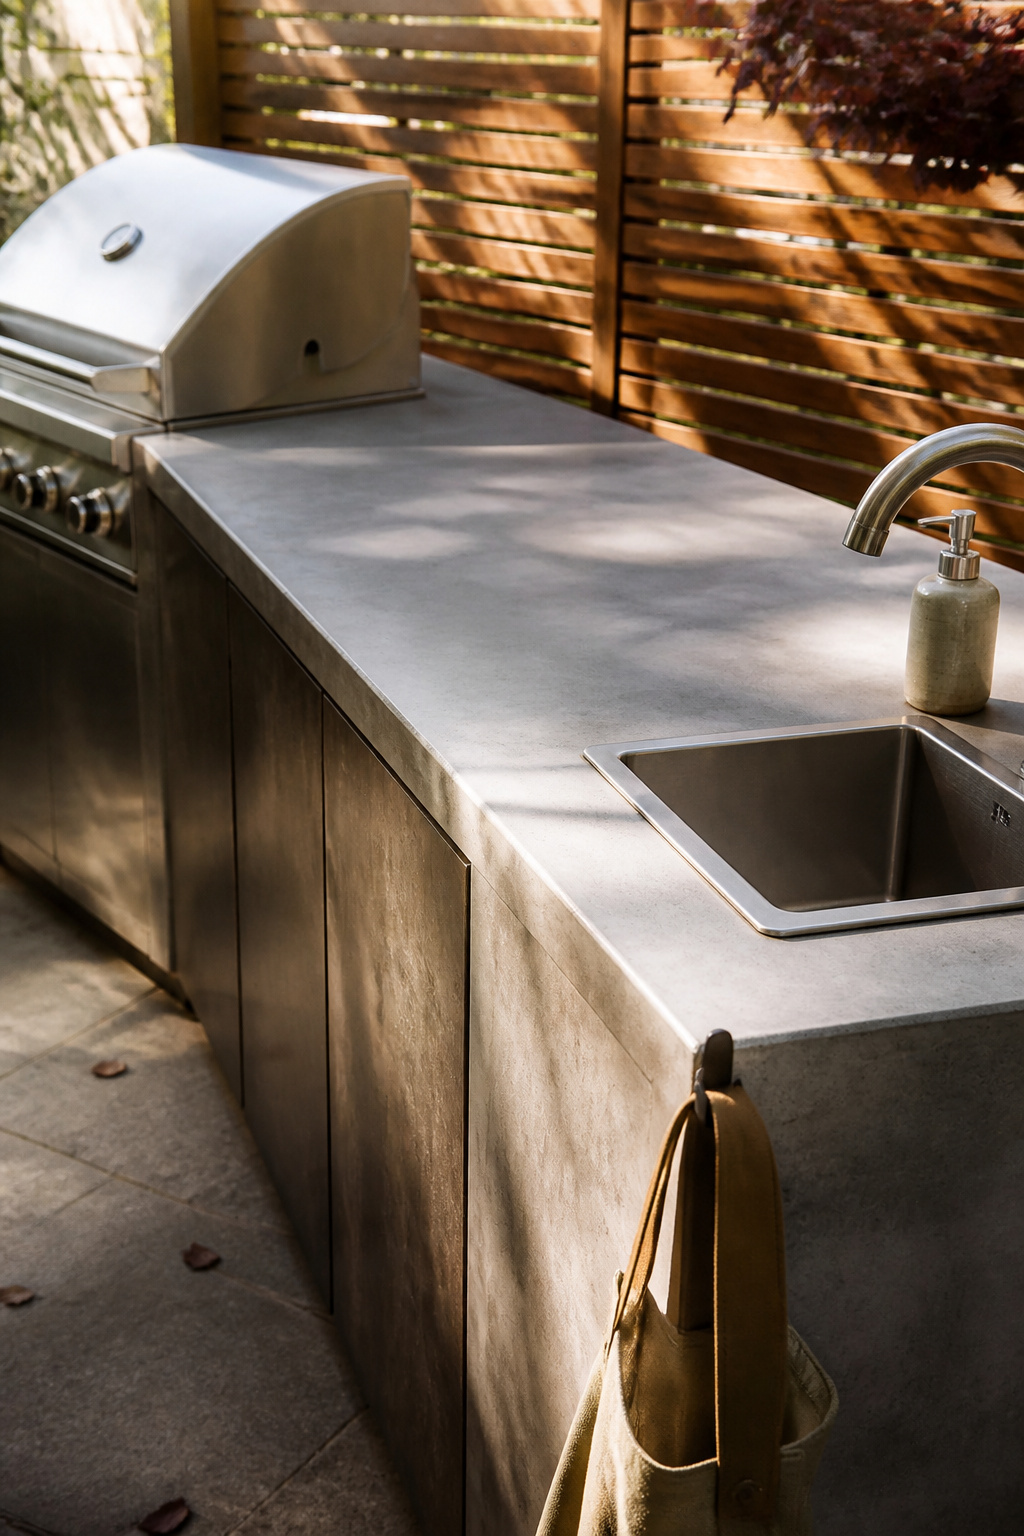
Straight-line: the simplest fit for narrow patios
A straight run is the honest choice for a narrow patio, typically 8 to 12 feet: a 36-inch built-in grill, 12 to 24 inches of landing each side, one base cabinet, and a small 15-to-24-inch fridge at the end. Under ten feet, stick to essentials rather than forcing in a second appliance. If a straight run is all your space allows, look at small outdoor kitchen layouts built around that constraint.
L-shaped: separating cook and prep without extra footprint
The L is my quiet favourite for small-to-medium yards. It runs 12 to 16 feet and splits the hot and wet zones onto two legs, turning the corner into a prep hub: one leg carries the grill with its 24-inch landing, the other holds the sink, fridge and trash pull-out, with seating for three or four along the return. You get more usable counter than a straight run of the same length, with no extra footprint.
U-shaped and island: room to gather around the cook
With real space — 16 feet and up, over 20 for the largest builds — a U-shape wraps a central work area and is the most efficient layout for switching between counters and appliances: the choice for frequent hosting and two cooks. A galley does something similar in a long space — cooking on one side, prep or seating on the other, a lane between. Both need a hard 7-foot minimum width: 3 feet of walkway plus 2 feet of counter depth each side. Go narrower and you’ve built a corridor, not a kitchen.
Working With Your Yard’s Sun and Wind, Not Against It
A shape on paper isn’t a finished plan. The same footprint can be a joy or a misery depending on where the sun lands at six and which way the smoke drifts — the layer my couple’s patio got wrong, and the one most people skip.
Where the cook zone sits relative to the sun
Aim to capture morning sun and shade the cook and dining zones through the afternoon. Late exposure is what makes a patio feel like an oven exactly when you want to use it, so orient the working zones out of that evening glare.
Keeping smoke and heat off the table
Angle the grill and any smoker downwind of the seating, so smoke and heat drift away from diners — the grill goes upwind of the table, never the reverse. If a roof or pergola is going overhead, an outdoor-rated vent hood becomes the right call, not an upgrade.
Wind shelter as a layout decision
You don’t need a survey to read your yard’s wind. Tie strips of tape or fabric to a fence, a branch and a patio chair, then watch which way they point across the day. Wind rarely moves uniformly — it channels between the house and garage, along a side gate, through an open corner — so find the dominant channel and place the kitchen so the breeze carries smoke away from where people sit.
Where Counter Material and Cover Fit Into Your Plan
You’ve got a shape, zones in the right order, and clearances that work — two decisions are left, and timing matters.
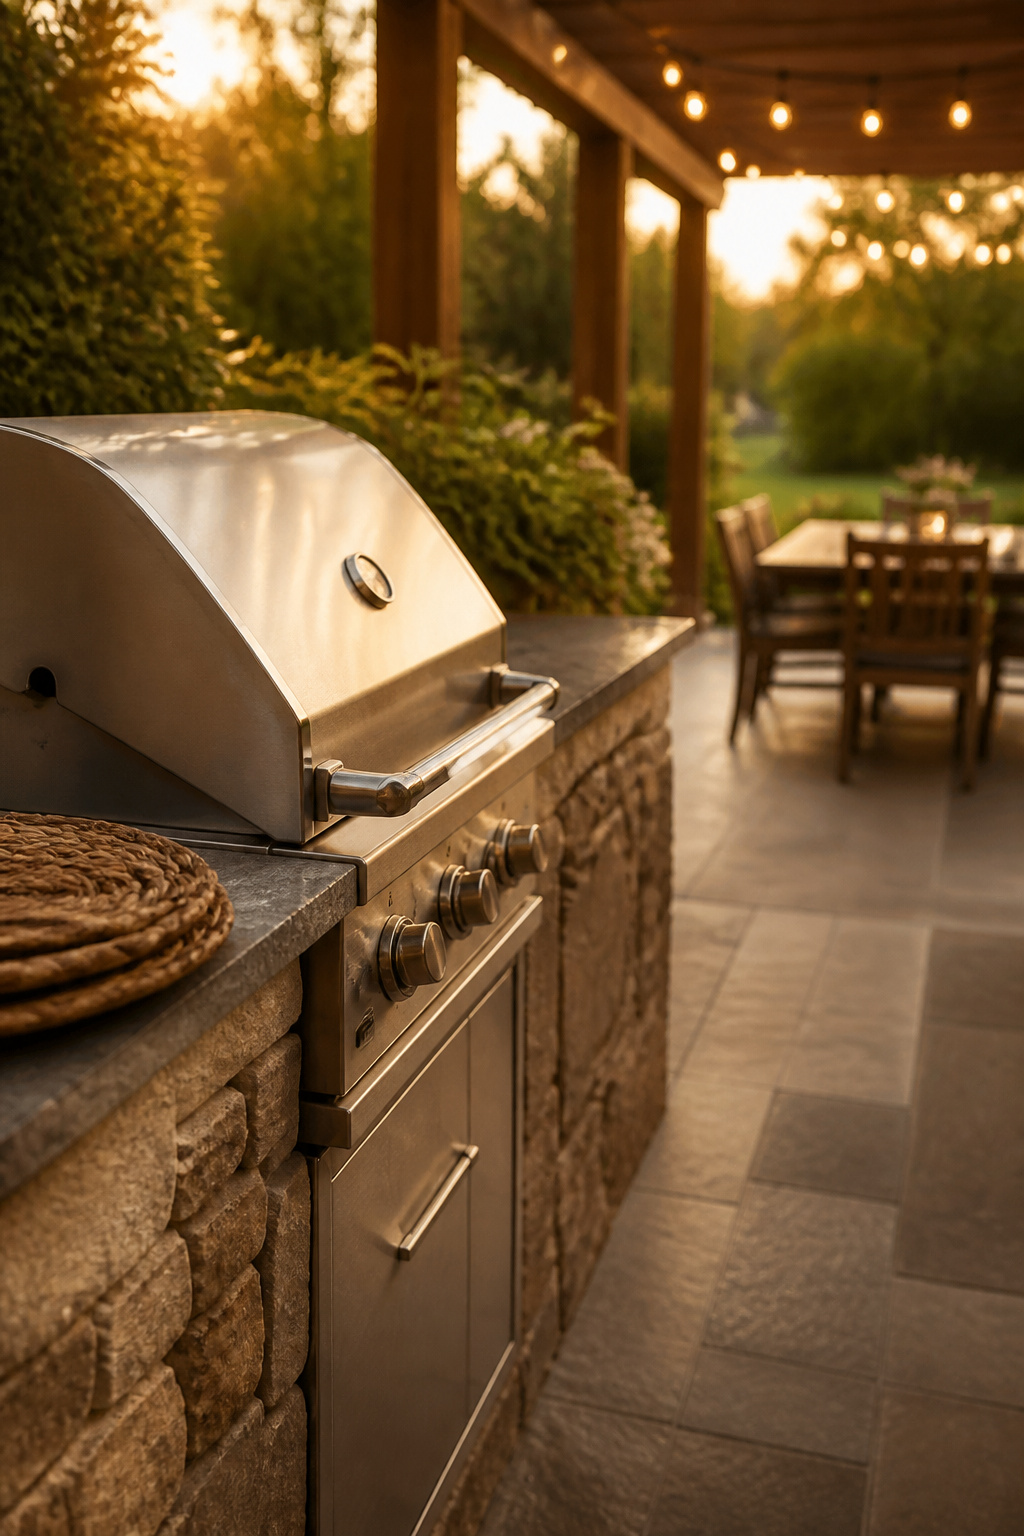
Material comes after the footprint, not before
Weatherproof surfaces — porcelain slab, granite, sealed concrete, stainless — are chosen to survive sun, rain and freeze-thaw. But settle the footprint first: the material doesn’t change how much counter your zones need or where the clearances fall. Pick the slab first and you’ll redesign the layout around its dimensions — backward. With the plan locked, move on to choosing counter materials.
Whether your layout calls for a cover
If you’re roofing the space, ventilation joins the same plan: an outdoor-rated vent hood should sit wider and deeper than the grill, mounted roughly 36 to 42 inches above the cooking surface, and a semi-enclosed pavilion may need makeup air so it doesn’t become a smoke trap. A cover is a layout decision, not a hat you add later.
Sketch the final plan before buying anything
Before a single purchase, run the checklist: site measured and utilities located, shape taped out, zones mapped with landing space confirmed, clearances checked, venting planned for your fuel, materials selected for weather, codes reviewed. A permanently plumbed gas line is real residential-code work — leave it to a licensed contractor. Do all this and you can sketch your own zoned layout, in the shape your yard wants, with the right clearances, before you spend a dollar. For the wider picture, see the complete guide to outdoor kitchen ideas.
FAQ
How much space do you need for an outdoor kitchen?
Most outdoor kitchens run 100 to 400 square feet, roughly a 10×10 up to a 20×20 footprint. A basic grill-and-counter setup needs about 100 square feet or a 10-to-12-foot island. Beyond the island, plan at least 5 feet of walkway alongside it, and a 7-foot minimum width for any galley or U-shaped layout.
What is the work triangle in an outdoor kitchen?
The indoor work triangle — cooktop, sink, fridge — doesn’t map cleanly outdoors, because entertaining becomes its own activity. Outdoor kitchens use four work zones instead: cooking, prep, clean-up and entertaining. Where designers do apply triangle logic outside, they keep clear travel paths between grill, sink and fridge rather than holding to a literal three-point shape.
Can you put an outdoor kitchen on an existing patio?
Often, but check the base first. A finished kitchen commonly weighs over 1,000 pounds and can reach several thousand with concrete panels and appliances, so the patio needs a supported base — concrete footers or a compacted sub-base — to carry it without settling or cracking. Have a builder confirm slab condition and load capacity before you place anything.