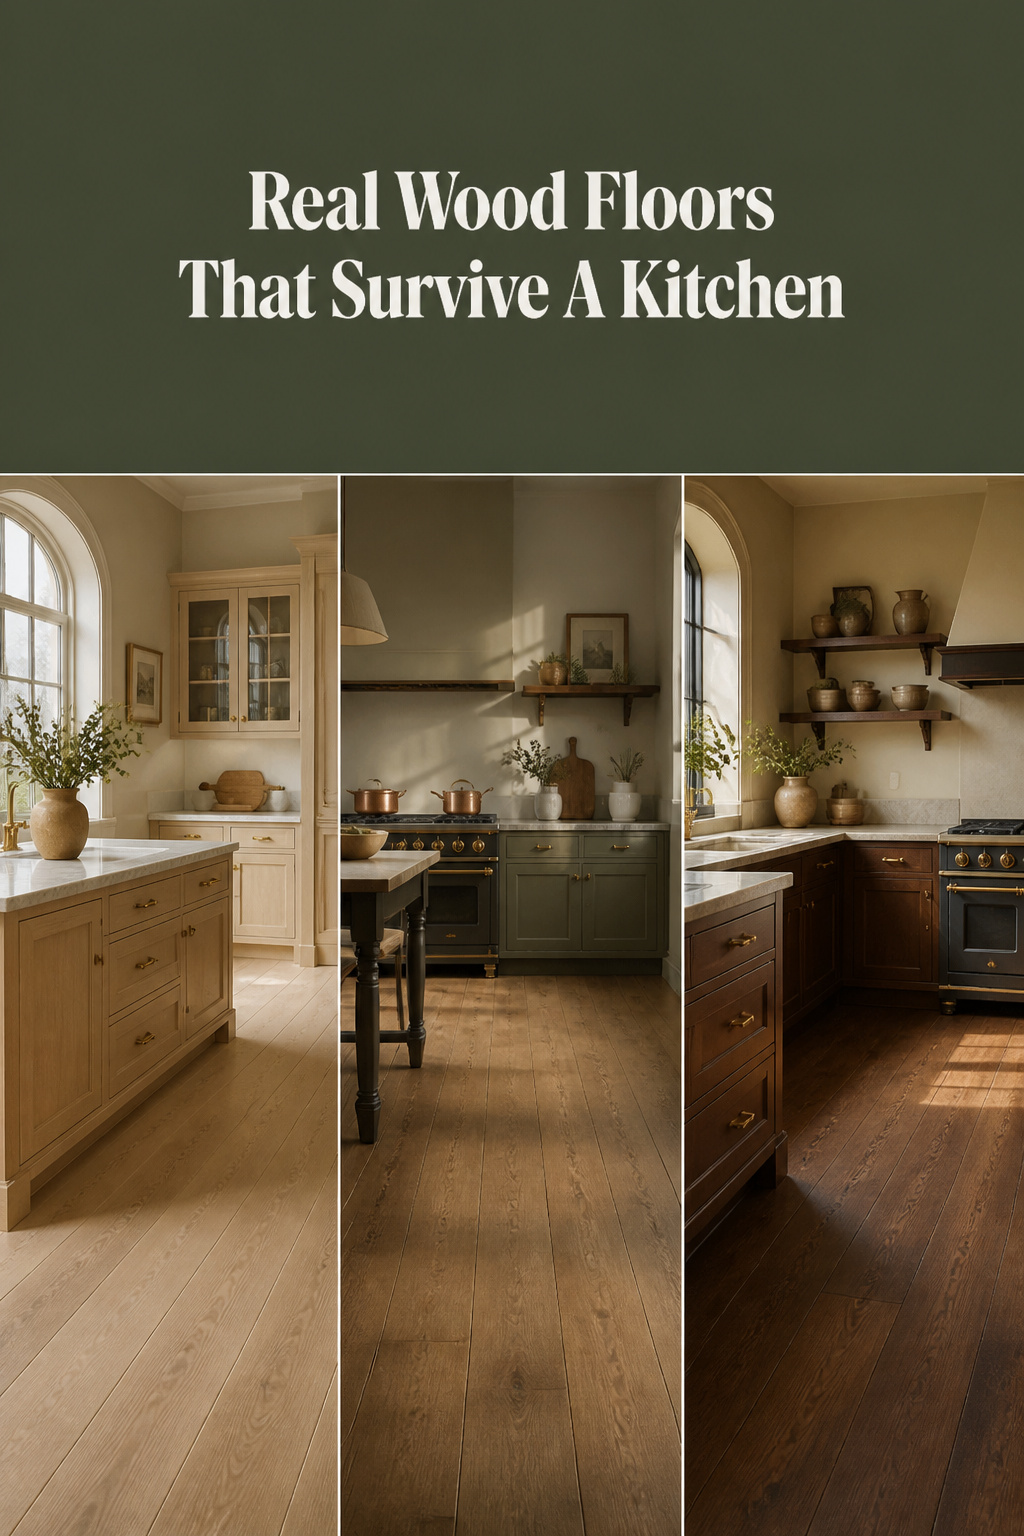
Every renovation forum carries the same warning: never put real wood in a kitchen. I hear a version of it from clients holding a demolition quote for boards that have already outlasted three kitchens’ worth of cabinets. The rule is not wrong — it is aimed at a different house than yours.
TL;DR
- The National Wood Flooring Association puts wood’s stable range at 30–50% relative humidity. A kitchen holding it year-round can carry solid wood; one that cannot should not.
- Finish protects more than species. Hardwax oil cures in 7–14 days and spot-repairs in place; oil-based polyurethane cures in 30–45.
- Refinishing existing boards runs $3–8 per square foot against $8–15+ to replace, per a 2026 restoration-cost breakdown (AOS Wood Floors); solid floors tolerate six to eight sandings before the wear layer runs out.
The Advice That’s Wrong for the Right House
Where “Never Wood in a Kitchen” Comes From
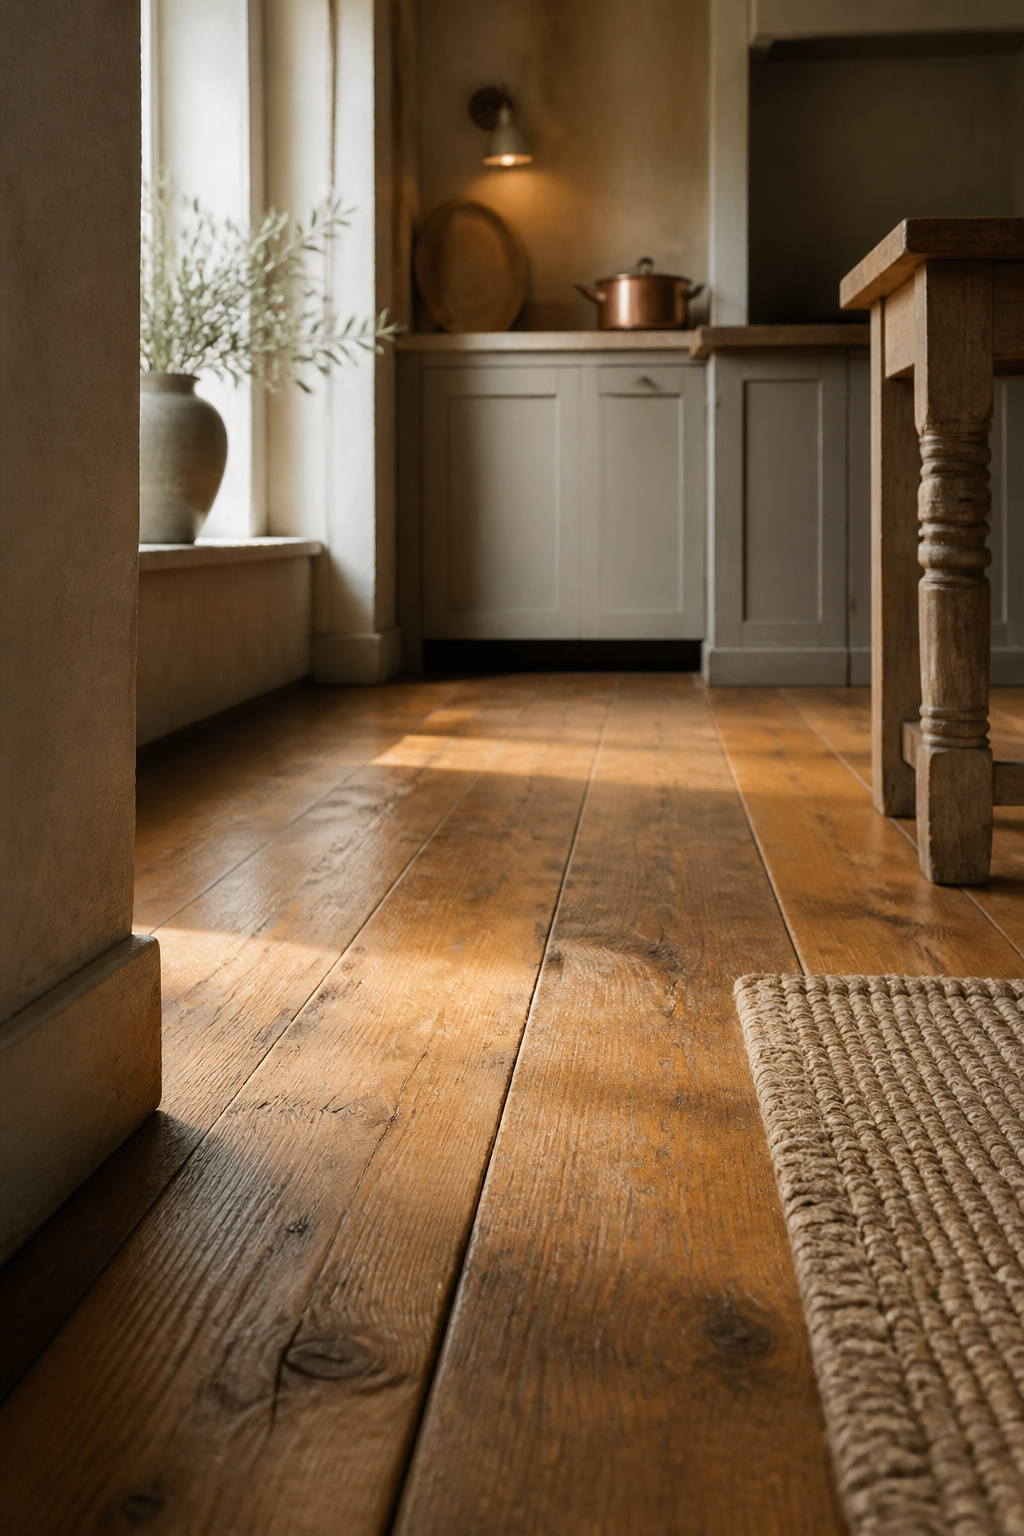
The objection is water, not wood. Saturated timber swells, warps, and can split, and a slow leak behind a dishwasher does its damage long before anyone notices. A busy kitchen takes a beating on any hard flooring — that’s the room’s trade-off, not a hardwood-specific failure.
When the Old Advice Still Applies
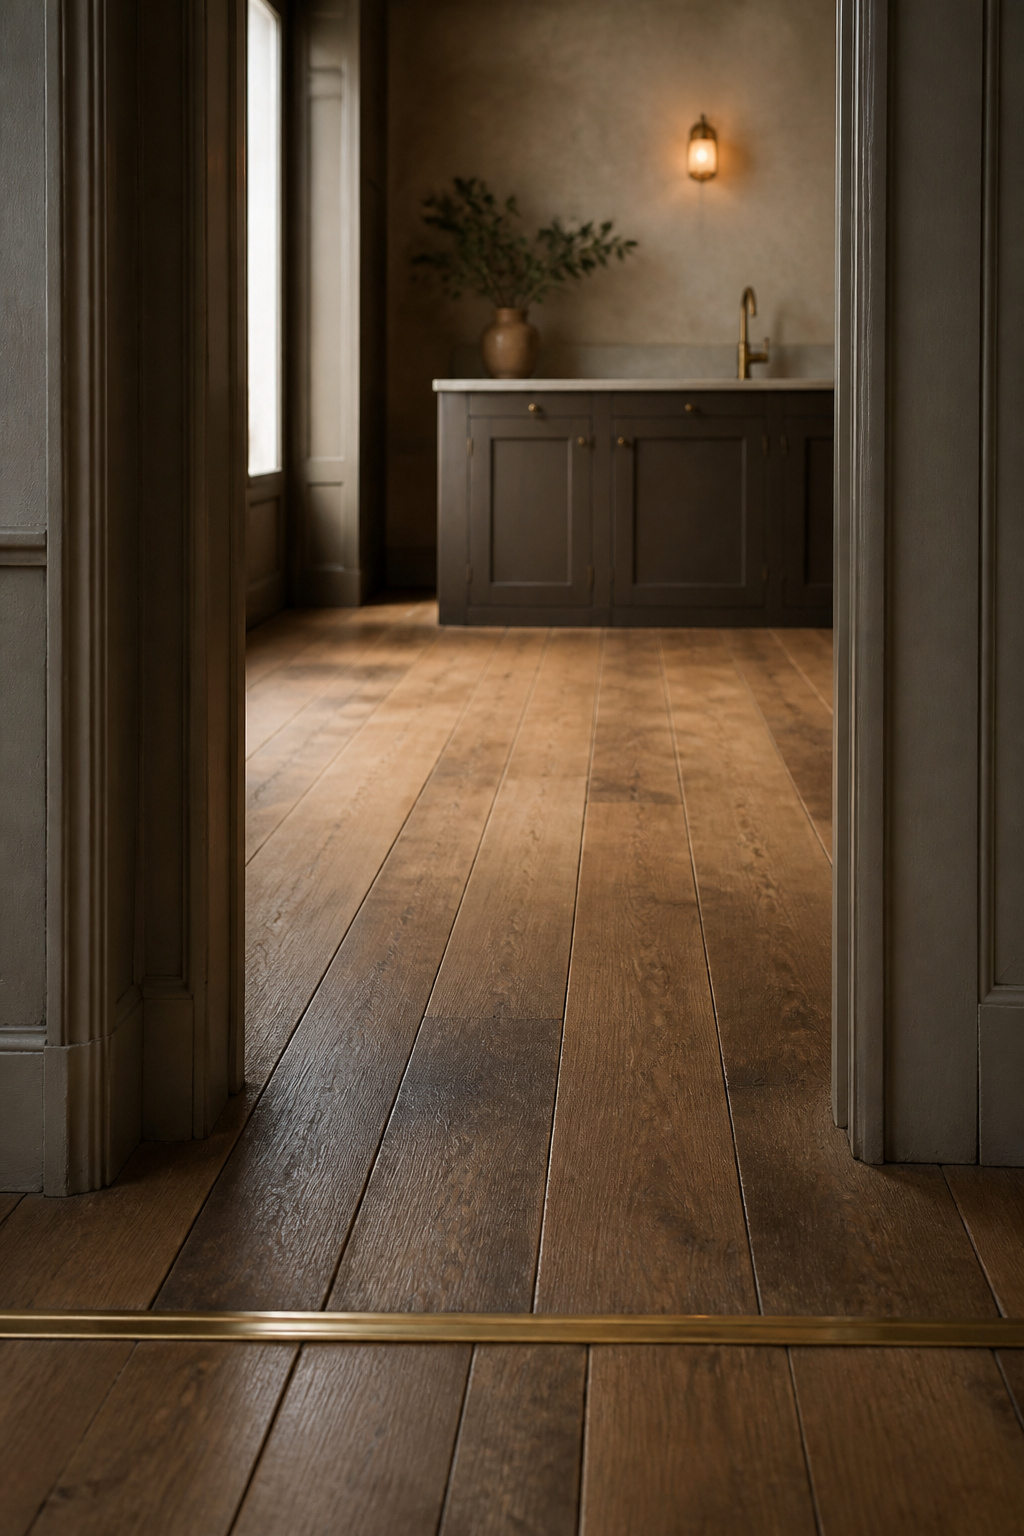
The conditions that make wood work in a kitchen are really chores: clean spills right away, check appliance connections on a schedule, and recoat the wood’s finish — not a tile or stone sealer — every four to six years. Skip one and the old warning is correct again. The real enemy is water buildup, not exposure: a floor that gets splashed and dried is different from one that sits wet. Where a humid climate meets no humidity control at all, Tess Carver’s kitchen floor ideas survey covers what to put down instead.
Solid vs Engineered: What Humidity Actually Does to Each
Thirty to fifty percent: the National Wood Flooring Association’s published range for interior relative humidity, alongside 60–80°F.
The 30–50% Band
Other trade sources put the safe band a little wider, up to about 55%, and guidance varies across the industry between roughly 30% and 55% depending on whose standard you follow. What damages boards is a sustained swing — months at 25%, then months at 65% — not a Tuesday at 52%.
| Construction | Humidity behaviour | Where it belongs |
|---|---|---|
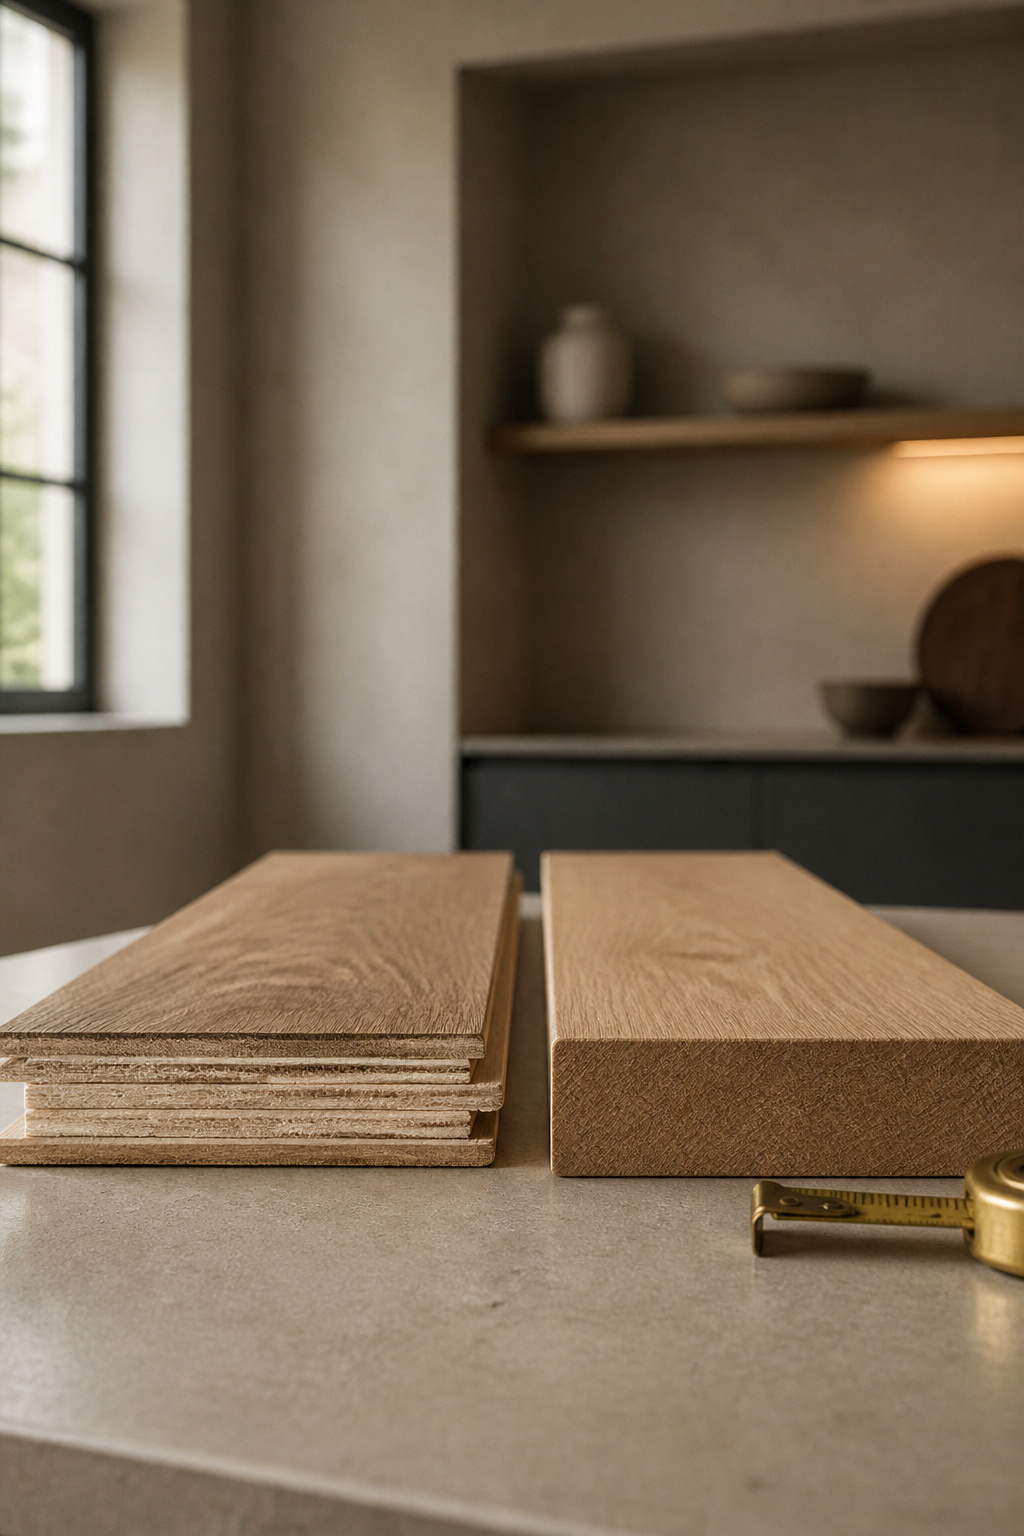
| Solid, one grain | Moves through its full thickness; cups, then buckles | Climate-controlled house, steady band |
| Engineered, cross-ply | Layers counterbalance each other | Slabs, radiant heat, real swings |
What Happens Outside It
The mechanism is straightforward: humid air makes wood gain moisture and expand. Edges rise into a cup first; pushed further, the floor buckles.
Reading Your Own Kitchen’s Humidity
Buy a plug-in hygrometer and read it across a full year, some readings taken while the kitchen works. Without air conditioning, indoor humidity tracks the outdoor dew point, which by region runs from 45°F to the upper 70s. Kitchens sit above the house average whenever they are in use.
Species and Finish: Hardness Matters Less Than You Think
Most people choose a kitchen species by hardness number. That is the wrong end of the problem.
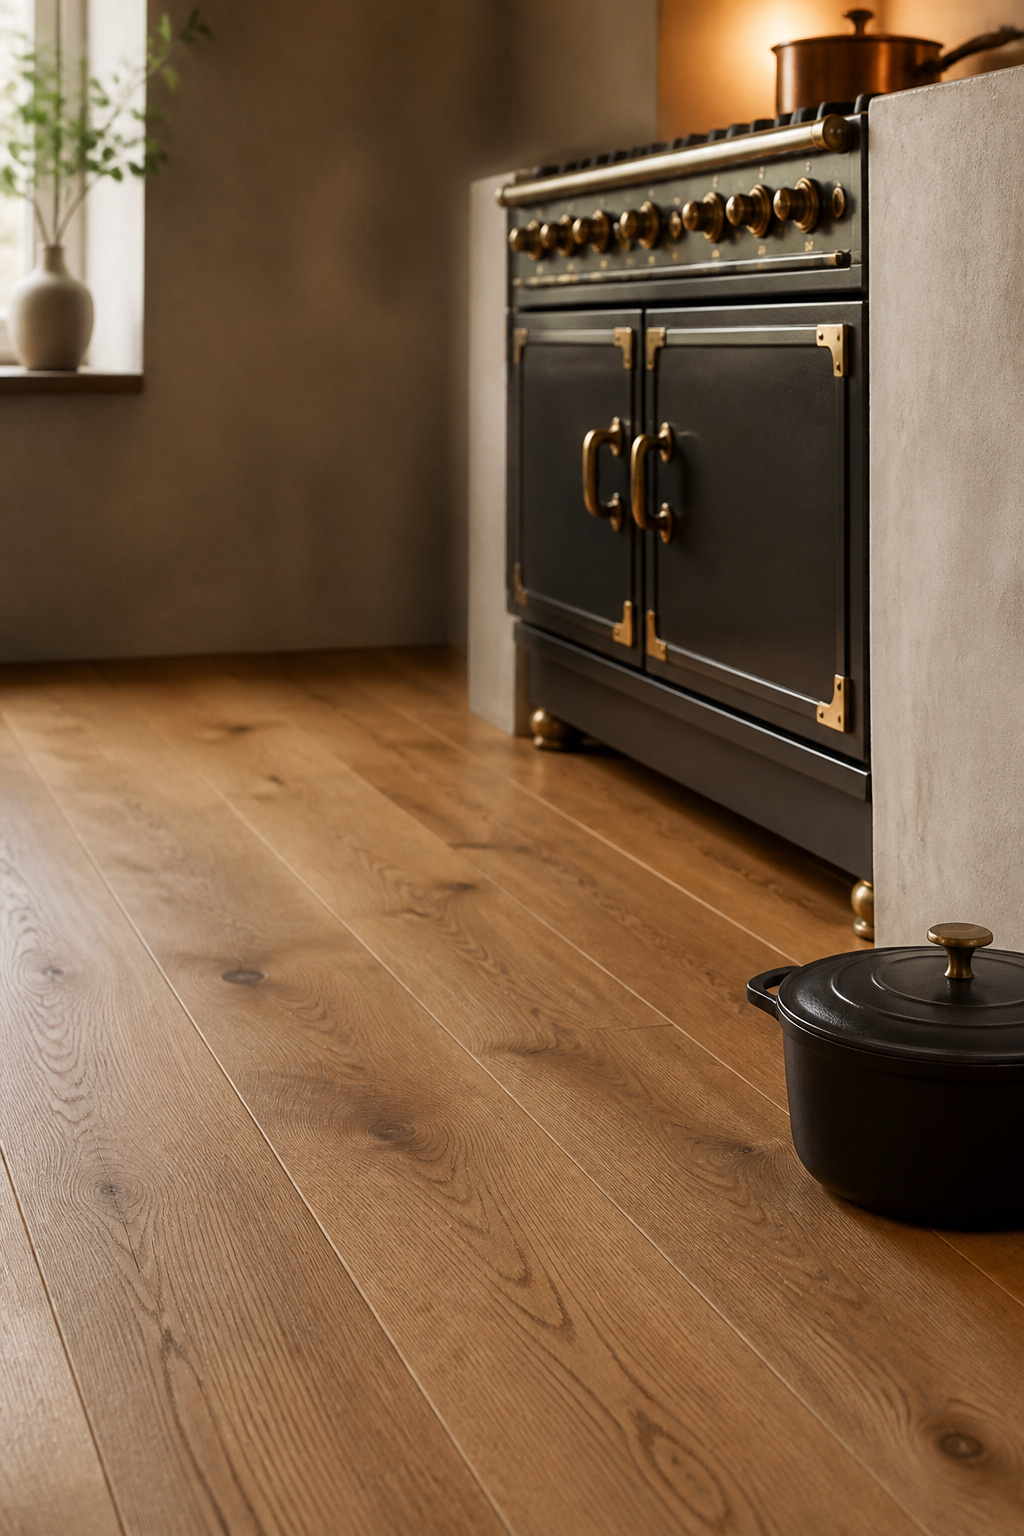
Janka Hardness in Context
Janka hardness for the species that come up most in a kitchen: hickory 1,820 lbf, white oak 1,360, black walnut 1,010. Two independent charts agree on those numbers, so I trust them — but the test only ranks species against each other. It doesn’t predict how a specific board dents in your kitchen.
Why Finish Does the Real Work
The detail that reframes the argument: a prefinished board tests harder than the same species unfinished, because the coating hardens the wearing surface. Break that film and a hard species marks like anything else.
Oil vs Polyurethane Near a Range
Dry time says when you can walk on a floor. Full cure is a different clock — when the finish takes normal daily life without marking. Oil-based polyurethane accepts light use at twelve hours but doesn’t fully cure for 30–45 days; water-based cures in three to five; hardwax oil in 7–14.
I still specify hardwax oil in period kitchens. While the wear is finish-deep, a worn path in front of a range can be sanded lightly and recoated in place, without touching the rest of the floor. Polyurethane can’t be patched invisibly, and reversibility is the ethic in an old house.
Keeping and Refinishing What’s Already There
I once took on an 1890s farmhouse kitchen where the clients had a demolition quote written for a deteriorated built-in dresser. I asked for a week, took the carcass apart, and it came back as the island. That dresser is in my head on every floor I assess: the quote to rip something out always arrives before anyone measures it.
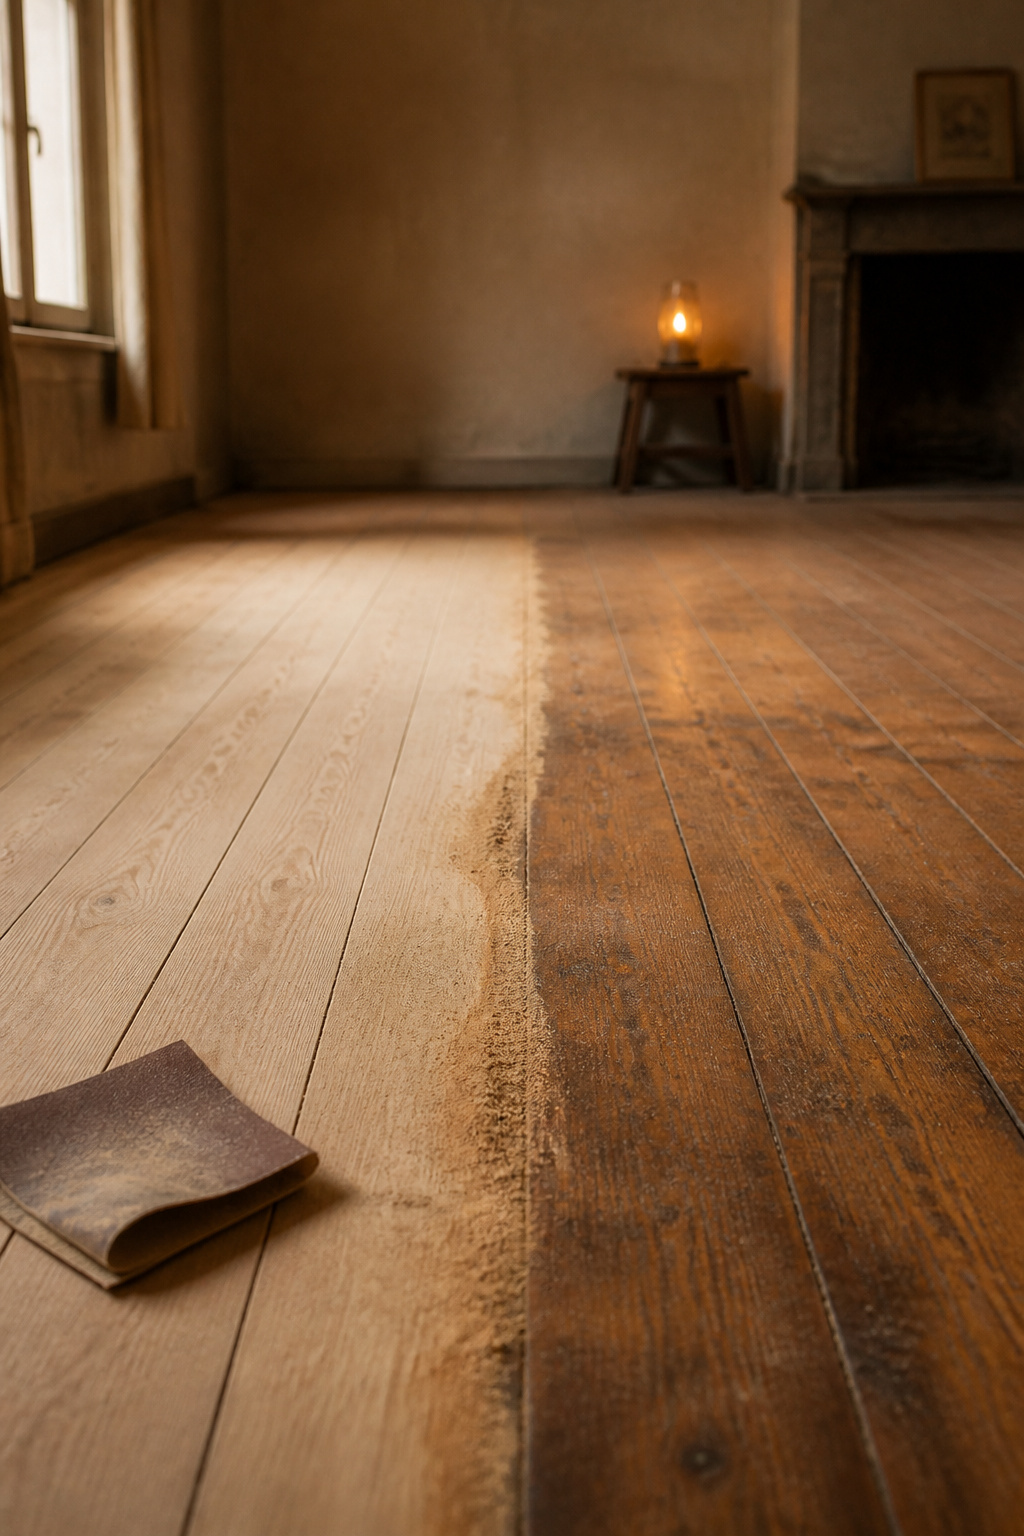
Assessing Board Condition
- Look at a cross-section. Lift a heat-register cover or a threshold saddle and measure the board’s edge directly. Under 3/4 inch total thickness generally means too thin to refinish again.
- Measure the wear layer in several places, not one. It’s what determines how many sandings the floor has left, and it varies more across a room than most owners expect.
- Walk it and meter it. Soft boards signal subfloor damage, not surface wear, and dark tannin staining near appliances means replacement, since sanding will not lift it.
Sanding and Screening Options
A full sand back to bare wood is rarely the first move. Screen-and-recoat abrades only the finish with a buffer and mesh screen, leaving the wood untouched. It is a one-day job at roughly $1–3 per square foot in 2026, against $3–8 for a full refinish (AOS Wood Floors, 2026). Every full pass spends wear layer you cannot get back.
Date the floor before you rent a drum sander. Boards laid before the tongue-and-groove side-matcher arrived in 1885 were commonly face-nailed through the surface into the joists; nail heads marching across them are the tell. Countersink every one, or you will shred belts.
Refinishing Near Cabinets and Appliances
The economics are not close. AOS Wood Floors’ 2026 restoration-cost breakdown puts refinishing at $3–8 per square foot against $8–15+ to replace, the same range already cited above. The usual cutoff is the 30% rule: past a third of the boards needing repair, patching approaches replacement cost anyway. It’s rare to replace a whole floor over one dishwasher leak — damaged boards usually come out individually. Plan on pulling the dishwasher and range clear, and settle with your contractor how the sanding will meet a fixed toe-kick.
So I will say the unpopular part plainly. A solid floor with wear layer left in it is not a candidate for replacement. Tearing out century-old boards to lay new wood is not renovation; it is discarding the one element of a kitchen that cannot be bought back.
Wood Tone as a Design Decision
What tone does this particular room want — not what is fashionable?
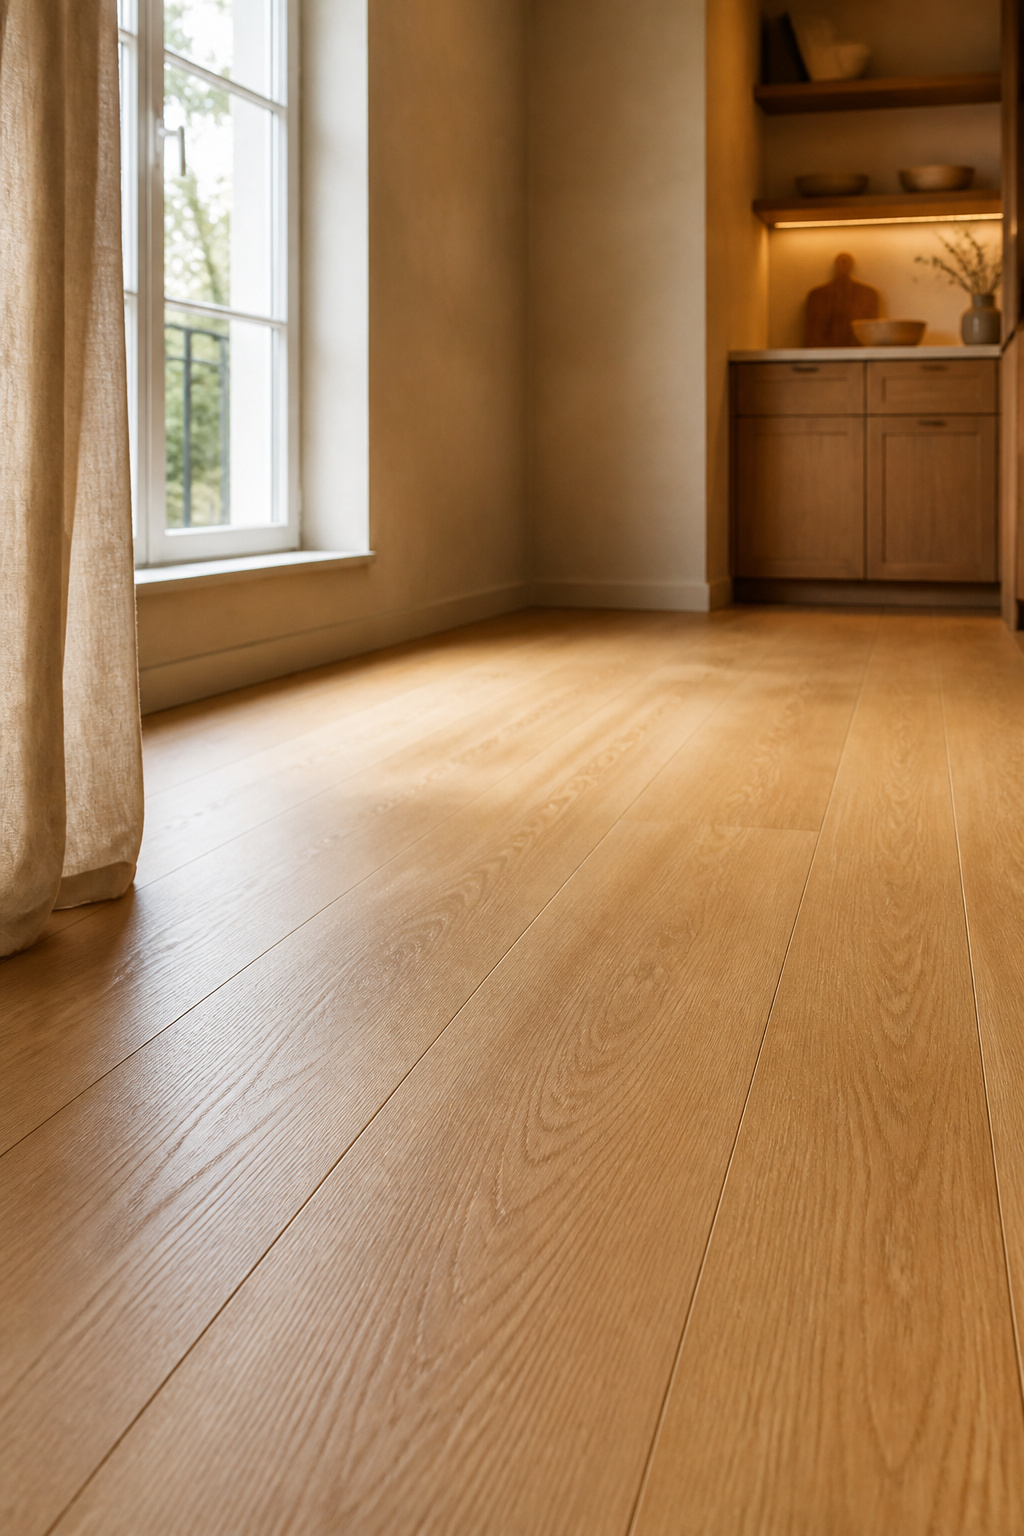
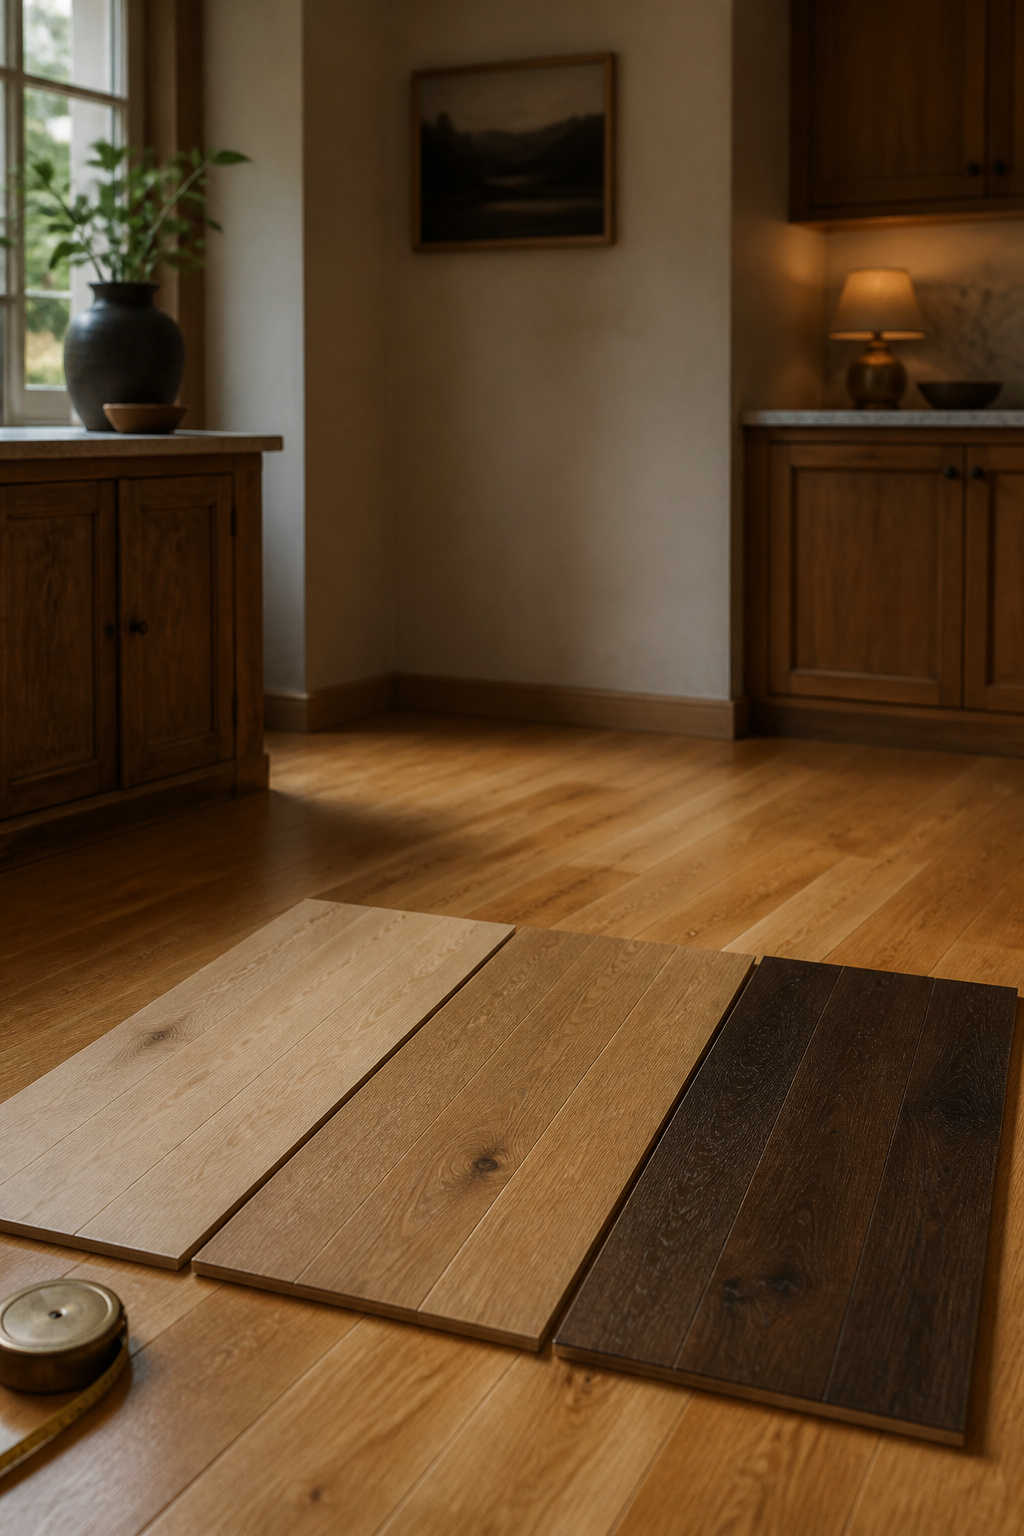
Light Rift-Sawn Oak and Apparent Size
Pale floors make rooms read larger, because they bounce daylight back rather than absorbing it. Rift-sawn oak works twice over: its tight linear grain is calmer underfoot than plain-sawn’s cathedral figuring. Pair pale boards with high gloss, though, and the glare cancels the calm. Board direction is the other half of apparent size — Henrik Larsson covers which way planks should run in a galley.
Mid-Tone Boards and Everyday Forgiveness
If children and a dog cross the floor forty times a day, mid-tone natural wood is the forgiving choice — unstained birch, hickory and maple hide day-to-day scuffs better than either extreme. Scratches are light-coloured themselves, so they show worst on a dark floor and all but disappear into a pale one.
Deep Walnut and Warmth
The received wisdom that dark floors shrink a room is lazier than it sounds. What decides that is ambient light, wall contrast, and whether the finish is matte enough to diffuse light. Walnut buys warmth at a cost only some rooms actually pay. What tone the room wants and what tone your cabinets want are separate questions; Henrik Larsson takes the second in pairing a wood floor with white cabinets.
Where Wood Genuinely Struggles in a Kitchen
Nineteen percent of home insurance claims in a 2022 Travelers report came from appliance water damage.
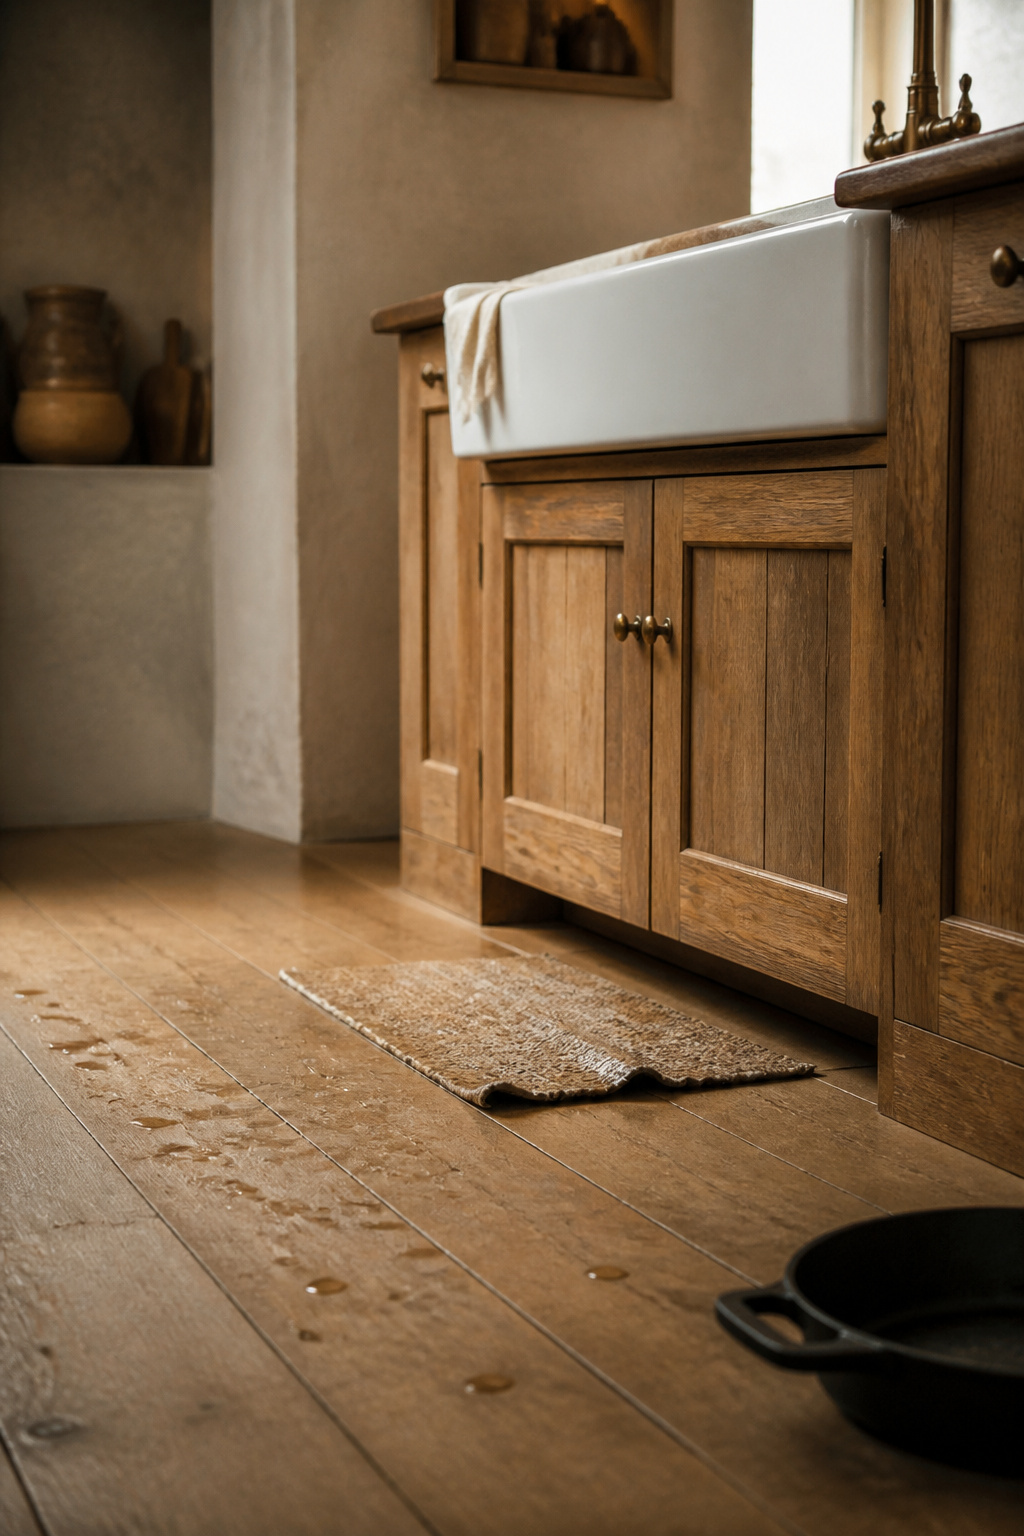
The Dishwasher and Sink Zone
In my experience, dishwasher leaks destroy more wood floors than icemaker lines do — the damage is usually small and slow, not a dramatic flood. The fix is cheap and boring: an 18- or 24-inch leak pan, plus a battery-powered detector beside it for the slow leaks a pan misses.
Dropped Cast Iron
Nobody has tested a dropped skillet against a Janka rating; the two are not the same measurement. Janka records the force to embed a ball slowly — different physics from a sharp-edged object arriving at speed. Treat a high number as ranking information, not armour.
High-Humidity Climates Without Climate Control
One statistic settles this. In a 1,800-square-foot house with outside air at a 70°F dew point, holding indoor humidity near 50% means removing about 7.4 pints of water per hour. No open window achieves that.
Choosing Hardwood Flooring in a Kitchen: Solid or Engineered
Three conditions settle the construction question, and none of them is about looks.
If Your Subfloor Is Concrete
Choose engineered: a slab presents constant moisture migration, and a layered core handles it better than a single-piece board. Either way you need a real moisture barrier, and the slab should test under 3 lbs of moisture emission per 1,000 square feet per 24 hours.
If You Have Radiant Heat
Choose engineered again — though the trade doesn’t fully agree with me here. Vantia Hardwoods treats solid hardwood over radiant as workable within strict limits: planks no wider than 5 inches, surface temperature capped at 85°F, humidity between 35–55%, and a stable species such as oak or walnut. Ciero’s radiant-heat guide rejects that outright, calling solid over radiant a predictable material failure and engineered the only recommended construction. They agree engineered is safer and disagree on whether solid is viable at all. In a kitchen, hotter and wetter than the rooms those limits address, I would not spend the margin.
If You’re Refinishing vs Starting New
If what you have is solid wood with wear layer to spare, keep it: six to eight sandings is decades of service. Engineered has to be checked veneer by veneer, since some are too thin to sand at all.
What actually holds up is narrower than the blanket rule — and far more useful. Wood belongs in a kitchen that holds 30–50% relative humidity without heroics, over a subfloor that isn’t fighting you, under a finish chosen for repair rather than shine. A year of hygrometer readings and an honest look above the tongue will tell you which side of that line your kitchen falls on — before anyone needs to write up a demolition quote.
FAQ
Can you put hardwood floors under a kitchen island?
Yes, and running the floor continuously beneath the island is the recommended sequence. It looks seamless, carries the moisture barrier under the island footprint, and keeps options open if the layout ever changes. Install and finish the hardwood first, then set the island on it.
How do you protect hardwood floors from a leaking dishwasher?
Fit a dedicated leak pan, typically 18 or 24 inches wide, to catch supply-line and drain leaks before they reach the boards. Pair it with a battery-powered leak detector underneath, since slow weeping leaks escape a pan. Add a rug at the sink zone and check the supply line yearly for weeping.
What’s the average lifespan of a hardwood kitchen floor before it needs refinishing?
Kitchen floors typically need refinishing every five to eight years, against ten to fifteen or more for low-traffic rooms, because chair movement, spills and wear near the sink concentrate there. A solid floor sands six to eight times, so refinishing continues for decades.