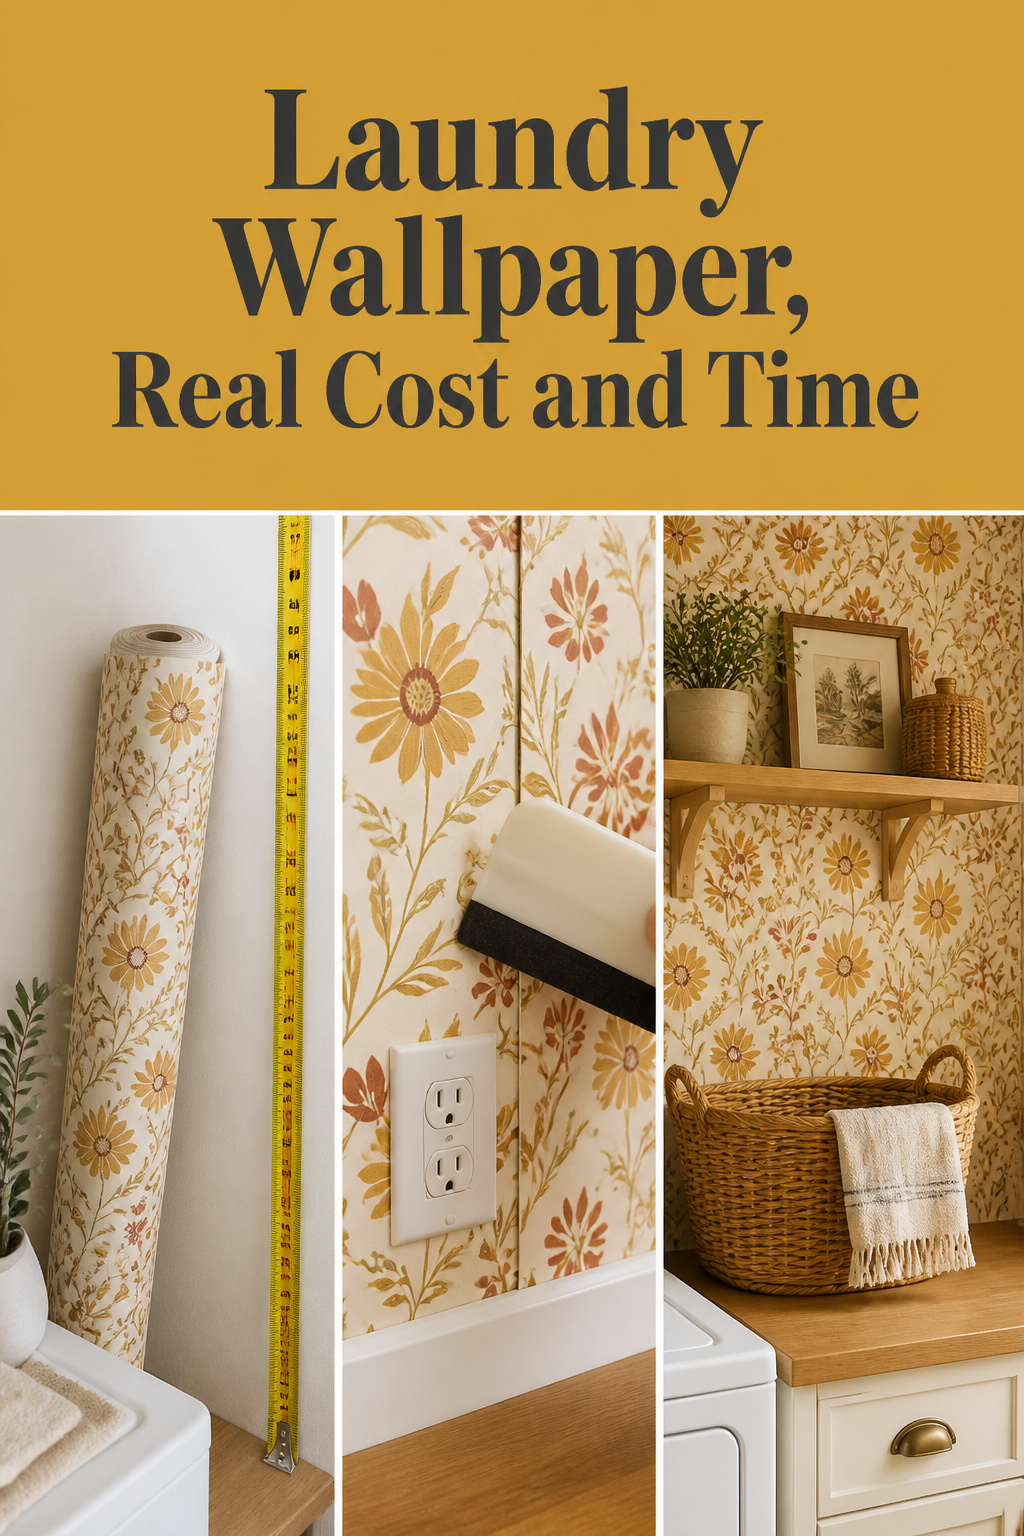
A single roll of peel-and-stick laundry room wallpaper runs about $35 and covers 28 square feet. One wall behind the machines is usually one or two rolls — call it under $80 for the biggest visual change you can make back there. Most people stare at that blank, builder-basic wall and assume a cheap, removable product will look cheap and removable. It won’t, if you hang it right. The catch is time, not money, and I’ll be straight with you about both.
TL;DR
- Budget about $35 per single roll (28 sq ft) and a whole weekend day, not an afternoon — one wall behind the machines is usually one or two rolls.
- Buy vinyl-coated peel-and-stick (not paper-based) for a humid room, pick a pattern repeat of 12 inches or more, and hang over eggshell or satin paint cured at least 30 days.
- Smooth center-to-edge to kill bubbles, cut outlet openings smaller than the faceplate, and buy one roll past your measured square footage for repeat waste.
Why Laundry Room Wallpaper Is the Biggest Change for the Least Money
Real cost per roll and per wall
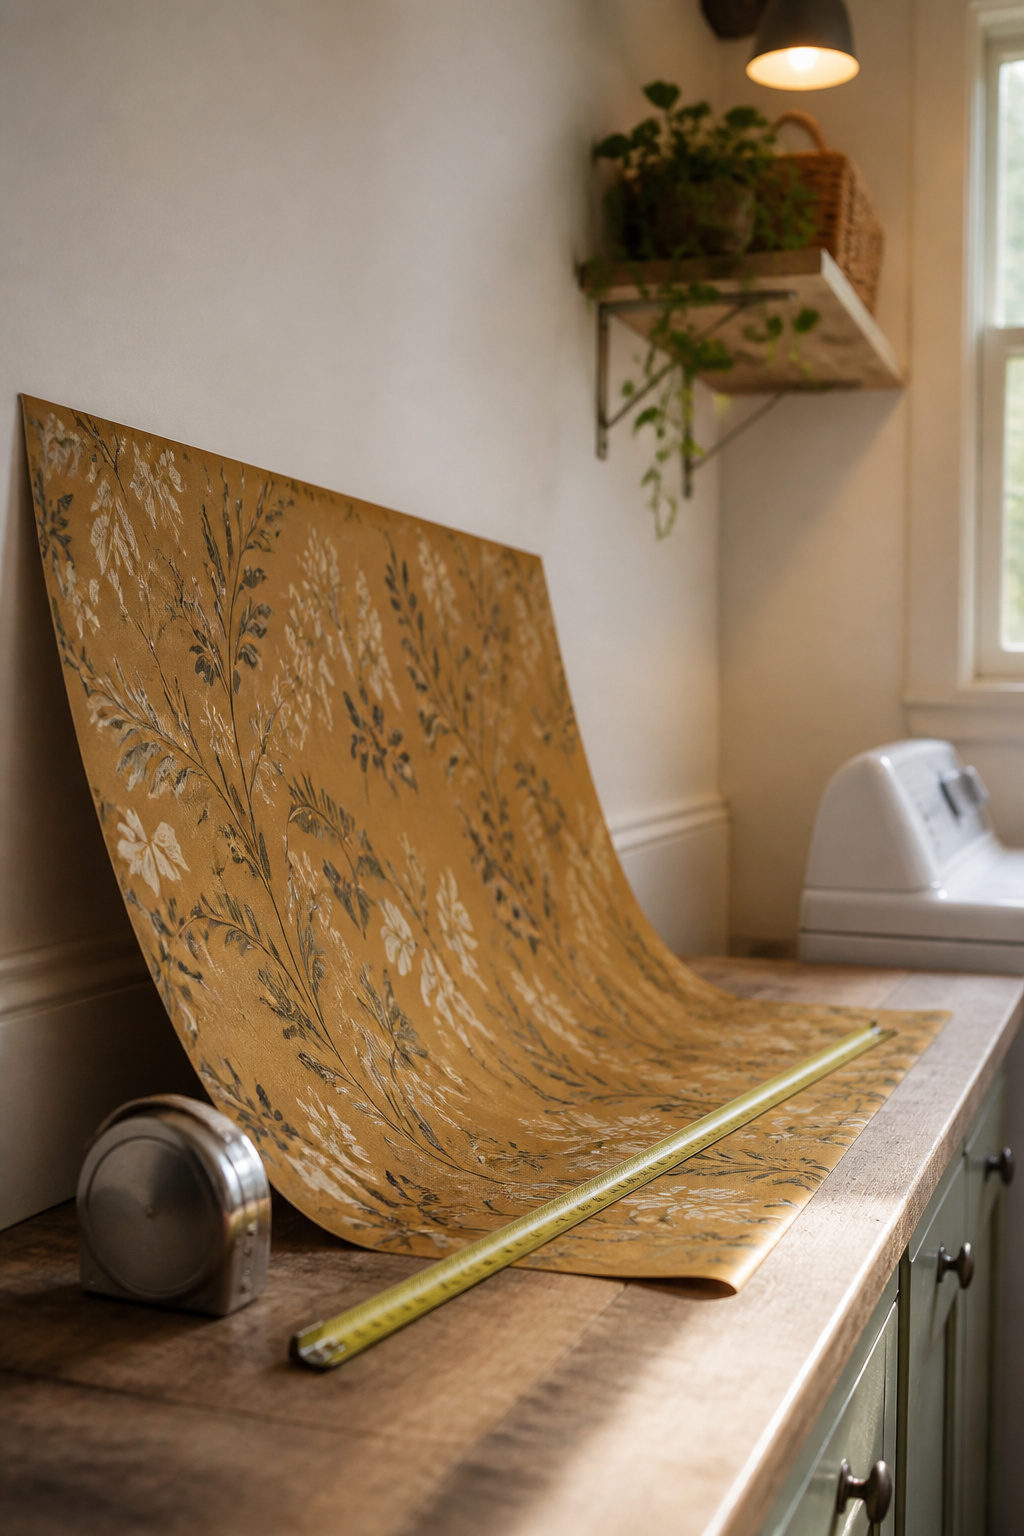
Peel-and-stick starts around $25 a roll, covering 28-30 square feet — Tempaper’s vinyl roll runs $35.99 for 28 square feet, a fair price check. Custom murals run $5 to $6.90 a square foot for mid-range prints, plus $1 to $3 a square foot for DIY supplies. Measure your wall, divide by 28, and round up.
Real time, including the trip back to the store
The hanging itself is quick — a small accent wall takes one to two hours. Prep is where the time actually goes, anywhere from 30 minutes to two hours depending on the wall. Years ago I lost a whole Saturday to a “two-hour” floating-shelf video, and every timeline I’ve given since has included the trip back to the store. So budget a weekend day, not an afternoon. The buffer covers the second roll you’ll want once pattern repeat and outlet cutouts eat into your coverage.
Peel-and-stick vs. traditional wallpaper
Peel-and-stick goes up without paste and comes off clean when the prep is right; traditional paper lies flatter and lasts longer — the call for a forever wall, not a rental:
| Approach | Material cost | Labor | Time to hang | Best for |
|---|---|---|---|---|
| Peel-and-stick | ~$25–36 per roll (28–30 sq ft) | DIY, none | 1–2 hrs per accent wall | renters, walls you’ll change |
| Traditional pasted | $25–50 per roll | $3–7/sq ft or $60–150/double roll | ~12 hrs for a full room | forever walls you won’t repaper |
Choosing Pattern and Scale for a Small, Busy Room
Small-scale vs. bold pattern in a tight room
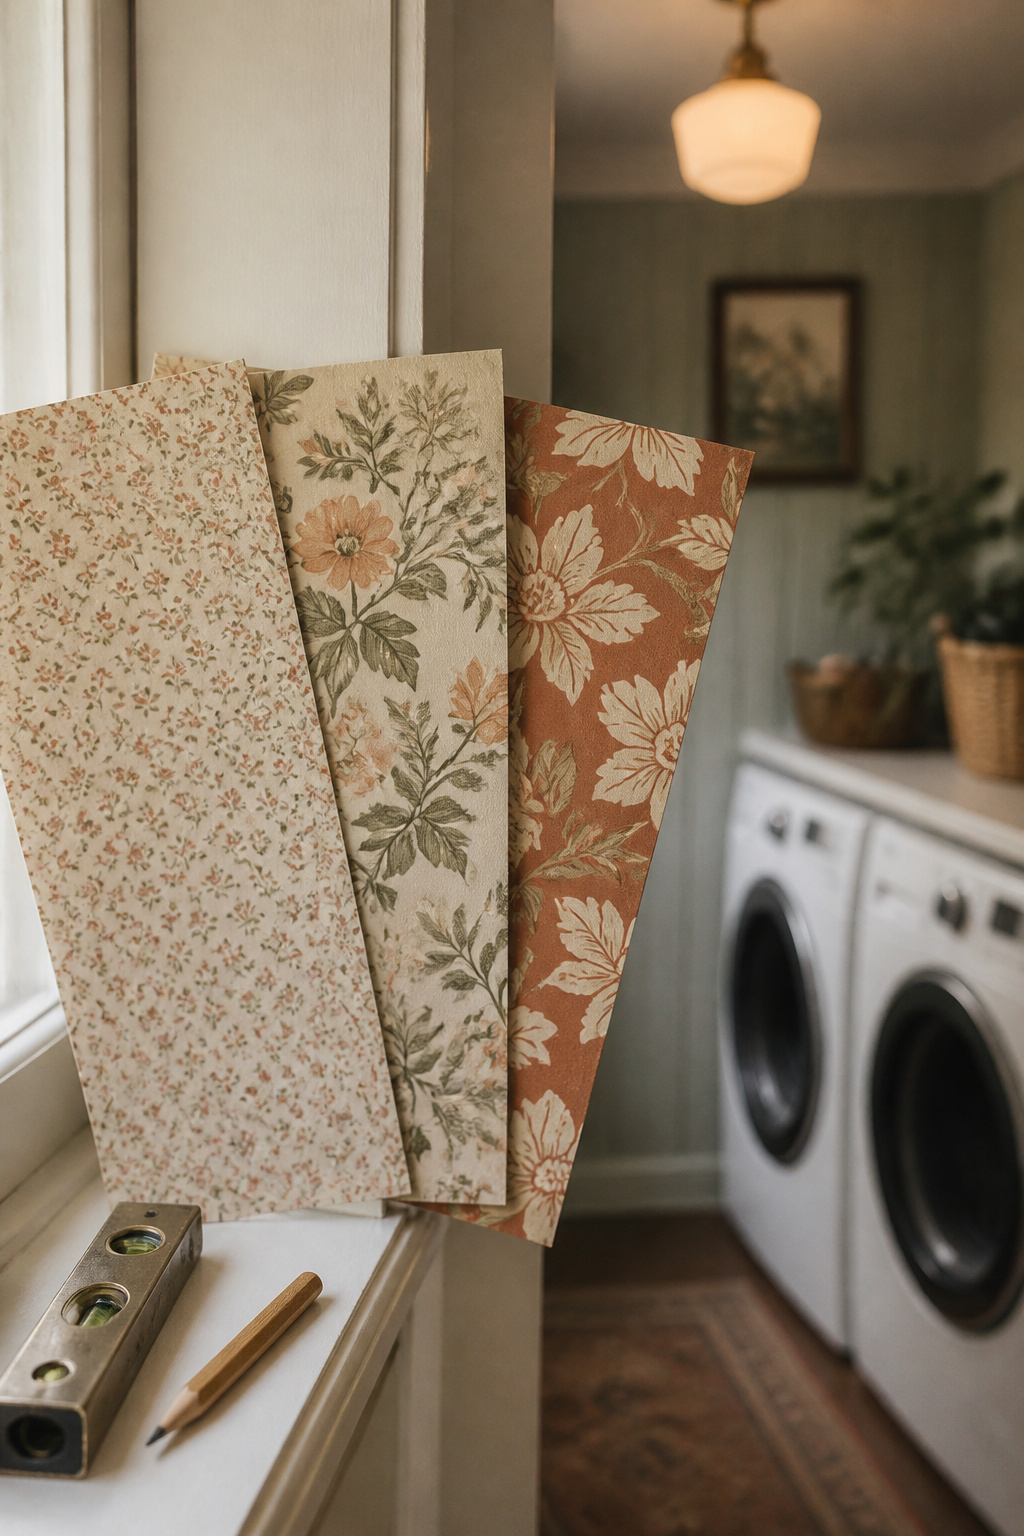
A big, bold motif usually looks calmer in a small laundry than a busy, tiny print — a repeat under six inches reads fussy, while 12 inches or more reads relaxed. Go medium-to-large on a lighter background so the wall bounces what light the room has. Screens lie about scale, so tape a sample up for a few days before you buy rolls.
Reading moisture and steam tolerance
A laundry wall is humid-adjacent, not wet. Vinyl peel-and-stick handles that — Tempaper rates its vinyl line steam- and moisture-resistant, like you’d want in a bathroom. It’s not truly waterproof, so keep it off walls that catch direct spray. Good airflow keeps a mid-range paper near its normal three-to-five-year life instead of lifting around three and a half.
Vinyl-coated vs. standard peel-and-stick
The vinyl layer is a water-resistant skin — it wipes clean and shrugs off steam. Standard paper-based peel-and-stick has no such layer, which makes it the wrong pick a few feet from a running washer, however good the print looks. Check the facestock before you fall for the design — the material decides how long a laundry wall survives.
Prepping the Wall Behind the Machines
Cleaning and priming the surface
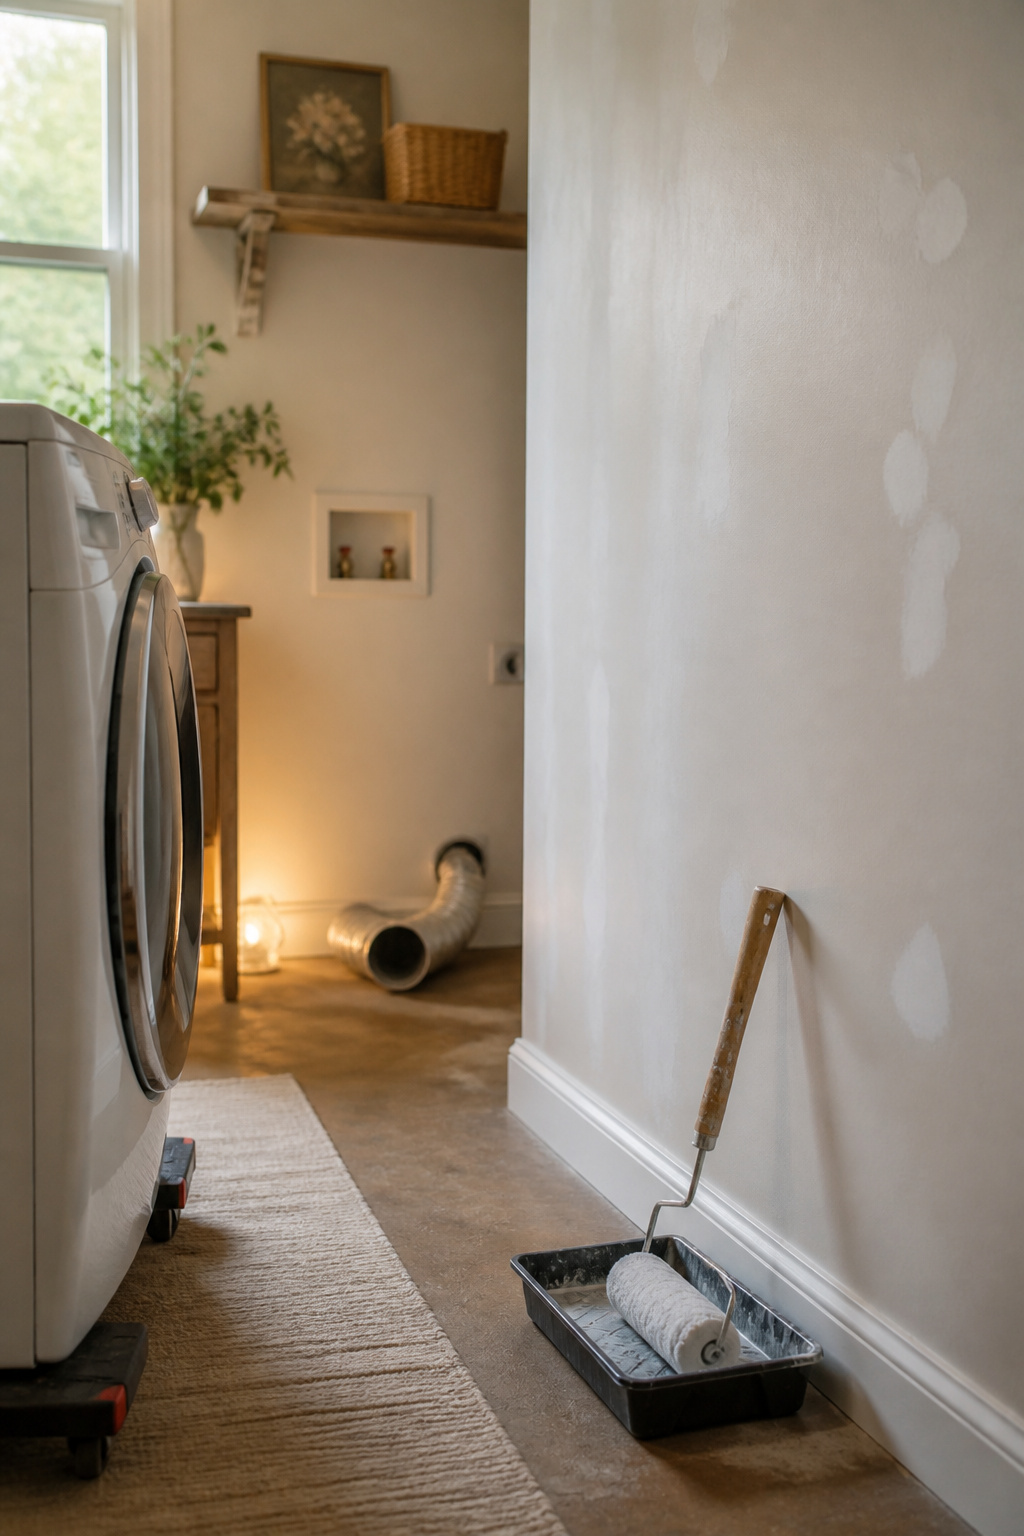
Wipe the whole wall with mild detergent and warm water first — dust, grease and lint film all kill adhesion. Let it dry completely; some paper wants a full 24 hours. Peel-and-stick grips best on eggshell, satin, or semi-gloss cured at least 30 days. Flat or matte paint can lift off with the paper on removal day. A thin primer coat isn’t required, but it buys insurance.
Pulling machines out safely
You need the wall clear, so walk the machines forward. Run the washer through a full spin first so no water’s sitting inside, shut both supply valves clockwise, and unhook the hoses over a towel. Unplug both machines, loosen the dryer vent clamp with a flathead — expect a puff of trapped lint, so wear a mask — then walk them out on furniture pads. Gas dryer? Stop at the line and call a pro.
Patching and smoothing before you start
Fill nail holes and cracks with spackle, let it cure, then sand with 120-to-150-grit on a sanding block. Light texture — orange peel or knockdown — takes paper fine; heavy stuff like stucco or coarse plaster doesn’t, and the paper peels off the high spots. Thicker stock hides texture better than thin, so let it help pick the product, not just the pattern.
Hanging Around Outlets, Vents, and Trim
Cutting around outlets safely
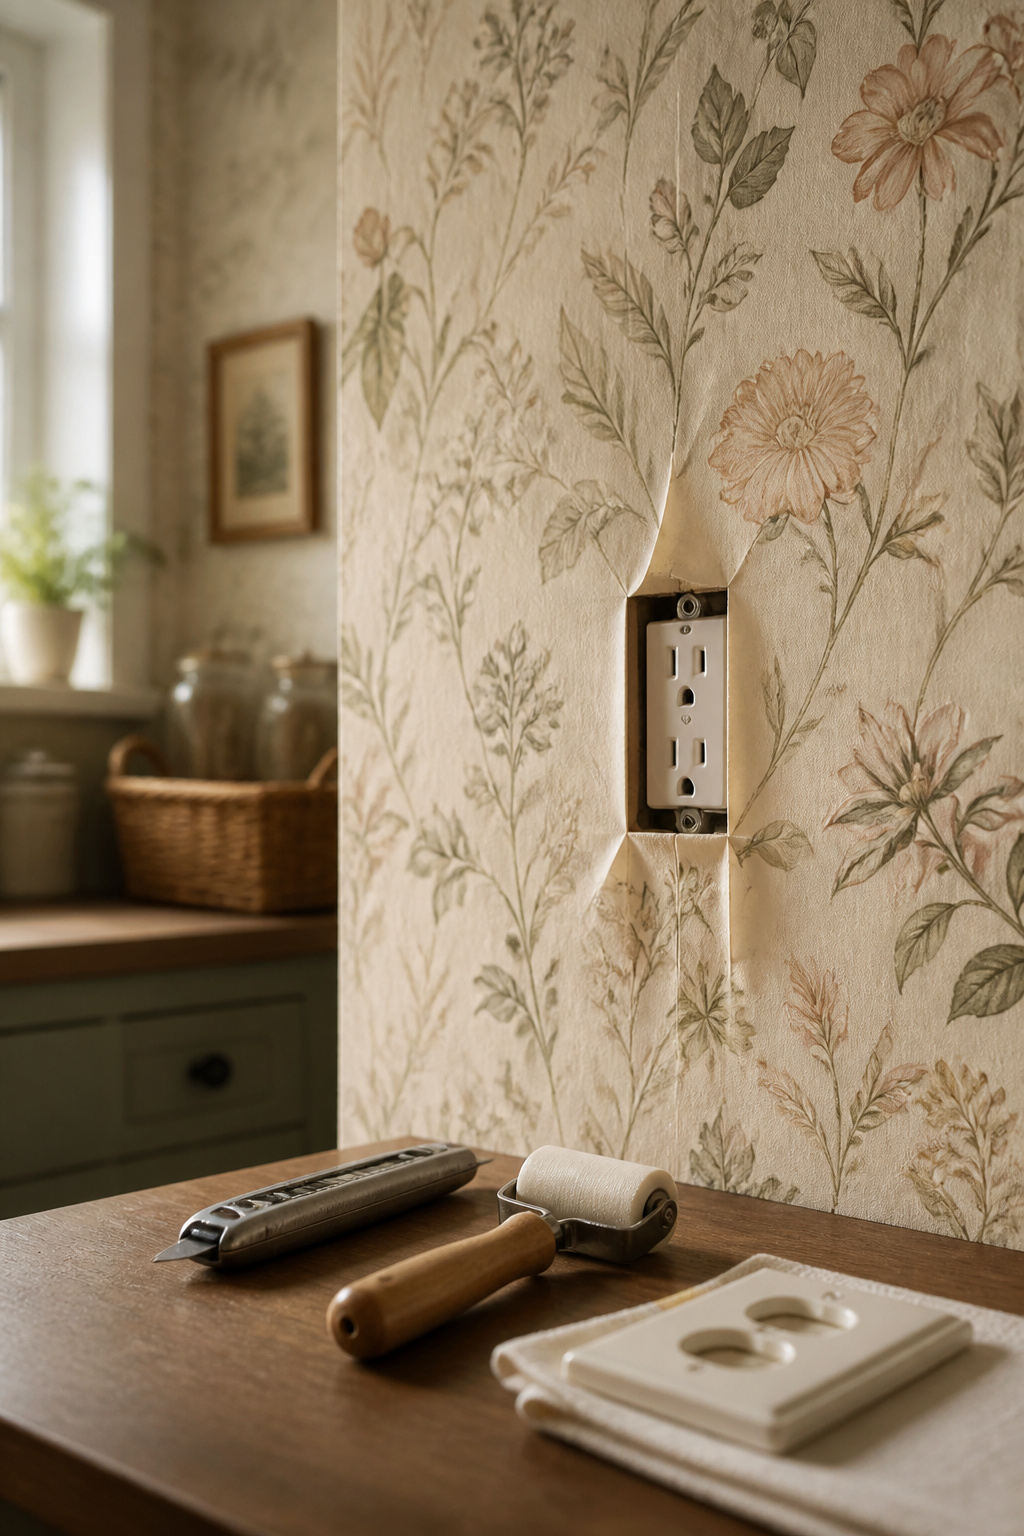
Kill the power at the breaker before you touch an outlet, every time. Pull the faceplates off, hang paper over the box, cut a small X across the opening, and trim each flap back to the box edge — keep the cutout smaller than the plate so it hides every raw edge. Smooth the paper down, reseat the plate, and flip the breaker back on.
Working the vertical seams
Start from a plumb line, not the corner — corners and baseboards are rarely true, and one crooked strip throws off every strip after it. Work each strip the same way:
- Mark a level vertical line one strip-width from your starting corner.
- Peel the backing a few inches at a time, not all at once.
- Smooth from the center outward with a squeegee so trapped air escapes the edges.
- Butt the next strip to the last one, matching the pattern before you press it down.
- Run a seam roller down every seam so the panels read as one continuous surface.
Trimming and sealing the edges
Trim excess at the ceiling, baseboard, and cutouts with a sharp knife, and change the blade often — a dull one drags and tears the vinyl instead of slicing clean. Run the seam roller over every trimmed edge last, to reseat anything that lifted while cutting.
The Mistakes That Ruin a Peel-and-Stick Wall
Air bubbles and how to fix them
Peeling the whole backing off at once is the top bubble maker — peel a few inches at a time and press as you go. Smooth center-to-edge, never side to side, or you’ll herd air into the panel’s middle with nowhere to escape. Caught a bubble after the fact? Prick the center with a pin, push the air out sideways, then flatten the spot with the squeegee.
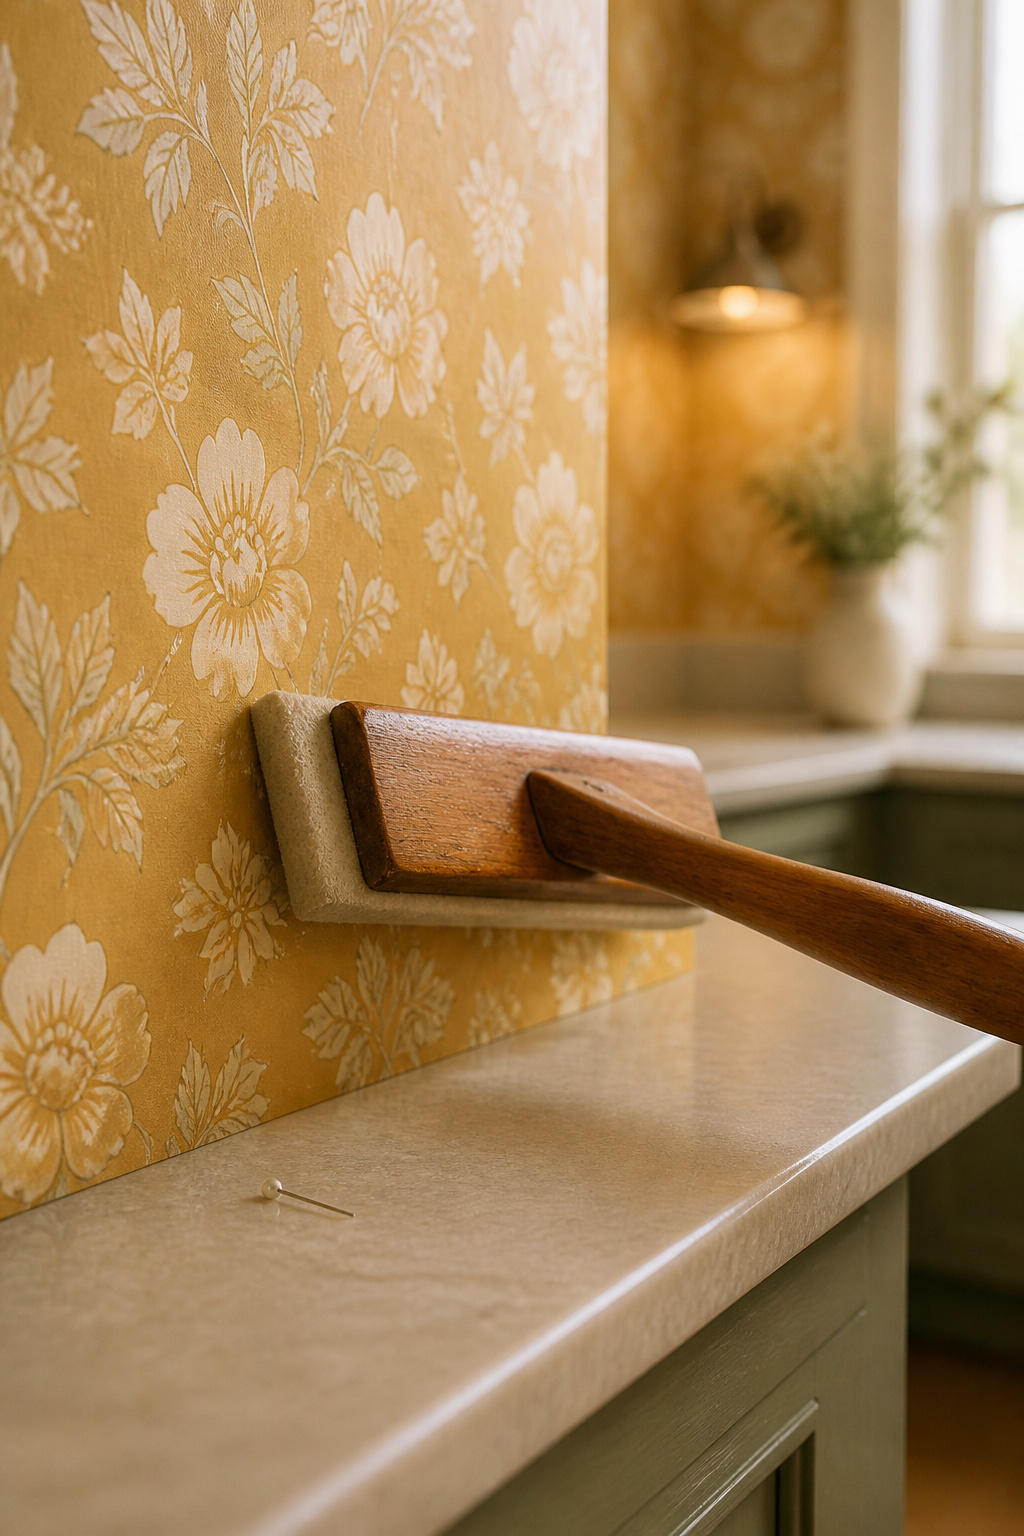
Starting from the wrong edge
It wastes a whole roll, so I’ll repeat it: don’t start off the corner — mark a plumb line and hang to that. Plan the layout before you cut, too, so any narrow, mismatched strip lands in a corner or behind a machine, never dead center at eye level.
Not accounting for pattern repeat
Every patterned paper has a vertical repeat, and you lose a little of each strip matching it. Measure that repeat and match strip to strip, or your motifs stagger at the seams — the most visible DIY tell there is. So buy one roll past your square-footage math to cover repeat waste and outlet scraps. Run short mid-wall and the reorder often comes from a different dye lot you’ll see against the first batch.
Making It Renter-Safe (or Making It Permanent)
Peel-and-stick done right leaves no trace, which is why it anchors most renter-friendly laundry decor.
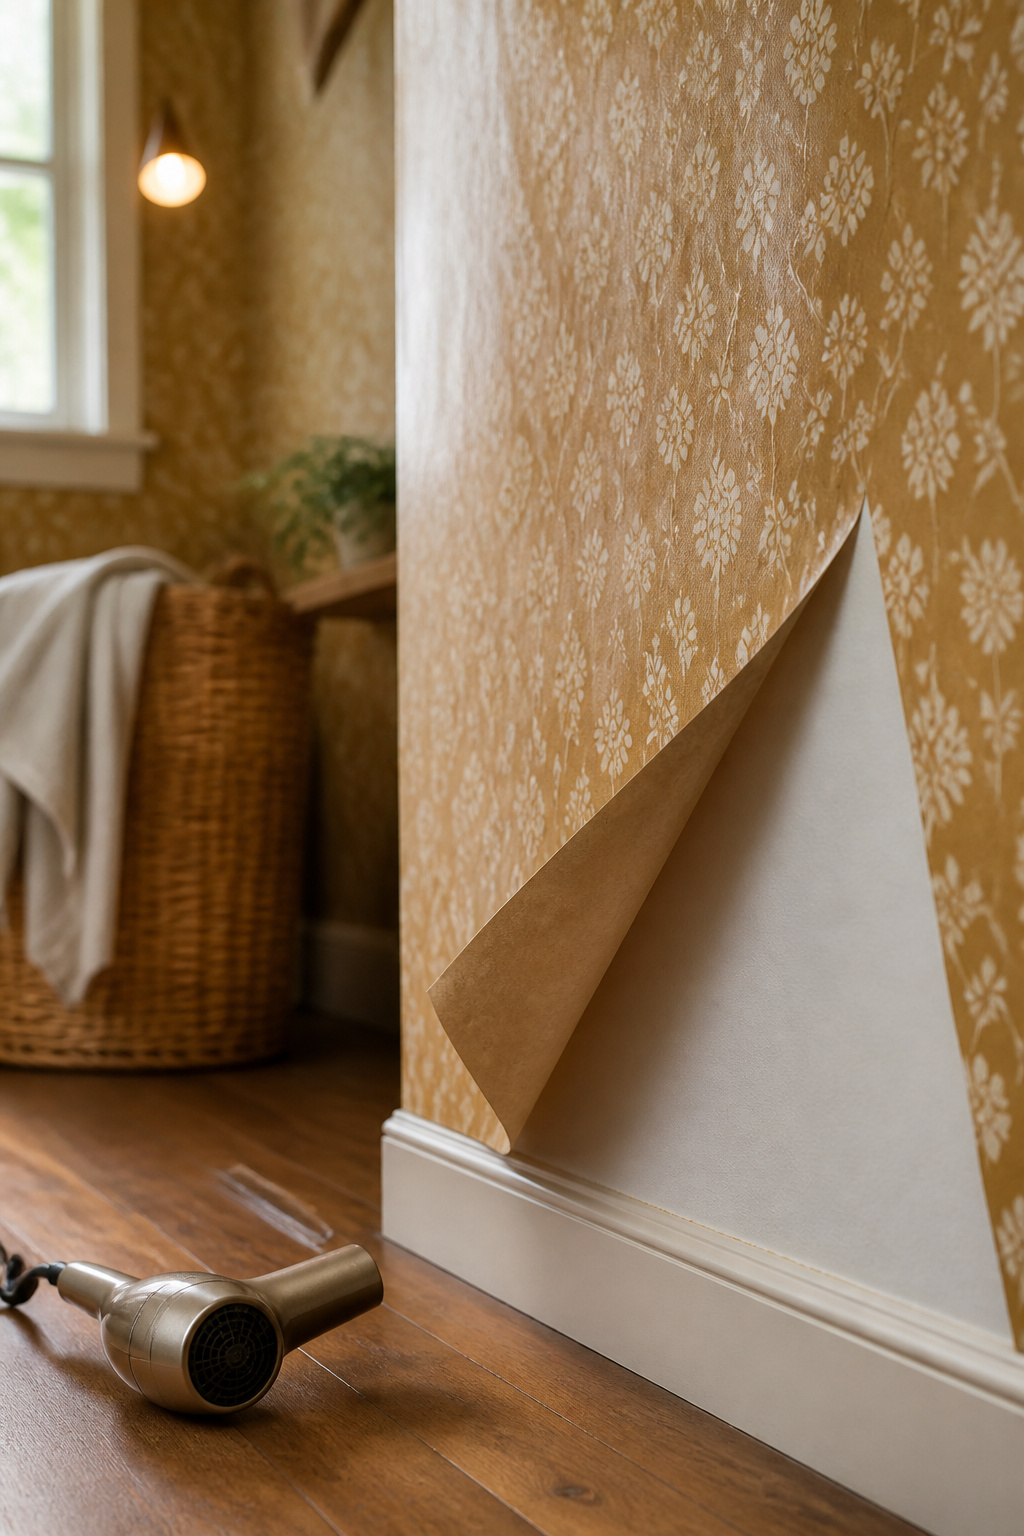
Removal without wall damage
Pull slow and low, at a shallow angle — yanking straight out takes the paint with it. A hair dryer held six inches from a stubborn spot for 15 to 20 seconds softens the glue. Leftover tack wipes off with warm water and dish soap, or rubbing alcohol for stubborn bits. The real protection happens at prep: eggshell or satin paint, properly cured, lets it all come off clean.
When to go traditional and permanent instead
Own the place and know you won’t change this wall for years? Traditional paper lies flatter, lasts longer, and runs $3 to $7 a square foot in pro labor. Just know the exit cost: pulling it later can strip the drywall’s paper face, leaving you to skim-coat with joint compound before you repaint. Reserve it for a wall you genuinely won’t repaper in five years.
Testing removability before you commit
Before you commit the whole wall, stick a sample panel in an out-of-the-way spot and leave it up a few days to judge the print, the grip, and how it peels in real light. Then peel that test corner — a straight preview of move-out day. If you rent, get the landlord’s okay in writing first — the material won’t damage the wall, but the paper trail protects your deposit later.
Where This Fits in Your Whole Laundry Room Plan
Pairing your pattern choice with a style direction
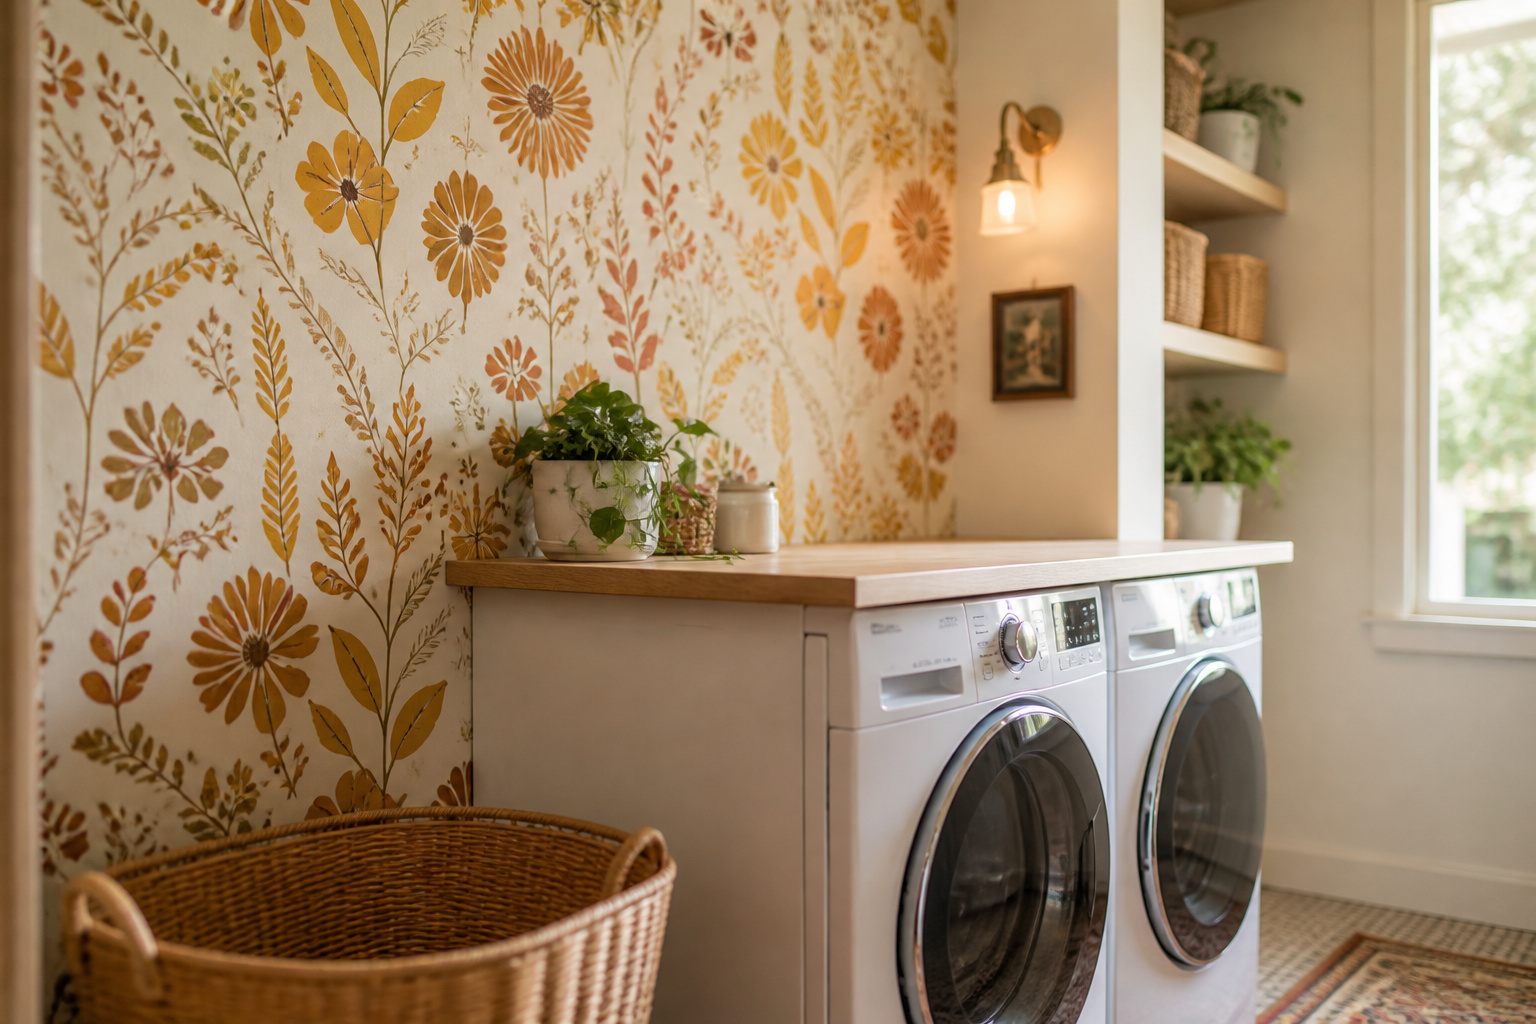
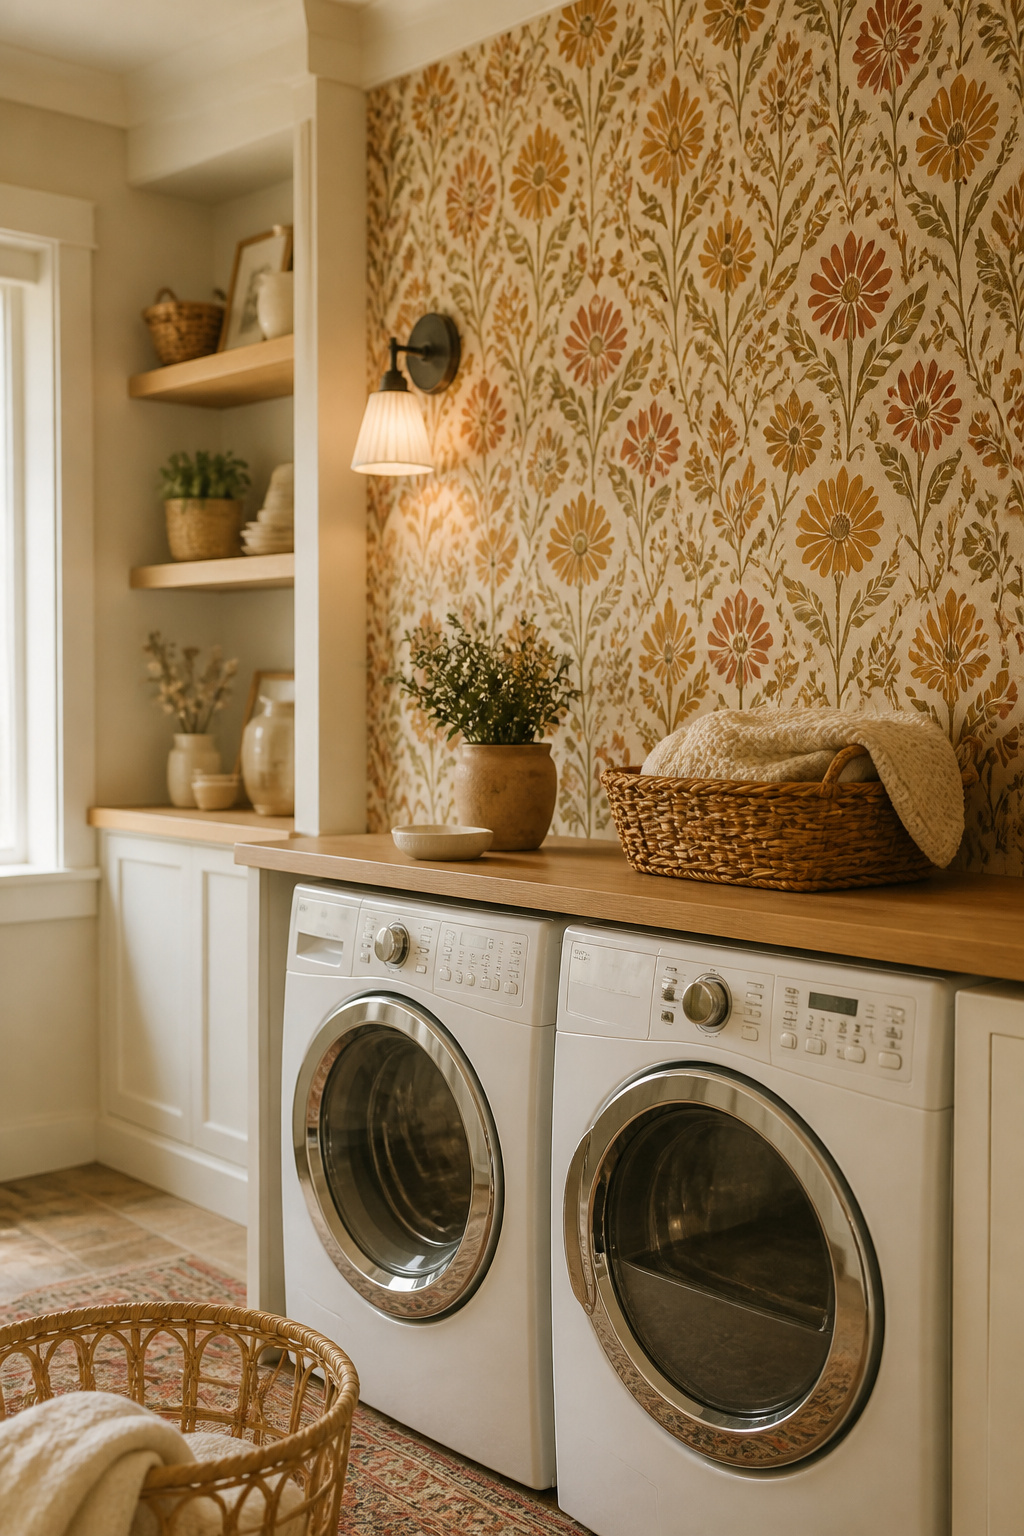
Your pattern does more style work than anything else in the room. Warm ochre, terracotta, and botanical prints pull the wall toward a collected farmhouse look; cooler navy or a tight geometric pulls it modern — same drywall, different room, decided by the roll you pick. Finish it with a rattan basket, a light-oak shelf, and one framed piece so it reads as a considered corner, not a bare materials swap.
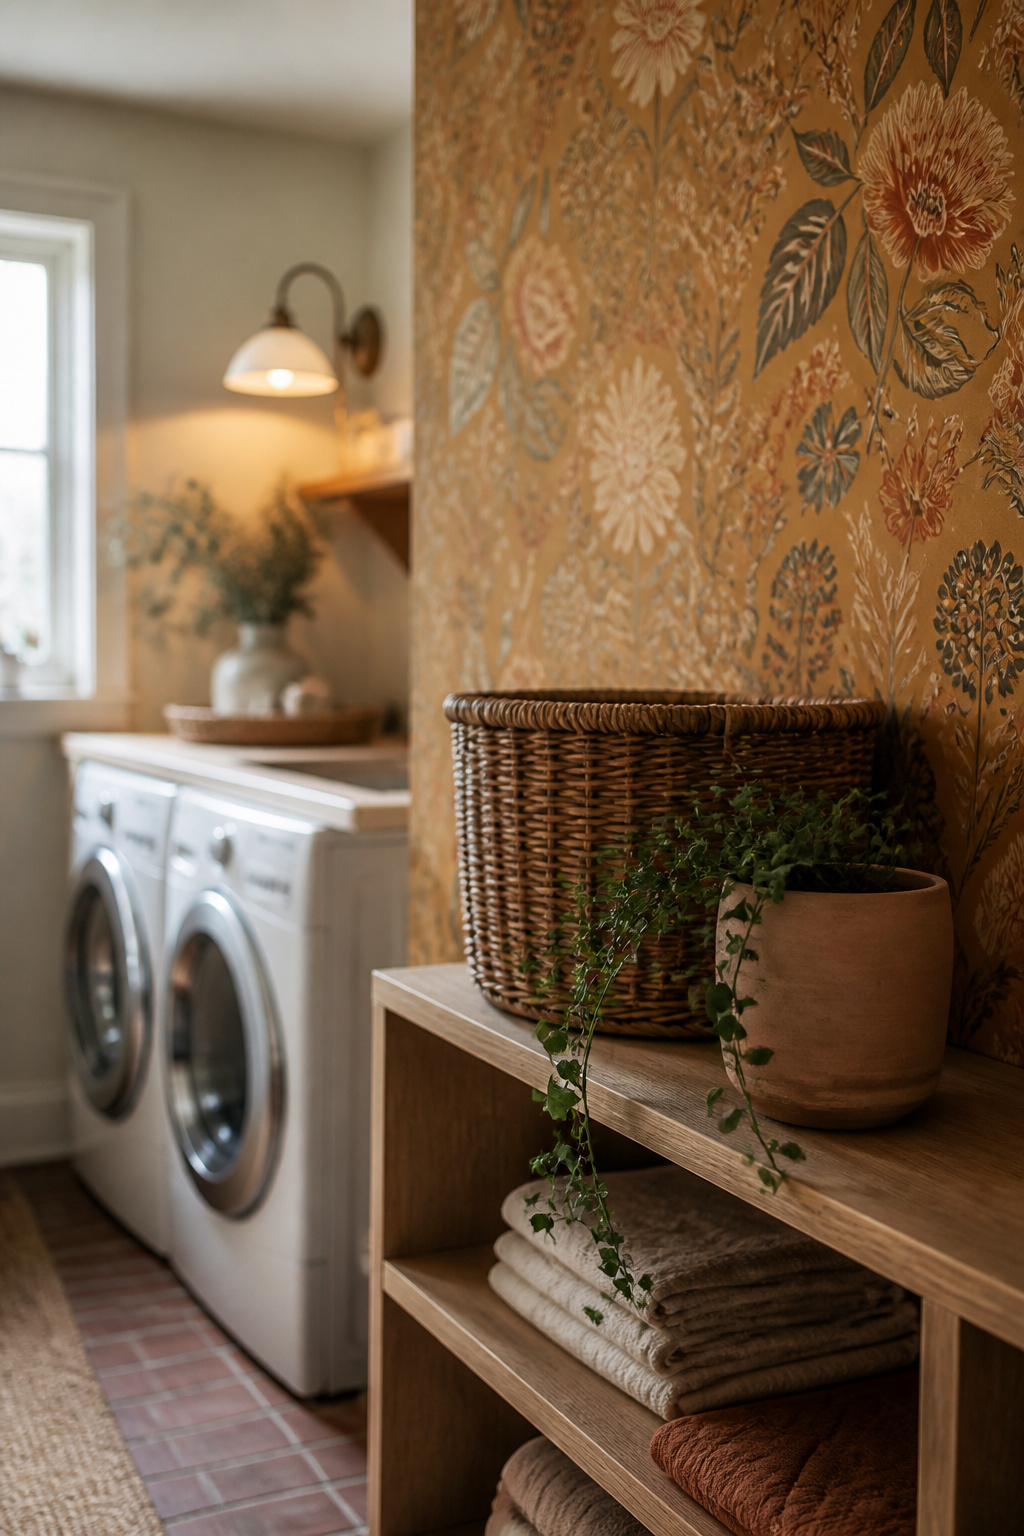
Your next move this weekend
Measure the wall behind your machines, order one sample in a 12-inch-plus repeat, and block out a weekend before you buy full rolls — that sequence keeps this a one-weekend win, not a false start. Get it right and one wall carries the whole room, the anchor the rest of your laundry room art and decor hangs off. Difficulty, honestly? A first build. If you can measure and cut a straight line, you can hang this wall.
FAQ
Does peel-and-stick wallpaper work in a humid laundry room?
Yes, if you buy the right type. Vinyl-coated peel-and-stick resists steam and moisture, the way it does in a bathroom; standard paper-based stock doesn’t. No peel-and-stick is fully waterproof, so keep it off walls that catch direct spray, and run ventilation during loads to reach its normal three-to-five-year life.
How long does peel-and-stick wallpaper last?
Mid-range peel-and-stick lasts three to five years; top-tier versions with stabilized adhesive can hold five to seven-plus years in moderate conditions. In a humid, poorly ventilated room, expect lifting nearer three and a half years. Surface prep and a clean install swing it most — a rushed panel can start peeling within weeks.
Can you put peel-and-stick wallpaper over textured walls?
Light texture like orange peel or knockdown generally takes it fine. Heavy texture — stucco or coarse plaster — isn’t recommended, since the paper peels back off the high points. Thicker stock hides minor texture better than thin, and a light sanding plus a primer coat helps. Always sample-test on your actual wall for a few days first.