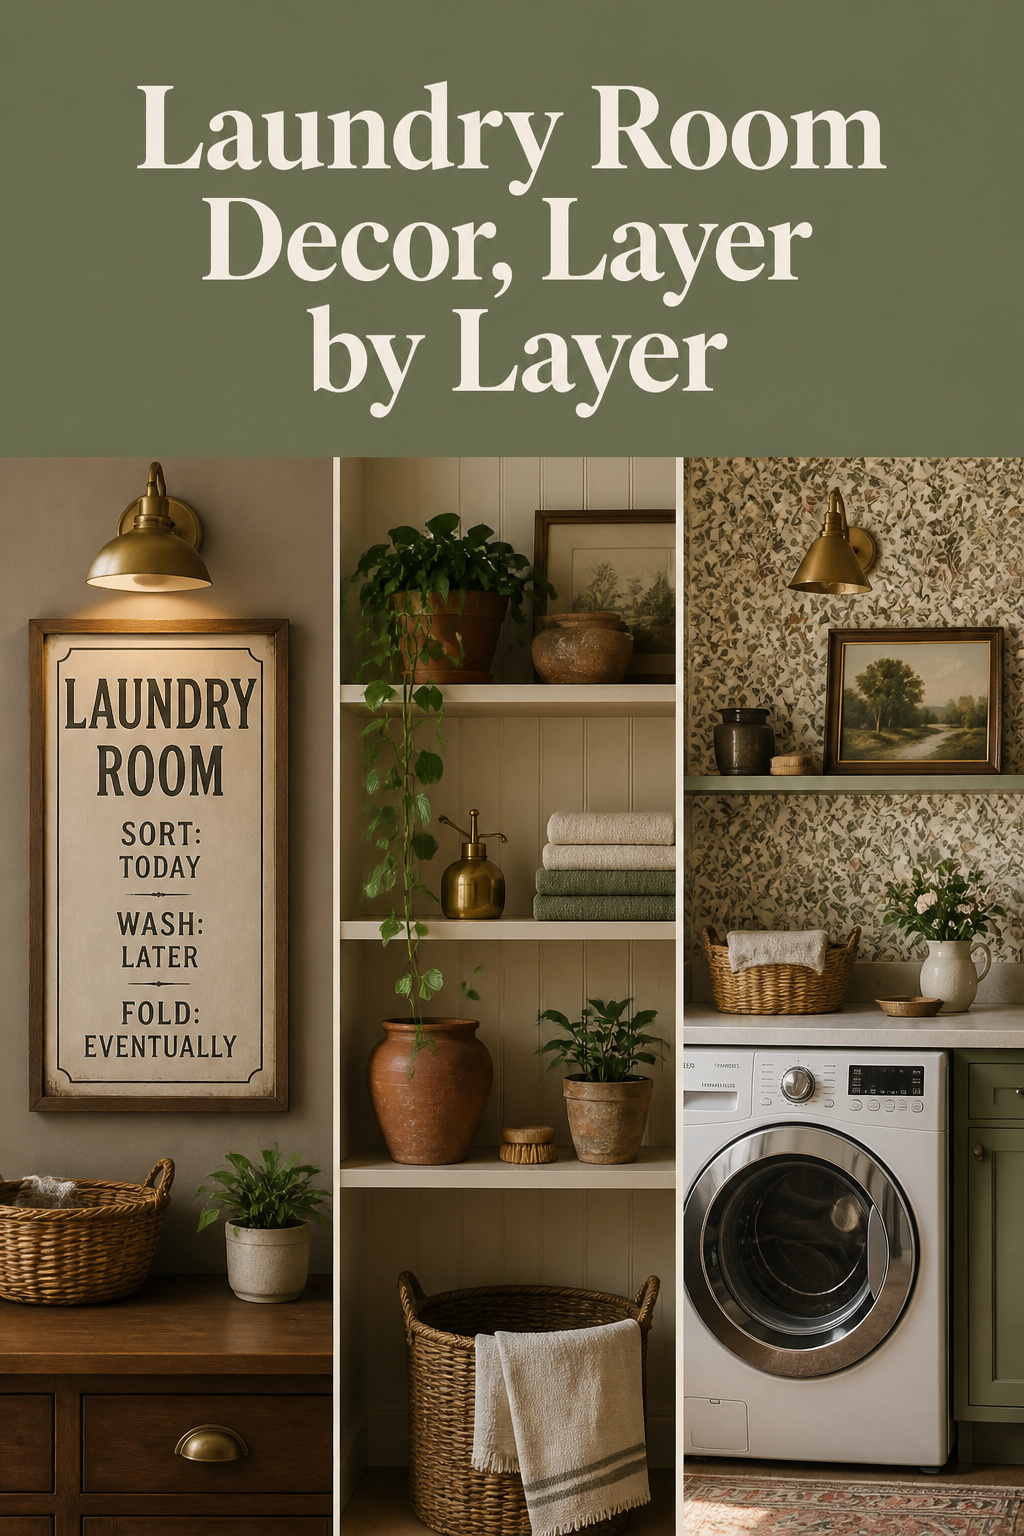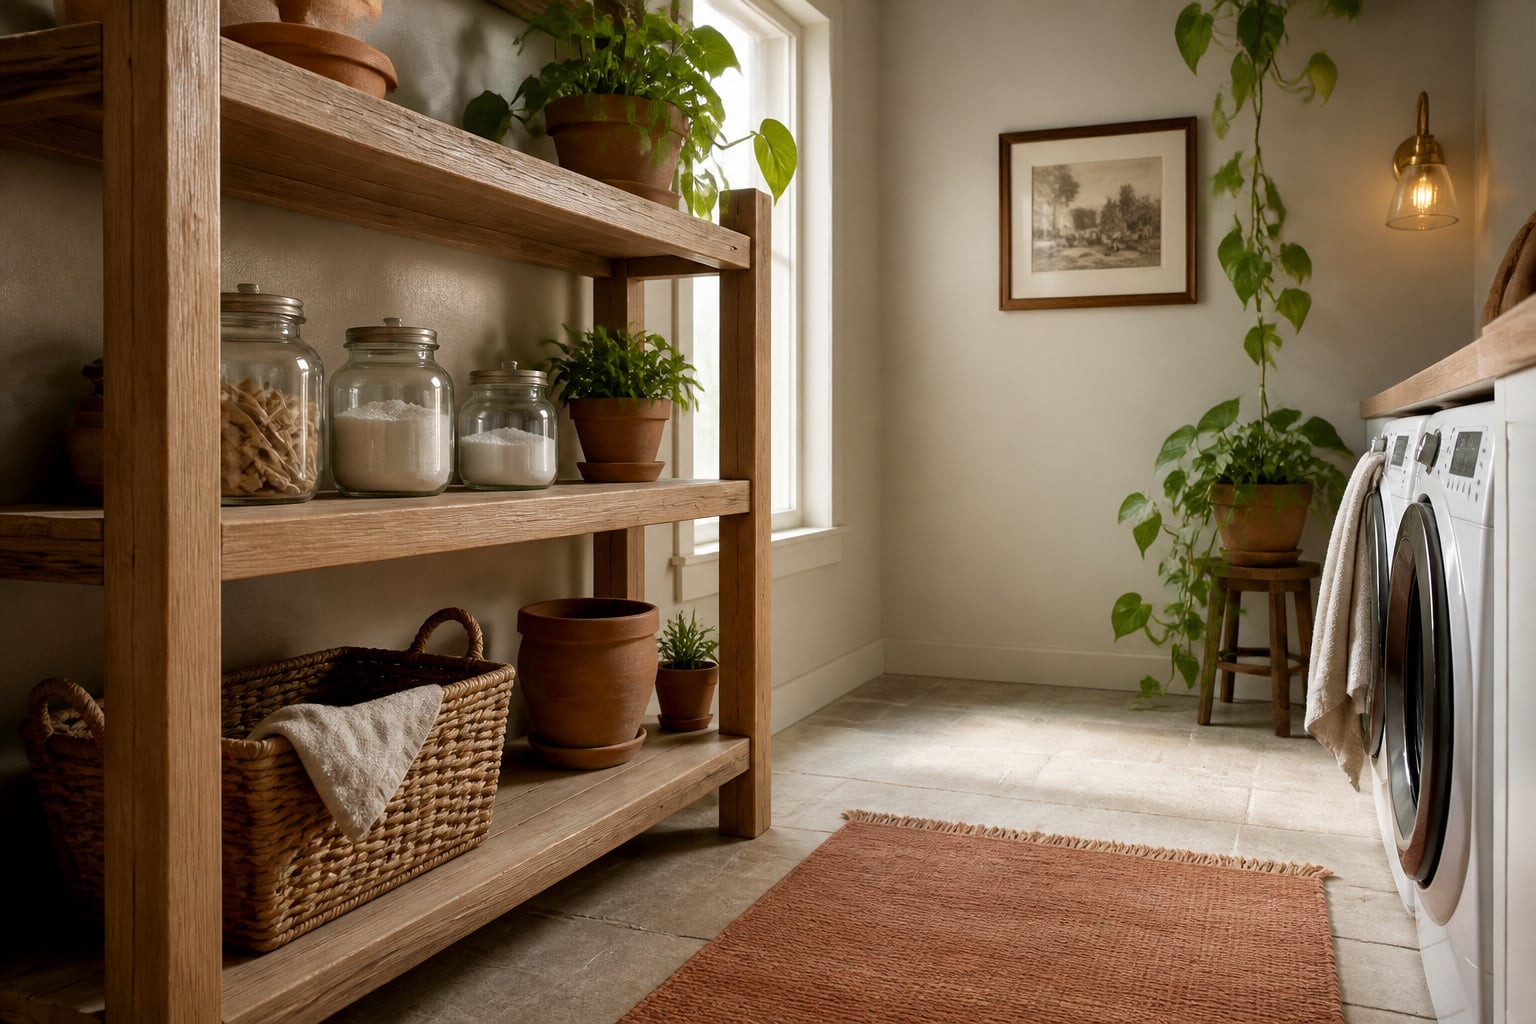
You have thirty-odd laundry rooms saved to a Pinterest board and one real laundry room that still looks like a utility closet. That gap is the whole problem with laundry room art and decor: not a shortage of ideas, but too many of them, with no order to put them in. Art, plants, wallpaper, a styled shelf, a rug — each one works on its own, and pinned together they turn into noise. A cleaning-industry survey found that about a third of people think decorative jars and containers would make their laundry space nicer, while only around one in eight has actually put them there. The distance between those two numbers is where most people get stuck.
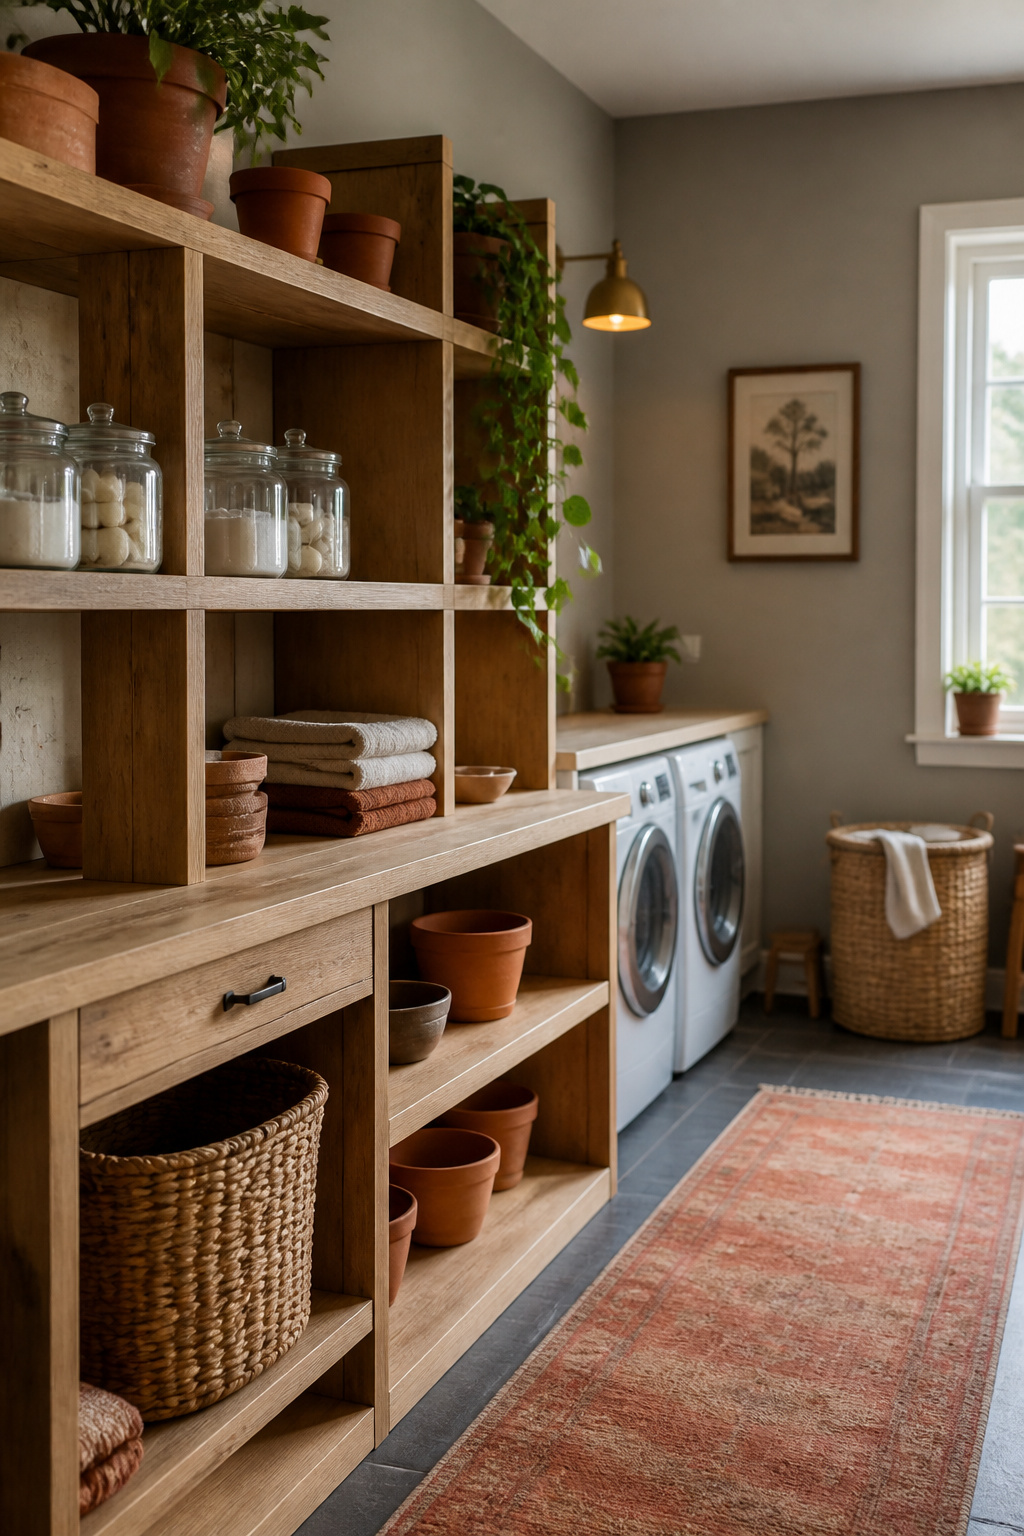
This guide closes that gap by treating the room as four layers instead of forty pins: walls, surfaces, greenery and textiles. Handle them one at a time, in the right order, on a real budget, and a utility room becomes a decorated one without a renovation. I will survey all seven moves here and hand you off to the deep dive on each, so you can start this weekend with the one that changes the most.
The System Behind Laundry Room Art and Decor
Decorating a room is four decisions, not forty. Once you sort every pin you have saved into four buckets, the scattershot feeling goes away, because you stop choosing between a rug and a plant and a print — they live in different layers and never compete for the same spot.
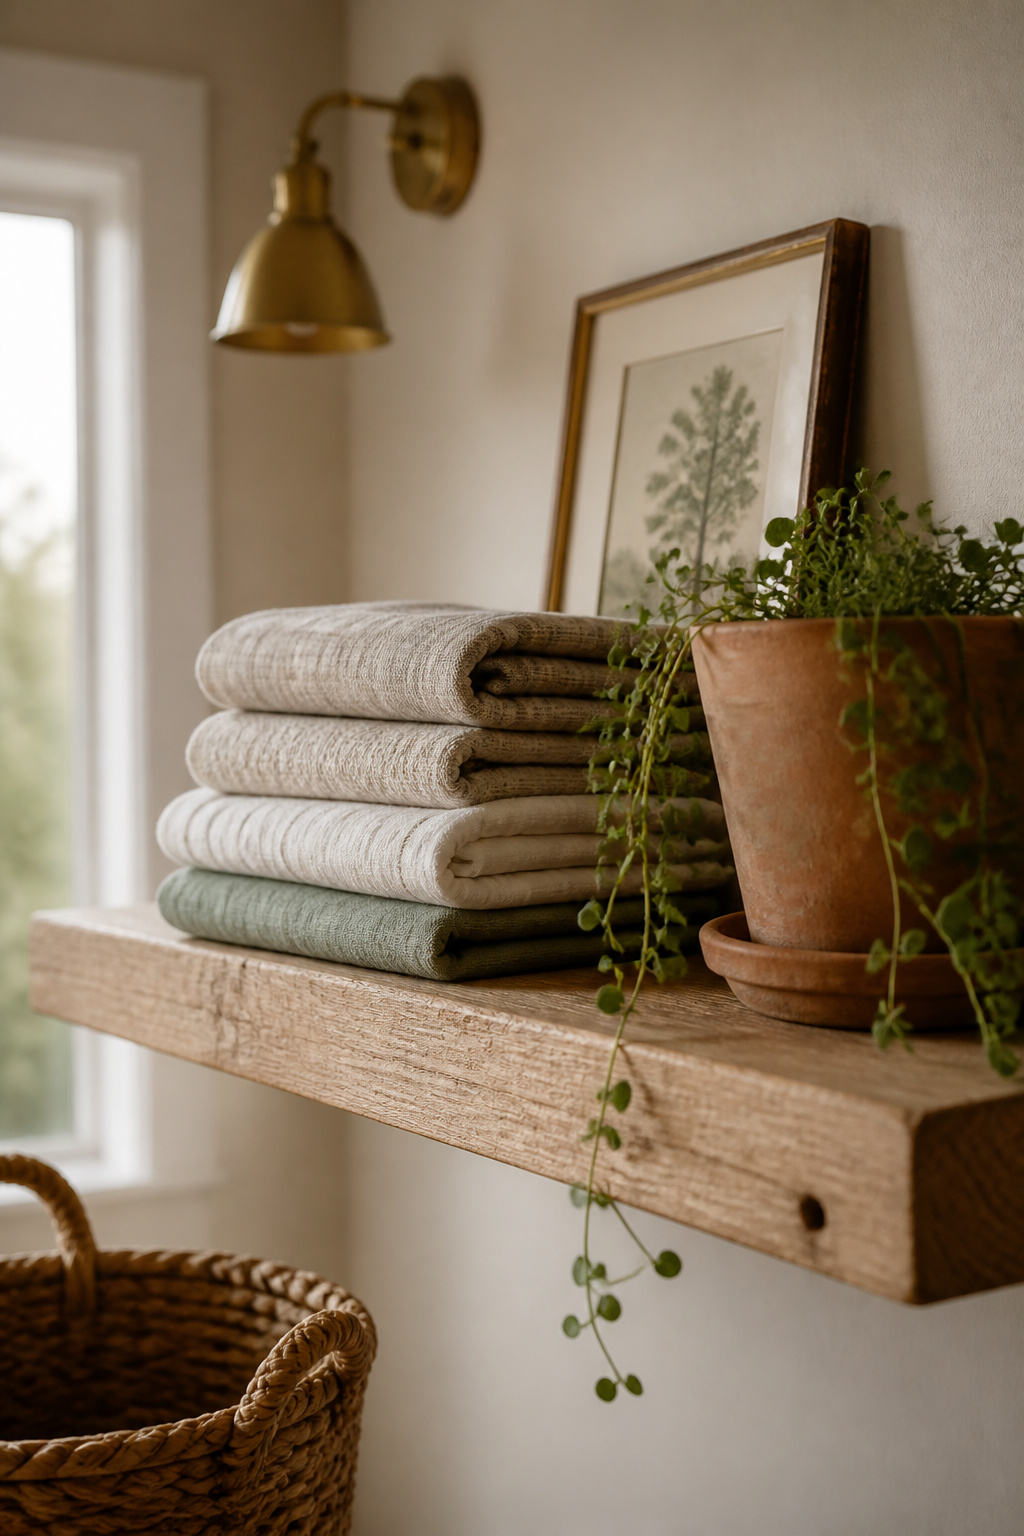
The four layers: walls, surfaces, greenery, textiles
The four layers are the walls, the surfaces, the greenery and the textiles. Walls are everything you hang or apply: art, signs, paint, wallpaper. Surfaces are what sits on your shelves and counter — jars, baskets, the styled vignette. Greenery is the single living thing that softens all the hard machine surfaces. Textiles are the floor and fabric layer: the runner, the curtain, the hand towels.
The point of splitting them out is that you never need a whole-room plan before you start. Each layer is a self-contained job you can finish in a weekend and each one maps to its own detailed guide in this silo. Pick the layer that bugs you most and begin there.
Why most laundry rooms stay purely functional
Here is my read on why the room stays plain, after years of walking into other people’s laundry closets. The laundry room has one job everyone agrees on — move water, dry clothes, do it fast — and that efficiency becomes an excuse to skip everything else. It is the last room in the house anyone decorates, because it is the one room you are trying to leave. So it defaults to the safest, most undecorated version of itself: builder-white walls, a wire shelf, a jug of detergent with a bright label.
That is a habit, though, not a rule. The room has a wall, a surface, a spot of light and a floor, same as any other. It just never gets the attention because nobody counts it as a room that “should” look good. Decide that it does, and the rest of this guide is a menu.
What this guide covers and how to use it
The seven moves ahead are wall art, plants, an accent wall, a farmhouse style lens, small-and-rental tactics, shelf styling and textiles. Each gets an overview here and a dedicated article for the full instructions, costs and product specifics — because how to decorate a laundry room properly is more detail than one page can carry. Read the sections in any order; they orbit the four-layer system rather than building on each other. The exception is the last section, where I put them in the sequence I would actually buy them.
Laundry Room Wall Art and Signs That Set the Tone
What earns wall space in a room this small and this damp? The wall is the fastest, cheapest layer to change, so it is worth getting right before you spend anywhere else.
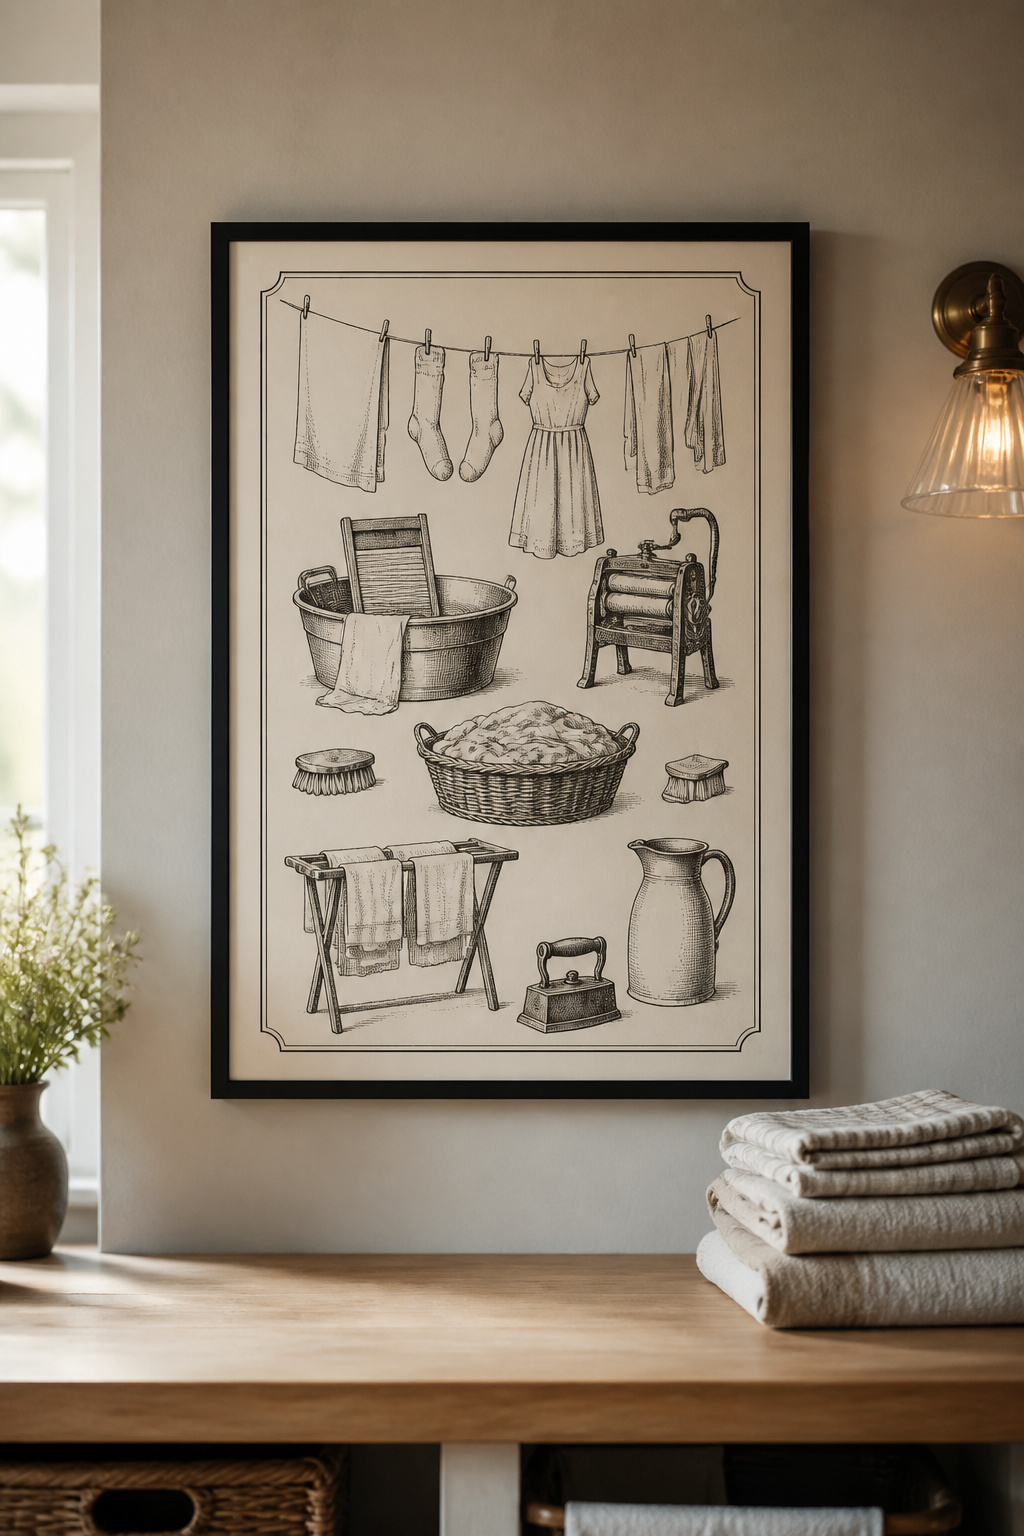
Sign styles at a glance (vintage, typographic, cheeky)
Three sign styles dominate the laundry aisle: vintage laundromat-style signage, clean typographic prints (“Wash Dry Fold Repeat”), and cheeky one-liners. Vintage and enamelware-style pieces in particular read as a farmhouse signal more than a general laundry one, so pick your style with the whole room in mind, not just the wall. A washboard or an old enamel sign can do real wall work, not just fill a gap.
Single anchor piece vs a small gallery
The first real decision is one big piece or several small ones. A single large-scale piece gives the eye one focal point, feels calm, and removes every spacing decision you would otherwise agonize over — which is why it suits a small or busy room. A gallery wall looks collected and layered, but it demands precise spacing or it just clutters a room that is already tight.
| Wall approach | Best when | The catch |
|---|---|---|
| Single anchor piece | the room is small or busy and you want one calm focal point | scale it large enough to hold the wall on its own |
| Small gallery, 3–5 frames | you want a collected, layered look | keep 2–3 inches between frames or it looks like clutter |
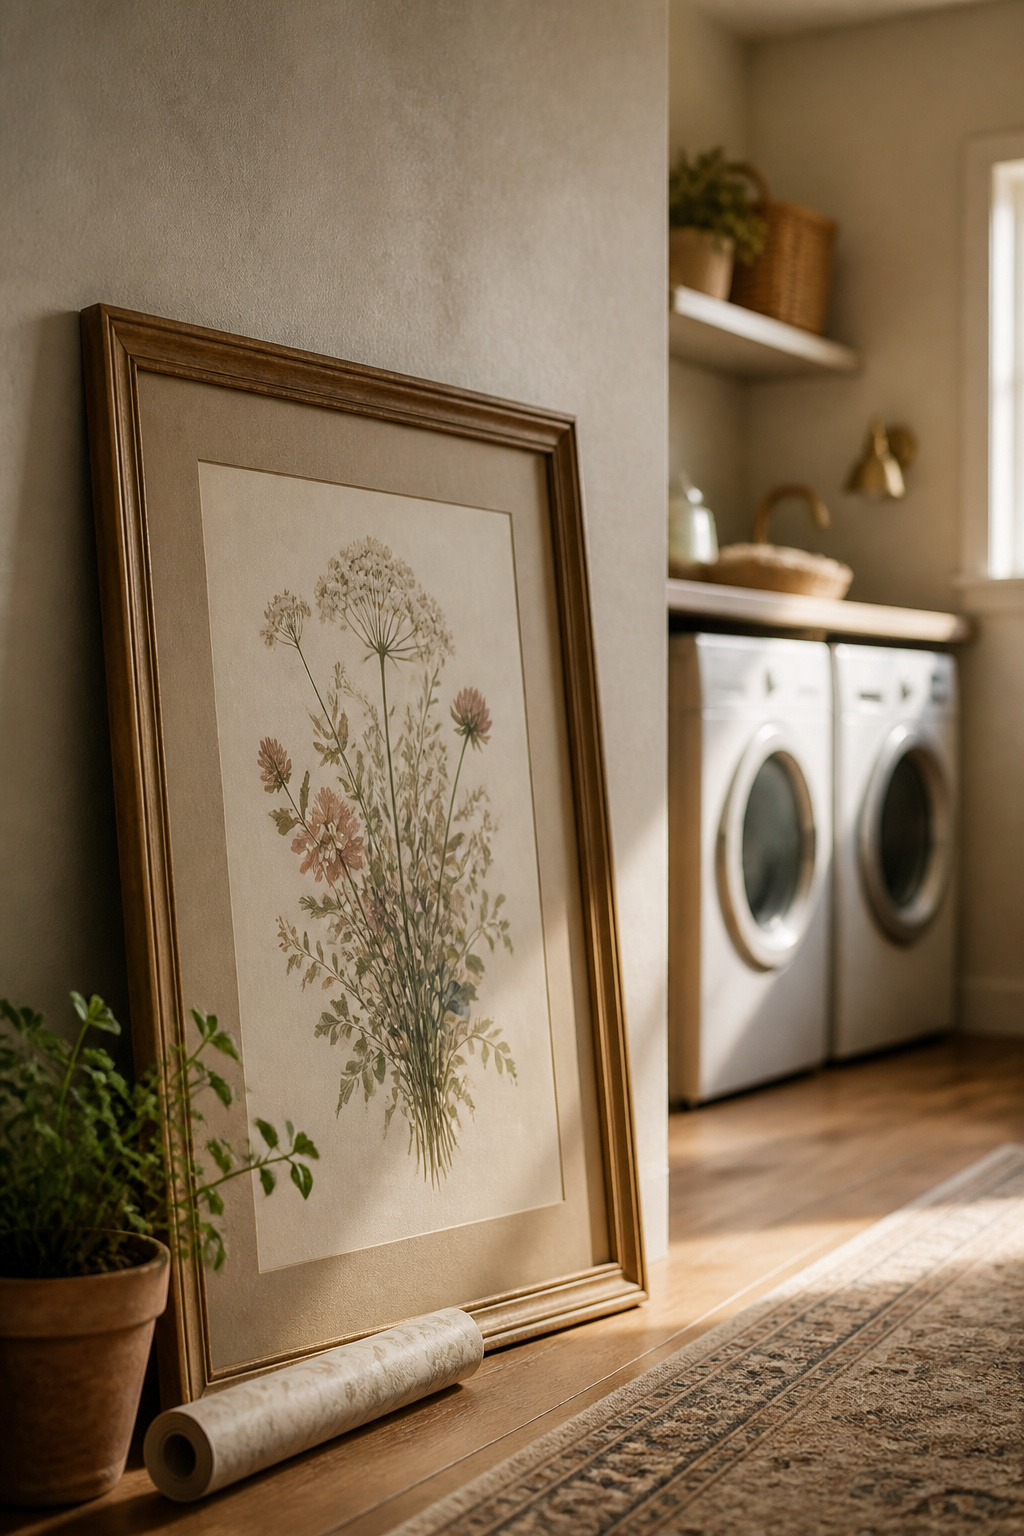
Either way, hang the bottom edge six to ten inches above the folding counter or shelf, so the art and the surface read as one group instead of two.
Framing for humidity
The frame matters more than most people expect near a running washer. Aluminum frames resist the warping that swells wood frames in a humid room, and acrylic glazing shrugs off moisture better than glass. Keep any framed piece off the wall directly above the machines, where steam and drips concentrate. That is the short version; the full sign-and-gallery playbook — styles, free printables, exact hanging math — lives in Marcus Thompson’s guide to laundry room wall art and signs.
The Best Plants for a Laundry Room’s Light and Humidity
Picture one trailing pothos spilling off the end of a shelf above the dryer. In a room built entirely from tile, enamel and flat grey metal, that single green thing does more softening than a whole cart of accessories. The catch is that a laundry room is a genuinely hard place to keep a plant alive.
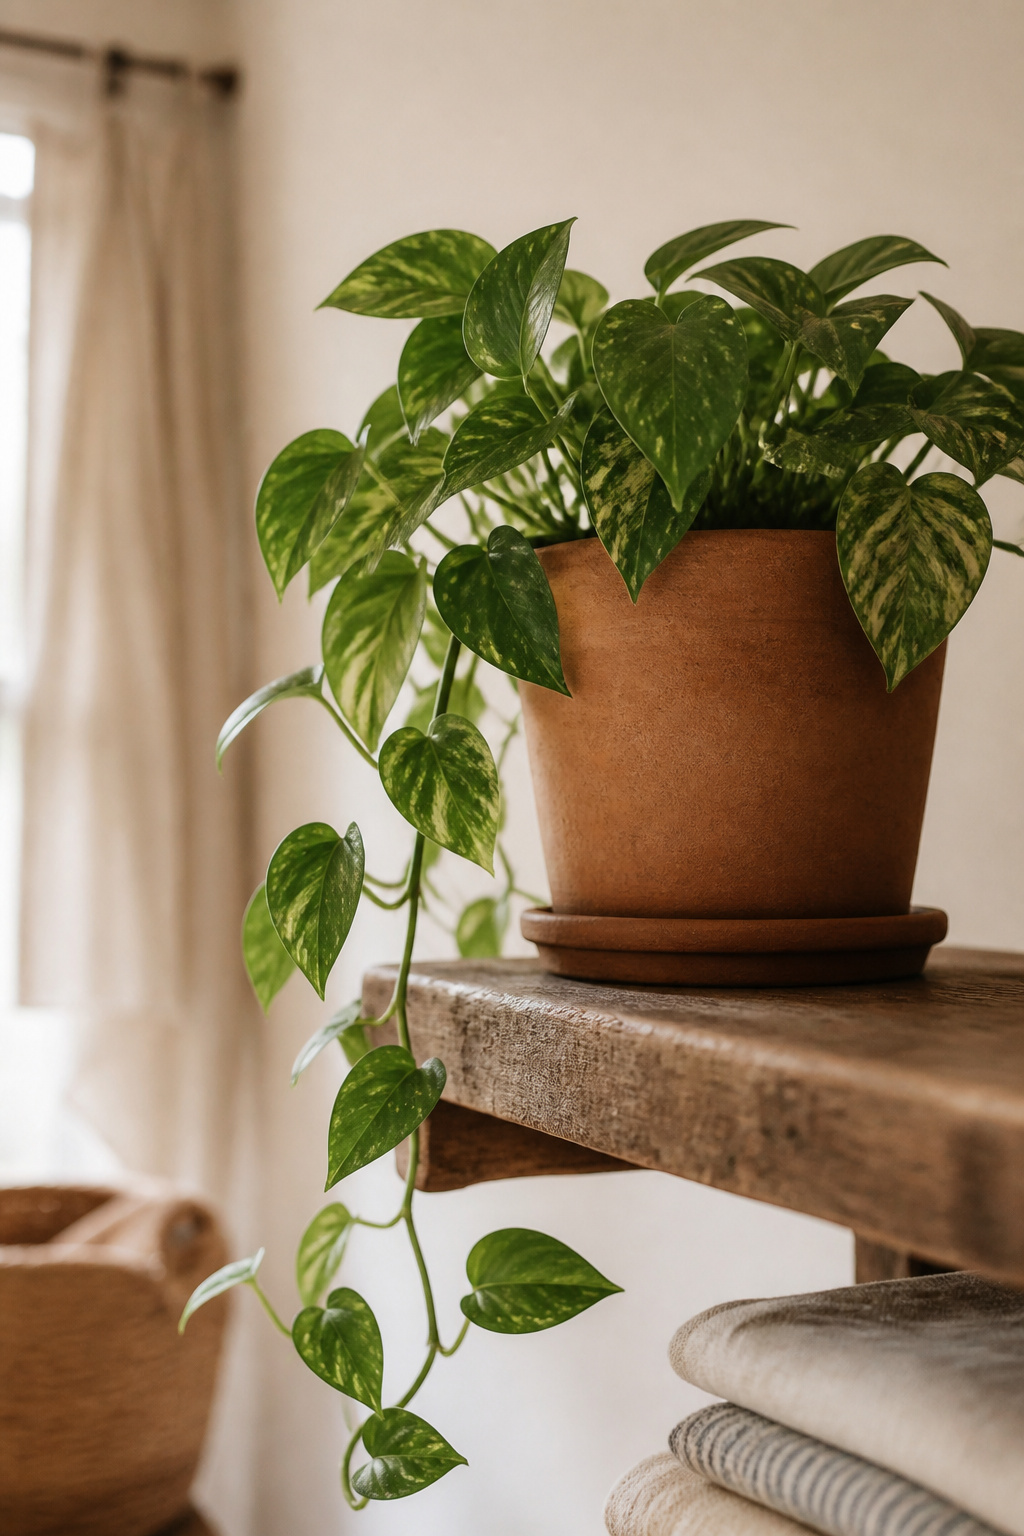
What actually survives low light and humidity swings
The realistic list is short. Snake plant, pothos, ZZ plant and peace lily all tolerate low artificial light and want watering only every one to three weeks. Their humidity preferences differ, though, and that is what should drive your pick: a snake plant likes drier air around 30 to 50 percent, pothos is happiest at 50 to 70 percent, and a ZZ plant sits in the middle and tolerates a wide swing on either side. That tolerance is why the ZZ is the one plant that survives a windowless laundry with no direct light at all. Skip the Boston fern — it needs a sustained 80 percent humidity that a laundry room’s short spikes never deliver.
Where to place a plant for the light you have
Placement beats the plant choice. A trailing plant belongs up on a shelf where it can spill over the edge, not at floor level fighting the baskets. Anything that wants real light goes on the counter beside the window — not on a shelf across the room from it. Most laundry rooms have exactly one light source, so you place the plant to catch it rather than hoping it reaches.
One plant is enough to start
One well-placed plant does the work of several. It is the only organic texture in the room, so it stands out regardless — a second plant is a refinement, not a requirement for the first pass. Which species suits your exact light and humidity is worth its own answer, and Aisha Patel sorts the survivors from the sulkers in the full guide to the best plants for a laundry room.
A Peel-and-Stick Accent Wall for the Biggest Visual Change
For as little as $25 a roll, one wall does more than every other move on this list combined. If you change one thing in the room, change the wall behind the machines — it is the single biggest visual return you can buy.
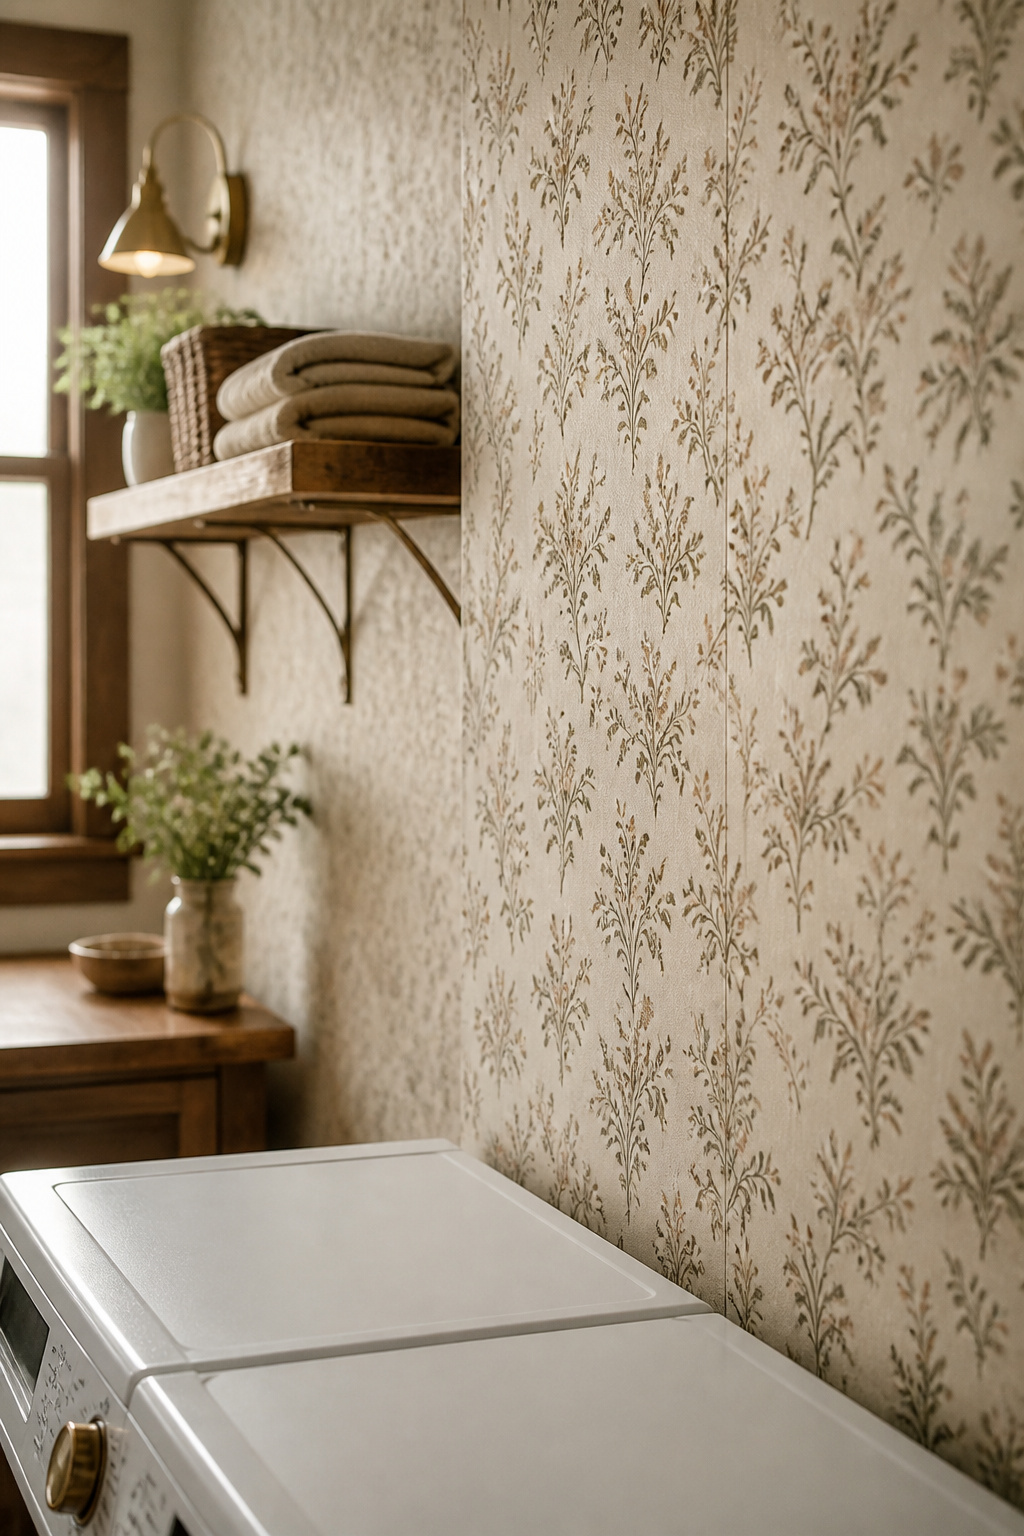
Why wallpaper beats paint for impact per dollar
Peel-and-stick wallpaper has a self-adhesive backing, needs no paste, and comes off cleanly, which makes it both a DIY job and a renter-safe one. One documented laundry-room refresh built entirely around a peel-and-stick accent wall came in at $100 for the whole room. Paint changes the color; a pattern changes the character, and it does it in an afternoon of hanging.
Pattern scale in a small room
The common worry — that a bold pattern overwhelms a small room — is mostly backwards. One or two full pattern repeats across a small wall make a confident statement without feeling fragmented. The better test is not room size but the fixtures: a motif should not fight the width of your shelf or the spacing of your cabinet fronts. Order a sample at least 12 inches square and tape it to the actual wall in the room’s real light before you commit to rolls.
What the project really costs and takes
Material runs $1 to $4 per square foot, with rolls starting around $25. A small accent wall, all in, typically lands at $200 to $400, and a professionally installed laundry job can reach $500. The prep and the pattern-matching are where the real time goes — the full cost-and-time breakdown, plus hanging around outlets and clean removal, is in the deep dive on peel-and-stick wallpaper for the laundry room.
Building a Farmhouse Laundry Look, Layer by Layer
Farmhouse is the most bought-as-a-kit look in the laundry aisle, and the kit is exactly the mistake. Here is the number that surprised me: in one analysis of thousands of laundry rooms, farmhouse showed up in only 4.67 percent of them, against roughly 33 percent traditional and 20 percent transitional. It is a genuinely uncommon, committed choice — which is part of why a real one stands out.
What actually reads as farmhouse (not a matched kit)
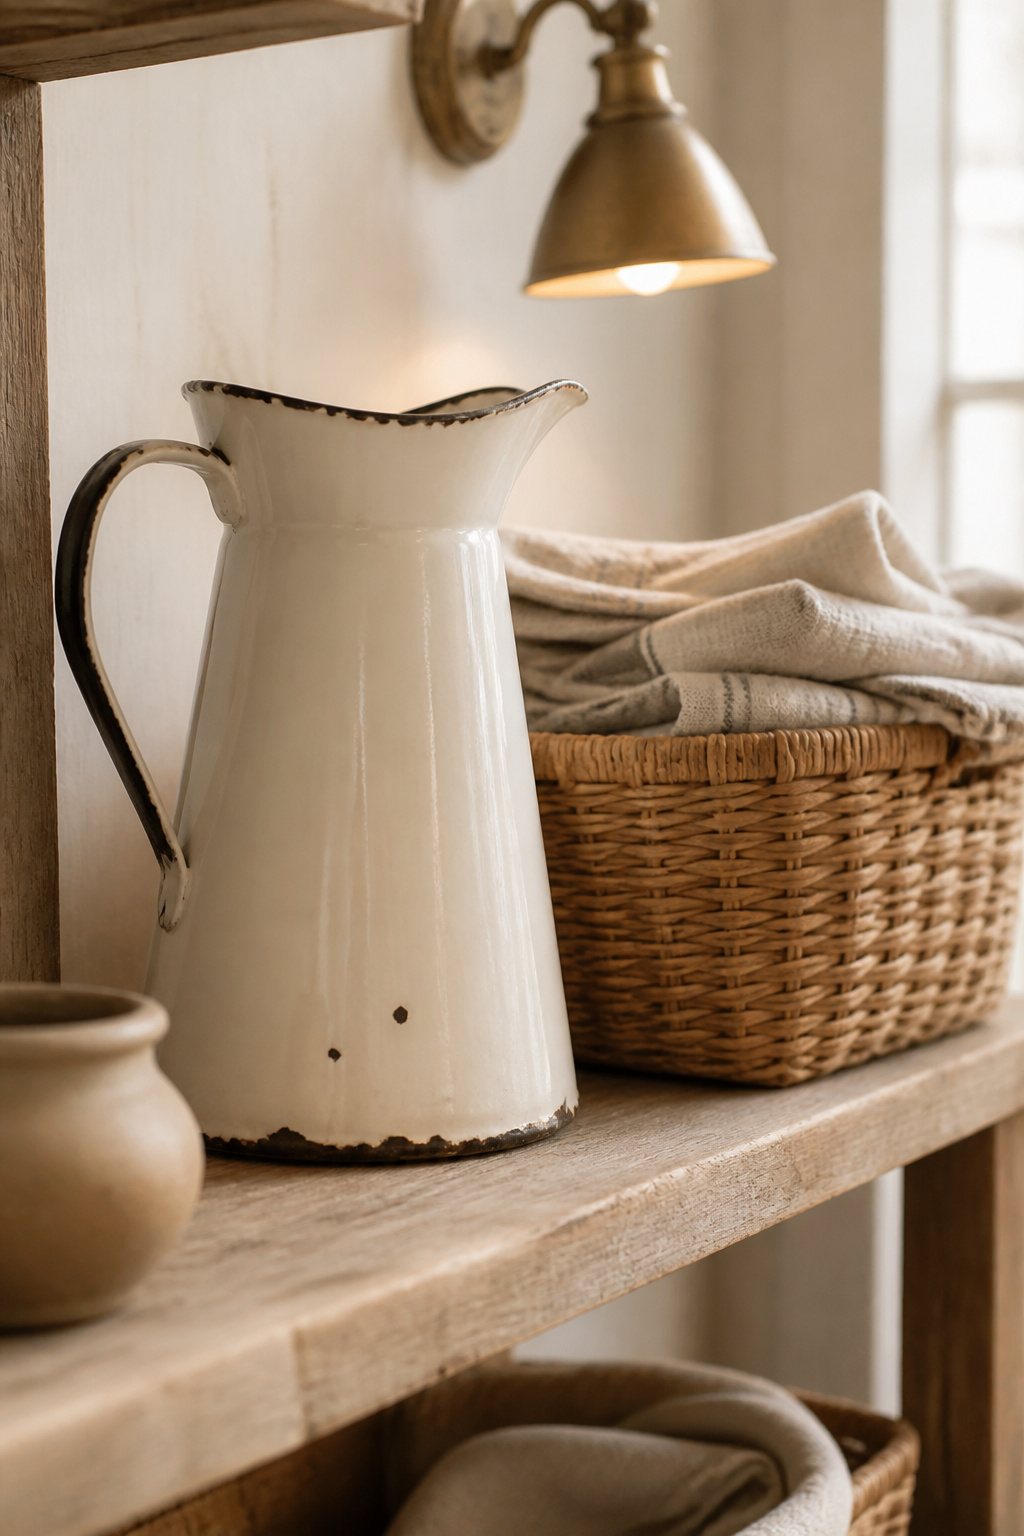
The look is a material vocabulary, not a descriptor: worn wood, woven and wire baskets, enamelware and stoneware, vintage-style signage. Enamelware washboards, galvanized buckets and antique jars for detergent bring in the vintage-era touches that read as collected rather than ordered in one cart. A vintage washboard can even serve as wall art in its own right. The whole point is that the pieces look gathered over years, not delivered together.
The three pieces to buy first
Baskets come first. Woven rattan or wire baskets do storage and styling at once, which is why they are the element to add before anything decorative. Fill wire baskets with wool dryer balls, hand towels and scrub brushes in glass jars and you have turned functional supplies into the styling itself, without buying a single purely ornamental object.
Where the look shows up in the room
Open shelving is where the farmhouse look actually lives — it swaps bulky cabinet doors for visible baskets, jars and folded textiles. Add a plush rug underfoot and a bit of greenery, and you get the lived-in feel that separates real farmhouse from a retail set. The full style build — wood tones that survive damp, where to thrift, the whole sequence — is in the guide to a farmhouse laundry room look.
Decorating a Small or Rental Laundry Room Without Damage
Small rooms punish excess. The tighter and less-yours the space, the more decorating becomes a subtraction problem — fewer objects, and none of them drilled into a wall you will have to answer for at move-out.
The restraint rule for tiny spaces
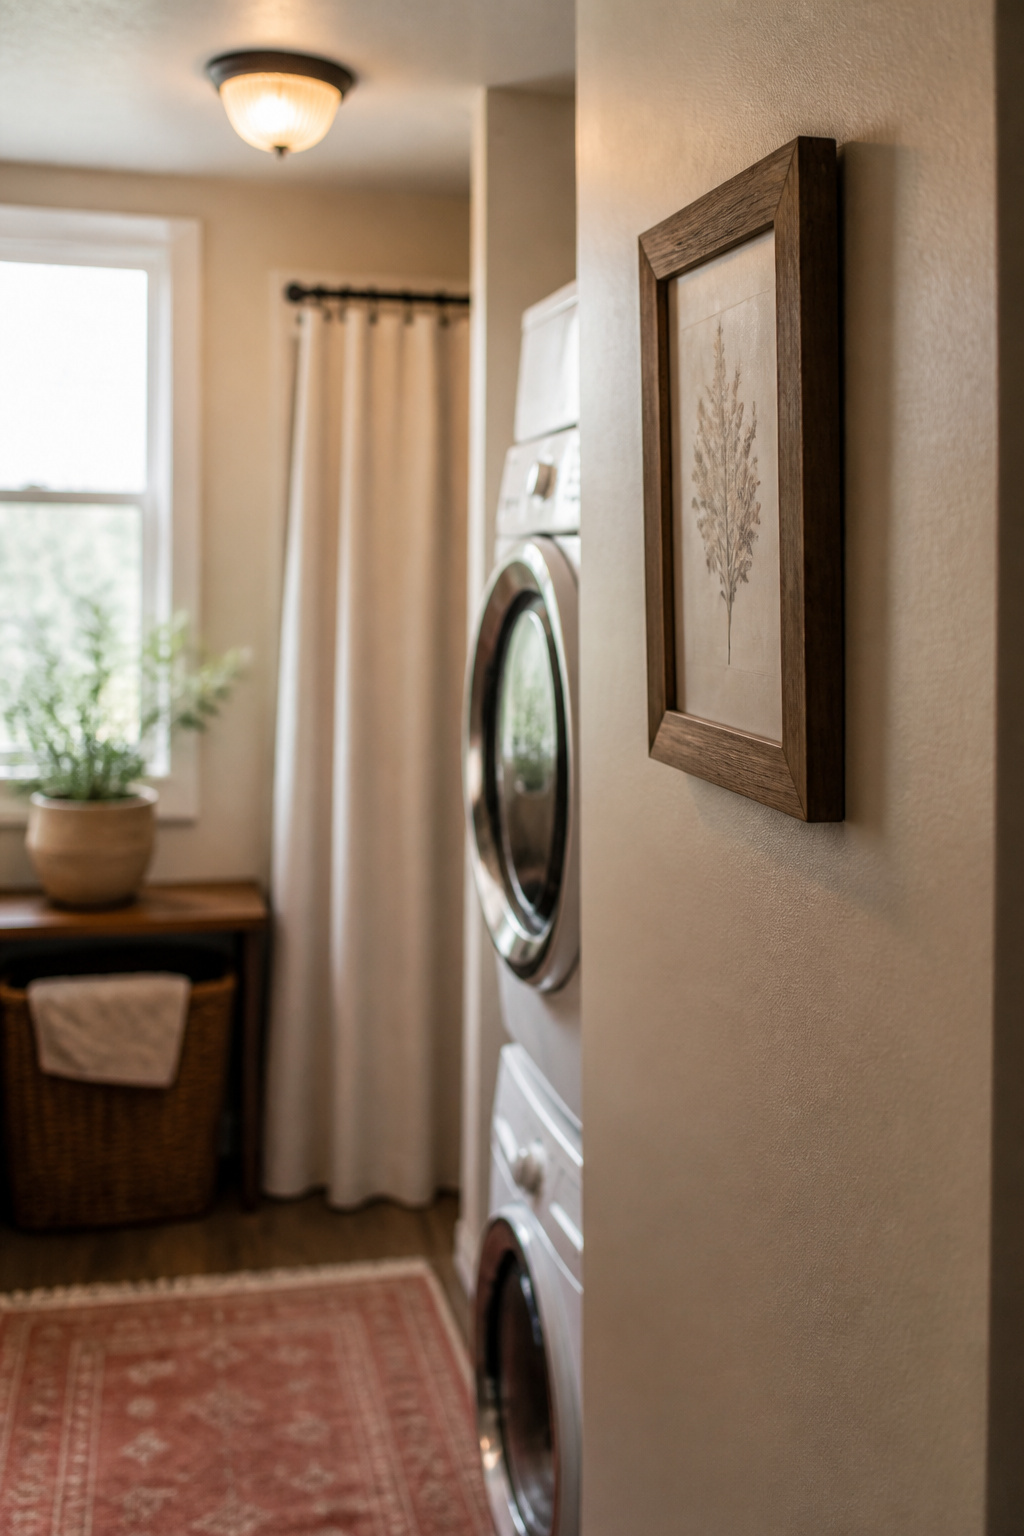
Work vertically and keep the floor and counter clear; in a small room, one thoughtful change usually shifts the whole space more than five would. The instinct to fill a small room is the thing to fight. Empty space around one object is what makes it read as chosen instead of forgotten.
Damage-free hanging and wall changes
The hardware has honest limits, and knowing them saves a fallen frame. A full four-strip set of Command picture-hanging strips holds up to 16 pounds — but the strips are explicitly not rated for load-bearing shelves, so anything that carries real weight needs anchors or brackets into studs. A no-drill tension rod carries roughly 5 to 20 pounds, up to 26 for a heavy-duty version, which is plenty for a lightweight curtain and nothing more. And peel-and-stick wallpaper, from the section above, is the standard renter-safe way to change a wall’s pattern without touching the paint underneath.
One plant, one piece of art, one rug
My rule of thumb for a tiny laundry: one plant, one piece of art, one rug. Not a set of each — one of each, with space around them. That restraint is a judgment call, not a law, but it is the difference between a small room that looks considered and one that looks crammed. The renter-specific tactics — contact-paper machine updates, exact weight limits, a sub-$100 first pass — are all in small and rental laundry room decor.
Styling Open Shelves Into a Real Vignette
Why does one open shelf look styled while the identical shelf next door looks like a mess? Same wood, same width — the difference is entirely in how the objects are arranged, and that is a technique you can learn.
The rule of three
The workhorse rule is the rule of three. Divide a shelf into three sections and mix heights within each, and the arrangement stops looking like a row of supplies. It is the same rule-of-thirds logic stylists use on any surface, scaled down to a single narrow shelf.
Decanting into containers worth displaying
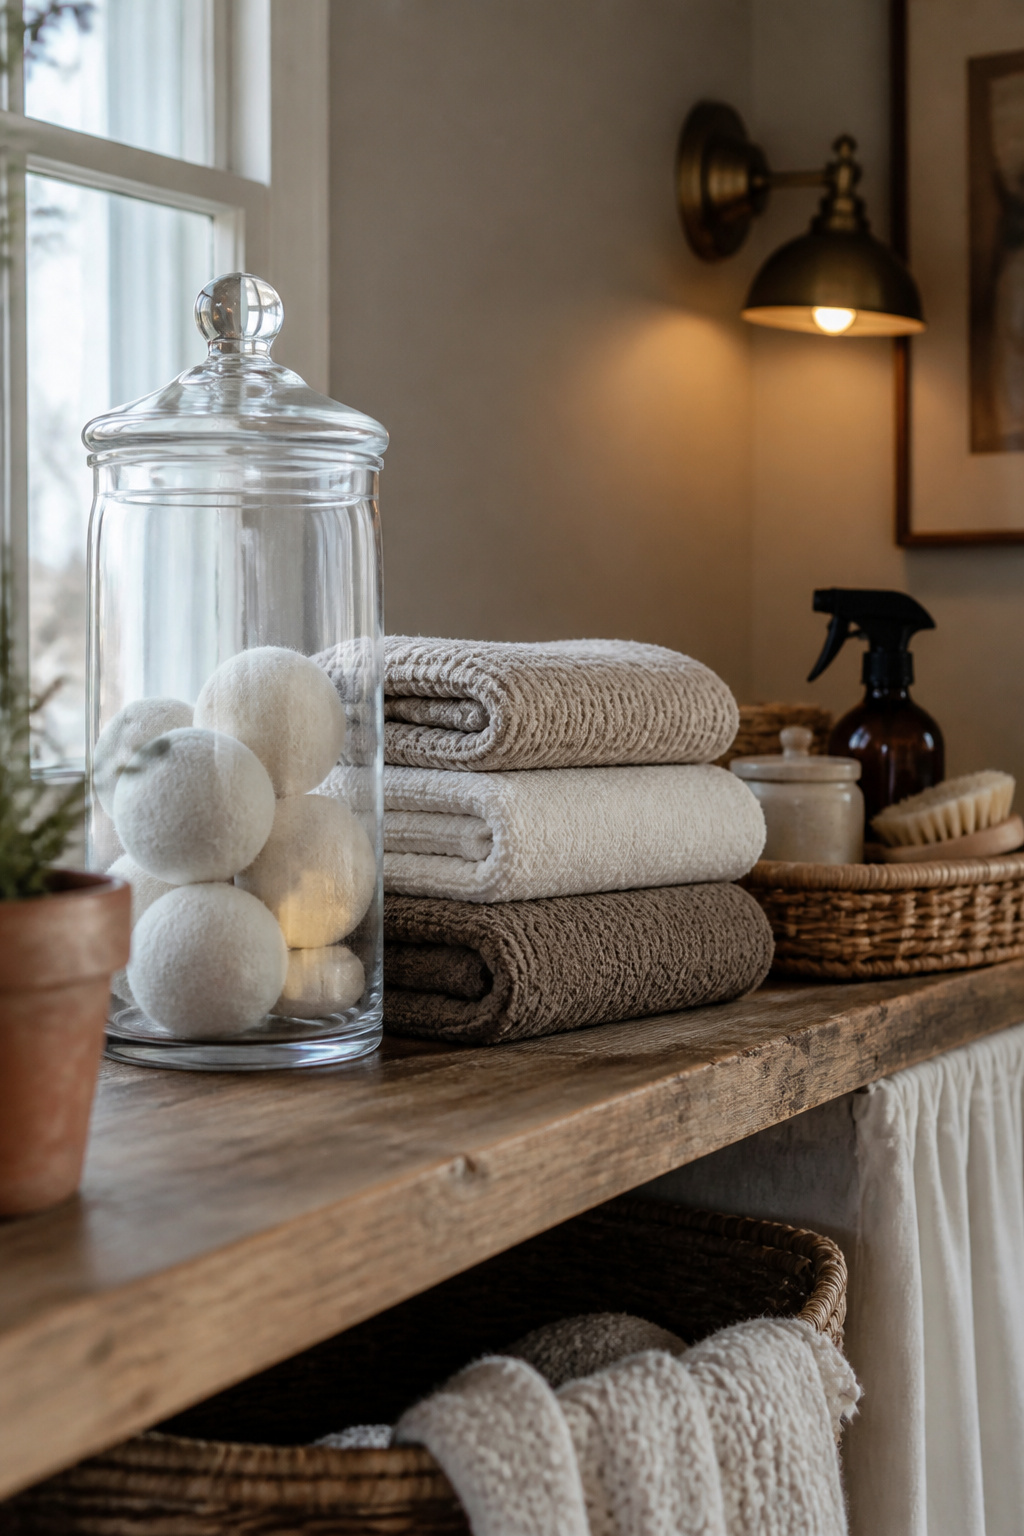
Decanting supplies into matched glass jars is what turns a stocked shelf into a styled one — but only for the safe stuff. Keep hazardous cleaning products in their original labeled packaging; decanting liquid detergent or pods into a pretty unlabeled jar is a real poisoning risk, so limit the pretty jars to dryer balls, clothespins and dry linens. Style the safe supplies, store the dangerous ones.
Mixing heights and textures
Build a triangle: one tall item like a jar or vase, one mid-height stack of folded textiles, one low wide thing like a tray or basket. A tray under a cluster of jars corrals the small stuff and makes the whole group look placed rather than left there. The full styling craft — the ratios, the exact tray size, what to cut — is Marcus Thompson’s in the guide to styling open laundry shelves.
Rugs and Textiles That Soften a Hard-Working Room
Jute looks right in the photo and rots in the room. The textile layer is the one where the wrong material choice actually fails, because the laundry floor gets heat, damp and detergent that most rooms never throw at a rug.
Materials that survive detergent and damp
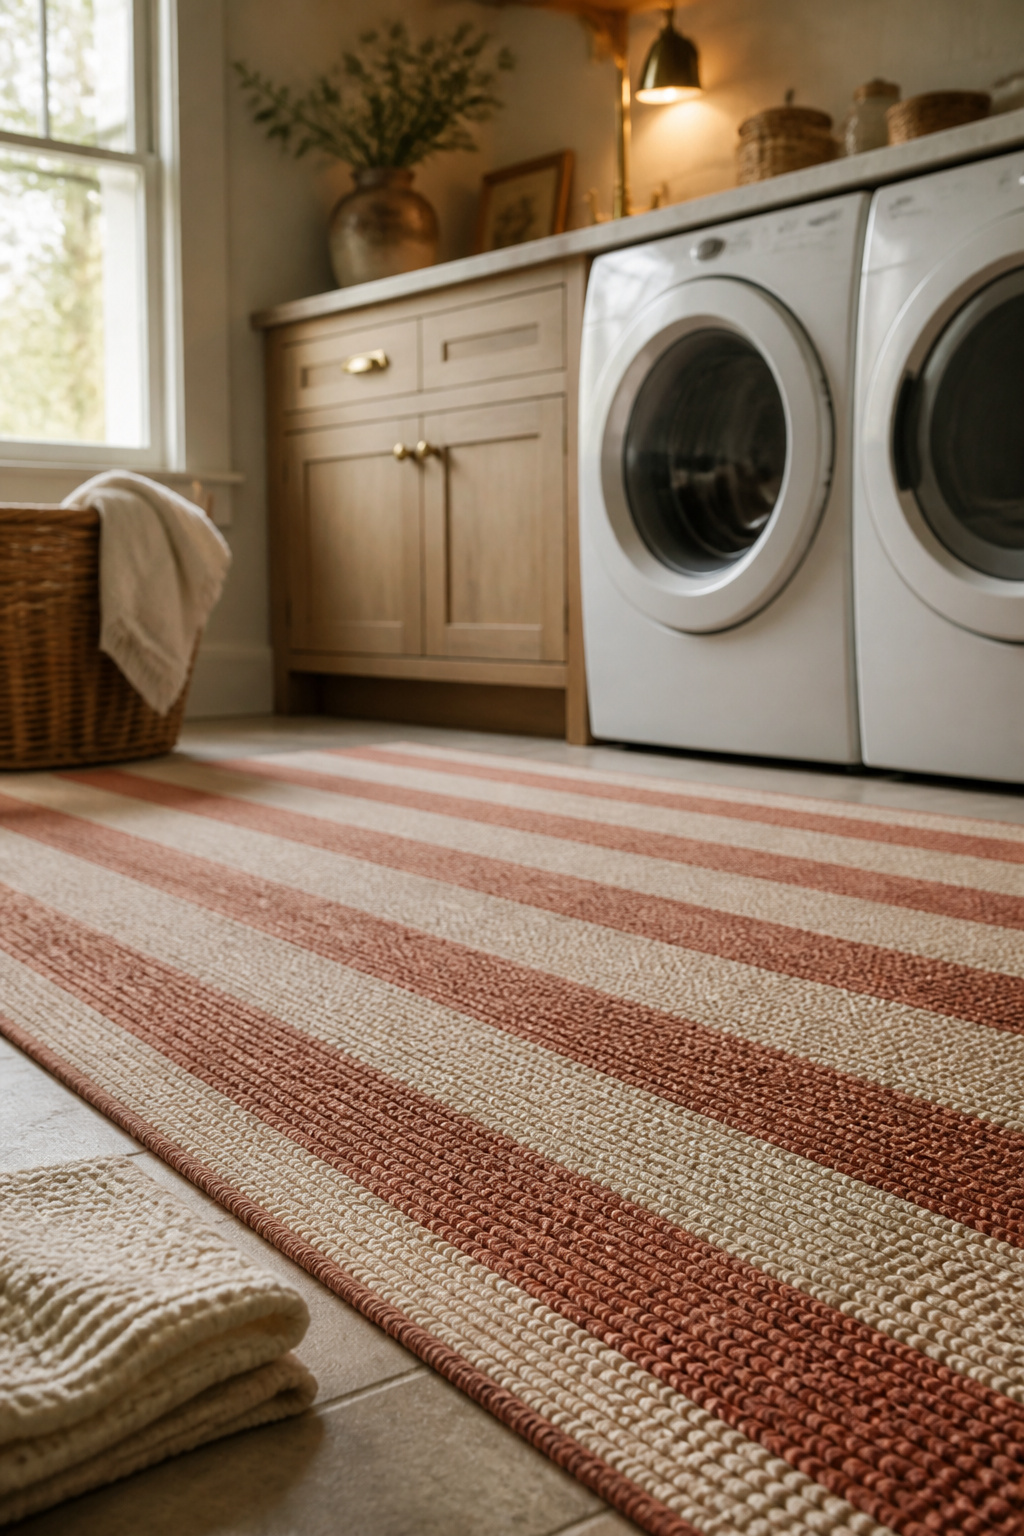
Low-pile synthetics — polypropylene or polysilk — and flatweave or indoor-outdoor constructions are the reliable picks: water-friendly, stain-resistant, and fast to dry. Genuine jute is the trap. It swells with moisture and turns prone to mold above about 50 percent sustained humidity, so a jute-look polypropylene gives you the same texture without the rot. Skip 100 percent cotton on the floor too — it soaks up water instead of shedding it.
Sizing a runner to the space
Size a runner the way you would a hallway one: leave roughly 4 to 8 inches of bare floor on each side, about a 6-inch reveal at each end, and a small gap at any door threshold. A runner run edge-to-edge looks like wall-to-wall carpet, not a placed rug — the floor reveal is what makes it look deliberate.
Curtains and towels as the finishing layer
Curtains and hand towels are the last touch, and machine-washable versions have an obvious advantage here: they go through the same cycle as everything else in the room. Hang a lightweight curtain over a window or open shelving on a no-drill tension rod. The full material breakdown, sizing and layering is in the guide to laundry room rugs and textiles.
How to Sequence Your Laundry Room Decorating Plan on a Budget
The best-looking thing I ever built cost $212. It was a kitchen island I made my sister out of stock lumber — plain pine, pocket screws, one weekend — and her family still calls it “the showroom one.” It did not look expensive because it was; it looked expensive because the one big move landed first and everything else deferred to it. A laundry room decorating plan works the same way. Spend the impact where it shows, then let the small stuff catch up.
The order that actually works (and why)
This is the sequence I would use, based on where the visible payoff sits rather than on any laundry-specific rulebook:
- Walls first. The wall is what you notice walking in, so the framed piece or the accent wall earns the early money.
- Surfaces next. Once the wall is set, style the shelf it backs — jars, baskets, the vignette.
- Greenery third. Add the one plant now that it has a styled surface to sit on.
- Textiles last. The runner, curtain and towels finish the room and are the easiest to swap.
Set aside 10 to 15 percent of your budget for the surprise second roll of wallpaper or the extra trip for hardware. Something always runs short, and the buffer keeps a short run from stalling the whole project.
Three mistakes that waste money
Three habits burn the most cash on a room this size:
- Decorating for a trend instead of what you actually like — trend pieces date fast and get replaced.
- Buying a pile of small cheap things, which quietly costs more than one well-chosen larger piece.
- Starting with no budget or plan at all, which is the root of nearly every overspend.
Your first move this weekend
So here is where to start. Do the wall layer first: either one framed piece — figure $20 to $60 for a print plus a moisture-safe frame — or a peel-and-stick accent wall at $100 to $400. It changes more of what you see first than any other single-weekend project, and it sets the direction the surfaces, greenery and textiles follow. Pick that one move, block out a Saturday, and the room stops being a utility closet and starts being a decorated one. The rest is just layers, added in order, whenever the next paycheck lands.