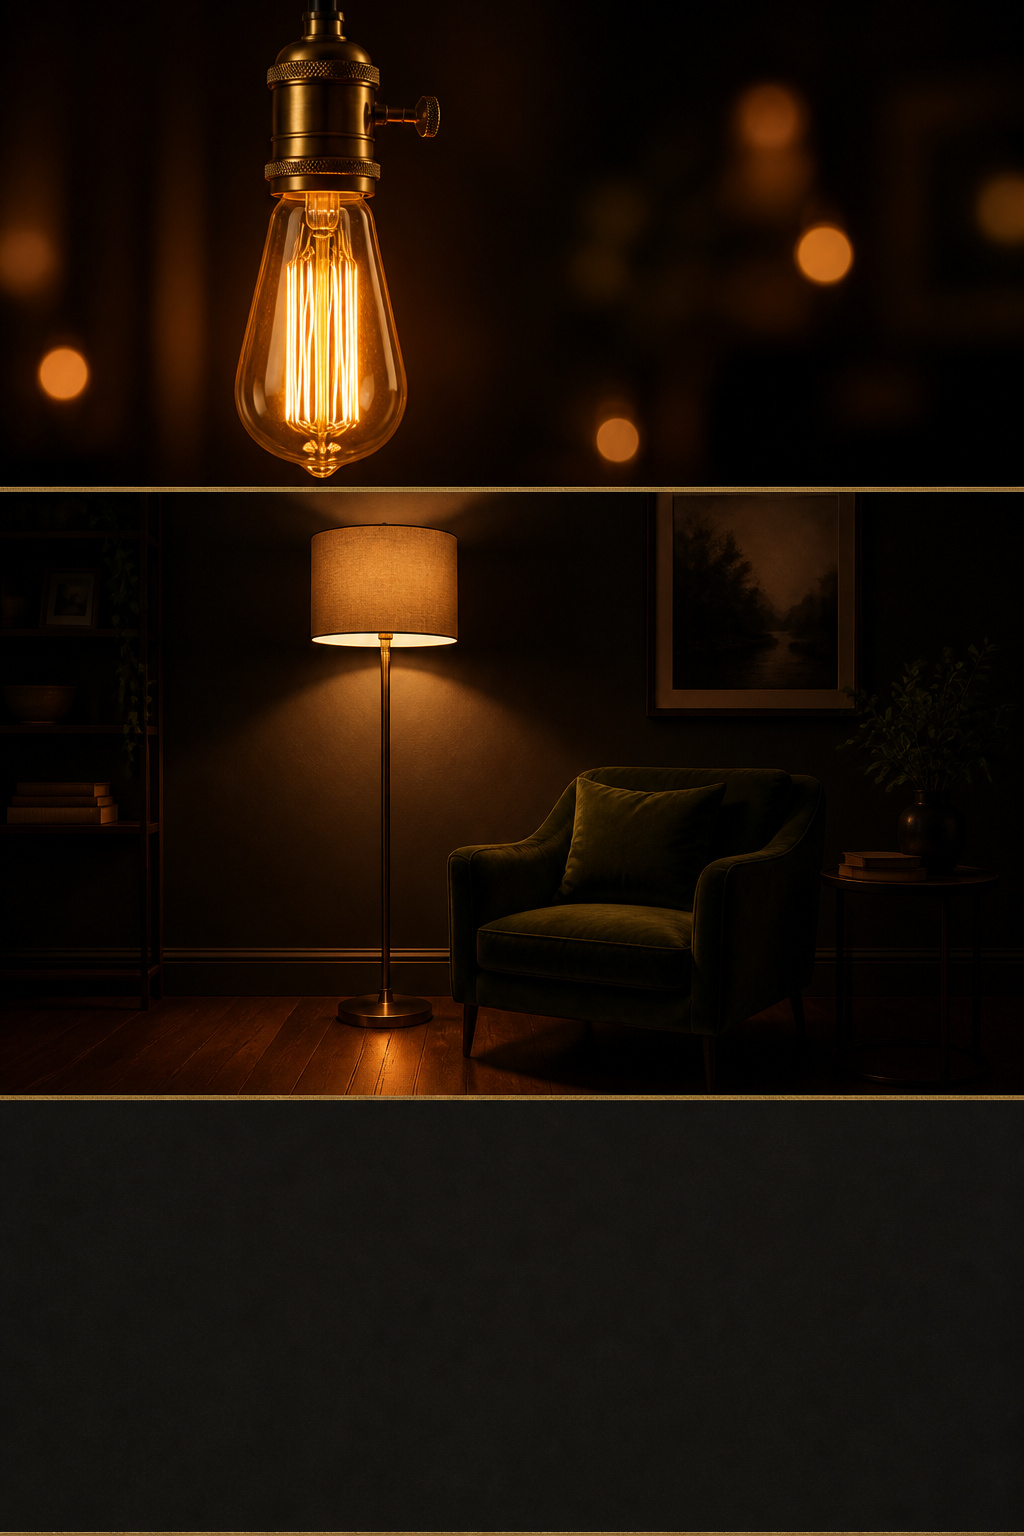
Turn off the big light, just for one evening, before you buy a single bulb. Switch off the ceiling fixture, click on one floor lamp in the corner, and sit down. The room you are now looking at — same walls, same sofa, same everything — is the room you actually wanted. That single experiment is the whole argument for moody living room lighting ideas, and most people never run it.
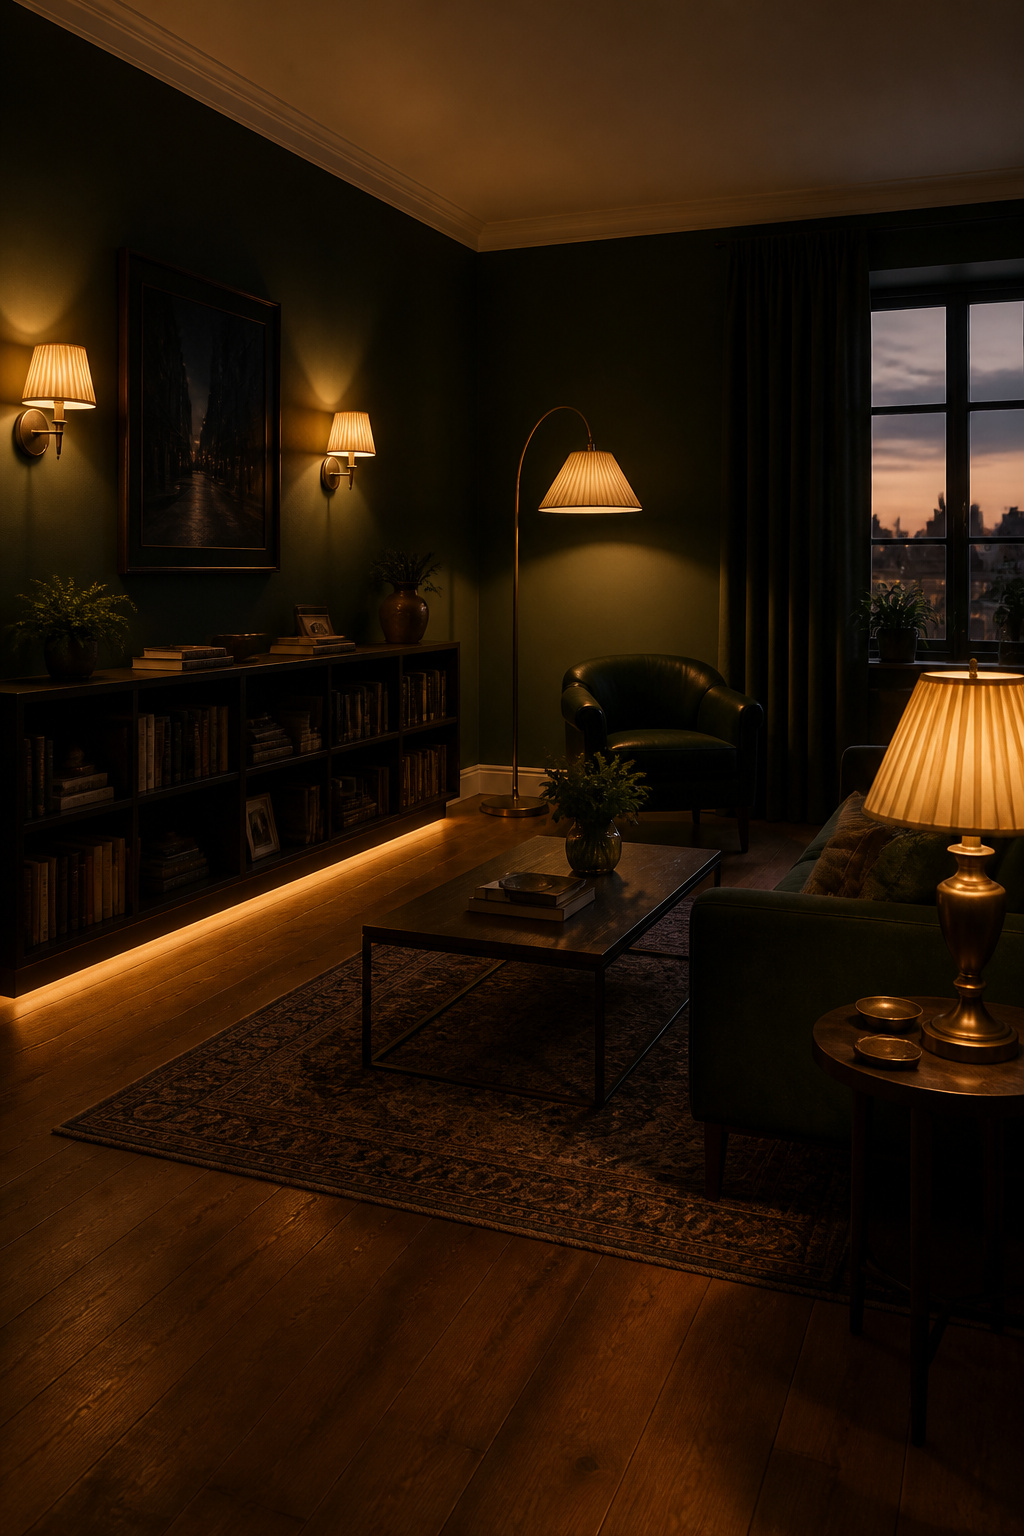
TL;DR
- The overhead light is the enemy, not the dark walls — replace it with several lower sources around the room’s edges, all on dimmers.
- Use warm-white bulbs at 2700K (or 2200K for the deepest amber), never above 3000K, and insist on CRI 90+ so dark greens and navies read true instead of muddy.
- Build it in layers: floor and table lamps for the ambient base, sconces and picture lights for focal warmth, hidden LED strips last for depth.
Why the Overhead Light Kills Moody Living Room Lighting
Here is the counterintuitive part: the thing wrecking your dark, atmospheric room is not the paint. It is the bright disc on the ceiling.
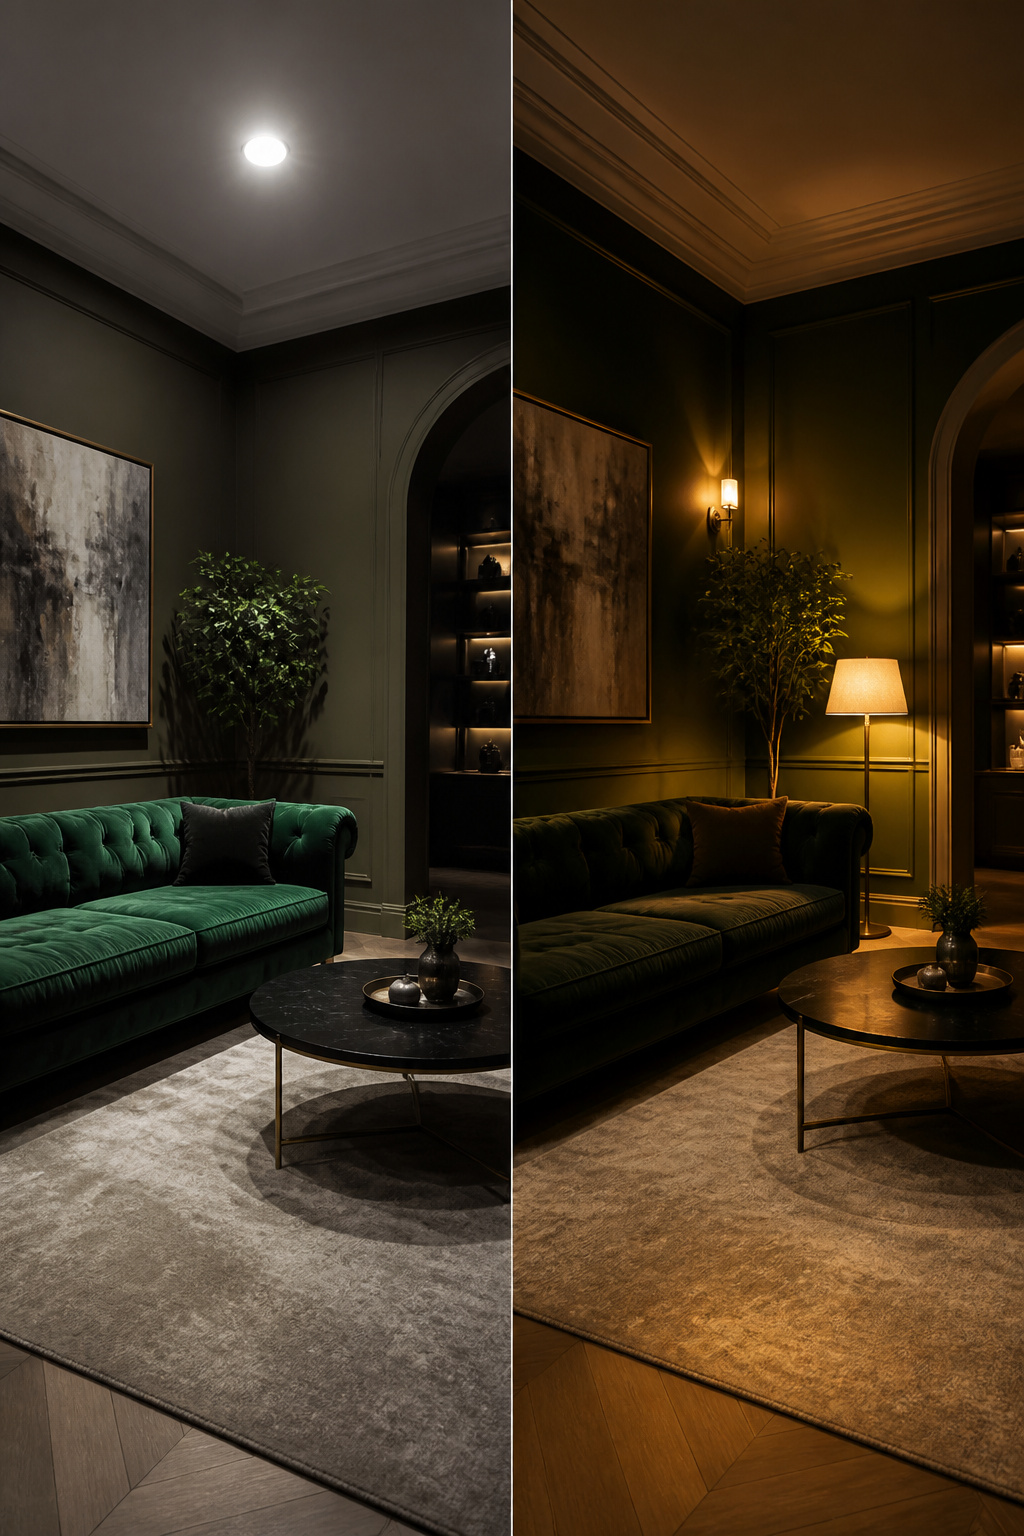
The single biggest mistake in a dark room
An overhead fixture throws light straight down from one high point. Rely on it alone and you get hard shadows and flat coverage — the room feels cold no matter how warm the bulb is. As the UK boutique Ruby Watts puts it, if your light comes only from above, the space will almost always feel harsh. The fixture is not the villain; total dependence on a single source at a single height is.
What flat light does versus layered light
Flat light kills the one thing a moody room lives on: contrast. Without darker areas pushing against pools of warmth, deep walls read as dim, not rich. Push the light out to the edges — onto walls, floors and surfaces — and the shadows turn intentional. There is a reason restaurants pool their light rather than flood it: your brain reads a pool as intimate and an even wash as a waiting room.
The first thing to change
Run the experiment from the top of this article: one floor lamp, overhead off, one evening. That contrast is your benchmark, and it costs nothing. Can’t swap the ceiling fixture yet? Put it on a dimmer and drop it to 20–30%. One warning, though: moody without enough warm light is just dim and depressing. The goal is layered warmth, not darkness for its own sake — and it helps to see how lighting fits the bigger picture in the complete guide to moody living rooms.
Warm Bulb Temperature: The Spec That Changes Everything
If you change one number in this whole article, change Kelvin. Color temperature is the most controllable spec in a lighting plan, and in a dark room it is the difference between a fireplace and a fridge.
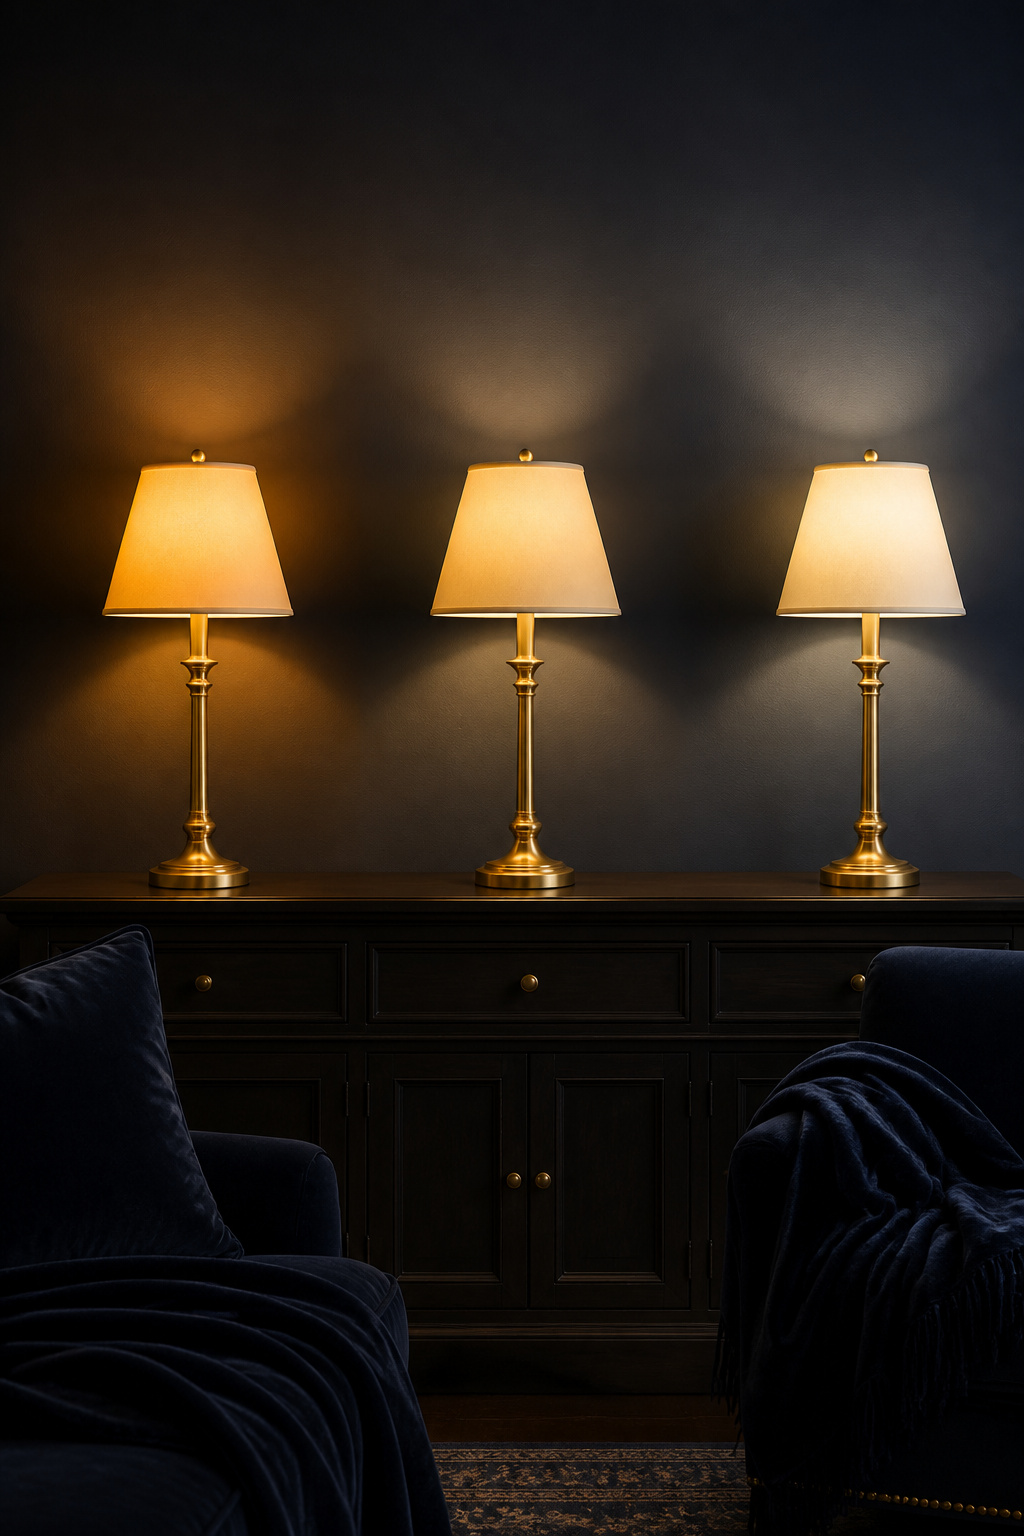
What 2200K, 2700K and 3000K actually do
Think of Kelvin as the warmth dial — lower is amber, higher is blue-white. For a moody room the useful range is narrow.
| Color temp | Visual character | Best use in a moody room | Avoid if |
|---|---|---|---|
| 2200K | Deep amber, gold undertones — a dimmed bulb or close fire | Late-evening lamps, the most intimate glow | You need to read fine print |
| 2700K | Warm white, inviting but clean | The default for every ambient source | — |
| 3000K | Warm white, slightly cooler and clearer | Task corners, contemporary rooms | Walls are deep navy, green or burgundy |
For reference, candlelight sits around 1800K — warmer and more flattering than any LED fully manages. That is the look you are chasing; 2700K is how close an LED gets.
Why warm-white is non-negotiable
Cross 3000K and warm materials start to grey out — the exact wrong move in a room built on saturated color, where a deep green pushed toward 3500K goes flat and tired. So 2700K does the heavy lifting; 2200K is your late-night setting. One practical rule: keep your sources within about 500K of each other, or a 2700K lamp beside a 4000K overhead splits the wall warm-cool, visibly and unsettlingly.
CRI: why the second number matters
Kelvin sets the warmth. CRI sets the honesty. The Color Rendering Index, scored 0–100, measures how faithfully a bulb shows true color. Run a 2700K bulb below CRI 80 and colors come out muddy — Amicolight notes low CRI is what makes wood tones feel lifeless and velvet look flat. The same bulb at CRI 90+ reveals the richer tones underneath. On deep green or charcoal walls, that gap is the difference between the hue you chose and a murky approximation. Aim for CRI 90 or above, full stop — which is why bulb choice and wall choice are one decision, worth weighing alongside choosing dark paint colors.
Dimmers on Everything: The Room-Level Control System
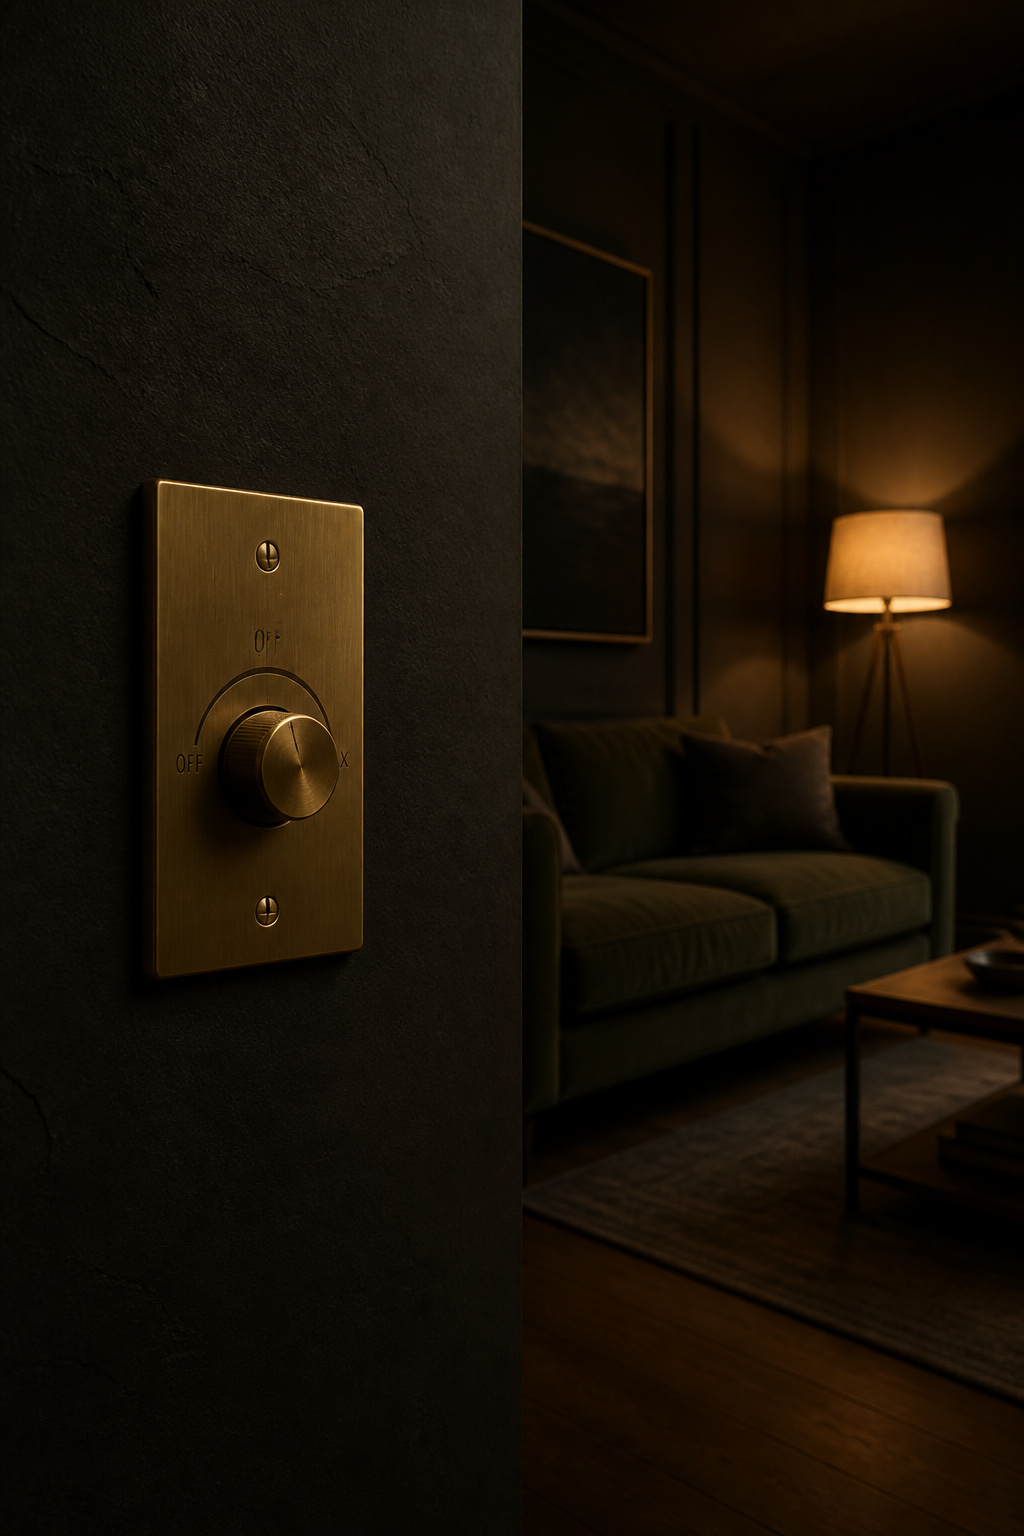
Bulb temperature is the spec. Dimmers are the lever — they cost the least and buy the most, turning a fixed-brightness room into one that shifts from afternoon clarity to late-night glow by the hour.
Why every circuit needs a dimmer
They are cheap, and dropping output 25% saves roughly a fifth of the electricity too. One technical catch: modern LEDs need trailing-edge dimmers (RC, ELV or MOSFET), not the older leading-edge TRIAC type. Pair an LED with the wrong dimmer and you get flicker and buzz at low levels — the exact moment you most want a clean, silent glow. Prioritise these circuits:
- Any overhead fixture, even if you barely use it
- The floor lamp circuit — your main ambient layer
- Plug-in sconces, plus table lamps via an in-line dimmer if their outlet isn’t switched
Smart versus manual
Smart dimmers fine-tune brightness by app or voice, and their real perk is scene recall — saving “Evening” and “Late Night” as one-tap settings. Manual dimmers offer silence and zero app dependency, and outlast most firmware. For a single moody room, a quality manual trailing-edge dimmer is the better call unless you already run a smart home; Lutron’s Caseta and manual Diva ranges are the US benchmarks for either route.
Setting scenes
In a theater I dim the room to a soft glow for a film — enough to find the popcorn, dark enough that the screen does the work. The same logic runs a moody living room: Daytime brighter with the overhead permitted; Evening low with it off; Late Night down to one or two lamps. Treat the exact levels as starting points to tune by eye — they come from smart-lighting guidance, not a fixed standard.
Floor Lamps and Table Lamps: Building the Ambient Base
Floor and table lamps cover the bulk of the ambient base, you can buy them this weekend, and they move — no electrician required.
Placement: corners and pools, not the center
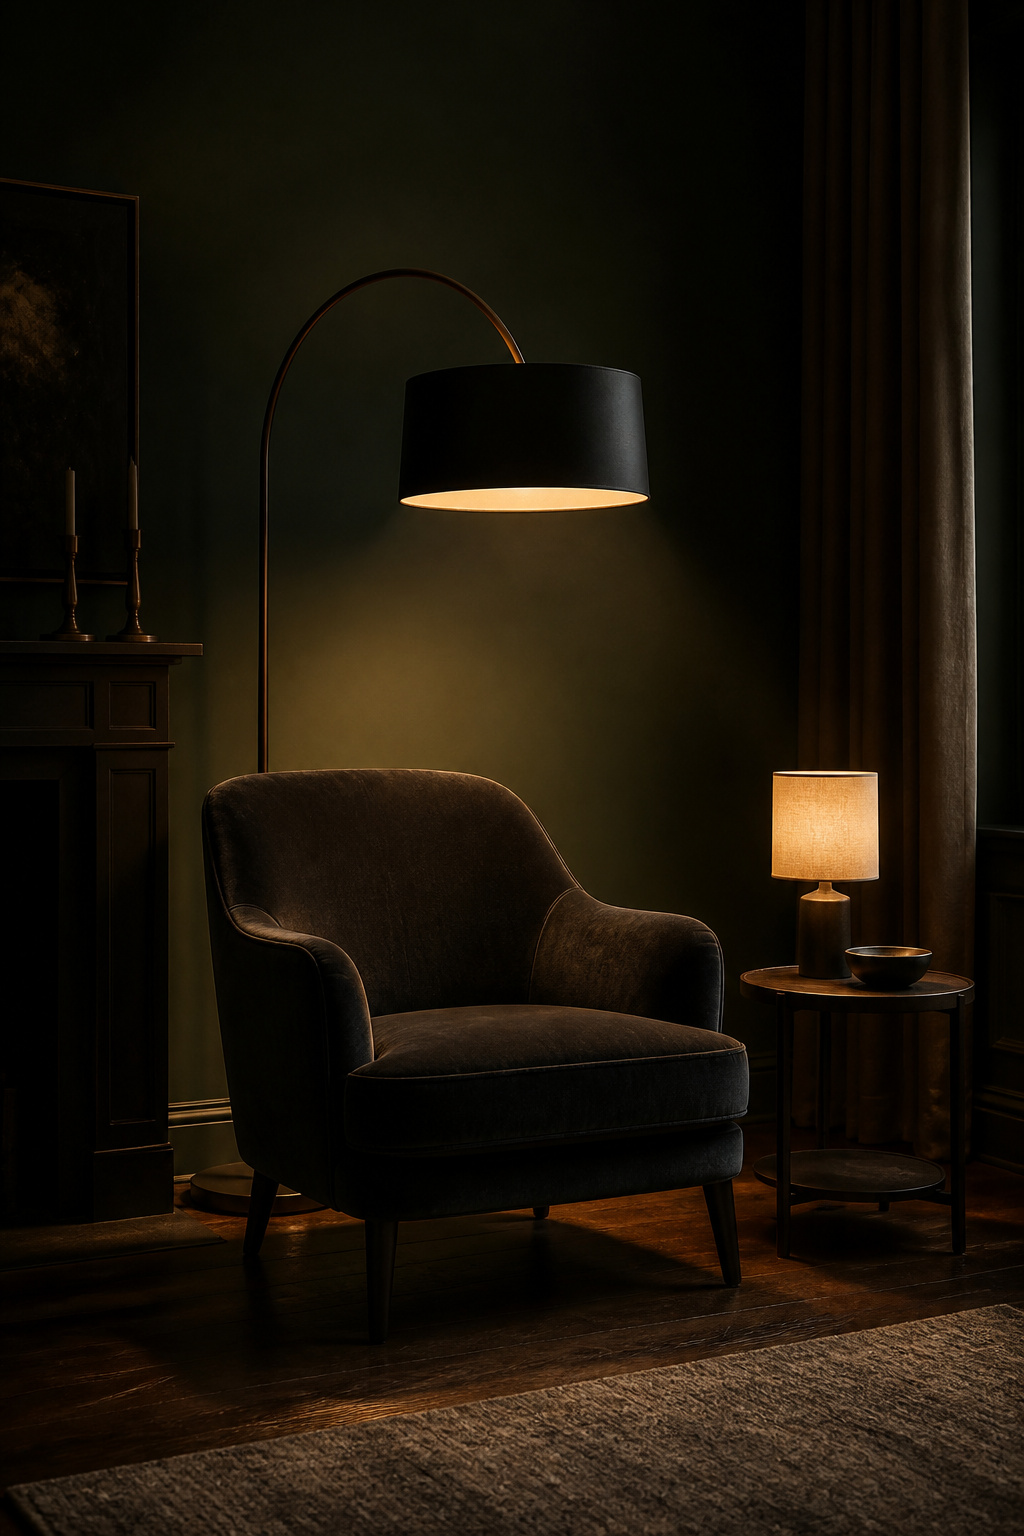
Dark corners make a room feel smaller and emptier. A floor lamp dropped into a corner fixes both: it bounces light off two walls at once, doubling its reach. Put one behind the main sofa and a second in the opposite corner, so diagonal pools cross the room without meeting in the middle. Park a lamp dead-center beside the sofa and you have rebuilt the overhead problem at a lower height. Table lamps then sit beside seating, dropping a warm pool that anchors each cluster.
Shades: opaque versus translucent
The shade decides where the light goes. Opaque shades — black, dark metal, dense linen — drive all of it downward into a sharp pool; the shade vanishes against a dark wall and the cone of light becomes the event. Translucent shades let glow escape upward too, grazing the wall so it looks lit from within. The designed look mixes both: opaque on floor lamps for defined pools, translucent on table lamps to fill the gaps between. Neither alone reads as intentional.
How many you actually need
A common designer line puts a living room somewhere in the range of seven to thirteen sources across all layers — though that upper figure traces to a single UK trade source, so treat it as a generous guideline, not a target. A rough starting point is one floor lamp per 100 square feet, nudged up for dark walls that drink light. A 200-square-foot room is happy with two floor lamps plus a table lamp or two before you think about sconces. Build this ambient base fully before adding anything fancier.
Wall Sconces and Picture Lights: The Layer That Finishes the Room
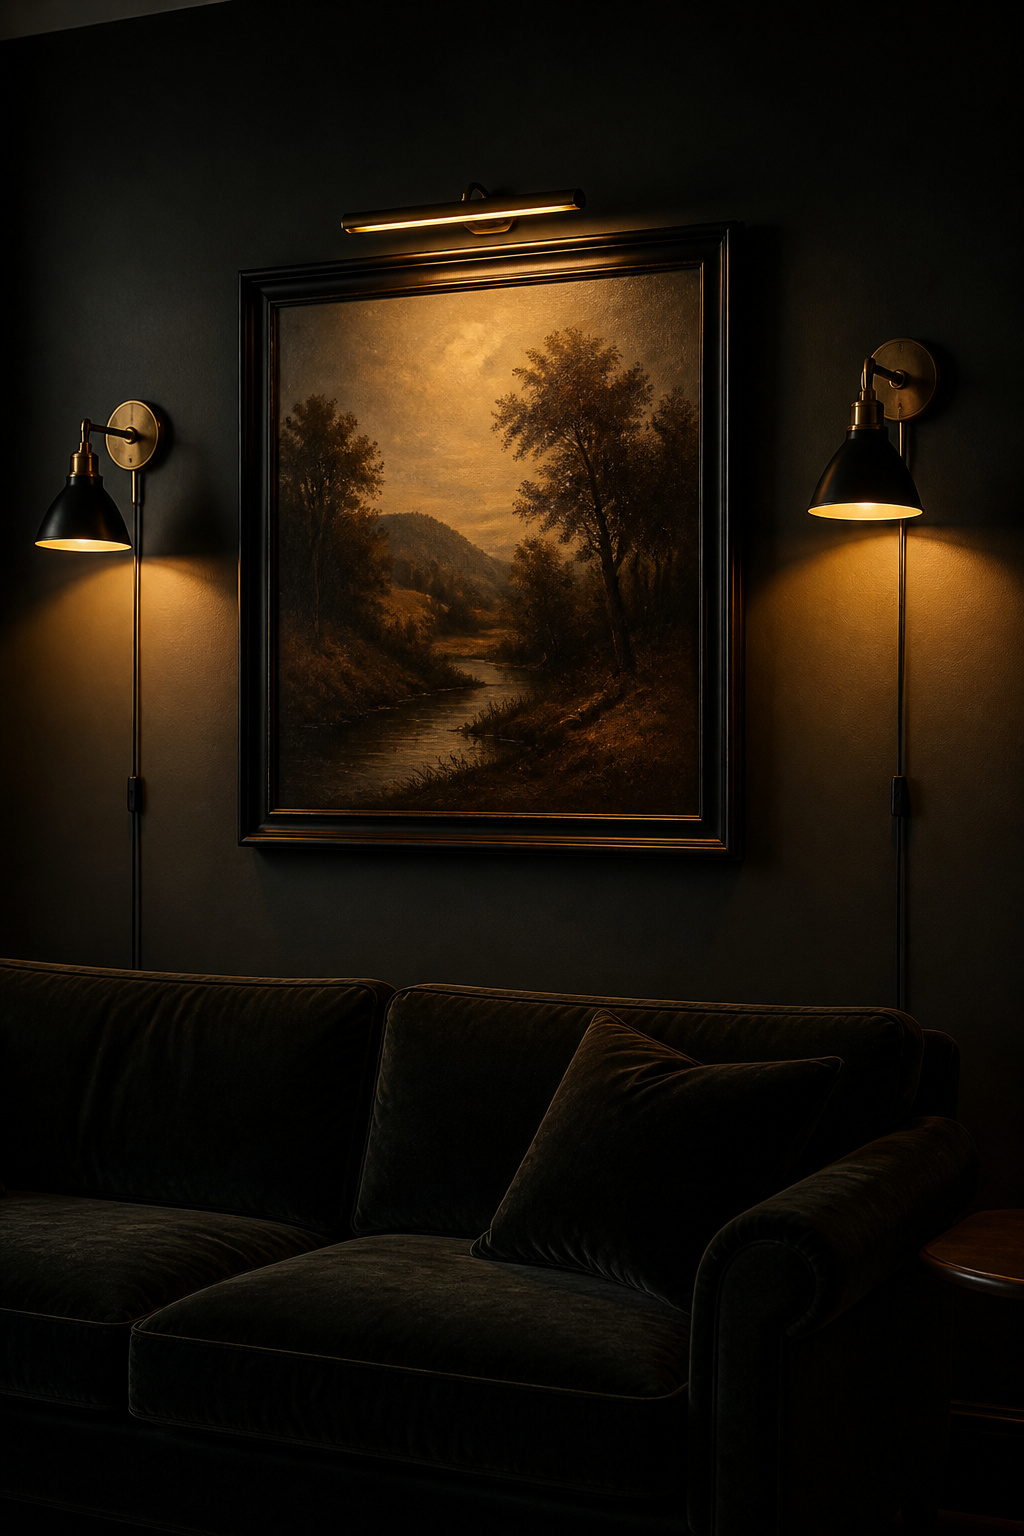
Here is where a room stops looking like “lots of lamps” and starts looking designed. Sconces and picture lights work at mid-wall height — roughly 60 to 72 inches, which no lamp reaches cleanly — fixing light to the architecture instead of the furniture. The room reads as composed even before the sofa arrives.
Height, spacing and wiring
Mount the center of a sconce around 66 inches and it sits just above seated eye level — light at the social zone, no glare. Drop flanking sconces to 60 inches beside a fireplace for a warmer downward glow; push to 72 inches to wash the upper wall. Hardwired install runs roughly $150–$400 a fixture and needs an electrician. Plug-in sconces need only a nearby outlet, and the cord disappears along a dark baseboard — the renter-friendly route, which also makes this layer workable in small moody living rooms.
Picture lights, doing double duty
A picture light earns its keep twice: it shows the art and warms the room. Set it to 2700K for a home — warmer than the 3000K galleries use — to bring out the earth tones and rich darks of a dark-palette piece, again at CRI 90+. Sotheby’s advise the light project beyond and above the frame so it never reflects back at you. Dim the rest of the room and a lit painting becomes the evening’s glow.
Placing for depth, not strips
The classic mistake is spacing sconces evenly along a long wall — that just builds institutional strip lighting at the side of the room. Instead, cluster them at focal points (fireplace, large art, a statement mirror) and leave real stretches of dark wall between. That push-pull of lit and unlit is the whole moody effect.
Hidden LED Strips and Accent Lighting: The Subtle Depth Layer
Now the diminishing-returns conversation, because I owe you an honest one. Hidden LED is the finishing layer, but it only pays off once the first three layers are in place. Get the lamps, dimmers and sconces right first; this is the last 10%.
Where LED strips add depth without looking gimmicky
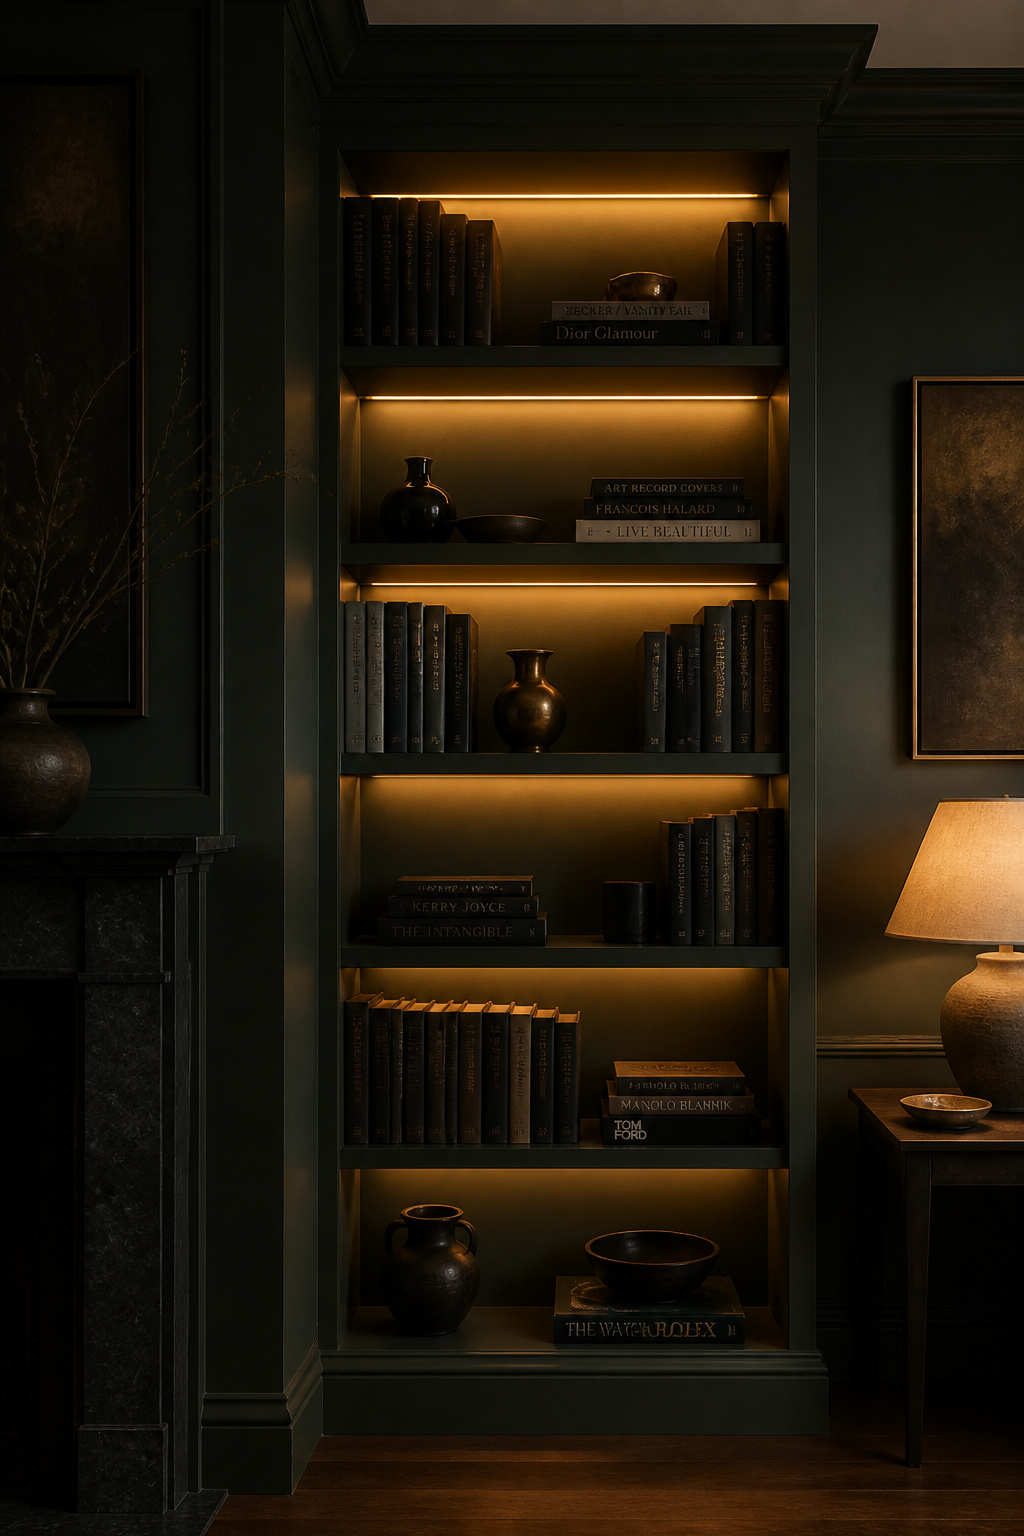
Done well, it adds depth — a strip under a console or sofa base creates a low floor-hover effect that gives a dark-floored room a sense of lift. The trick is restraint: keep the strip a supplementary glow, never a primary source, and hide it completely. A bare strip used as a room light reads as a novelty; a concealed one reads as architecture.
Behind shelves, under furniture and along architectural lines
The placements that earn their keep in a moody room:
- Behind open bookcase shelves, glowing through books like a gallery case
- Under a floating console or media unit for a floor-level wash
- Along the top of a deep window reveal or cornice, washing the wall down
Use high-density strip (60+ LEDs per metre) inside an aluminium diffusion channel. Bare tape shows its dots below the shelf line and the spell breaks.
Matching color temperature to your main lighting
Match the strip to the room at 2700K — a warm strip beside a cooler layer reads as “off” against dark walls, the same warm-cool split you avoided with your bulbs. One caveat from the trade: strips labelled at the same Kelvin can drift by around 200K between brands, so buy from one batch and test before a full run.
The professional position, distilled: the dark walls were never the problem — the ceiling light was. Warm the bulbs to 2700K at CRI 90+, put every circuit on a dimmer, then build outward — lamps first, sconces second, hidden LED last and only if the rest is right. A moody room that glows is not a darker room. It is a better-lit one.
FAQ
What color temperature bulbs should I use in a moody living room?
Stay in the 2200–2700K range. 2700K warm white is the practical standard — it flatters dark walls without graying out their color — while 2200K gives a deeper, candlelit amber for the dimmest evenings. Avoid anything above 3000K, where warm materials start to grey, and pair your choice with a CRI of 90 or above.
How many light sources does a moody living room need?
More than you’d guess, but quality over count. Designers quote a range of seven to thirteen sources across all layers, which is best treated as a generous guide. A workable baseline: one floor lamp per 100 square feet, one or two table lamps per seating cluster, then sconces at focal points. Build ambient first, and dim everything.
Can I make a moody living room work with no natural light?
Yes — a moody room runs almost entirely on artificial light by design, so no windows actually hands you full control of the atmosphere around the clock. The risk is tipping from moody to cave, which layering prevents. Add more sources than you think you need, keep every one at 2700K or warmer, and bring in candles where you can.