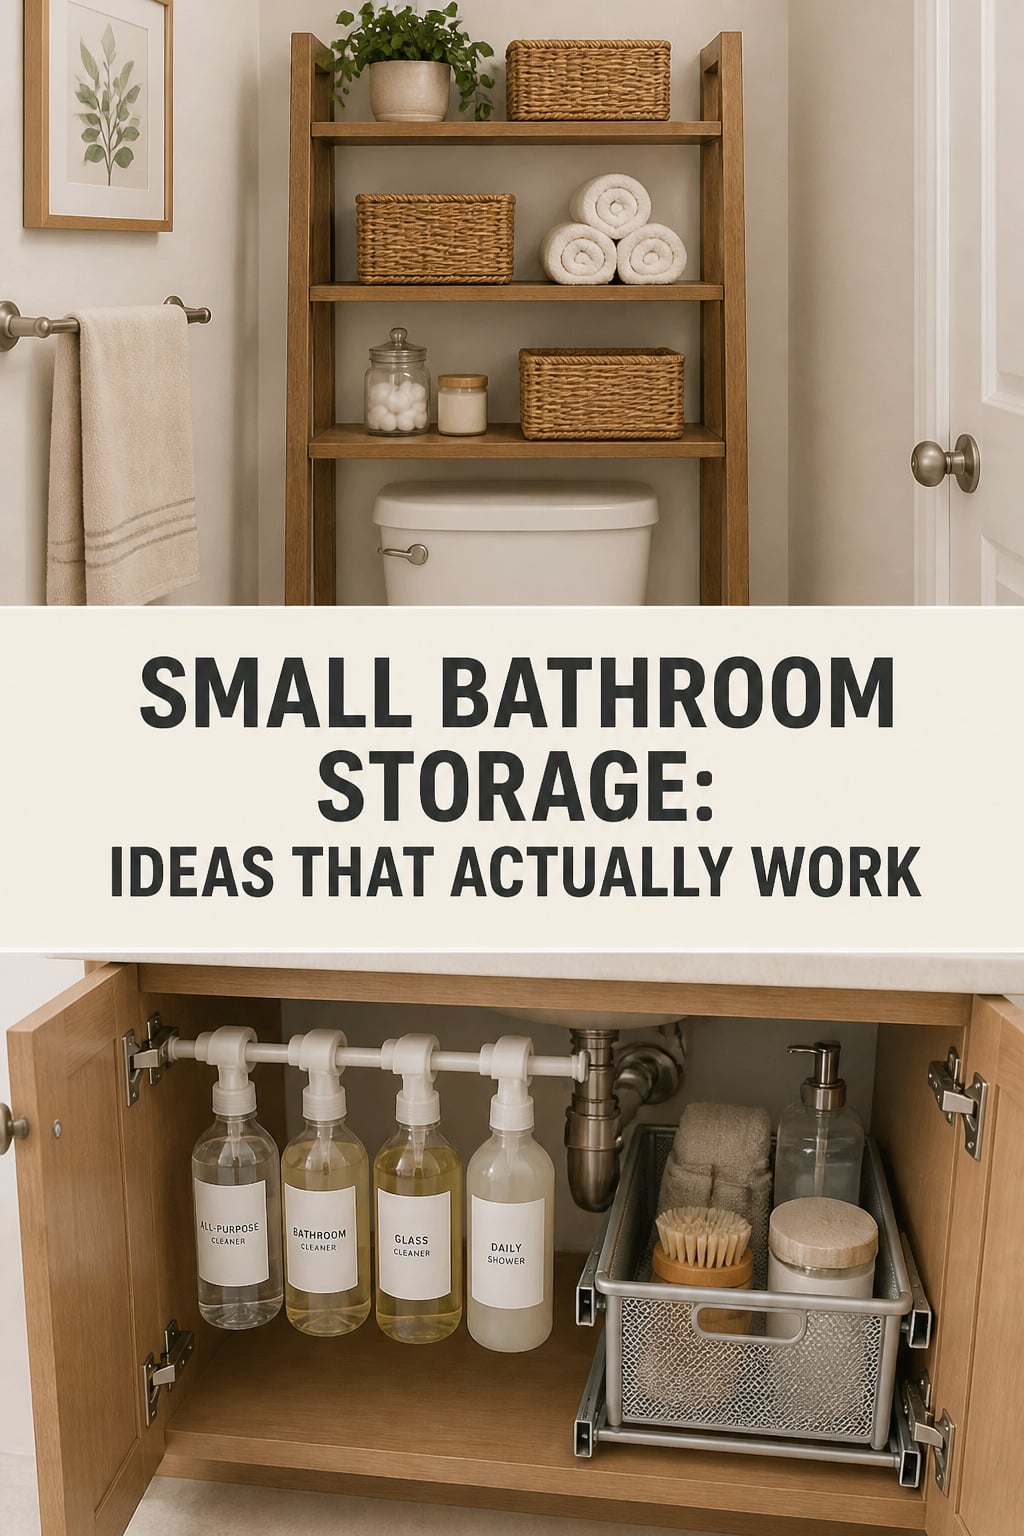
Search “small bathroom storage” and you’ll drown in ideas before you’ve claimed a single shelf. Etageres, sink skirts, suction caddies, tension rods, over-door racks — every one works somewhere, and half are wrong for your bathroom. I’ve installed enough of these to know which earn their keep and which get returned the next weekend. So this is the sifted version: not every idea, but the ones worth your Saturday, sorted by the dead space they capture and the order to tackle them.
Here’s what most roundups skip. A typical full bathroom runs 40 to 50 square feet — usually a 5-by-8 layout — and the problem is almost never the square footage. It’s the space you’re not using: the wall above the toilet, the corners, the dead air inside the cabinet you already have. Capture those in the right order and a cramped 40-square-foot room stops feeling cramped. Below, every major strategy at survey depth, with a link to the deeper how-to for each.
Why Most Small Bathrooms Run Out of Storage Before They Run Out of Space
The fastest way to waste a weekend is to buy storage before you’ve earned the space for it. Adding shelves to an overloaded bathroom just moves the clutter up a level. Two things have to happen first: find the dead zones, and edit what you own. Skip either and you’re decorating around a mess.
The three dead zones every small bathroom has but most owners miss
Walk into almost any small bathroom and the same three areas are doing nothing. Designers call this dead space — any floor or wall area not pulling storage duty. In a small bathroom it’s predictable:
- The wall above the toilet. The most consistently wasted zone. Designer Carina Raymond of Studio Raymond calls the alcove above the tank “a fantastic opportunity to install closed shelving — perfect for storing extra toilet roll, products, and other essentials out of sight.”
- The corners. Corner shelves, tiered carts and slim caddies fit neatly into angles that otherwise collect nothing but a cobweb.
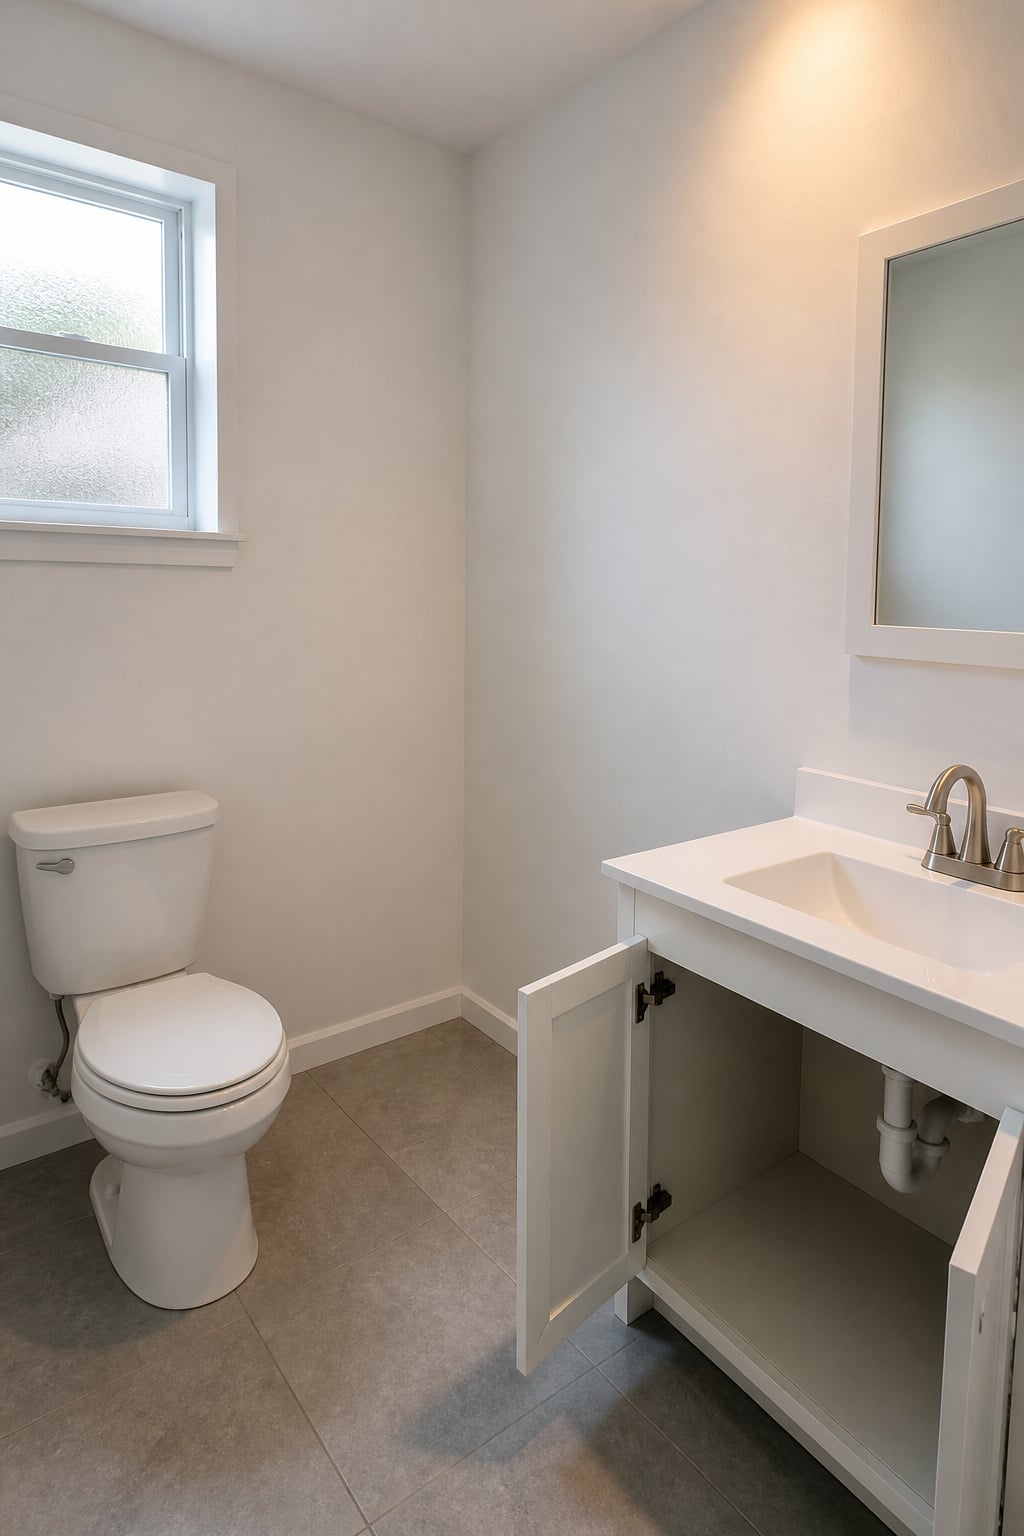
- The inside of the under-sink cabinet. Most owners stack items on the floor of the cabinet and ignore the vertical air above the P-trap — leaving more than half the cabinet unused.
Find your three first. Almost every idea in this guide is just a way to claim one of them.
Declutter first: why adding storage before editing is the common mistake
Nobody wants to hear it, but the cheapest storage you’ll ever add costs nothing: throwing out what you don’t use. Professional organiser Shantae Duckworth tells clients to “work through everything in the bathroom first. Take every last item out, throw it in bins, or toss it on a table and go through everything” before installing a single piece of hardware. Sort into three piles — donate, toss, keep — and check expiration dates while you’re at it; organiser Cara Palmer runs a quarterly “expiration sweep” on medications, skincare and toiletries.
This isn’t a motivational detour. Interior designer Sophie Pringle of Pringle & Pringle is blunt about it: “Without proper storage, bathrooms quickly become cluttered. Bottles end up on shower floors, and temporary trolleys or baskets take up valuable space, making a small room feel even tighter and less calm.” Edit first, and you’ll need less storage than you thought.
A simple priority order — vertical, then zone, then organise
Once the room is edited, the order matters as much as the picks. Here’s the sequence I’d give a beginner, and it holds across almost every small bathroom:
First, capture vertical dead space — the wall above the toilet and open shelves — because it’s the cheapest, fastest space to claim and it doesn’t eat your floor. Second, solve your fixture constraint: a pedestal sink, no vanity, or a landlord who won’t let you drill. Third, organise what you already have by how often you reach for things. Daily-use items go to the most accessible tier — top drawer, eye-level shelf — while weekly and backup items go up high or to the back. Get the order right and each step makes the next one easier.
The Space Above Your Toilet Is Doing Nothing — Fix That
If you only claim one dead zone, make it this one. The wall above the toilet is the highest-value real estate in a small bathroom: vertical, central, and almost always empty. Three product types compete for it, and the right pick depends on whether you can drill and how much you need to store.
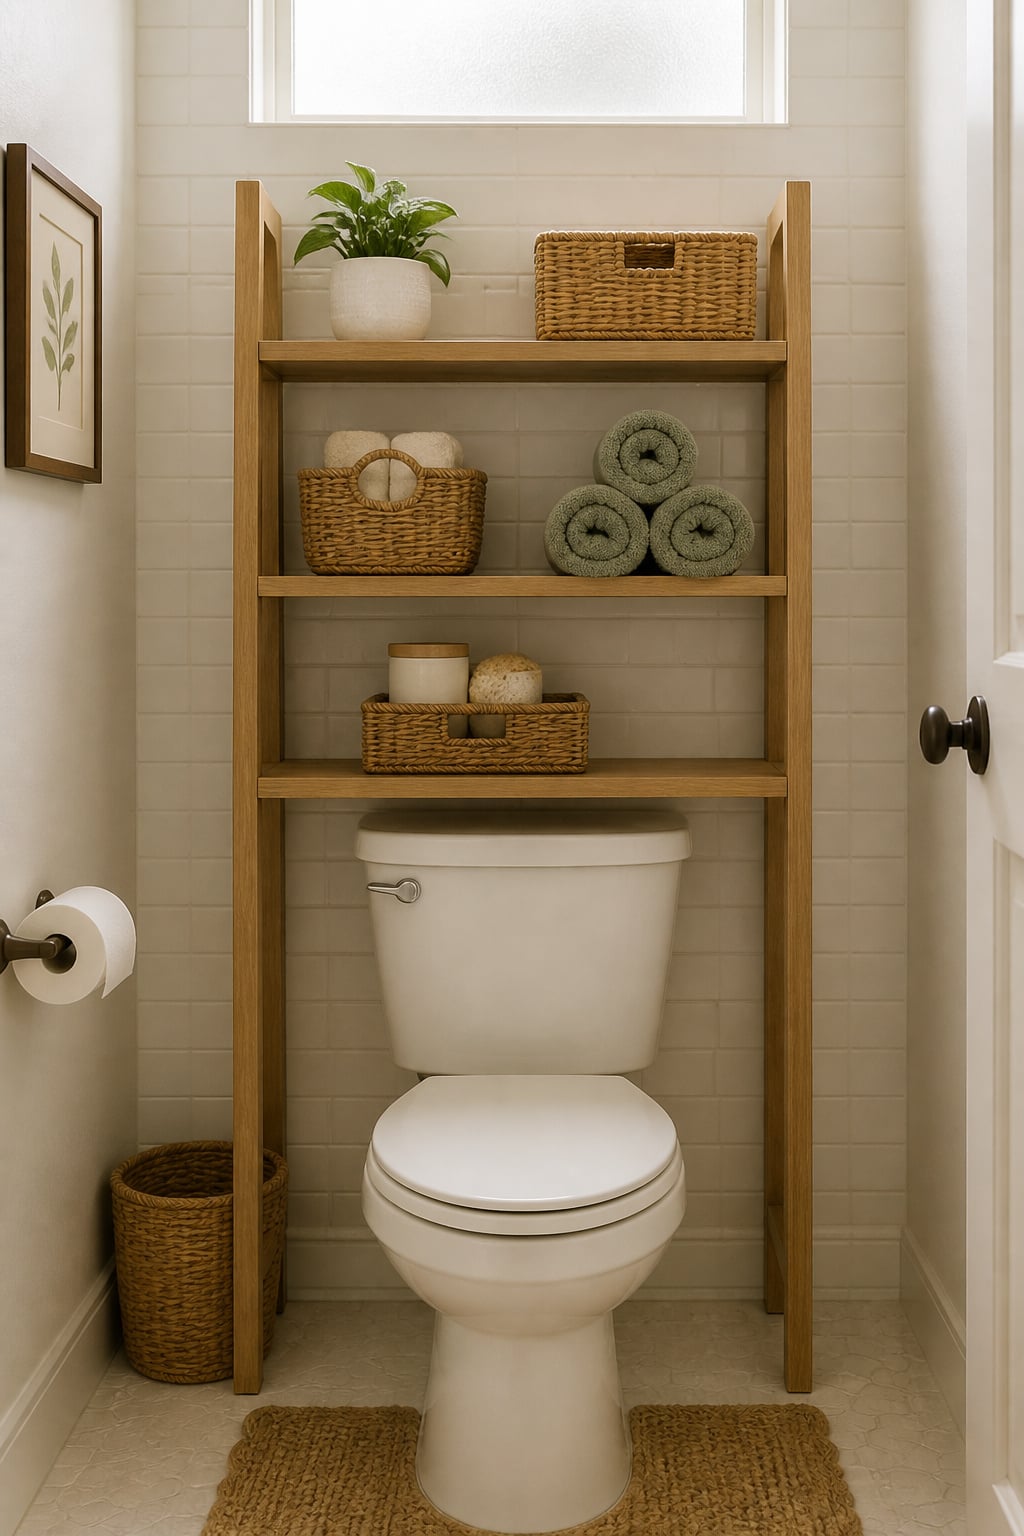
Etageres, ladder shelves and wall cabinets: which suits which bathroom
A freestanding over-toilet etagere straddles the tank on a tall frame, typically 23 to 27 inches wide and 58 to 68 inches tall, with the bottom shelf sitting around 33 to 37 inches off the floor. No drilling, moves with you, fastest win in the room. A ladder-style leaning shelf does a similar job but leans against any flat wall — not just the toilet wall — so it’s more flexible if your tank sits in an awkward spot. A wall-mounted cabinet trades flexibility for capacity: enclosed, dust-free storage, commonly around 23.6 inches wide and under 8 inches deep so it doesn’t project into the room — but it commits to the wall and needs real anchoring.
| Unit type | Mount | Clearance needed | Best for |
|---|---|---|---|
| Freestanding etagere | None (straddles tank) | Clear the tank lid | Renters, fast installs, no tools |
| Leaning ladder shelf | None (leans on wall) | Flat wall, not tank-dependent | Awkward tank placement, flexibility |
| Wall-mounted cabinet | Studs or toggle bolts | Mount above the tank lid | Owners wanting closed, higher-capacity storage |
If you’re deciding between these and want the anchoring details, that section of the guide on how to make the most of the space above the toilet walks through clearances and weight limits unit by unit.
Clearance rules so nothing hits your head or blocks tank access
The one measurement people forget is the tank lid. You have to be able to lift it to fix a running flapper, so leave enough room above it before the bottom shelf or cabinet starts. The widely recommended minimum is 24 inches of clearance between the tank lid and the bottom of any shelf or cabinet — enough to lift the lid for repairs. For freestanding units, leave 1 to 2 inches on each side of the tank so the frame doesn’t rattle when the toilet flushes.
There are genuine code numbers worth knowing here too. The NKBA recommends at least 18 inches from the toilet centerline to any side obstruction (code minimum is 15), and at least 21 inches of clear floor space in front of the toilet, 30 for comfort. Those govern how far an etagere base can project forward in a tight room.
Freestanding vs wall-mounted: the trade-off in two lines
Freestanding means no drilling and renter-safe, but lower capacity and a tippy unit on uneven tile — add an anti-tip strap if kids or pets are around. Wall-mounted means more capacity and nothing wobbling, but you’re drilling into studs or toggle bolts, which rules it out for most renters.
Your Vanity Cabinet Has More Capacity Than You Think
The cabinet under your sink is probably half-empty and you don’t know it. The P-trap — that U-shaped pipe in the middle — looks like it eats the whole space, so people pile things on the floor and give up on the rest. It takes up far less room than it appears. The waste is vertical.
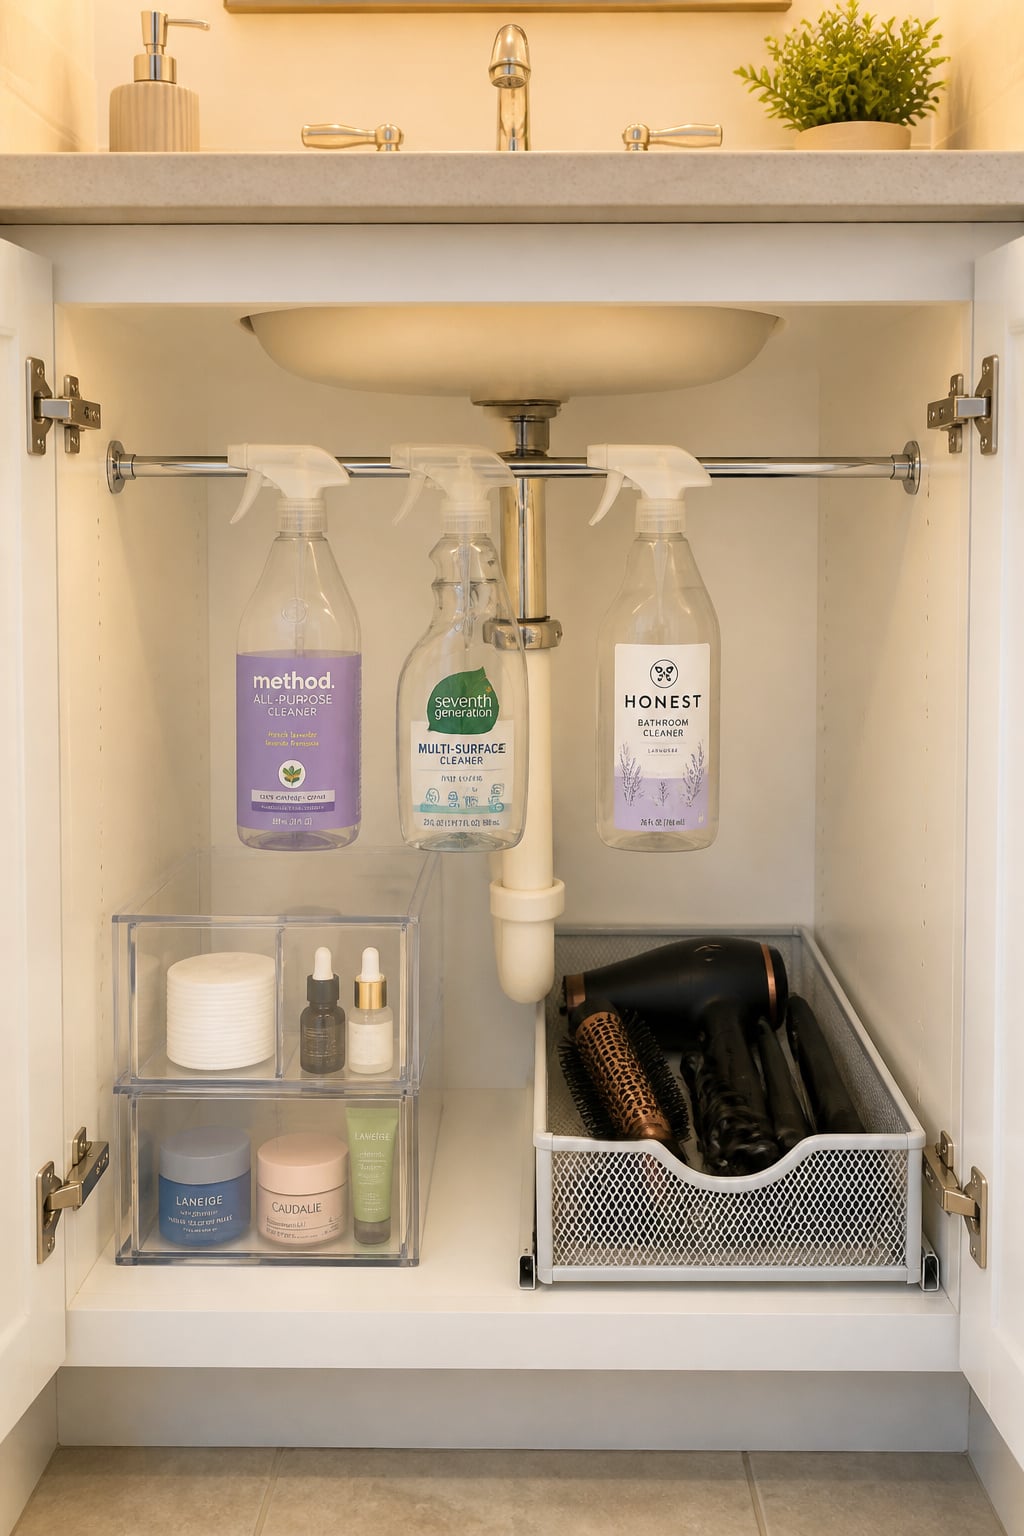
Working around the P-trap: the layout problem everyone ignores
A standard bathroom sink uses a 1.25-inch P-trap, and the U-bend sits roughly 16 to 20 inches off the floor — right in the middle of the cabinet. Behind it, supply lines and shutoff valves need 4 to 6 inches of clear access, so you can’t pack the back wall solid either. What’s left is two usable columns on each side of the drain, plus the air above the trap. Stop hunting for one organiser that spans the whole cabinet and fill the two columns independently. L-shaped organisers are built exactly for this — a narrow upper basket and a wider lower one that bracket the pipe.
Pull-out bins, tension-rod tiers and stacking drawers that change what fits
The cheapest upgrade down here is a spring-loaded tension rod hung across the upper interior, with spray bottles dangling by their triggers. It costs $5 to $10 and holds four to five bottles — more than that and a standard rod bows under the load. For real capacity, two-tier pull-out mesh systems straddle the P-trap and roughly double your usable shelf area; they run $30 to $60 and install in about 20 minutes. Clear stackable bins in graduated sizes let you categorise — daily skincare, cleaning, first aid — and see what’s in there without unloading the cabinet.
Zone by use frequency so the daily kit is never buried
Put the daily kit at the front, below the P-trap arch where you can grab it standing up. Backstock and occasional items go to the back and sides, ideally in a dedicated “backstock bin” so surplus never buries your everyday products. One more reason drawers beat doors in a tight room, from designer Melissa Hutley of Hutley & Humm: “You can stay standing while reaching for toiletries, and everything is neatly organised within easy reach.” For the full sequence — measuring around the pipe, sizing bins, zoning the interior — here’s how to organize the cabinet under your sink step by step.
Open Wall Shelving: Storage That Doubles as a Design Feature
Open shelves are the rare storage that earns its keep twice — they hold things and they make the room look intentional. But they live or die on two decisions: what they’re made of, and where you hang them.
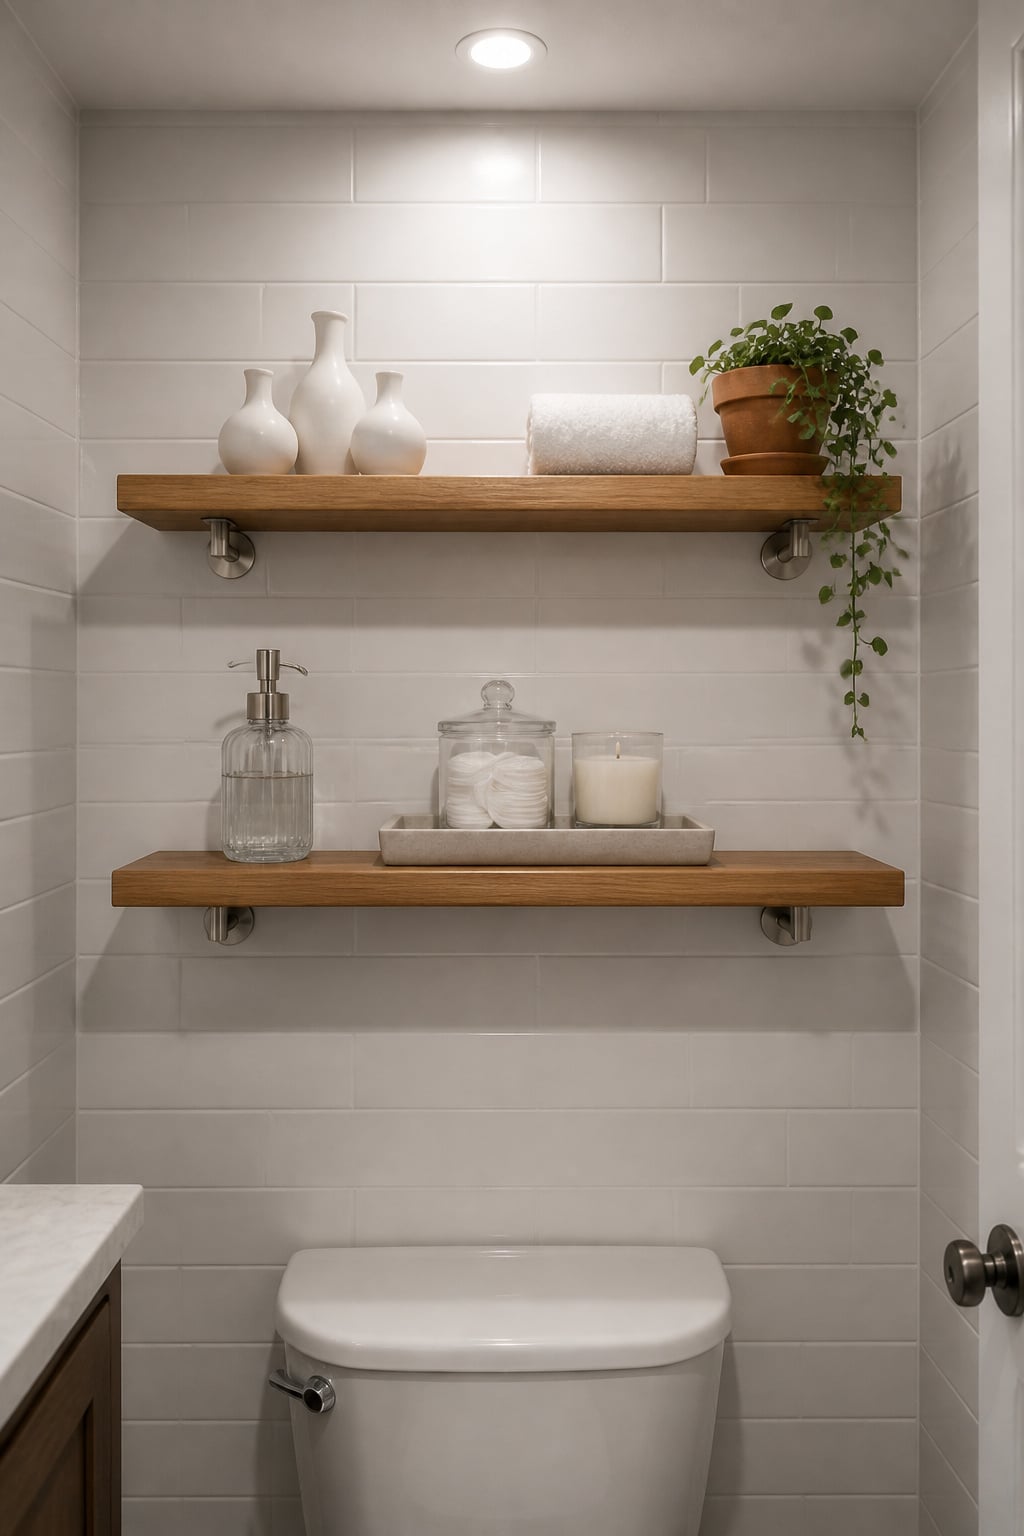
Material choices — wood, glass, metal — and which lasts in a humid bathroom
Skip standard MDF and particle board outright. Both swell permanently the moment moisture reaches the edges or screw holes, and the shelf fails within months. Teak is the standout for wood: its natural oils repel moisture without sealing — the same property that puts it on boat decks — though it likes an oiling once or twice a year. Tempered glass is fully non-porous, wipes clean, and shrugs off humidity entirely. Aluminium frames resist corrosion well, and whatever the shelf material, use rustproof stainless-steel brackets and hardware. A well-sealed oak shelf works fine in a ventilated bathroom, but plan to re-seal softwood and unsealed hardwood annually.
Where to position shelves so they add space without choking the room
Depth is the first call: 6 to 8 inches is standard, with 8 the pro default for a bathroom where you want small items to fit without the shelf jutting out. Placement is the second. Hang shelves beside or above the mirror, where they sit at eye level for daily reach — and keep them off the wall opposite the window, since shelving in front of your light source makes the whole room read smaller.
Keeping open shelves from looking cluttered
Open shelving turns into visual noise fast. The fix is editing: display only what you use weekly, and corral the rest into matching containers — wicker baskets, uniform jars — so the container becomes the design element instead of the clutter. Limit each shelf to three to five items; a plant, a candle and one basket already counts as three. For material deep-dives and styling, Henrik Larsson’s guide to add open floating shelves takes the look further than I will here.
No Vanity Cabinet? Storage Solutions for Pedestal Sinks
A pedestal sink is a genuine storage problem dressed up as a design choice. It looks light and airy, and it deletes the cabinet most bathrooms rely on. But it frees floor space and hands you three spots to work with: the nooks beside the base, the wall around the sink, and the concealed space under the basin.
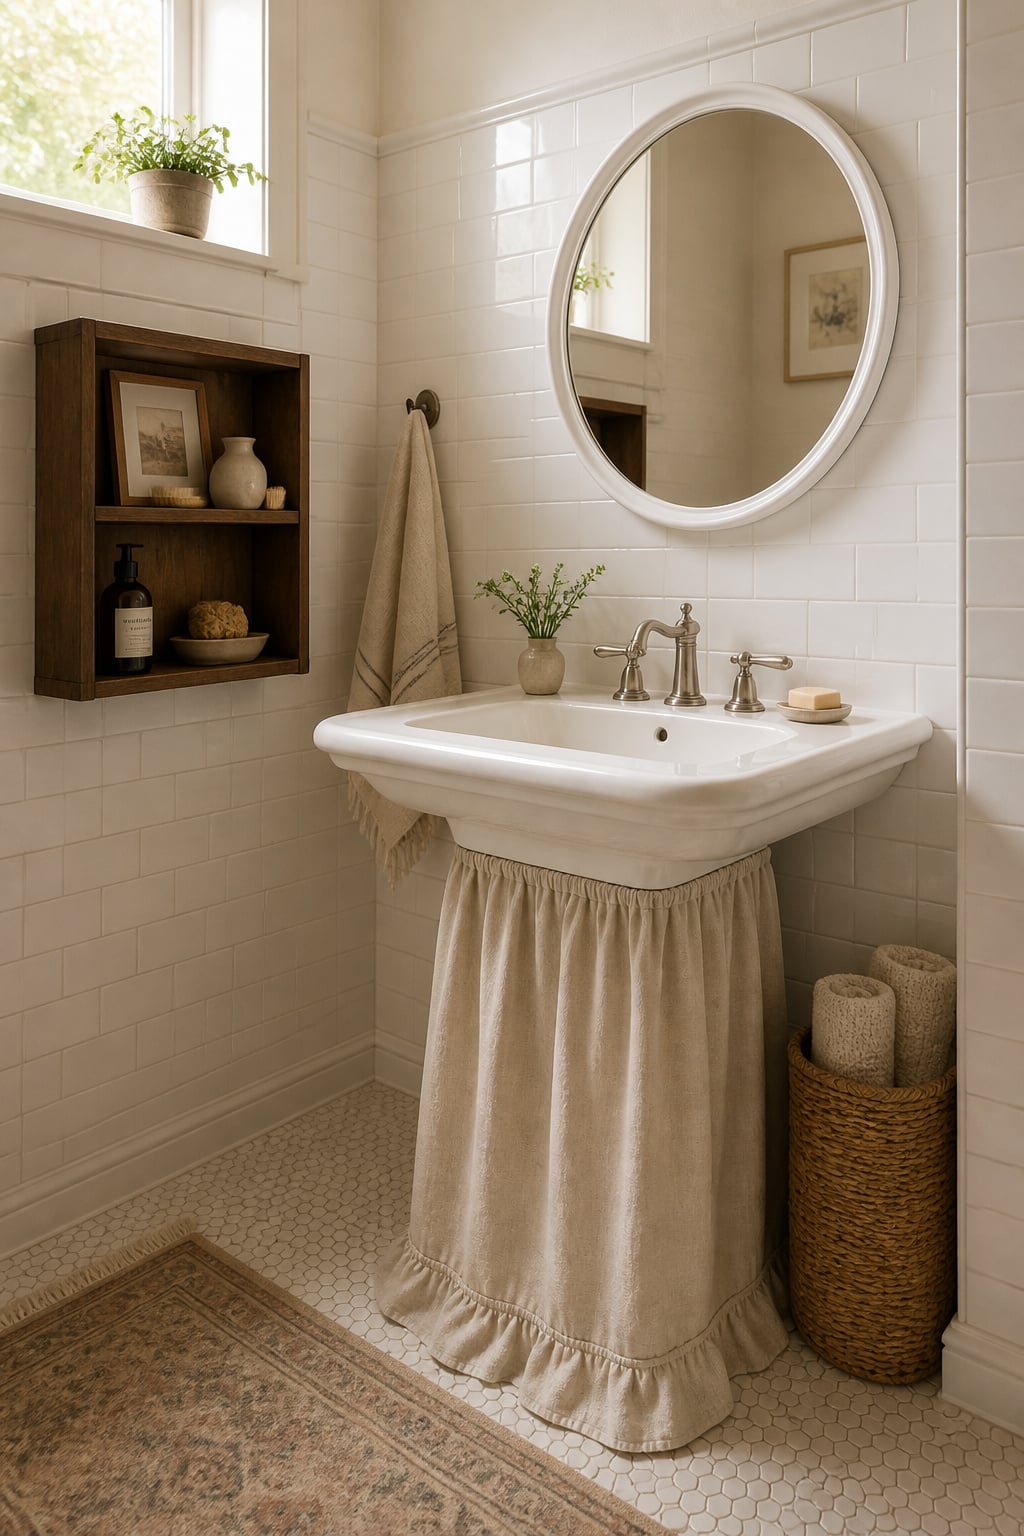
Why a pedestal sink removes the obvious storage and what it gives back
Swapping a 24-inch vanity for a pedestal sink loses you a real chunk of storage — roughly 10 to 15 cubic feet — in exchange for a more open floor. Standard pedestal sinks run 22 to 24 inches wide and 29 to 34 inches tall, with compact powder-room models as narrow as 19.5 inches; those numbers tell you how much basket can fit beside the base. Interior designer Laura Stephens flags the trap directly: choose “a basin on a frame rather than a vanity unit” without a plan, and “bathrooms quickly become cluttered, making a small space feel even smaller.” The fix is to plan the replacement storage before you fall for the look.
Sink skirts, side baskets and console swaps: the main options
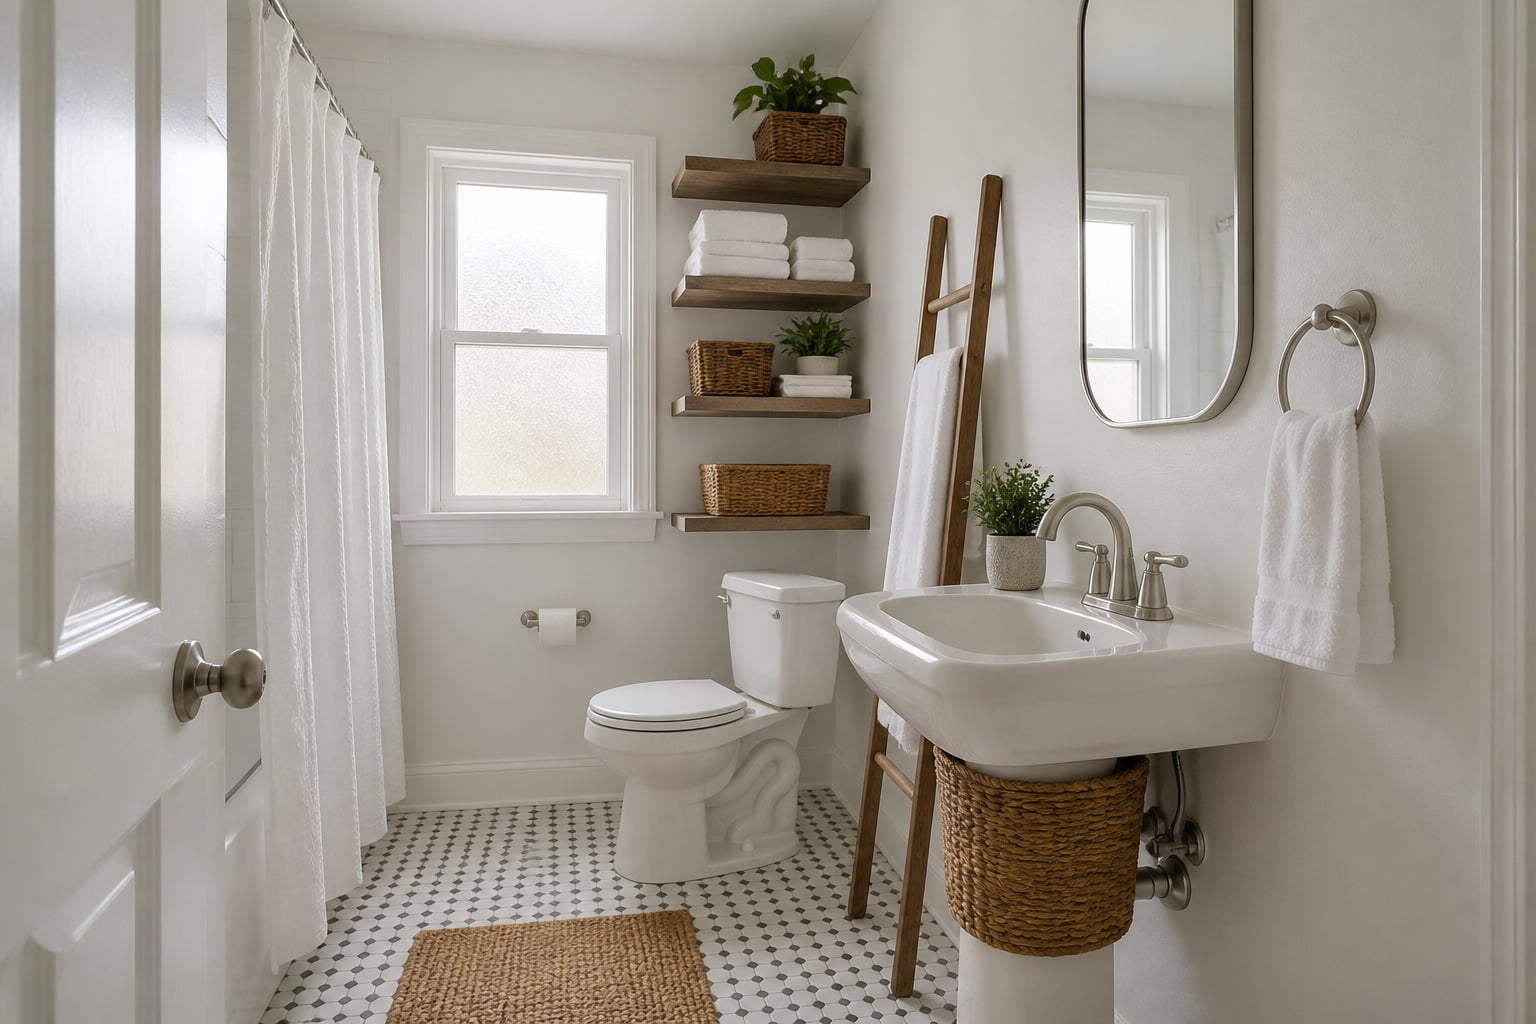
A sink skirt is the no-drill workhorse — it attaches to the basin rim with hook-and-loop tape and conceals freestanding baskets or bins underneath. Two woven baskets slid into the nooks on either side of the pedestal base are the cheapest move; just keep each under about 10 inches wide so they actually fit. If you’re choosing the fixture now, a console-style sink with one or two open shelves at the base keeps the airy look while giving back usable storage, and a tall narrow linen cabinet (12 to 18 inches wide) beside the sink adds vertical capacity without crowding the room.
Wall shelving and cabinets as the primary workaround
When the floor can’t give you storage, the wall has to. Wall-mounted cabinets above and beside the sink are the primary workaround — closed storage that keeps the floor clear. A recessed medicine cabinet is the smartest version: it reclaims 4 to 6 inches of depth inside the wall cavity, adding storage with zero floor footprint. Rachel Blackwood’s full breakdown of storage solutions for a pedestal sink covers the period-home context where these sinks usually turn up.
Renter? Here Is What You Can Do Without Drilling a Single Hole
No drilling does not mean no storage. The honest constraint isn’t capacity — a freestanding tower carries more than most things you’d screw to drywall — it’s matching the fastening method to your surface. Get it wrong and you get the 3 a.m. crash. Get it right and a rental bathroom stores as much as an owned one.
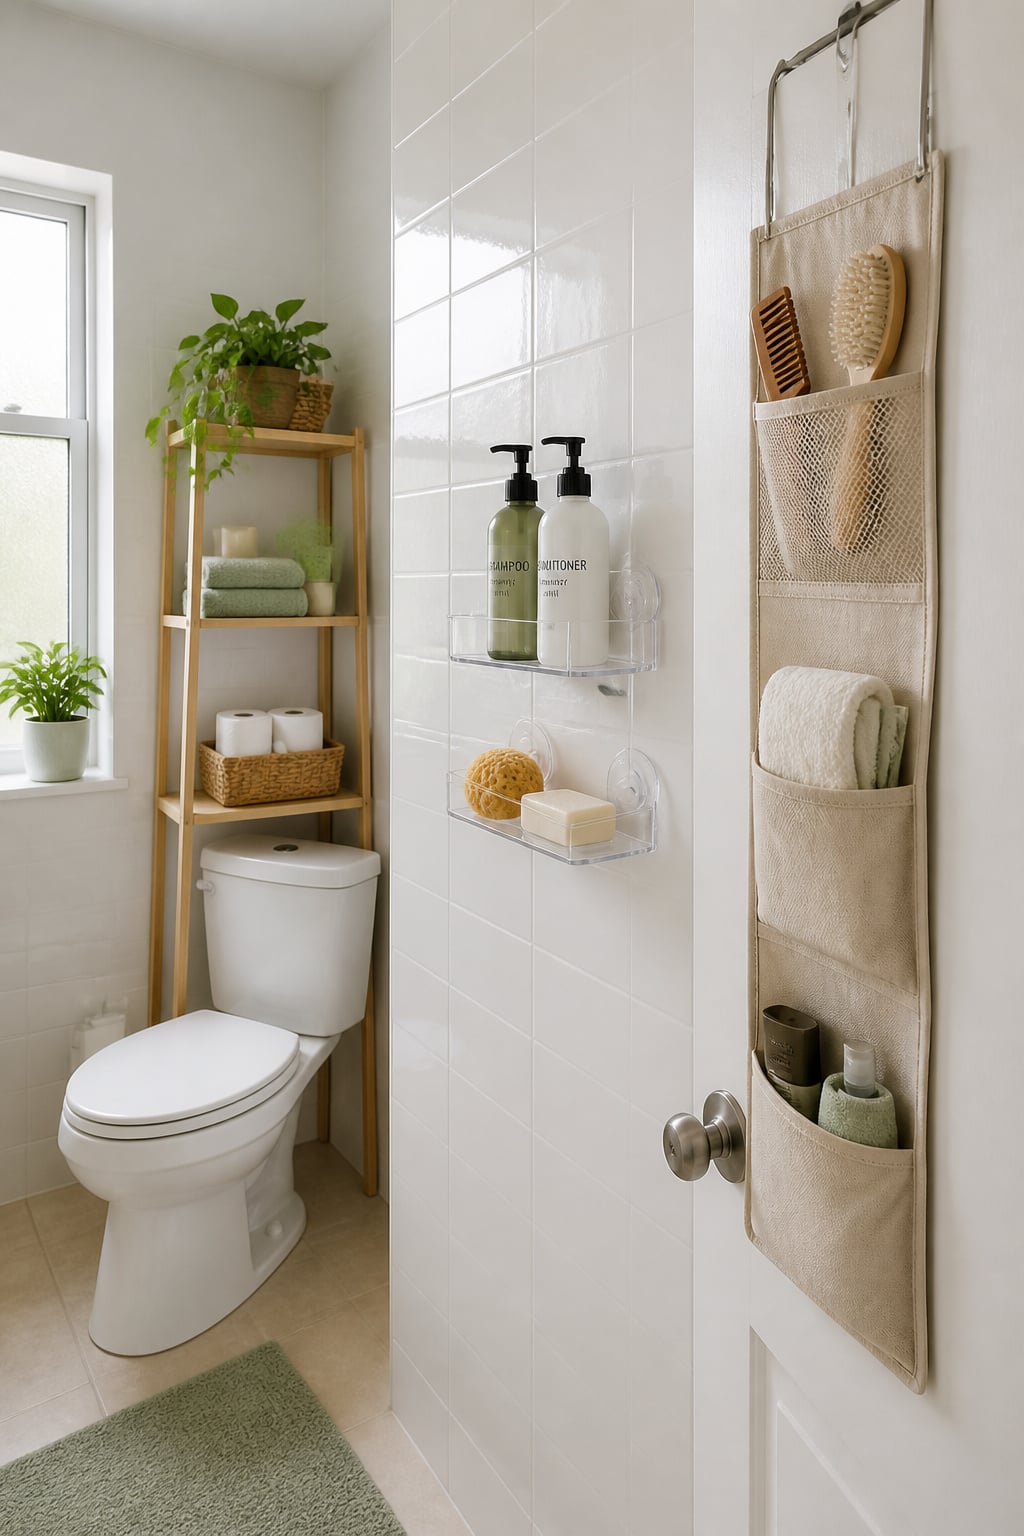
What tension rods, adhesive hooks and suction caddies can realistically hold
Three fastening types, three very different load limits. Tension-pole caddies pressure-fit floor to ceiling and hold around 11 lbs per shelf — fine for bottles and washcloths, not towel stacks. Adhesive hooks top out lower than people expect: the heaviest 3M Command jumbo hook is rated to 7.5 lbs, medium hooks to 3, small strip pairs to 1. Suction cups can hit 22 lbs on flawless polished tile or glass, but only if the surface is genuinely smooth and spotless. The capacity is real; the surface is the catch.
Over-the-door organisers and freestanding units: the deposit-safe picks
The blank back of the bathroom door is free real estate. An over-door organiser hooks on without tools and holds 20 to 40 lbs across its pockets, then lifts off clean at move-out. Freestanding pieces are the other deposit-safe staple — an over-toilet etagere, a ladder towel rack or a slim rolling cart touch the wall lightly or not at all and reposition freely.
What actually works on tile vs painted drywall (and what doesn’t)
Surface decides everything, so here’s the honest map before you buy:
- Polished ceramic tile or glass: suction cups work, adhesive strips work, tension rods press reliably. Your widest range of options.
- Smooth painted drywall: adhesive strips are your main play; suction cups won’t bond to matte or eggshell paint.
- Textured tile (common in older bathrooms): neither suction nor adhesive bonds correctly — go freestanding or over-door only.
Command strips pull off most latex-painted walls without residue when you follow the removal instructions, which is what makes them the default renter fastener for anything under 7.5 lbs. The full surface-by-surface breakdown lives in the guide to no-drill options for renters.
Empty Corners Are Wasted Corners — How to Claim Them
The corner past your toilet is almost always unclaimed — angled geometry means most flat-pack units don’t fit it, so it stays empty by default. Claiming it starts with one question — wet zone or dry zone — then picking among three product types sized for a triangle, not a wall.
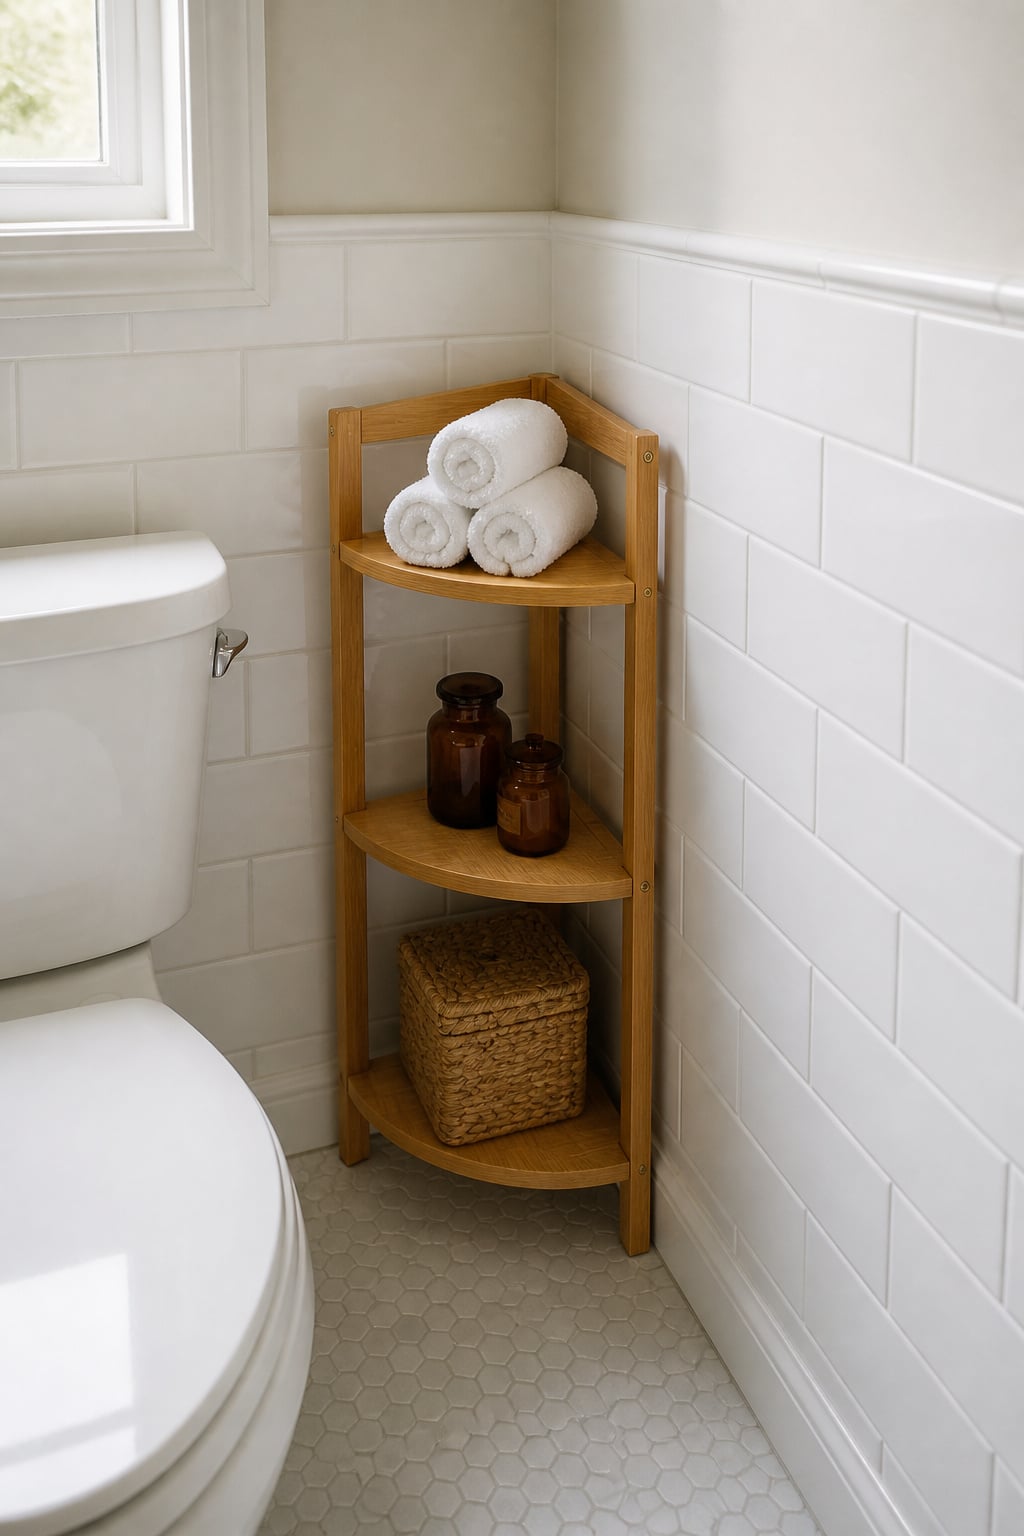
Corner shelving units vs corner cabinets: size and footprint differences
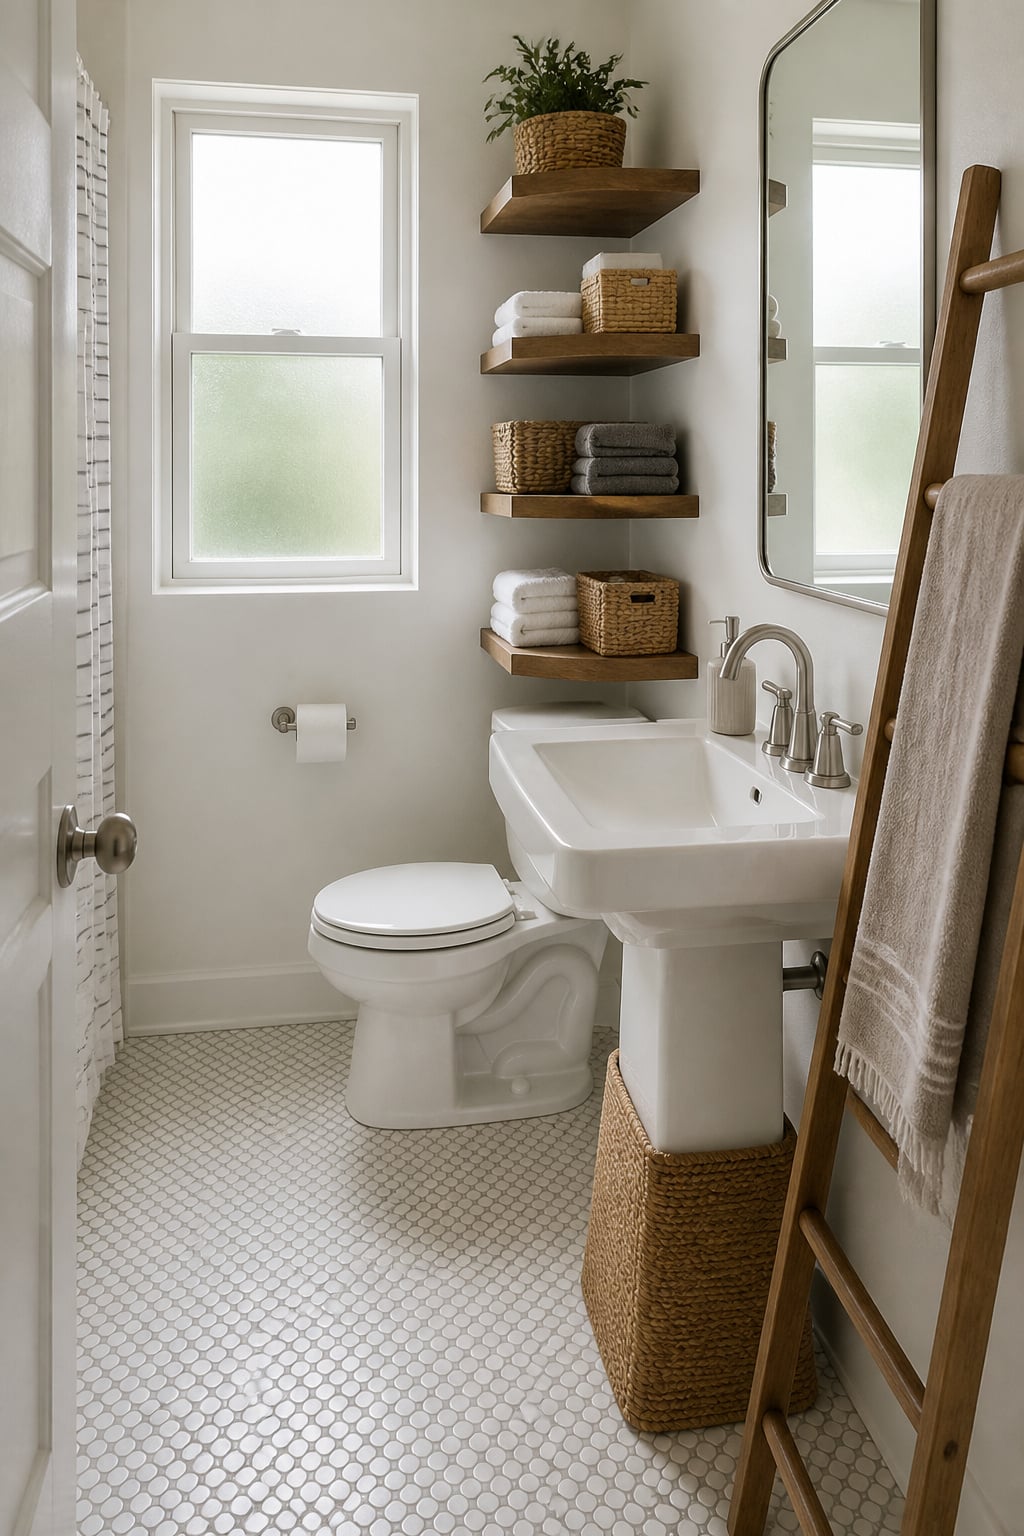
A freestanding three-tier corner shelf typically takes a 12-by-12-inch footprint at around 26.5 inches tall — small enough to tuck behind a door or beside the toilet. Want height without floor cost? Slim full-height units run about 13.8 inches wide and nearly 67 inches tall, stacking storage up the wall. Wall-mounted corner shelves are smaller still (around 8.25 inches per side) and need drilling or heavy-duty adhesive, but they suit corners where even a freestanding footprint is too much. Enclosed corner cabinets are less common but give you dust-free, deeper storage at 15 to 20 inches per side.
Tiered caddies and shower corner storage for tight spots
Inside the shower, a suction or adhesive corner caddy is the move. Suction versions hold up to 22 lbs on polished tile; adhesive-backed ones with a 24-hour cure can manage 20-plus on clean smooth surfaces. Typical shelves run about 9 by 9 inches at 2 to 3 inches deep — sized for shampoo and body wash without crowding the shower. Bamboo holds up well in humidity and hides water spots, which makes it a sound pick for both the shower zone and the open floor.
Mounted vs freestanding corner pieces: which installs are worth it
For rentals, freestanding corner units are the reliable answer, with adhesive corner shelves as a light-load no-drill alternative — you’ll see some rated as high as 50 lbs, but treat any single figure like that as a manufacturer claim to verify against the spec sheet and your surface, not a guarantee. For owned bathrooms with tile, a drilled-and-anchored shelf at a stud (or a toggle bolt rated for the load) is the most secure install going. For the geometry — measuring an off-square corner, sizing each product to the footprint — here’s how to put your empty corners to work.
Towels Take Up More Space Than They Should — Smarter Ways to Store Them
Towels are bulky, they need to dry, and in a small bathroom they fight you on both counts. The first decision isn’t a product — it’s whether drying or display matters more in a given spot, because that single call points you to hooks or bars.
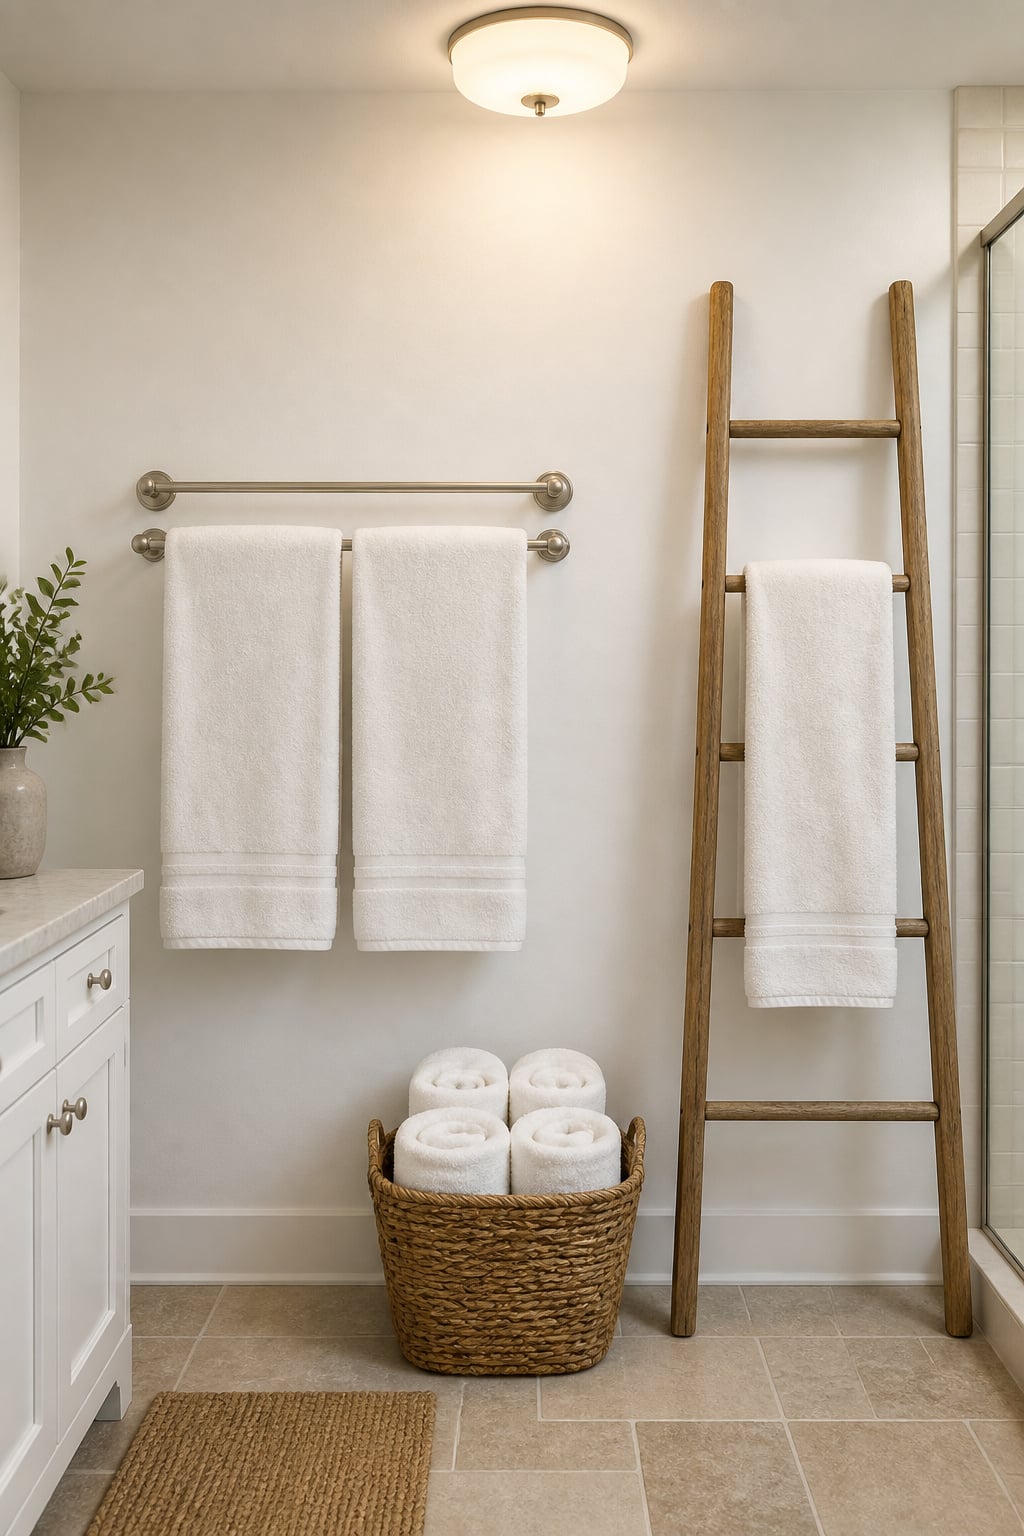
Hooks vs bars: the practical difference when drying matters as much as display
Bars let a towel hang flat, exposing the full surface to air, so it dries faster and grows less mildew. Hooks bunch the fabric against itself, which dries slower but takes far less wall and accepts any towel size, robes included. The professional move in a shared family bathroom is to use both: a bar for the daily bath towel that needs to dry, hooks beside it for robes and hand towels. A double towel bar doubles capacity in nearly the same wall width if you’re tight on space.
Ladder racks, rolled baskets and over-door racks for small bathrooms
When wall space is scarce, go vertical or go freestanding. A leaning ladder rack holds several full-size towels on its rungs with no anchoring — shallow 10-to-12-inch models slide in beside a vanity. A wicker or wire basket of rolled towels holds four to six and uses no wall at all. A multi-tier wall rack fits up to four towels in one bar’s footprint, and an over-door rack hangs bath towels on the door’s blank face, freeing the walls for shelves and hooks.
Balancing function with a look that doesn’t make the room feel smaller
Buy storage to match what you actually keep, not to fill the wall. Robern’s guideline is a sane baseline: two bath towels per person, two hand towels per bathroom, four to six washcloths per person. Over-install hooks and bars beyond that and you’ve crowded the room for towels you don’t own. Match the hardware finish to your other fixtures — brushed nickel, matte black, chrome — and the storage reads designed rather than assembled. Henrik Larsson’s take on smarter ways to store towels goes deeper on the drying-versus-display balance and the styled look.
The Small Bathroom Storage Playbook: Where to Start and What to Skip
Everything above is a menu. This is the order to work it, plus the traps that look like progress but aren’t. None of it is simultaneous — each step earns the next.
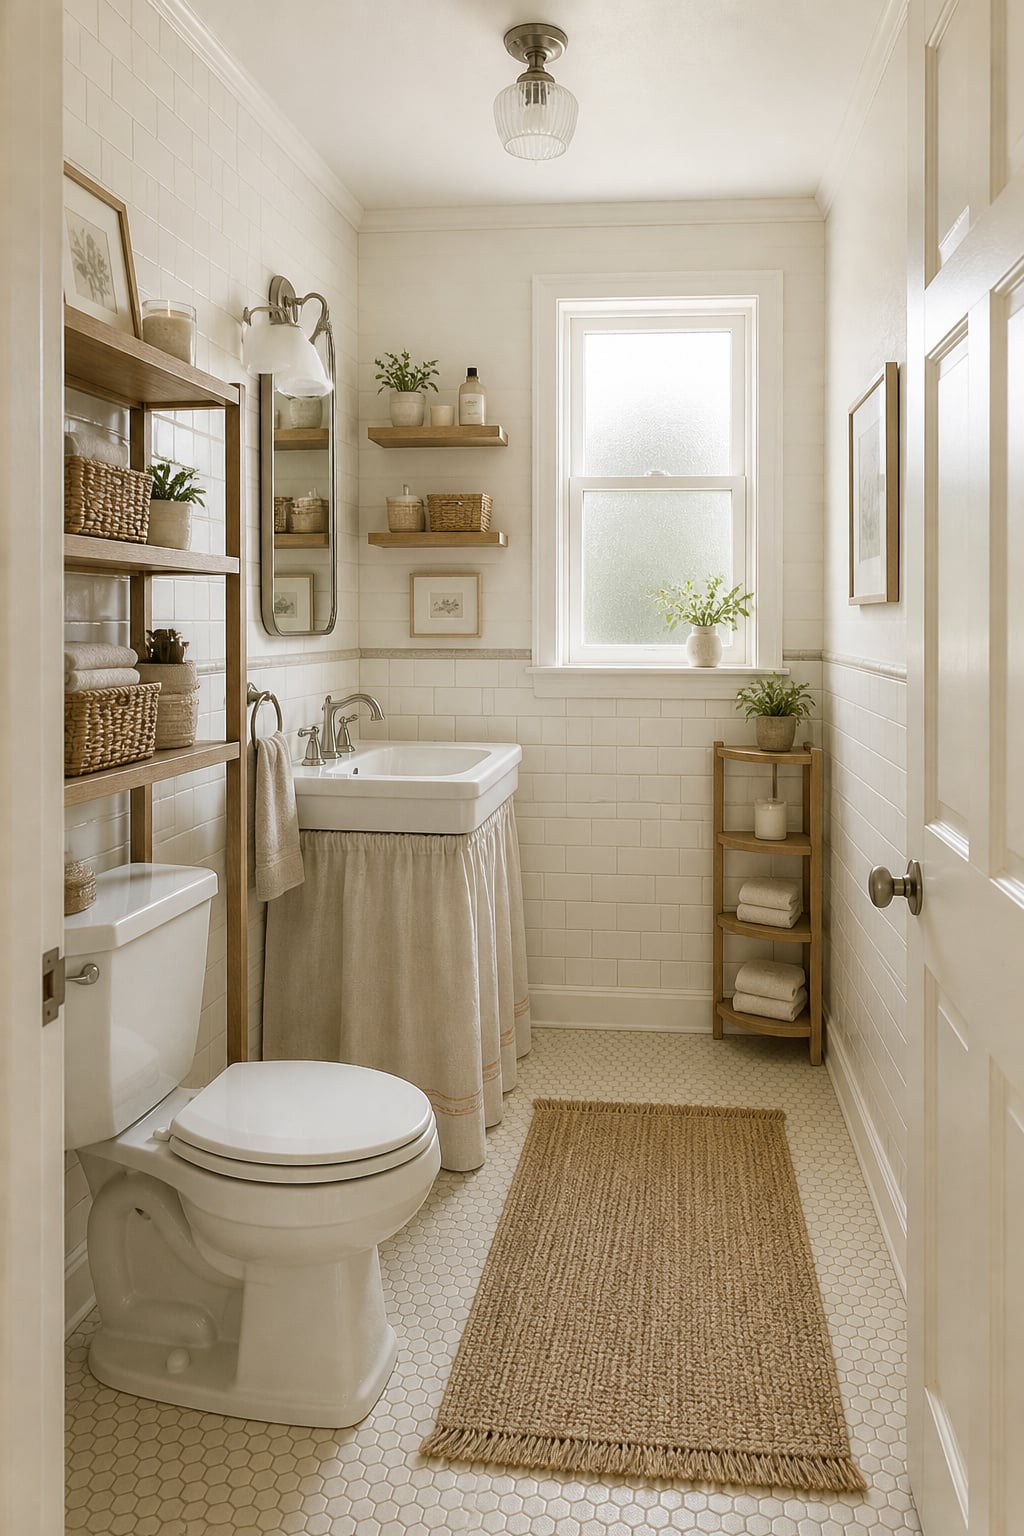
The priority order in plain language: what to try first, second and last
Step one is always declutter: editing out expired and duplicate items frees more usable space than any product. Step two is the over-toilet zone — the highest-value dead space, claimable with a $30-to-$100 etagere in under 10 minutes. Step three is your fixture constraint: renters install no-drill solutions, pedestal-sink owners add a skirt plus wall shelves, vanity owners maximise the cabinet interior. Step four fills the corners. Step five — open shelves and mounted hardware — comes last, because it asks for the most commitment and its payoff depends on the first four already being done.
Quick-reference: storage solutions by bathroom type
Different bathrooms start in different places. These profiles are synthesised from across the guide, but they’ll point you at your first two moves:
| Bathroom type | First move | Second move | Avoid |
|---|---|---|---|
| Renter | Freestanding etagere over the toilet | Over-door organiser + tension-pole caddy | Suction cups on textured or painted walls |
| No-vanity (pedestal sink) | Sink skirt with baskets underneath | Wall cabinet or recessed medicine cabinet | A pedestal sink with no replacement storage planned |
| Tiny shower room | Shower corner caddy (suction or adhesive) | Over-door hooks + a slim rolling cart | Oversized freestanding units that block the floor |
Three things that look like storage gains but cost you space
A few popular moves quietly shrink the room instead of helping it. Watch for these:
- An oversized bath mat. A mat covering most of the floor makes the room read smaller — it’s a space-perception mistake organisers flag constantly.
- Too many baskets and trolleys. As Sophie Pringle of Pringle & Pringle warns, temporary trolleys and baskets “take up valuable space, making a small room feel even tighter and less calm.” Every container you add should replace a clutter point, not sit alongside it.
- Backstock with no home. Buying spare toilet rolls and duplicate bottles without a designated shelf just sends them to the floor, eating the space you cleared.
The whole game is sequence and restraint. Edit first, claim the space above the toilet, solve your fixture, fill the corners, and add open shelving only when the room can carry it. Do it in that order and a 40-square-foot bathroom stops fighting you — not because you found more room, but because you finally used the room you had.