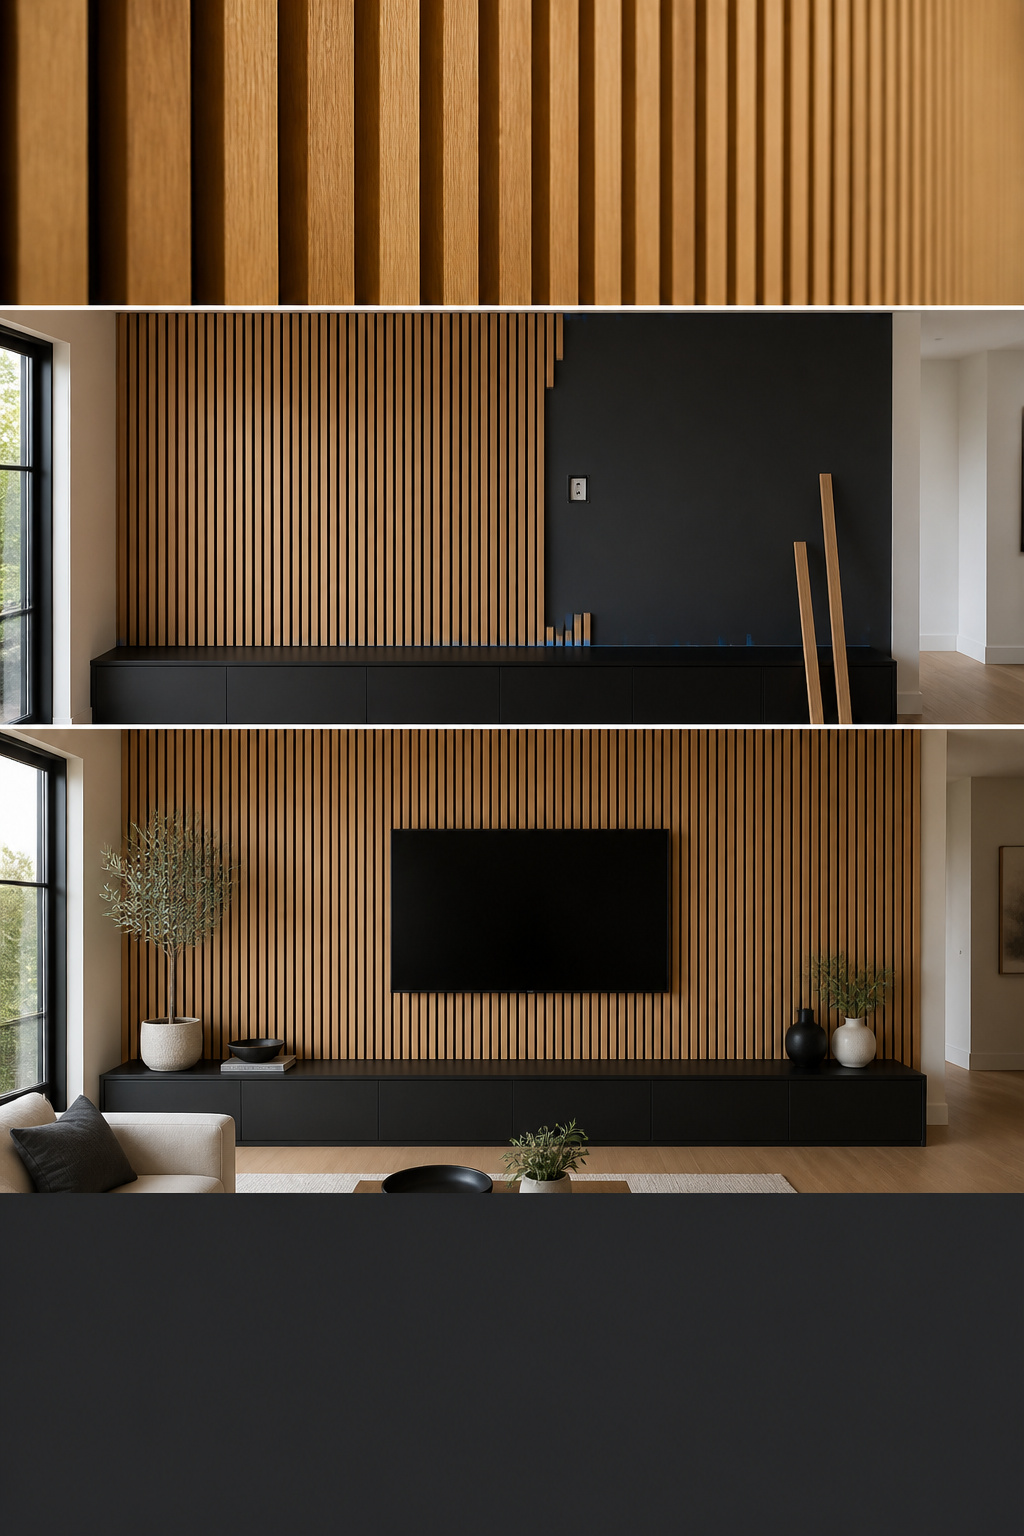
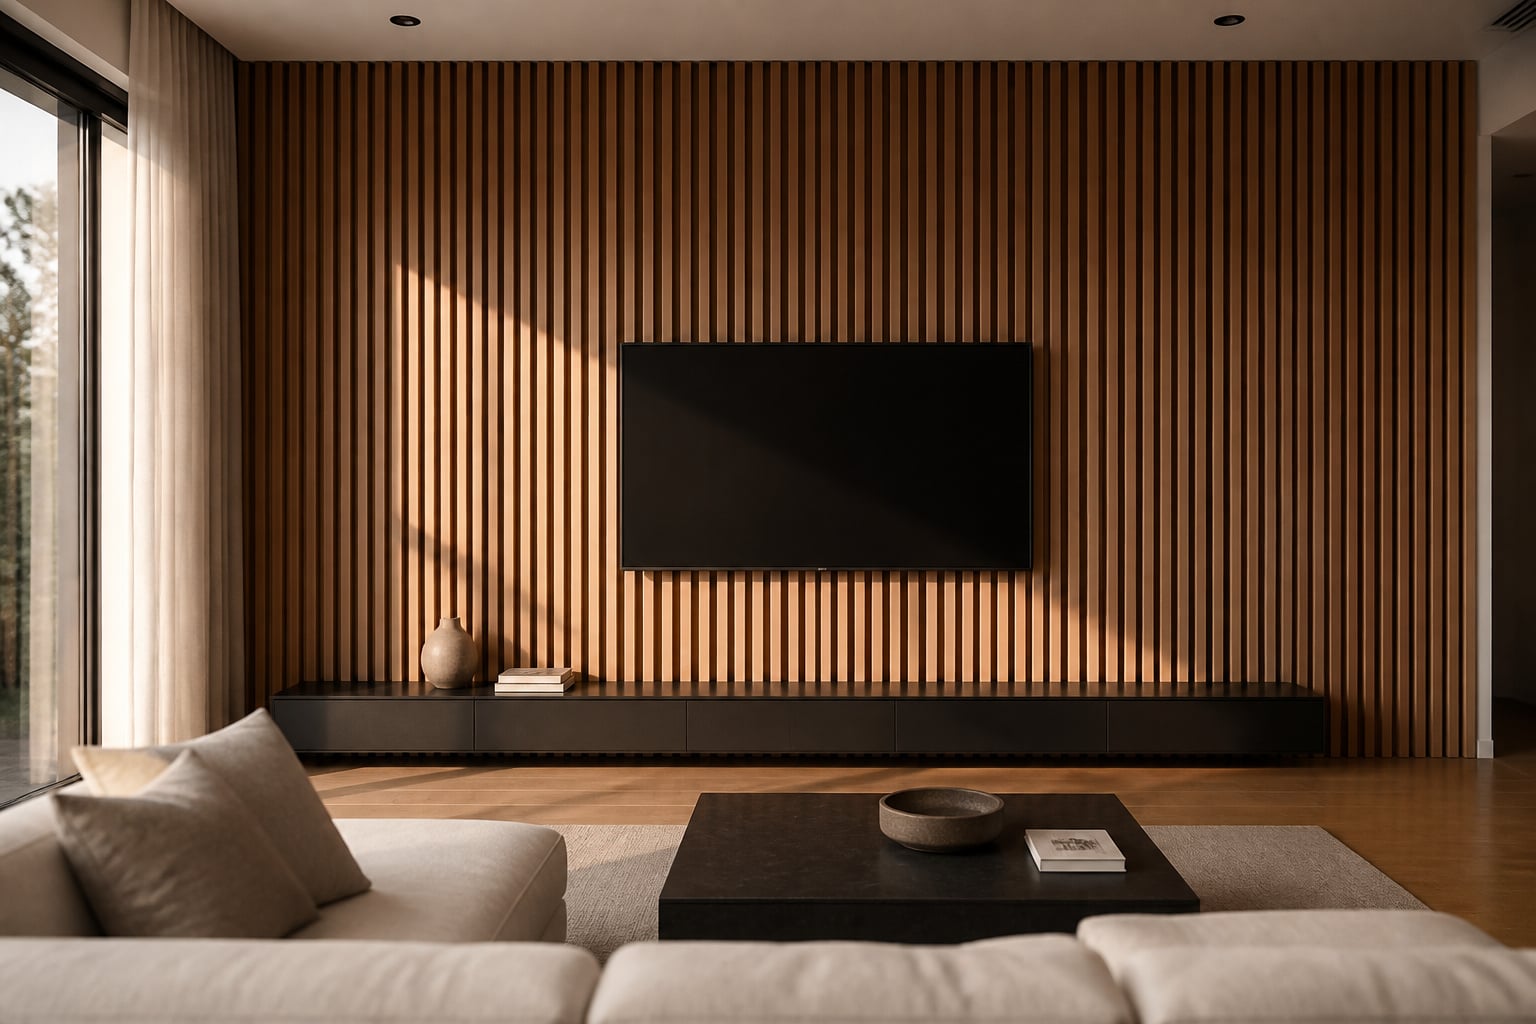
The last wood slat wall behind a TV I built cost $187 in materials and ate about ten hours of actual work, spread across a weekend so the stain could dry overnight. That’s the honest number — not the “under $50, one afternoon!” version you’ll see thumbnailed on video. Most of the time goes into cutting and finishing the slats flat on a workbench, not nailing them to the wall. Get that order right and you’ll have a warm, contemporary feature wall by Sunday night. Get it wrong and you’ll be staining around installed slats with a tiny brush, which is how a weekend becomes two.
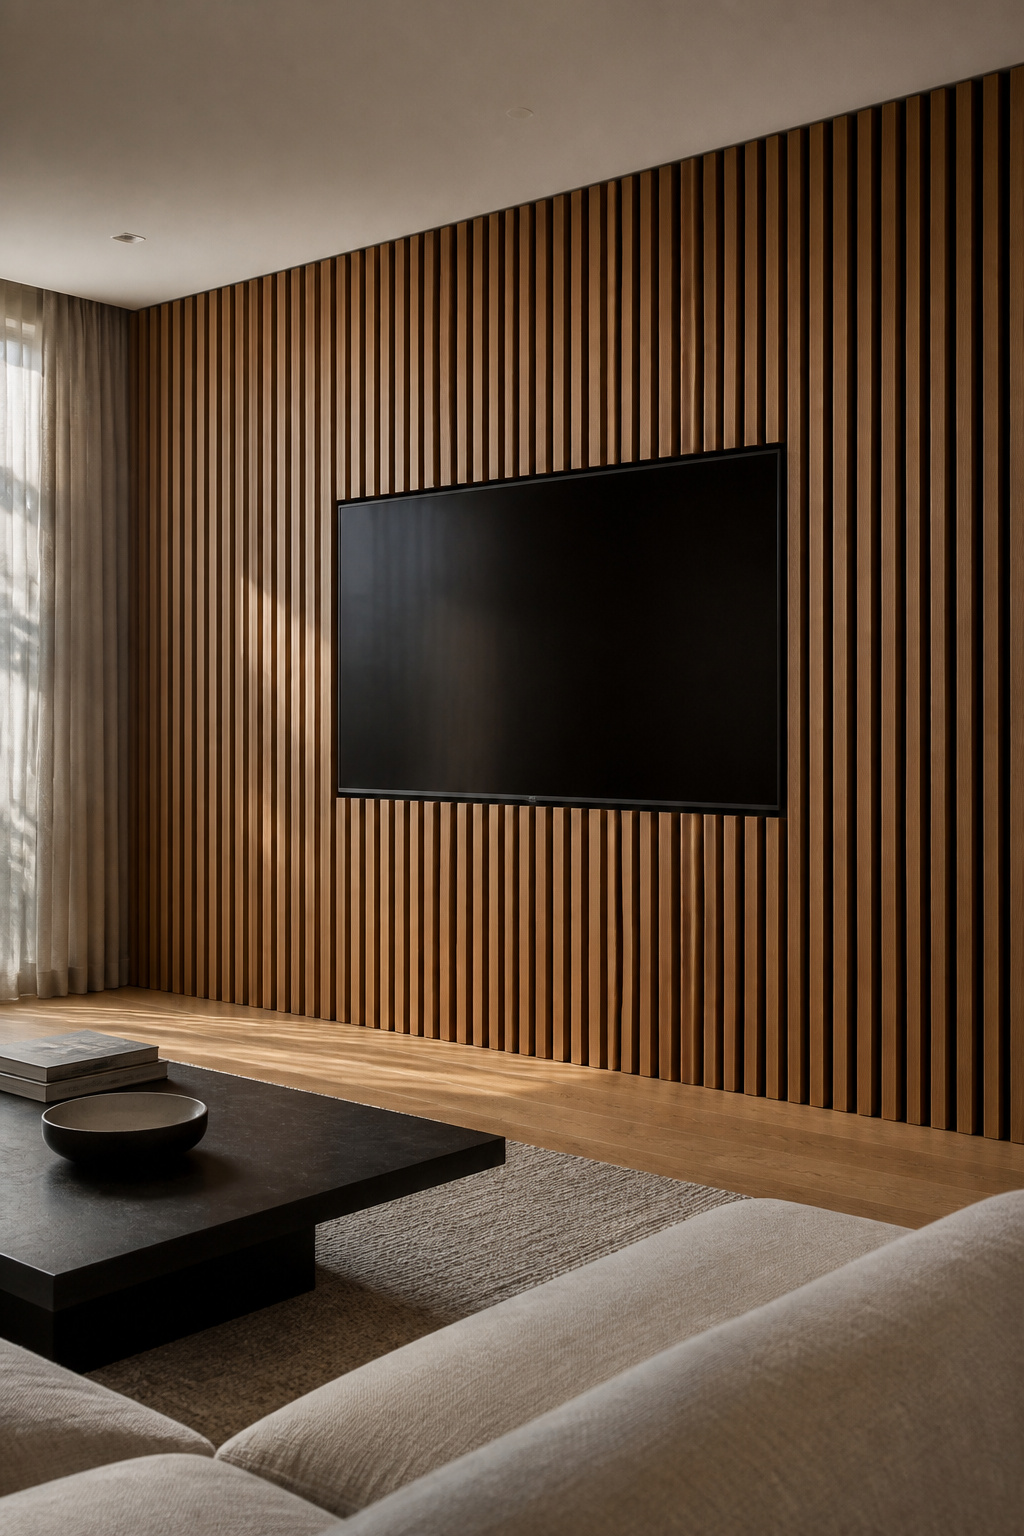
TL;DR
- A DIY wood slat wall behind a TV runs roughly $150–$200 in pine for a standard 8×5-foot section, and 6–12 hours of active work — not counting overnight stain drying.
- The rule that makes it look right: keep the gap narrower than the slat. A 1.5-inch slat with a 0.75-inch gap reads correctly from the sofa; equal gaps look striped.
- Add 3/4-inch plywood blocking behind the panel before the last slats go up, then bolt the TV mount through with approximately 3-inch lag bolts into a stud or that blocking.
What This Build Costs, How Long It Takes, and Who Can Do It
Materials budget: $150–200 for a standard 8×5-foot section
Lowe’s built a 10×10-foot slat wall for about $300 in select pine. Scale that down to a typical TV section — 8 feet wide by 5 feet of slatted height — and lumber lands around $120–$160 in pine, or $150–$200 with poplar. Here’s where my $187 went.
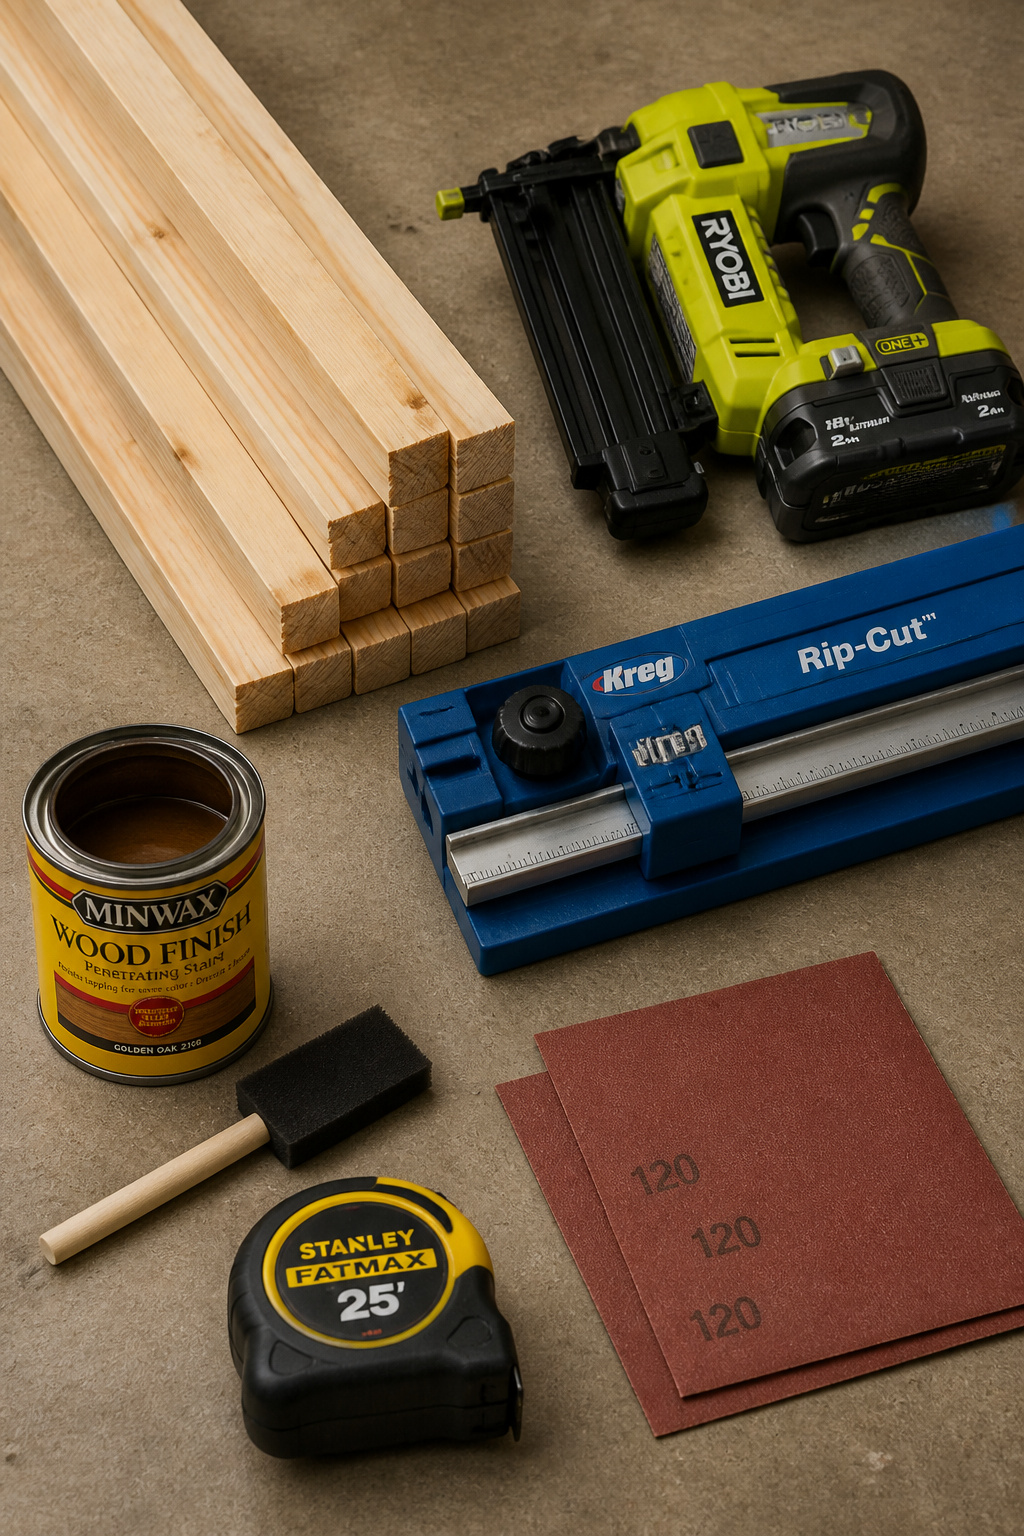
| Item | Approx. cost | Notes |
|---|---|---|
| Pine 1×2 furring strips (~45 boards) | $135–$225 | ~$3–$5 per 8-ft board (benchmark, verify locally) |
| Wood stain + foam brush | $18 | One quart covers a TV wall easily |
| Pre-stain conditioner (pine) | $10 | Skip this and pine blotches |
| Sandpaper, wood filler, brad nails | $20 | The unglamorous consumables |
| Matte polyurethane topcoat | $14 | Protects a wall that gets handled |
A brad nailer is the one tool you can’t fake — the Furniture Dr used a cordless HART (~$60–$80) with 1-1/4-inch brads. A 4-foot level, stud finder, and circular saw round out the list — one-time buys.
Time: a weekend if you plan right, two if you don’t
Plan to spend 6–12 hours of active work on a first build. One first-timer reported six hours total: two painting the wall the day before, four installing 60-plus slats. Lowe’s says a pre-cut wall “should take you less than a day.”
Those numbers exclude stain drying time. Oil-based stain needs 4–8 hours between coats, and you want it cured overnight before slats go up. Day 1: measure, cut, sand, stain, and prep the wall. Day 2: install after everything’s cured. Compress it into one day and you’ll be installing tacky slats.
Skill level: first build — you need a circular saw and patience
I rate this one a first build — no joinery, no tricky angles, just a saw, a brad nailer, and a level. If the saw stops you: a Kreg Rip-Cut guide ($45) handles plywood slats without a table saw, or the cut counter at Lowe’s or Home Depot rips sheet goods for $0.50–$1.00 per cut.
Choosing Your Slats: Wood Species, Width, and Spacing
Pine vs. poplar vs. MDF — the real trade-offs at the lumber yard
Pine and poplar are stocked at every big-box store. Pine 1×2 (8 ft) runs about $3–$5 a board; poplar runs $8–$12 — benchmark figures, not today’s tag. Over 40–50 boards that’s a real swing. But pine costs you elsewhere: it’s soft and blotchy, so it demands pre-stain conditioner, or the grain drinks stain unevenly and looks patchy under warm LEDs.
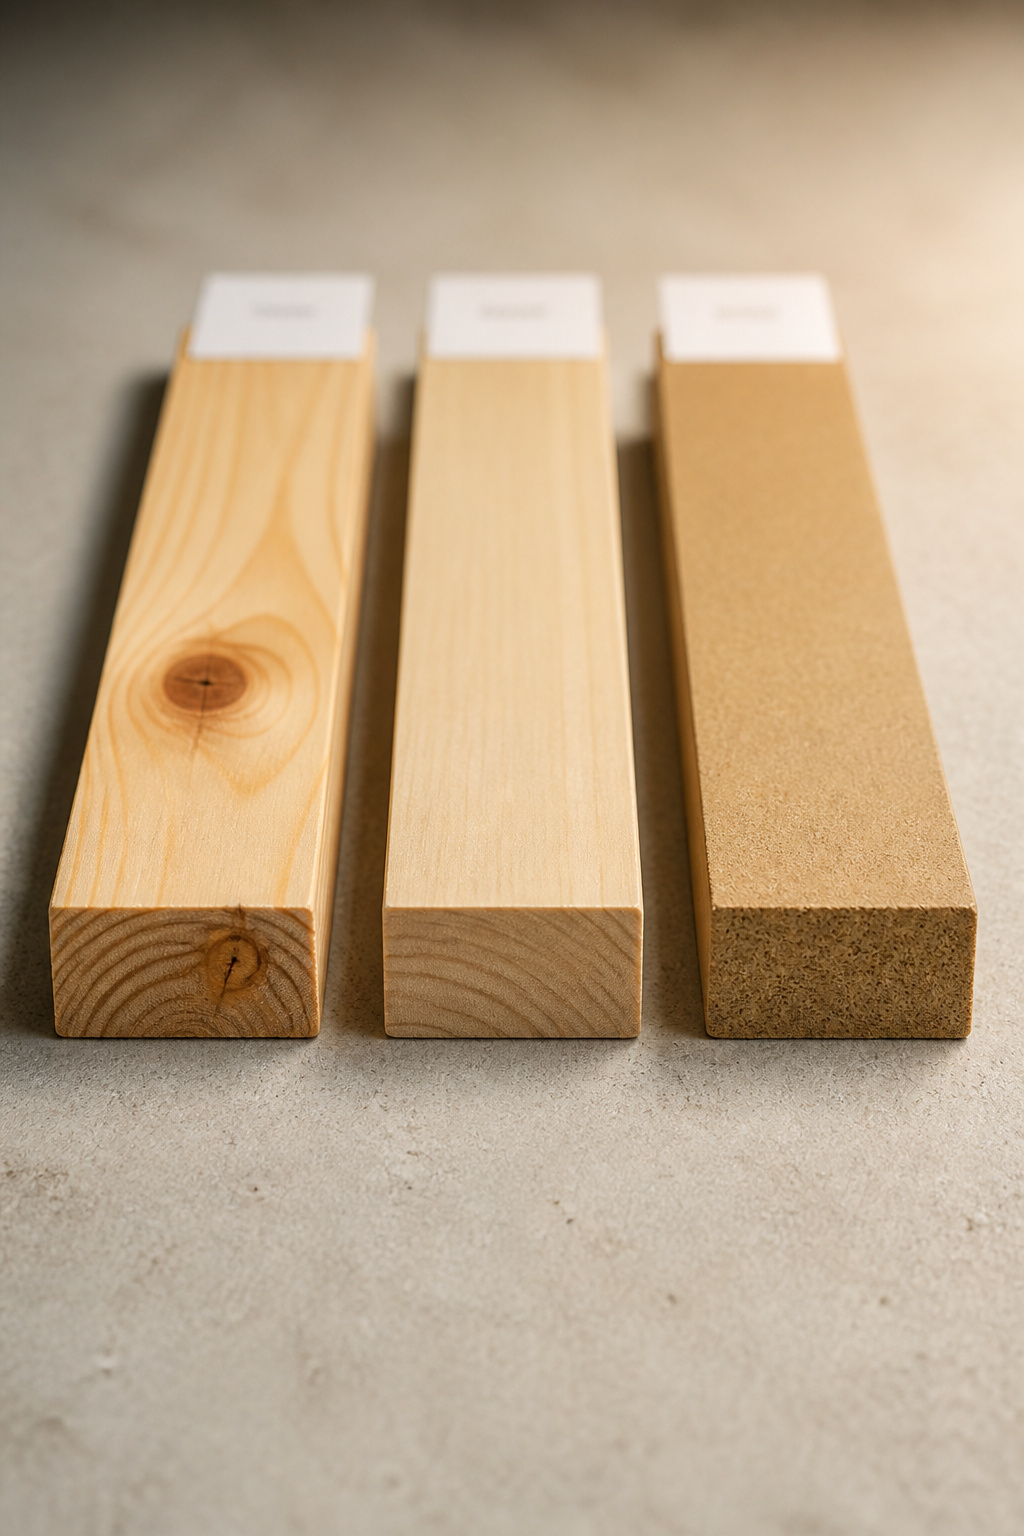
| Species | ~Cost per 8-ft board | Takes stain? | Beginner-friendly? |
|---|---|---|---|
| Pine 1×2 | $3–$5 | Needs conditioner first | Yes — soft, easy to cut |
| Poplar 1×2 | $8–$12 | Yes, evenly, no conditioner | Yes — harder, dents less |
| MDF strip | Low | Paint only, not stain | Cuts clean, but swells if wet |
| White oak / walnut | $15–$40 | Beautifully | Harder to cut clean |
For a stained TV wall, I reach for poplar: even finish, harder surface, and the 20–30% premium beats the blotch lottery on pine. As Andor Willow puts it, use the wood that serves your finish. MDF is dimensionally stable but swells if moisture reaches it — keep it off humid, exterior-facing walls.
Slat width and spacing: the 1:1 ratio starting point
The gap must be narrower than the slat — more wood than wall. A 1.5-inch slat with a 0.75-inch gap reads correctly from normal viewing distance; equal gap and slat looks too stripey. Lowe’s editor Leanne Potts is blunt: 2-inch slats with a 1-inch gap is the safe ratio from a sofa.
Slat count: wall width ÷ (slat width + gap). An 8-foot wall at 1.5-inch slats and 0.75-inch gaps: 96 ÷ 2.25 ≈ 42 slats. Buy 47 — add 10–15% for off-cuts.
Pre-finished vs. raw: stain now or after install?
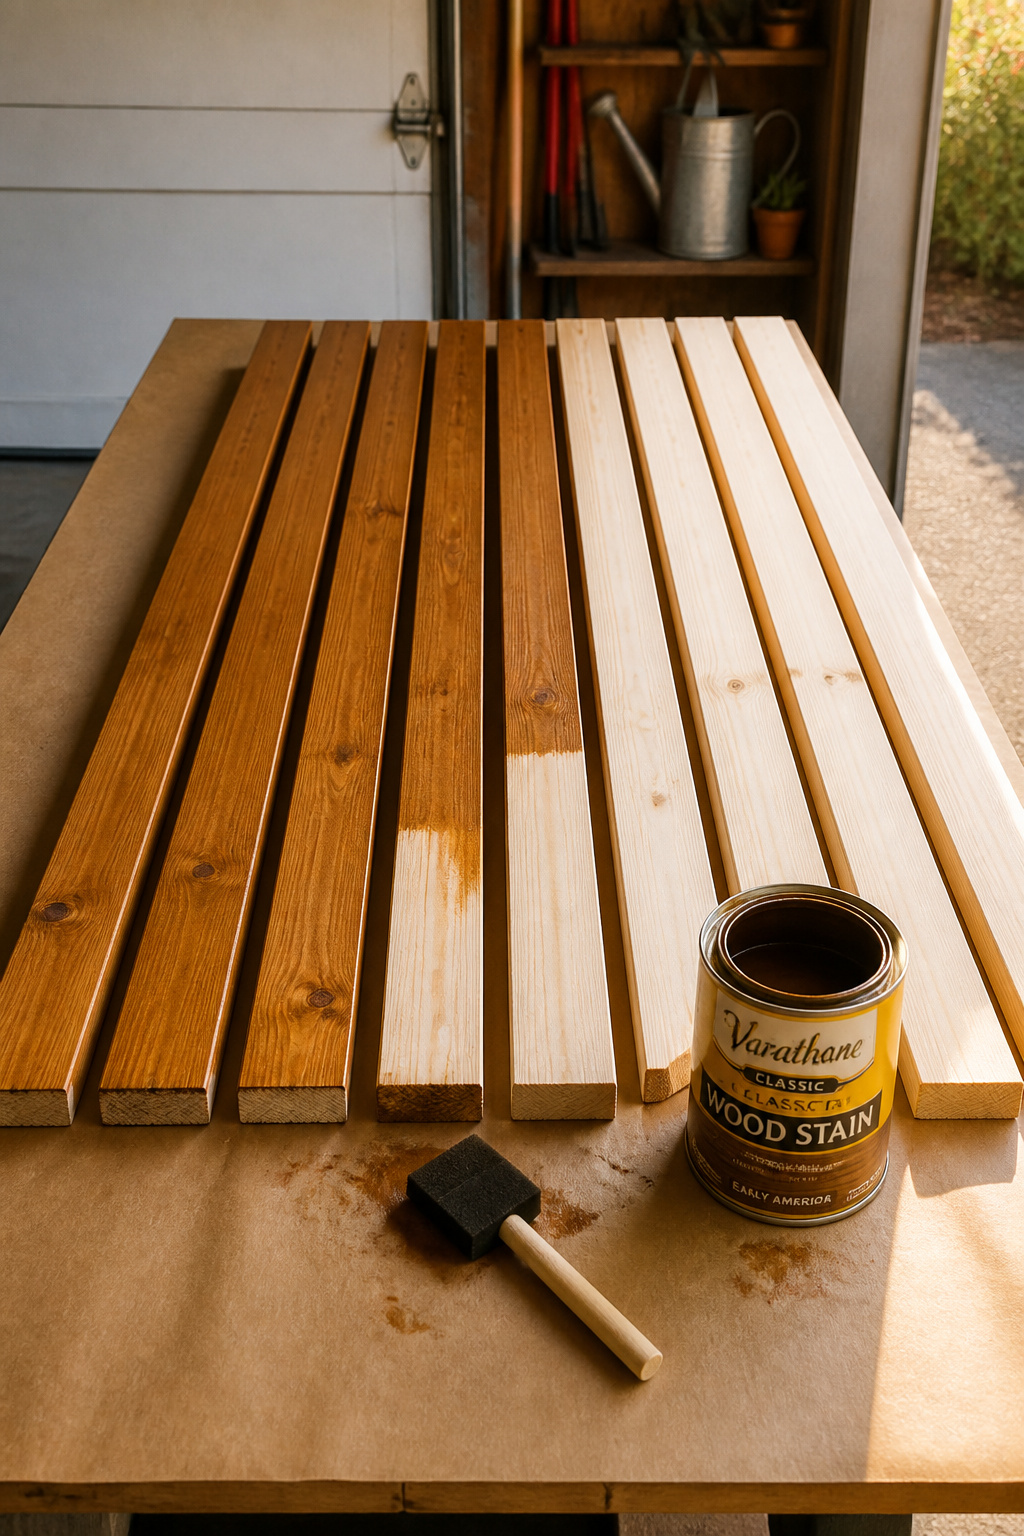
Stain before you install — every credible guide agrees, and so does my back. On a workbench you reach every face and edge in seconds. Paint the backing wall its dark color first (charcoal or navy through the gaps gives depth), because touching up behind installed slats is impossible. Stain the front and both long edges; the back stays bare. If color restraint appeals more than wood grain, a painted accent wall instead is the lower-effort cousin.
Building the Wood Slat Wall: Cutting, Finishing, and Installing
Measuring, cutting, and finishing flat on a bench is 80% of the labor and 100% of whether it looks professional. Work this sequence:
- Measure the wall height at three points — both corners and center. Ceilings are rarely level, so cut each slat to its own measured height, not one number for all 42.
- Cut a spacer block from scrap to your exact gap width before cutting a single slat. This block is your install guide; getting it right now beats fudging it on the wall.
- Rip your slats. Dimensional 1×2 lumber comes pre-sized. If you’re ripping plywood, have the store cut 12-inch strips, then rip those to width at home with the Kreg Rip-Cut.
- Sand to 120 grit with a random-orbit sander, then 150 for final smoothing.
- Condition raw pine: brush on pre-stain conditioner, let it penetrate 15 minutes, then stain within two hours before it dries.
- Stain fronts and both long edges. One coat for light tones, two for dark. Let each coat dry fully — 4–8 hours for oil-based.
- Topcoat with matte polyurethane. A TV wall gets touched by hands, dust, and remotes far more than a plain accent wall, so seal it.
Don’t sand past 150 grit before oil stain. General Finishes notes a smoother surface has fewer open pores — finer grit means a lighter stain. Want rich color on pine? Stop at 150.
The classic weekend-killer is staining after installation. You cannot get a brush cleanly into a half-inch gap, so the color goes on streaky, the edges stay bare, and you spend Sunday with an artist’s brush. Finish flat, finish first, every time.
Finding studs, setting a level baseline, and the first slat
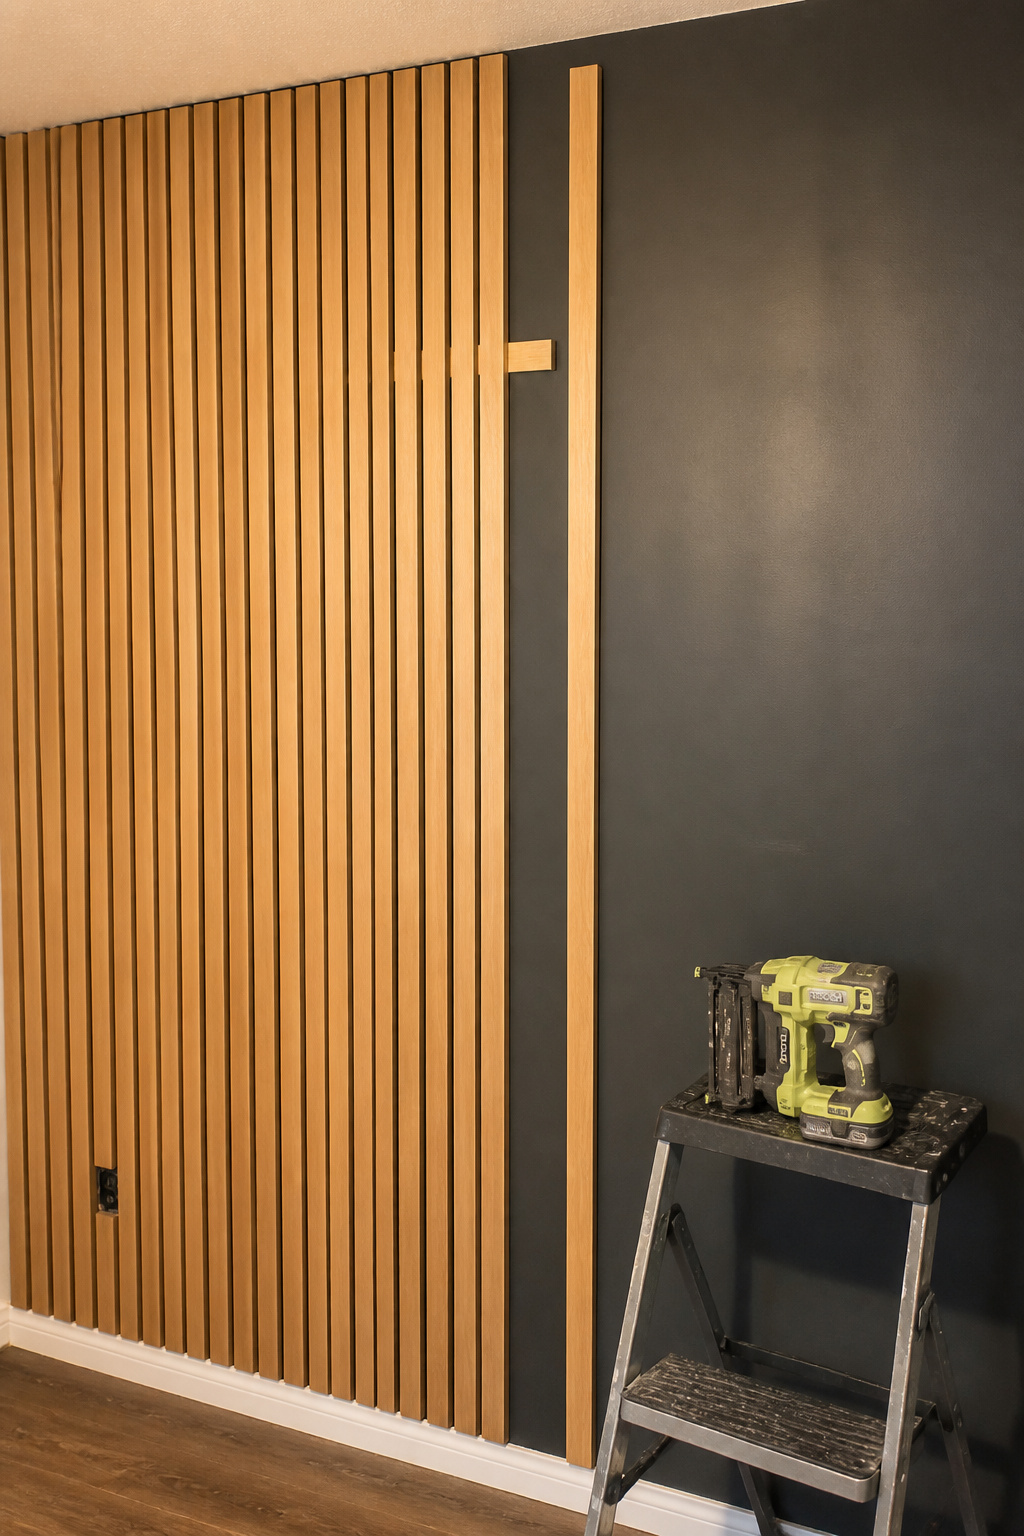
For a TV wall I install a backer board first: a 1/8-inch MDF sheet screwed to the studs flattens an uneven wall, lets you nail anywhere without hunting studs, and creates the void where low-voltage cables run. On flat drywall you can go direct: construction adhesive on each slat back plus two or three brad nails angled into a stud where one exists.
Mark every stud top and bottom across the full width — US framing is 16 inches on-center. Set the first slat dead level with a 4-foot level, checking center and both ends before you nail. This one slat decides the whole wall: an 1/8-inch error compounds visibly across 40-plus slats and there’s no fixing it later.
Fastening methods: brad nailer vs. construction adhesive vs. both
You need:
- An 18-gauge brad nailer — small enough not to split 1×2 lumber; the standard tool here.
- 2-inch brad nails — driven at an angle into studs for grip.
- Construction adhesive (optional) — or skip it for renter-friendly removability.
- Wood filler matched to your stain — Minwax sells pre-colored Golden Oak and Dark Walnut, which cuts touch-up time.
- A spacer block — the scrap you cut in step 2, the single thing keeping your gaps honest.
My recommended approach is both: a thin bead of panel adhesive on each slat back, then 2-inch brads at the studs. Adhesive kills the hollow knock; brads hold while it cures. One hard rule from builder Lilly Skjoldahl: don’t use liquid nails alone — it’s so strong it’ll wreck the drywall on removal. Fill the nail holes, sand flush, dab with diluted stain, and they disappear. If you’re framing the screen with more than slats, this is the moment to plan how you’d add built-ins around the TV.
Mounting the TV Over Slats: What to Do Before the Last Slat Goes Up
Three things must happen during the build — you can’t add them once the panel is closed.
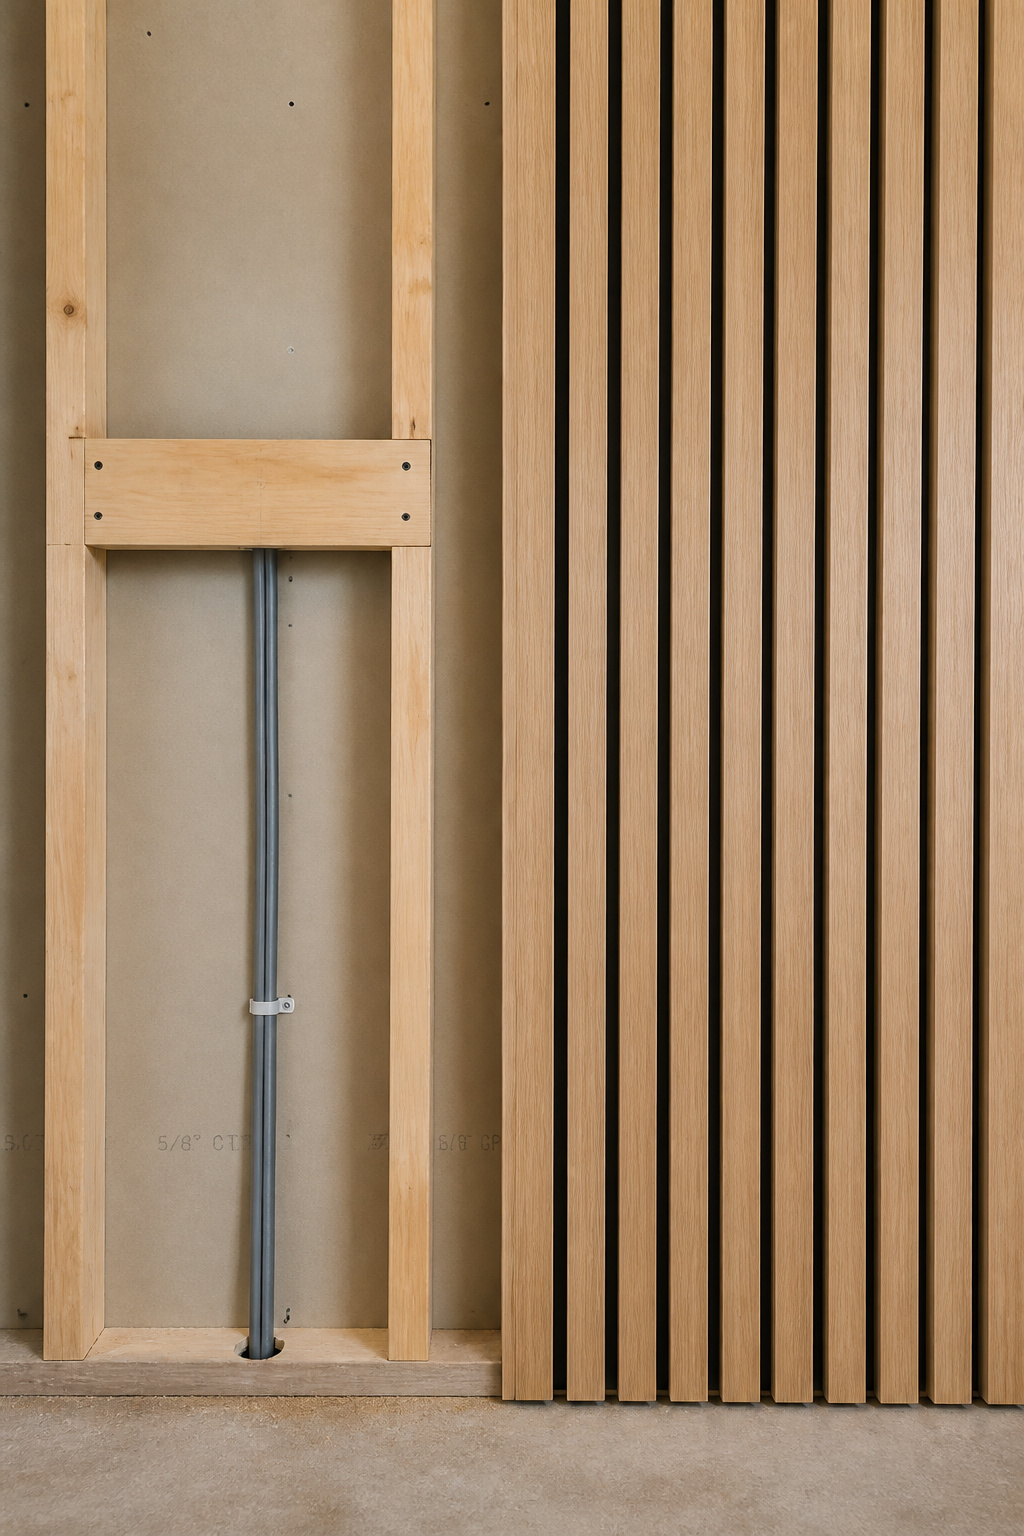
- Add blocking first. Before any slats go up, screw a 3/4-inch plywood blocking panel — about 24 inches wide — into the studs at both edges, centered around 42 inches from the floor (TV-center height for seated viewing). The mount then bolts through the slat panel into solid wood.
- Photograph and mark it. Once slats cover the wall, that blocking is invisible. Shoot a photo with a tape measure in frame so you can find it later.
- Run cables now. Drop low-voltage cables (HDMI, ethernet) through the backer-board void, or run in-wall conduit from the TV position down to the console before slats close the wall. Leave 2–3 slats out where the bracket sits, secure the mount, then trim those slats around it.
On fasteners: a slat panel adds 3/4 to 1.5 inches of standoff, so standard mount bolts may no longer reach the stud. Practitioners reach for 3-inch lag bolts — builder guidance, not a code spec, but enough length to bite through panel, drywall, and into framing. Per Wall Panels World, the bracket must bolt into structure (stud, blocking, or masonry), never the slats alone. For a heavy articulating mount, run a continuous plywood strip stud-to-stud to distribute the load. Once the gear’s up, hiding the wires is its own job — the complete guide to TV wall design covers it.
Common Mistakes and How to Fix Them
Three failures account for most slat-wall regrets, and each has a recovery.
The first is bowing and cupping — slats that bend along their length or pull up at the edges weeks after install. The cause is differential moisture exchange, usually from finishing the front while leaving the back bare. Two preventions: seal all six faces (even a thin wash coat on the back helps), and let lumber acclimate in the room for 48–72 hours before cutting. A mildly bowed slat can be coaxed flat with adhesive behind the bow and a 24-hour weight; a badly cupped one needs to come down, re-moisten the concave side, weight flat, and reseal.
The second is uneven spacing that shows from across the room. Your eye cannot hold a consistent gap across 40-plus slats — that’s the whole reason for the spacer block, used at top, middle, and bottom of every slat before you nail. Gaps varying by an eighth-inch or less read as handmade texture from 8–12 feet away; anything past a quarter-inch shows. If you brad-nailed rather than glued, pull and reset.
The third is the finish that looked perfect at the store and wrong on the wall. Store chips are judged under retail fluorescents; your living room runs warm 2700K LEDs, which push wood stain toward orange-amber. Prevent it by staining two or three test boards from your actual lumber and viewing them under your lights before committing. If you’re already orange, Sherwin-Williams’ fix is color layering: scuff with 220 grit and wipe Minwax Classic Gray over the top to pull the warmth back — no stripping required.
A wood slat wall behind a TV is one of the highest-payoff weekends a first-time builder can spend: basic skills, under $200, and a result that looks like it cost five times more. Measure your wall at three heights and cut a spacer block.
FAQ
How much does a DIY wood slat wall behind a TV cost?
A DIY wood slat wall behind a TV covering roughly 8 feet wide by 5 feet of slatted height costs about $150–$200 in materials using pine furring strips. Pine 1×2 boards run an approximate $3–$5 each, and a typical TV wall needs 40–50, plus $20–$40 for stain, sandpaper, filler, and brads. Scaling up to a full 8×8-foot wall pushes materials toward $300.
Can you mount a TV directly on a wood slat wall?
Yes, but only if the mount’s lag bolts reach structural framing, not just the slats or drywall. Add a 3/4-inch plywood blocking strip to the studs before installing slats, then bolt the mount through the panel into it. Practitioners use approximately 3-inch lag bolts to penetrate the panel, drywall, and reach the stud — that’s builder guidance, not a published code spec.
What wood is best for a slat wall behind a TV?
Poplar is the best all-round choice for a stained or painted TV wall: its fine, uniform grain takes finish evenly without a conditioner, it resists dents better than pine, and big-box stores stock it. Expect to pay 20–30% more than pine. Pine works on a budget but needs pre-stain conditioner to avoid blotching.