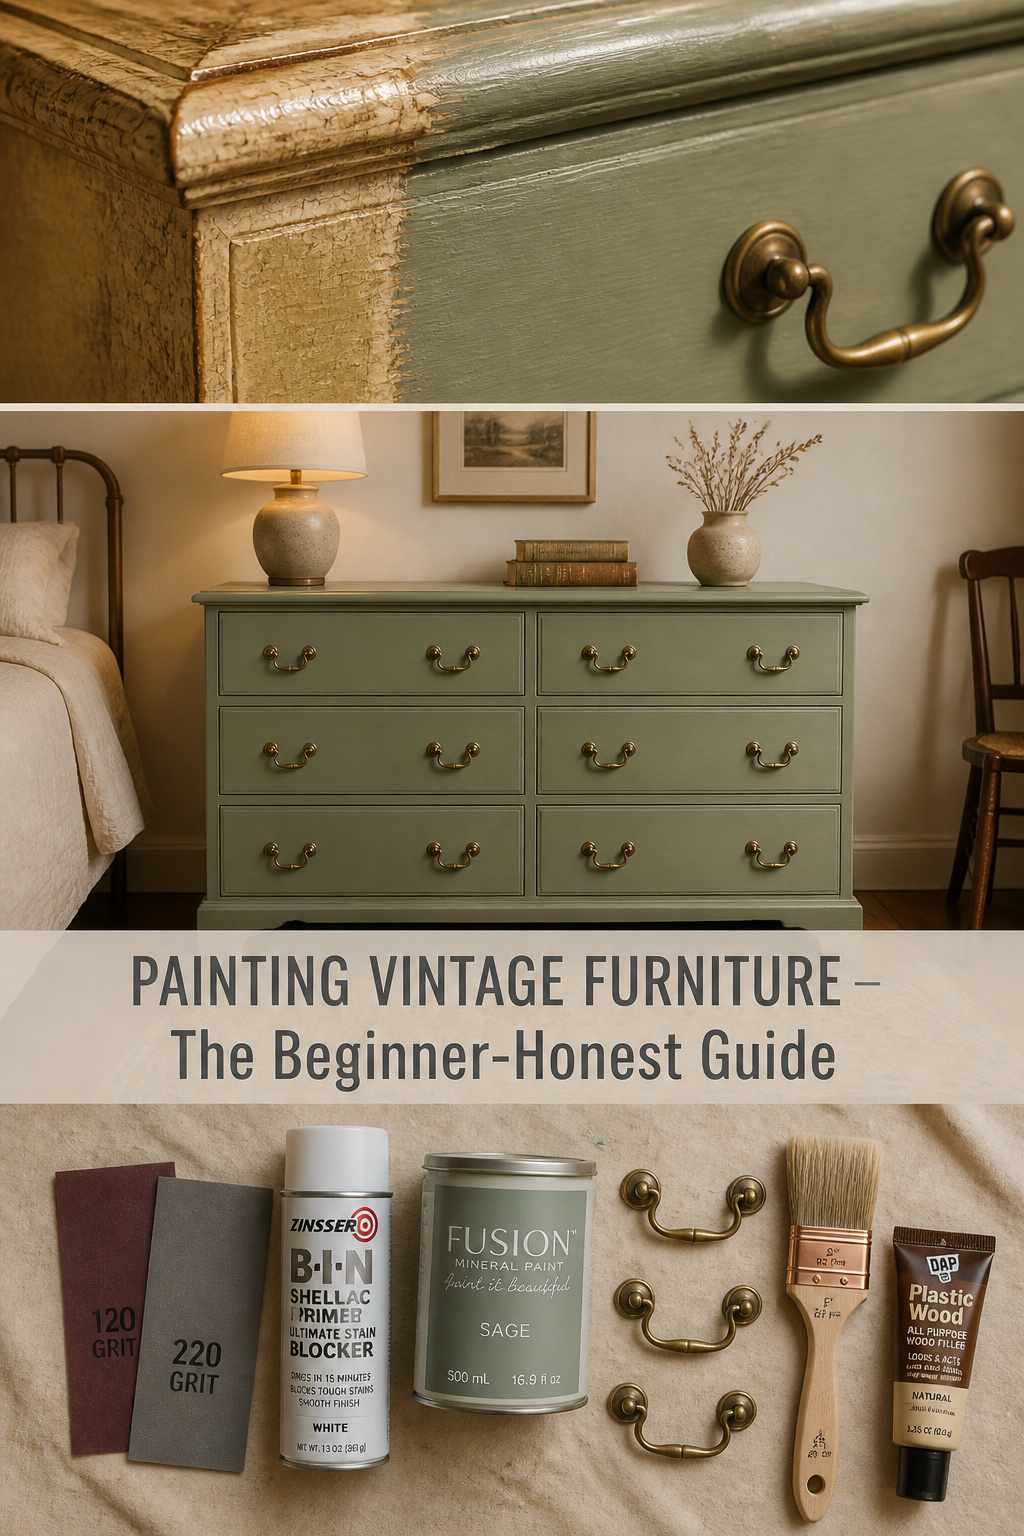
Here is the part the two-hour makeover videos skip: painting vintage furniture costs about $55 to $150 in materials and takes two weekends, not one afternoon. The first piece always runs 50 to 100% longer than the tutorial promised. I’d rather tell you that now than have you find out at 9pm on a Sunday with one tacky coat on and a dresser you can’t use. Done right, though, a tired thrift find becomes the best thing in the room. I built my sister a kitchen island out of $212 in stock lumber and her family still calls it “the showroom one” — cheap material, honest finish, reads expensive. A painted dresser works the exact same way.
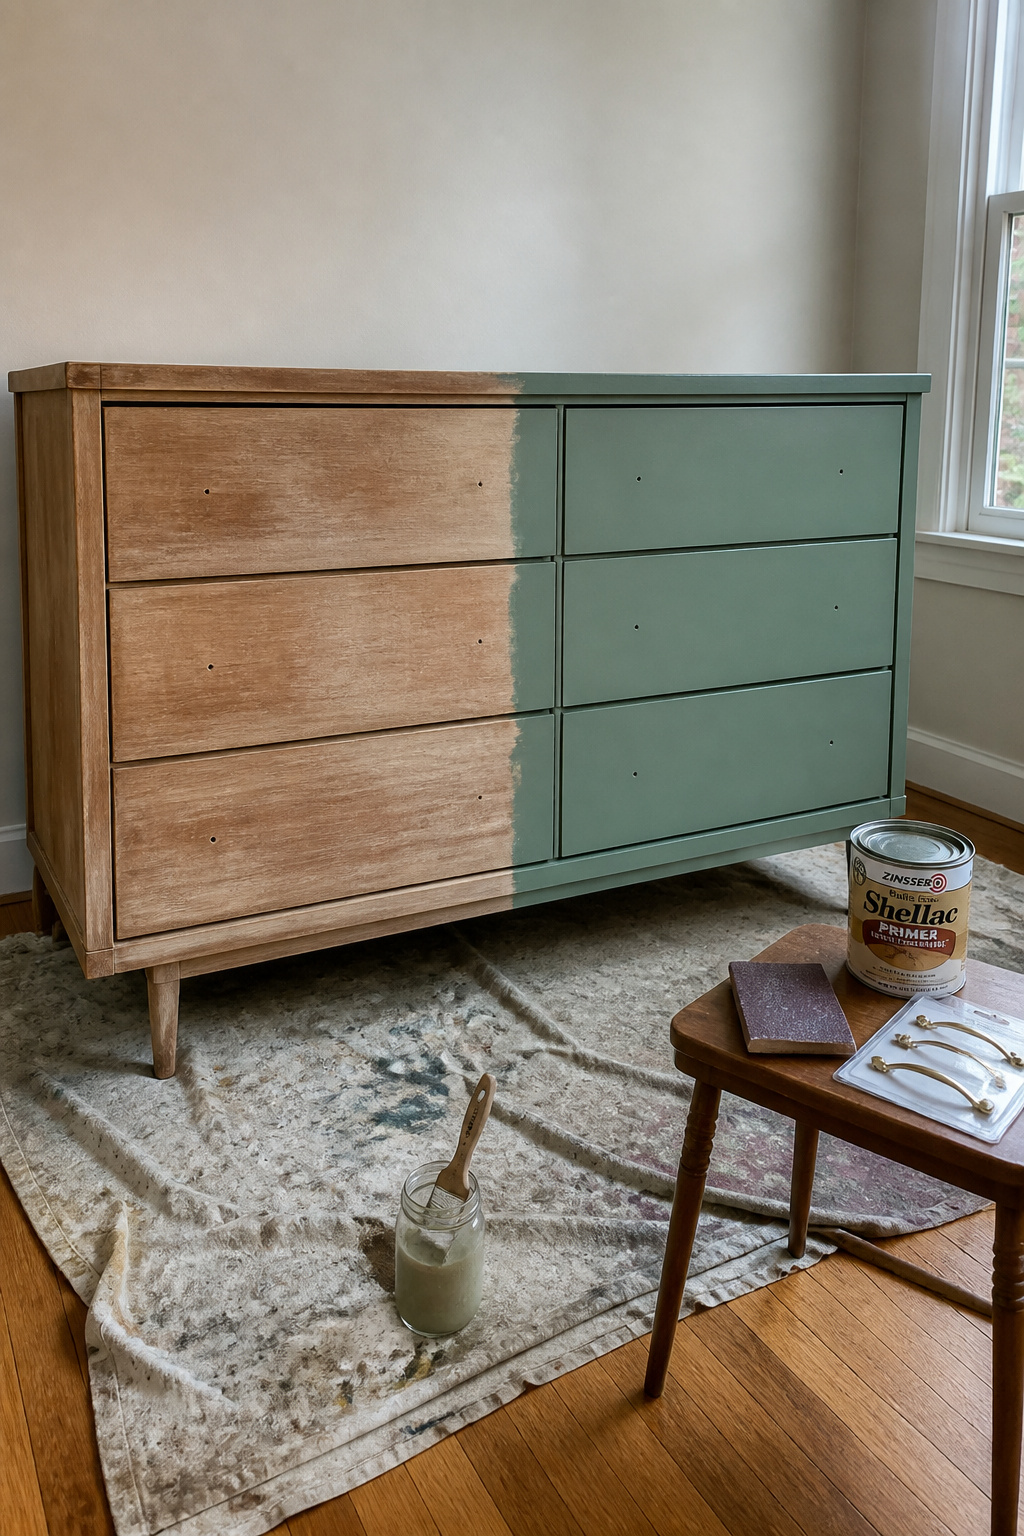
TL;DR
- Budget $55-$150 in materials and two weekends; rushing dry times causes most peeling, streaking and sticky finishes.
- About 85% of a lasting finish is prep — clean, scuff-sand at 120 then 220 grit, fill, and prime — not the painting itself.
- Use shellac primer on old or waxed wood, a furniture-formula latex or chalk paint over it, then cure 30 days before full use.
Before You Open Any Paint: The Decision You Have to Make First
The first question isn’t what color. It’s whether you should paint this piece at all. Get that wrong and no amount of good technique saves you.
The “too good to paint” test — and what makes a piece worth keeping original
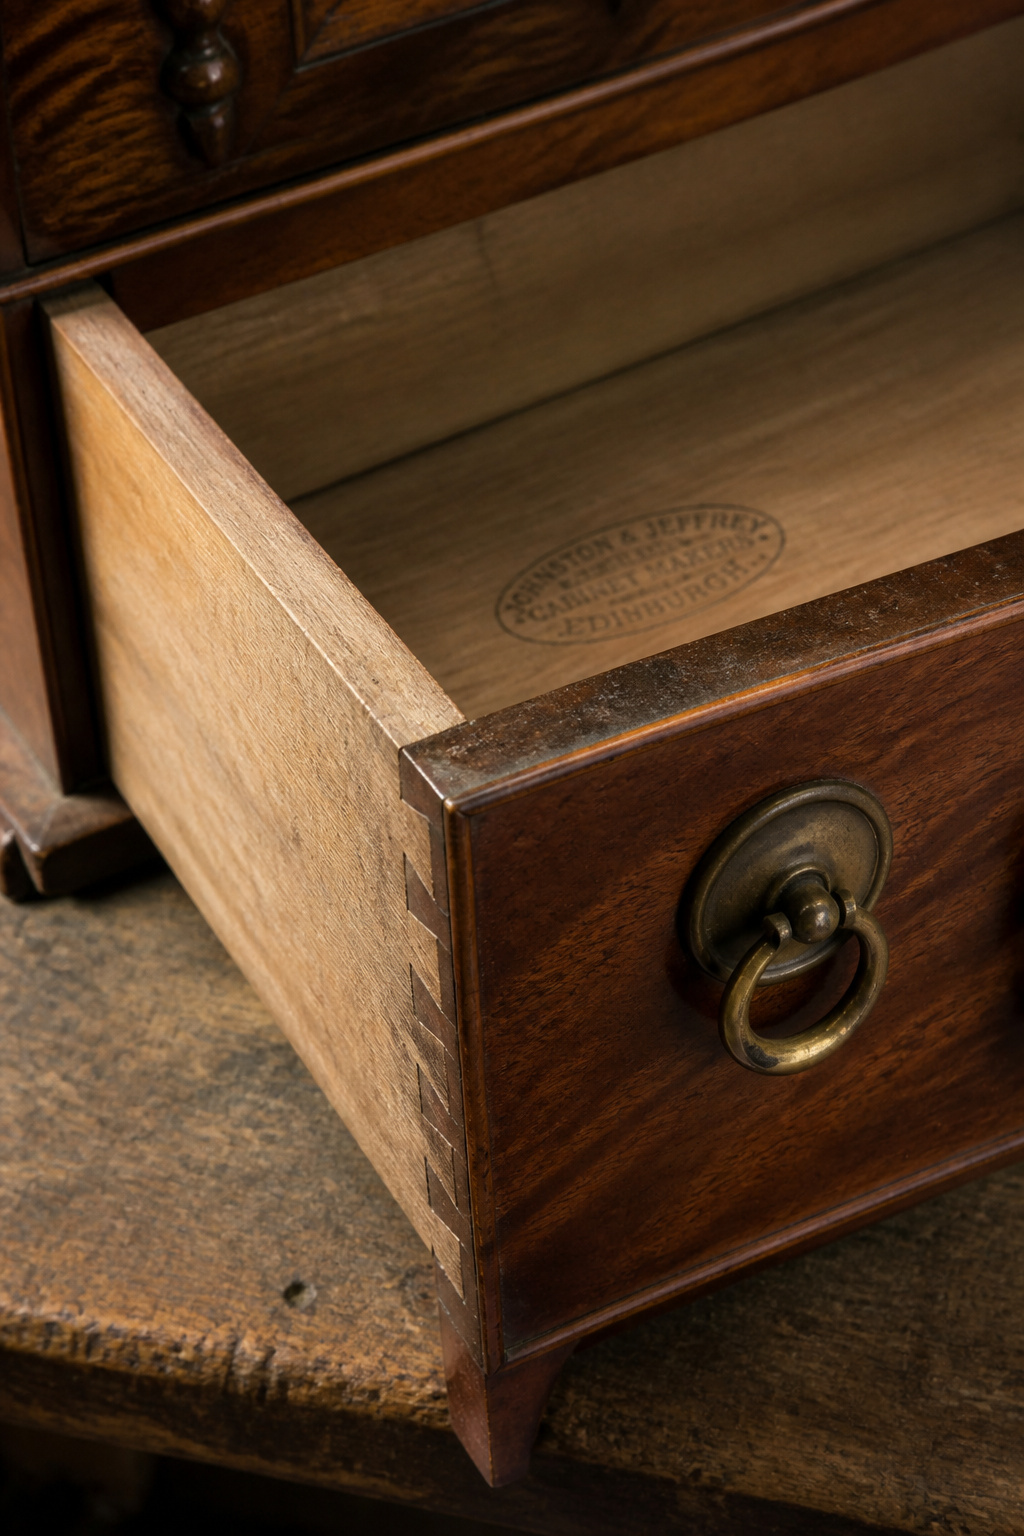
Painting a genuine antique can erase its value almost completely. Heirlooms at Home documents one dresser worth $1,250 unpainted that dropped to $50 after a coat — a 95%-plus loss. So turn a drawer over first and check the bottoms and undersides for a maker’s stamp; names like Stickley or Heywood-Wakefield mean stop and get an appraisal. Hand-cut dovetails and figured grain — quartersawn oak, tight mahogany — are signals too. As designer Linda Merrill puts it, painting a fine attributable piece “is not restoration; it is erasure.” That one belongs in styling genuine antique furniture territory. Paint is the right call when the veneer has peeled past repair, the substrate is particle board, water has stained the wood black, or a past refinish already wrecked the original finish.
What this actually costs — materials, time and a realistic weekend count
I budget out loud. Here’s what a six-drawer dresser runs:
| Item | Cost | Notes |
|---|---|---|
| Chalk paint or furniture latex | $15-$35 | One quart covers a dresser |
| Shellac-based primer | $12-$18 | Skip this, pay for it later |
| Sandpaper set (120 + 220) | $8-$12 | Plus a sanding sponge |
| Wood filler | $6-$10 | For old hardware holes |
| Painter’s tape + drop cloth | $13 | Reusable next time |
| New hardware (6 pulls) | $20-$60 | The $20-$60 transformation |
Materials run $54-$88 before hardware. Professional refinishing, by contrast, averages $631 (Angi) — labor is about 85% of that, which is the argument for doing it yourself. The realistic timeline: Day 1 clean, sand, fill, prime; Day 2 first coat; Day 3 sand and second coat; Day 7 seal. Two weekends.
Skill level: what experience this really requires
This is a “some builds” project — a first-time painter can do it, but the cost is time, not money. The most common beginner failure is rushing dry times: a second coat over a first that isn’t fully dry gives you streaking, lifting and a tacky surface that never resolves. The skill the videos hide isn’t brushwork. It’s patience and prep.
Prep: The Part Nobody Films (and Why It Determines Everything)
About 85% of a lasting finish is prep. The remaining 15% is the painting everyone photographs. Most failures start here, so this is where I slow down.
Cleaning: what to use, and what dissolves an old finish by mistake
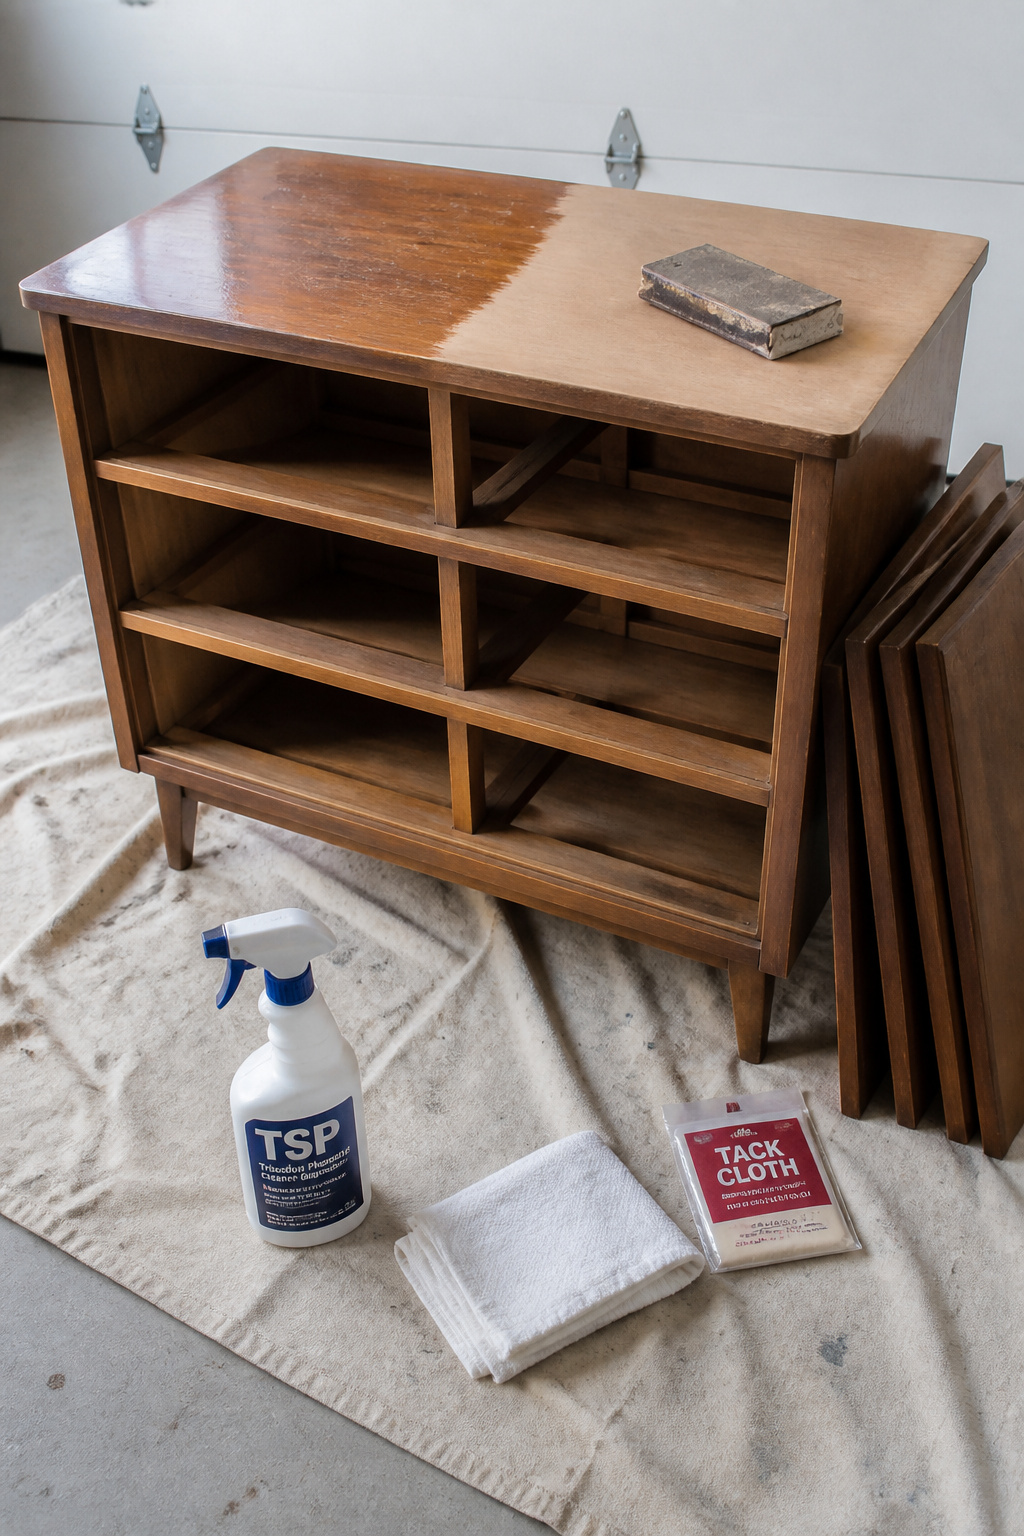
Clean before you sand, always — sanding first grinds surface oils and old wax into the grain, and no primer fully overcomes that. Wipe the piece with TSP (sugar soap, in the UK), about half a cup to two gallons of warm water, then rinse with clean water; leftover residue blocks adhesion. For the waxy buildup common on vintage wood, hit it with mineral spirits first. Rubbing alcohol is your last resort for stubborn grease — it flashes off clean.
Sanding: grits, sequence, and the mistake that creates streaks
Most pieces don’t need stripping to bare wood. Scuff-sanding handles roughly 85% of projects:
- Knock back the gloss with 120-grit, working with the grain, not across it.
- Smooth with 220-grit until the surface feels even and matte.
- Vacuum, then wipe with a tack cloth so no dust survives into the primer.
- For spindles and carved legs, swap sanding for a liquid deglosser like Krud Kutter.
The mistake that creates streaks: sanding aggressively through the existing finish in some spots while barely touching it in others, figuring primer will even it out. It won’t. The piece drinks primer at two rates and shows every patch under window light. The fix is consistency — scuff the whole thing uniformly at 120, or commit to bare wood everywhere. Half-measures read worse than no sanding at all.
Filling hardware holes and dings: when to, and when not to
If you’re swapping hardware, fill the old screw holes now, before painting. Use interior wood filler in two or three thin layers, not one thick one — a single heavy coat always sinks as it shrinks. Sand flush, then prime the filled spots; filler absorbs paint differently and shows as a hot spot without it. For big keyhole or lock-plate voids, glue in a cut wood dowel first, then fill the gap. And don’t fill anything until you’ve bought your new pulls and measured them — more on that below.
Priming: Why This Step Is Not Optional
Primer is the most-skipped step and the most-regretted skip. It’s the foundation the whole finish stands on.
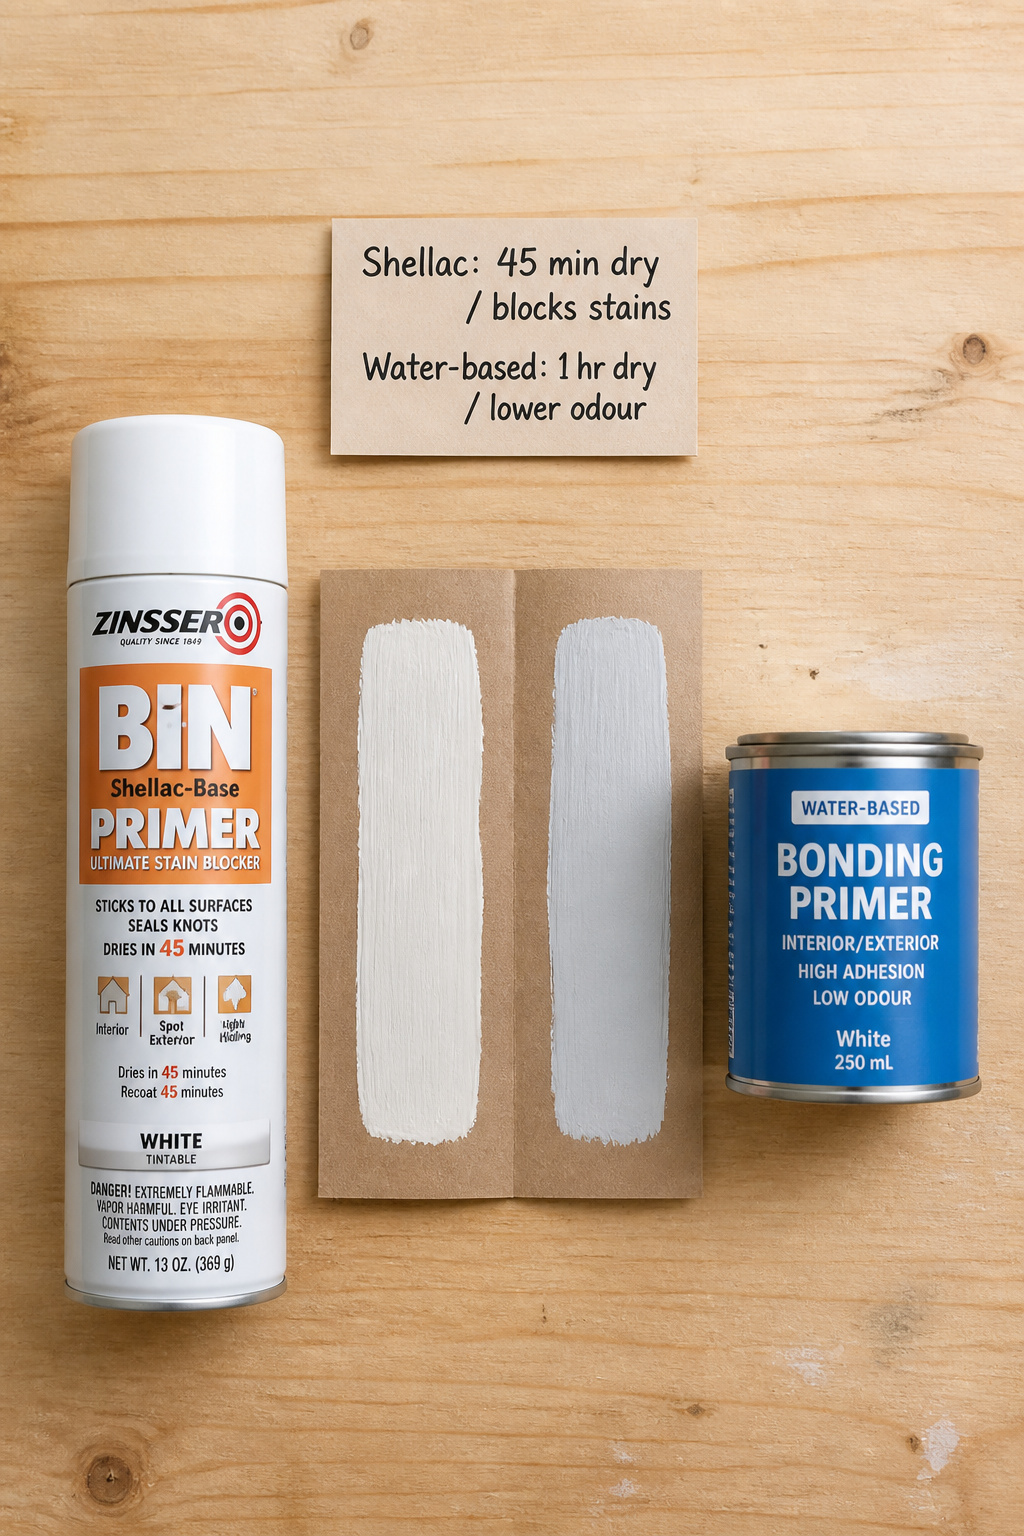
Shellac-based vs water-based: what each blocks and when it matters
| Primer | Blocks | Best for | Dry-to-recoat |
|---|---|---|---|
| Shellac (Zinsser BIN) | Stains, tannin, odor, wax | Old, waxed or stained wood | 45 min |
| Water-based bonding (STIX) | Light adhesion only | Clean, stable finishes | 1-2 hr |
Shellac primer adheres to almost anything without sanding and cuts through wax that water-based products bead and peel off within weeks. For oak or mahogany, where tannins bleed through, shellac is the only honest choice. Its downside is fumes — use it ventilated, with an organic-vapor respirator. This is a garage job, not a kitchen-table one. The respirator is not the place to economize: lungs don’t come in a $15 quart.
Tinted primer: why it halves your top coats on dark furniture
If your top coat is dark — charcoal, forest green, navy — have the counter tint your primer to about 50–75% of the final color depth, or just ask for a medium grey. This drops you from three top coats to two, sometimes one and a half. Two thin primer coats beat one thick one, which traps solvent and craters under the top coat.
Drying time: the number on the can isn’t the number to trust
Shellac primer dries to recoat in 45 minutes — but only at 65-75°F and 40-50% humidity. Above 70% humidity, add 30-45 minutes. In a cool garage below 60°F, extend everything by at least 50%; the primer that feels dry at the surface may still be wet underneath, and top coat over that fails at the bond. The can describes a lab. Your garage in February isn’t one.
Painting: Color, Sheen and the Second-Coat Reality
Now the part that photographs well — but the paint you pick and the patience you keep decide whether it lasts a year or a decade.
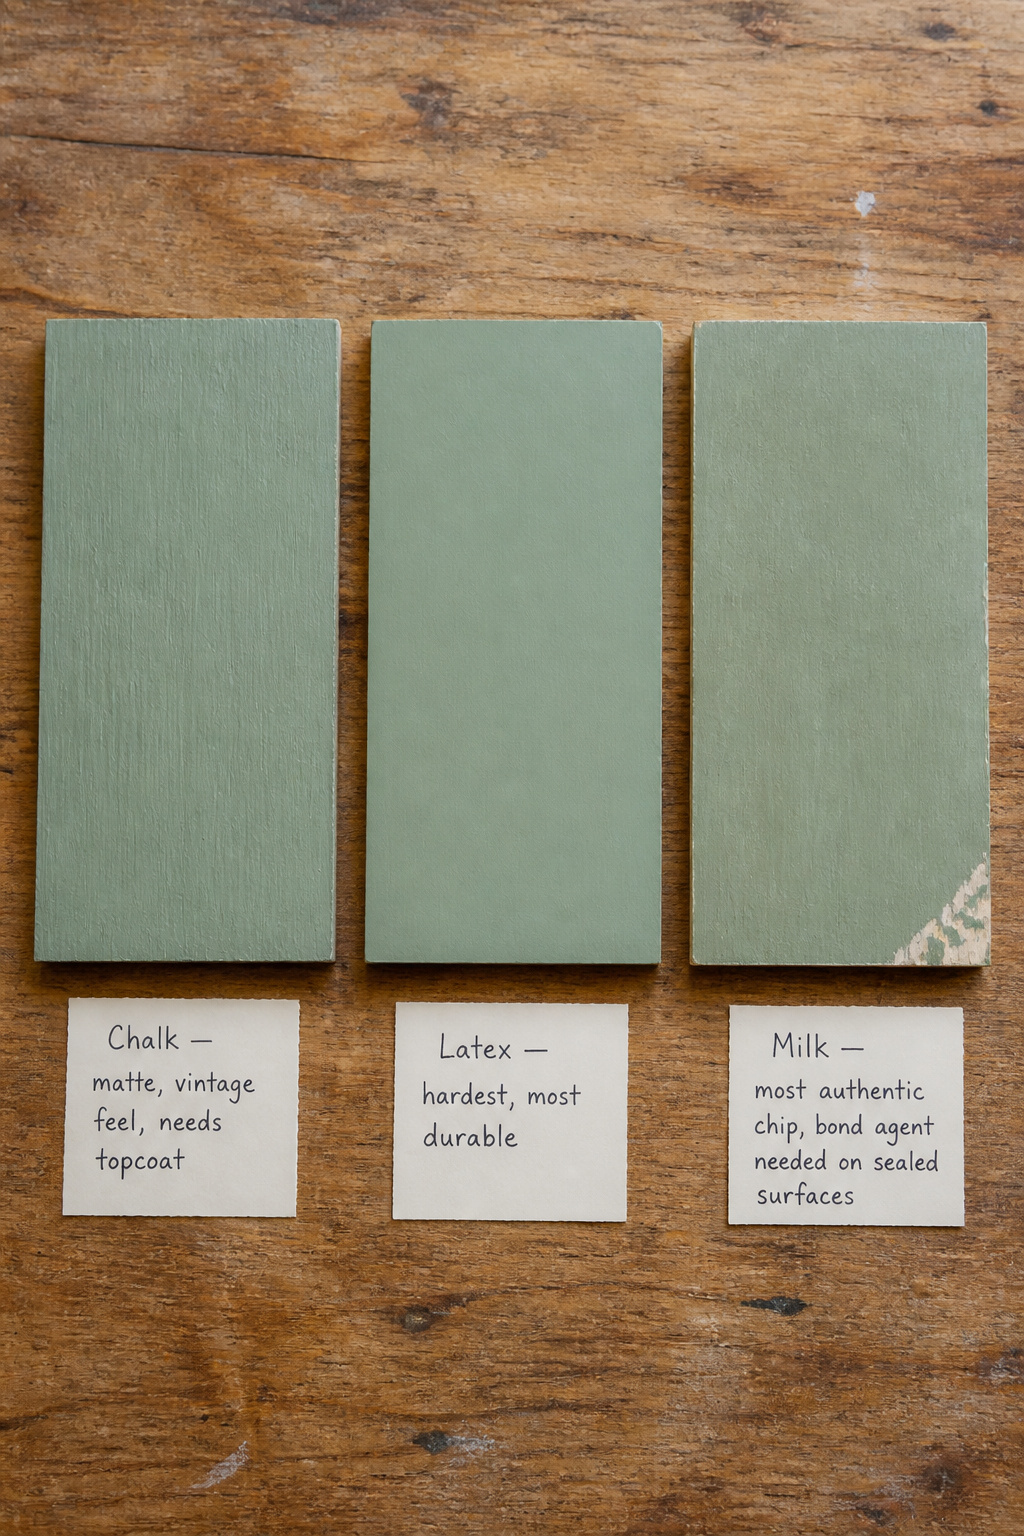
Paint types: chalk, latex and milk on a vintage piece
| Paint | Finish | Durability | Cost tier |
|---|---|---|---|
| Chalk | Matte, instant vintage | Needs a topcoat | Low-mid |
| Furniture latex | Hard enamel | Best long-term | Mid |
| Milk | Authentic chippy | Needs bonding agent on sealed surfaces | Low |
Chalk paint reads as vintage straight away and needs little prep, but on its own it isn’t durable — it shows rings and handle wear within months unless sealed. Furniture-formula latex like Benjamin Moore Advance cures hard; in testing, latex cabinets showed no wear at 18 months where chalk ones chipped at the corners. Whatever you choose, use a paint made for furniture — in a 24-brand blind test, furniture paints beat wall paint on scratch resistance every time. Cheap finds bought to flip, like the ones in finding cheap pieces to flip, are exactly where latex earns its keep. That $212 island held up because the finish was specced for the work the piece does, not for the photo. Same logic on a dresser: a $20 base coat that survives a decade beats a $40 one that scuffs by spring.
Colors that age well in a vintage bedroom
Earthy, desaturated tones age convincingly: sage green, muted terracotta, dusty rose, faded ochre, charcoal. Bright saturated colors read as modern, whatever the paint type. Keep the sheen low, too — matte and eggshell are right; satin is the ceiling for anything you’ll wipe down. Semi-gloss looks new on a case piece and won’t distress believably.
The second coat: why this takes two weekends, not one
Chalk paint feels dry in 30-60 minutes. But Annie Sloan — the manufacturer — recommends a full 24 hours between coats for real performance, not the one-hour window the videos demonstrate. Once the first coat is properly dry, sand lightly with 220-grit to knock down brush marks and nibs, wipe with a tack cloth, then lay the second thin coat. Two thin coats always outlast one thick one. That 24-hour wait, twice, is the whole reason this is a two-weekend job.
Hardware Swaps: The Transformation That Costs $20
Hardware is the cheapest move with the biggest payoff — it’s the difference between a makeover and a finished piece.
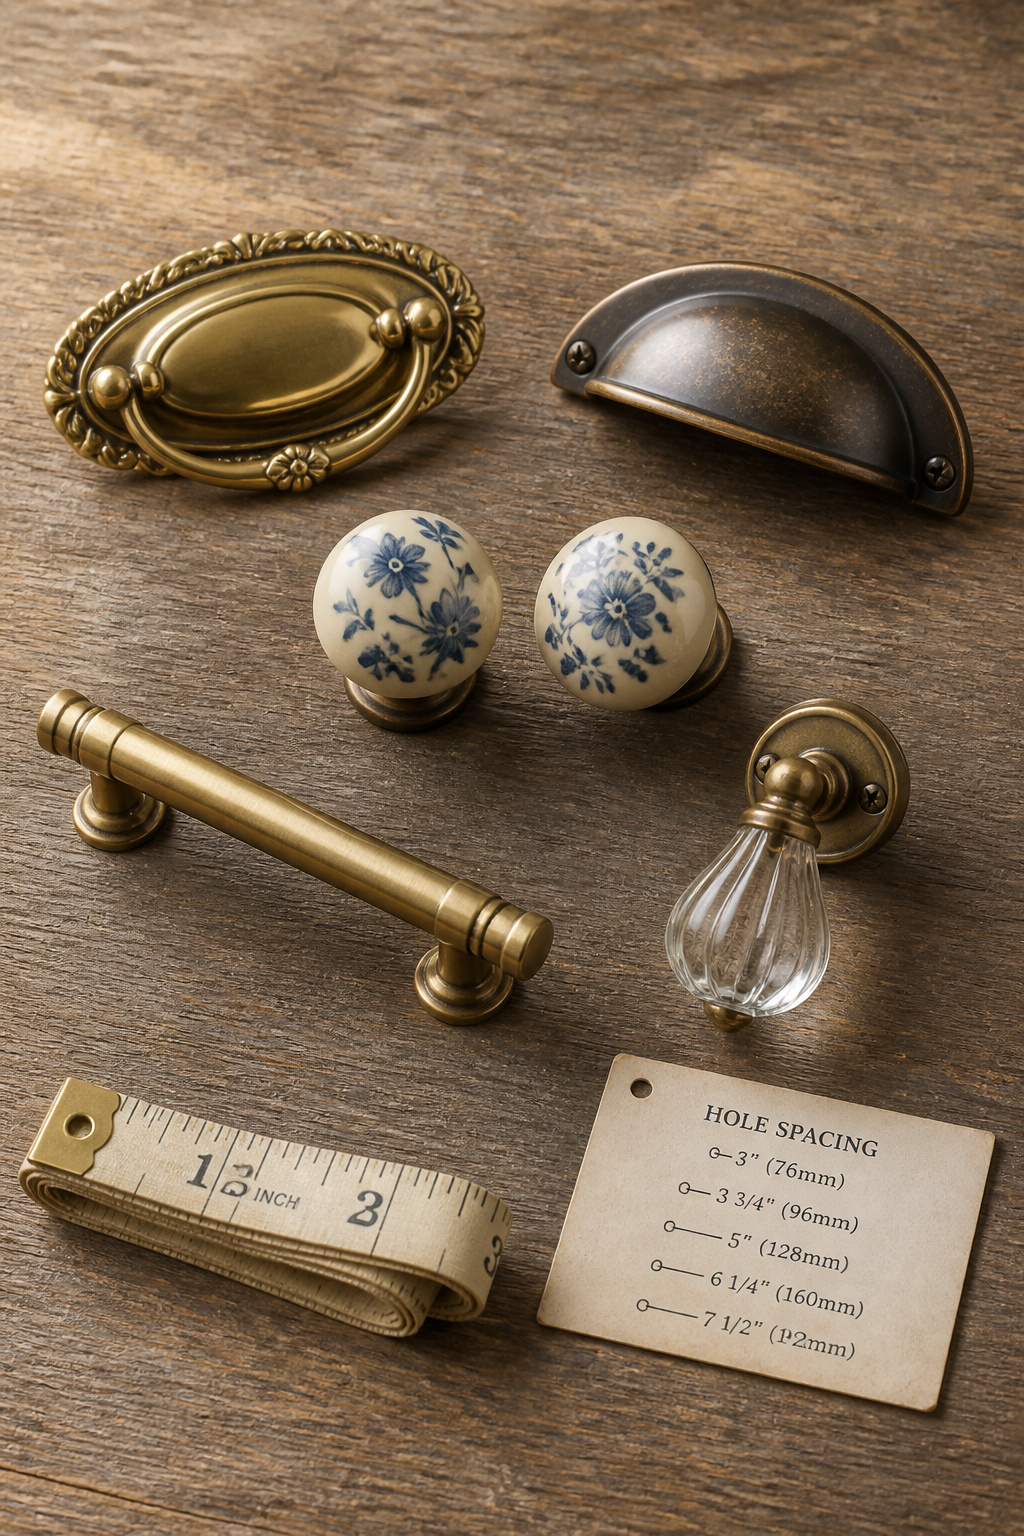
Match the hardware era to the furniture era
The rule is simple: if the piece has curves, the hardware should have curves. Flat modern bar handles on a Victorian curved chest is the classic mismatch that reads as DIY. For the 1920s-1960s pieces most people paint, unlacquered brass bail pulls and cup pulls are the most forgiving match — they suit both mid-century and Victorian-adjacent shapes and develop a patina that deepens the vintage look over time.
Where to source it
A few reliable options:
- Paxton Hardware — the specialist for period-accurate bail pulls, ring pulls and glass knobs; family-run, ships internationally.
- Etsy — search “antique reproduction drawer pull brass” for the widest range; roughly $3-$8 a pull.
- Salvage dealers (Olde Good Things) — most authentic, but hard to match across a full set.
- HomeGoods, World Market, Anthropologie — best for one-off ceramic and glass knobs, not matched metal pulls.
For a six-drawer dresser needing a matched set, reproduction beats genuine salvage on practicality.
Installation: measuring and filling
Measure center-to-center — the gap between the centers of the two mounting holes — before you order anything. Standards are 3 inches (76mm) and 3.75 inches (96mm), but vintage pieces vary, so measure dot to dot, not edge to edge. If the new pulls don’t line up with the old holes, fill the originals during prep, prime, then mark new centers with an awl, not a pencil — awl marks don’t wander when the drill bit bites. I keep a $40 multi-tool in the box for exactly these moments: it scores the old pull edges loose, opens the keyhole void, and trims the dowel flush, and it has rescued more drawer fronts than any tool I paid four times as much for. Sequence matters: fill and drill before paint, install hardware last.
Finishing and Curing: When You Can Actually Use the Piece
You’re one step from done — and this step decides whether the finish survives daily life or scores up in the first week.
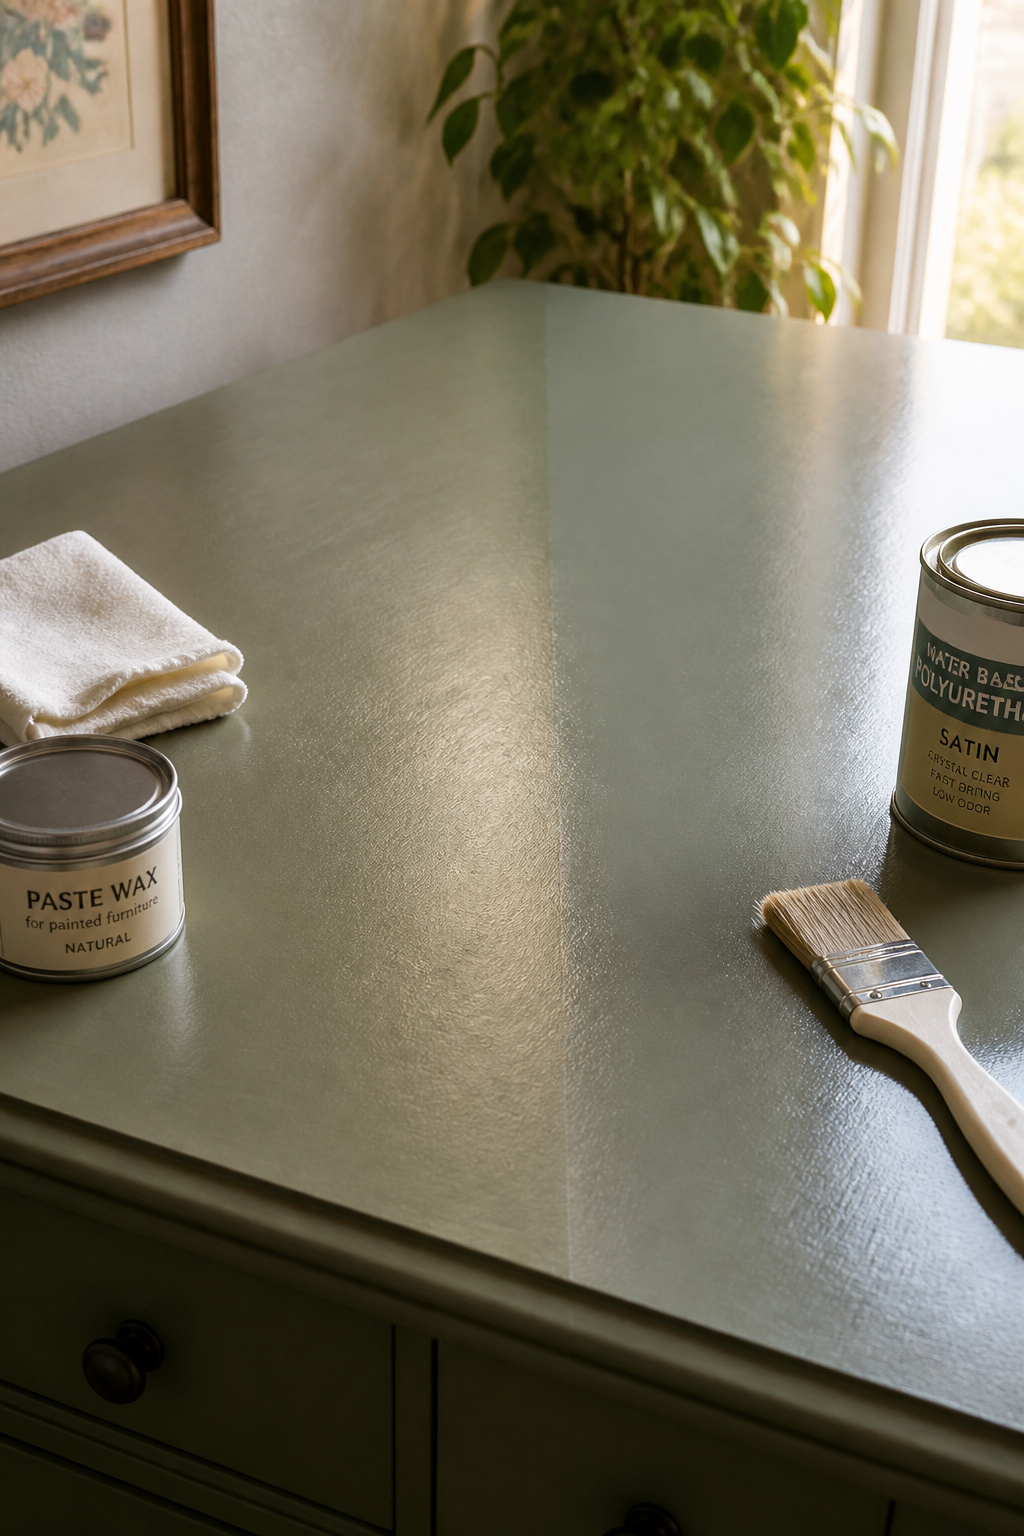
Topcoats: what a bedroom dresser actually needs
For a working dresser opened and loaded every day, water-based polyurethane (Varathane, Minwax Polycrylic) beats wax — 2-3 coats, lightly sanded with 400-grit between. Wax gives a hand-polished depth poly can’t match, but it isn’t waterproof and you’ll refresh it every 6-12 months. Poly “gives you the time back,” as Fusion’s finishing guide puts it. If you use both, poly first, wax last — never the reverse, because poly won’t bond to wax and peels.
Curing vs drying: the difference that matters for drawers
Dry time is when the surface feels dry — 30 minutes to 2 hours. Cure time is when the paint reaches full hardness: 21-30 days for chalk, latex and mineral paint alike. Drawers are the hardest-working surface, rubbing the carcass every time they open. They can go back in after 24-48 hours, but treat them gently for a month. Sticking drawers are almost always a cure problem, not a technique one — pull them, let them cure another week, then rub a candle along the slide edges.
First-week care rules that protect the finish
- Keep everything off the painted top — items left in one spot press permanent impressions into curing paint.
- Open and close drawers gently and don’t load them fully; friction on soft paint scores it.
- Wipe spills with a barely-damp cloth only — no spray cleaners, whose solvents soften uncured paint.
- If you waxed, add a second thin wax coat at the 30-day mark to top up the layer.
After 30 days the finish is cured and you can stop tiptoeing around it.
That’s the whole process — decision, prep, primer, paint, hardware, cure — with the boring steps left in where the videos cut them. You now know what it costs, how long it really takes, and the one question (paint it or not?) to settle first. The next move is small: this weekend, turn a drawer over and check the bottom for a maker’s mark. If it’s clear, clean it down and order your pulls. Two weekends from now you’ll have a piece worth building a vintage bedroom decor scheme around.
FAQ
Do you have to sand vintage furniture before painting it?
You don’t need to sand to bare wood. For most vintage pieces with an intact finish, scuff-sanding with 120-grit is enough to remove gloss and give primer something to grip. If the existing finish is glossy or slick, sanding or liquid deglossing is required, or the paint will eventually peel. Chalk paint is the exception, adhering to most surfaces with minimal sanding.
What is the best paint to use on an old dresser for a lasting finish?
For maximum durability, a furniture-formula latex like Benjamin Moore Advance cures to a hard enamel finish that beats chalk paint in scratch and water tests. Chalk paint is faster and gives an instant vintage matte look, but must be sealed with wax or polycrylic. Always use a paint made for furniture, never wall paint, which lacks the adhesion additives.
How long does painted furniture need to cure before you can use it?
Most water-based furniture paints take 21-30 days to fully cure, even though they feel dry within hours. Drawers can go back in and be used gently after 24-48 hours, but avoid loading them fully for the first month. Wax and polyurethane topcoats also need the full 30-day window before the surface handles heavy daily use.