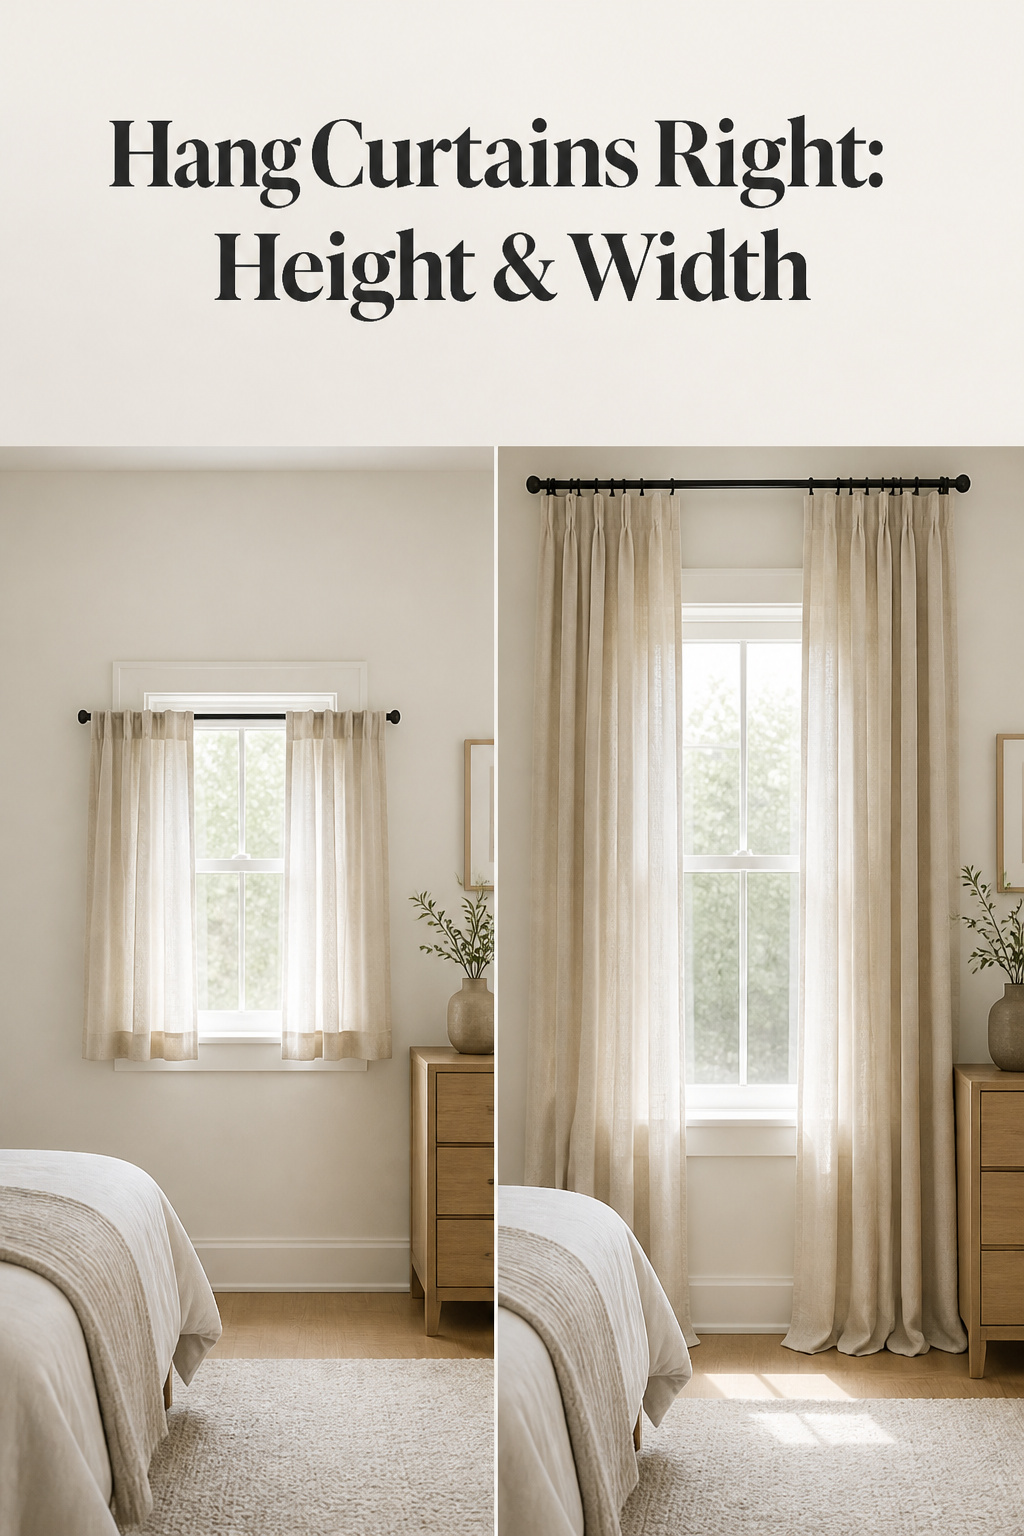
A client once apologised to me for her bedroom before I had said a word about it. The curtains, she explained, were the problem — heavy, expensive, and somehow still making the room feel squat. She wanted to replace them. Instead I showed her how to hang bedroom curtains properly: leave the fabric where it is, and move the rod. Six inches higher, a hand’s width wider on each side. Same panels, same window, same light. Afterwards she asked what I had swapped out. Nothing. I had only corrected where the hardware sat — which is why most people who dislike their curtains are really unhappy with a rod mounted in the wrong place.
TL;DR
- Hang the rod 4-6 inches above the window frame (8-12 inches under high ceilings), keeping at least 2 inches of clearance to the ceiling.
- Extend the rod 6-12 inches past the frame on each side, and buy panels at 2-2.5x the rod width for proper fullness.
- Measure length only after the rod is up: subtract 0.5-1 inch from rod-to-floor for a clean skim, or add 2-3 inches for a soft puddle.
Getting this right is not about taste. It is four measurements and hardware strong enough for the fabric. Learn them in order — height, width, length, then anchors — and you can mount your own bedroom curtains correctly the first time, skipping the guesswork that leaves a good room reading low and undersized.
The Rod I Moved Six Inches — and Everything It Changed
A room that looked right once the rod moved
The most common mistake is mounting the rod at or just above the top of the window frame. It feels logical: the frame is where the window is, so that is where the curtains go. But the result is a room your eye measures from the window’s height rather than the ceiling’s — everything above the rod becomes dead wall, and the space reads shorter than it is.
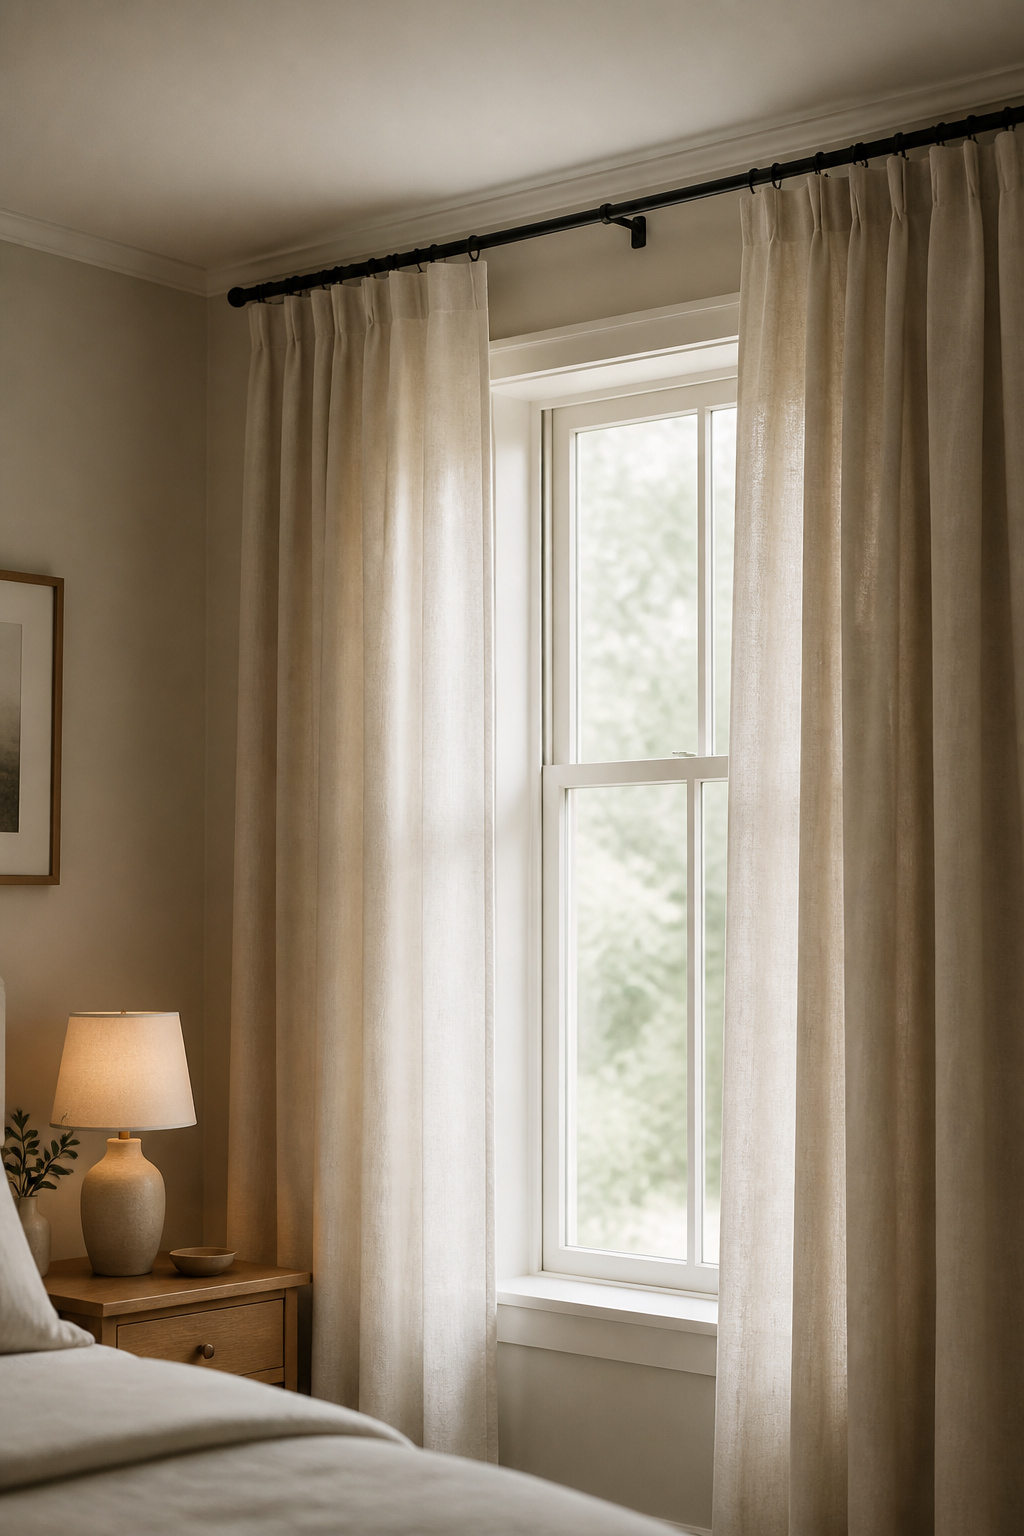
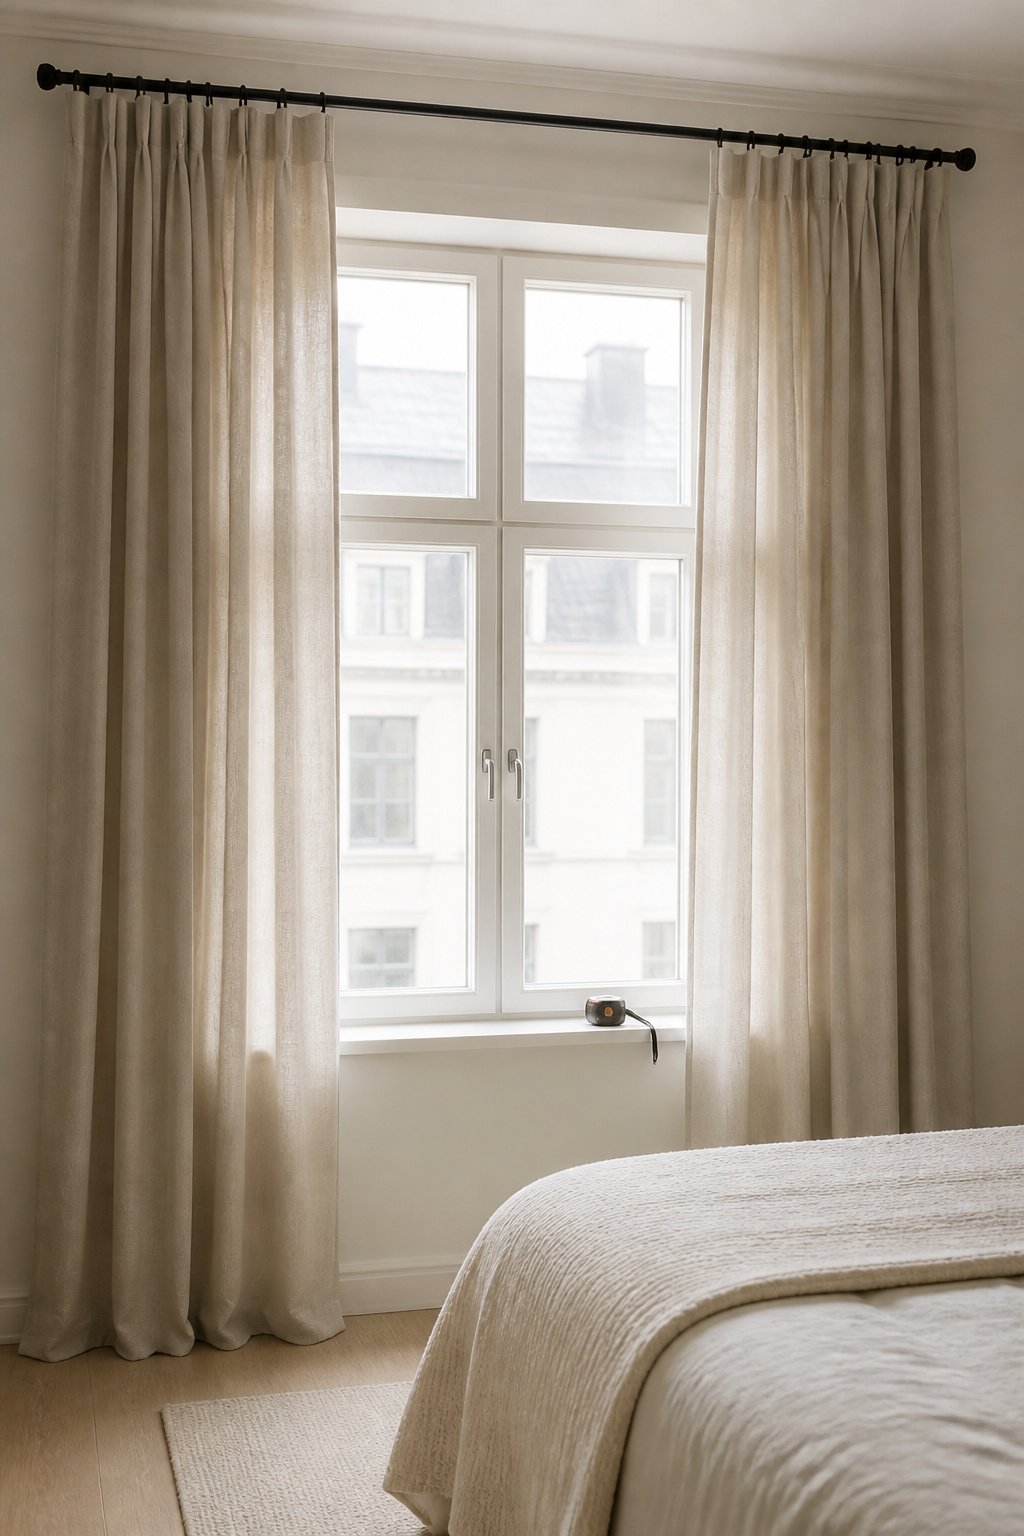
Move that rod up toward the ceiling and the effect reverses. The eye travels the full wall, the window appears taller, and the panels look like they belong to the room rather than the glass. Nothing about the fabric changed in my client’s bedroom — only the inches between rod and ceiling. If you own curtains you dislike, try this before replacing them.
Why placement matters more than the fabric
Placement drives proportion; fabric only fills the shape placement creates. A beautiful linen on a low, narrow rod still reads undersized, because the shape it hangs in is wrong. This is why designers rehang the same panels high and wide in before-and-after photos: hardware position, not textile choice, controls a room’s apparent scale. One designer’s rule is worth keeping in your head — high and wide makes the ceiling look taller and the windows bigger. Fix the geometry first.
If you are still deciding whether curtains are even the right treatment, stop to compare curtains, blinds, and shades before you buy a rod at all.
Rod Height: Why Near-Ceiling Wins
The proportion rule
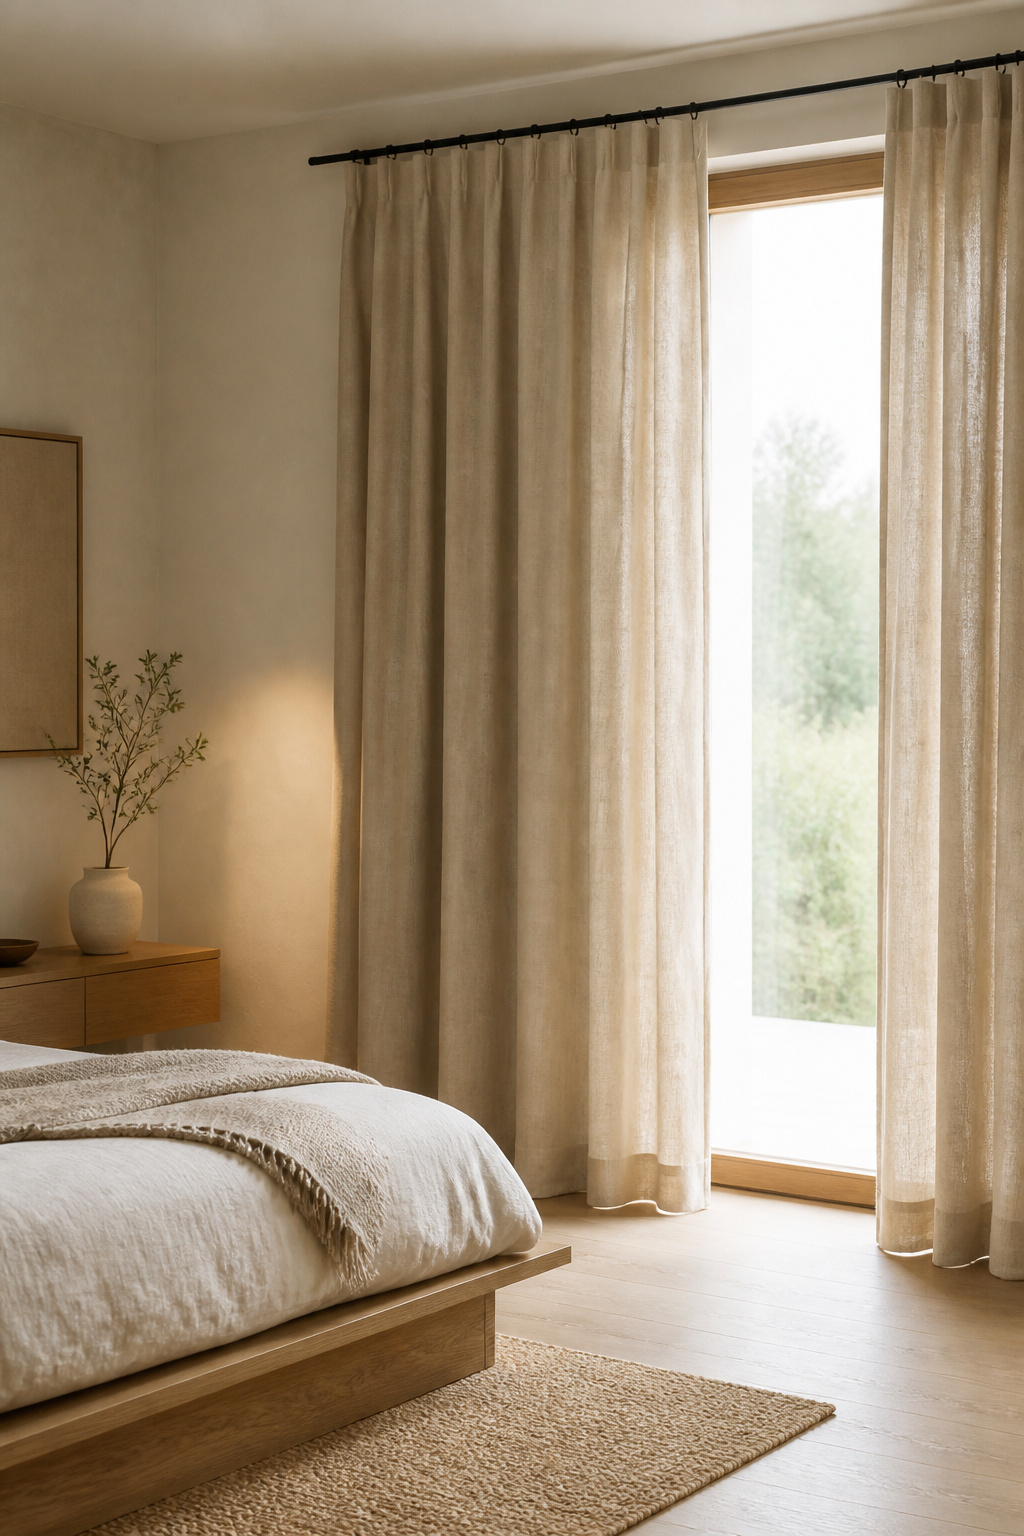
Start with the baseline: hang the rod 4 to 6 inches above the top of the window frame — the floor of the rule, not the top of it. A more reliable guide, as the Homes & Gardens design desk puts it, positions the rod at half to two-thirds of the distance between the window trim and the ceiling, always closer to the ceiling. Under tall 9 to 10-foot ceilings, push the offset to 8 to 12 inches for a taller effect.
Minimum clearance above the window frame
One hard limit works against the ceiling: keep at least 2 inches of clearance between the rod and the ceiling, even in the tightest rooms. Where crown molding or a low soffit interrupts the wall, mount the rod just below it rather than crowding the bracket against it. A clean gap above the rod reads as intentional; a bracket jammed against the trim does not.
Adjusting for low ceilings
When there is less than 12 inches of wall between frame and ceiling, the rule scales down; it does not disappear. Go as high as the 2-inch clearance allows rather than defaulting to the full 4 to 6-inch offset. The closer the window already sits to the ceiling, the closer the rod should go.
Rod Width: The Multiplier That Fixes Narrow-Looking Windows
Width works on two levels: how far the rod extends, and how much fabric hangs on it. Get both right and a narrow window stops looking narrow.
The 2-2.5x width rule explained
For fullness, standard pleated or gathered drapery panels should measure 2 to 2.5 times the finished rod width — the industry figure for a proper, professionally styled gather. Heavier fabrics and larger windows sit at 2 to 2.5x; lightweight or sheer panels climb to 2.5-3x for the same density. One note when shopping: pre-sewn pinch-pleat drapes already come at roughly a 2-2.5x ratio, so the multiplier is baked into the panel width — you do not add it again.
Extending brackets past the frame
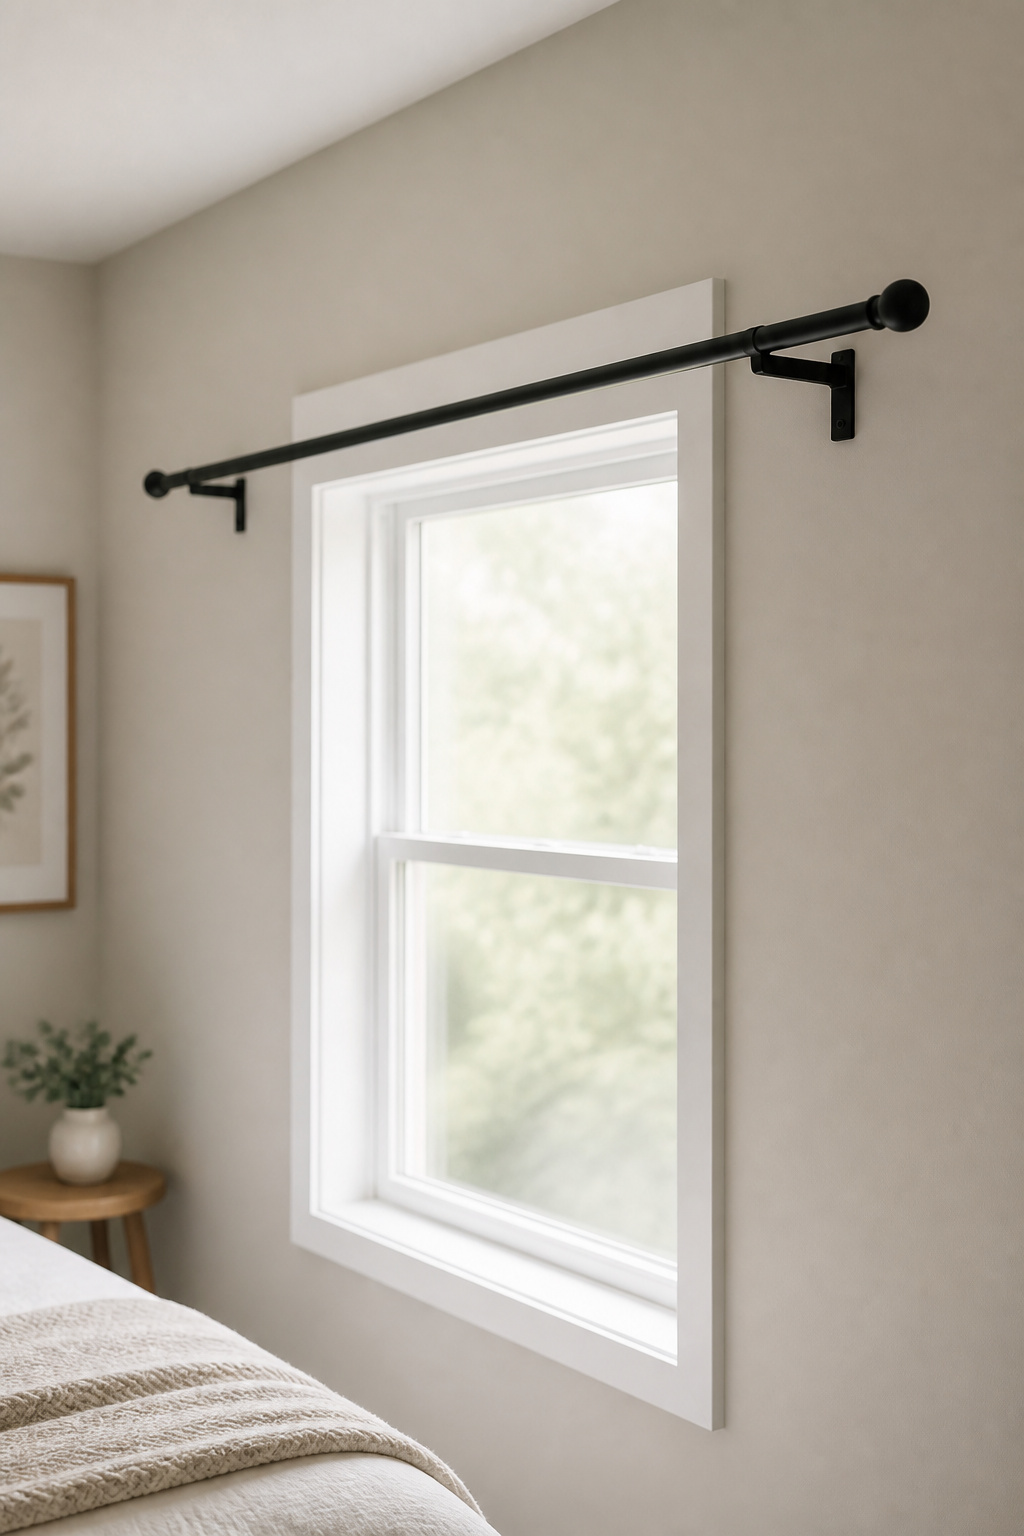
Now the hardware. Extend the rod 6 to 12 inches past the frame on each side, with a hard minimum of 4 inches where wall space is tight. This lets the open panels stack fully clear of the glass, so bunched fabric never blocks your morning light. For high ceilings or heavy full drapes, the 12-inch end reads as more dramatic and intentional.
What changes for blackout coverage
Blackout fabric raises the stakes on width. Most side-light leak happens because the rod sits too close to, or too short for, the window, leaving fabric unable to rest against the wall — the gap between wall and rod, as the fitters at Kurtens note, often lets in more light than the window itself. Extend the rod up to 10 inches past the frame on each side to close that gap, or step up to a U-shaped return rod whose ends curve back to press the fabric flush. Both are hardware fixes, not fabric ones.
Curtain Length: Floor-Skim vs. Puddle
Measuring from rod to floor
Length is the one measurement you cannot take in advance. Mount the rod first, then measure the drop from the bottom of the rod — or the ring, if you use rings — straight down to the floor. That gives the true panel length rather than a guess, because rod height often shifts during mounting. Order panels before the rod is up and you will usually get the length wrong.
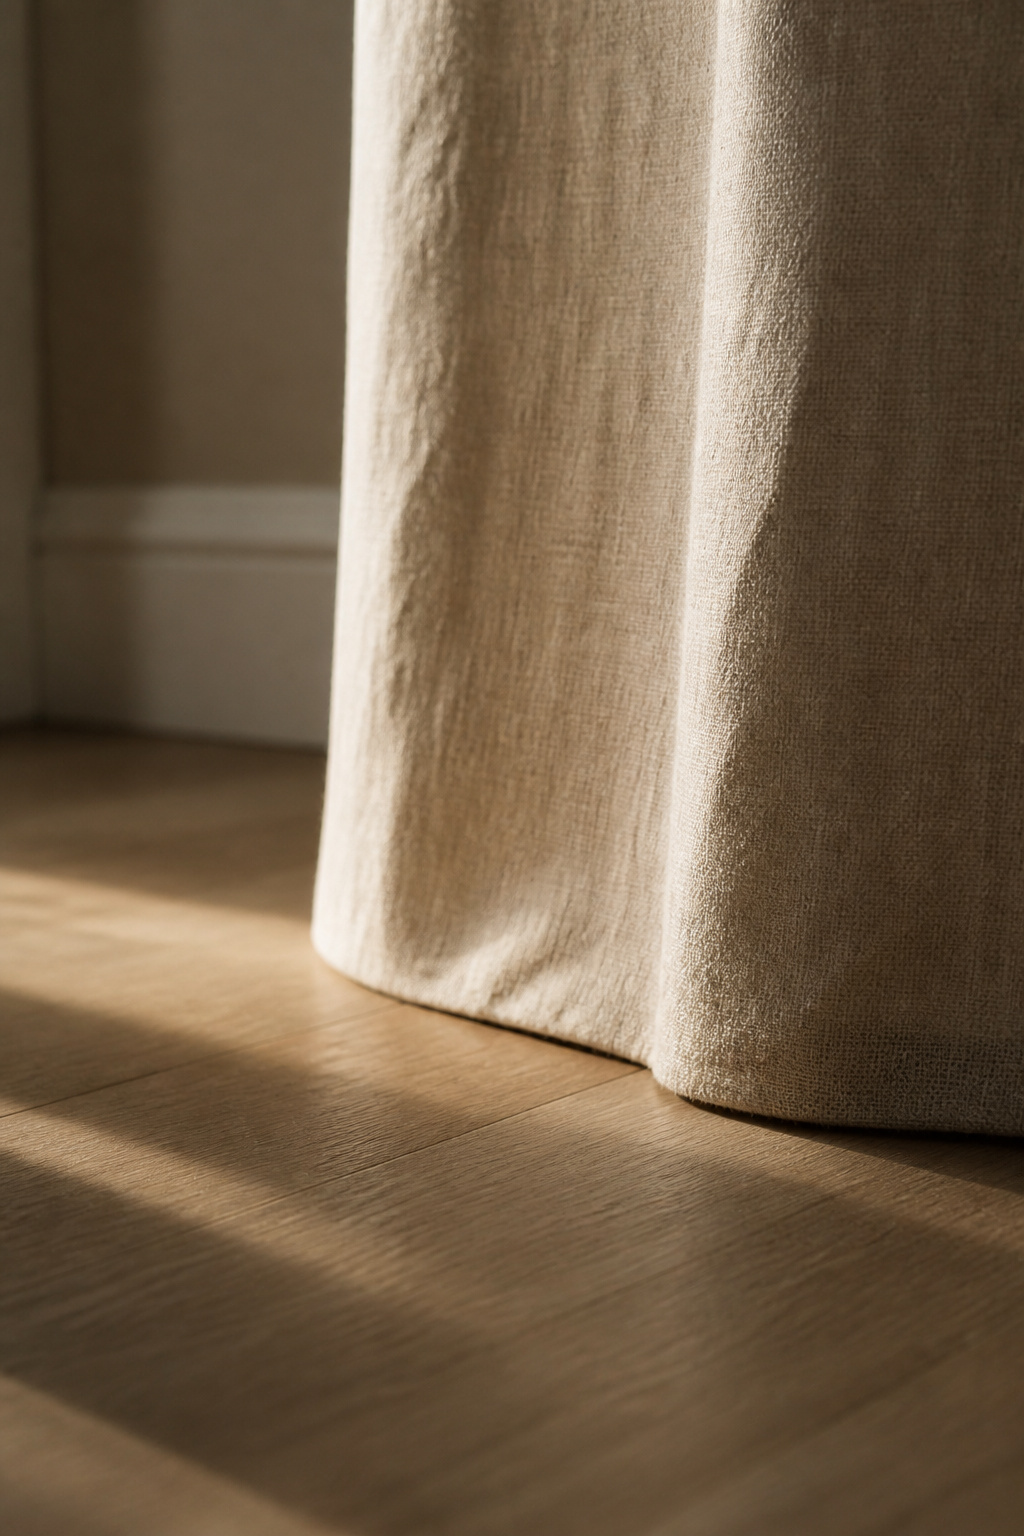
Floor-skim for a clean, functional look
For a clean finish, subtract 0.5 to 1 inch from that rod-to-floor measurement so the hem grazes the floor without buckling. This is the tidiest length, and my default for a bedroom that wants to feel calm rather than soft. It asks for precision, though: the skim only reads as intentional on reasonably level floors, and a hem an inch too short looks like an accident, not a choice.
When a slight puddle works
A puddle adds fabric on purpose — 2 to 4 inches for a soft pool, or as little as 1 to 3 inches for a hint of weight. Bedrooms are the one room where this earns its keep. Long panels block light creeping in at the bottom hem and cut drafts in a way floor-skim cannot fully match, which is why so many guides single out bedrooms for floor-length or lightly puddled curtains. For a warmer feel, a 2 to 3-inch puddle is the sweet spot: visual weight without a dust-catching pool you resent cleaning around.
Hardware Strong Enough for the Fabric
Correct measurements fail if the hardware cannot hold them. Blackout and lined panels are heavy, and a rod that sags or pulls loose undoes every careful inch above.
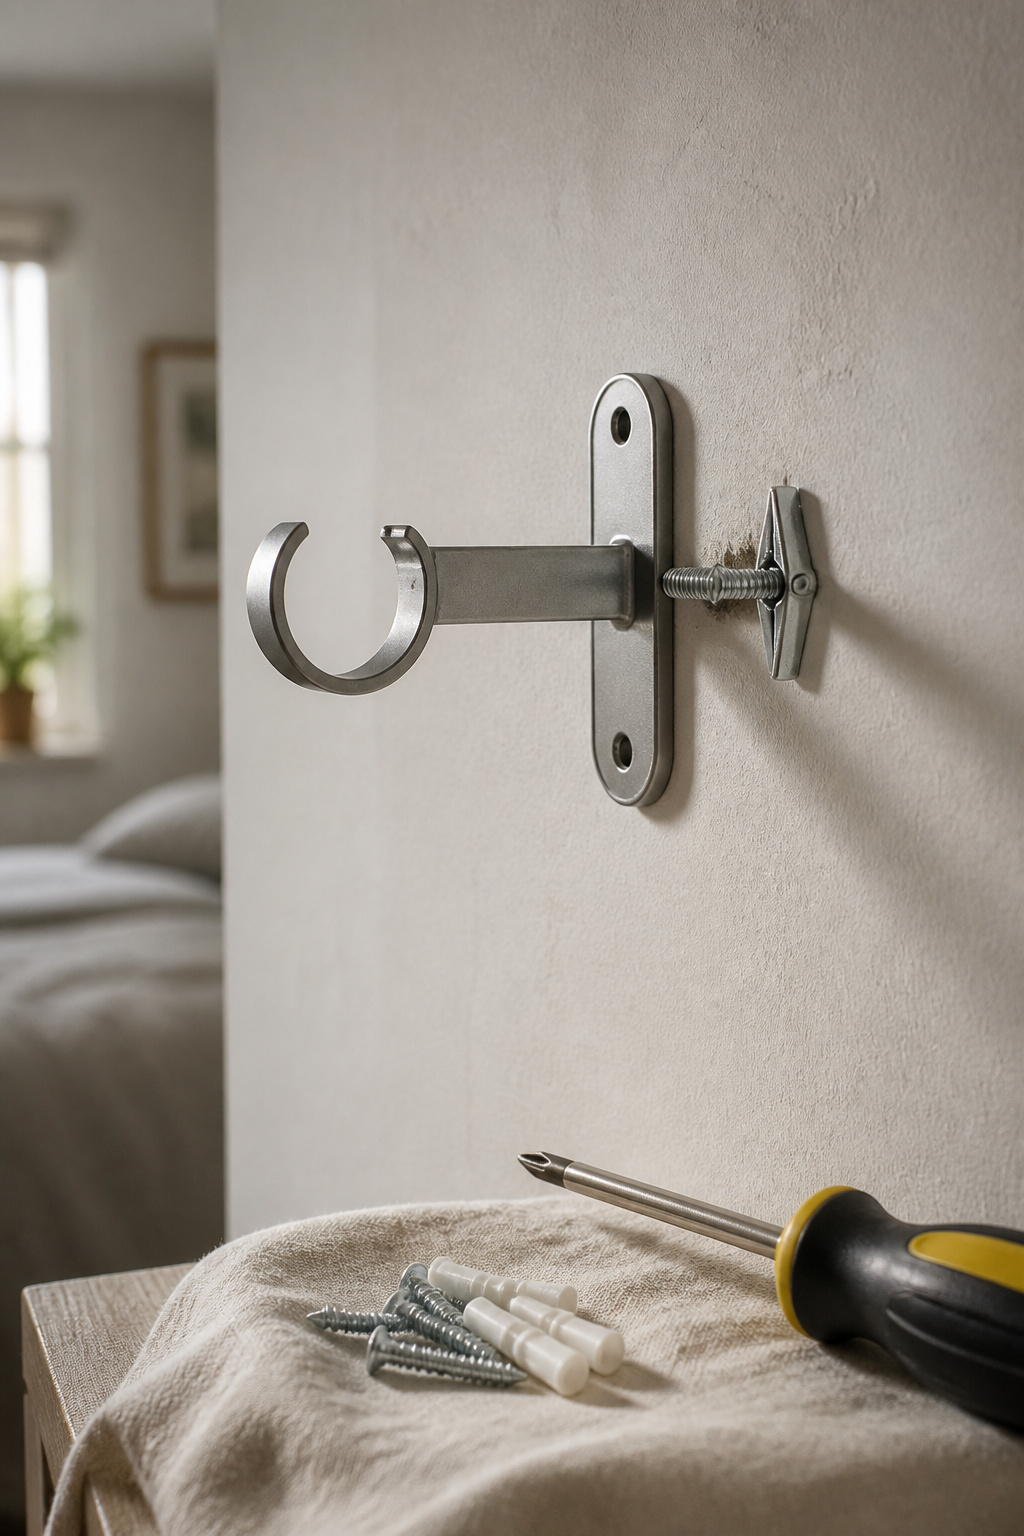
Bracket weight ratings for heavier blackout fabric
Match the anchor to the load:
| Anchor type | Weight capacity | Suits |
|---|---|---|
| Plastic expansion | ~10-25 lbs | Sheers and very light panels only |
| Self-drilling threaded | ~50-75 lbs | Most standard drapery weights |
| Toggle / molly bolt | 100+ lbs | Heavy velvet, blackout, thermal-lined |
For heavy drapery, choose a rod at least 1 1/8 to 1 1/2 inches in diameter; anything 3/4 inch or under flexes under blackout-weight fabric. Support the span too: place a bracket every 30 to 36 inches, and add a centre bracket on any rod wider than 48 inches, since the unsupported middle is the leading cause of a bowing rod.
Wall anchors for drywall vs. plaster
Drywall is too soft to hold a screw under constant tension alone; without a stud behind the bracket you need an anchor, and a toggle bolt’s wide brace behind the board distributes the load best. Plaster asks for more care. It is brittle and cracks easily, so screws and anchors beat nails, which push the lath back and break the plaster-to-lath bond. If your drilled hole hits the wood lath, a screw can bite straight into it and hold; where it misses, fall back to a toggle. And lay painter’s tape over the mark before drilling into plaster to keep the surface from chipping.
Tools you’ll need
Keep the kit simple:
- Tape measure, pencil, and a bubble or laser level
- Stud finder — slide it horizontally until it signals a stud, your strongest anchor point when the bracket allows
- Power drill with bits, plus a screwdriver
- Screws and wall anchors matched to your rod and fabric weight
The level is not optional — it is the only reliable way to avoid a rod that reads crooked once the panels hang. If you are hanging curtains over an existing blind, this is also the moment to plan a second track: the same measuring discipline lets you layer in a second rod for more warmth.
How to Hang Bedroom Curtains: A Simple Measure-and-Mount Sequence
Every rule above collapses into one order of operations. Follow it top to bottom and nothing gets measured out of sequence:
- Measure the window width first, then add 8 to 12 inches total — 4 to 6 inches per side — to find your bracket positions.
- Set the rod height 4 to 6 inches above the frame, or higher per the ceiling rule, and mark the top line.
- Mark the bracket points in pencil, hold the rod up to confirm the placement looks right, then transfer the screw points.
- Check the marks with a level before you drill anything — this is where a crooked rod is prevented or created.
- Drill small pilot holes at the marks to guide the screws and spare the drywall or plaster from cracking.
- Install anchors matched to the fabric weight, then fix the brackets to the wall.
- Slide the rod into place, thread the panels on before final tightening, then measure the drop from rod to floor and order or hem to length.
That is why panel length comes last: only a mounted rod tells you the true drop. Measure width, set height, mount, then measure length. In that order, the whole job is four numbers and an afternoon.
You now have what my apologetic client was missing: not better curtains, but the four measurements that decide whether curtains work at all — near-ceiling height, 2-2.5x width, a floor-skim or gentle puddle, and anchors rated for your fabric. Pick your window this weekend, run the tape from frame to ceiling, and mark the rod line where the rule, not the frame, tells you to. For where hanging fits among every other bedroom window decision, our bedroom window treatments 101 guide holds the whole map.
FAQ
How far above the window should a curtain rod be?
Hang the rod 4 to 6 inches above the top of the window frame as a baseline. In rooms with taller ceilings, push it to 8 to 12 inches, or use the proportional rule of half to two-thirds of the way up to the ceiling. Always keep at least a 2-inch gap between the rod and the ceiling.
How many inches wider than the window should a curtain rod be?
Extend the rod 6 to 12 inches past the window frame on each side, with a minimum of 4 inches where wall space is limited. The extra width lets the panels stack fully clear of the glass when open, so daylight is not blocked, and it reduces the side-light leak that undermines blackout fabric.
Should bedroom curtains touch the floor?
Yes. Bedrooms are specifically the room where floor-length or lightly puddled curtains earn their keep, blocking light and drafts at the bottom hem. For a clean look, subtract 0.5 to 1 inch from the rod-to-floor measurement for a floor-skim; for a softer feel, add 2 to 3 inches for a light puddle.