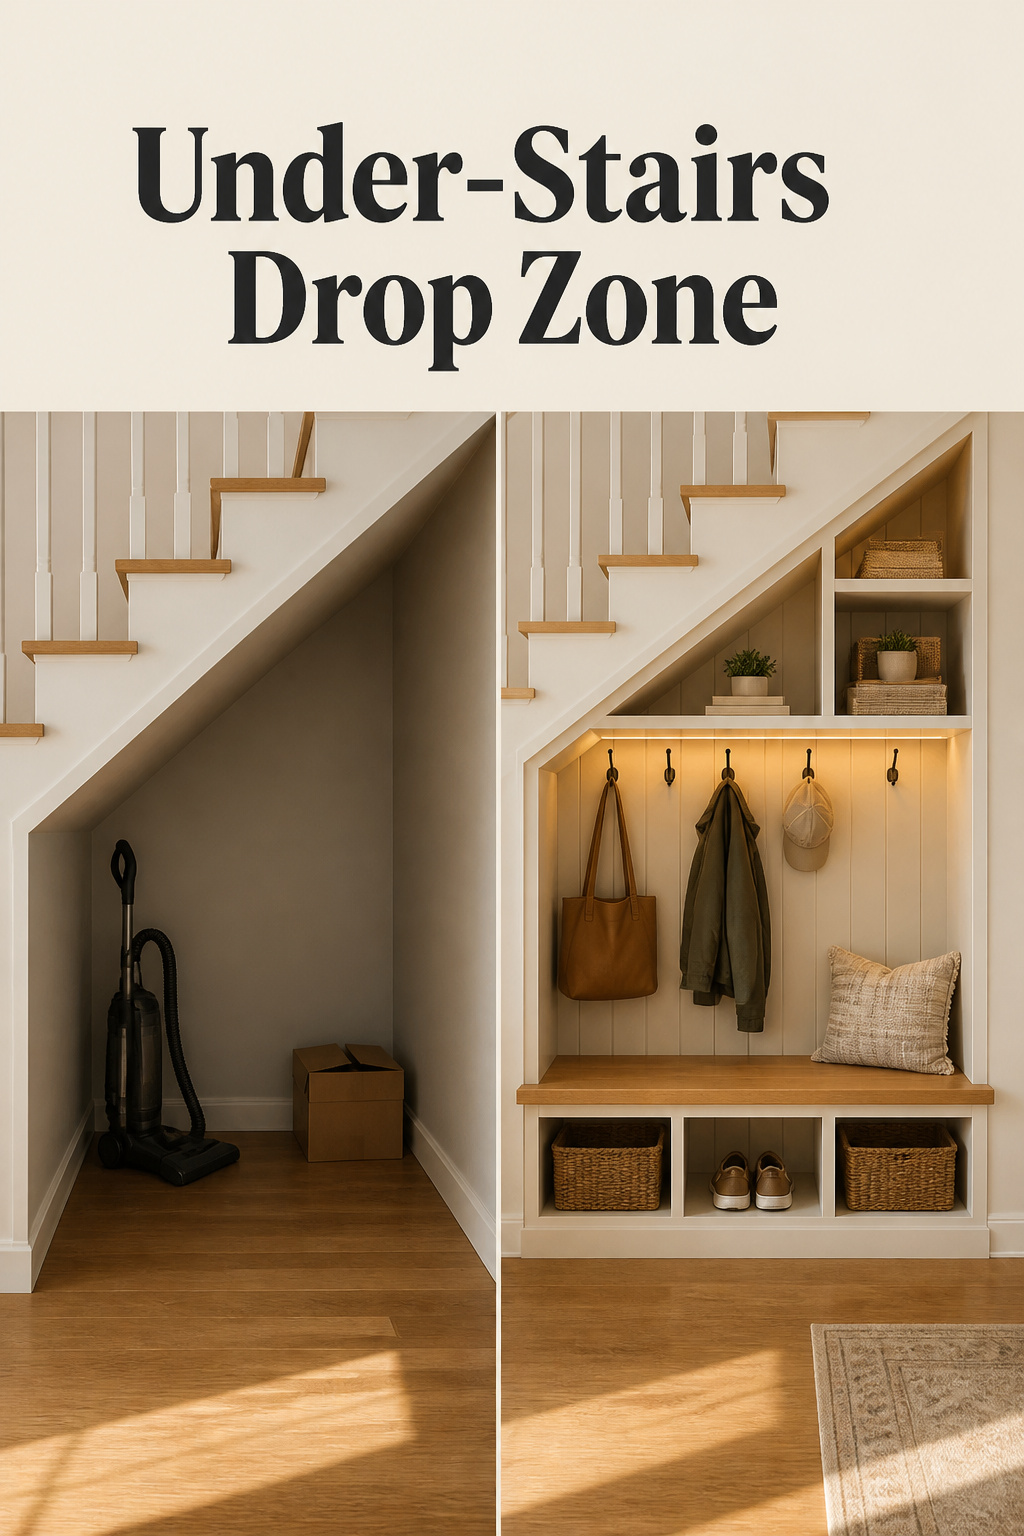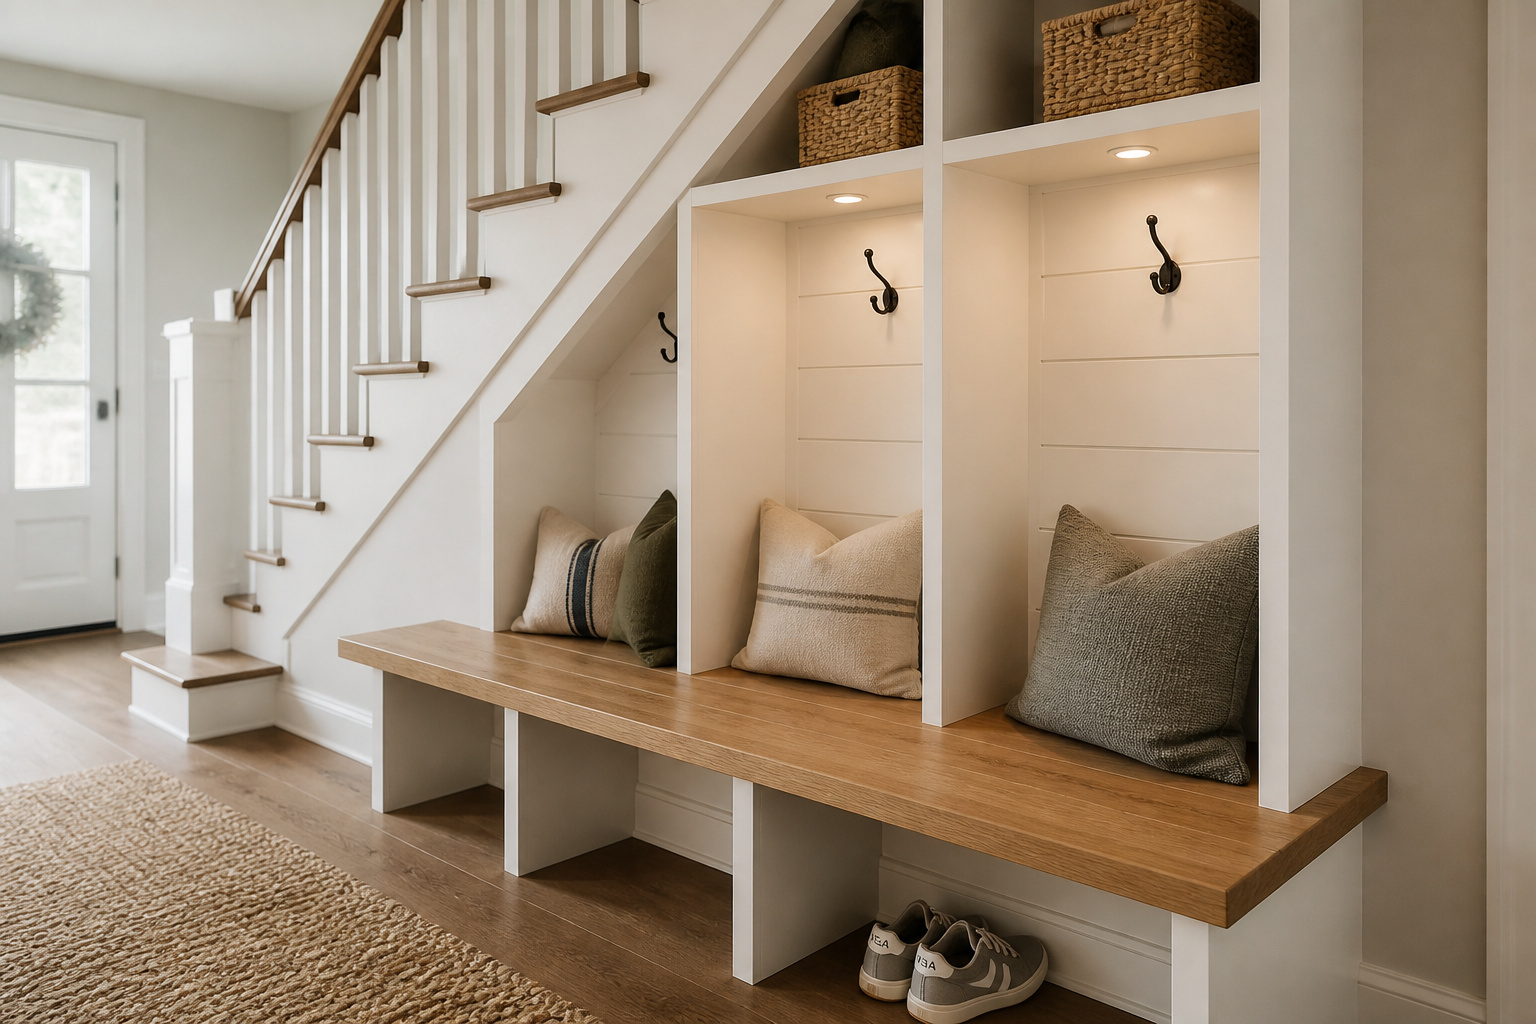

Right now the triangle under your stairs holds the vacuum, a few stray boxes, and a lot of nothing, while shoes and coats pile up at the door with nowhere to land. That triangle is 30 to 60 square feet of usable floor, written off because the sloped ceiling won’t take stock furniture. An under stairs drop zone is exactly the odd-shaped problem a from-scratch build is good at. Give it a weekend, and that dead triangle becomes cubbies, a bench, and hooks sized to the slope.
TL;DR
- The usable triangle is 30-60 sq ft in most homes; storage stays comfortable to about 4 feet of headroom, and code treats anything under 5 feet as non-usable floor.
- A DIY cubby-and-bench build runs roughly $115-$260 in materials versus $2,000-$10,000 for a custom pro job.
- Plan a full weekend, 10-14 hours, for a beginner’s build with angled panels; the time sink is templating those angles, not the bench, hooks, or paint.
The Space Everyone Ignores
Why the under-stairs triangle usually sits empty or becomes junk storage
The problem isn’t space, it’s shape. Off-the-shelf organizers are built for square rooms, so they never fit the angle, and the triangle defaults to loose junk. What really happens is you close it off in your head before you ever measure it. It’s not unusable, just un-standard — and that’s what a build is for.
What makes it different from a normal closet build
A rectangular closet has one cubby height. An under-stairs run doesn’t, because the ceiling follows the stair stringer’s slope, so every panel is a different height. A straight staircase is friendliest, with the full triangle accessible from one side; L- and U-shaped stairs split the cavity around a landing, which favors drawers. Before you cut, check whether the wall is load-bearing: 2×6 studs, doubled-up top plates, or solid blocking above are the tell-tale signs, and if you see them, that’s a call for a pro.
The before state this article is solving
Before you get excited about cubbies, open any existing access panel and look. Electrical panels, gas meters, and plumbing runs love to live under stairs, especially in older homes. An electrical panel needs 36 inches of clear space in front by code, non-negotiable, so you build around it, not over it.
Measuring and Planning Around the Slope
On the jobsite I learned the one thing that separates a clean build from a pile of scrap: pros measure, beginners guess. On a sloped run the guessing costs double, so this is the stage that beats the slope.
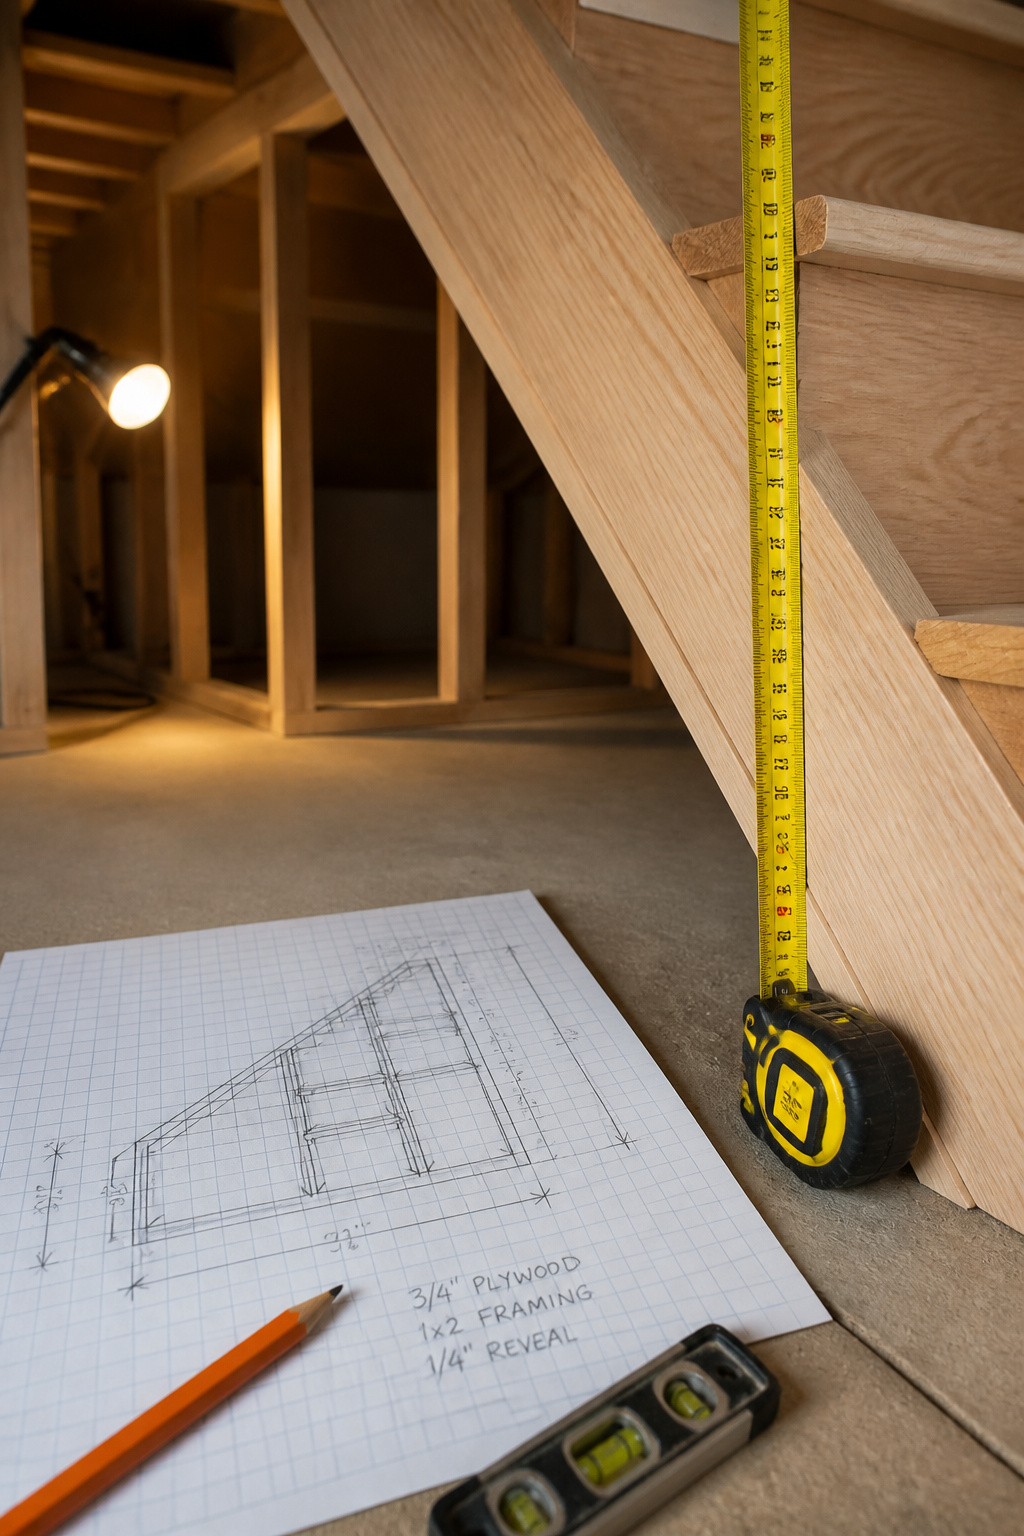
Mapping the usable height at each point under the stairs
Measure the usable triangle with three numbers: height at the tallest point, total depth front to back, width between the walls. In an 8- to 9-foot ceiling home the tall end usually runs 7 to 8 feet — take readings at several points, not once at the tall end. Below about 4 feet of headroom the leftover area only fits low drawers or bins, so that’s where stand-up cubbies end and, by code’s 5-foot sloped-ceiling line, where comfortable ends.
Deciding cubby count and bench length from those measurements
Per person, a cubby wants 12-15 inches wide for shoes only, or 18-24 for a full zone with coat, backpack, and bag. Pick a width, divide it into your flat run, and that’s your cubby count; bench length is whatever’s left. One hard limit: leave 36-48 inches of clear floor in front of the bench, capping how far the build can protrude into the hallway.
Sketching before you cut anything
Measure twice, cut once, everyone quotes it. On an angled space, measure three times, then sketch it on graph paper. Worried about angled cuts? A beginner version skips them entirely (coming up next) — decide your route before you buy a single sheet.
What This Build Costs and How Long It Takes
Before any inspiration, the numbers. This is the part most articles skip.
Materials: plywood, framing lumber, bench top
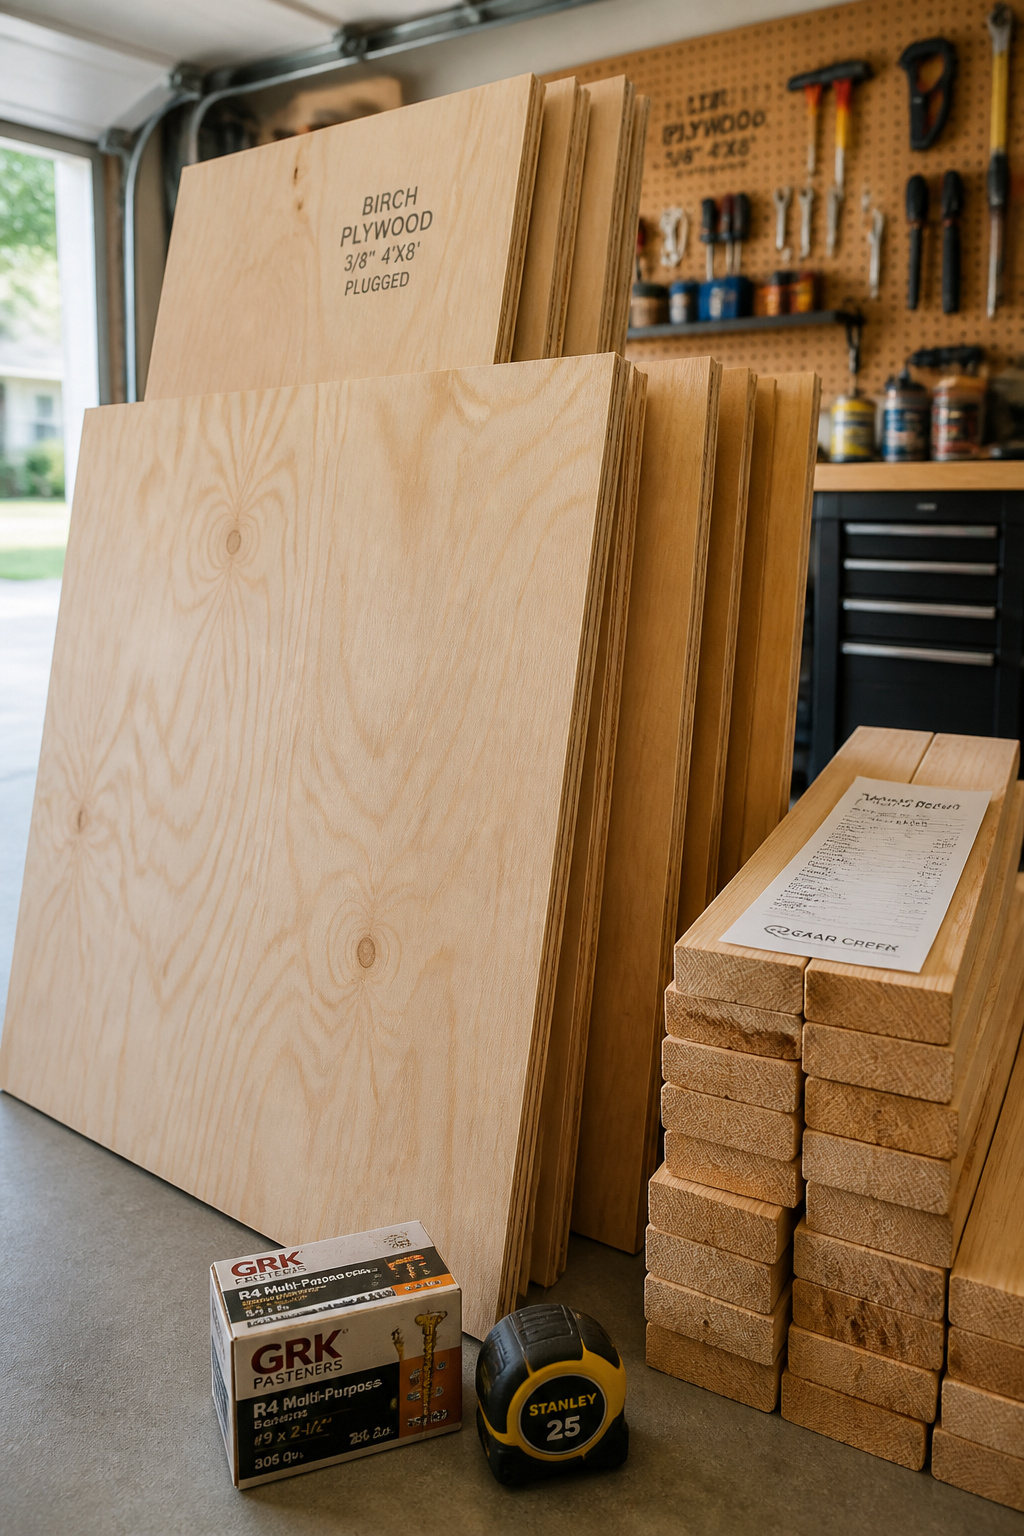
Buy two grades: CDX for the hidden cubby carcasses, birch only where it shows.
| Item | Cost |
|---|---|
| CDX pine plywood, 4×8, 3/4-inch | $30-$45/sheet |
| Birch cabinet-grade plywood, 4×8, 3/4-inch | $55-$80/sheet |
| DIY cubby-and-bench build, full row | $115-$260 total materials |
| Custom pro build | $2,000-$10,000, mostly labor |
Budget separately for the boring stuff everyone forgets:
- Wood glue, screws, and pocket-hole screws to hide fasteners
- Iron-on edge banding for exposed plywood edges
- Wood filler, primer, and paint
Beginner’s build vs. confident builder time estimate
Time depends on the angles.
| Builder | Time |
|---|---|
| First time cutting angles | Full weekend, 10-14 hours over two days |
| First time, plus drawers | Up to five days |
| Confident builder, angles before | One long day |
Simple open shelving with no angles is a weekend on its own, longer if drywall and framing come out first.
Where this build tends to run long
Bench top, hooks, and paint go fast; the time vanishes into templating and re-cutting angled panels, since one bad measurement cascades into refitting every panel after. And every honest timeline includes a trip back to the store for missing screws or wrong hooks. It’s not pessimism, it’s planning.
Framing and Building the Cubbies
The angled cuts that scared everyone off live here. Get the first one right and the rest are just repetition.
Cutting angled side panels to match the stair slope
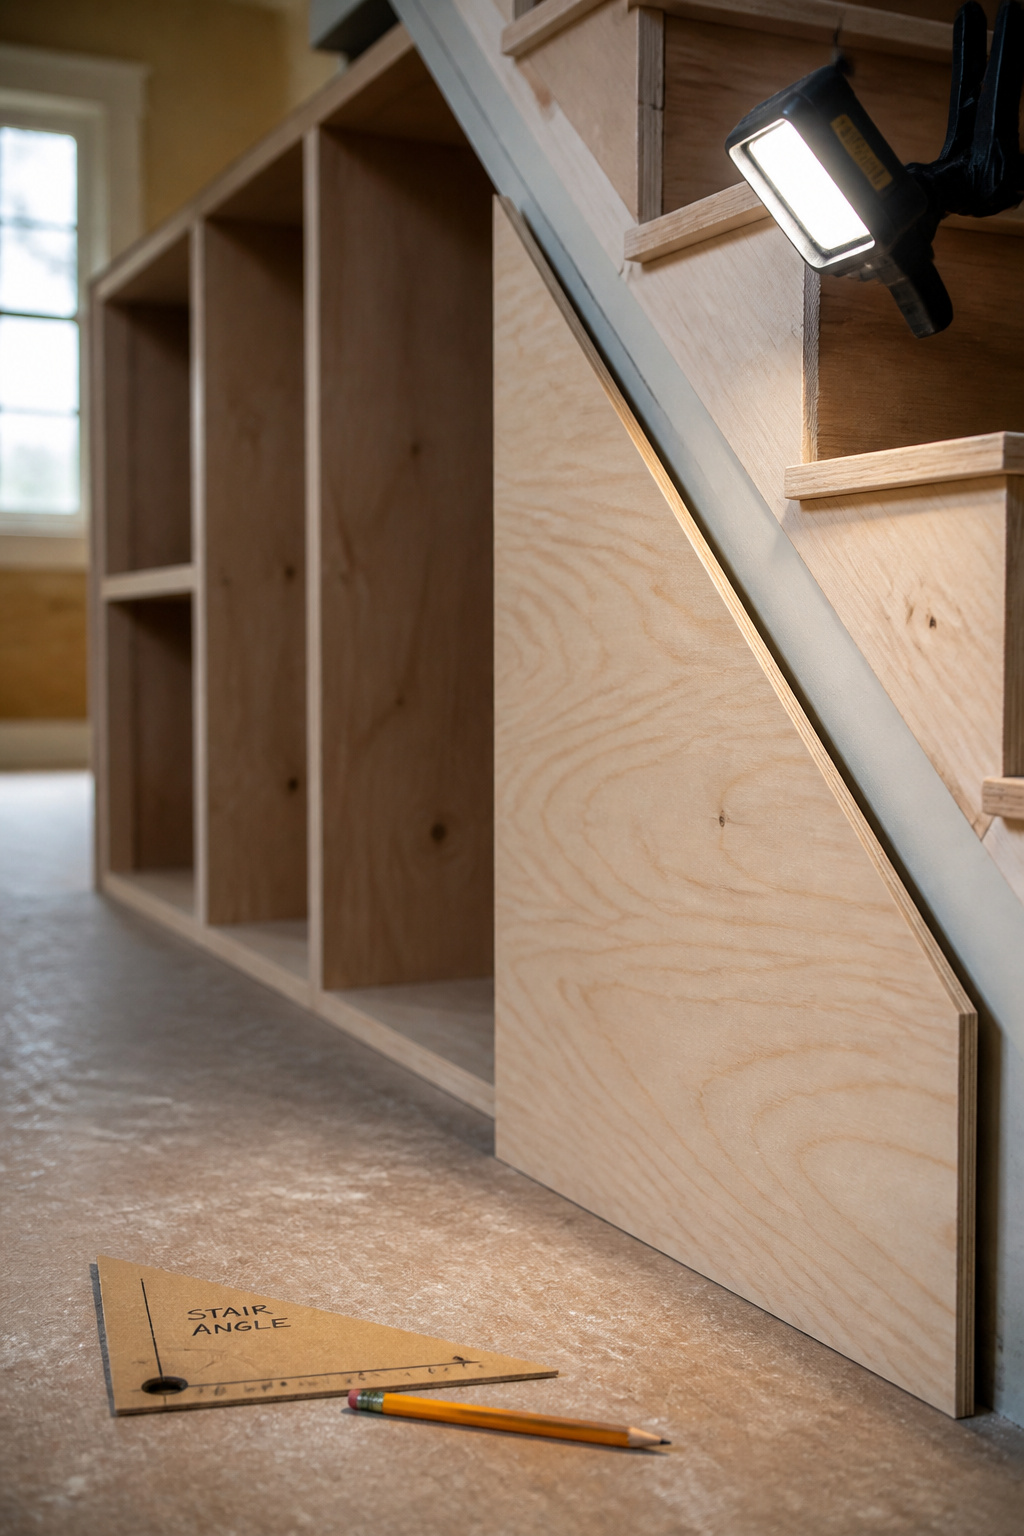
Don’t eyeball the angle, make a template. Hold a scrap of trim against the slope, mark it, cut it — 15 seconds of work gives you an exact template to mark every panel from. Once your first real panel is cut, promote it to master, since a cut piece holds its shape better than cardboard for repeated tracing. Still not your thing? Skip angles entirely with This Old House’s modular-box method: rectangular plywood boxes, stacked row by row and made shorter wherever the ceiling drops.
Assembling and installing the cubby frame
Frame it from construction-grade 2×4 lumber, plywood for sides, top, and doors. Cut 1/4-inch plywood for the backs and attach with glue plus 1-inch screws, driving pocket-hole screws from inside so no fasteners show (a jig makes this clean, or glue-and-screw if you’d rather skip one). Then fill every screw hole and sand smooth — filling those voids before paint is the difference between built-in and homemade.
The mistake that throws off every measurement after it
Here’s where it goes wrong. The first angled panel is usually cut off a rushed, single-point measurement instead of the template, and every cubby after inherits that error because people copy the first piece instead of re-checking the wall. The fix is one habit: test-fit that first cut against the actual slope before you cut a second. As the Sawdust Girl puts it, adjusting after the first cut gives you freedom to plan the rest. Catch the bad angle once, or repeat it fifteen times.
Adding the Bench, Hooks and Finish
Now the payoff: the parts that turn a plywood carcass into something you use daily.
Building or mounting a bench seat across the front
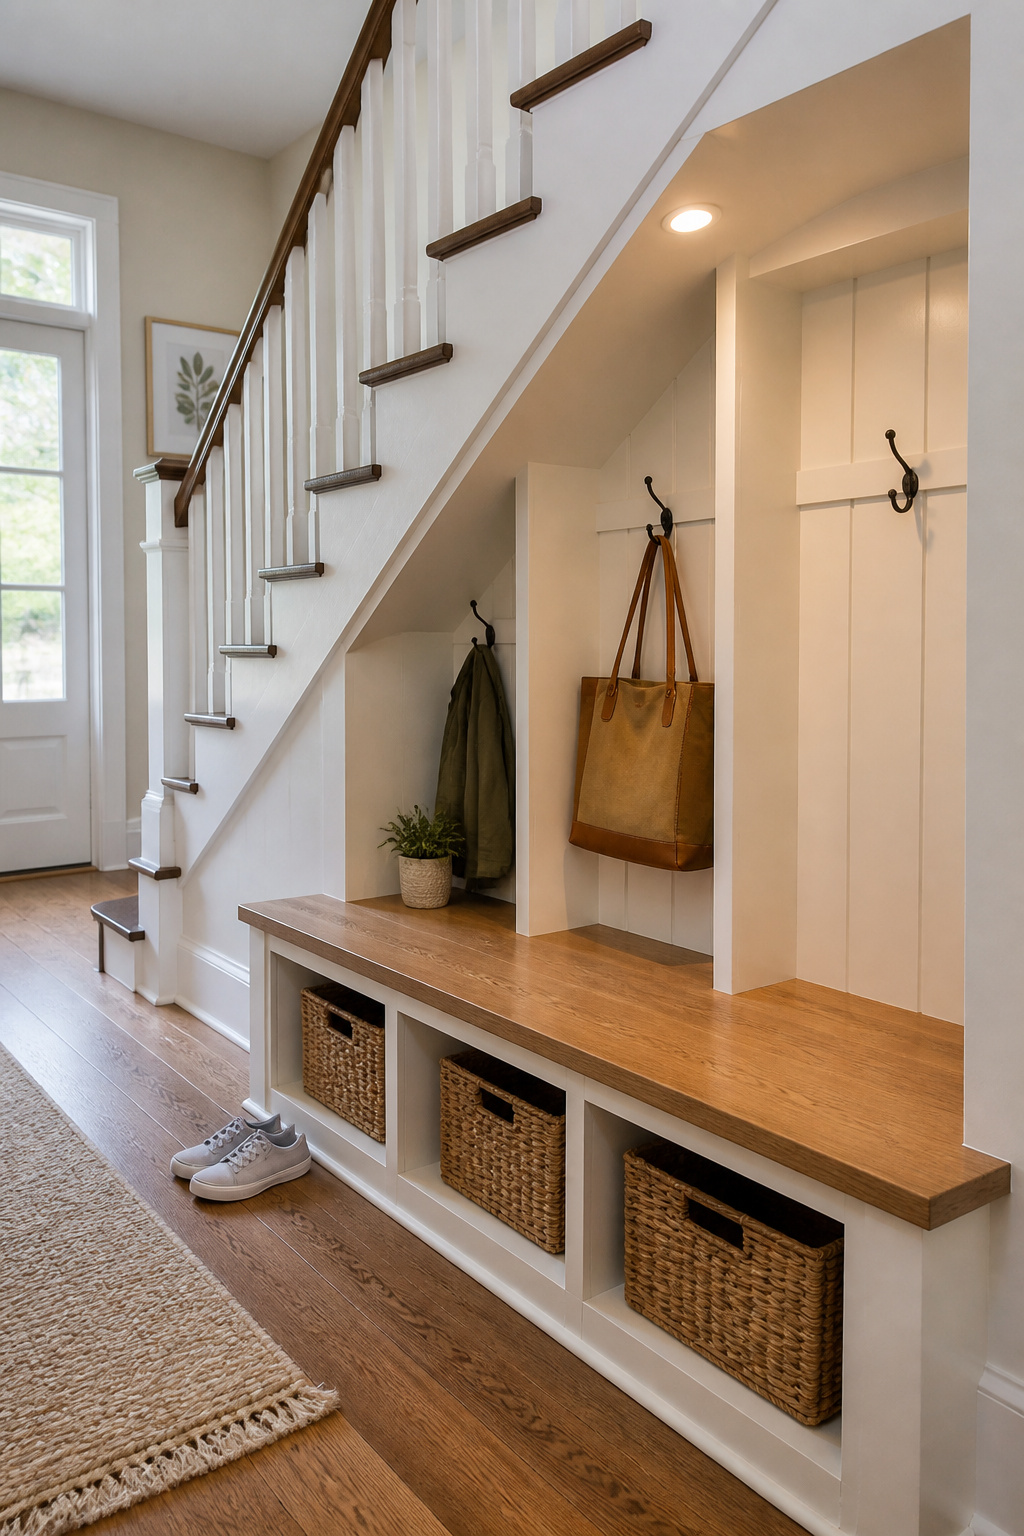
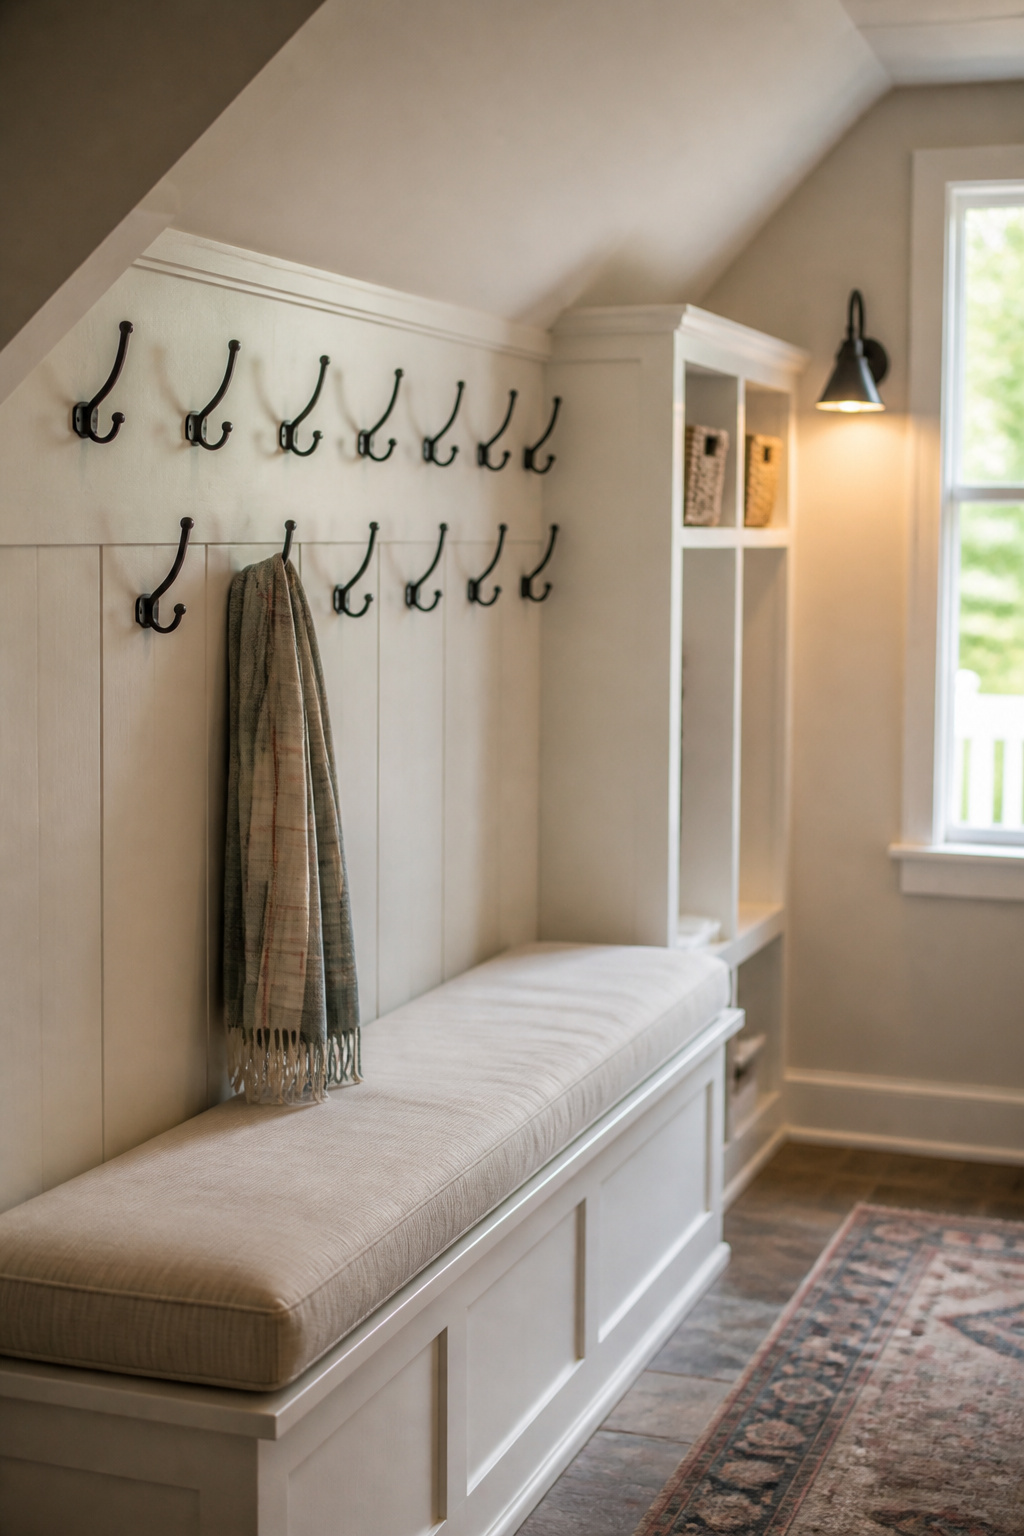
Aim the seat at 17-19 inches off the finished floor, dining-chair height and the ADA standard, putting most adults’ knees near 90 degrees for the pull-on-shoes motion. Depth wants 14-18 inches, dropping to a 14-inch minimum where the walkway is tight, which it often is under a stair run. For a floating bench with no legs, stud-mounted brackets are rated to 400 lb per pair, but only if they land on studs, not drywall alone.
Hook placement given the low ceiling near the stairs
This is the one spot where the numbers run out, so here’s my judgment, not a standard. On a flat wall, adult hooks go 60-66 inches up, but under a slope that only works at the tall end. My rule, built from general hook ergonomics plus the 5-foot code line for head clearance as a rough proxy: never mount a hook where you’d duck below 5 feet to reach it. Step the hooks down in rows as the ceiling drops, spacing adult hooks 10-12 inches apart; the child-height row at 36-42 inches often fits where the adult row can’t. When buying hardware, it’s worth picking the right hooks and shelving for the build with the slope in mind. Where the slope kills a spot, adhesive hooks are a fallback: Command jumbo hooks hold 7.5 lbs, fine for a light jacket, not a wet winter coat.
Paint, stain or leave-raw finish options
This alcove is a high-traffic, wet-shoe zone, so finish for durability, not looks. Painted MDF- or melamine-style finishes win: scratch-resistant, easy to wipe down. The sequence is fill screw holes, sand, prime, then two coats. Don’t skip edge banding on exposed plywood edges, sold by the roll at any home center — it’s what separates a built-in from a school project.
A Similar Build for Garage Entries
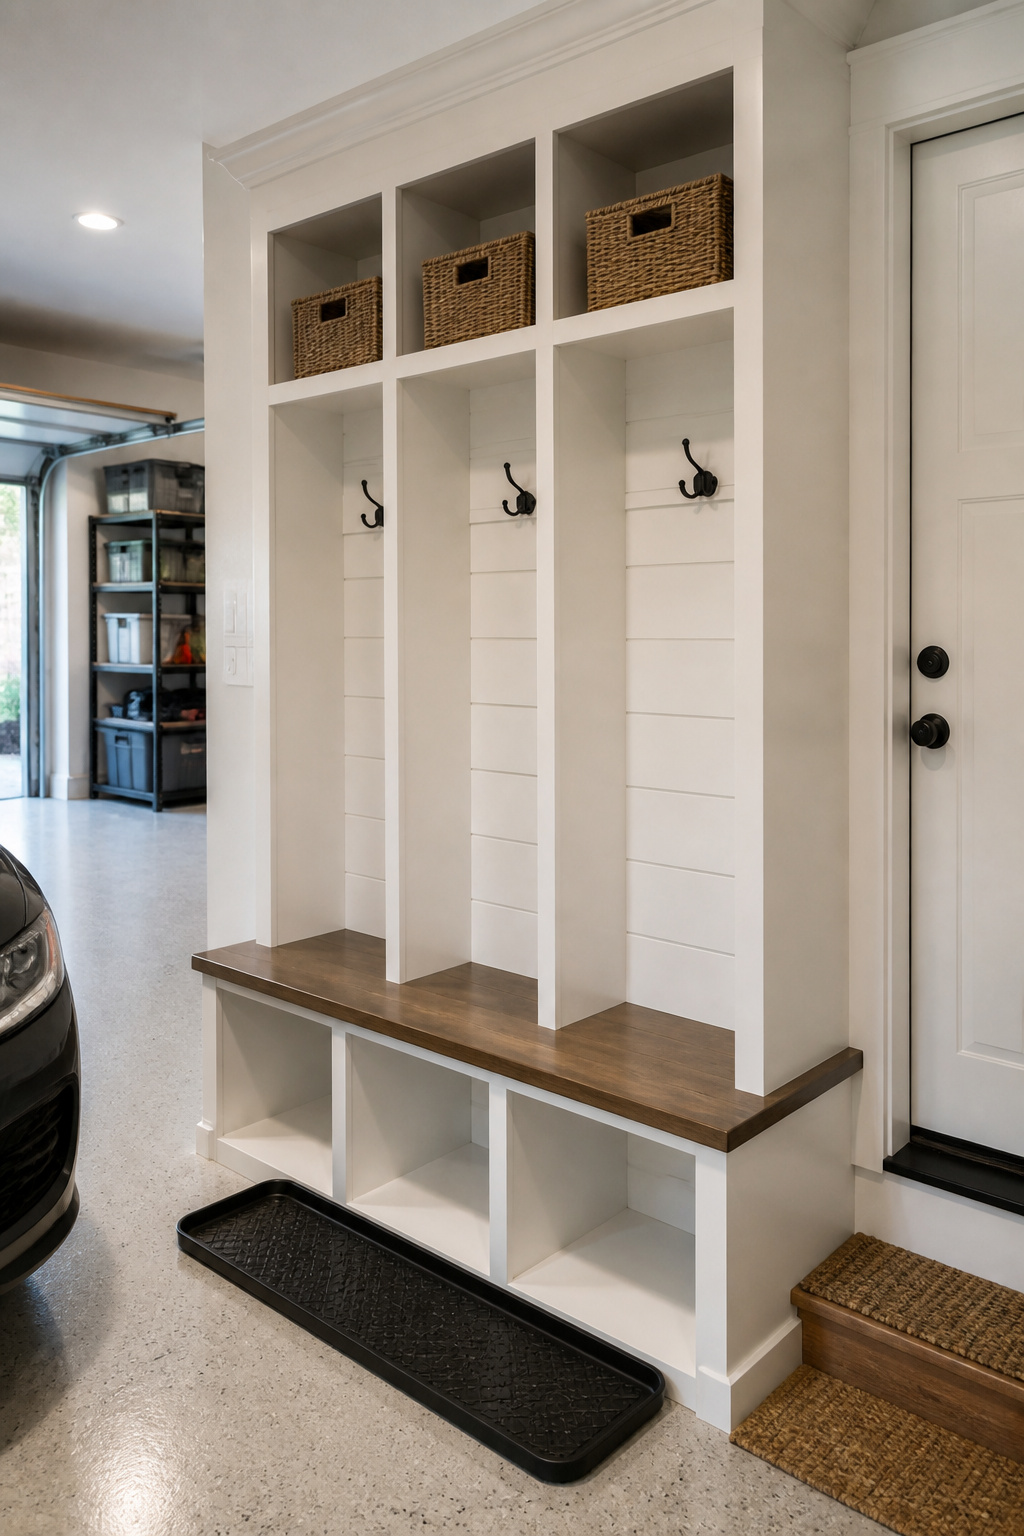
Got a second dead-space problem — the garage door that dumps you into the house with no closet in sight? The same plywood-and-2×4 approach solves it. It’s a similar build for garage entries, and the easier of the two.
How the same from-scratch approach solves a garage’s no-closet problem
The method transfers straight across: 2×4 frame, plywood sides, doors, and top, same materials and budget as under the stairs. One step matters more here: mock up the footprint in painter’s tape first, so a car door or man-door swing clears it.
What changes when the space isn’t sloped
A garage wall is flat and square, deleting the hardest part of the under-stairs job: no templating, no angled cuts, every panel the same size, hooks at a straight 60-66 inches. What it adds is a durability demand the interior version dodges — wet boots and road salt off the car — pushing you toward sealed or painted surfaces and floor protection.
Picture it: a framed built-in with cubbies sized to the slope, a bench at the right height, and a stepped row of hooks, where a vacuum and a stack of boxes used to sit. You know the three measurements that drive the layout and the test-fit that keeps every panel true. This weekend, do just the first step: put a tape measure on that triangle and write down three numbers. For every kind of entry setup, see the full range of drop zone ideas.
FAQ
How much headroom do I need for an under-stairs drop zone?
Below about 4 feet of headroom, the space only fits low drawers or bins, not stand-up cubbies. Building code excludes any part of a sloped-ceiling room under 5 feet from usable floor area, a good line for where a stand-and-reach zone should stop. The tall end of a typical home runs 7-8 feet and fits a full setup.
Can I build under-stairs storage without removing the staircase trim?
Yes. One approach keeps the existing skirt board trim flush with new cubby faces by adding furring strips to the wall stud and floor plate, rather than pulling it off. For a shelf-only build, brackets or 1×2 supports screw straight into the studs without touching the trim. Whether trim comes off depends on whether the cavity is already open.
Is an under-stairs drop zone cheaper than a closet conversion?
Usually, yes. A basic reach-in closet conversion runs $1,500-$3,500 installed, plus $1,000-$2,500 more for structural changes, and even DIY closet materials run $500-$2,000 — all above the $115-$260 of a comparable DIY cubby-and-bench build. The real cost gap is DIY versus professional labor: a custom pro build can still reach $2,000-$10,000.