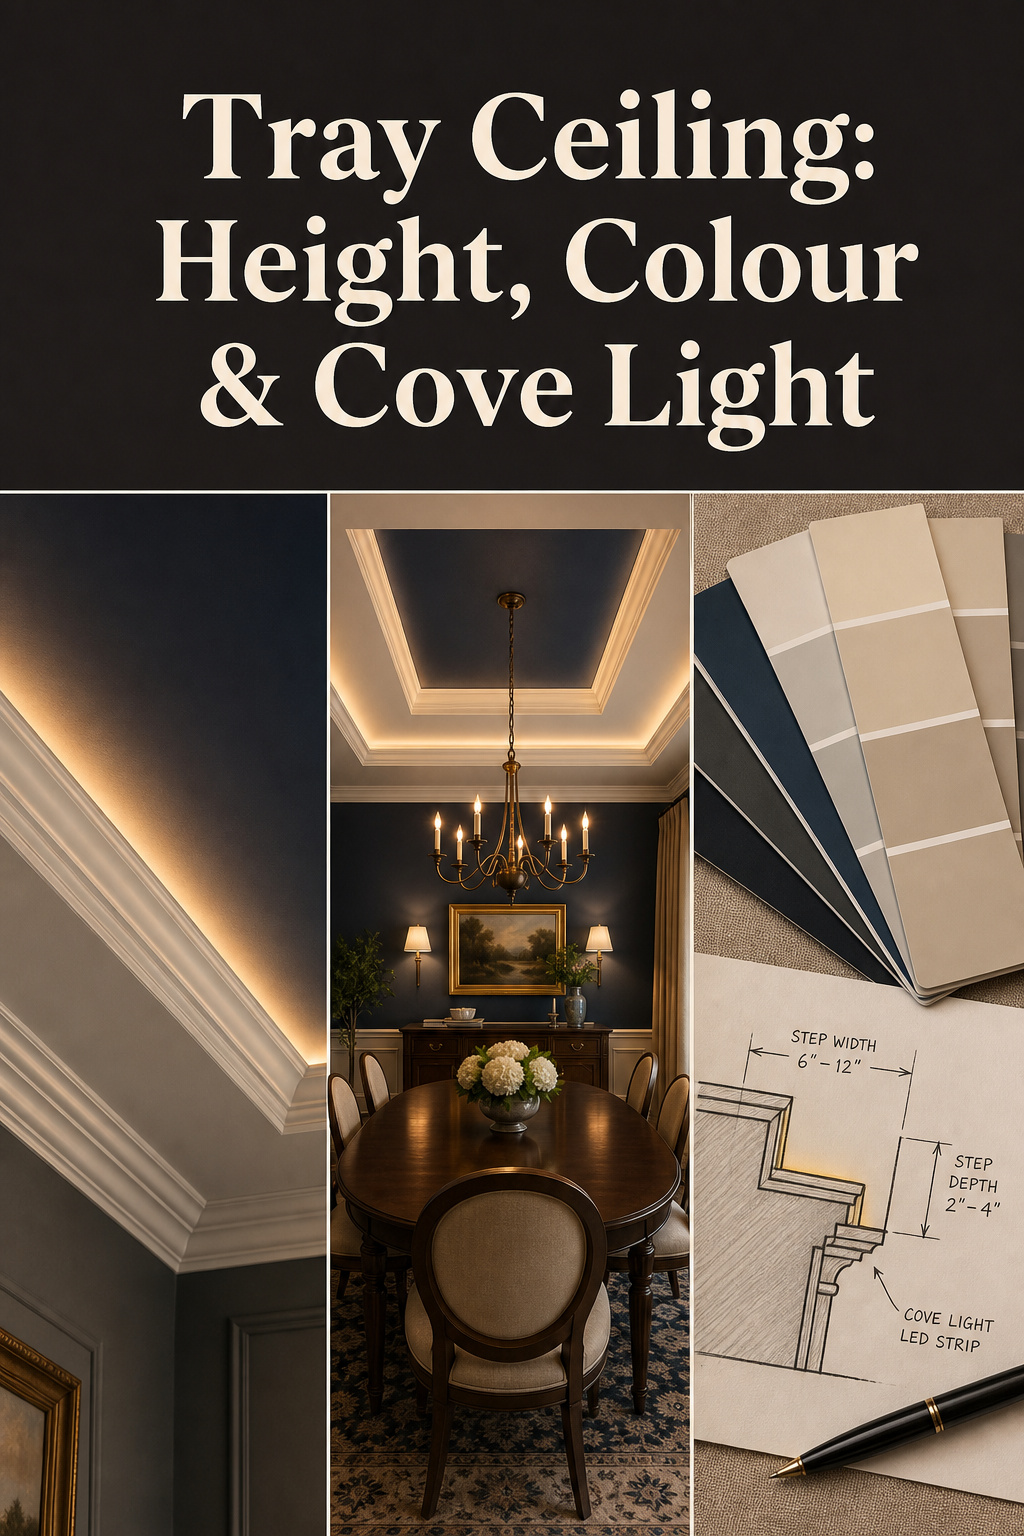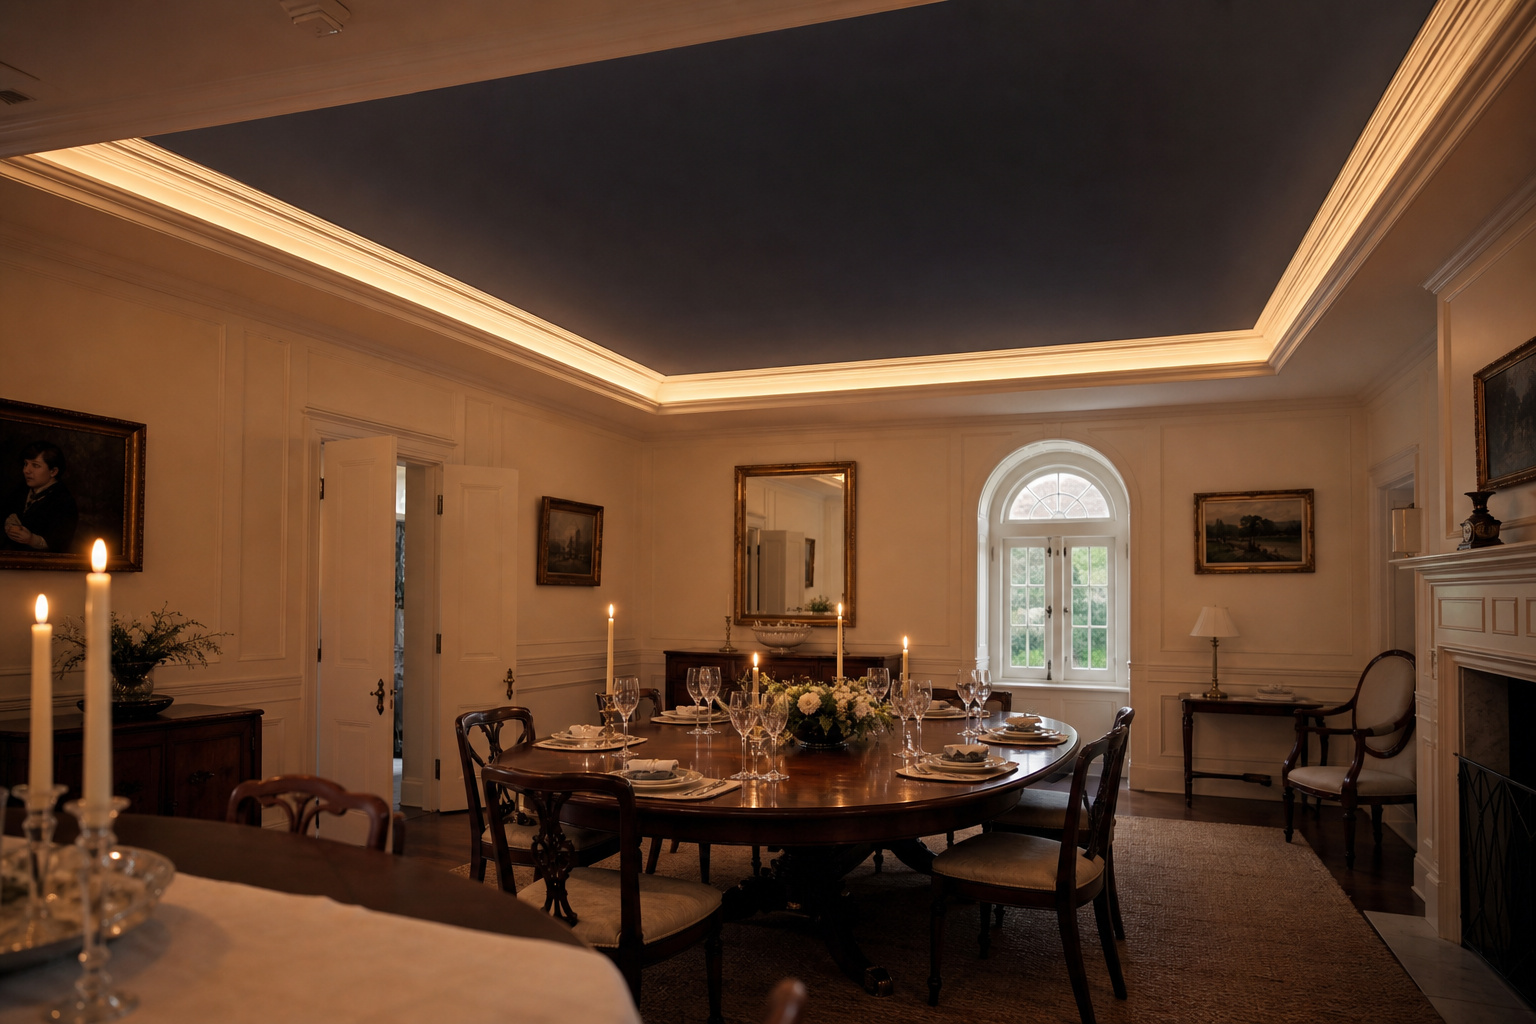

In most dining rooms the ceiling is the one surface nobody touched: a flat plane closing the room off at a hard, low line. A tray ceiling dining room undoes that with a single move. Drop a shallow border around the perimeter, leave the centre high, and the room reads taller and more composed — without a contractor going near the structure above.
TL;DR
- A tray ceiling is one recessed step — a drop-down perimeter soffit framing a single raised centre field — not the grid of multiple panels that defines a coffered ceiling.
- Proportion follows height: 9 feet is the practical floor for a step that registers, with a 4–6 inch recess; 10 feet opens the full 6–12 inch depth where the effect is strongest.
- A drop-down drywall tray runs $400–$1,000 in a 12×12 room; warm 2700K LED cove lighting tucked behind the lip adds roughly $200–$500 and does most of the atmospheric work.
What a Tray Ceiling Is — One Recessed Step, Not a Grid
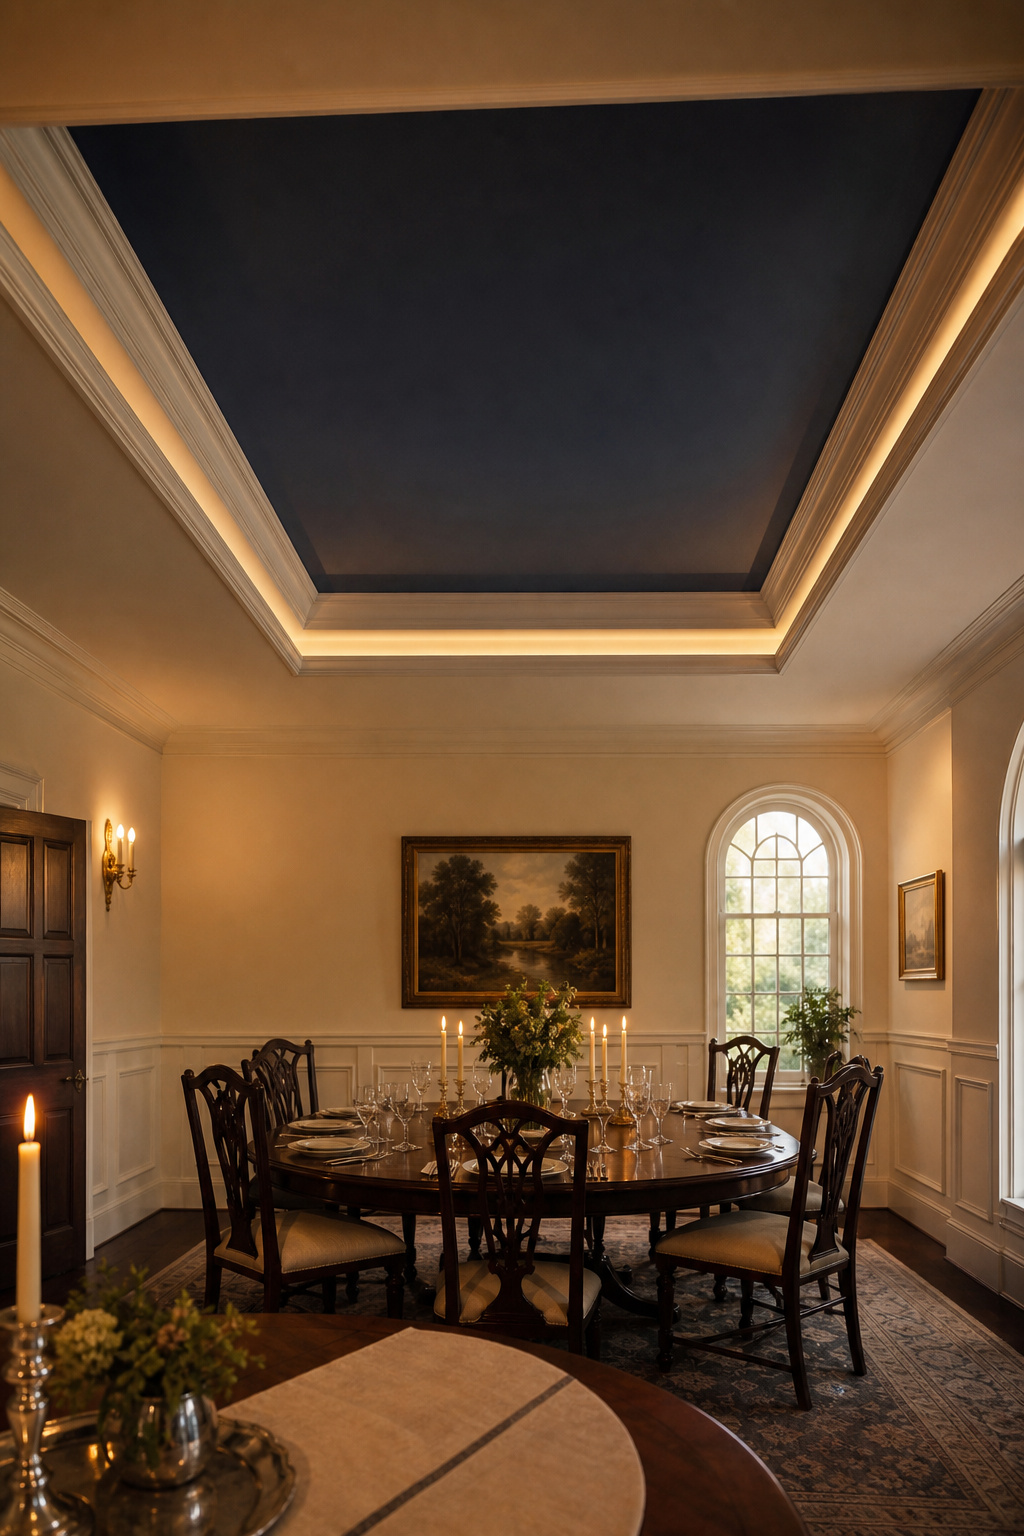
The form earns its name from the object it resembles: an upside-down serving tray set into the ceiling. A flat border drops down around the room’s edge — the soffit — and the centre field sits higher, recessed up into the space above. One step, one frame, one raised plane.
The anatomy of a tray: the stepped perimeter recess and the raised centre field
The centre field can sit anywhere from an inch to a foot above the soffit, but the 6–12 inch band is the sweet spot — shallower reads as a faint shadow line, deeper starts to compress a room that did not begin tall. Almost every tray is built in drywall over a dimensional-lumber frame, with crown moulding at the step. Glenda Taylor of Bob Vila notes the moulding is where the character lives: the larger the profile, the more dramatic the step.
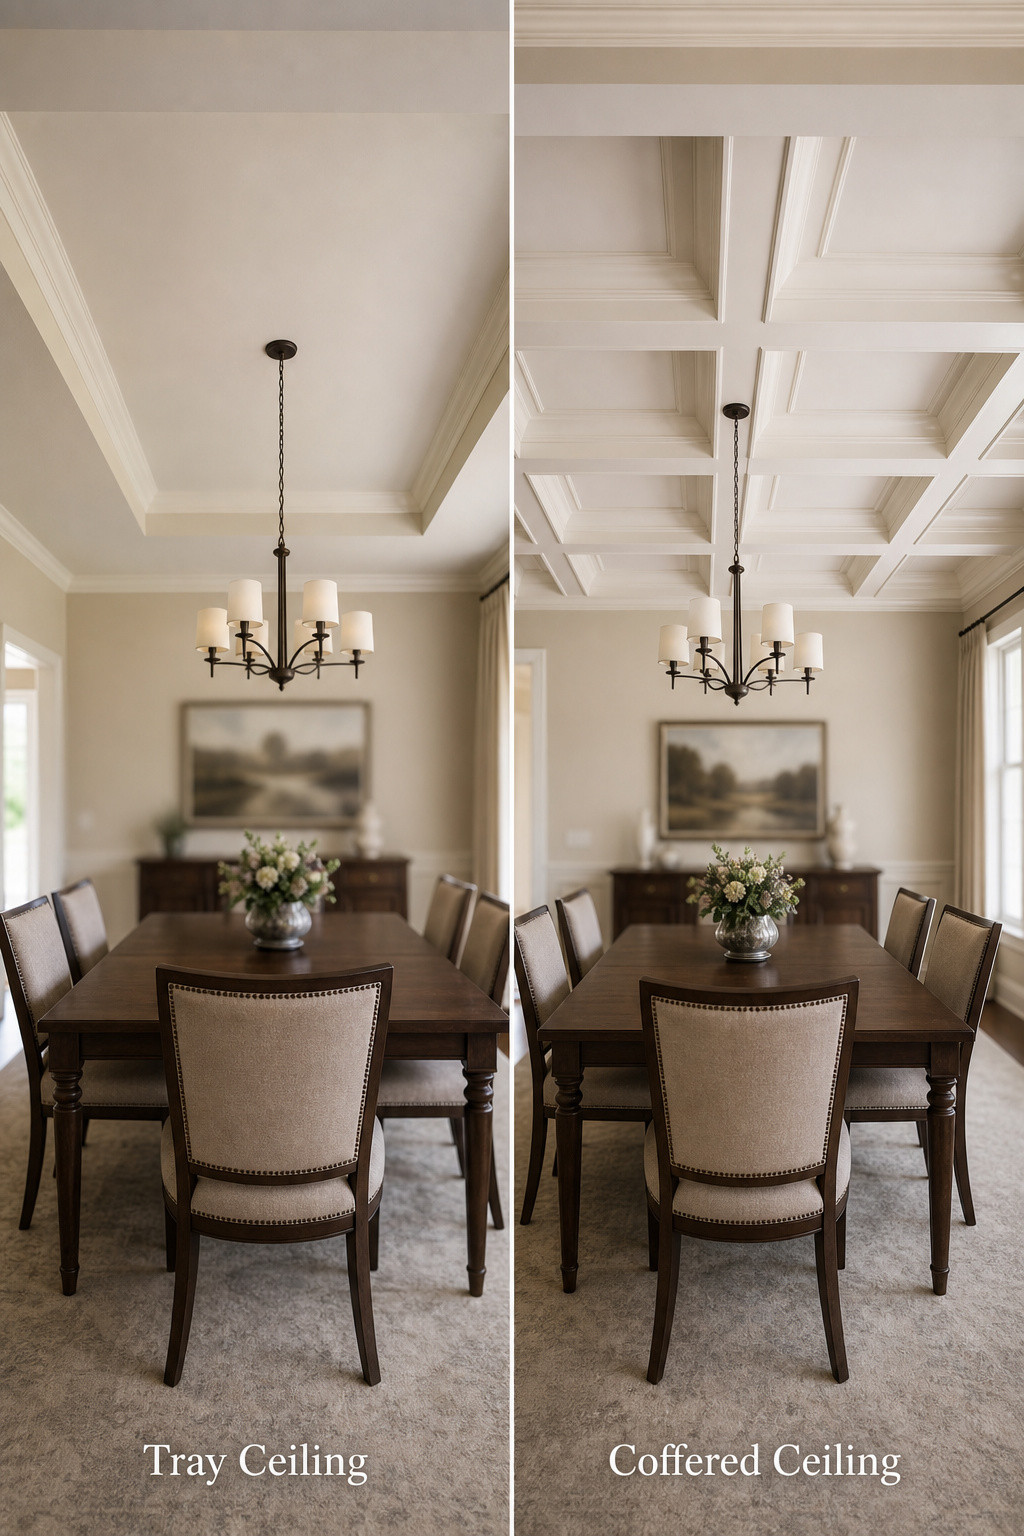
Tray vs coffered: single step vs the grid of multiple recessed panels
The distinction worth fixing is one recess versus many. A coffered ceiling uses intersecting beams to divide the plane into a grid of panels; a tray has one raised area inside its single border. They diverge on cost as sharply as on form — a tray runs $3–7 per square foot installed against $10–40 for coffering. If the room wants the busier, subdivided look, that belongs to the coffered ceiling rather than here.
Where a tray suits rooms a coffered grid would overwhelm
A coffered grid needs room to breathe — at least 9 feet of height and a width past 12 feet, or the panels crowd. A tray asks far less. It flatters square and rectangular rooms of modest size, reads as tasteful from 9 feet, and offers one clean field to paint, paper or light without a grid’s visual weight. It is the quieter sibling of the coffered ceiling, and for most dining rooms balancing height against budget, the more sensible one.
Step Depth and Proportion: Building the Recess Right
Two measurements govern whether a tray reads as elegant or awkward: how deep the centre field sits above the soffit, and how wide that soffit border runs. Both have to be settled against the room’s actual height first, or the step stops feeling like architecture and starts feeling like a dropped ceiling. The table below gathers the trade-standard proportions by starting height — read the depth figures as guidance for how the step appears, not a measured law. The height a tray seems to add has never been pinned to a verified number; what holds is the relationship, deeper recess for a taller read, within the height the room allows.
| Ceiling height | Step depth (in) | Soffit width (in) | Reads as |
|---|---|---|---|
| 8 ft | 1–2 | 8–12 | Subtle shadow line only; faint interest, not true depth |
| 9 ft | 4–6 | 12–18 | Clear step; centre field reads as raised; good baseline |
| 10 ft | 6–12 | 12–24 | Full depth; strong shadow; field appears to float |
| 11+ ft | 8–14 | 18–30 | Deep architectural recess; grandest scale; cove light most dramatic |
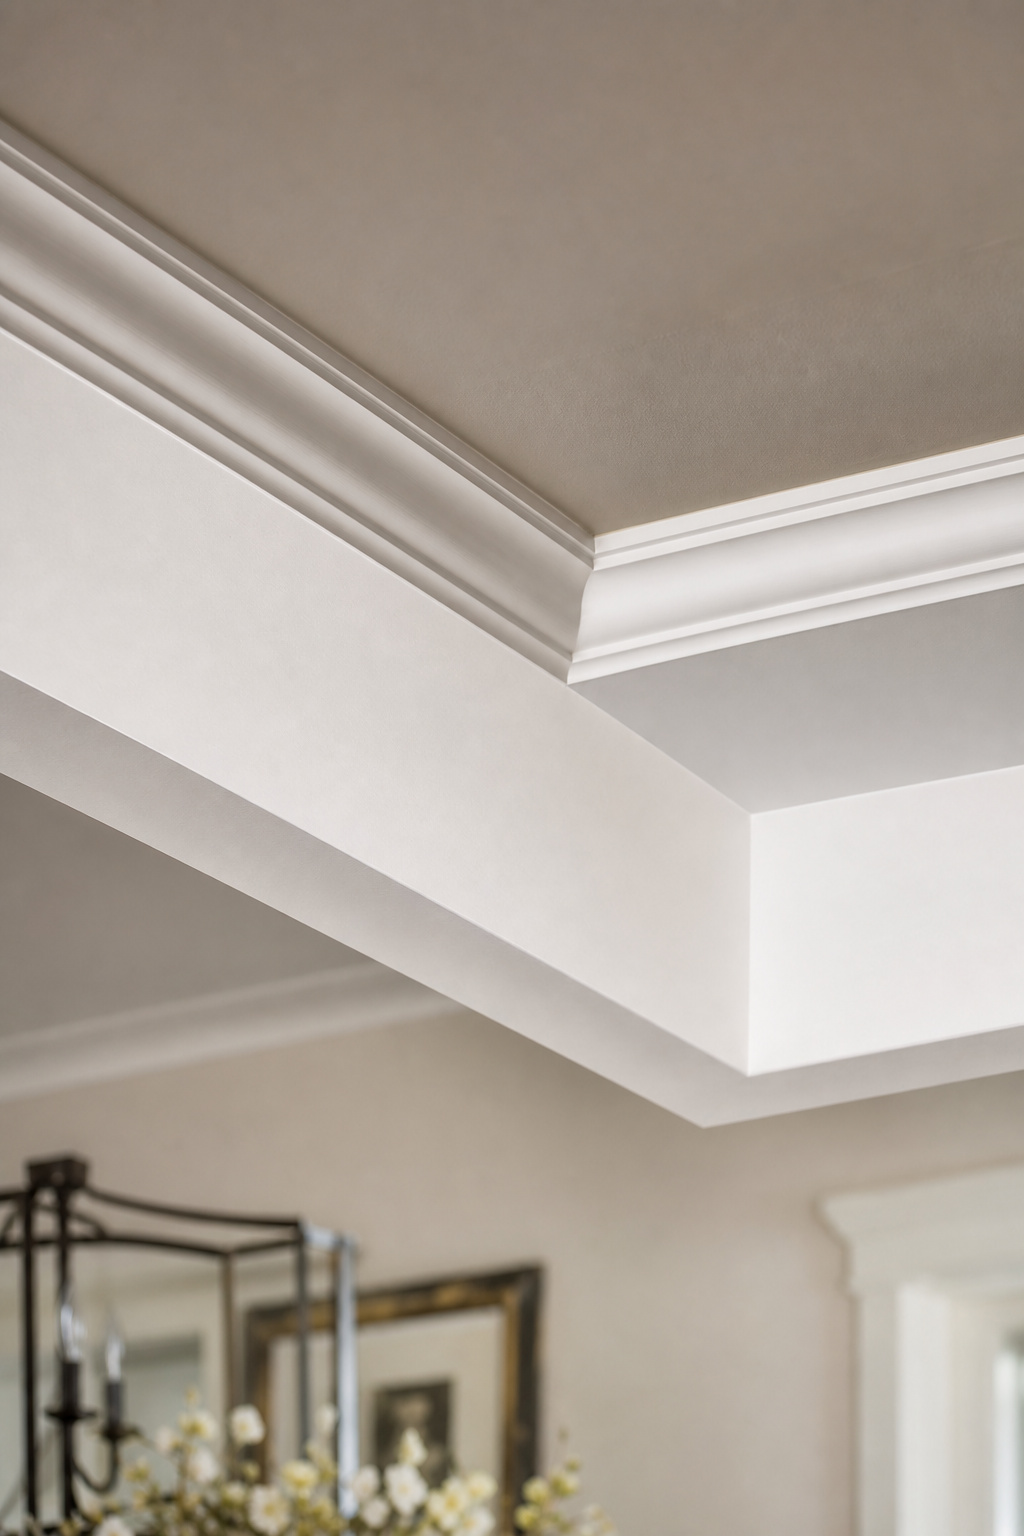
Step width and depth ratios — what reads as elegant vs what reads as shallow
The soffit border runs 12 to 24 inches wide and has a job beyond framing: crown moulding needs at least 6–8 inches of flat soffit face to land, so a border built too narrow leaves nowhere for the moulding to sit. Keep the recessed field at least as wide as the border — ideally three to five times wider — so the tray reads as a framed feature, not a slot cut around the edge.
Ceiling height requirements: when 8 feet is enough and when it is not
Most US codes set 8 feet as the minimum finished height. A tray can go into an 8-foot room, but only as a whisper — a 1–2 inch step. Taylor names the trap: a 6-inch drop at 8 feet brings the perimeter to 7 feet 6 inches, which clears code but feels cramped. Nine feet is the honest floor for a step that registers, holding 8 feet 6 inches at the perimeter; at 10 feet the full depth range opens and the effect is strongest.
Construction options: drywall-built vs prefab tray kits
The traditional method is a lumber soffit frame fixed to the joists with blocking at 16-inch intervals, wrapped in half-inch drywall and finished with crown moulding — the cleanest, most customisable route. Prefab systems such as EZ-Tray adhere a formed corner-bead flange to the existing ceiling and mud it flush, producing a shallow two-inch step cheaply. One line not to cross: recessing the field up into the joists alters structure and needs an engineer and permits — a new-build decision, not a retrofit. Budget $400–$1,000 for a drop-down drywall tray in a 12×12 room, $700–$1,600 at 15×15, before lighting or paint.
Cove Lighting: The Strip That Changes the Whole Room
If the step is the architecture, cove lighting is what turns it atmospheric. An LED strip tucked behind the soffit lip, aimed up at the raised field, takes a tray from a feature you notice to one you feel — and in a dining room it does more for the evening than any other move overhead.
How LED cove lighting works inside the tray lip
The strip mounts behind the inside face of the soffit, pointing up, set 2–3 inches back from the edge so it never glares at the table — what you see is the wash rising up the field, not the source. For a dining room’s 40–60 foot perimeter, a 24V strip avoids the brightness fall-off a 12V run shows at its far end. Target 200–500 lumens per foot if the cove is your main ambient source, less for mood-only use.
Three installation details that decide the quality of the result:
- Strip setback: 2–3 inches from the lip edge; closer creates visible hot spots at seated eye level.
- Voltage: 24V for any run over 16 feet; a 12V strip loses brightness at the far end of a full dining-room perimeter.
- Dimmer: pair the driver with a compatible TRIAC or ELV dimmer — cove light run at full brightness defeats its own purpose and shortens the strip’s rated life.
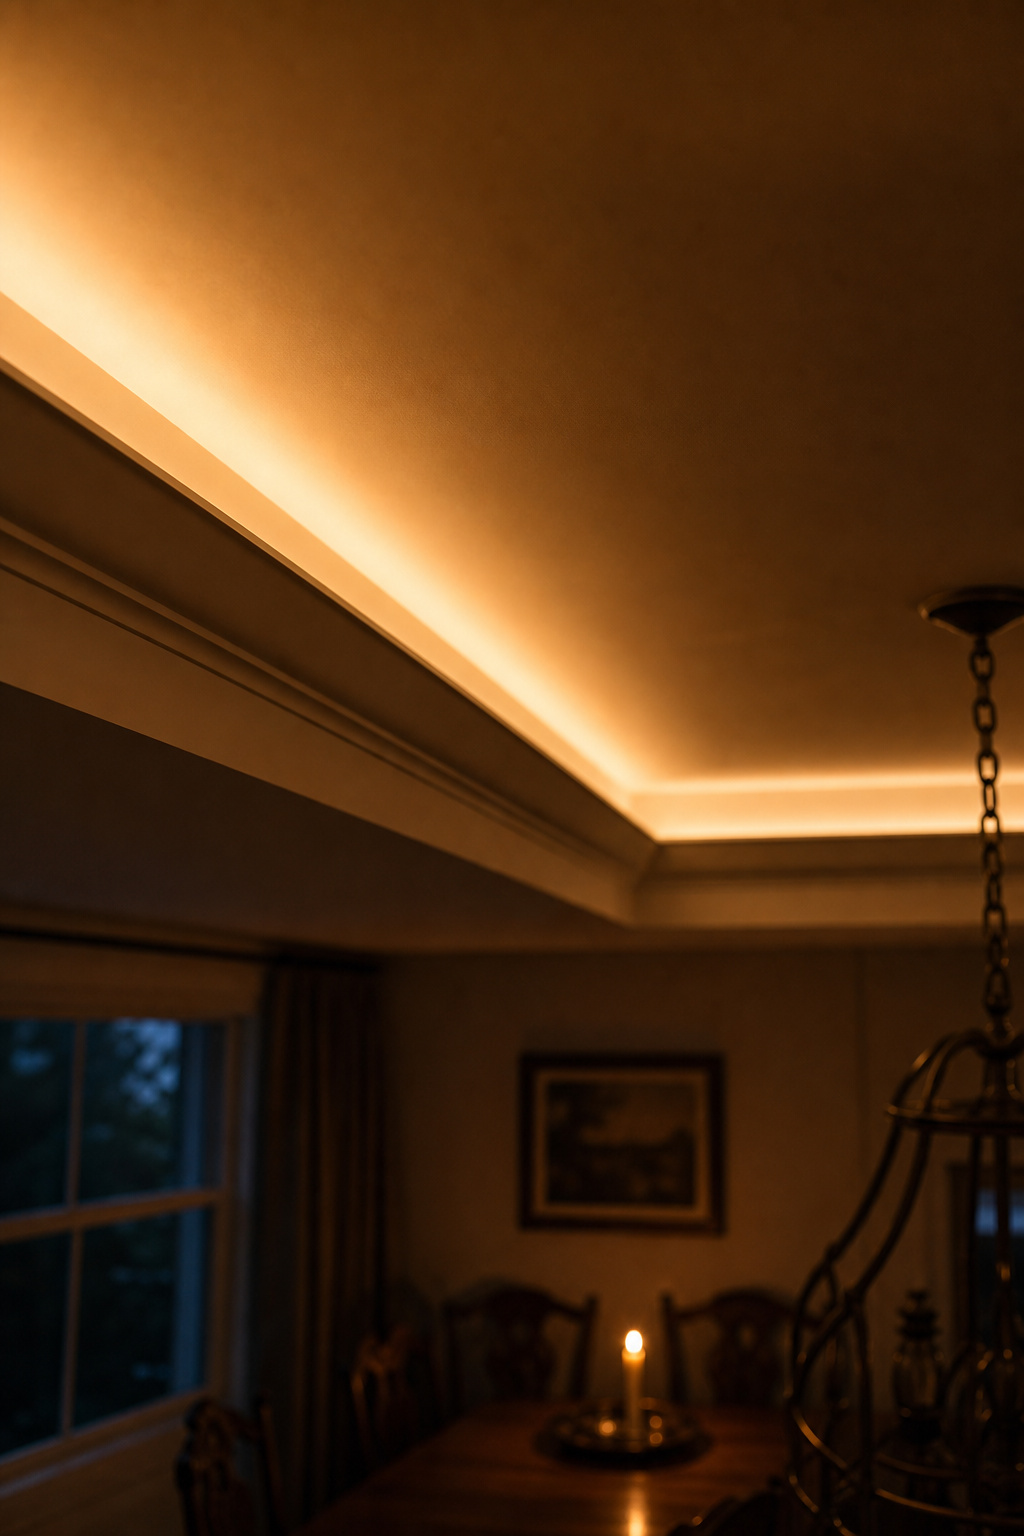
Warm white vs cool white vs colour-changing: what suits a dining room
For a dining room the answer is settled: 2700K warm white. It builds the inviting register a table wants, flatters skin tones, and sits beautifully against the wood, linen and brass a formal room carries. As Flexfire LEDs put it, warm temperatures let the body unwind where cooler ones push it toward focus — the opposite of dinner. A tunable 2700K–4000K strip buys daytime flexibility without RGB complexity; above 4000K greys out warm materials and turns the room institutional.
Wiring the cove: what requires an electrician and what does not
A plug-in strip with a low-voltage driver goes in without an electrician where an outlet sits within reach of the soffit. A hardwired install — driver to a junction box inside the soffit — needs a licensed electrician, and if you are building the tray new, have that box roughed in before the drywall goes up rather than fishing wire later. One requirement is not optional: pair the driver with a compatible dimmer. Fixture sizing for the chandelier alongside it is its own subject — see lighting the recess.
Painting and Papering the Recessed Centre
Once the tray is built, the field overhead carries the most weight. The reliable move is to paint it a shade or two deeper than the soffit: the darker tone reads as farther away, and Taylor’s logic holds — depth on the recessed field reinforces the illusion that the ceiling has climbed.
Painting the tray field a shade deeper than the perimeter ceiling
Three approaches work, and the walls decide. Paint the field a deeper coordinated tone for quiet depth; treat the soffit as wall and the field as ceiling-white to push the height read; or commit the field to a true accent — navy, deep forest, warm charcoal — which only succeeds when the surrounding walls stay neutral so the surfaces do not compete. The dining room is the one room where a satin or semi-gloss on the field earns its place, catching chandelier light off the colour above.
Taking wallpaper up into the recessed panel for pattern overhead
Paper can work overhead in a tray because the soffit gives it a natural border — in practice, many designers treat the framed centre as a deliberate panel when the pattern is chosen to read at ceiling distance. Larger-scale botanicals, geometrics or stripes carry at height where a small repeat would fuss. Use paste-the-wall papers, lighter when wet and less inclined to sag before they set, and keep heavy vinyls off the ceiling. The full treatment lives at papering the recessed panel.
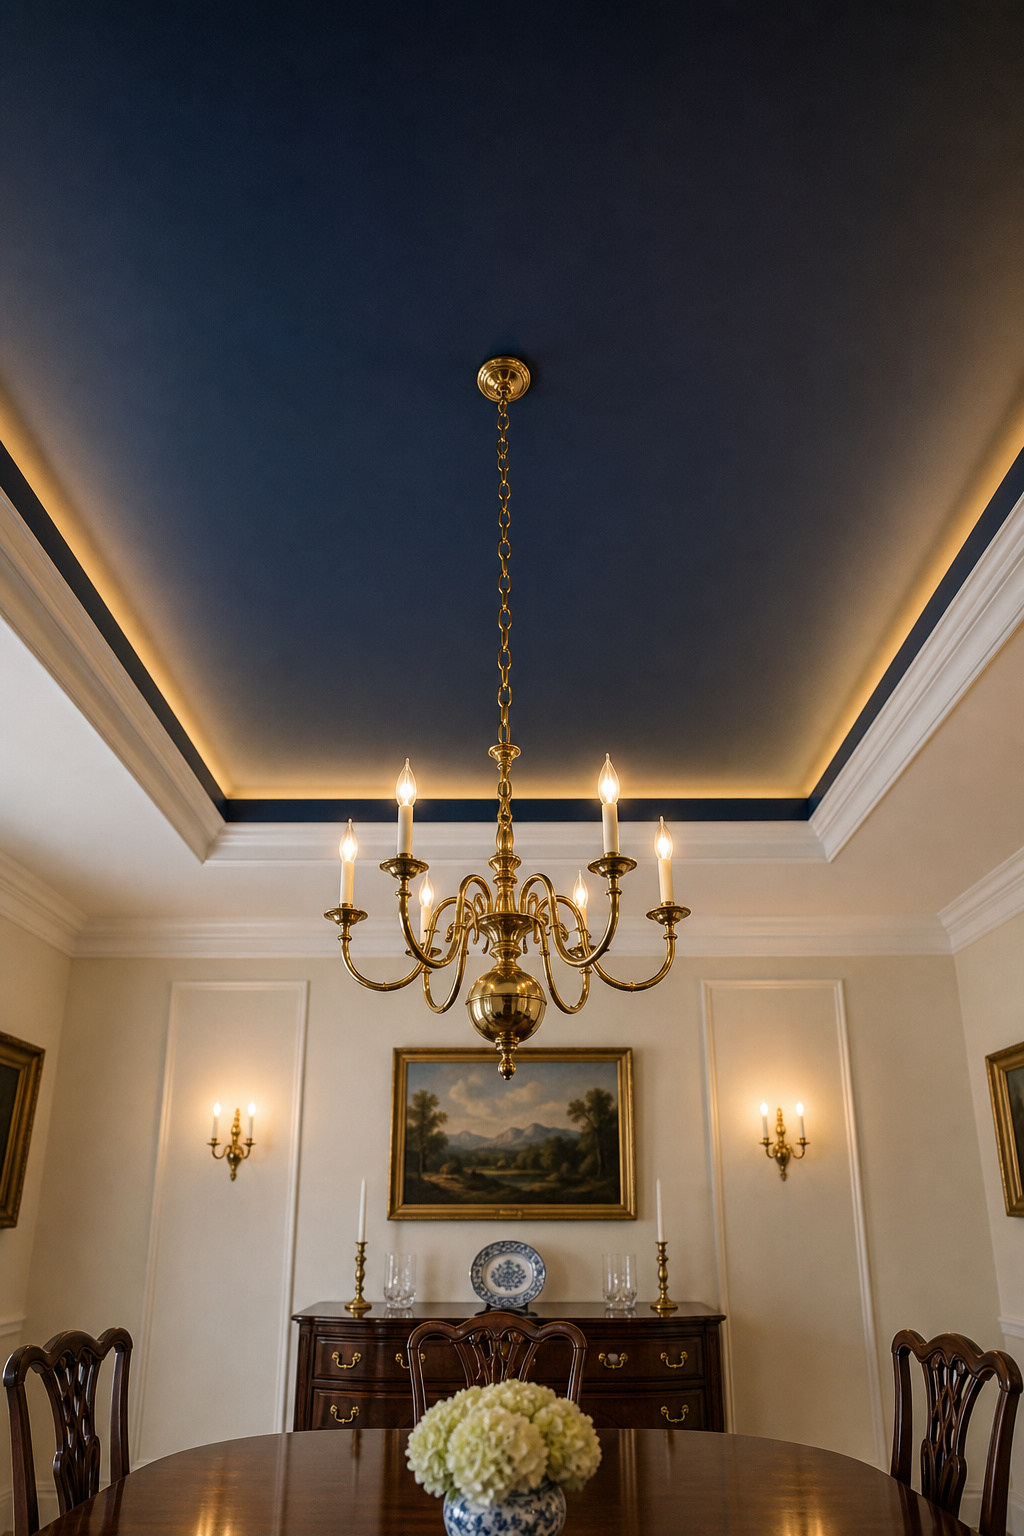
Colour relationships: the tray field, the walls and the trim
Interior designer Kylie Mawdsley’s rule is the one I keep coming back to: a narrow soffit — under 12 inches — belongs visually to the wall, so paint it the wall colour, leaving only the raised field and its short returns up for an accent. The crown moulding does essential work, drawing the clean line that lets a colour in the field read as intent; without it, an accent overhead looks like a paint edge gone wrong rather than a decision.
The Chandelier in a Tray Ceiling
Hanging a chandelier in a tray introduces a small geometry problem worth understanding, even though the full sizing rules sit elsewhere. The fixture mounts to the raised field, not the lower perimeter — so clearance above the table is measured from that higher plane.
Hanging from the raised centre field: canopy placement
The canopy fixes to the centre field, over the junction box, centred on the table rather than the geometric middle of the room — these usually align, but follow the table when they do not. A ceiling medallion can anchor the canopy; keep it smaller than the fixture if the field sits under 9 feet, since the tray’s border already competes for the eye.
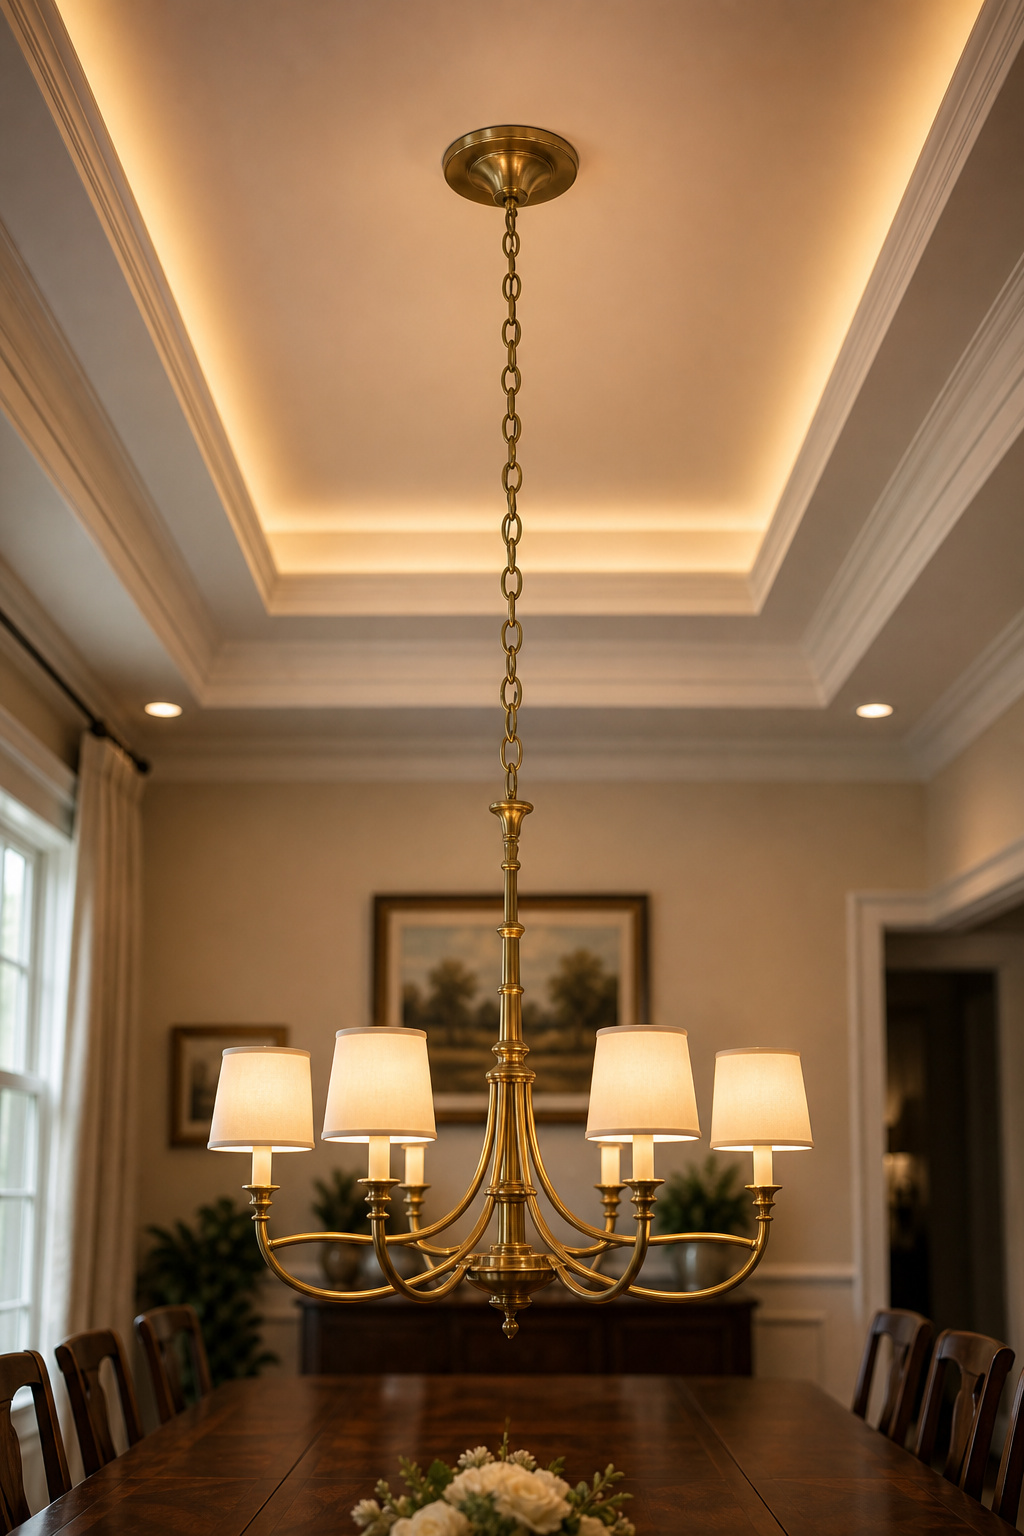
Adjusting chain length for the step height lost
Because the field is higher than the perimeter, the chain is calculated from the field height — usually shorter than a flat ceiling would need to land the fixture 30–36 inches above the table. A deep step is an advantage: hanging from a plane 8–12 inches higher lets you carry a more substantial fixture without the bottom dropping into sightlines. Whatever the maths says, hang the full chain and confirm the height from a seated chair before you cut. As MOD Lighting warns, a cut chain cannot be un-cut.
Scale: how the tray frame affects what fixture size looks balanced
The room-size formula — length plus width in feet, converted to inches — points a 12×14 room toward a 26-inch fixture. But the tray’s border acts as an inner frame, so a fixture filling more than about 60% of the field’s width reads as crowded; in a field under 10 feet wide, sizing down 2–4 inches often sits better. That 60% figure is a working guideline rather than a sourced rule, but it follows the diameter formula’s logic. The chandelier guide covers the full sizing and height arithmetic in detail.
What the Finished Tray Ceiling Delivers
Come back to the flat low plane we started with. The payoff of a tray is perceived height that outruns its actual inches — the eye climbs the step to the raised field and measures the room by that highest plane, so even a modest recess can make a 9-foot room read closer to 10.
The height effect: why one step reads as more than its inches
The mechanism is the same as a vertical stripe on a wall: a stepped profile leads the eye upward, and the brain takes the highest visible surface as the room’s height. Wash that field with cove light or paint it a shade lighter and the illusion strengthens, because a brighter plane reads as farther off. A darker field trades a little of that height for drama — a fair exchange in an intimate dining room.
Combining the tray with a painted or wallpapered surround
The full effect is layered: cove light for atmosphere, an accent colour or paper for personality, crown moulding for legitimacy, a chandelier from the high centre for function. In an open-plan home the border does quiet duty too, marking the dining area without a wall. For impact against cost, a drywall tray with cove lighting is one of the strongest moves a dining room offers.
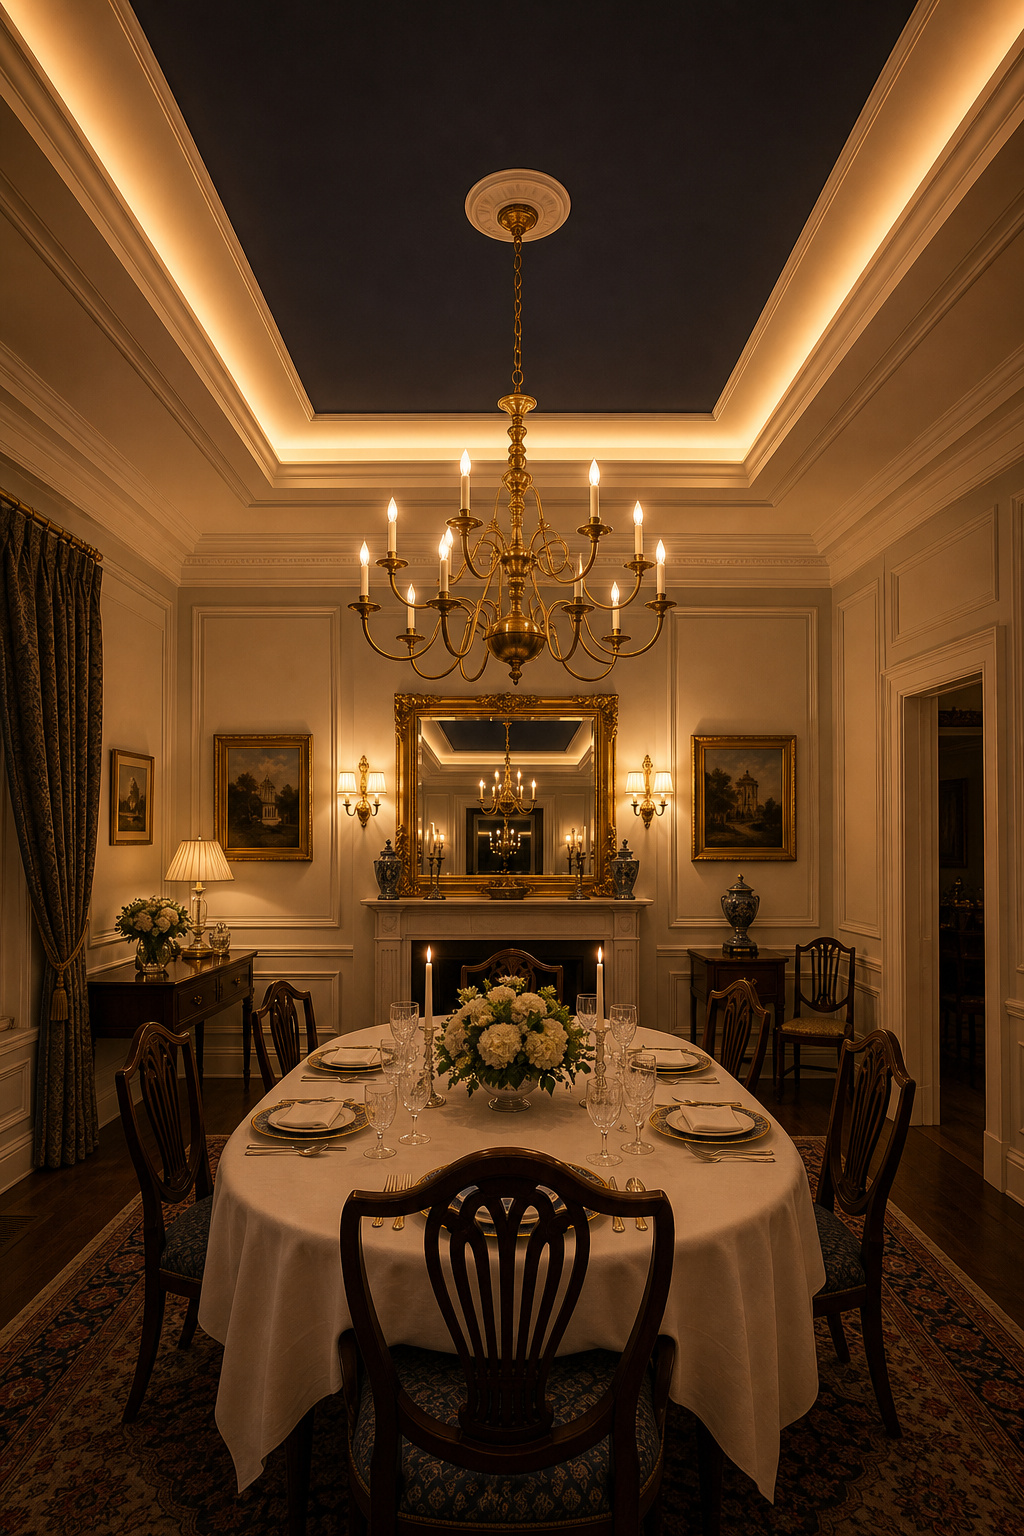
When to choose a tray and when to step up to coffering
Choose a tray when the height is 9–10 feet, the room is under 200 square feet, and the budget sits under $2,000 — the clean, transitional read suits most homes. Step up to coffering when the ceiling reaches 10 feet or more, the room wants subdivision, and the house is a Georgian or early-American one where a grid is period-true. The tray is the more practical choice for most rooms; the coffered grid is the grander one for the rooms that can carry it. For where each sits among every option overhead, the dining room ceiling treatment guide maps the whole territory.
FAQ
How much does it cost to add a tray ceiling to a dining room?
A professionally installed drop-down tray ceiling runs $400–$1,000 in a 12×12-foot dining room and $700–$1,600 in a 15×15-foot room, covering framing, drywall and finishing. Adding LED cove lighting adds roughly $200–$500 in materials plus electrician time. Building the tray during new construction or a remodel costs less than retrofitting a finished room.
Can you put cove lighting in an existing tray ceiling?
Yes, if the existing soffit has a face of at least 3 inches, an LED strip can be adhered 2–3 inches back from the edge with a small plug-in driver concealed behind the soffit near an outlet. A hardwired retrofit needs an electrician and adds $200–$500, and a new circuit usually requires a permit.
Does a tray ceiling make a room look bigger or smaller?
A tray ceiling makes a room look taller by drawing the eye up to the raised centre field, which the brain reads as the room’s height. The gain depends on depth and treatment — a 6-inch cove-lit step can make a 9-foot room feel closer to 10. A soffit eating more than 25% of the ceiling width per side begins to compress rather than lift.