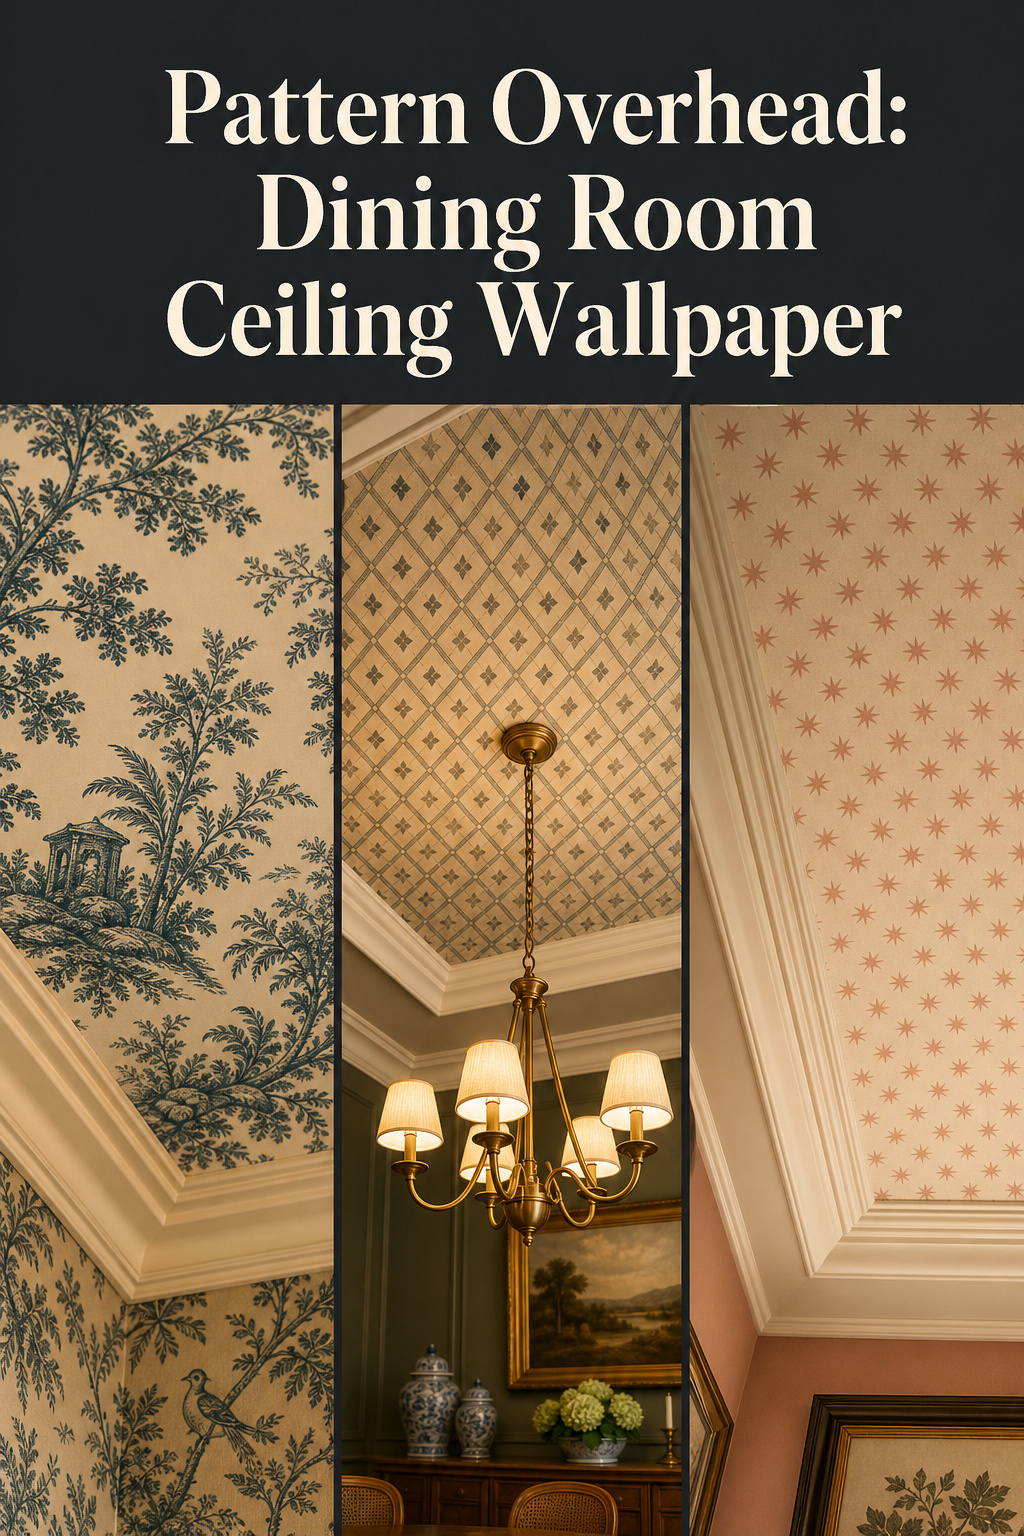
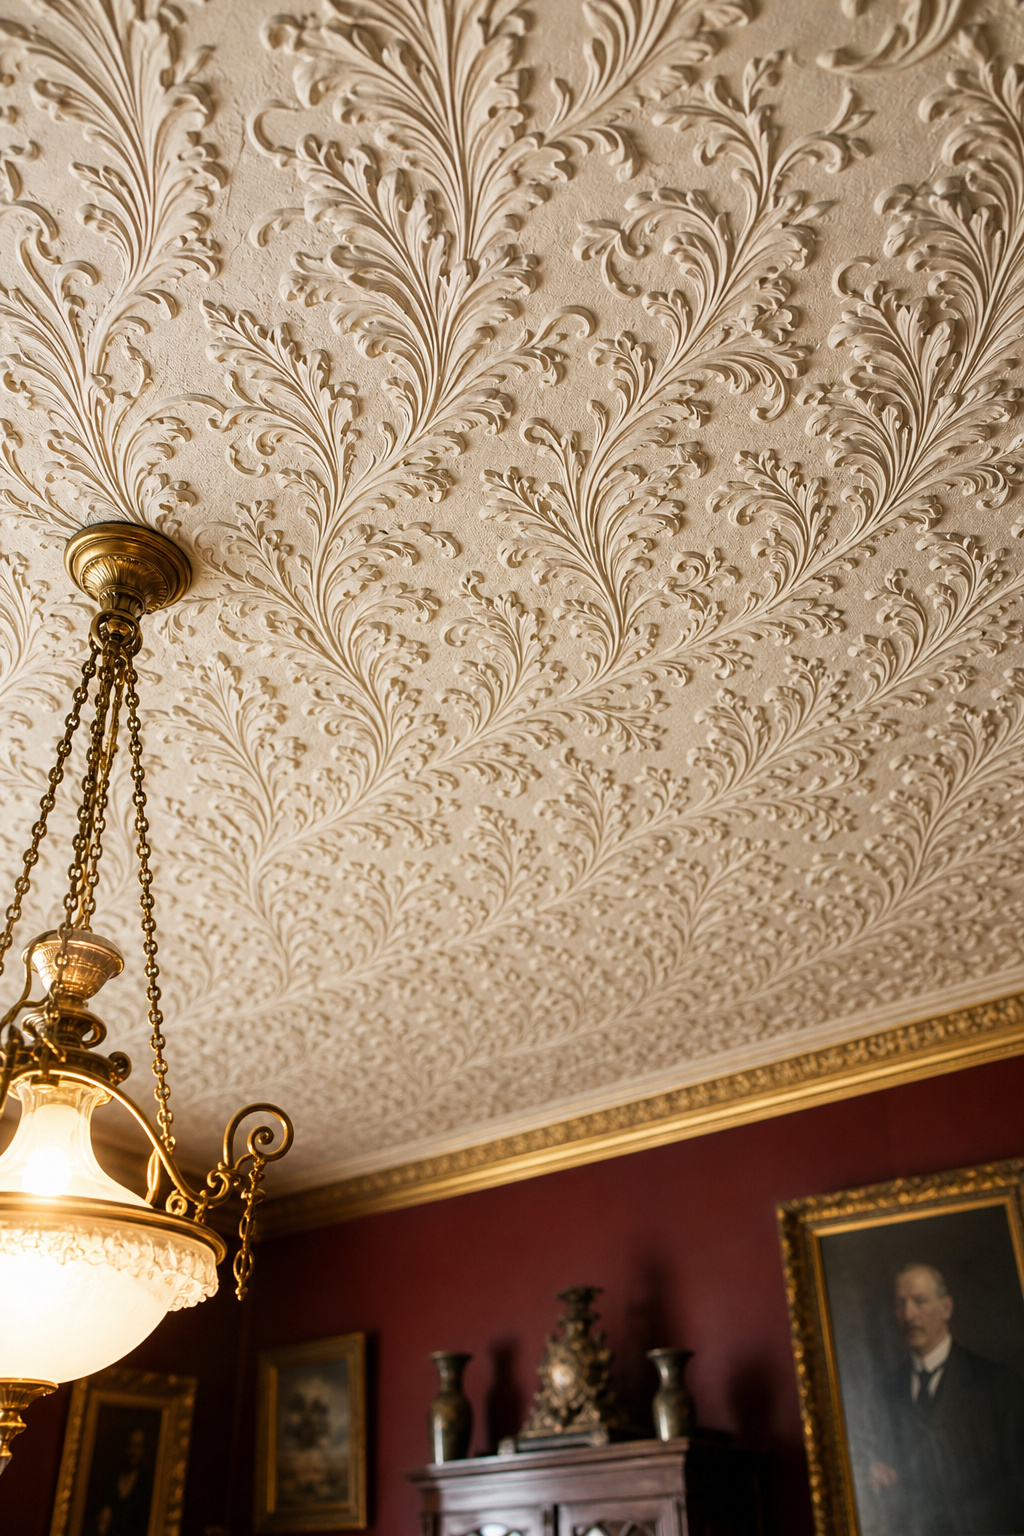
By the 1880s, the formal Victorian dining room wore raised-relief Anaglypta overhead as standard — not as an ornamental gesture but as the expected finish of a room that took its own character seriously. Dining room ceiling wallpaper is the modern descendant of that habit, and the designers at New York Design Week named it the dividing line between a designed room and a decorated one. The Victorians understood something we are only now remembering: a ceiling with pattern holds a table the way a tent holds a gathering — the overhead surface is half the enclosure.
TL;DR
- Paper that works overhead is small-scale (repeat under 18 inches) and directionless, so it reads correctly from every seat; non-woven paste-the-wall stock hangs far easier than traditional paper.
- The lowest-risk entry point is papering inside a tray recess rather than a full ceiling — contained pattern, maximum drama, roughly 25 linear feet of paper instead of 40-plus.
- Hanging paper overhead is genuinely hard: a two-person job, usually a professional one for patterned stock, with sizing or priming non-negotiable first.
Why Wallpapering a Ceiling Is the Move Most Rooms Never Make
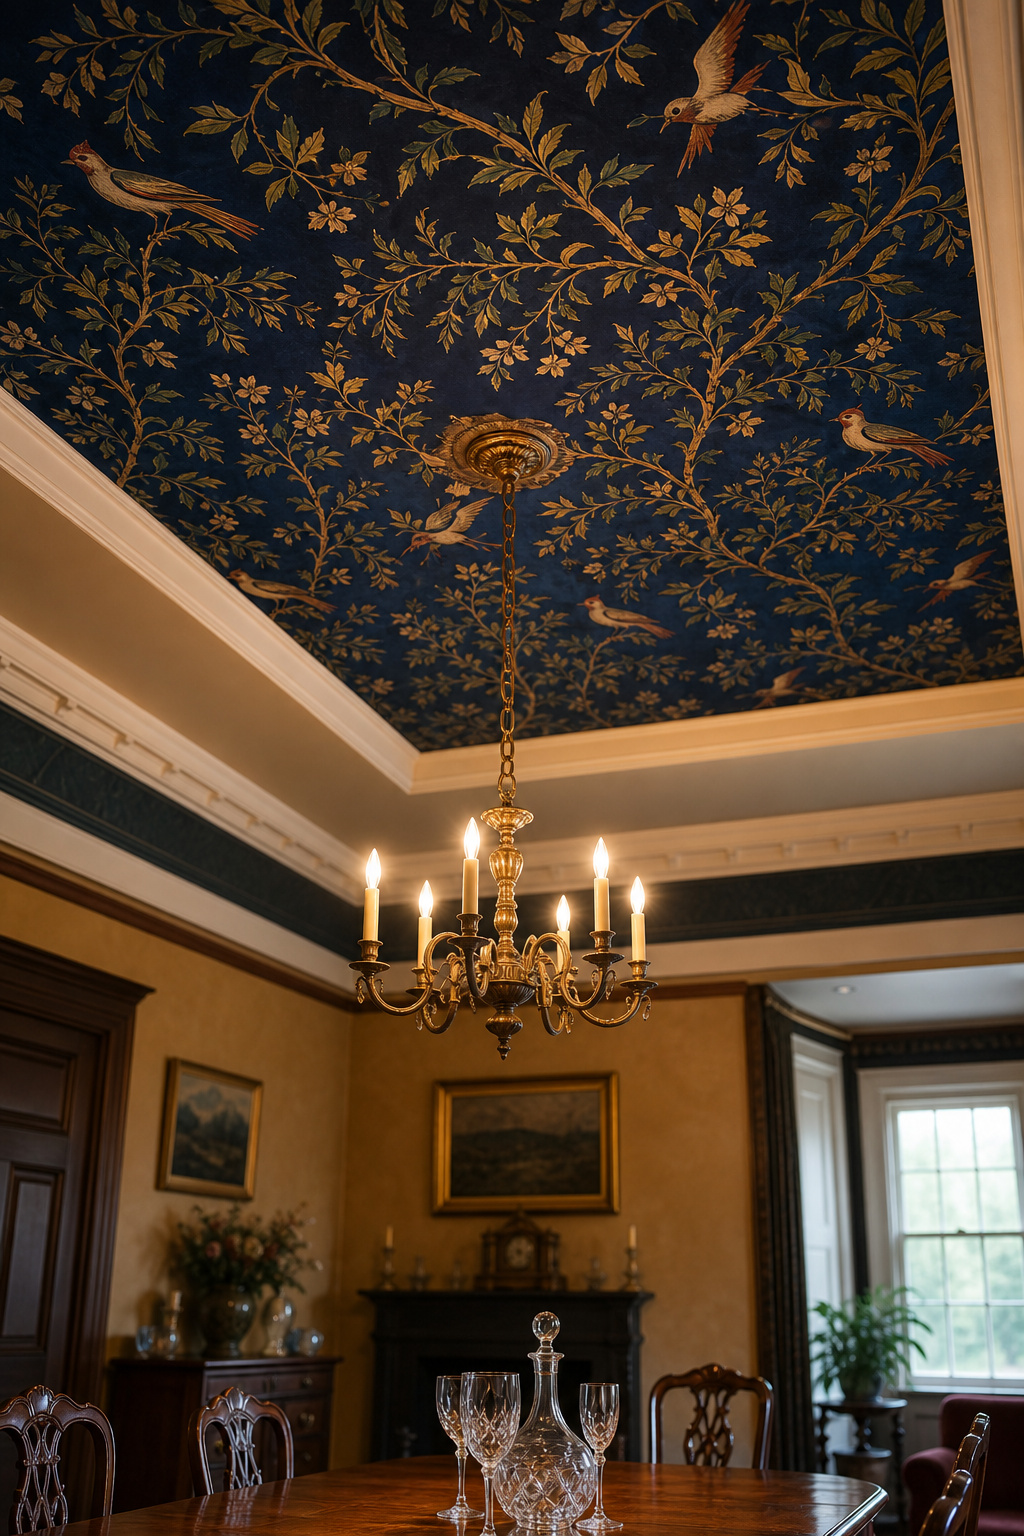
The references that revived this tell you where it reads best. The historic precedent is the Victorian dining room, where Anaglypta gave the ceiling a worked, three-dimensional surface; today’s papers do the same job lighter and smoother. The contemporary one is the hotel dining room — The Twenty Two in New York, in Wallpaper* magazine, runs pattern up the walls and across the ceiling for an enveloping, jewel-box room.
What pattern does overhead is create enclosure. A repeat above your head signals rhythm and containment, lowering the perceived ceiling plane into dining intimacy — designers call it cocooning. Phillip Thomas of Phillip Thomas Inc notes that ceiling paper “reinforces the color palette of a space,” tying a room’s materials together as colour alone cannot.
The reason 2026 is the moment is plain in the trade. Elizabeth Rees, co-founder of Chasing Paper, puts it directly: accent walls now feel “a little overdone and stale,” and “we are going to see more people embrace the fifth wall — the ceiling — to make a lasting visual impact instead.” For where this sits among the other options, the guide to how a dining room ceiling comes together maps the full territory.
Choosing the Right Pattern for an Overhead Plane
A ceiling asks different things of a paper than a wall does. Three relationships decide it: scale, directionality, and provenance.
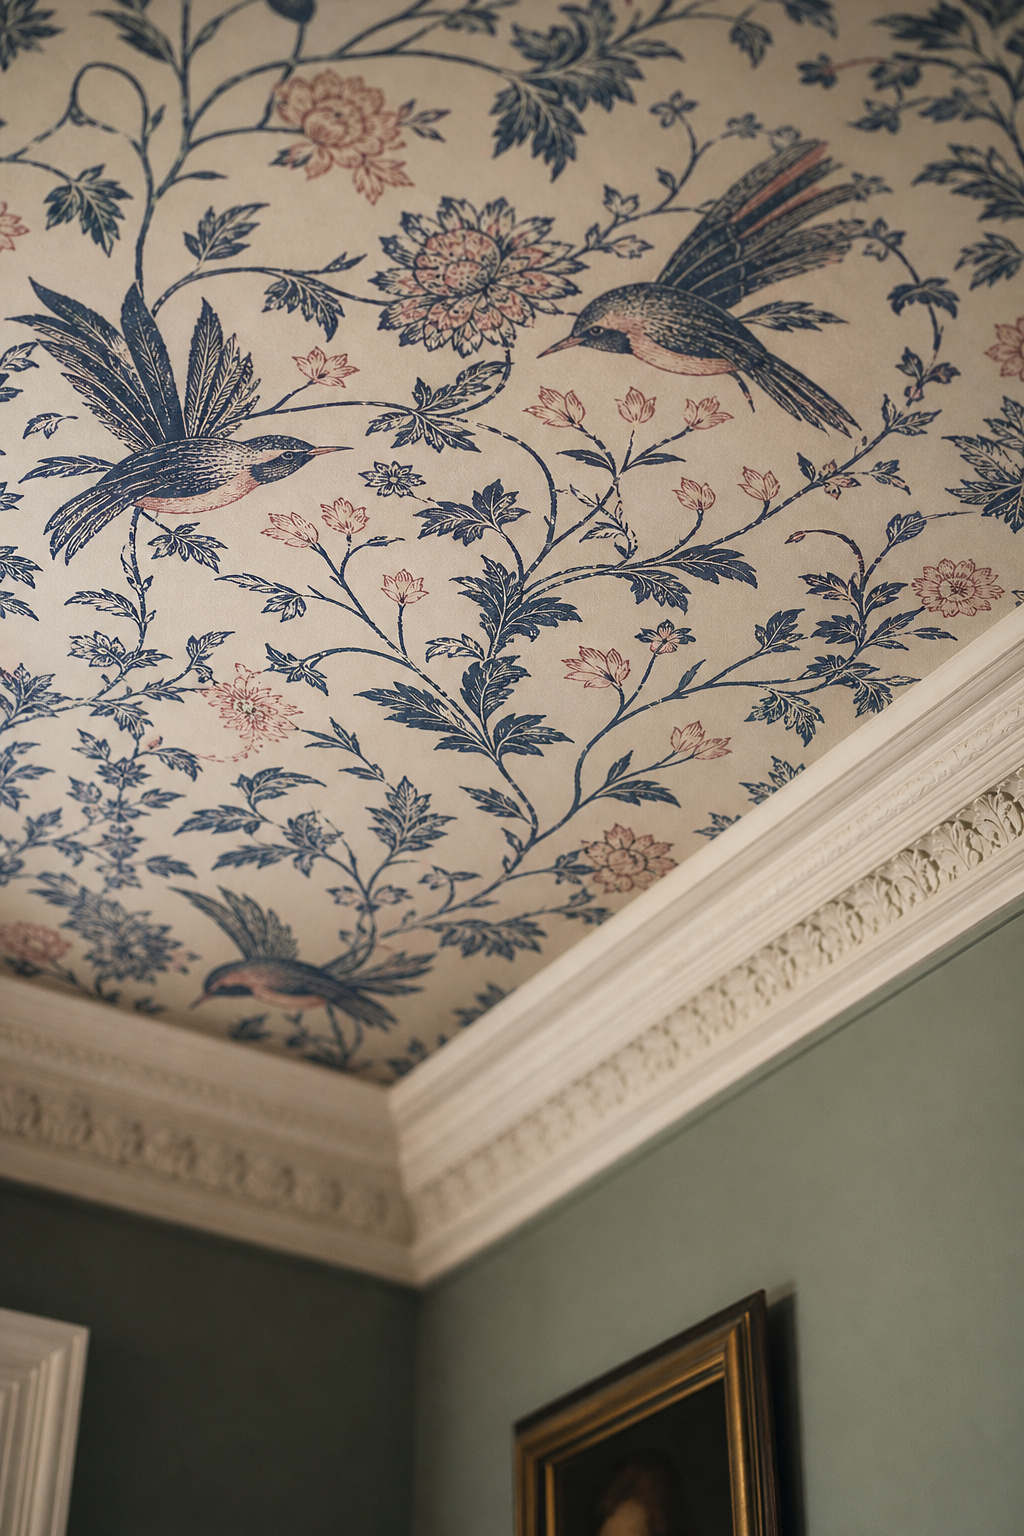
Smaller repeats win overhead. At an 8-to-9-foot ceiling, a repeat of 8 to 18 inches feels right, while anything over 24 inches reads cut off unless the room is large. Phillip Thomas advises that a small-scale or textural paper “can trick the eye into perceiving more height,” because a tight repeat compresses the visual noise a big print throws when you look up from a chair.
Directionality is the constraint walls never impose. Guests sit on all four sides of a dining table, so a directional repeat — anything with a clear top and bottom — appears inverted to someone. Gideon Mendelson of the Mendelson Group leans toward “geometric patterns and textures” for exactly this reason: a tessellating geometric looks correct from every chair. Directionless or free-match papers are the safe default; where a directional paper is unavoidable, choose one that reads neutrally both ways — toile and scattered sprigs usually do.
On provenance, certain print families carry genuine ceiling credentials — the heritage options worth knowing by name:
| Paper | House | Why it reads overhead | Best for |
|---|---|---|---|
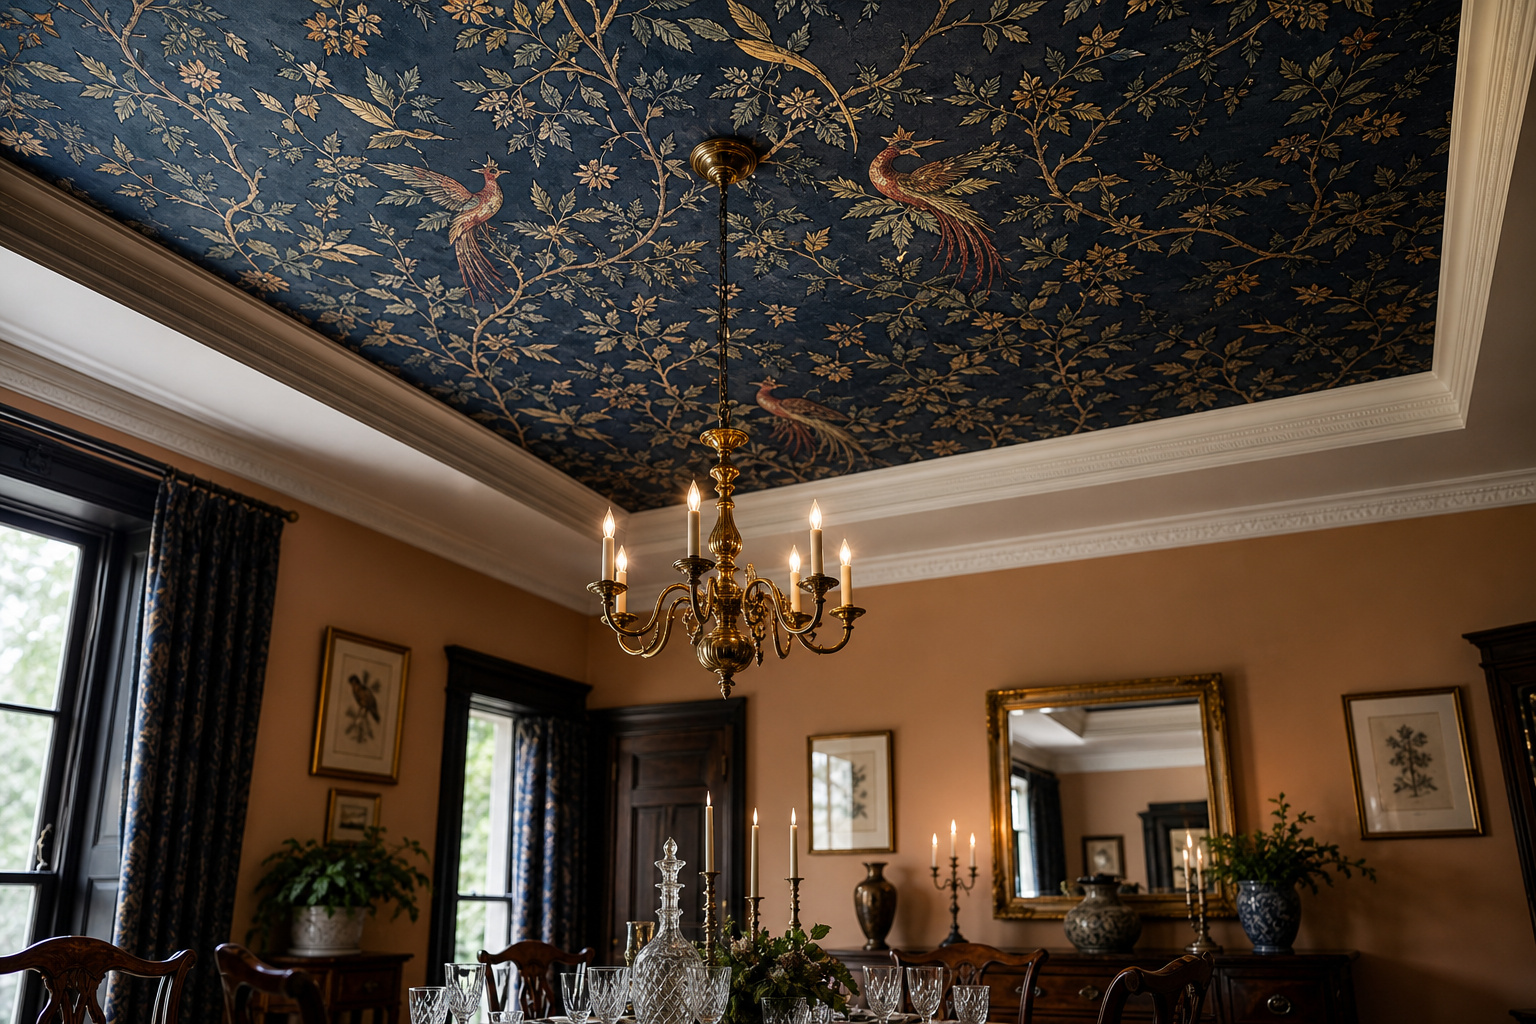
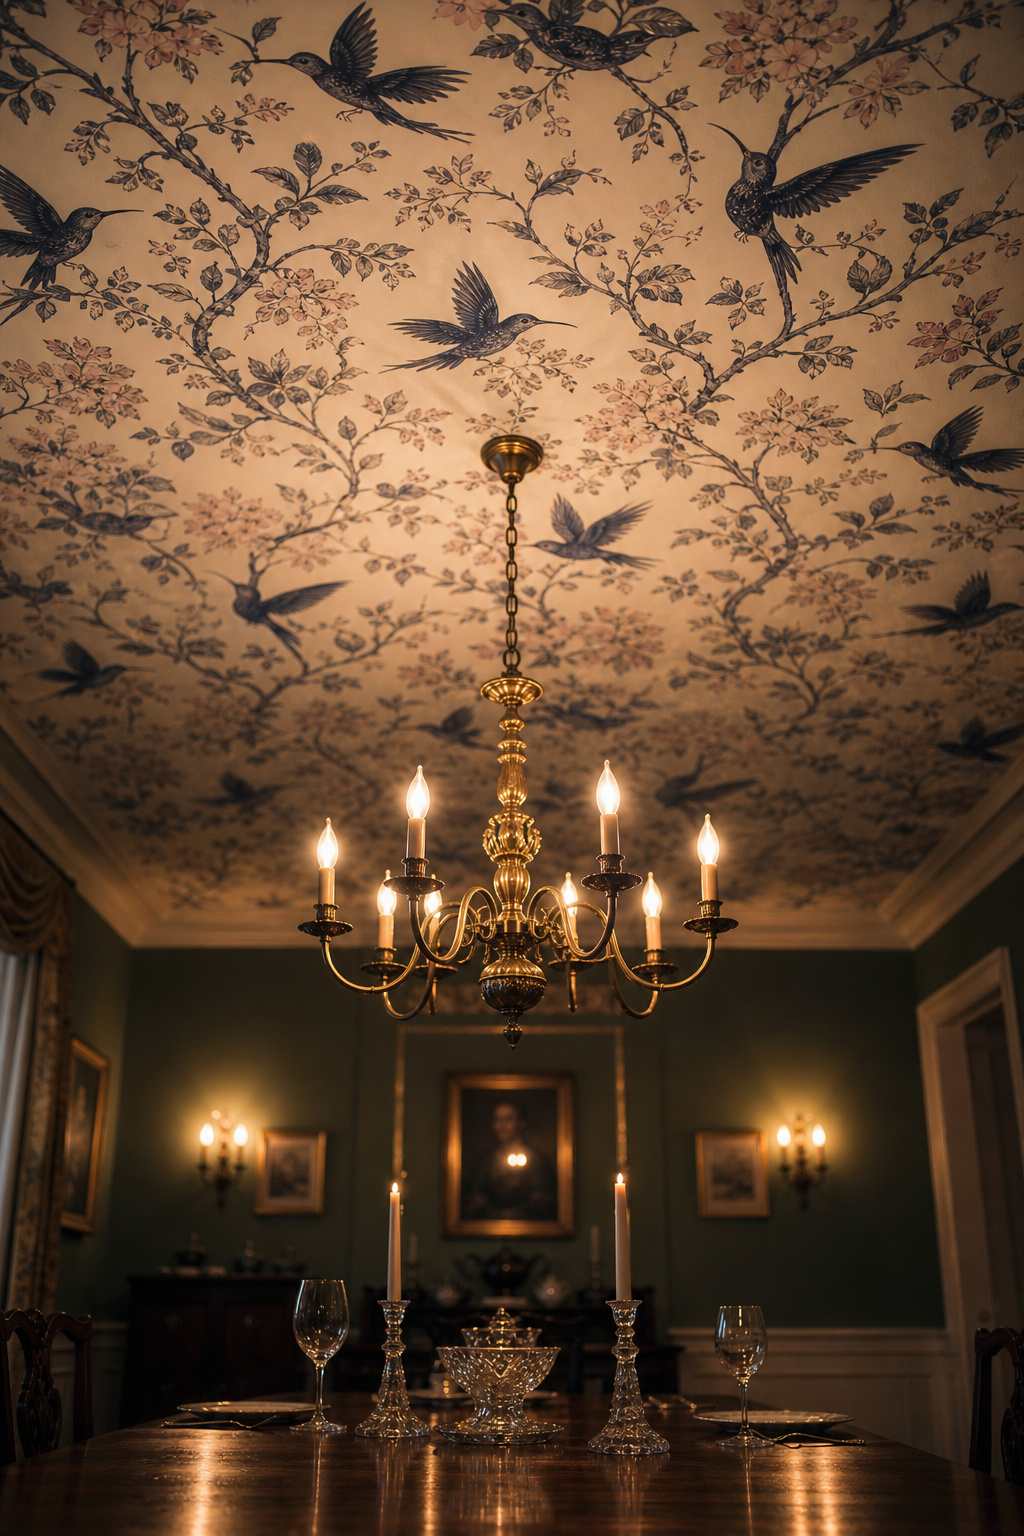
| Hummingbirds | Cole & Son | 1780s origin; trailing botanical with birds, non-directional | Georgian / Regency dining rooms |
| Toile Trellis | Farrow & Ball | 53cm width, 62cm repeat; small lattice with no strong top-bottom | Period rooms wanting geometry |
| Treillage | Cole & Son | Tessellating 3-D trellis; identical from any angle | Contemporary-heritage geometric |
| Chinoiserie panels | de Gournay | Hand-painted fauna and flora on handmade paper | High-budget historic rooms |
Small lattice and scattered botanicals survive the overhead viewing test; large feature-wall prints do not. Choose for the seat, not the swatch.
Where to Paper: Full Ceiling, Tray Recess or Panel Only
Three application zones offer progressively larger commitments — and you need not begin with the largest.
Papering the full ceiling wants height. Below 9 feet, a dense or dark print across the whole plane feels oppressive unless the paper is very pale and small-scale; at 9 feet and above, the drama earns its place. In a small, box-like room, Phillip Thomas notes that the same print on walls and ceiling “blurs the lines in a room, leading to it feeling bigger than it may actually be” — but keep the walls quiet under a bold ceiling, or the box turns claustrophobic.
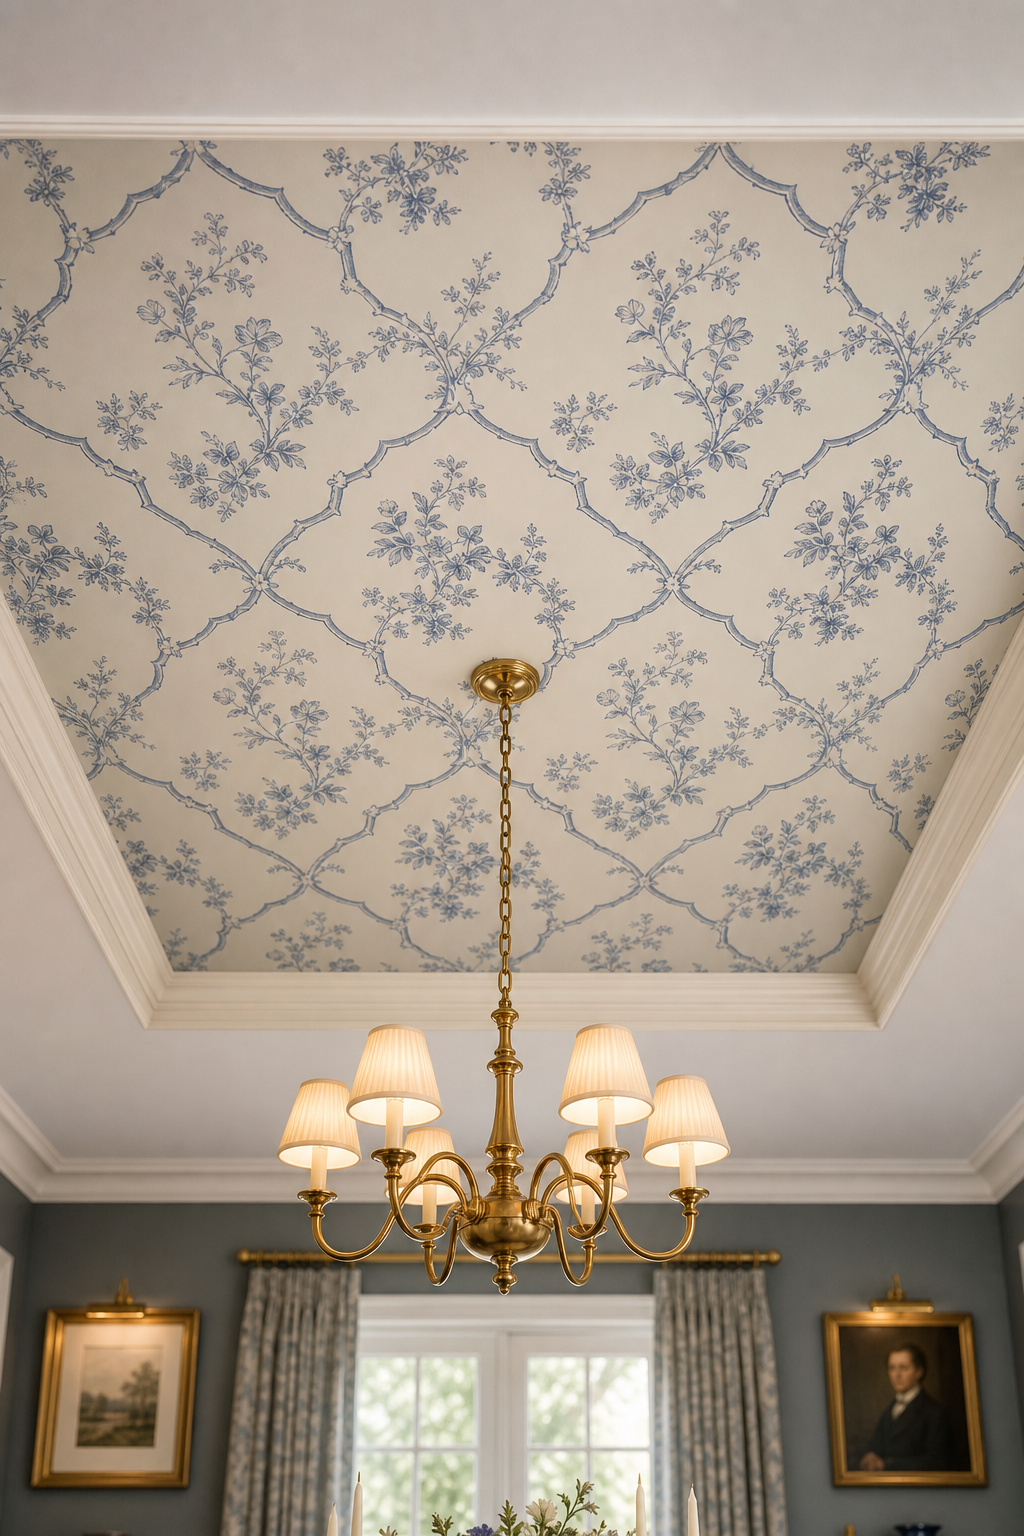
Papering inside a tray recess is the lowest-commitment option with the highest visual return, and the one I steer first-timers toward. The stepped lip — typically 6 to 8 inches deep at 8 feet, 10 to 12 inches at 9 feet and above — frames the paper, contains the pattern in a defined plane, and sidesteps the alignment problem of a full ceiling. A centred 8-by-10-foot tray in a 12-by-14-foot room takes roughly 25 linear feet of paper against 40-plus for the whole ceiling, and contained in the recess a darker paper reads as intentional depth rather than as a ceiling pressing down.
The third zone is a panel framed by picture-frame moulding — box trim on the flat ceiling defining a papered field. Sequence matters: install, cure, fill, caulk and paint the moulding first, then paper inside; reverse the order and nail-and-caulk work damages the paper. A coffered grid is the same idea in timber — each bay an independent panel — which is why pairing paper with beams reads so naturally: the structure handles the trim, the paper supplies the pattern.
The Practical Reality of Hanging Dining Room Ceiling Wallpaper
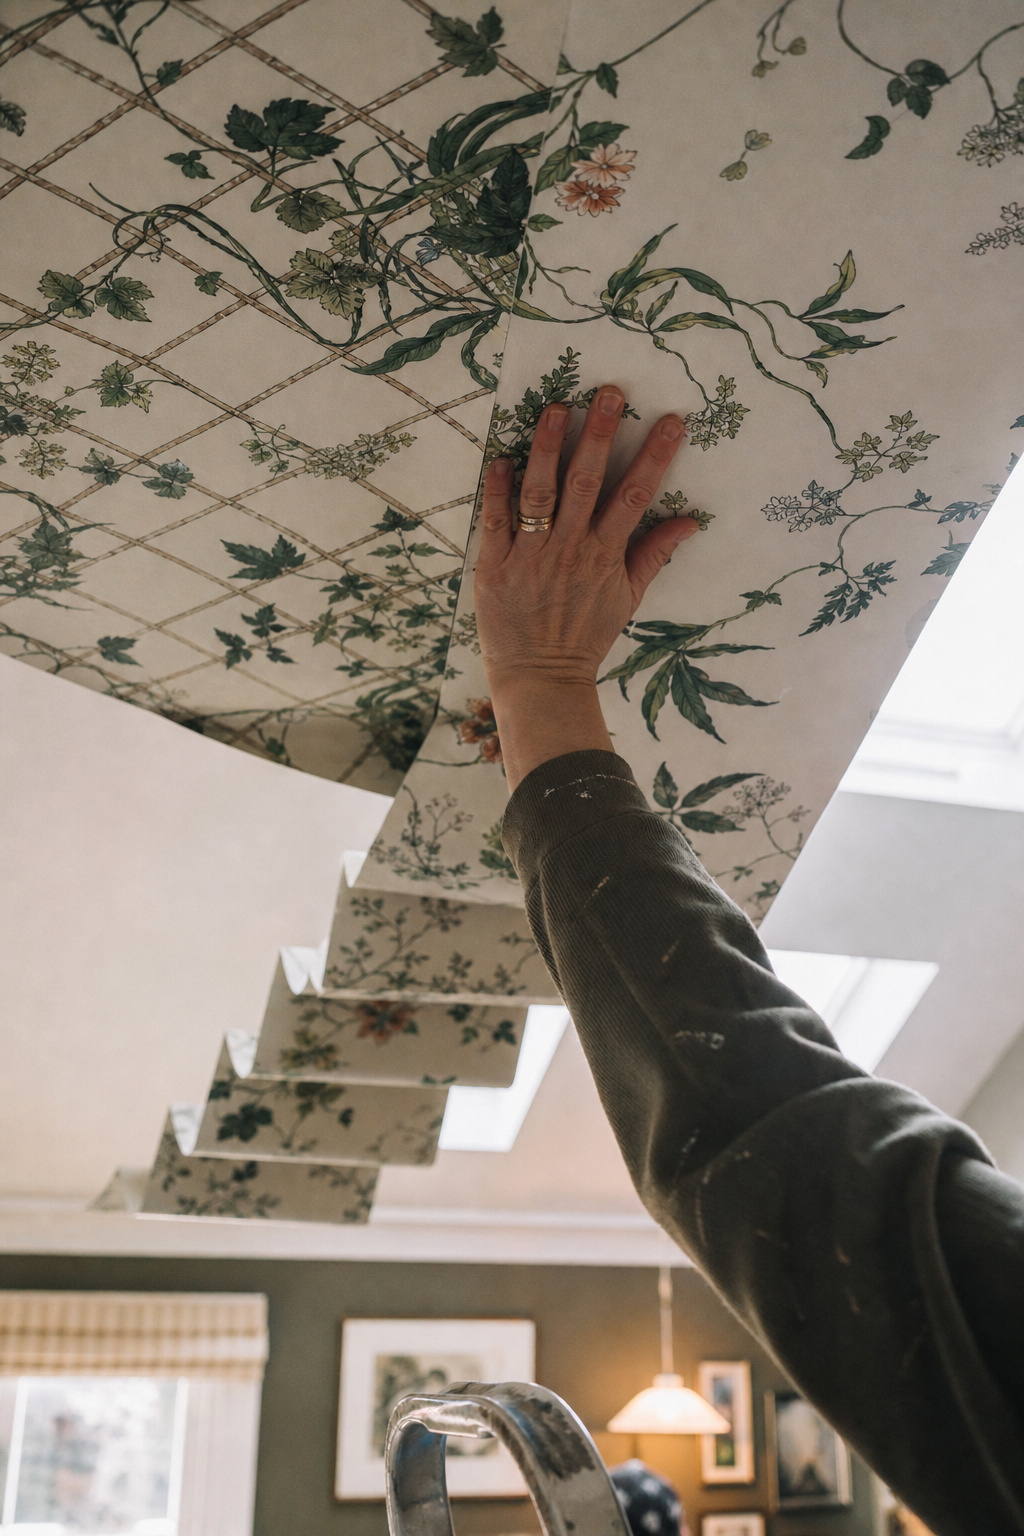
I will be straight with you: papering a ceiling is categorically harder than papering a wall, and for a patterned paper it is often a professional’s job. Homes & Gardens puts it plainly — “your biggest challenge is defying gravity” — and a pro may manage alone, but “for mere mortals it sure helps to have a partner in crime.” A second person is not optional: they hold the concertina folds aloft on a clean broom while the lead hanger smooths each section, working off a scaffold board across two trestles so the strip’s full length stays in hand.
Surface preparation decides whether the paper lasts, and it happens before a single drop goes up:
- Strip any old covering and fill every hole, crack and stain — bumps telegraph through paper under raking daylight and chandelier light.
- Sand flush and prime or size: on plaster, a coat of size (diluted paste) is an absolute must; on drywall, use an oil-based primer-sealer such as Zinsser BIN, because unsealed board drinks paste faster than plaster and lifts at the seams.
- Mark a centred guideline for the first drop — for patterned paper, James Greenwood of Graham & Brown advises centring the paper down the middle of the ceiling.
- Cut the first drop to length plus a trimming margin and concertina-fold it for carrying.
- Paste the ceiling an inch wider than the strip (Greenwood’s tip, so the next length needs no fresh paste over the first), then carry and set the leading edge to your line.
- Smooth from the centre line outward, brushing toward the edges, and trim at the walls.
Two cautions sit around that sequence. Flat ceiling paint is porous and grabs paste instantly — skip the sizing and the paper slides before you can align it. And start at the window side, working away from the light: hang toward the window and the seams cast shadows under raking light, the commonest reason a well-hung ceiling still looks uneven. Non-woven paste-the-wall stock makes all of this kinder — it does not expand, needs no soaking time, and repositions without tearing.
Using Pattern to Lift a Low Ceiling Overhead
A low ceiling does not rule out pattern overhead; it rules out the wrong pattern. The mechanism that helps is an upward eye-draw on a light ground. Jodi Peterman of Elizabeth Erin Design notes that “adding a lighter-colored ceiling wallpaper with a print will help draw your eye up in the space” — pale ground plus small repeat reads as height rather than weight.
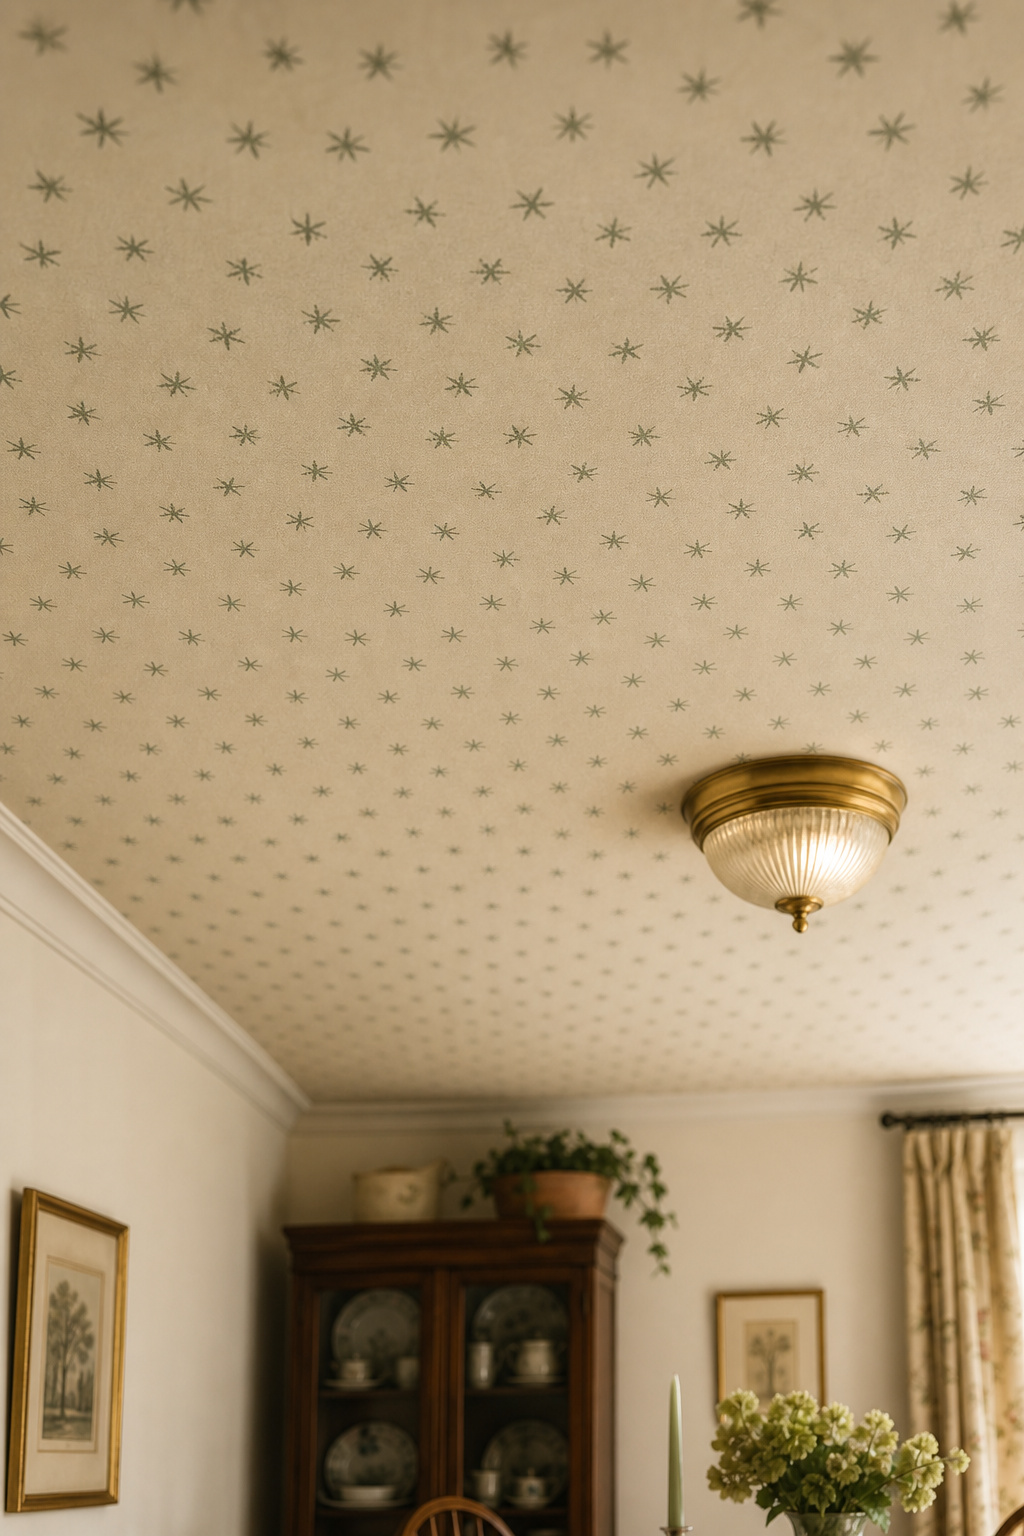
A vertical stripe is the strongest height illusion, because the lines point the eye up and out of the room’s horizontal plane; carrying the same stripe from wall onto a very low ceiling without a break erases the ceiling line entirely. What fights a low room is the opposite — a dark, dense or large-scale print, especially when walls and ceiling both carry pattern. For a room under 8 feet, the practical limit is a high-reflectance paper, a repeat under 12 inches, and plain walls beneath it. When height is truly tight, paper only the tray recess: already lowered by the step, a darker paper there reads as deliberate depth instead of compression. For the wider question of what lifts a constrained room, the full case for using pattern in a low room sits with the other low-ceiling tactics.
The Room This Paper Makes
The reason to do any of this is the dinner it changes. Eric Drozd of Drozd Design describes a small papered dining space as “no longer a hallway, but an experience” — in the evening, dimly lit, “the light fixture casting a stunning glow up onto the ceiling.” That interplay of light and pattern is heightened by paper in a way flat paint cannot match: the canopied containment makes a table feel the way a curtained restaurant booth does against an open floor.
Maintenance is straightforward if you match it to the paper. Non-woven and vinyl-backed stock takes a lightly dampened microfibre cloth; traditional paper-backed heritage prints want a soft dry cloth only, since moisture discolours them and lifts seams. A lifted seam — the commonest issue overhead — is fixed within 48 hours with seam adhesive and a roller. One rule above all: keep a spare roll, because ceiling paper cannot be colour-matched after a few years and a later print run will show.
If you press me for one paper to start with, it is Cole & Son’s Hummingbirds — my own reasoned pick, not an endorsement anyone handed me. It earns it on the criteria above: an 1780s hand-block design whose non-directional botanical repeat works from every seat, a scale suited to standard ceiling heights, and muted heritage colourways that sit beside existing wall colours instead of shouting over them. Order it on a non-woven substrate and you remove the two hardest variables — alignment and expansion — at once. Choose it with care and the ceiling will still be lifting the room for whoever inherits the house.
FAQ
Is it difficult to hang wallpaper on a ceiling?
Yes — ceiling papering is categorically harder than wall papering. Gravity means a paste-loaded strip wants to fall before you can align it, so a second person holding the concertina folds on a broom is not optional. A scaffold board across two trestles is the safe working platform, and for patterned paper professional installation is strongly advised.
What type of wallpaper works best on a ceiling?
Non-woven paste-the-wall papers work best: dimensionally stable, they reposition without tearing and need no soaking time — real advantages overhead. For the pattern, choose a directionless or free-match repeat that reads correctly from every seat, and keep the scale small (repeat under 18 inches) on standard ceiling heights.
Can you wallpaper just the inside of a tray ceiling?
Yes, and it is the recommended entry point for a first ceiling. The tray step provides a natural frame and a clean trimming edge, cutting alignment complexity significantly against a full ceiling. The recessed area is smaller too — roughly 25 linear feet of paper versus 40-plus — and the contained plane lets you use a bolder, darker paper without the room feeling pressed.