A dining room has one surface every seated guest looks at without meaning to — the ceiling. Across an evening, eyes lift to it more than to any wall, and for most of the last century there was nothing there to reward the glance: flat plaster, builder white, an afterthought. That has shifted. Choosing a dining room ceiling treatment is now a real decision rather than a default, because by 2026 the design press, from Homes & Gardens to Livingetc, treats the ceiling as the “fifth wall,” a plane with the same design weight as the four upright ones. The trouble is that the choice has gone from one option to a field of them, and the families do not compare neatly. A coffered grid and a coat of bold paint solve the same brief — make the ceiling deliberate — at opposite ends of cost, height demand and permanence.
This guide is the map. It walks every treatment family at survey depth, sets out where each one fits by ceiling height and the period of the house, and points you to the detailed deep-dive for whichever you settle on. I have specified all of them in real dining rooms, and the pattern that holds is simple: the right treatment is the one your ceiling height and your building’s age will actually carry. Everything below is organised around helping you find that one.
What a Dining Room Ceiling Treatment Actually Does
A dining room is the one room in the house built around stillness. People sit, they stay, and they look up — which is exactly why the ceiling earns attention here that it never earns in a hallway. Treat it well and it does quiet work all evening: it lowers the perceived volume of the room into something intimate, it catches and returns candlelight, and it frames the table the way a good plinth frames a sculpture.
Why the ceiling is the room’s most overlooked design surface
For a decade the orthodoxy was to keep ceilings neutral and invisible, painted the same default white in every room regardless of what happened below. That orthodoxy has broken. Design coverage through 2026 reports ceilings being treated as the unexpected focal point, with bold paint, architectural detail and texture redefining how a room reads from top to bottom. The shift is not decoration for its own sake — it is recognising that a plane this large, this consistently in view, was always doing design work, just badly.
The fifth-wall idea: treating the ceiling as a deliberate focal point
The “fifth wall” framing is the useful one because it sets the standard: the ceiling deserves the same intention as a feature wall, not less. New York designer Kelsey Matyas of Kelsey Deirdre Designs puts the discipline plainly — the approach is “about embracing every surface in a room, ensuring no detail is missed, and every angle feels considered.” Two related 2026 techniques sharpen the point. Colour drenching takes one tone across ceiling, walls and trim alike for a jewel-box envelope that suits the intimacy of dining. Colour capping is its gentler cousin: a darker shade on the ceiling over a lighter wall, a deliberate gravity that draws the eye up. Both treat the overhead plane as a decision rather than a default.
Ceiling height as the first variable to assess before choosing
Before any of that, one measurement governs the entire menu. The International Residential Code sets seven feet as the minimum habitable ceiling height, but the practical numbers matter more: homes built after the 1980s commonly run nine feet on the first floor and eight on the second, while pre-1980s houses are frequently eight feet throughout. That difference decides everything. A coffered grid wants nine feet and rewards ten to twelve; paint and wallpaper carry at any height. Measure first, then choose — never the other way around. The treatments to avoid before you commit are the ones that fail in your room’s actual clearance, and you cannot know which those are until the tape is up.
The Six Treatment Families: At a Glance
There are six ways to treat a dining room ceiling, and they split into two camps: the architectural treatments that change the plane itself — coffered grid, tray recess, beam accents, full-surface cladding — and the decorative ones that change only its surface, paint and wallpaper. They differ sharply on the three things that decide a project: what it costs, the ceiling height it needs, and how much of it you can do yourself. The table below is the quick decision tool; each family then gets its own section, and the deep-dive — full construction, cost detail and design choices — lives in the linked spoke for whichever you choose.
| Treatment | What it is | Relative cost (installed) | Ceiling-height suitability |
|---|---|---|---|
| Coffered grid | Intersecting beams forming multiple recessed panels | Highest — $20–$30/sq ft ($4,480–$6,720 for a 224 sq ft room) | Needs 9 ft minimum; best at 10–12 ft |
| Tray recess | A single stepped perimeter, one raised centre field | Low — $3–$7/sq ft ($400–$1,000 for a 12×12 room) | 8 ft code minimum; 9 ft for proportion |
| Beam accents | Real or faux timber beams in selective lines | Moderate — faux project averages ~$3,000 | 8.5 ft clear after install |
| Planked / beadboard cladding | Boards across the entire ceiling surface | Moderate, DIY-friendly — $3.50–$5/sq ft | Works at any standard height, 8 ft up |
| Paint (fifth wall) | Bold, dark or high-gloss colour on the plane | Lowest — $0.50–$5/sq ft; trivial as DIY | No minimum; best treatment below 8 ft |
| Wallpaper | Pattern or texture applied overhead | Moderate — $4–$10/sq ft installed | No minimum; scale must suit room volume |
Read that as a starting filter, not a verdict — the cost ranges in particular swing with material choice and labour. Each row is the entry point to a full treatment, and the sections that follow open each one up before sending you on. For the construction and proportion of the grid treatment, see building a coffered ceiling in a dining room; for the single-recess option, a tray ceiling with cove lighting; for the timber accents, real and faux ceiling beams; for the colour route, painting the ceiling as a fifth wall; for pattern overhead, wallpapering the dining room ceiling; and for full-surface boards, planked and beadboard ceiling cladding.
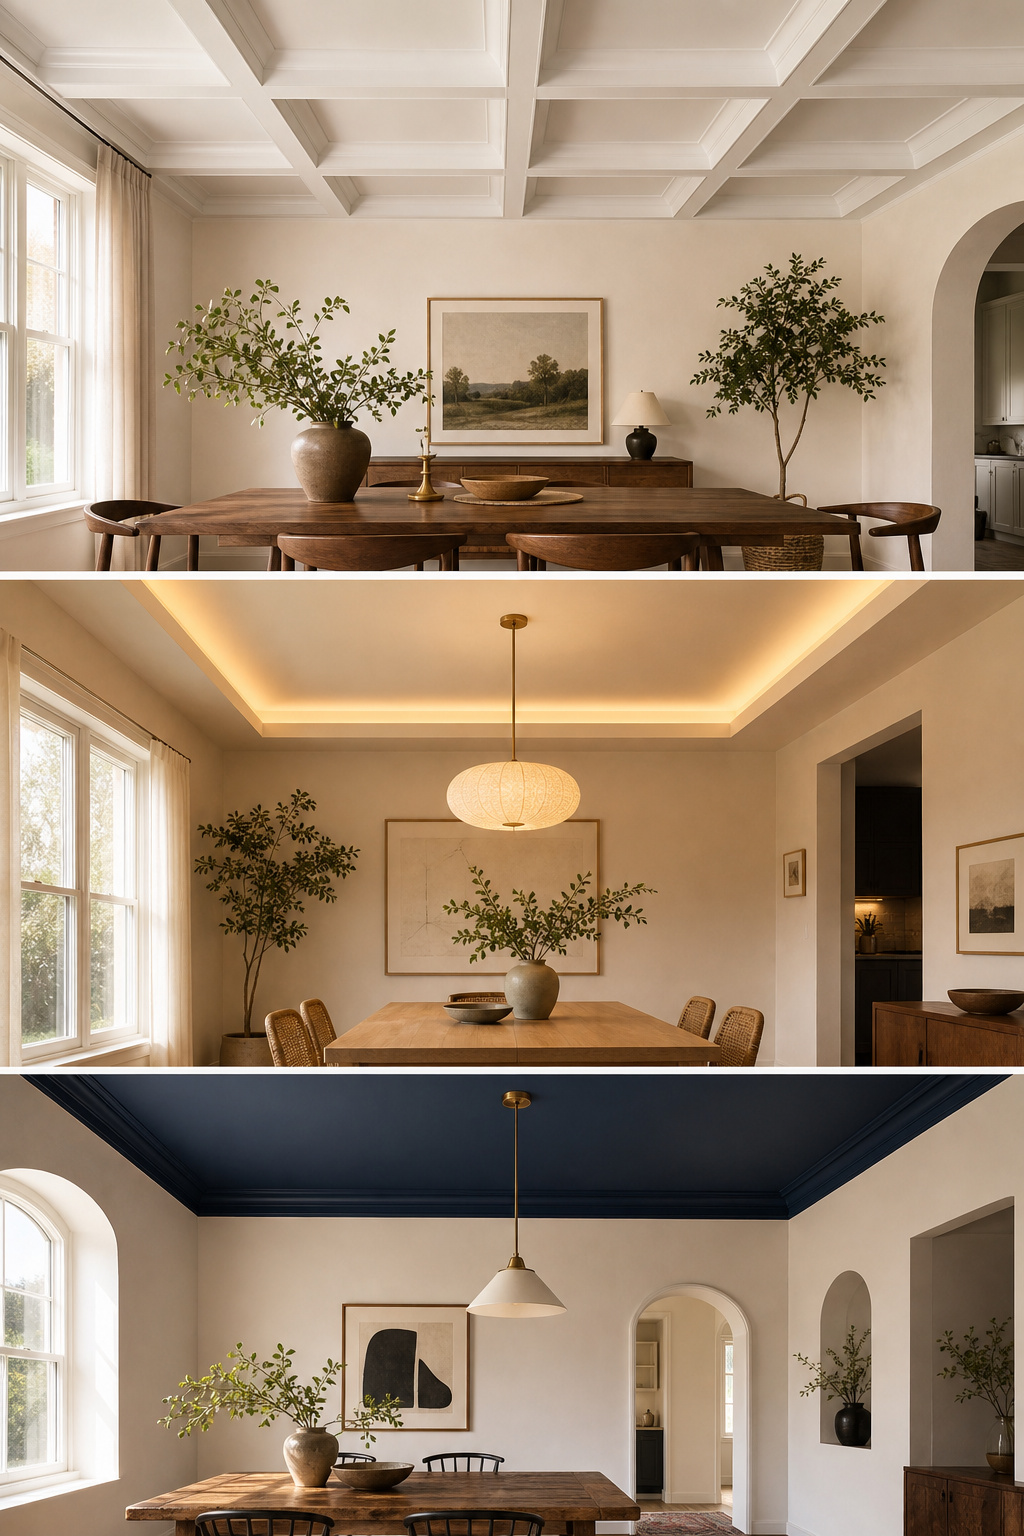
Coffered Ceilings: The Grid Treatment
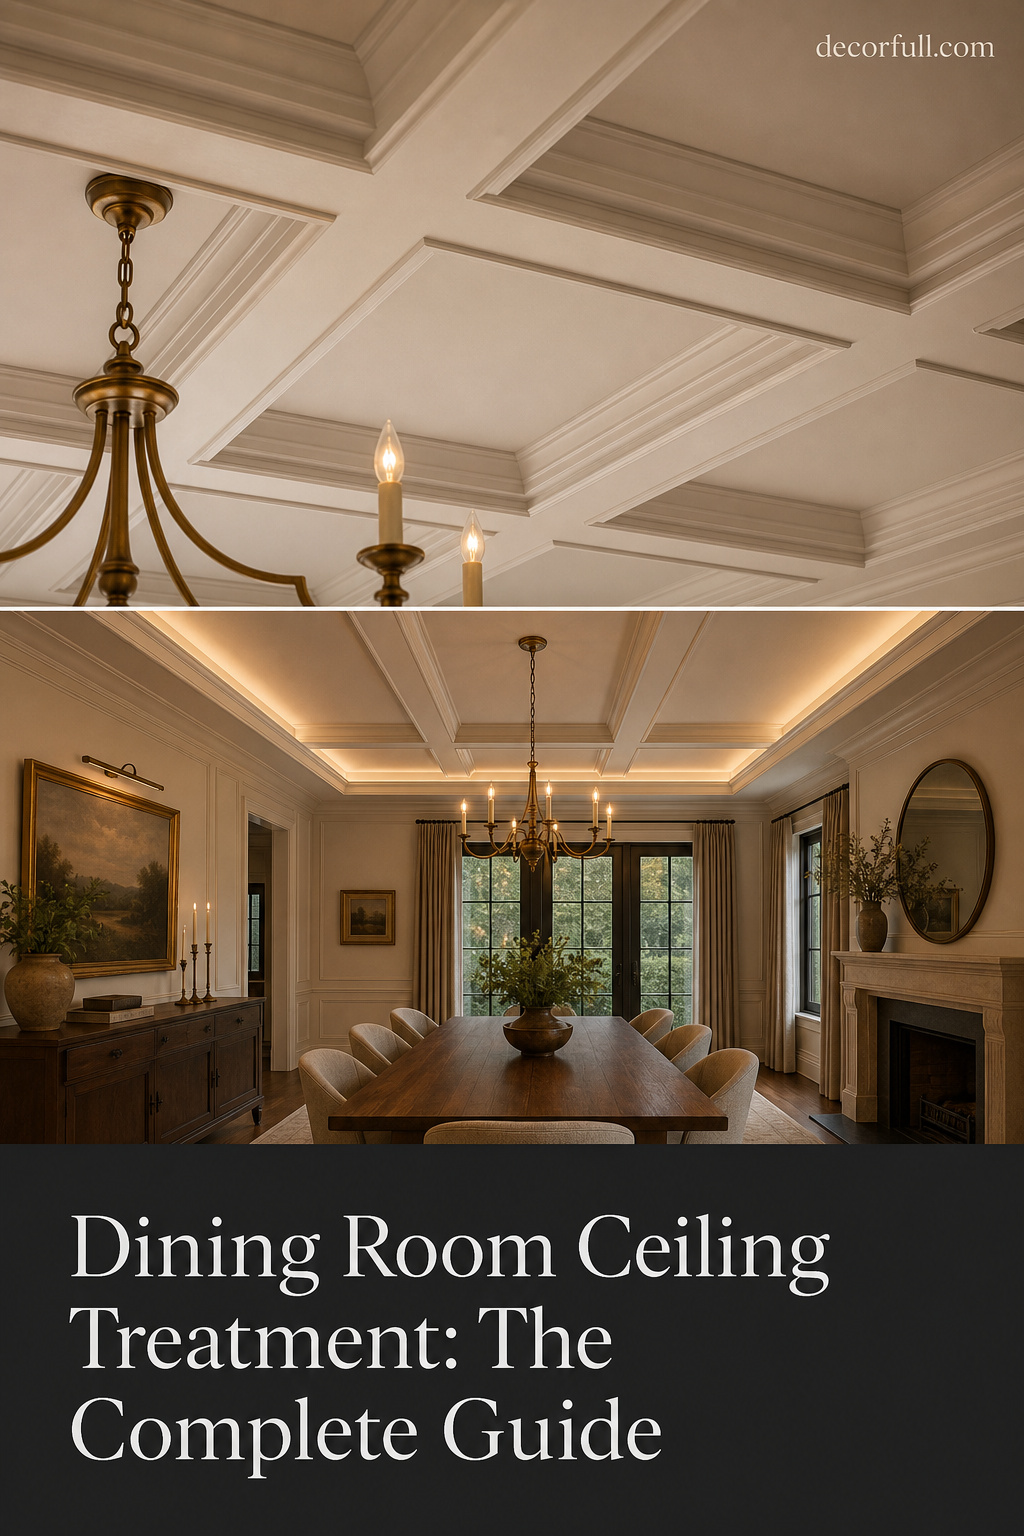
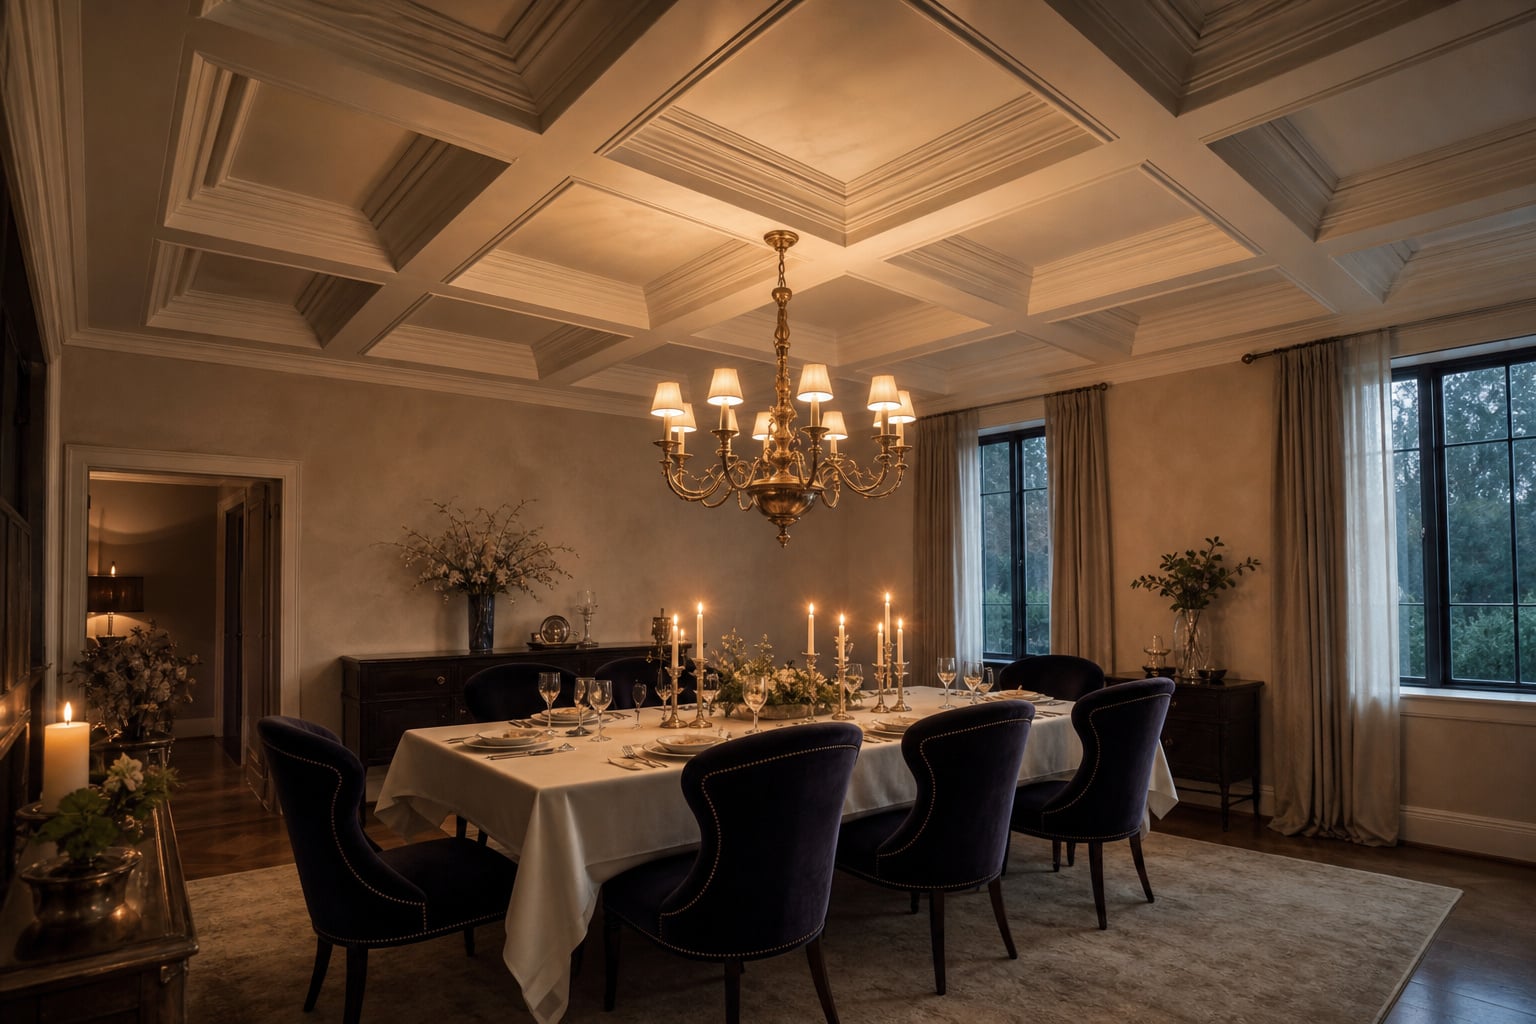
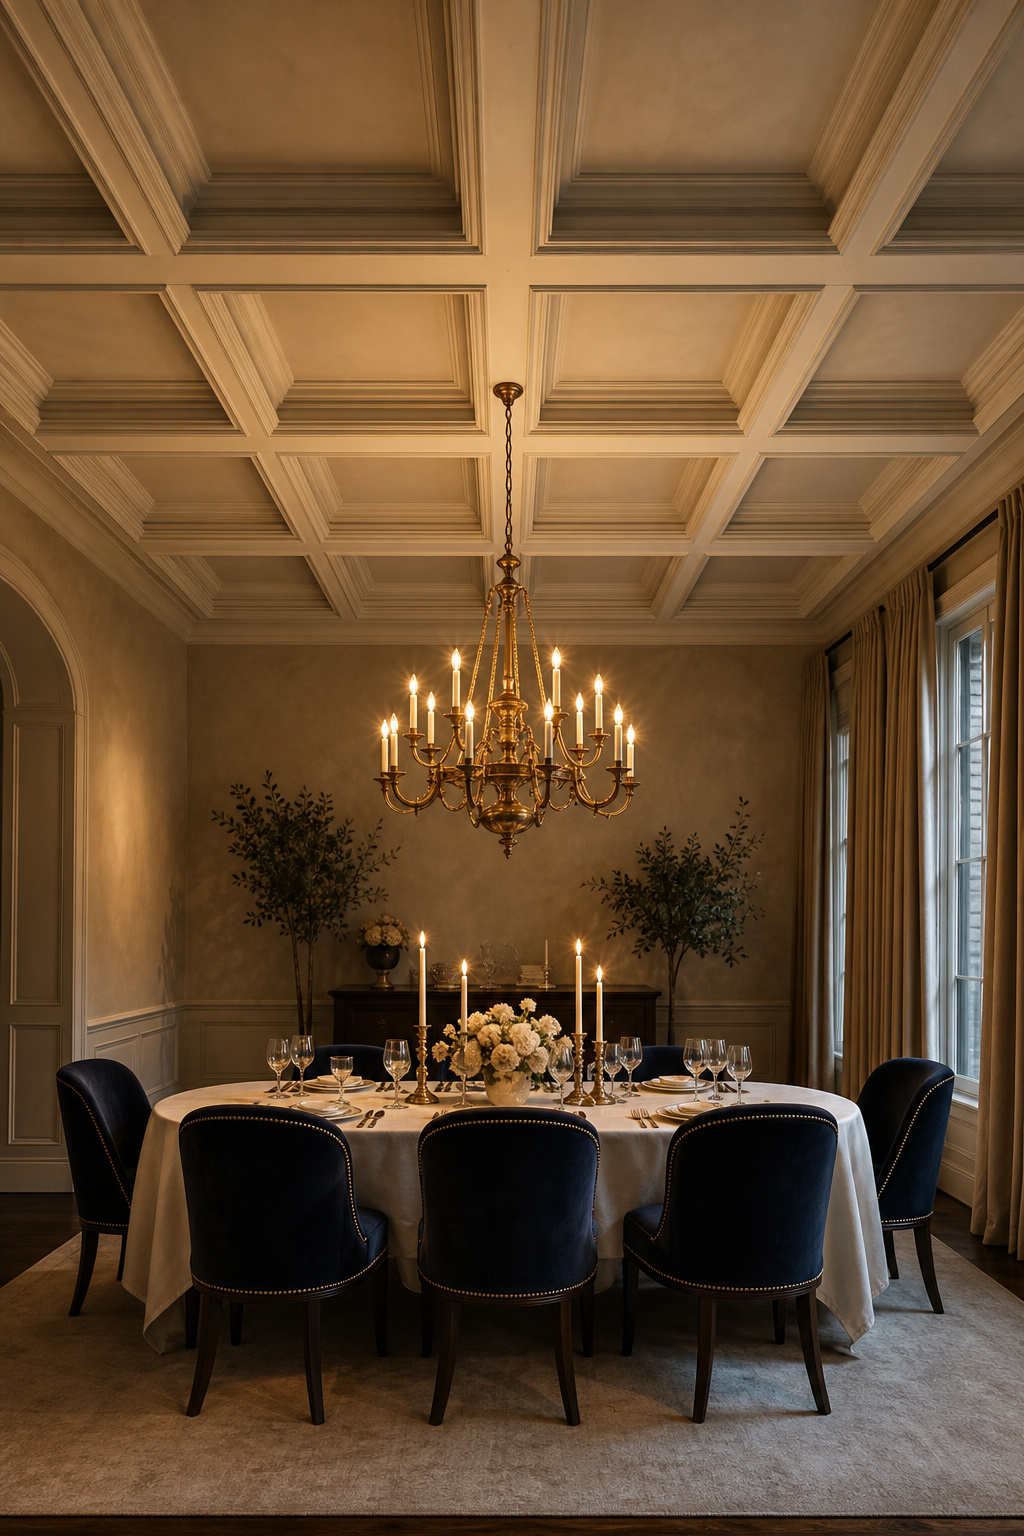
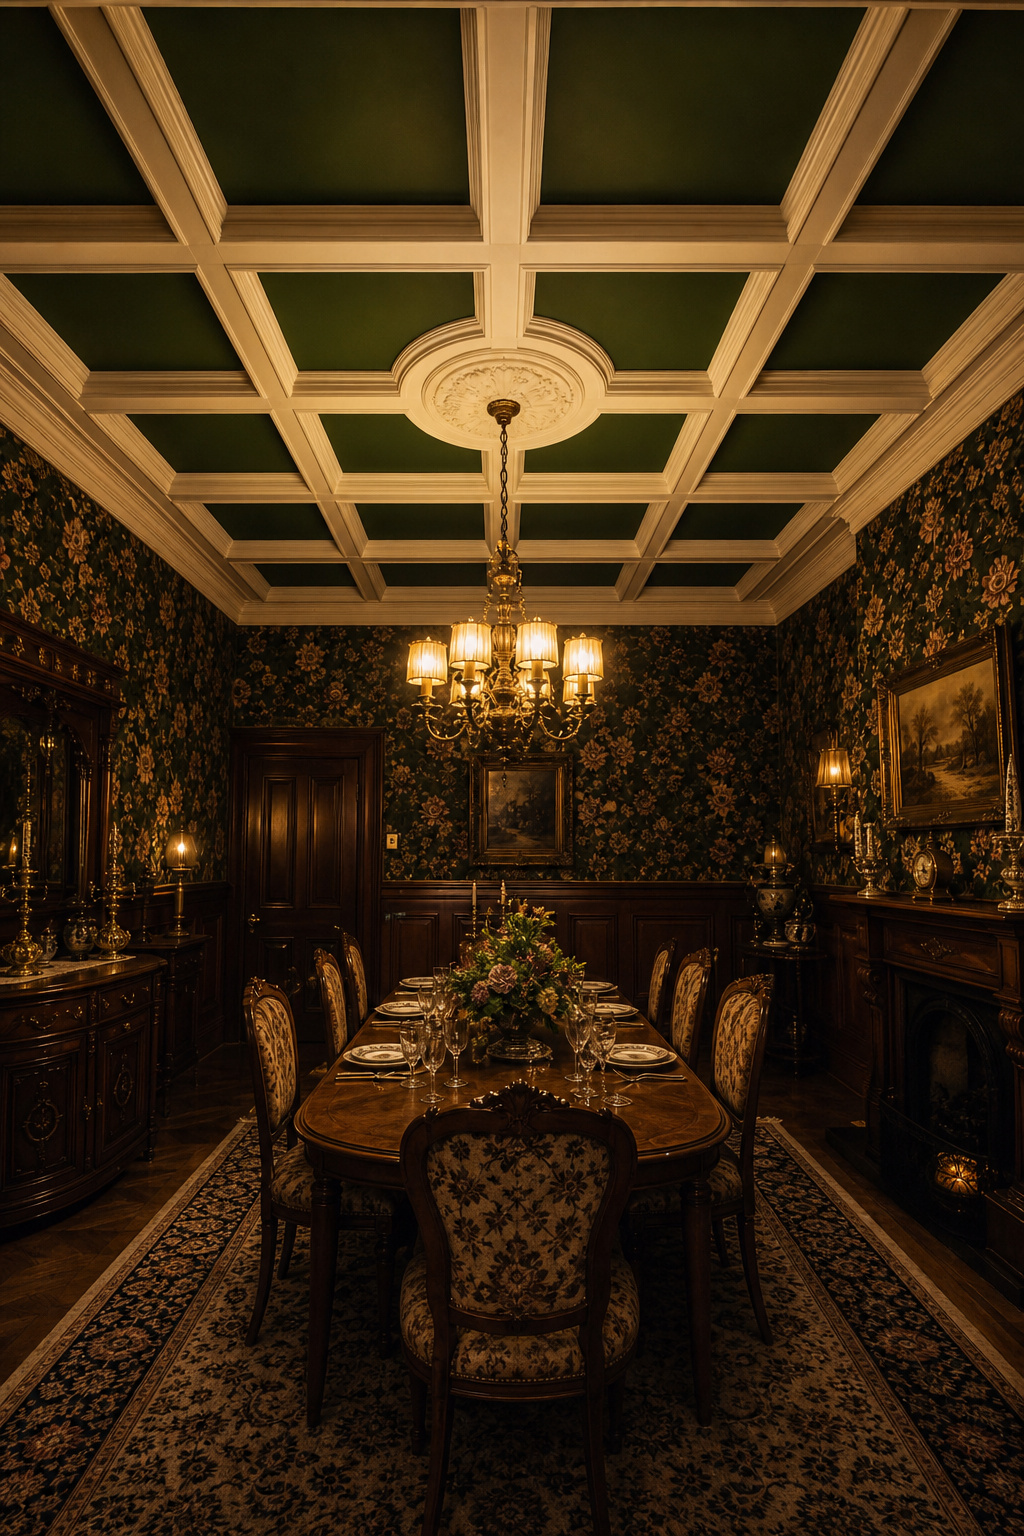
The coffered ceiling is the most architectural and the most demanding of the six. A coffer is a sunken panel — square, rectangular or octagonal — and a coffered ceiling is a whole grid of them, formed by intersecting beams running both directions across the plane. The word that matters is grid: multiple recesses, not one. That single fact separates it cleanly from the tray ceiling, and confusing the two is the most common error readers make before they start.
What coffering means — intersecting beams forming recessed panels
The technique is genuinely old, originating in Greek and Roman stone construction as a way to shed weight from heavy ceilings before it became ornament. Georgian and Victorian builders made it a residential standard in painted wood, and the modern descendant is primed MDF doing the same job at a fraction of the weight. In a dining room a coffered grid reads as inherited formality — which is why Angi lists it among the strongest value-adding architectural upgrades, an instant focal point that holds its worth at resale.
Proportion and depth: what makes a coffered grid read right
A grid lives or dies on proportion. The reliable rule from professional finish carpenters is that coffer depth should equal five to ten per cent of the ceiling height — so three to six inches on a nine- to ten-foot ceiling, six to twelve where you have more. Panel size scales to the room’s footprint, typically two to four feet square in a standard dining room. Larger panels with restrained beams read as more space; small panels under heavy beams crowd a room regardless of its height. The full layout method, the real-wood-versus-MDF decision and realistic costs are worked through in the guide to building a coffered ceiling in a dining room.
Real-wood vs MDF systems and the height they demand
The material choice tracks the height you have. Shallow MDF coffers achieve the look in three to four inches of depth and sit comfortably on a nine-foot ceiling; solid hardwood, heavier in both weight and visual profile, wants ten feet or more to read proportional rather than oppressive, and real timber over the joist span may need structural blocking. The strict floor is nine feet. Below that, the grid stops being a coffered ceiling and starts being a low room with a lid.
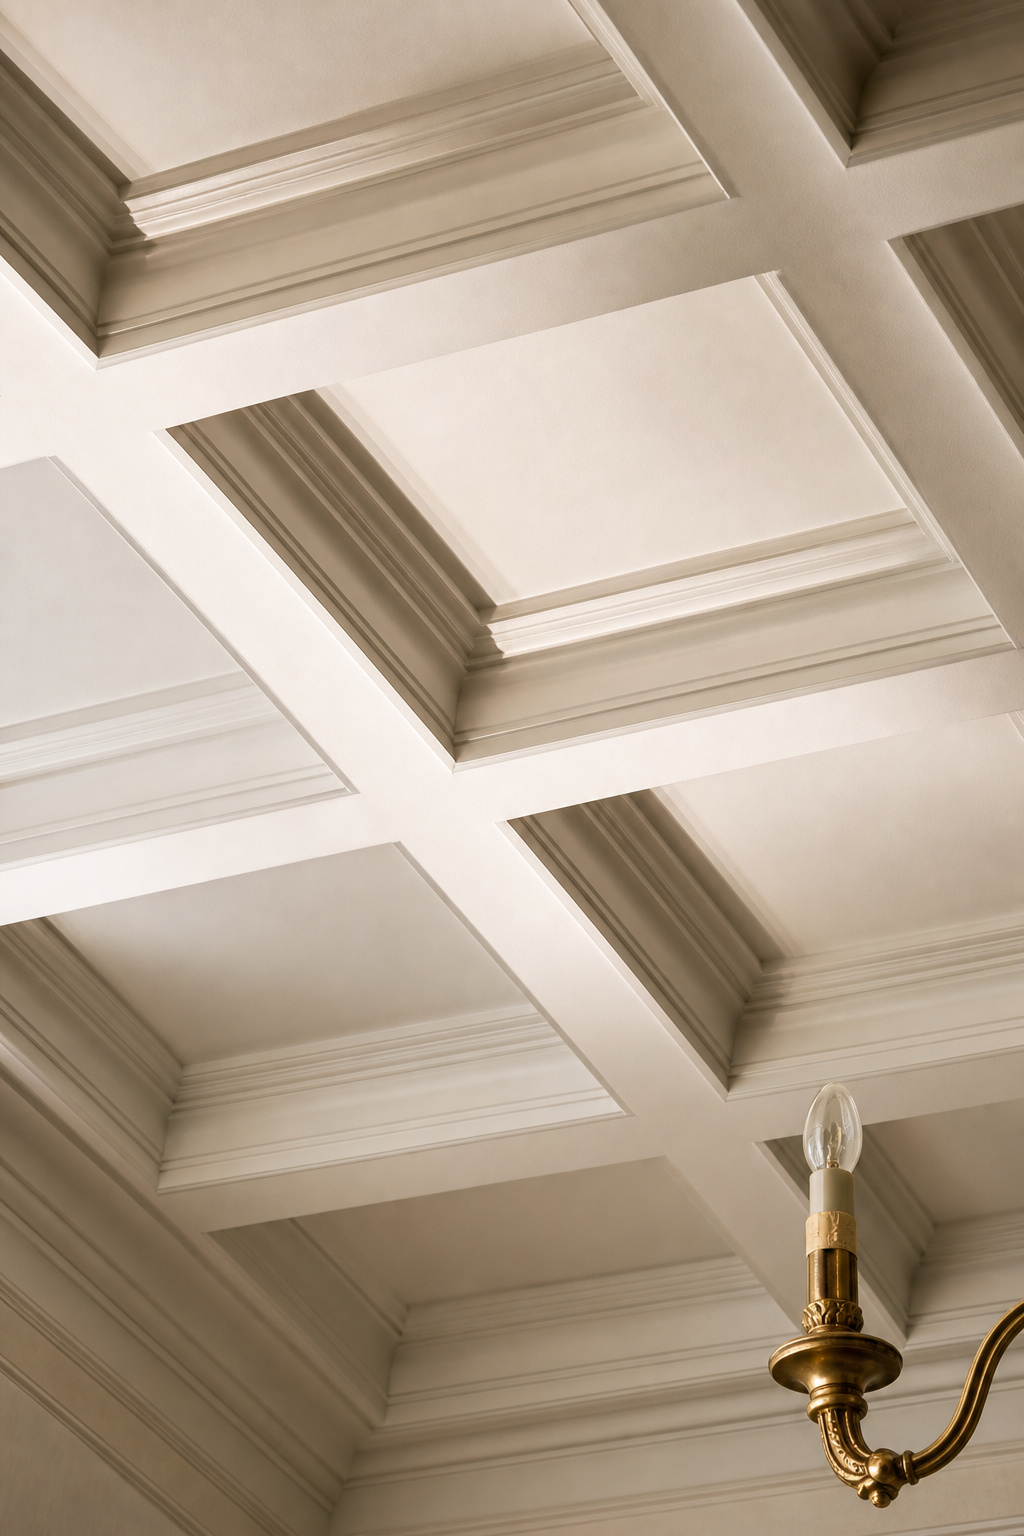
Tray Ceilings: The Single-Recess Option
If the coffered grid is the formal end of the architectural spectrum, the tray ceiling is its accessible cousin — and structurally its opposite. A tray ceiling has one recessed step: a drop-down border around the room’s perimeter framing a single raised centre field. One recess, one frame, one raised plane. The form is named for the upside-down serving tray it resembles, and it suits exactly the rooms a full coffered grid would overwhelm or out-price.
What a tray ceiling is — one recessed perimeter step, not a grid
The distinction from coffering is worth holding firmly because the two get conflated constantly. Coffered means a grid of many recesses; a tray means a single central recess with a stepped border. They look different, cost very differently — a tray runs a fraction of a coffered ceiling — and they suit different rooms. A tray needs eight feet by code and nine for the step to register proportionally rather than cramping the perimeter.
How the stepped recess adds perceived height
The clever thing a tray does is sell height it does not strictly create. By dropping the border slightly and lifting the centre, the eye reads the raised central field as the true ceiling and the border as architectural surround — so the room feels taller to anyone seated below, while the perimeter shadow adds depth. Wide crown moulding at the step and a consistent light colour across border and field amplify the effect.
Cove lighting and painted or papered recesses
The tray’s perimeter lip is the natural home for LED cove lighting — a continuous warm glow tucked behind the step that replaces harsh overhead light with something atmospheric and fully dimmable, candle-level for dinner and brighter for the day. The recessed field, meanwhile, is a low-commitment canvas for a contrasting colour or a patterned paper confined to the inset. The full anatomy, cove-lighting spec and finish options are covered in a tray ceiling with cove lighting.
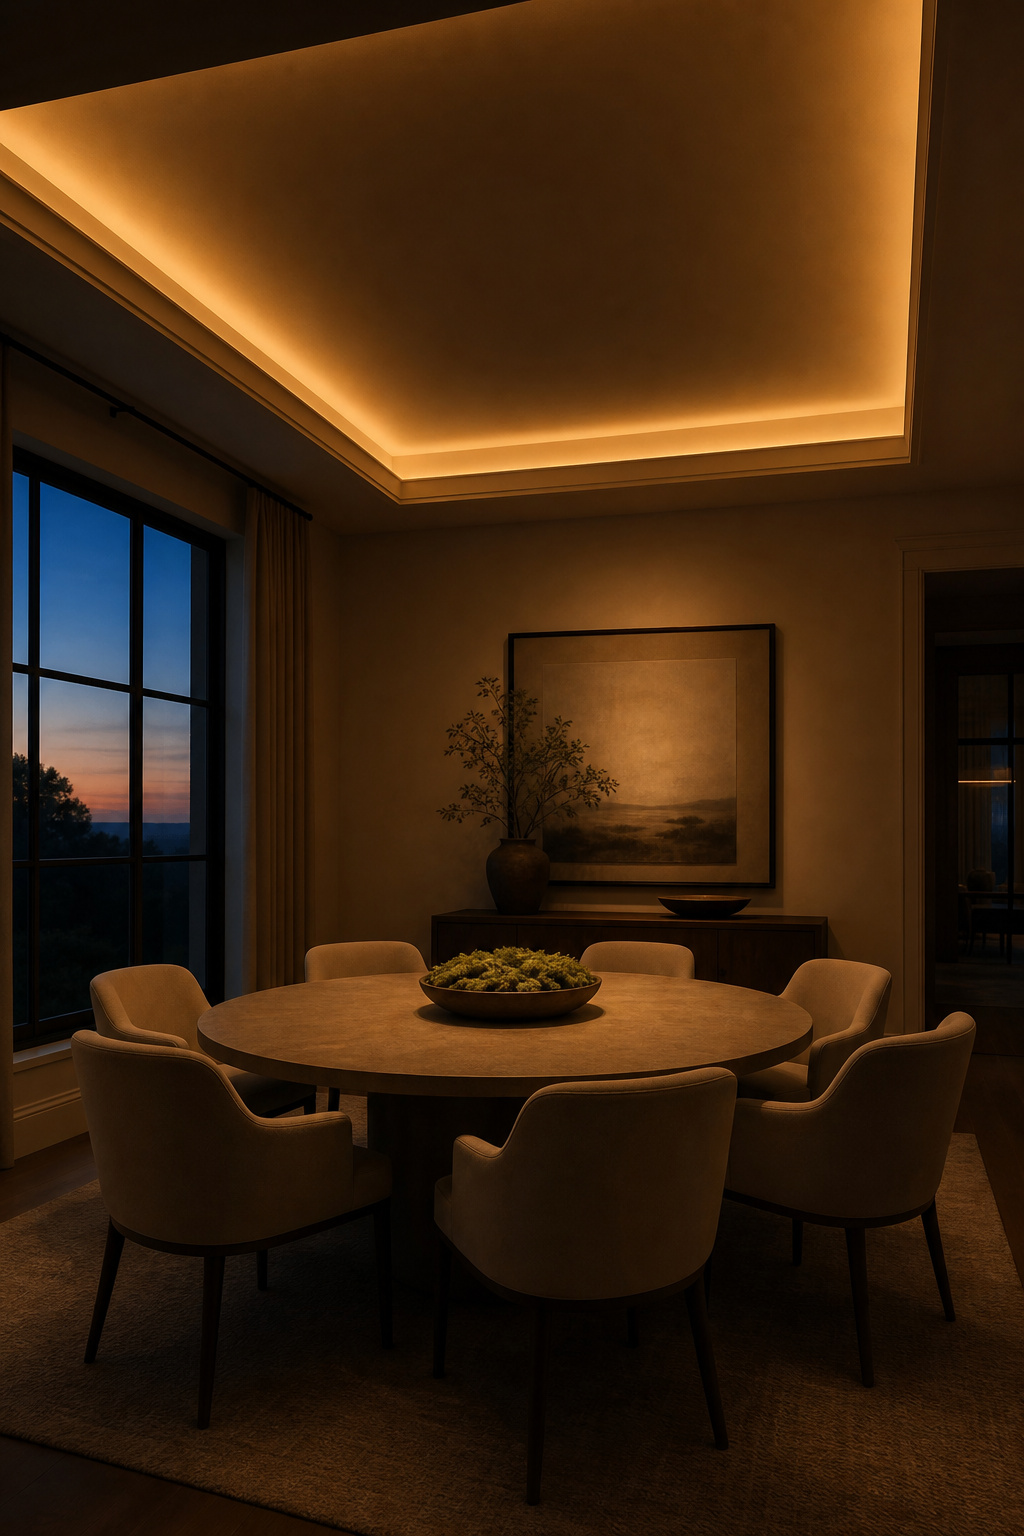
Beams and Boards: The Timber Treatments
Two of the six families are timber, and they are easy to lump together and wrong to. Beam accents add architectural character in selective lines and leave most of the ceiling plane intact between them. Full-surface cladding — planking, beadboard, tongue-and-groove — replaces the plane entirely with a new wooden surface. Different scope, different effect, and worth choosing between deliberately.
Beam accents: real timber vs faux, direction and spacing
Beam accents run in one or two directions across the ceiling without forming a full grid — two beams framing the chandelier in a formal room, three to five evenly spaced for a more relaxed rhythm. The defining trade-off is real versus faux: solid timber carries genuine weight and often needs structural blocking, while hollow polyurethane box beams weigh a fraction as much and fix to drywall with anchors, which is what makes them a confident-DIYer project. Beams cost six to twelve inches of clear height depending on profile, so the room wants at least eight and a half feet before they go up. The full real-versus-faux comparison, spacing tables and a weekend install sequence are in real and faux ceiling beams.
Full-surface cladding: planking and beadboard
Cladding takes the opposite approach — boards across the whole ceiling for a continuous worked surface. It is the most forgiving of the architectural treatments on height, since plank thickness is negligible, and it earns its keep by covering damaged, dated or popcorn ceilings without tear-out. The look is not fixed to farmhouse: board width and finish decide whether it reads coastal, contemporary or period. The board types, real costs and an honest install sequence live in planked and beadboard ceiling cladding.
Choosing between linear accents and total coverage
The deciding question is what the ceiling between the timber should be. Beam accents preserve the sense of a ceiling plane and add rhythm across it — right where the home already has architectural character to echo. Full cladding abolishes the old plane and gives you a new one — right where the existing surface is damaged or featureless and wants complete transformation. Where you genuinely want both, beams set over a planked ceiling produce a layered, near-coffered effect that suits taller farmhouse and coastal rooms.
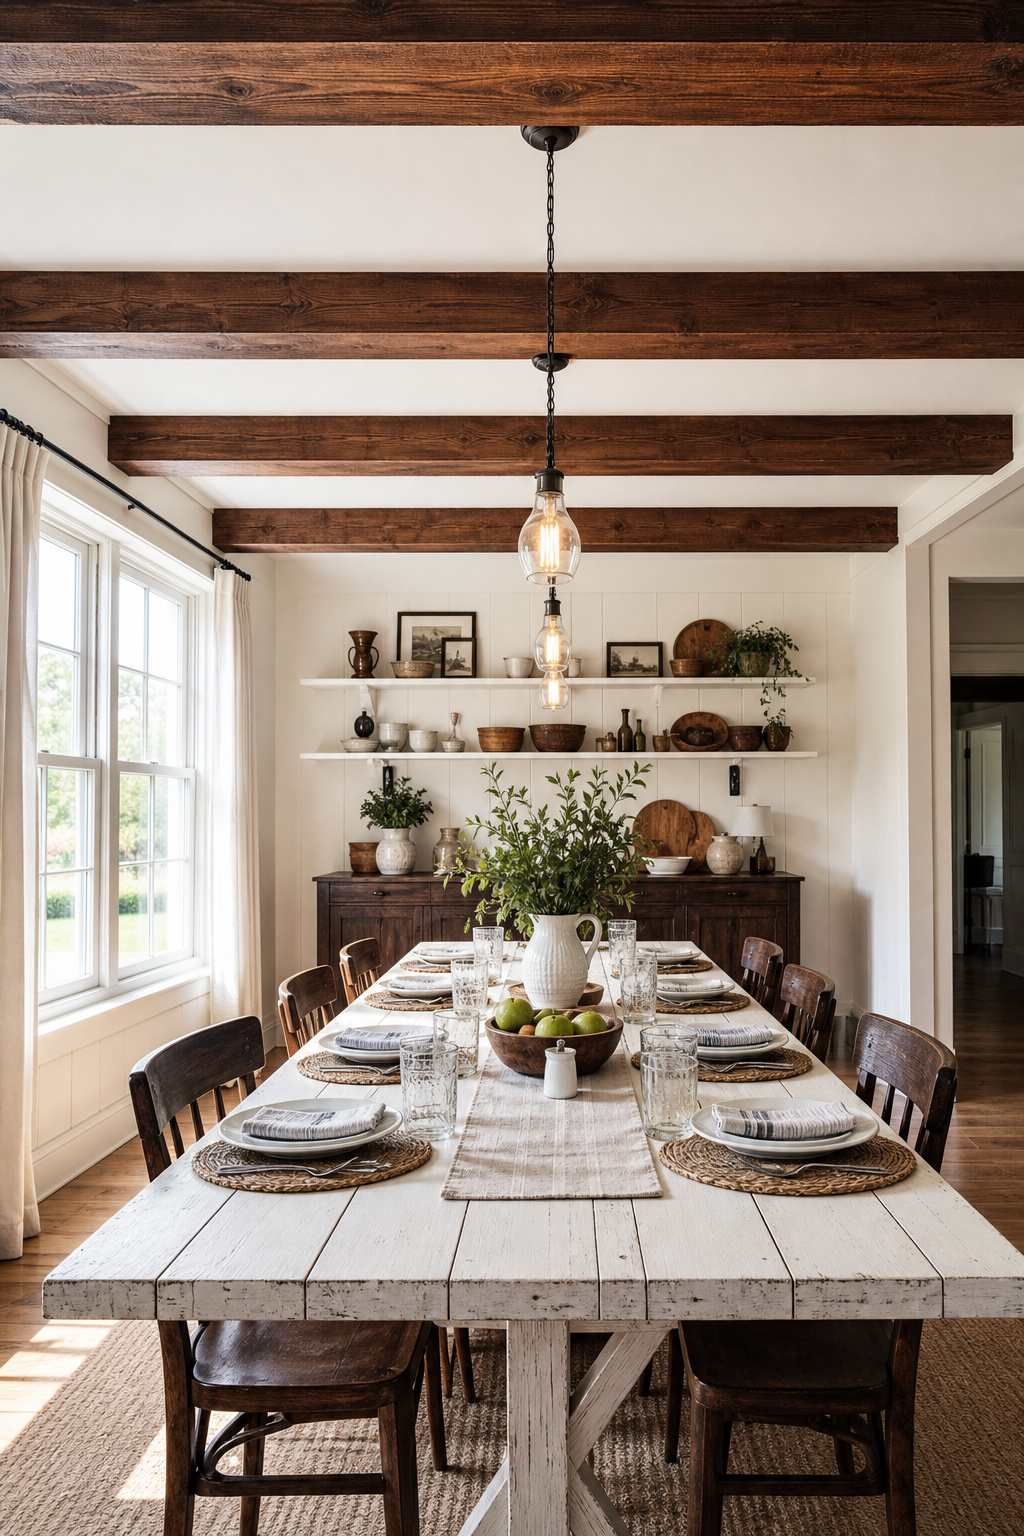
Paint and Wallpaper: Treating the Fifth Wall
The two decorative treatments share the trait that makes them the most broadly useful of the six: no height minimum, and full reversibility. They are also the treatments that most often combine with the architectural ones — paint defining a coffered grid, paper lining a tray recess — rather than standing alone.
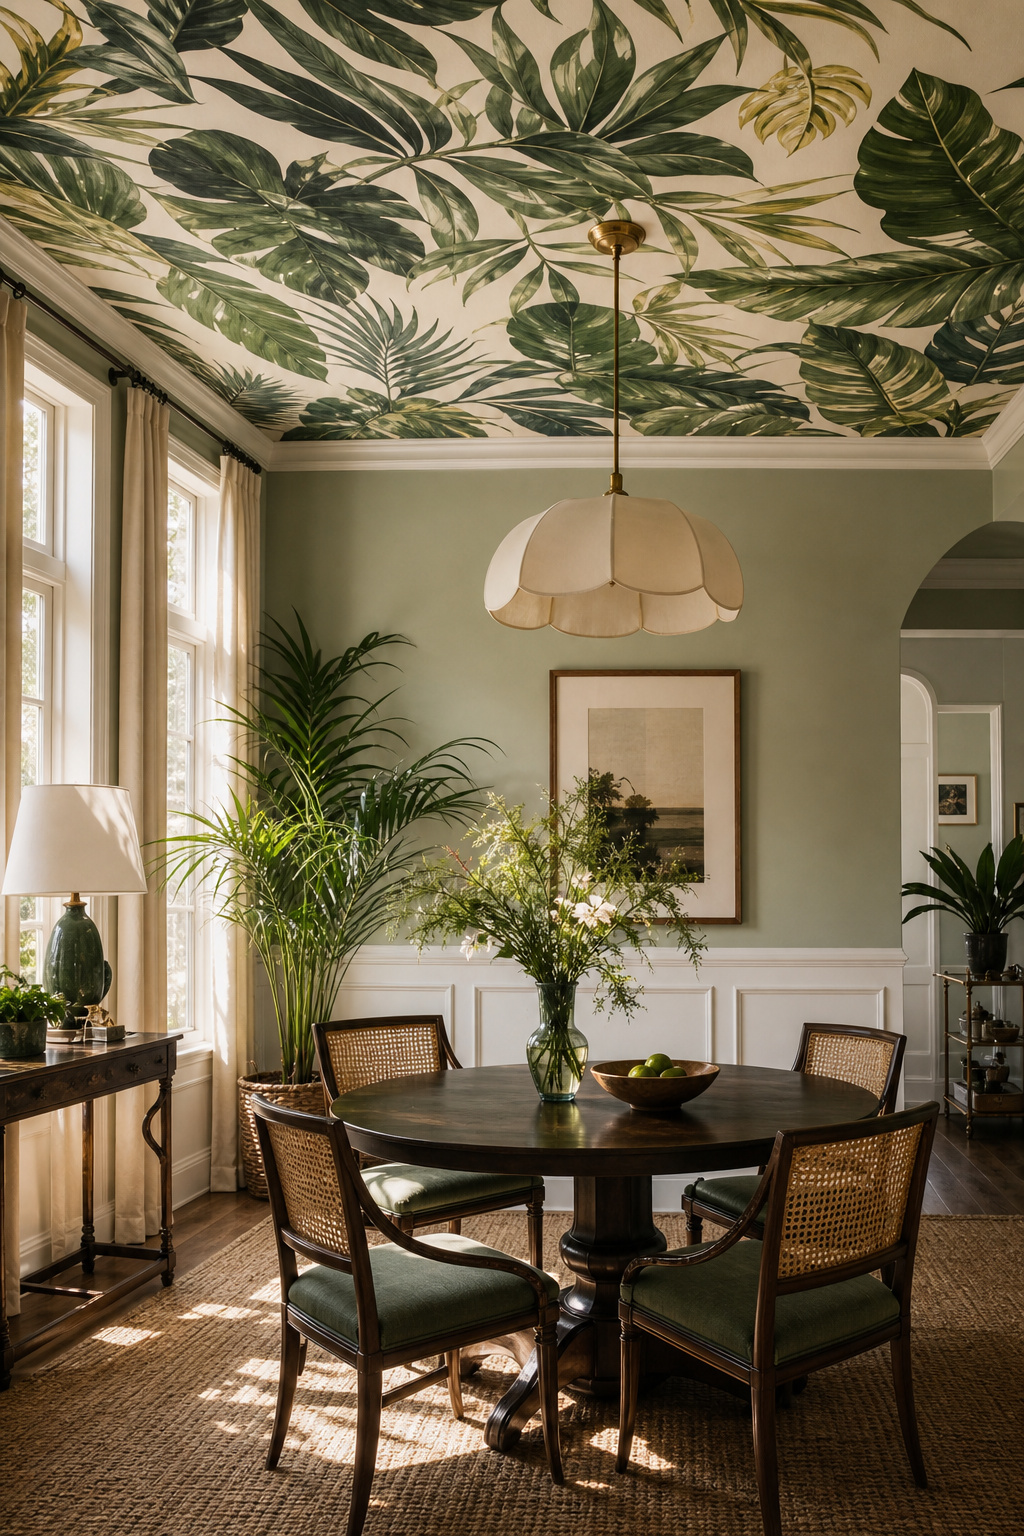
Ceiling paint: dark, bold and high-gloss, and what sheen does to light
Paint is the lowest-cost, most accessible and most reversible treatment of all six. The decision that matters most is sheen. Matte and flat finishes absorb light and forgive an imperfect surface, which is why they suit richer, darker colours — the deep reds, burgundies and blue-greens that read as the strongest 2026 dining trend, and that amplify the enclosed intimacy of a candlelit table. High gloss does the reverse: it throws light across the room and catches candle and chandelier glow like a mirror, but it punishes any flaw in the surface beneath. The full colour, sheen and dark-ceiling guidance is in painting the ceiling as a fifth wall.
Wallpaper overhead: pattern scale and repeat on a horizontal plane
Paper adds what flat colour cannot — pattern and, in metallic finishes, a reflective complexity that bounces candlelight. The critical variable is scale, because pattern behaves differently overhead: a repeat that reads as balanced on a wall can overwhelm directly above a seated diner. Below nine feet, smaller-scale or tone-on-tone patterns are the safe choice, and they also forgive the inevitable installation misalignments more kindly than bold repeats. The pattern guidance, period-appropriate choices and the honest reality of hanging paper overhead are covered in wallpapering the dining room ceiling.
Combining decoration with structure
The decorative treatments are at their best layered onto the architectural ones. Papering only the recessed field of a tray confines bold pattern to a contained inset framed by the soffit — the lowest-risk way to trial ceiling paper. Painting a coffered grid in contrasting tones, light beams over a dark field or the reverse, amplifies the three-dimensional depth of the recesses; a single monochrome colour is the quieter option that still reads as architecture.
The Chandelier: Sizing and Height
No ceiling treatment is finished until the light over the table is right. The chandelier is not a treatment itself but the layer that completes every one of them, and it follows two firm rules — one for how high it hangs, one for how wide it is — that are arithmetic rather than taste.
The sizing rule: diameter to the table and the room
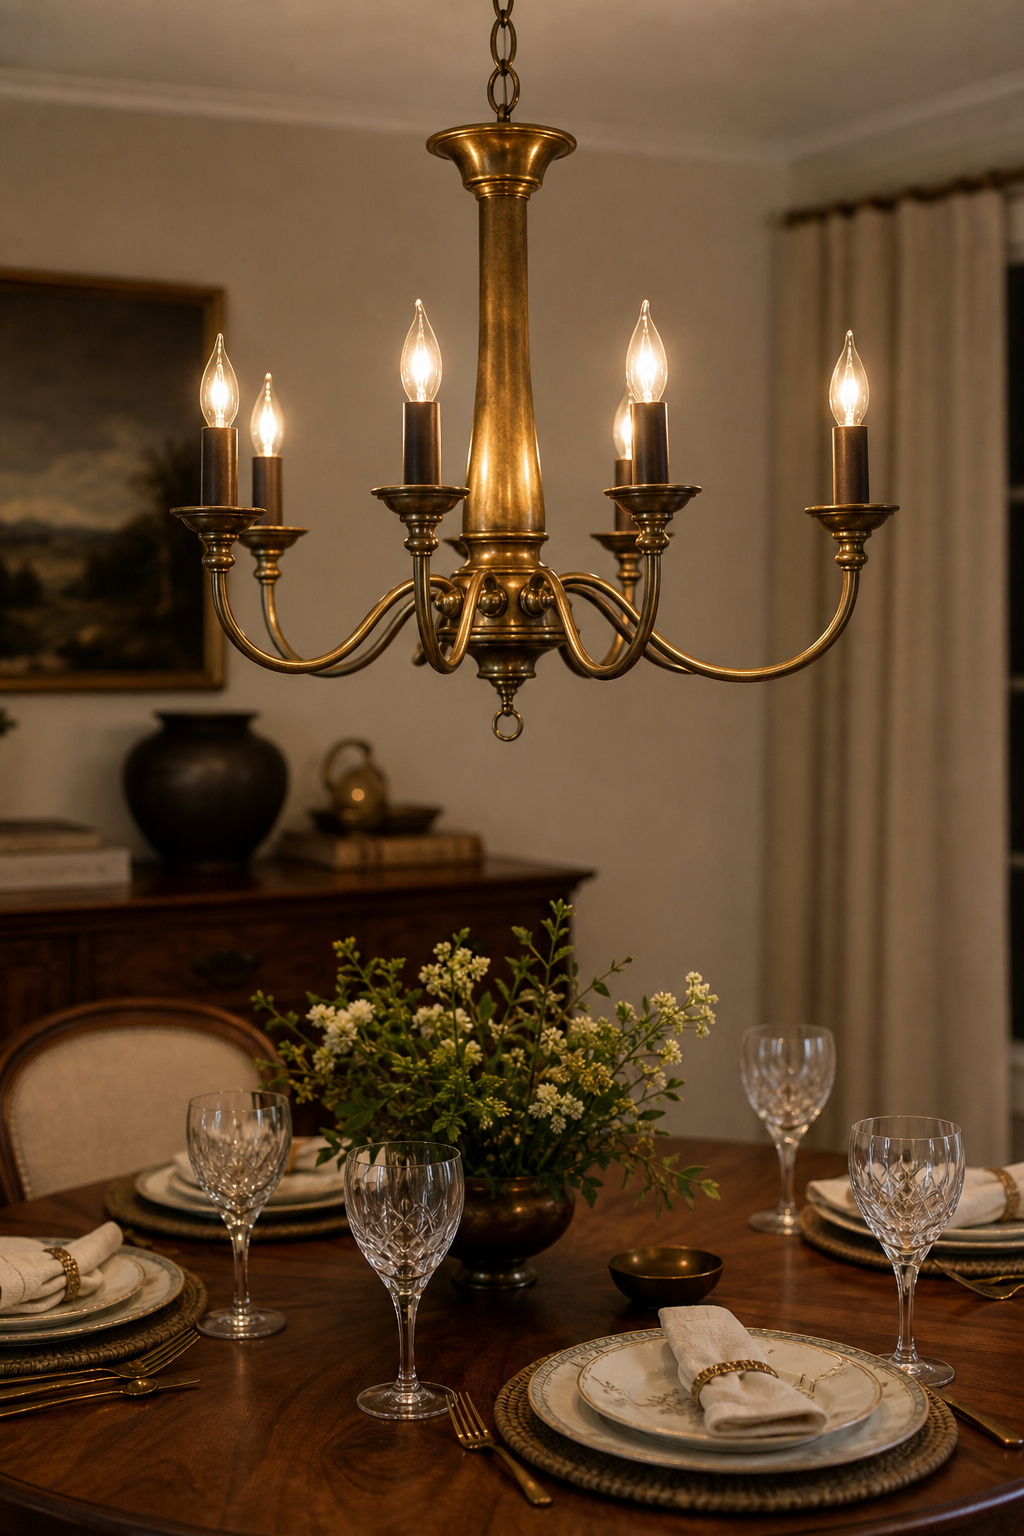
Two formulas settle diameter. The first sizes the fixture to the table: aim for one-half to two-thirds of the table’s width, and never wider than the table itself. The second caps it against the room — add the room’s length and width in feet and read the total as inches, so a twelve-by-fourteen-foot room tolerates a fixture up to about twenty-six inches across. For tables over roughly seven feet, a single chandelier breaks down and a linear suspension or a row of pendants is the proportional answer.
Hanging height over the table
The hang measures from the tabletop, not the floor. The fixture’s lowest point should sit thirty to thirty-six inches above the table surface on a standard eight-foot ceiling, rising three inches for every additional foot of ceiling height. The range keeps light even across the place settings and holds the sightline clear so conversation crosses the table rather than dodging a fixture. The full rule set — lumen targets, the centring rule, and how to confirm the hang from a seated position — is laid out in the guide to sizing and hanging the chandelier.
Matching the fixture to the treatment and period
The fixture should answer the ceiling beneath it. A coffered ceiling’s Georgian or Victorian formality calls for a traditional multi-arm fixture in crystal, aged brass or wrought iron; a tray with cove lighting frees the chandelier to be sculptural, since the perimeter already carries the ambient light; a planked or beadboard ceiling sits naturally under a linear suspension or a row of Edison pendants that echo the timber. This is curatorial judgement rather than a fixed standard, but the principle holds — a fixture that ignores the period of the ceiling reads as an accident, not a contrast.
Choosing the Right Treatment for Your Ceiling Height and Period
Everything above narrows to two constraints the reader actually has: how much height the ceiling offers, and what the building’s age will support. Height is the hard gate, and the practical minimums are consistent across the trade sources:
- Coffered grid: 9 feet minimum, strictly; 10–12 feet is the professional sweet spot for deeper, more dramatic coffers.
- Tray recess: 8 feet by code; 9 feet for the step to read proportional rather than cramped.
- Beam accents: 8.5 feet of clear height after install, since beams consume 6–12 inches.
- Planked / beadboard cladding: 8 feet and up — board thickness is negligible.
- Paint: no minimum; the preferred treatment below 8 feet, in lighter tones or gloss.
- Wallpaper: no minimum, but pattern scale must be calibrated to the room’s volume.
- Chandelier clearance: governed by the 30–36-inch tabletop rule above — see the chandelier guide for the full sizing.
Below eight feet the menu shrinks to the decorative treatments and shallow cladding, and the moves that lift a constrained room — colour continuity, vertical emphasis, low-profile fixtures — become the project in themselves. That whole constraint, what genuinely raises the eye and which heavy treatments to avoid, is worked through in treatments that suit a low ceiling.
Period is the softer guide, but it steers taste. Georgian and Regency rooms take coffered grids with classical moulding and a ceiling medallion at the fixture. Victorian rooms carry coffering, deep saturated paint and period-pattern wallpaper equally well. Tudor Revival and Craftsman houses want exposed timber — real beams or faithful faux equivalents, or planked boards. Contemporary and transitional rooms, free of heritage obligation, take trays with cove lighting, bold flat paint or restrained geometric paper. Match the treatment to the house and it reads as if it was always there; ignore the period and even fine work reads as a genre mismatch.
Where to Start: The Professional’s First Steps
The treatments differ, but the opening sequence does not. Whichever family you are drawn to, the same first moves protect you from the expensive reordering that catches most people out.
Measure, photograph and note the ceiling’s quirks first
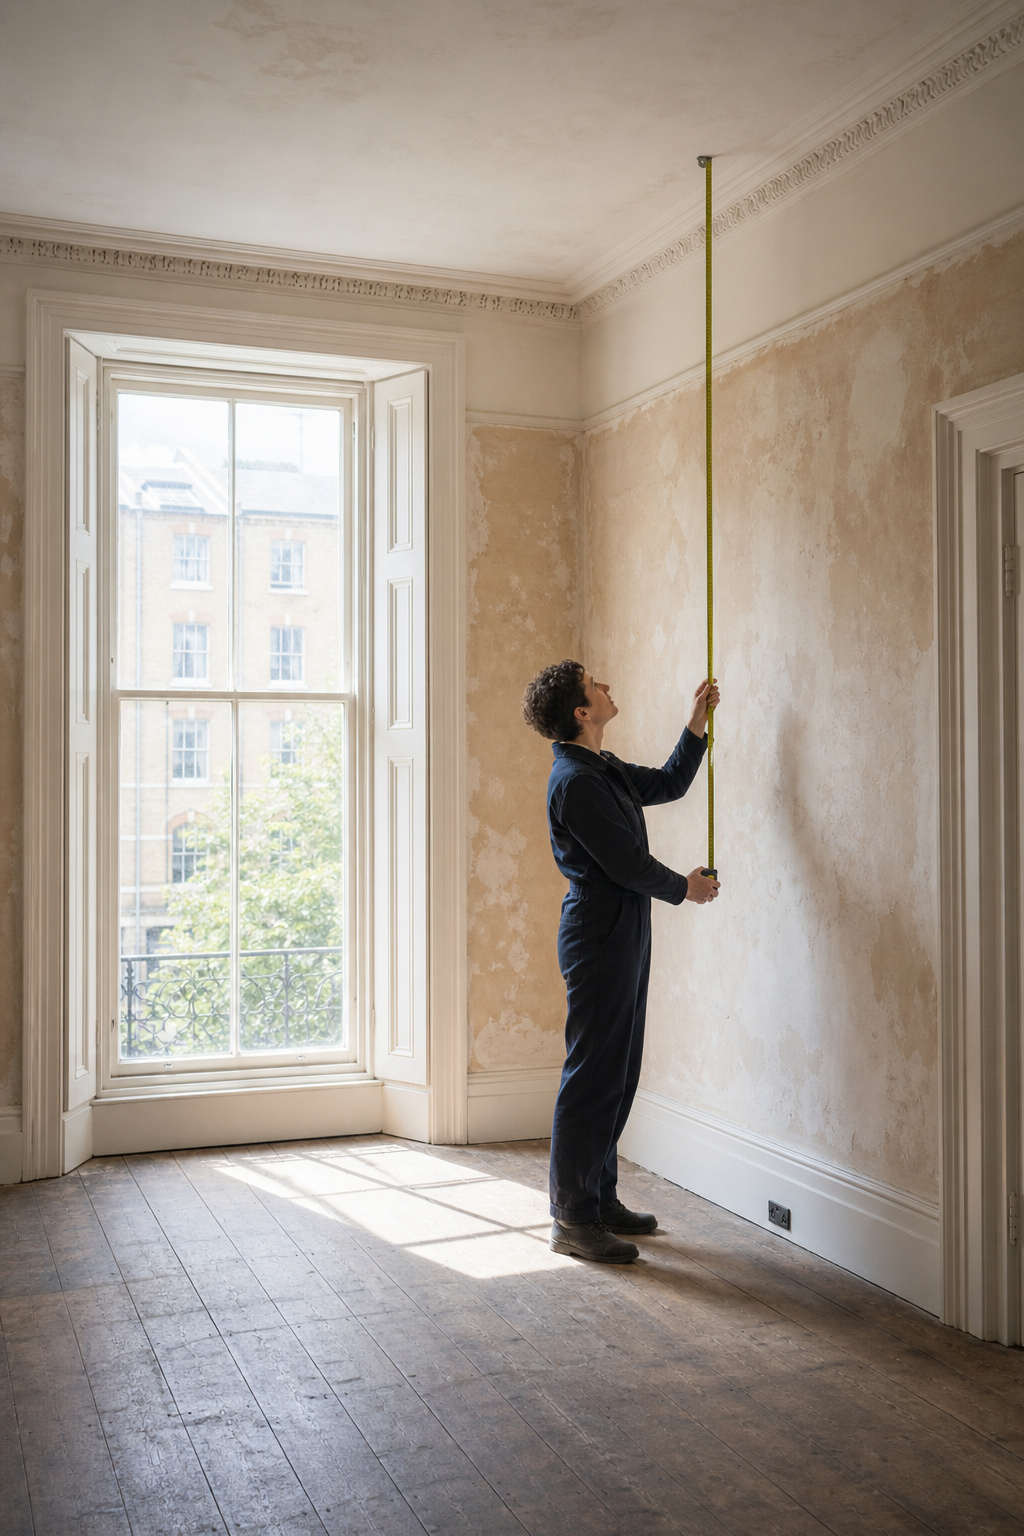
Measure the ceiling height at several points, not just the centre — older houses settle, and a one-to-three-inch variation between wall and centre is common, with the lowest reading governing what is viable. Photograph the ceiling in the light you will actually dine in, after dark with the fixtures on, because dark paint and patterned paper behave nothing like they do in afternoon sun. And note what is already up there: a ceiling rose, picture rails, original plaster mouldings, or structural beams in a pre-1950s house may be period-defining and worth incorporating rather than obscuring — the kind of feature the next owner inherits from how carefully this one was handled.
The two decisions that determine every other choice
Two questions resolve most of the field. First: architectural or decorative? The architectural treatments change the plane permanently and need carpentry; the decorative ones are reversible and need none. Second: does the height allow it? A room at exactly eight feet has three honest options — a tray at a push, cladding, and anything decorative — while nine feet opens the full menu of six. Answer those two and the choice has usually made itself.
Sequencing: structure before decoration, lighting wired last
Order matters as much as choice. Structural treatments go in before any paint or paper, or you will be refinishing a freshly disturbed surface. Lighting — cove wiring, recessed fittings within coffers, the chandelier junction box — must be roughed in before the ceiling surface closes, because retrofitting it afterward is dear. And hang the chandelier and test it, even temporarily, before the final finish goes down: its light reveals surface flaws that general lighting hides, and confirms the proportion is right while it is still cheap to change. Measure, decide, wire, build, finish, light — reverse any step and you create rework. Get the order right and the ceiling does what it should, which is to make the table beneath it feel like the most considered seat in the house.