
The first thing I ever built was a plywood workbench, at twenty-two, from two sheets of subfloor-grade ply. It is dented, a hair out of square, and still holding a bench grinder in my garage today. It taught me the rule I hand every beginner: your first project doesn’t have to be pretty, it has to be solid. A wood accent wall bedroom feature, right behind the bed, is exactly that kind of build. It looks like a contractor job. It isn’t. Most people never try one, assuming a built wood feature needs a crew and a truck of tools. Let me walk you through what it actually takes.
TL;DR
- Cost swings hard by style: a furring-strip slat wall runs about $15 in wood, while a solid shiplap or plank wall of 80–150 sq ft costs $160–$1,050 in DIY materials.
- Budget the calendar, not the install day: boards need 48–72 hours to acclimate before nailing, and an oil-based stain needs a 4-day cure before polyurethane — that is what turns a “weekend” into two.
- It is a genuine beginner build: a slat wall needs only 2–3 brad nails per piece, a level and a saw, with trim to hide any uneven floor.
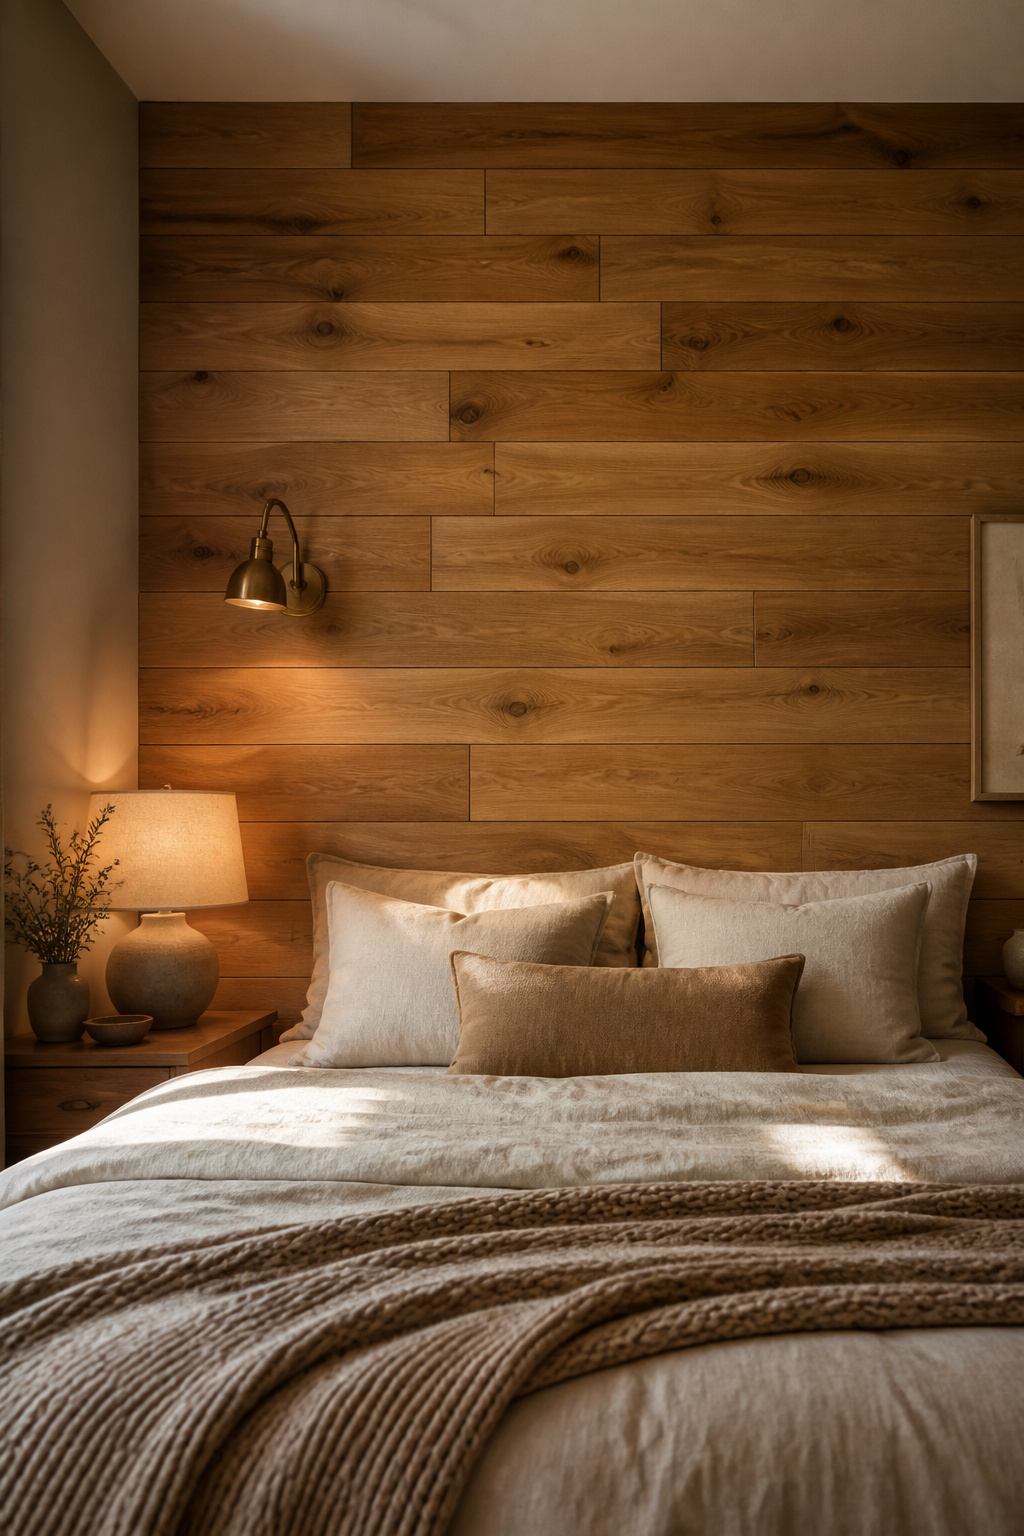
What a Wood Accent Wall Bedroom Build Actually Costs and Takes
Before any inspiration, the numbers. Two of them decide everything: what the wood costs, and how many days the job really eats.
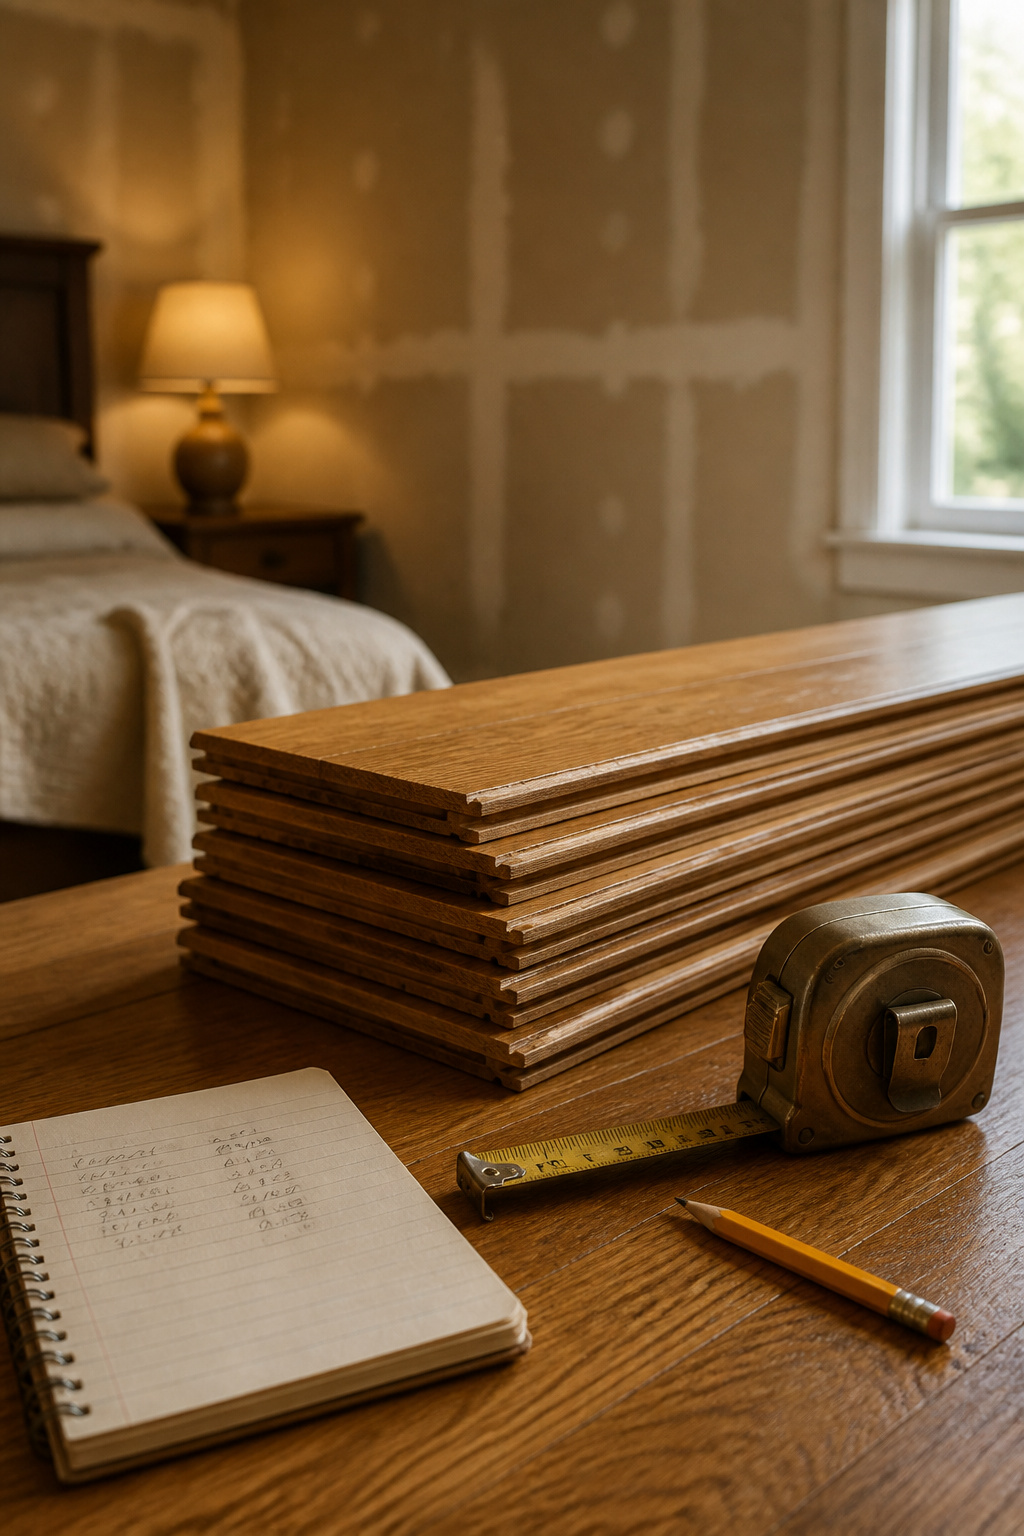
Rough Materials Cost by Wall Size
The style you pick moves the price more than the wall size does. Here is the honest spread, materials only:
| Style | DIY materials | Notes |
|---|---|---|
| Furring-strip slats (1×2) | ~$15 | Roughly ten strips at about $1.48 each, tools already owned |
| Pine 1×4 plank grid | ~$191 | Real build: $100 lumber, $19 nails/adhesive/caulk, ~$80 paint |
| Solid shiplap, 80–150 sq ft | $160–$1,050 | Pine $2–$7/sq ft, MDF $2–$10, cedar $2–$8 |
| Paintable MDF panels | $1.50–$6/sq ft | Cheapest manufactured option, must be sealed |
For a first go, I point people at furring strips or paint-grade pine: takeout-dinner money, and no big loss if you botch a board.
Real Hours, Including the Hardware-Store Trips
The install is fast — a slat wall goes up in an afternoon. The calendar is the slow part. Shiplap and tongue-and-groove boards need 48–72 hours to acclimate before you nail them, or they gap later. An oil-based stain wants a full 4-day cure before poly. Budget one extra weekend beyond what the tutorial promises — the project always takes it.
Skill Level: First-Timer or Not?
I rate it honestly. A furring-strip slat wall is a first build: simple cuts, forgiving gaps, cheap to redo. A staggered plank or horizontal shiplap wall is closer to “some builds” — the rows have to stay level, and a small error in row one compounds all the way up. Neither needs a contractor. Both need patience.
Choosing Your Wood: Plank, Shiplap, Slat or Panel
Your material choice shapes every step after it — the cutting, the fastening, the finish. So spend a minute here before you spend a dollar.
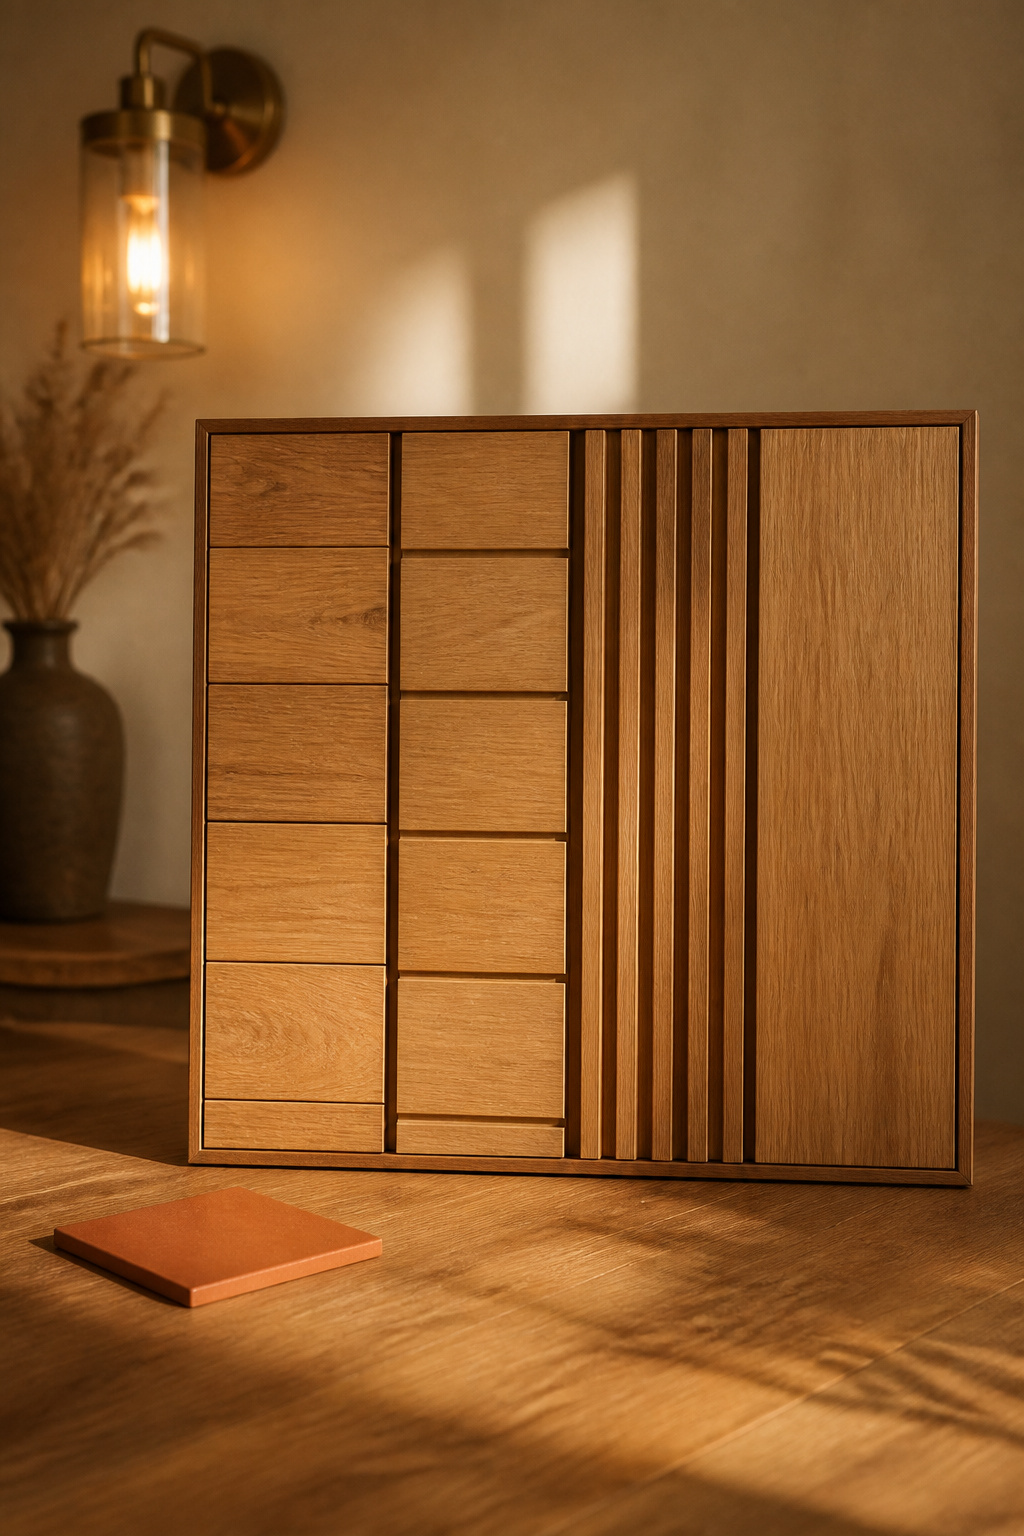
Stock Lumber Versus Pre-Made Panels
The table’s tiers tell the story: solid stock lumber ($5–$40/sq ft) lasts but you do all the cutting; prefab panels ($8–$20/sq ft) cost more per foot but go up faster. MDF is the cheapest but chips at the edges and must be sealed. My beginner pick stays cheap and solid: pine boards or furring strips you cut yourself.
What Each Style Demands of a Beginner
A slat wall is the gentlest start: cut 1×2 strips, hold a 3/4-inch gap, sink 2–3 brad nails per piece. Plank and shiplap ask for level, staggered rows across the whole wall, where a drift low down shows up top. Vertical shiplap is the first-timer trap — it broadcasts any lean, and older homes rarely have plumb walls.
Matching the Style to the Room’s Palette
Direction changes the room: horizontal boards look wider, vertical boards look taller and more rustic. Warm wood is having a moment — 2026 bedroom coverage notes a correction away from cold grey toward honey and walnut tones. Push too far, though, and it turns heavy. Architect Alyssa Anselmo of Studio Anva puts it bluntly: “People are reacting to millennial grey by going too far into dark and moody tones.” Balance it with lighter grain, amber light and soft textiles, and pull your exact hues from your warm bedroom paint colors so the wall and the room agree.
Tools and Materials You’ll Need
The kit is smaller than you would guess, and every power tool on it has a cheaper hand-tool stand-in.

The Core Tool List, and the Cheaper Workaround for Each
Here is the kit, with the budget swap for each:
- Miter saw — or an inexpensive miter box and hand saw for straight cuts
- Brad nailer — or a hammer and finishing nails; one real $191 build used exactly that
- Level — a torpedo level is a few dollars; a laser is nicer but optional
- Stud finder — or the knock-and-magnet method below, for free
- Orbital sander — or a sanding block and elbow grease on a small wall
Fasteners and Adhesive by Wall Type
Home Depot’s install guide treats adhesive and nails as interchangeable, so use what you own — just land nails in a stud when you can. For slats, 2–3 brads hold a short piece; back up anything over 16 inches with construction adhesive. It stays cheap: one pine-grid wall spent about $3 on Liquid Nails and $8 on finishing nails, total.
What the Hardware-Store Cut Counter Can Do for You
No shame in having your lumber cut at the store — it is a legitimate tool. Home Depot gives about 10 free straight cuts per visit; Lowe’s varies, some stores capping at one or two and charging under $1 each. Know the limits, though: 90-degree cuts only, accurate to about half an inch, nothing under 12 inches. Fine for rough plank lengths. Do the final trim cuts at home.
Laying Out and Installing the Wall, Step by Step
Now the build. The sequence is the same across every guide worth reading:
- Find and mark your studs across the wall.
- Snap a level baseline for the first row.
- Tape-map the layout and dry-fit before cutting final lengths.
- Cut, then fasten row by row, staggering the joints.
- Handle trim and outlets last.
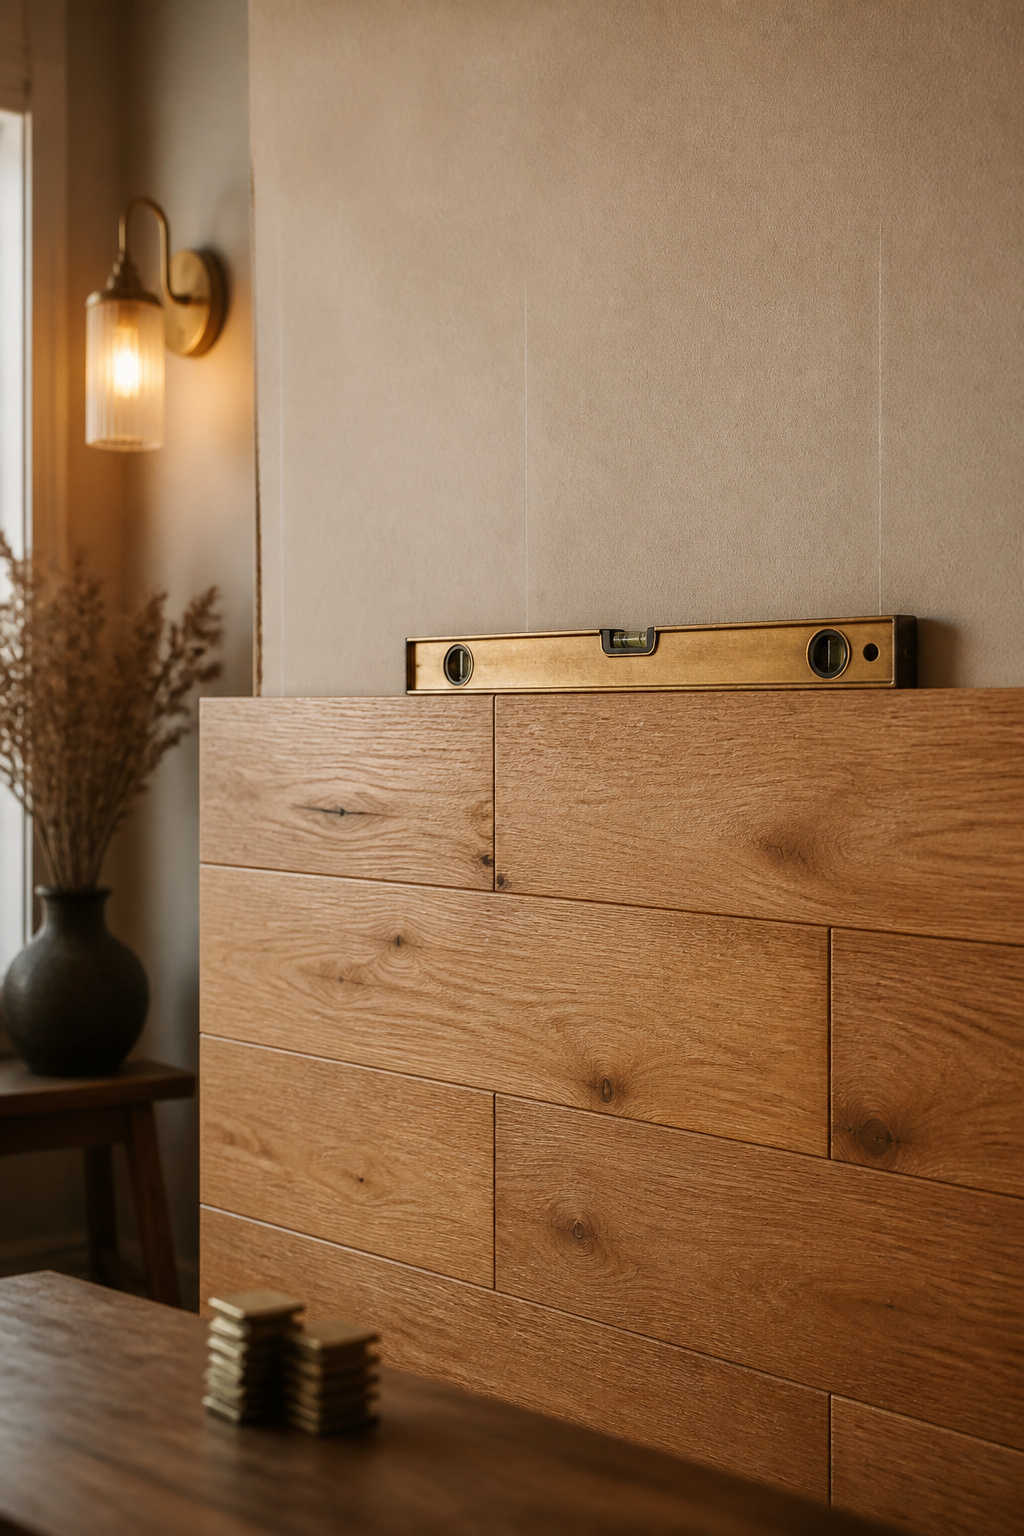
Marking Studs and Your Layout Lines
Most homes frame studs 16 inches on-center, but don’t assume it. Newer builds run 24, and older homes wander from 12 to 36 — find them, don’t guess. No stud finder? Knock for the dull thud, slide a magnet to catch drywall screws, or pull an outlet cover to see where the box is fastened. Then mark each stud with chalk and strike one level line for the first row.
Cutting and Dry-Fitting the First Rows
Map the layout on the wall with painter’s tape first, step back, and check the spacing — a pattern problem is far cheaper to catch on tape than in cut wood. Keep your gaps consistent with a spacer: a nickel for a shiplap reveal, a 3/4-inch scrap block for slats. Stagger the cut ends row to row instead of stacking a column, which looks off and sits weaker.
Fastening and Working Around Outlets and Trim
Pry the baseboards off first, then reinstall them over the finished boards to hide any gap at an uneven floor. Outlets need care, and I never call electrical “easy.” Kill the power at the breaker. Then fit a code-rated box extender sized to the added thickness so the outlet sits flush. Set the boards on both sides of the opening flush before you cut the hole — cut it early and you’ll fight a misaligned box.
Common Mistakes and How to Recover
Every wall I have seen go wrong went wrong early, at the measuring and leveling stage — the errors just don’t show until the wall is half up.
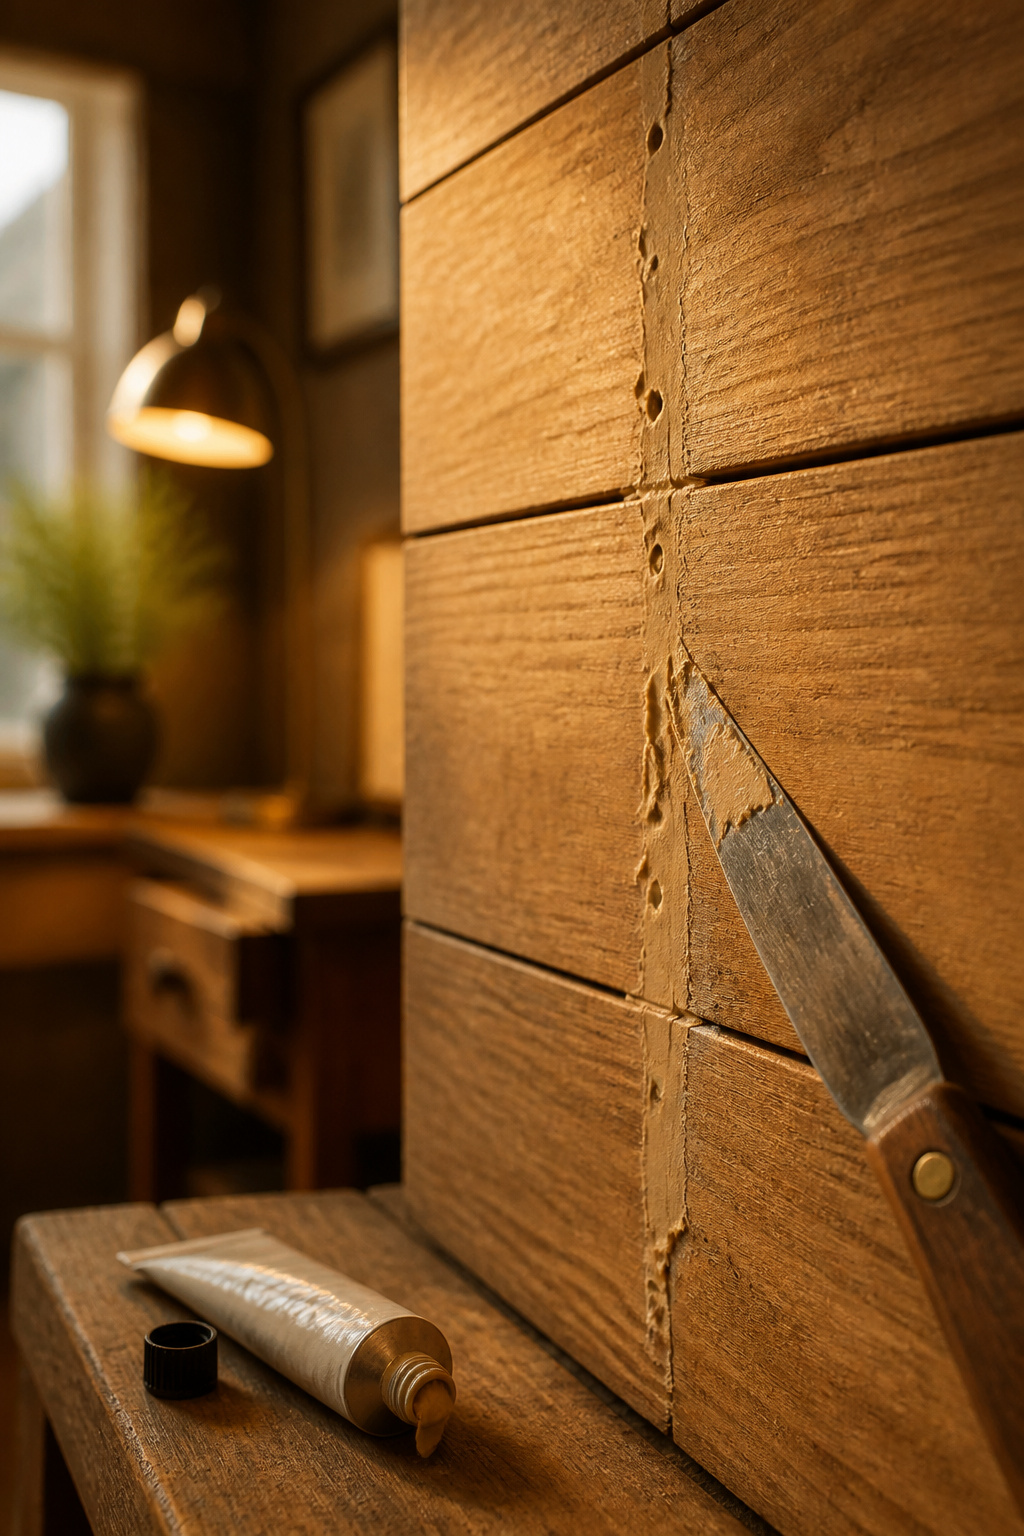
The Gap and Cut Mistakes That Show Up First
Measure the wall’s height and width at several points, not one. Walls, especially in older homes, aren’t square, and one measurement gives you short pieces and another store trip. The painter’s-tape mock-up is your cheapest insurance: spacing problems are free to fix on tape and expensive in wood.
What to Do When a Plank Doesn’t Sit Flush
Level every row before you fasten it, not just the first — skip a check and the error dominoes up the wall. When a board won’t sit flush against a wall that is simply uneven, don’t force it or try to plane the wall. That is what trim is for: pros cover wall-to-floor unevenness with molding rather than fighting the wall flat.
When a Mistake Means Starting the Row Over
Sometimes the honest move is to pull a row. Spacer gaps compound, so if your drift has grown past the width of the reveal gap by mid-wall, stop climbing. Pull back to the last row you know was level and re-set. Twenty minutes now beats a wall that leans for ten years.
Finishing: Stain, Seal and Living With It
The finish is where a clean install either lands or falls apart. It is also the step beginners rush. Don’t.
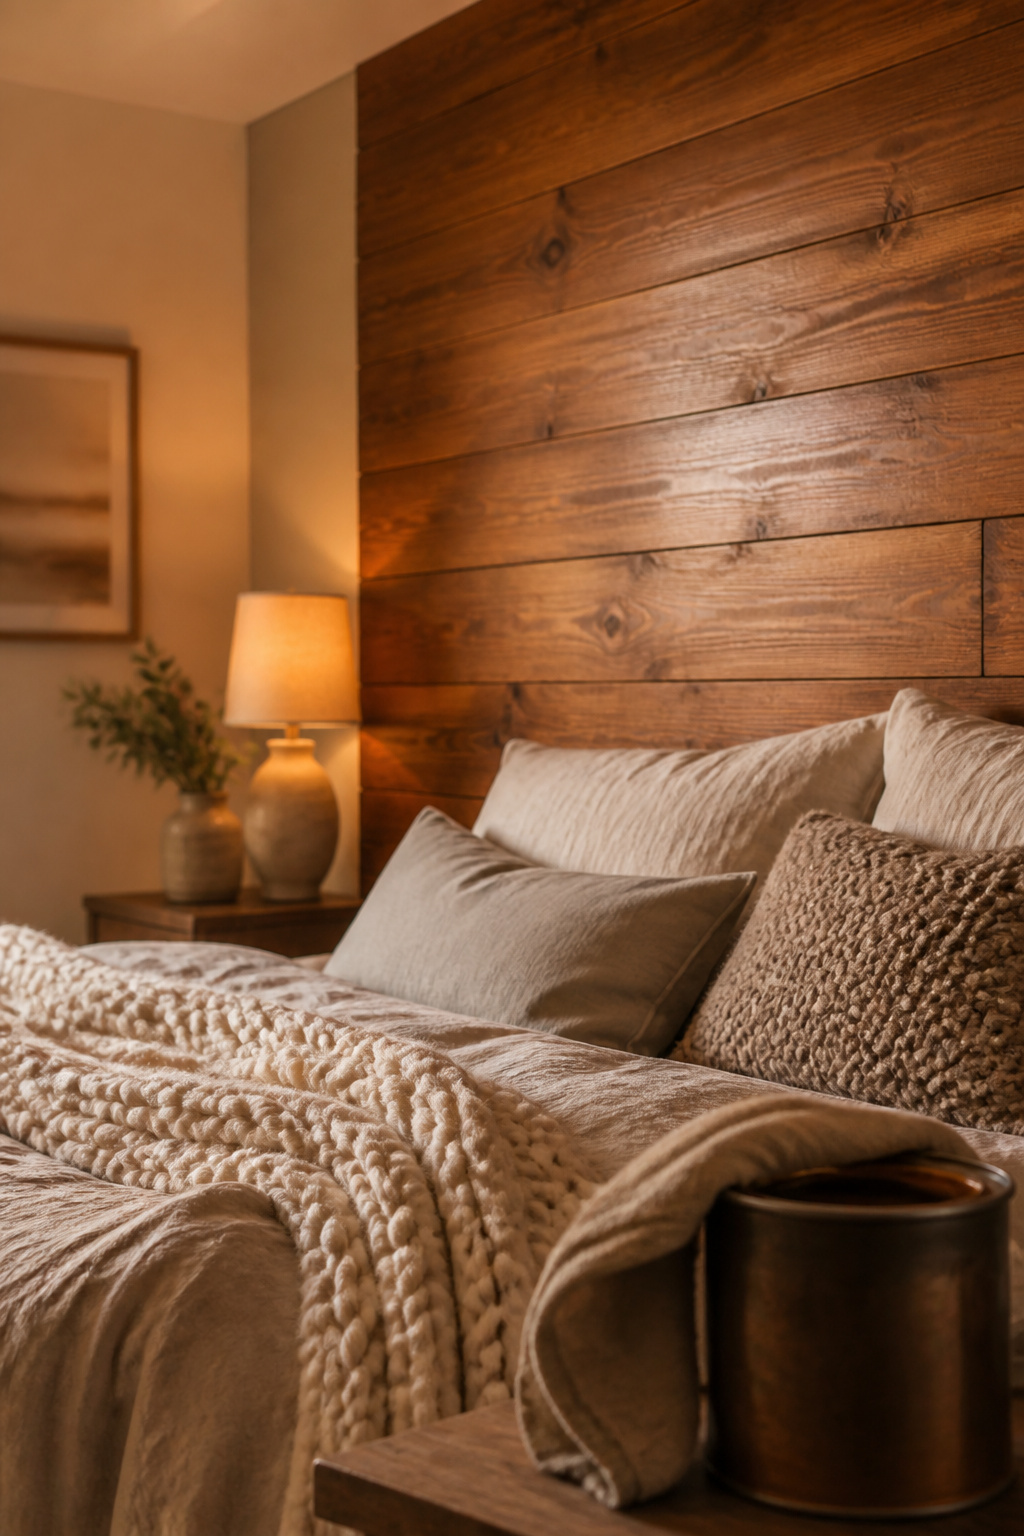
Stain and Finish Options by Wood Type
Knotty pine is the blotch trap: stained raw, it goes dark and cloudy around every knot. Brush on a pre-stain wood conditioner 5–15 minutes before staining to even the absorption. Sand to 120–180 grit for oil stain, 150 for water-based, and never past 180 on pine, since finer grits close the grain and blotch. And respect the cure: an oil-based stain needs its full 4 days before poly, or the finish stays soft for good.
What the Wall Needs to Survive Real Life
Match the finish to the wear, and a wall behind a bed sees almost none. Polyurethane is the toughest topcoat, but it is built for floors; for a wall nobody touches, a soft wax is plenty — unless it doubles as a headboard people lean on, in which case go poly. Either way, fill the nail holes and caulk the seams first, or a clean install still looks unfinished.
The Next Cheap Project Once This One’s Done
Step back. You measured, cut, leveled and finished a built wood feature with basic tools — the thing that looked like a contractor job an hour ago. A plank or slat wall lands on every list of highest-impact-for-the-money weekend upgrades, and the next one goes faster. It is one of the surest ways to make it cozy on a budget, and it slots into the bigger job of creating a cozy bedroom. Your first move this week: measure the wall at three heights, buy your boards, and stand them in the room to acclimate. The build waits for the wood — start the clock.
FAQ
Do you need to remove baseboards for a wood accent wall?
Yes. Home Depot’s official install guide has you pry off the baseboards, and any crown or trim, with a putty knife before the wood wall goes up. You then reinstall that trim, or new matching molding, over the finished wall — which also hides any gap where an uneven floor meets the added wall thickness.
What’s the cheapest wood option for an accent wall?
A furring-strip slat wall is the cheapest real-wood route, with one documented build costing about $15 in materials for roughly ten 1×2 strips. If you would rather use a manufactured board, paintable MDF panels run $1.50–$6 per square foot, versus $5–$40 per square foot for solid wood plank or shiplap.
Does a wood accent wall need to be sealed or finished?
Not structurally, on a low-traffic bedroom wall the way a floor would. But skipping the sanding, nail-hole filling and a topcoat leaves the wall showing wear and collecting dust faster, and looking unfinished. For a rarely-touched wall behind a bed, wax is a fine soft finish; choose polyurethane if the wall doubles as a headboard people lean against.