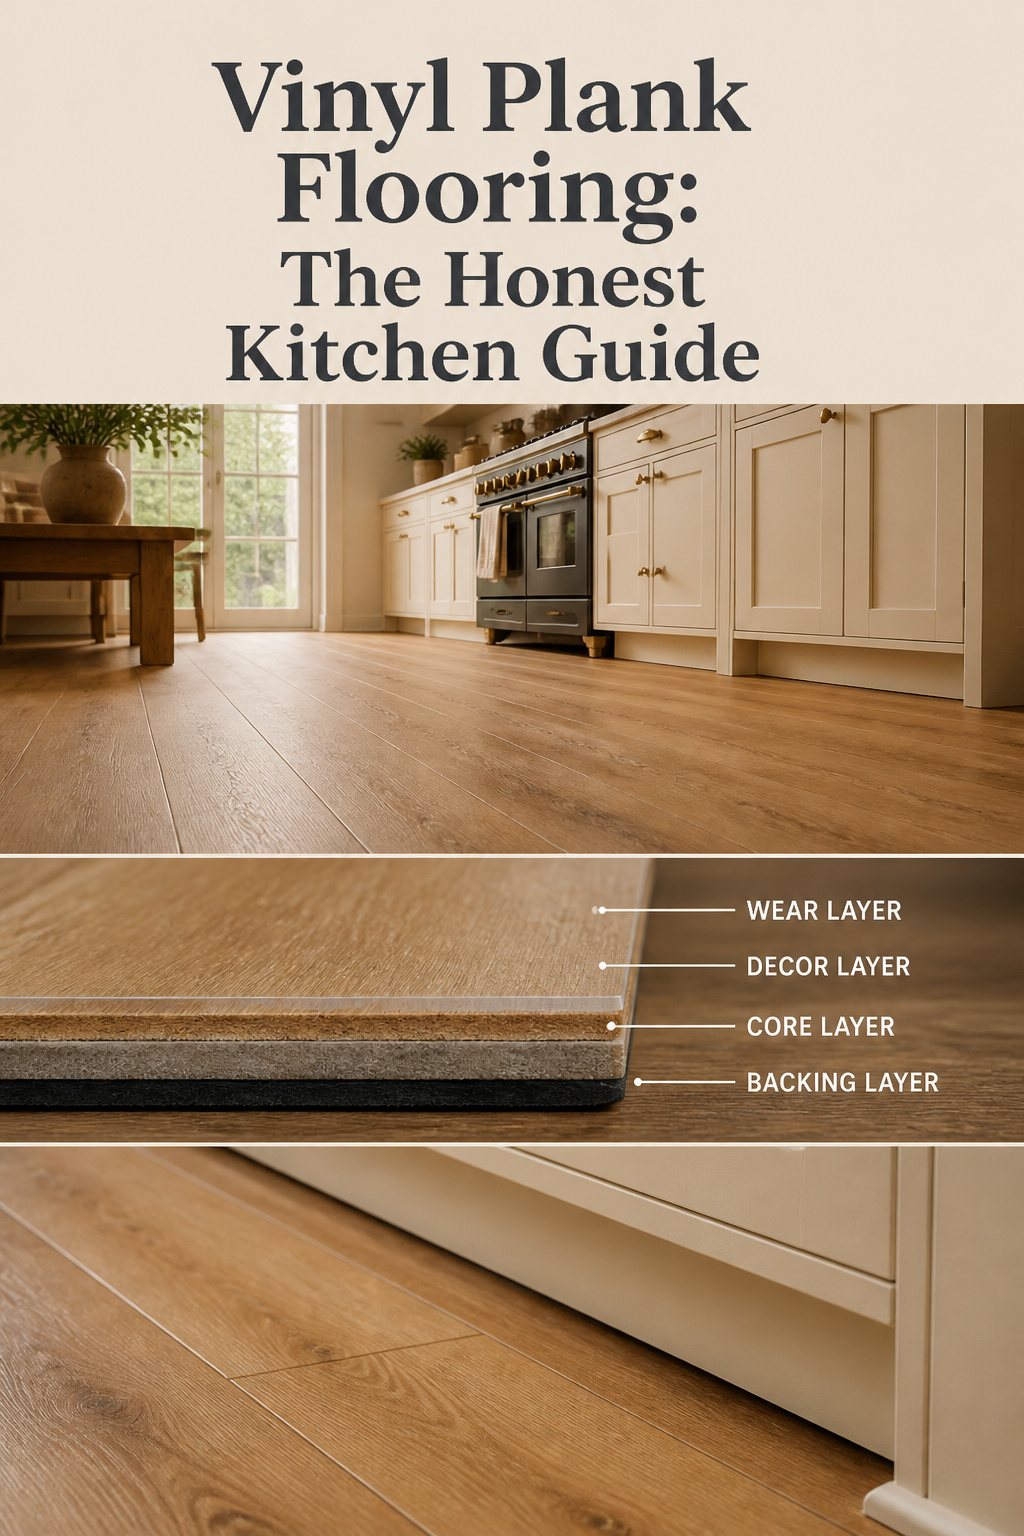
A video once told me a run of floating shelves was a two-hour job. It cost me the weekend, most of it spent driving. Ever since, every timeline I give includes the trip back to the store. Vinyl plank flooring in the kitchen makes the same promise — click it together in an afternoon — and that afternoon is real only if nobody has to pull a dishwasher, level a subfloor, or work out what happens at the cabinet toe kick.
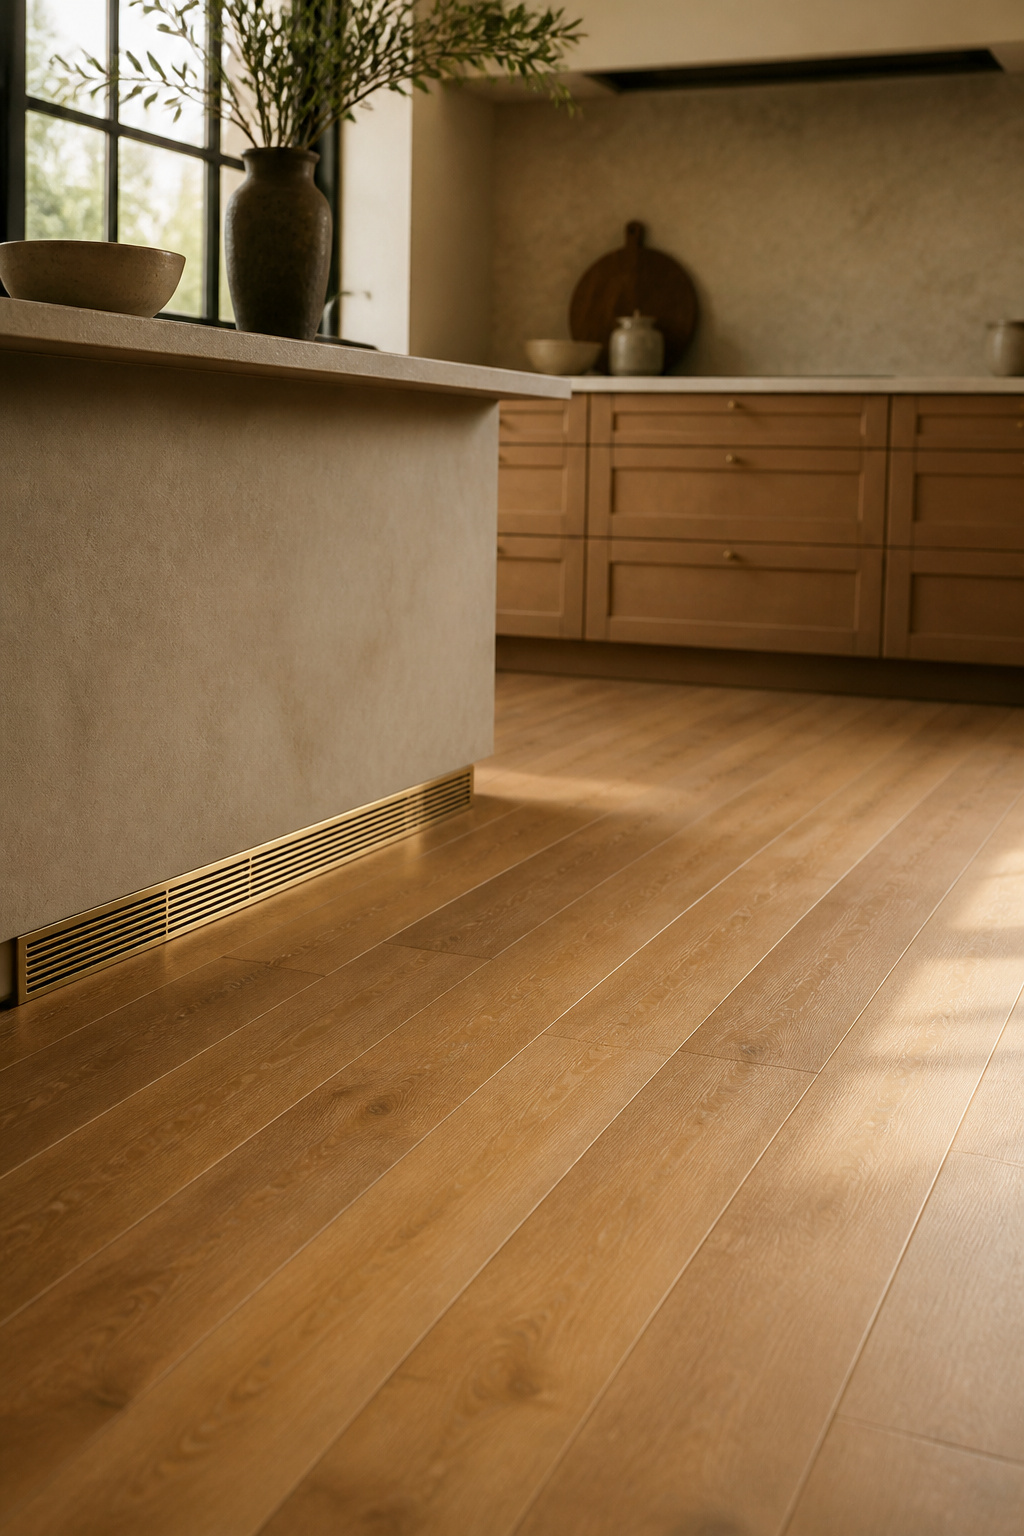
TL;DR
- Buy on wear layer, not plank thickness: 12 mil is a fine minimum for a general-use room, but a kitchen isn’t general use — 20 mil is the documented threshold once grit and appliance traffic are in the mix.
- The installation method answers the cabinet question. Floating LVP stops at the toe kick; glue-down can run underneath.
- Measure your dishwasher first. A new floor can raise the level 3/8 to 3/4 inch, enough to trap the machine under the counter.
What LVP Actually Does Under Kitchen Conditions
LVP is sold as kitchen-proof. At the plank, that’s largely true; at the installation, it’s a question. If you’re still choosing, start with our full guide to choosing a kitchen floor.
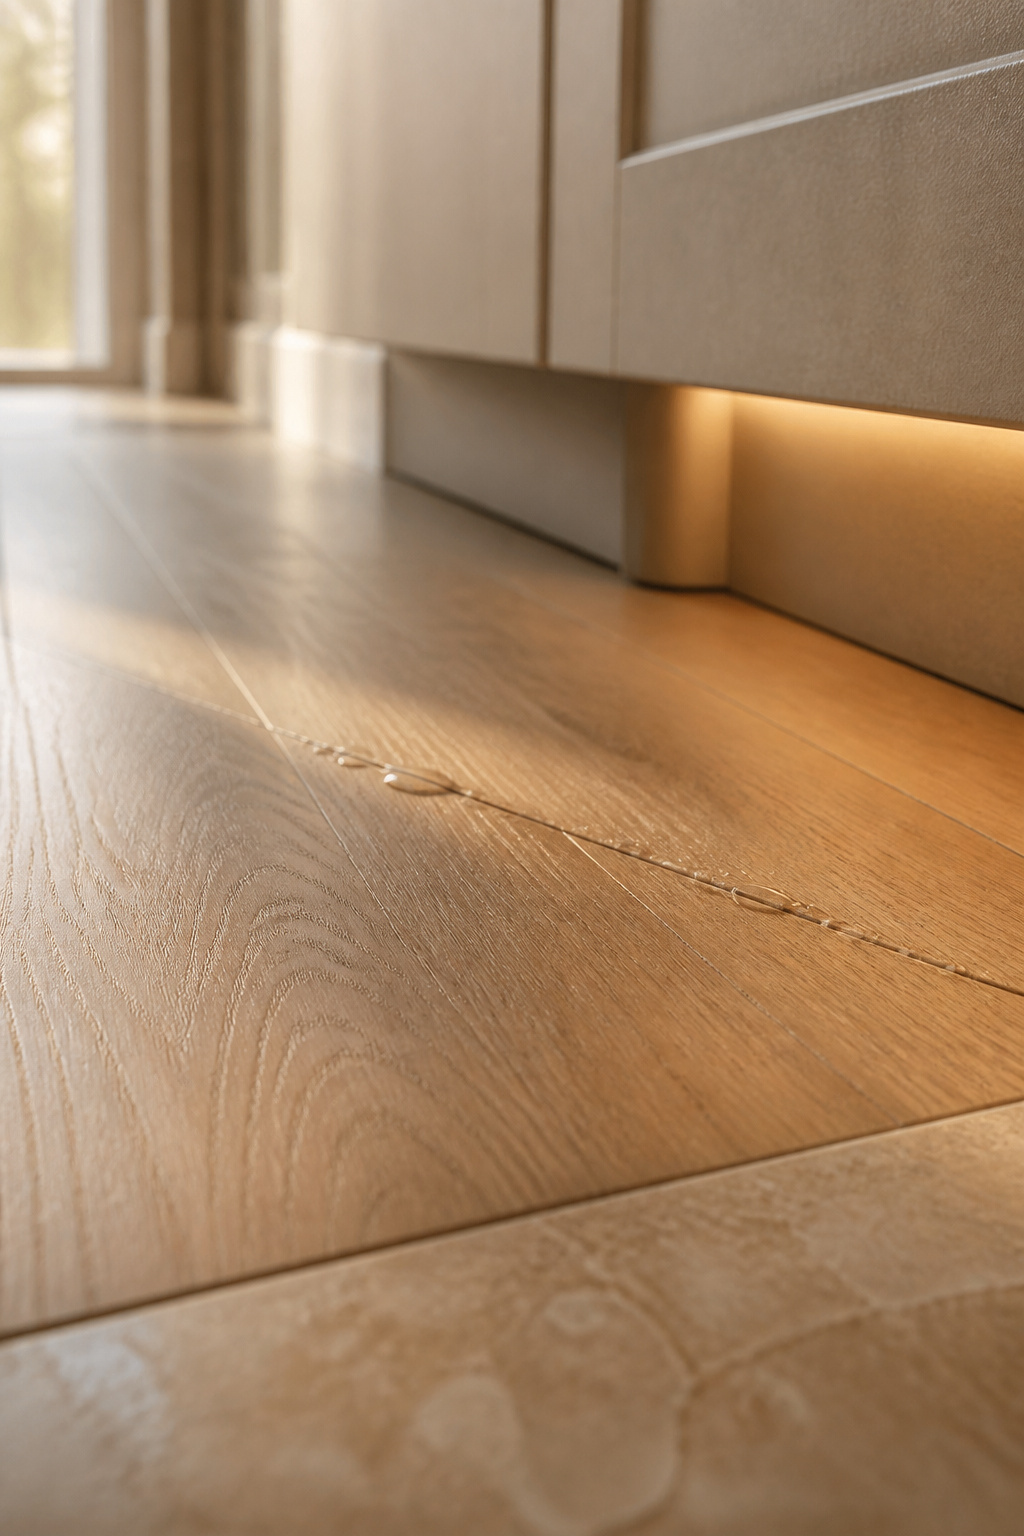
Standing Water and Seams
Waterproof describes the plank, not the floor. Laminate that isn’t waterproof begins swelling at its seams once standing water sits for roughly 30 minutes, and LVP has no equivalent threshold. However, a badly seated seam is still the first route water finds to your subfloor.
Heat Near the Range
Two heat problems get mixed together here. First, clearance: manufacturer instructions for freestanding ranges put the stove on a metal or wood panel the full width and depth of the appliance, never directly on vinyl tile or other combustible flooring. Second, separately, sun: LVP beside a glass door can pass 120°F, the mechanism behind peaked seams.
Foot Traffic and Denting
Kitchens do their damage with grit, not drama. Twelve mil is a reasonable mid-tier minimum for general residential use — a bedroom, a hallway, a room that doesn’t see sand underfoot and a dropped skillet twice a week. A kitchen isn’t general residential use. The wear here comes from grit ground in underfoot and appliances rolled across the floor, not impact, and that’s a different kind of damage than a 12-mil layer is built for. Twenty mil is the documented threshold once you’re grading for that. JAB Floors also rates rigid SPC as far more dent-resistant than softer WPC under point loads. For how that compares elsewhere, see vinyl plank against the other seven materials.
Wear-Layer Mil: The Only Spec on the Box That Matters
A mil is one-thousandth of an inch of clear coat above the printed design layer — all that stands between a dropped skillet and the picture of wood underneath.
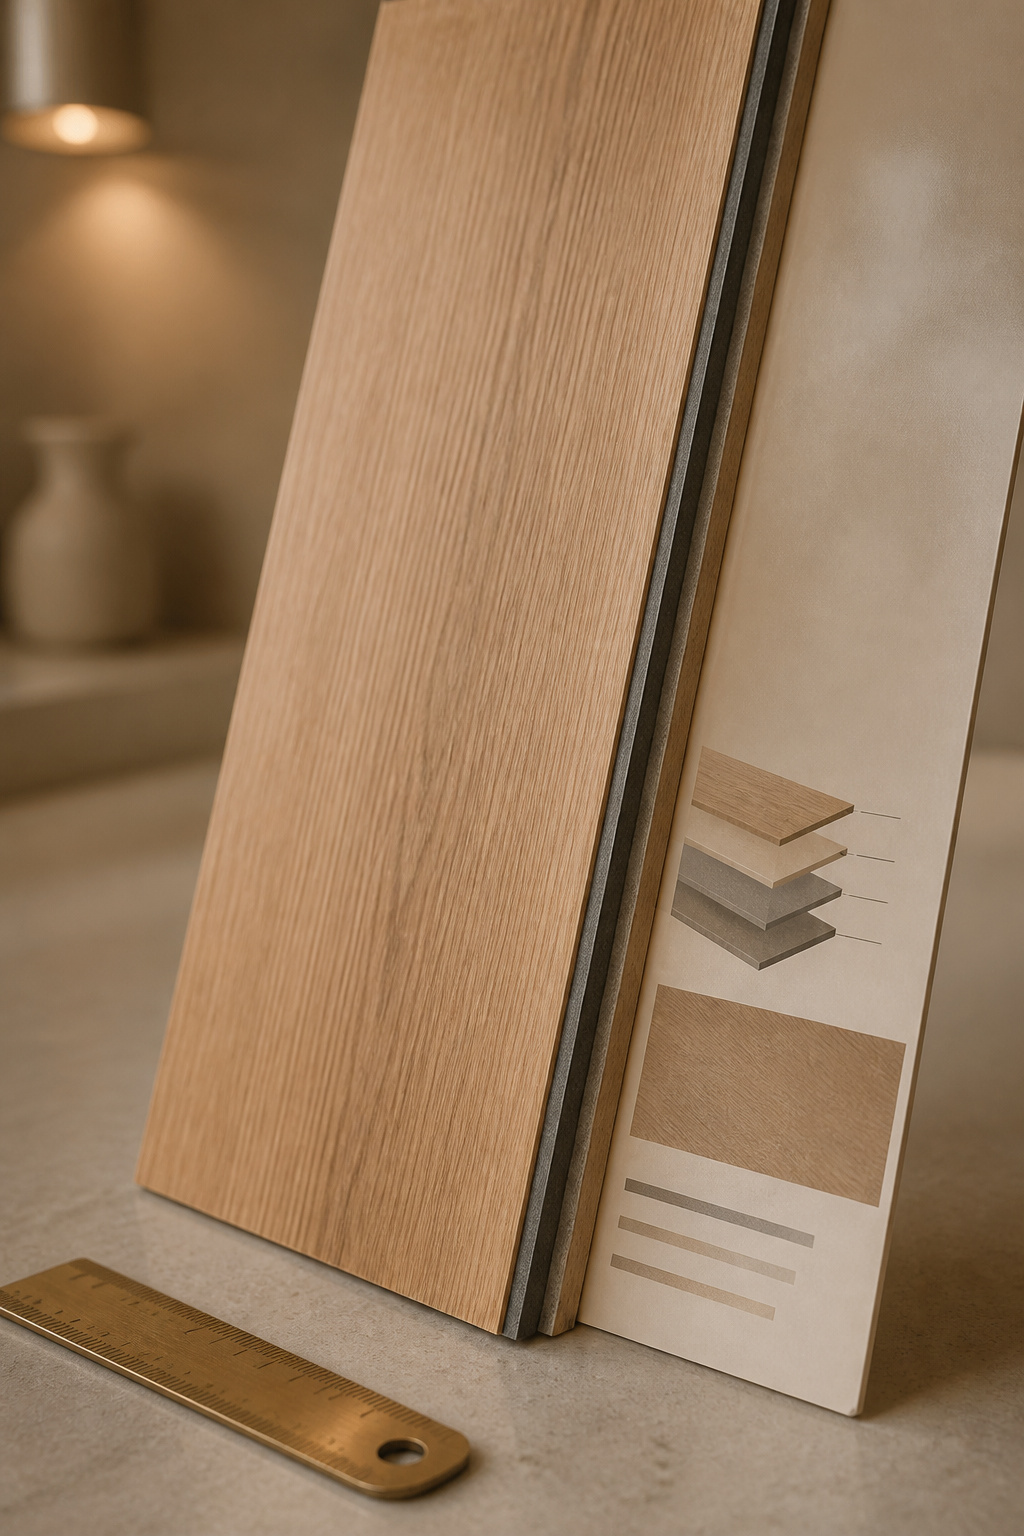
6-8 Mil vs 12 Mil vs 20+ Mil
| Wear layer | Where it belongs | How it ages in a kitchen |
|---|---|---|
| 6-8 mil | Entry-level, light residential | Shows wear within a few years under pets or kids |
| 12 mil | A reasonable mid-tier minimum for general residential use | Runs a shorter clock in a kitchen — grit and appliance traffic outpace it |
| 20 mil | Large dogs, active kids, moving furniture | Commercial territory, where product runs 20-22 mil |
| 40 mil | Premium residential, double commercial | One line carries an 80-year warranty |
My rule for a kitchen is 20 mil or keep shopping. A 12-mil floor isn’t a bad floor — it’s a good product built for general residential use, and a kitchen just isn’t that. Grit and appliance traffic run its clock faster than a bedroom would.
Reading the Box Correctly
Two numbers, two units, not interchangeable. Wear layer comes in mil, plank thickness in millimeters. One millimeter is roughly 40 mil, so a 0.5mm wear layer is 20 mil — nearly double a 12-mil one. Millimeters govern tolerance over an uneven subfloor; the wear layer governs how the floor looks in five years. For where the tiers land on price, see what a kitchen floor costs at each price point.
Floating vs Glue-Down: The Decision That Changes With a Dishwasher
When Floating Works
Click-lock is the beginner-friendly option and the cheaper one. FlooringStores’ 2026 breakdown puts floating installation at $1.00-$2.00 per square foot in labor, plus $0.30-$0.75 for underlayment — roughly $1.30-$2.75 for install side only, labour plus underlayment, before a single plank. That isn’t a total; it’s just what the crew and the underlayment cost. It also tolerates small subfloor variation and lets you swap a damaged plank without lifting the run.
When Glue-Down Is Worth the Extra Step
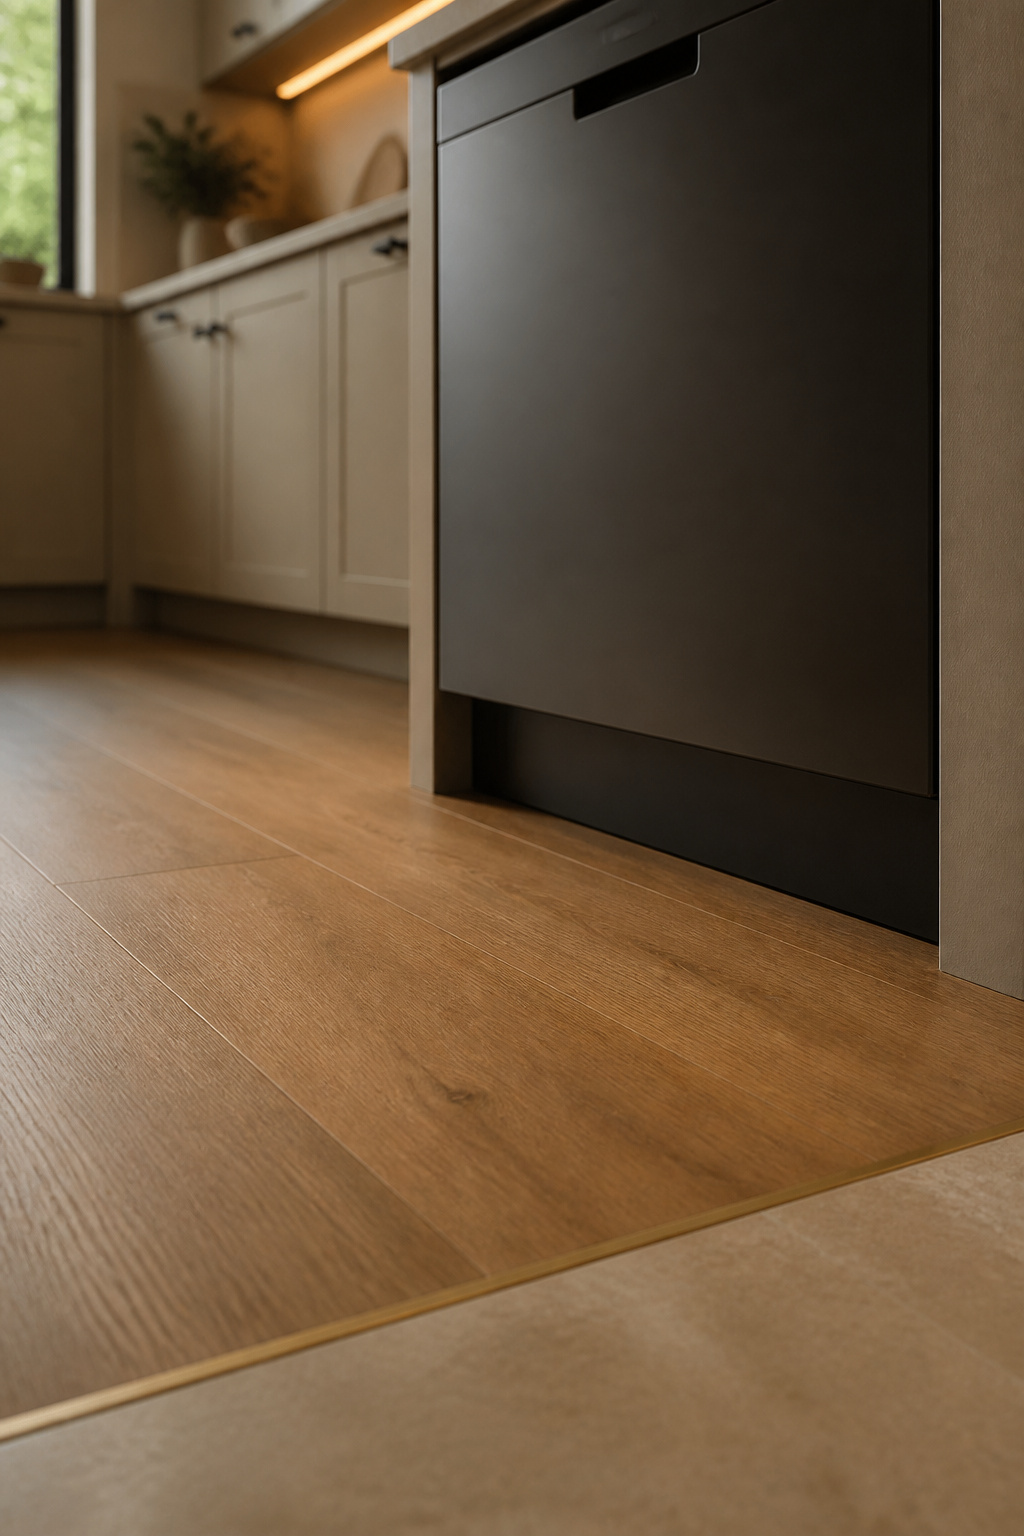
Glue-down asks more up front. The subfloor has to be properly leveled, and FlooringStores’ 2026 figures run $1.50-$3.00 per square foot in labor plus $0.30-$0.60 for adhesive — about $1.80-$3.60, again install side only: labour and adhesive, before the planks. Same rule as above — that’s not what the floor costs you, just what it costs to put down. What you buy for that is stillness: adhered planks won’t expand and contract with temperature, and that resolves both conflicts below.
The Dishwasher Problem
A floating floor should never be trapped under a heavy appliance: the weight restricts the movement the floor is built to make, and restricted movement buckles. Meanwhile, flooring always goes under the dishwasher, because you can’t leave a bare patch and slide the machine in later. Mechanically, a dishwasher is a second cabinet as far as your floor is concerned.
Then the detail almost nobody checks. Going from thin older flooring up to LVP can lift the level 3/8 to 3/4 inch — enough to stop the dishwasher fitting back under the counter at all. Measure that clearance before you pick a thickness, and check whether the feet are already at their lowest. Most installers reach the same fix: glue the footprint under the dishwasher, float the rest, and keep the expansion gap at that bay’s outer edge.
Do the Planks Go Under the Cabinets?
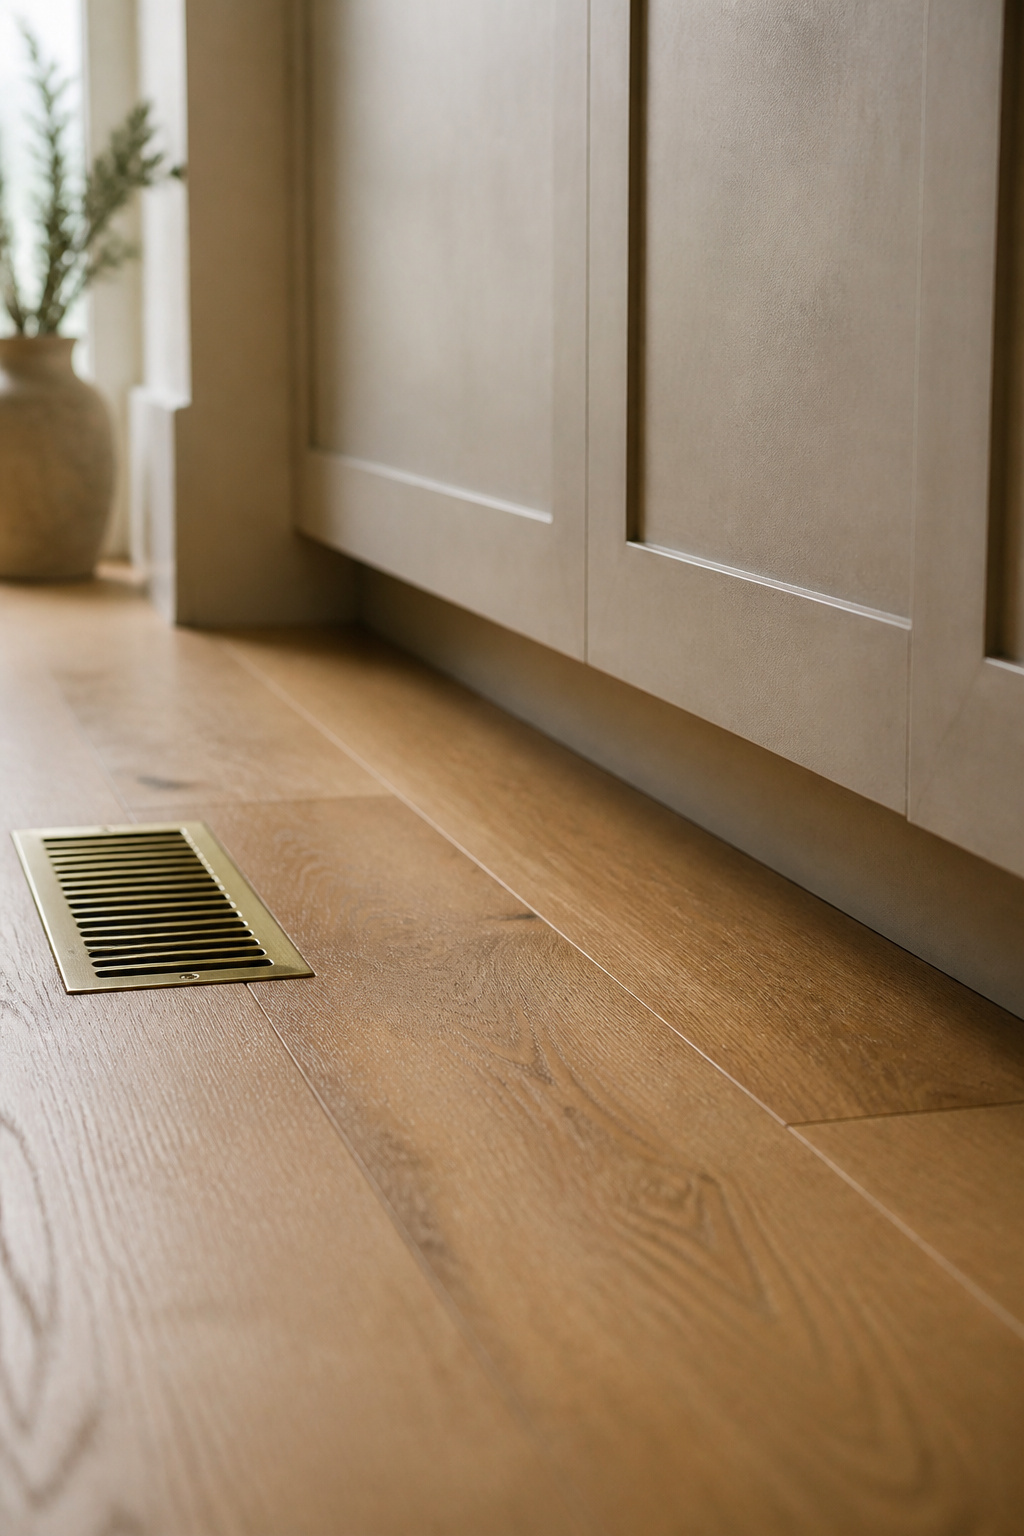
Floating LVP stops at the toe kick. Glue-down can run underneath. The installation method decides it, not preference. That settles the other version too: can you lay the floor before the cabinets go in? Yes if you’re gluing it down, no if you’re floating it.
The Case for Full Subfloor Coverage
Glue-down planks are adhered and won’t move with temperature, so running them under the cabinet footprint is safe — and easier, since you lay a flat surface instead of scribing around toe kicks. Here’s the number I won’t round up, though: what the sources back is safe. Nobody’s got data saying full coverage performs better. Get the easier install; don’t buy it as an upgrade.
The Case for Stopping at the Toe Kick
For click-lock, the guidance is blunt. Don’t. Cabinets are a fixed anchor on a floor that needs to move, so pin a section under that weight and the stress goes somewhere. In warm weather it goes up: planks crown and buckle. In cool, dry weather it goes sideways: gaps open and click-lock joints fracture.
What Installers Actually Do
The standard floating sequence runs cabinets first: set them on the subfloor, fasten them to the studs, then lay flooring around the footprint with the expansion gap held at the toe-kick edge. One exception — cabinets that hang from the studs carry no load, so floating LVP can pass beneath them.
Installing Vinyl Plank Flooring in the Kitchen, Step by Step
Kit first, and nothing here is exotic:
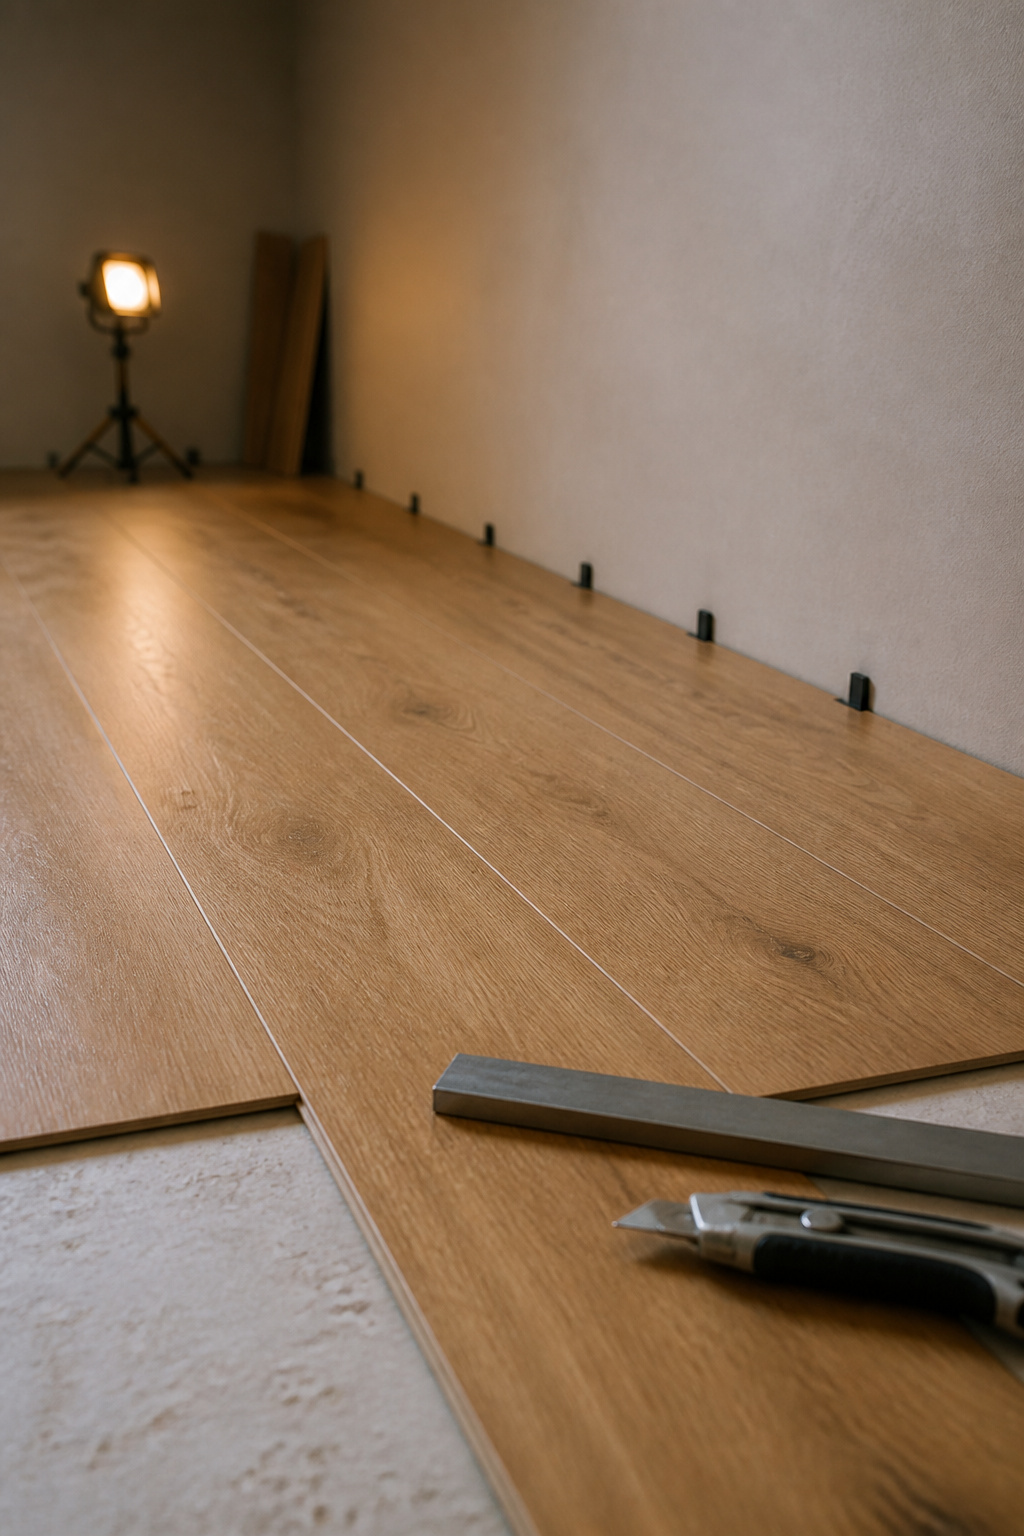
- A 10-foot straightedge, or a factory-cut strip of plywood
- A utility knife and a square — most cuts score and snap
- A tapping block and pull bar, or a plank offcut and a flat pry bar
- Perimeter spacers, or 1/4-inch shims
Subfloor Prep
- Run the straightedge across the floor both ways. ASTM F710 allows no more than 3/16 inch of deviation over 10 feet.
- Fill the lows and grind the highs to meet it. Out-of-tolerance subfloors count as an installation defect, not a product defect.
- Prep harder for glue-down, since adhered installs conform to the substrate and telegraph irregularities through.
Laying the First Rows
- Start in a corner and measure the wall along its length. Kitchen walls wander, so the first row needs scribing.
- Stagger end joints between rows by at least 6 to 8 inches, avoiding the weak repeating “H” pattern.
- Leave click-lock seams dry — those joints are the structure. Sheet vinyl and vinyl tile need adhesive.
Cutting Around Cabinets and Appliances
- Offer each plank up to the obstacle and mark the shape directly rather than measuring it.
- Cut outside the mark and trim back. Trimming twice costs a minute; cutting short costs a plank.
- Confirm the dishwasher clearance before cutting its bay plank — the last easy moment to catch a height problem.
Finishing Seams and Transitions
- Match the transition to the height difference: T-molding within 1/8 inch, a reducer for 1/8 to 1/2 inch, a saddle for 1/2 to 3/4 inch. Over 3/4 inch, fix the subfloor.
- Size the perimeter gap to the room: 1/4 inch up to 30 feet, 3/8 inch to 50, 1/2 inch to 80. Rigid cores take 1/8-1/4 inch.
The Mistakes That Turn a Good Floor Bad
Skipping the Expansion Gap
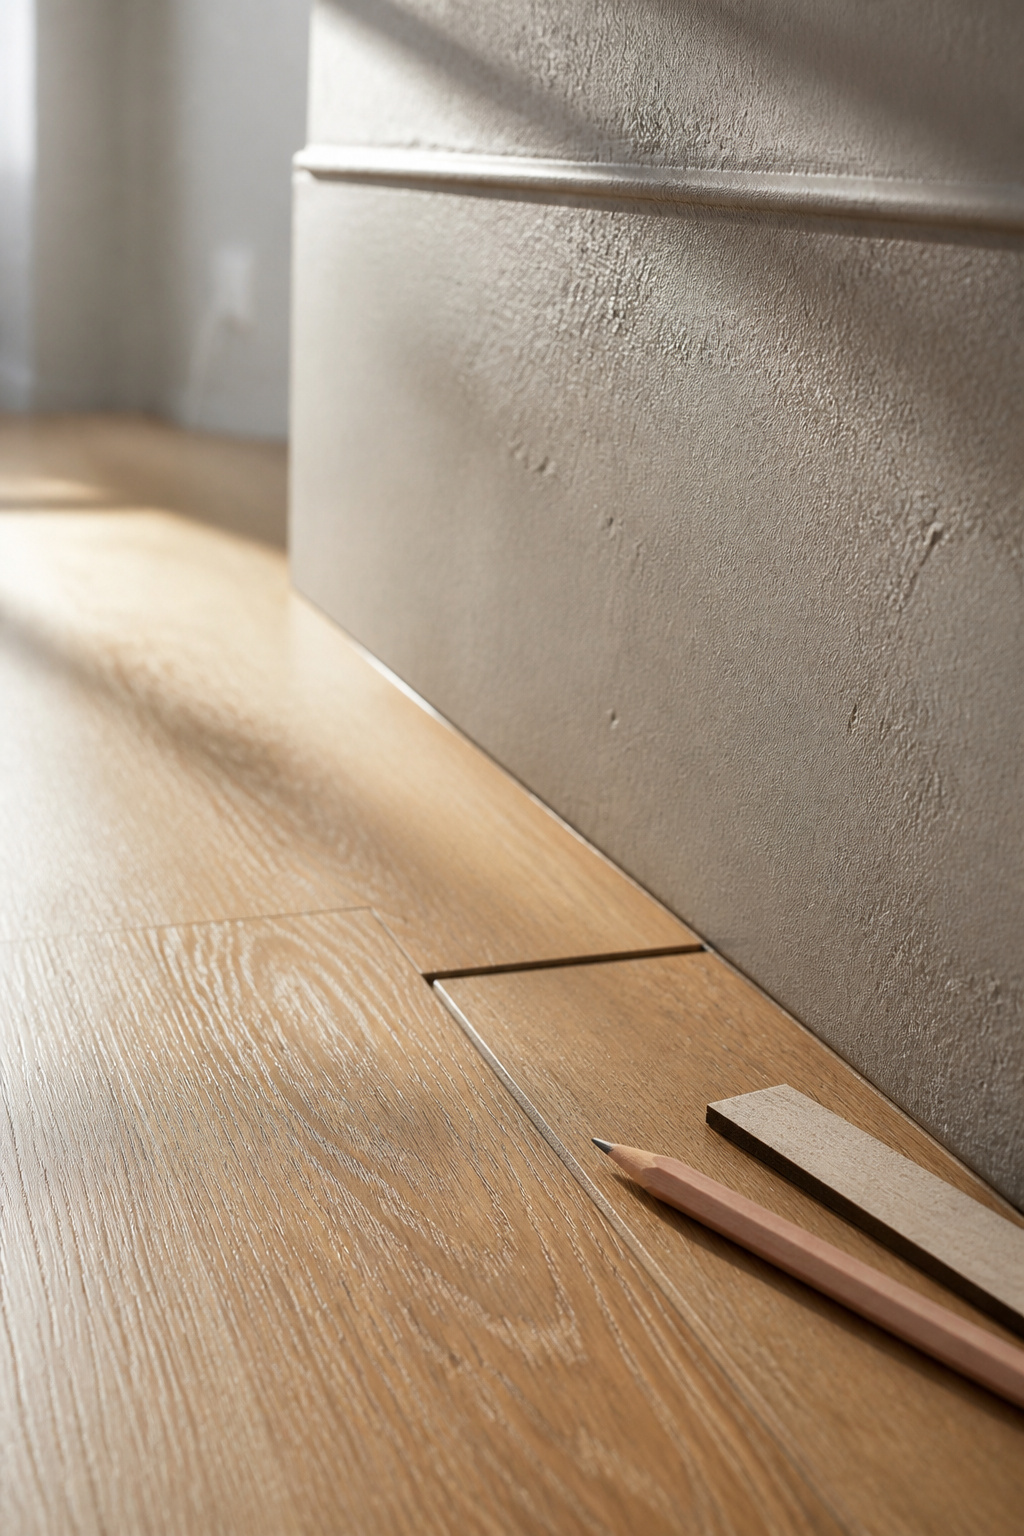
This one stays invisible until the weather changes. LVP moves with temperature and humidity, so a floor laid tight to the wall has nowhere to go. The pressure surfaces as peaking when it’s warm — planks pushing against each other and lifting — or gapping when it’s cool.
Rushing Acclimation
The boring step, so naturally it’s the one that gets skipped. Manufacturer guidance keeps returning to the same 48-to-72-hour window: let the boxes sit in the room they’re going into, at the temperature they’ll live at. Skip it and the floor moves after you’ve finished.
Bad Seam Placement Near the Sink
No source names this as a documented failure case, so take it as my arithmetic rather than a citation. Seams are the weak point for both water and thermal stress, and the sink front is the wettest three feet in the room. Put a full plank there instead of an end joint.
Look at all three together and there aren’t three mistakes. There are two: something stopped the floor moving, or something concentrated water where the floor is weakest.
The Two Numbers to Get Before You Shop
You don’t need to choose a product today. You need two numbers: what the straightedge says about your subfloor, and what the clearance says above your dishwasher. Those decide the method and the thickness; the mil number decides the product. Get them first, and build the store run into your schedule now — there’s always one.
FAQ
Can you put vinyl plank flooring in a kitchen with radiant heat?
Yes, provided the product is rated for it — rigid SPC and WPC cores generally are. Sources differ on the ceiling: Warmup specifies not exceeding 81°F, while Lowe’s guide cites 85°F for most vinyl. Follow your manufacturer’s number, and fit a floor-probe thermostat to hold it.
Does vinyl plank flooring increase home value?
Modestly, not dramatically. National Association of Realtors 2022 Remodeling Impact Report data puts mid-range LVP recovery near 50-70% of installed cost, against 70-80% for new hardwood and 147% for refinishing existing boards. Since LVP costs about half what hardwood does, that percentage still competes.
How do you clean grease off vinyl plank flooring?
Dampen a microfiber cloth with rubbing alcohol and wipe from the outer edge of the stain inward, toward the center, so you don’t spread it. Don’t oversaturate the floor, because excess alcohol degrades the protective wear layer over time and can cause bubbling or cracking.