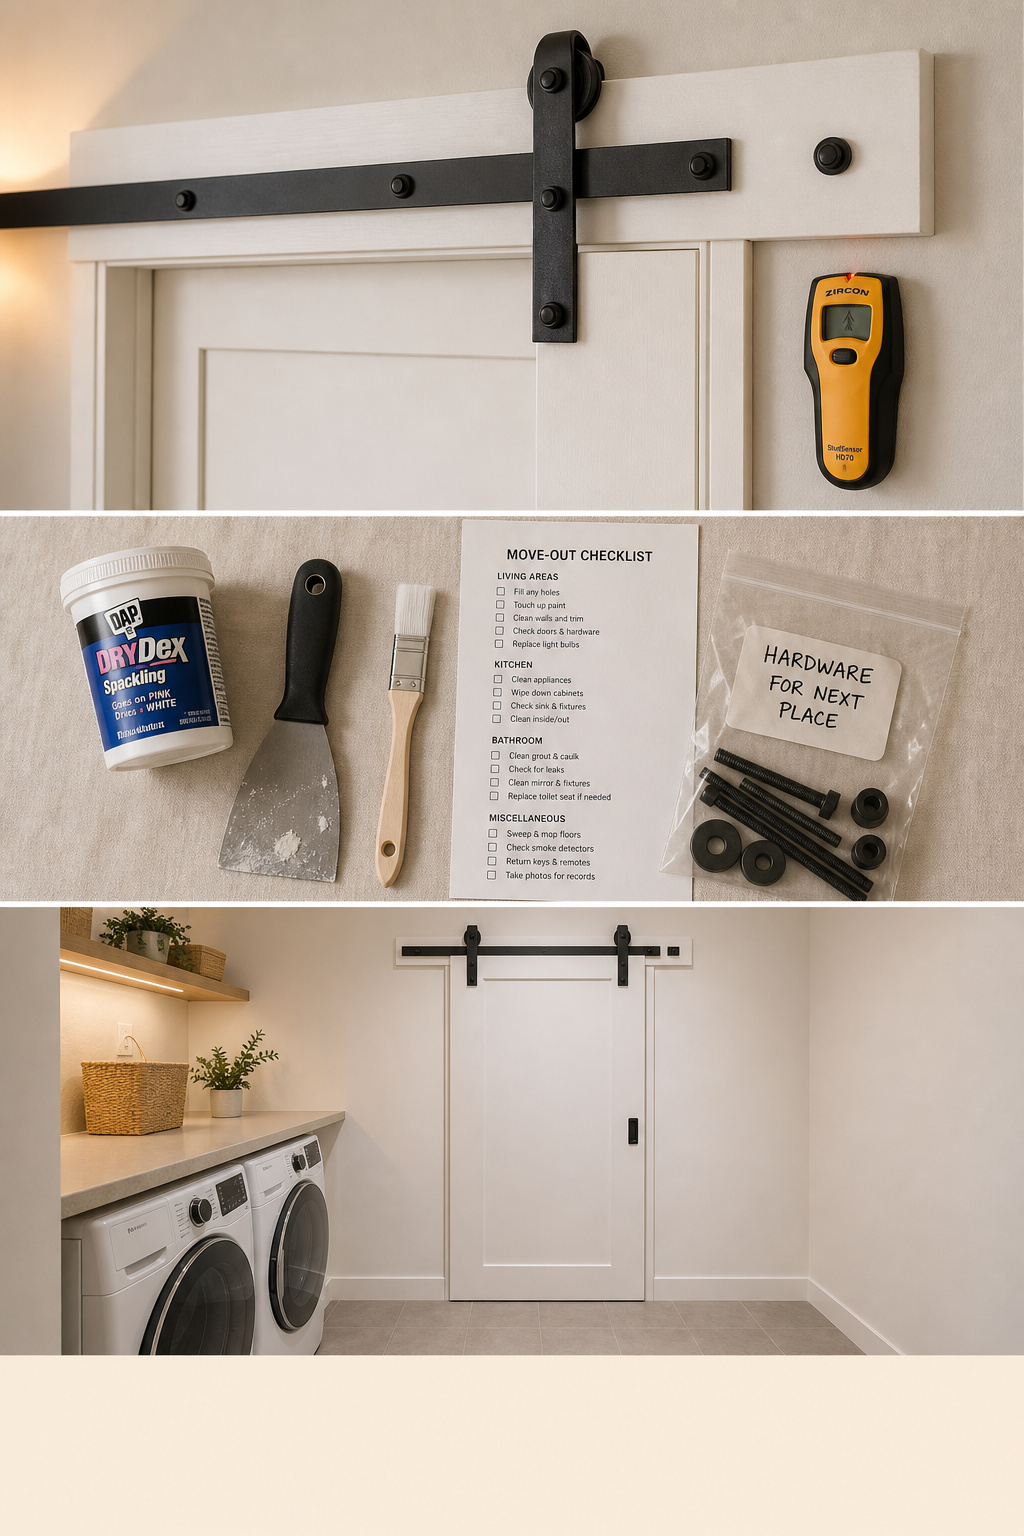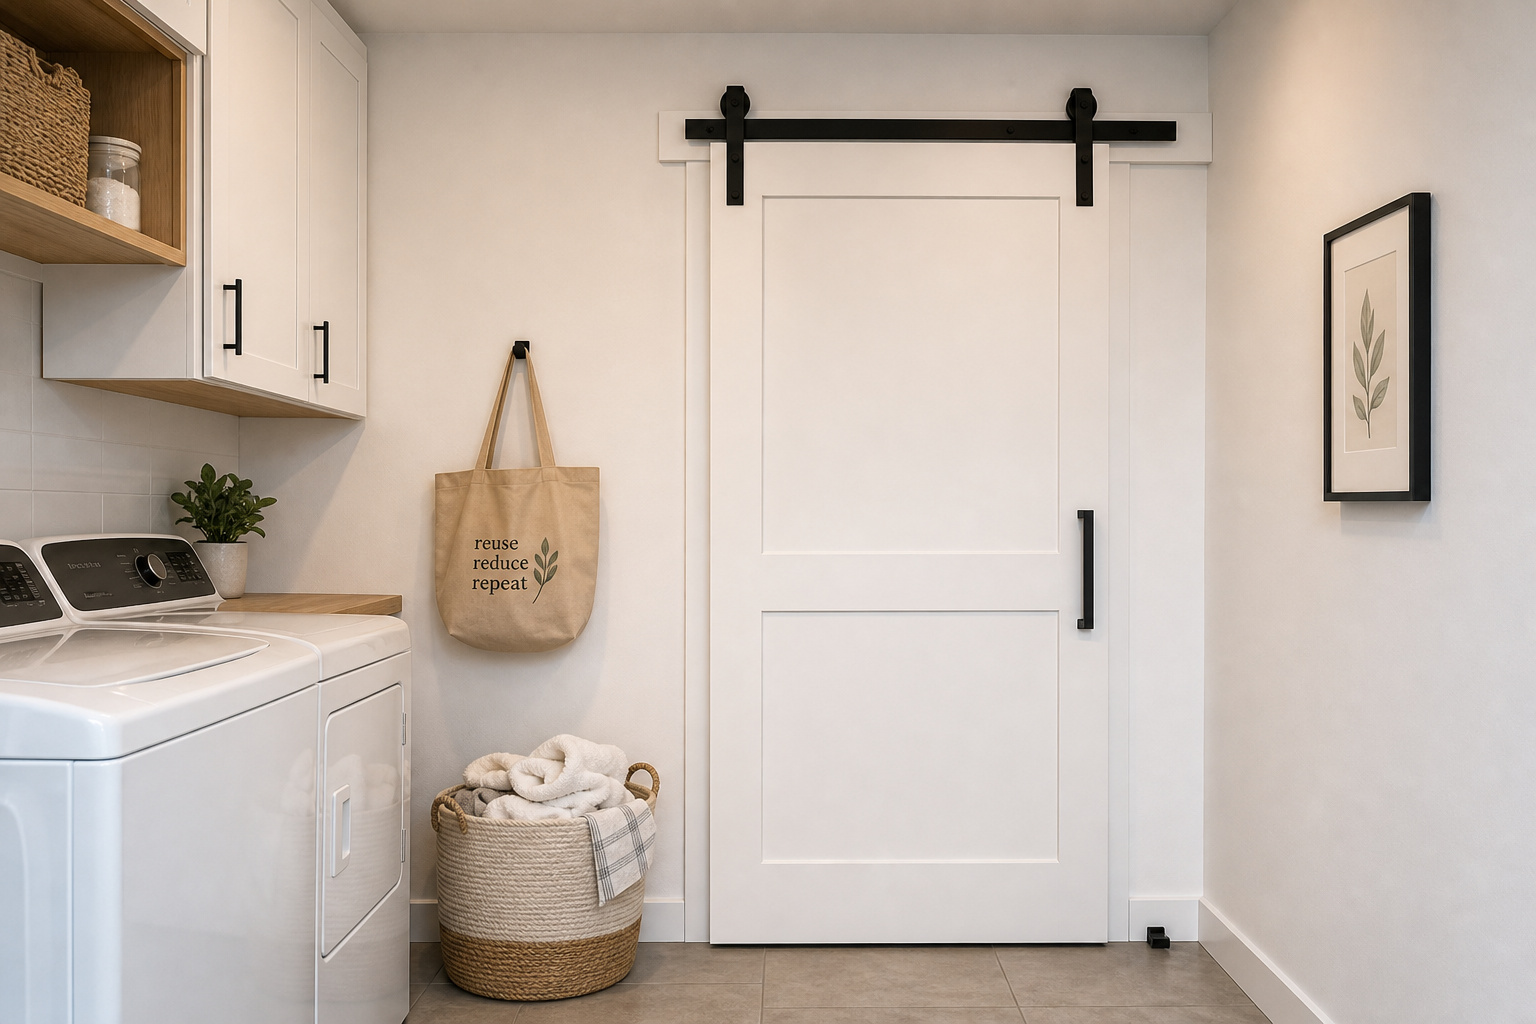
Renters skip the barn door because they’re sure it means screws in the wall and a deposit deduction at move-out. That’s the myth, and it’s wrong. A renter friendly sliding door is a morning’s work and an hour of patching at the end, not a structural alteration — you just pick the method that fits your lease. Here’s the real cost and the three ways to do it without leaving a wall you can’t fix.
TL;DR
- Three no-drill-into-framing methods: a removable header board (most versatile, leaves a finite set of patchable screw holes), a freestanding frame ($150–$450, zero holes, counts as furniture), and a tension pole (lightest doors only — check the pole’s stated limit).
- Keep the door panel under ~35 lbs. A hollow-core or MDF barn door slab runs 25–35 lbs and works with all three methods; solid wood (80–150 lbs) does not.
- At move-out, fill the lag-bolt holes with spackle, sand, and repaint — a 1–2 hour, under-$20 job. Photograph the wall before you start and after you patch.
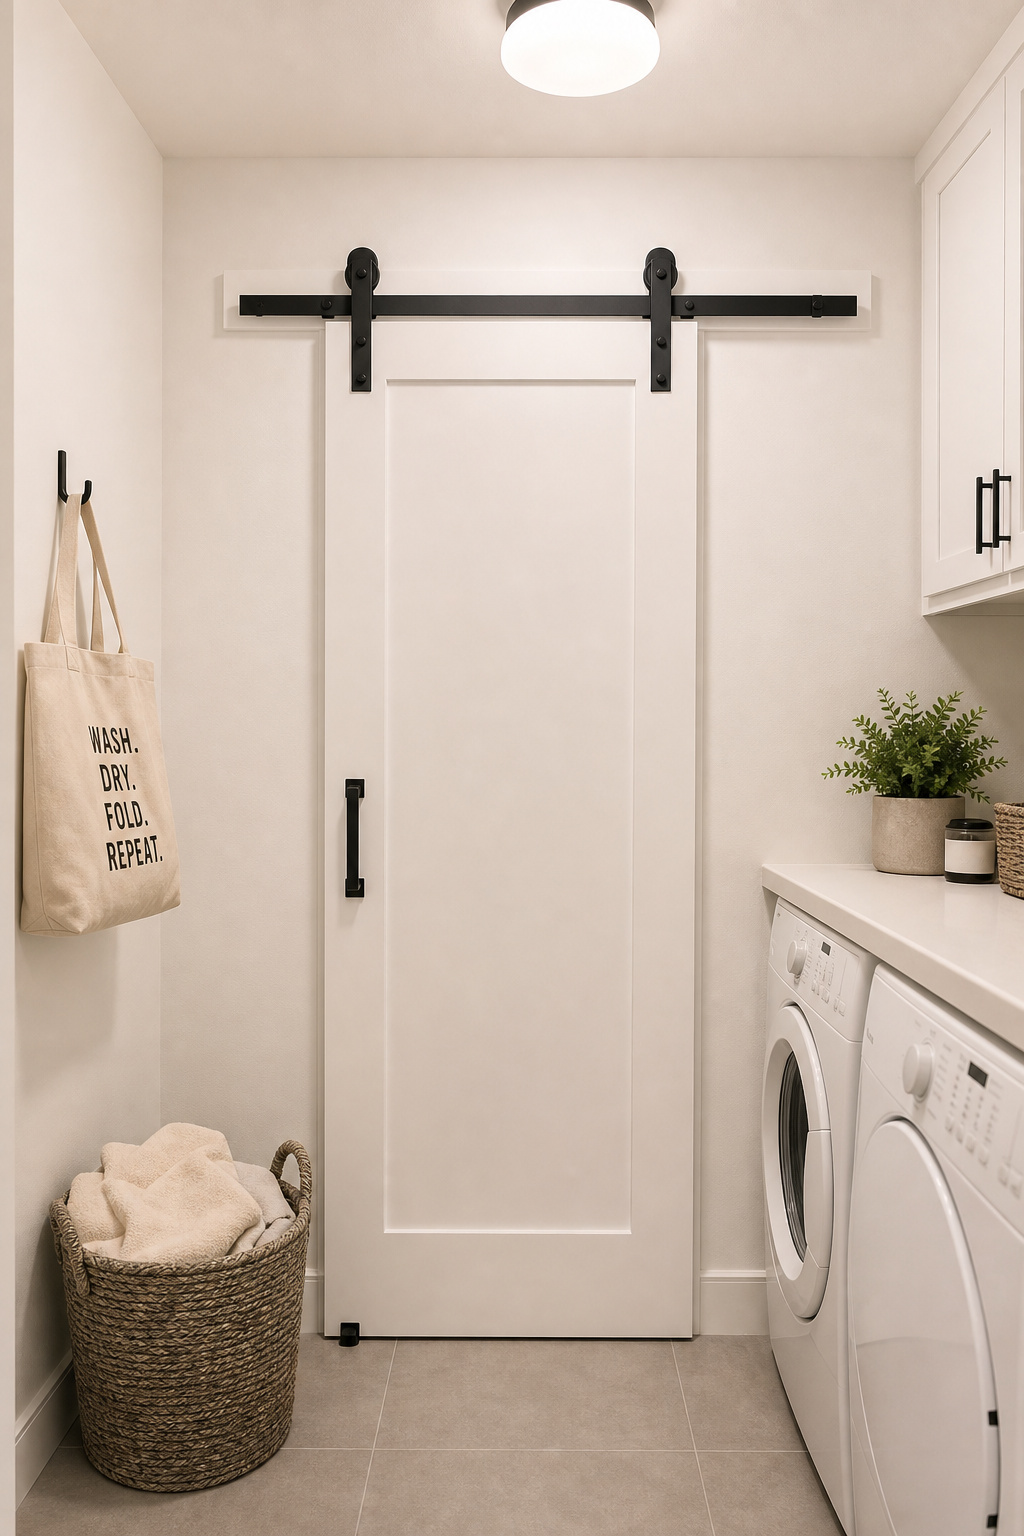
The Rental Myth: You Can’t Hang a Barn Door Without Drilling Into the Wall
Standard barn door hardware does need the track anchored to something solid above the opening — drywall alone won’t hold a sliding door’s moving weight, and screws into it pull loose over time. But that anchor doesn’t have to be the wall framing itself, which is the part most renters miss. A piece of lumber screwed across the studs carries the track fine, and comes off when you leave. That opens up three ways to hang the door without permanently altering the wall:
- Removable header board — bolts to the studs, the track screws to it, and it comes off at move-out leaving a handful of patchable holes. Most versatile.
- Freestanding frame — holds the track with no wall contact at all. Zero holes, behaves like furniture.
- Tension pole — wedges floor-to-ceiling, no drilling or adhesive. Lightest doors only.
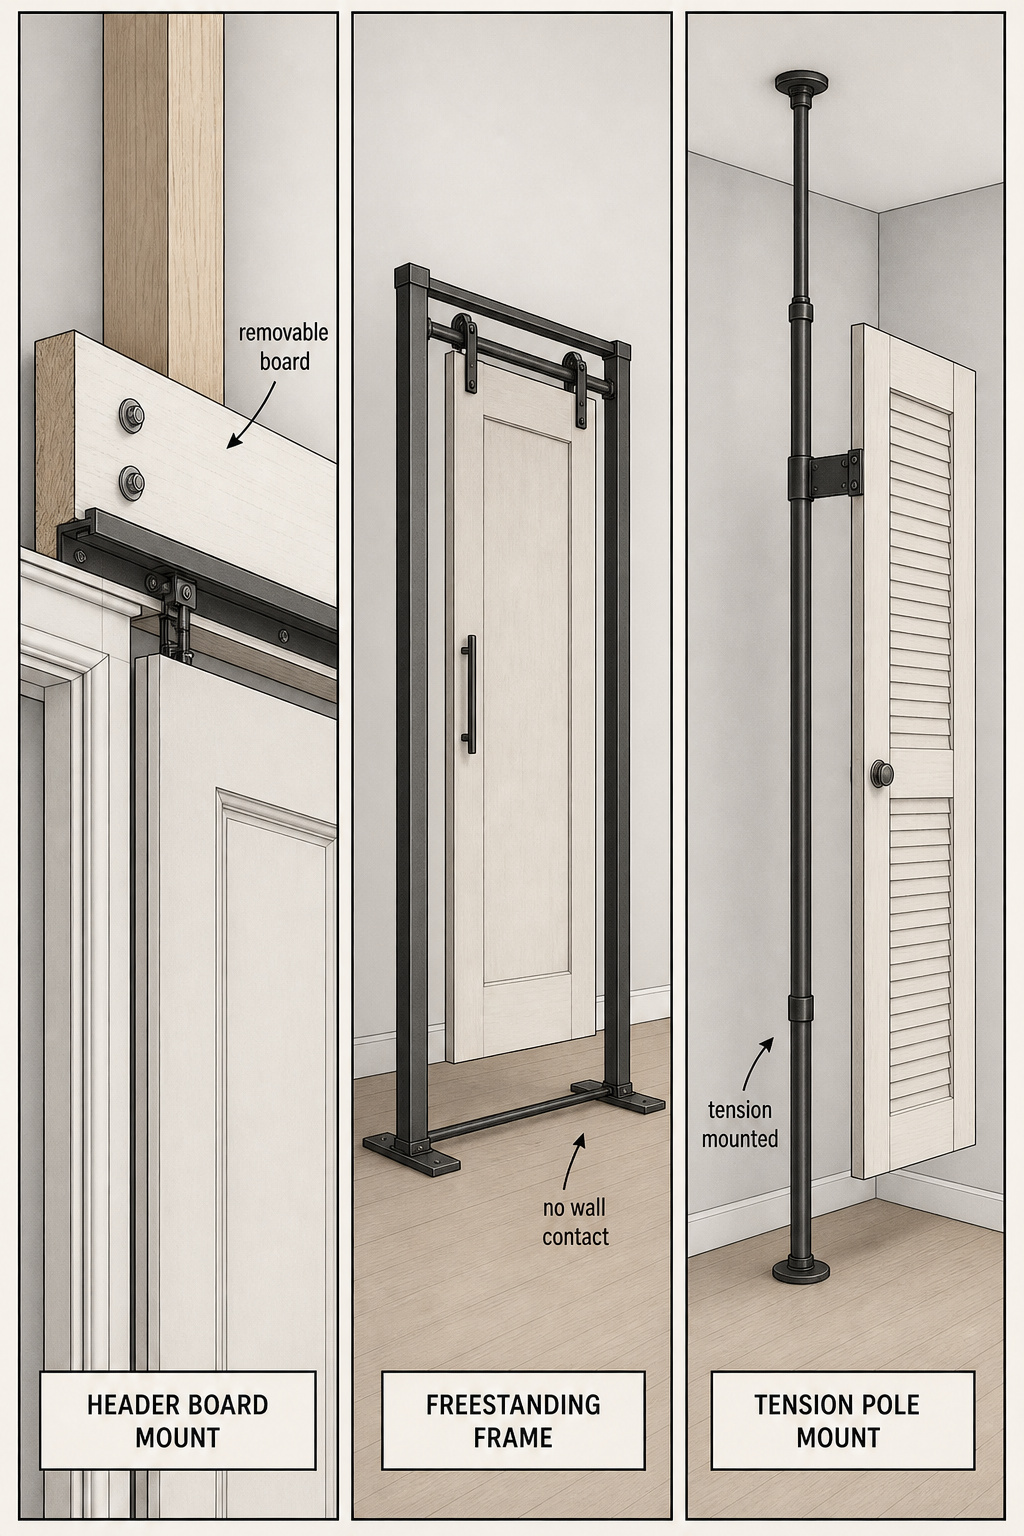
Which one you pick comes down to your lease and how heavy your door is. Most leases separate “structural modifications” from “cosmetic alterations” like patched screw holes — a removable board with filled-and-painted holes reads as cosmetic; a freestanding frame sidesteps the question entirely. Lease language varies, so read your own. The everything about laundry room barn doors guide covers the standard drilled install; this is the renter’s version.
Method 1: Freestanding and Tension-Mounted Track Headers
These two methods touch the wall least — the safe pick for a strict lease or a brittle plaster wall.
A tension pole wedges between floor and ceiling under pressure — no adhesive, no holes — with the track mounted horizontally to it; most adjust from roughly 4 to 10 feet. The binding number is the pole’s stated weight limit, a separate spec from the track’s rating — check it before you buy. The pole grips the ceiling, so test the pressure on a hidden spot first if yours is soft acoustic tile or old plaster.
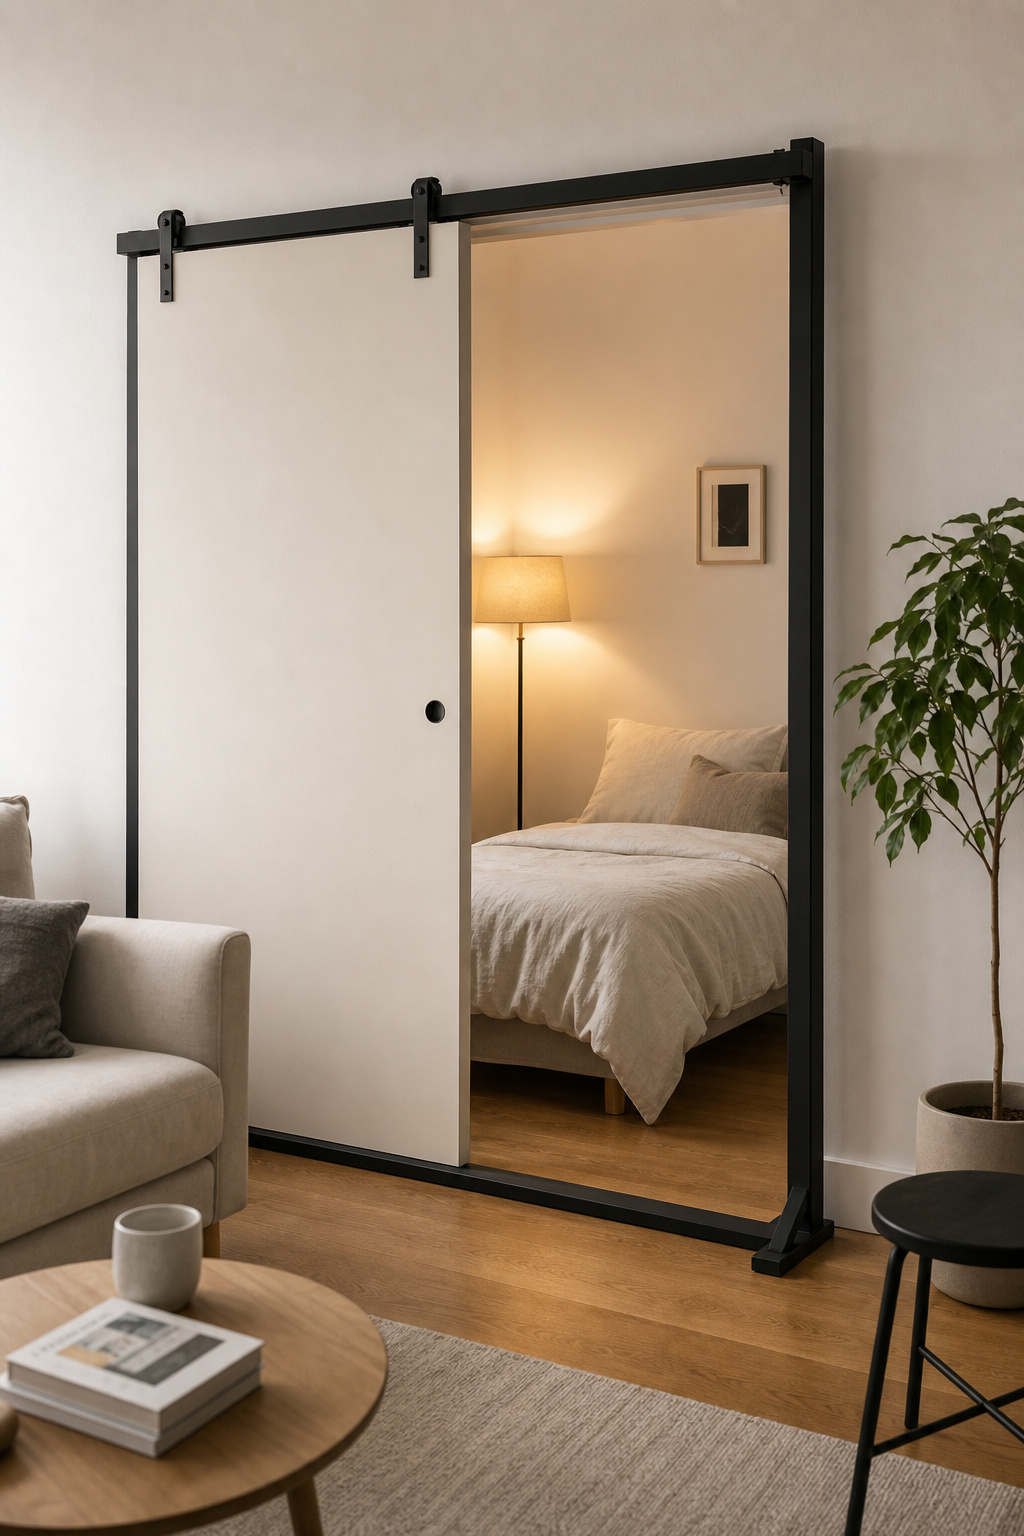
A freestanding frame skips the wall completely — a floor-standing frame holds the track, the door hangs from it, and it counts as furniture under most leases. Expect $150–$450 depending on frame gauge, width, and whether a door is included; treat that as a range, not a quote. The only trade-off is the base’s floor footprint.
If your opening is tight or there’s no wall beside it, that’s a different problem than weight; see the narrow closet door systems for bifold and bypass options.
Method 2: The Backer Board — Drilling Into Wood, Not the Wall
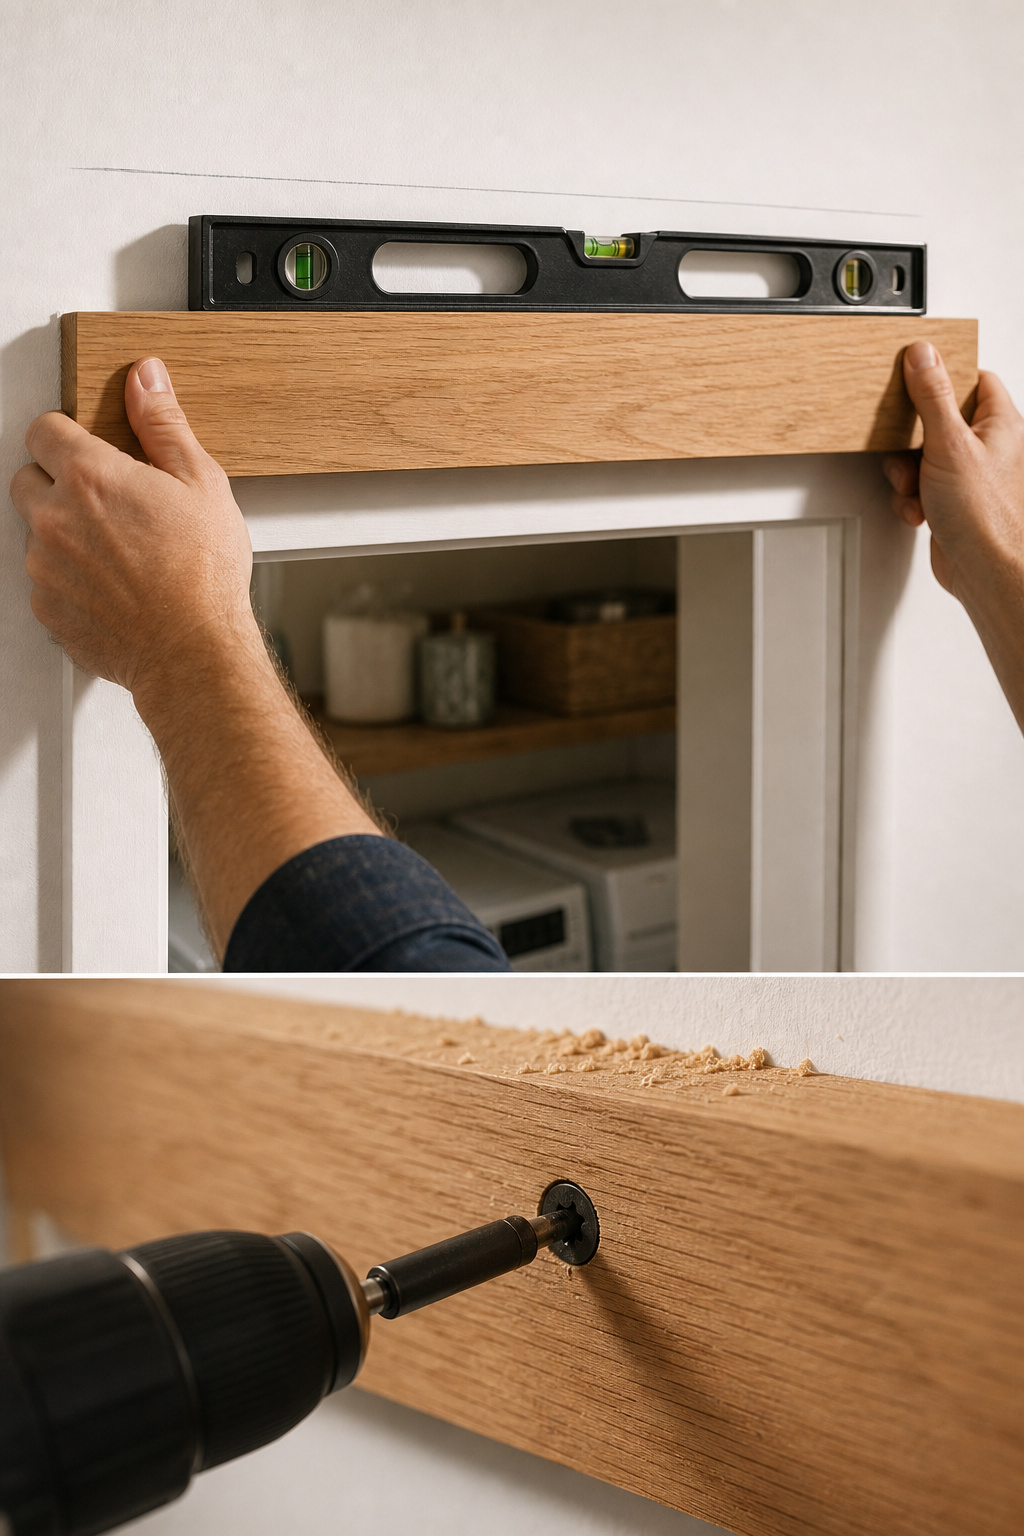
This is the method most renters should use. A solid header board bolts into the studs above the opening, the track screws to the board, and the door’s load transfers to the board instead of the drywall. When you leave, the board comes off and you’re left with a finite set of stud-depth holes — not a wrecked wall.
The board has to be the right lumber: hardwood — oak, maple, or poplar — in a 1×6, 1×8, or 1×10, never pine, MDF, composite casing, or finger-jointed stock. “You should never use MDF, composite casings, or finger-jointed wood for a header board,” says Seth Barrett of Viba Barn Doors & Hardware; “they do not possess the capacity to hold your door up over time.” Standard 3/4-inch lumber (sold as “1 inch”) handles doors up to 150 lbs.
Here’s the install:
- Find and mark the studs. The board must extend past the outermost track bracket to the next stud each side, so load lands in framing — aim for at least three stud connections.
- Mark the track height. Track centre = door height + 2 inches of hanger clearance + 1/2 inch floor gap; for a standard 84-inch door, 86.5 inches from the floor. Strike the line with a 4-foot level first.
- Pre-drill the board with a 5/16-inch bit for 3/8-inch lag bolts so it won’t split, and countersink the heads flush.
- Bolt the board to the studs — one 3/8 × 3-inch lag bolt per stud. Paint it your wall colour first and it nearly disappears.
- Mount the track, hang the door, add the floor guide.
Where this goes wrong: people skip the pilot holes and split the board, or cut it too short so it catches only two studs — and the ends are exactly where it pulls away first. Can’t land a third stud? Extend the board, or supplement with toggle bolts rated for three times the door weight. Mounting to the door casing works only for a hollow-core door under about 35 lbs; anything heavier works the trim loose.
Choosing a Lightweight Door Panel for a No-Drill Setup
Weight is the one variable that runs every renter decision, so size the door to your method, not the other way around. The track’s own rating — often 150–250 lbs — only tells you what the rollers carry, not what a pole or a removable board can hold against a rental wall. As Evan Christensen of The Barn Door Hardware Store puts it, “hollow core runs 25–35 lbs, solid wood starts at 80 lbs” — and for renters the risk isn’t underrating hardware, it’s buying a door heavier than your no-drill method can hold.
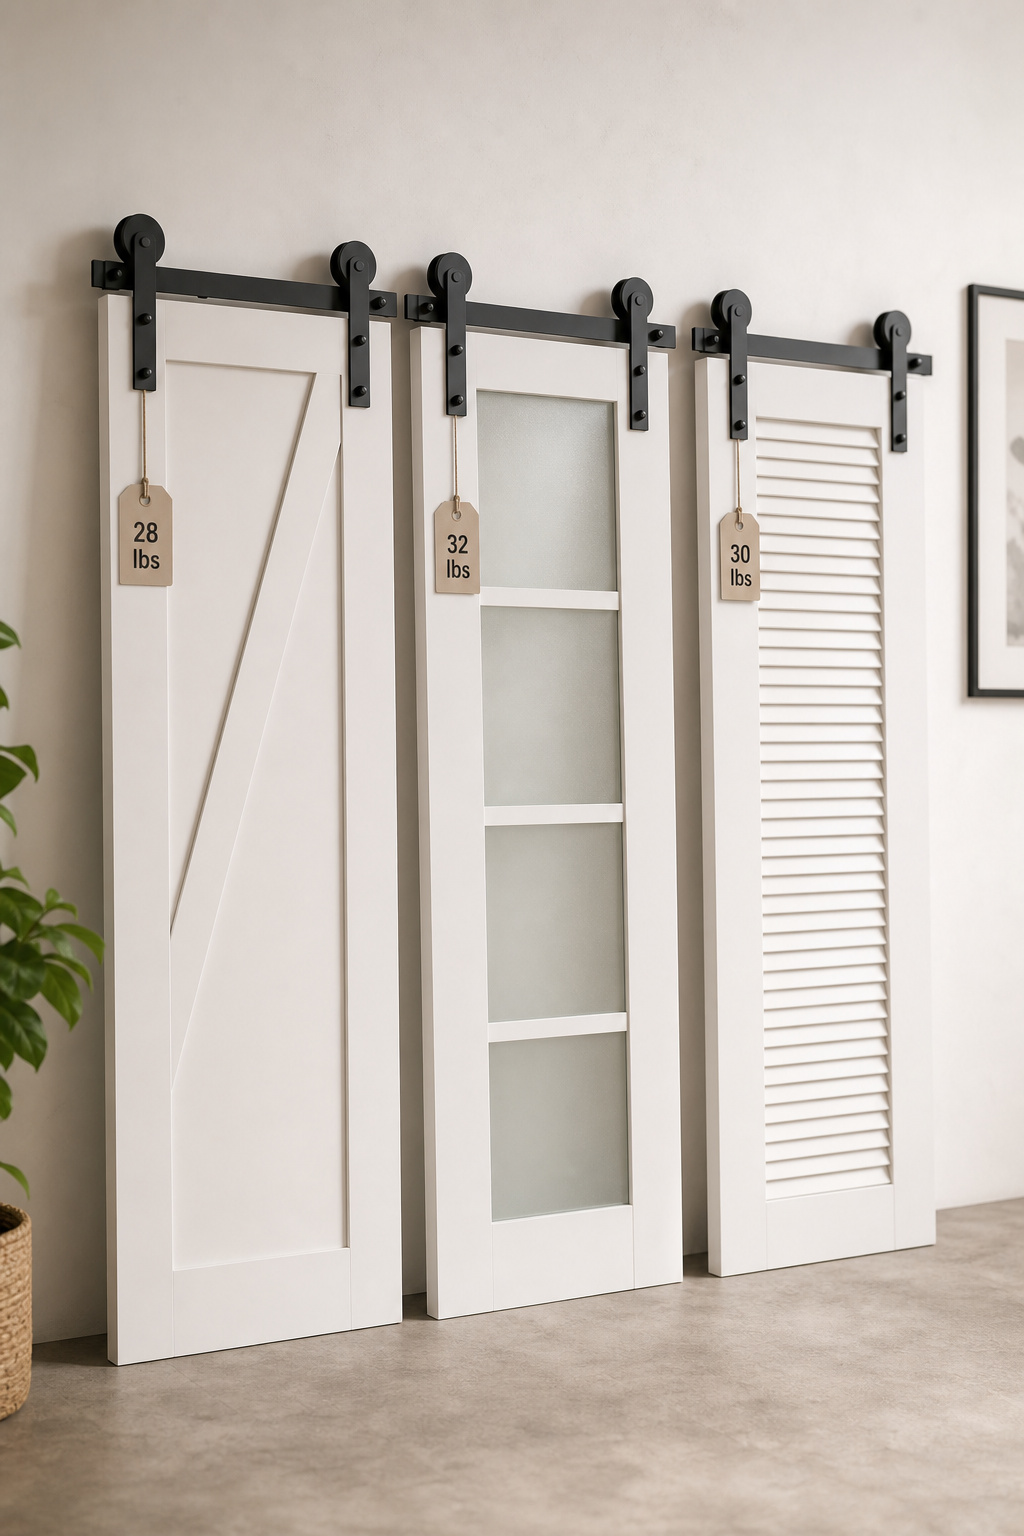
So the renter’s door is hollow-core. A hollow-core slab at 36×80 weighs 25–35 lbs — light enough for all three methods — and sells primed white at Lowe’s and Home Depot for $80–$200 with hardware. MDF hollow-core panels like the RELIABILT K-frame land in the same range and resist warping in a humid laundry room.
| Panel type | Typical weight (36×80) | Tension/freestanding OK? | Cost range |
|---|---|---|---|
| Hollow-core wood | 25–35 lb | Yes | $80–$200 |
| MDF hollow-core | 25–35 lb | Yes | $120–$250 |
| Solid-core MDF | 50–80 lb | Backer board only | $150–$300 |
| Solid wood | 80–150 lb | No | $300+ |
You don’t have to give up the look. Frosted-glass hollow-core panels get you the light-and-privacy glass door, and louvered ones add the air movement a dryer-heavy laundry room wants — both still under 35 lbs. The one thing you can’t fake is a heavy solid-reclaimed-wood door; that weight doesn’t work on a no-drill mount.
Renter-Friendly Hardware: Kit Weight and the Floor Guide
Two rules govern renter hardware: the rolling kit has to match the real door weight, and nothing should require drilling into the floor. For a 25–35 lb hollow-core door, a kit rated 75–125 lbs is plenty — a straight top-mount (75 lb) or J top-mount (100 lb) cost less than heavy-duty kits, and there’s no benefit to a 250 lb kit on a 30 lb door. A complete single-door kit with track, rollers, stops, and guide runs $50–$150; budget $100–$200 total. Soft-close earns its keep here because it stops the slamming that works your header-board bolts loose.
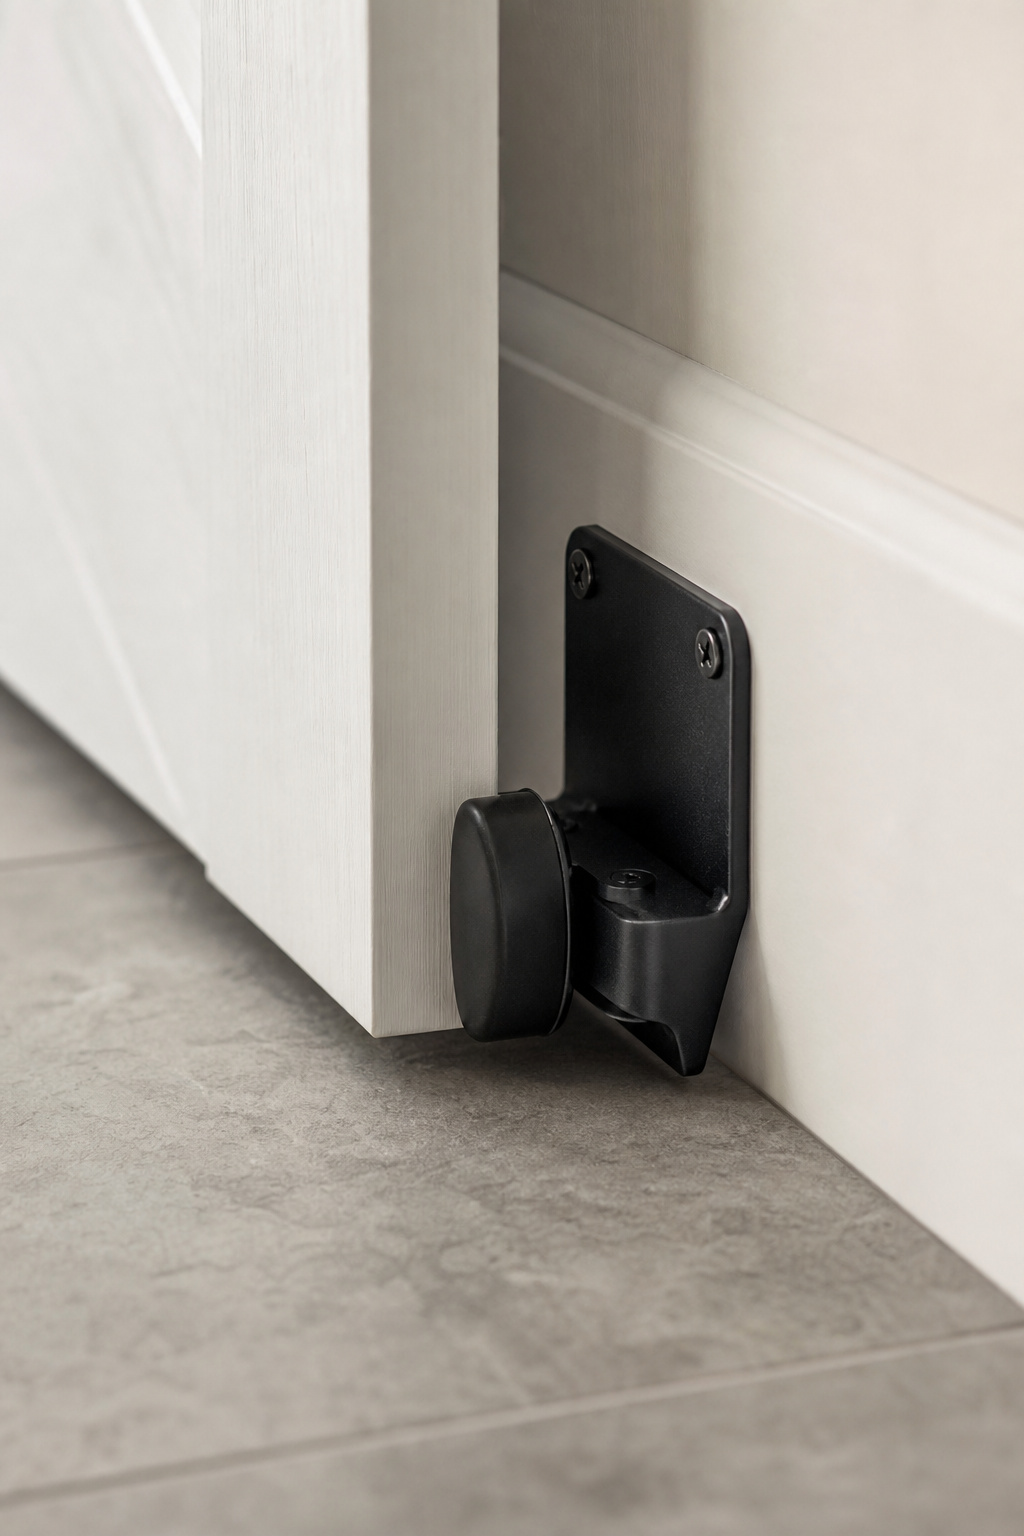
The floor guide is where renters get tripped up. A traditional T-guide screws into the floor — a non-starter on tile or hardwood you don’t own. Use a wall-mounted guide instead: it attaches to the baseboard, keeps the door bottom from swinging out, and needs only two small screws. Same anti-wobble job, zero floor damage. For the full kit rundown beyond the renter constraints, see the lightweight hardware choices guide.
Before anything touches the wall, photograph every section the board will cover — scuffs and paint variation included, dated and saved. That baseline stops a landlord attributing pre-existing damage to your install.
Move-Out Day: Taking It All Down Without Losing Your Deposit
The install reverses in the order it went up: door off the rollers, rollers off the track, track off the board, board off the wall. Before you pull the board, slice the paint seam along its edges with a utility knife — paint bonds to both surfaces, and cutting the seam first stops you tearing off a strip of wall finish. What’s left is a finite set of stud-depth lag-bolt holes above the opening. The patch:
- Fill each hole with lightweight spackle (Dap DryDex or equivalent, $5–$10), overfilling slightly with a flexible putty knife.
- Let it dry fully — DryDex goes from pink to white when ready, about 2–4 hours.
- Sand flush with 120-grit.
- Touch up with matching wall paint, feathering across the whole band above the door if the board left a shadow line.
- For the baseboard guide screws, use wood filler or colour-matched caulk and trim paint — not spackle.
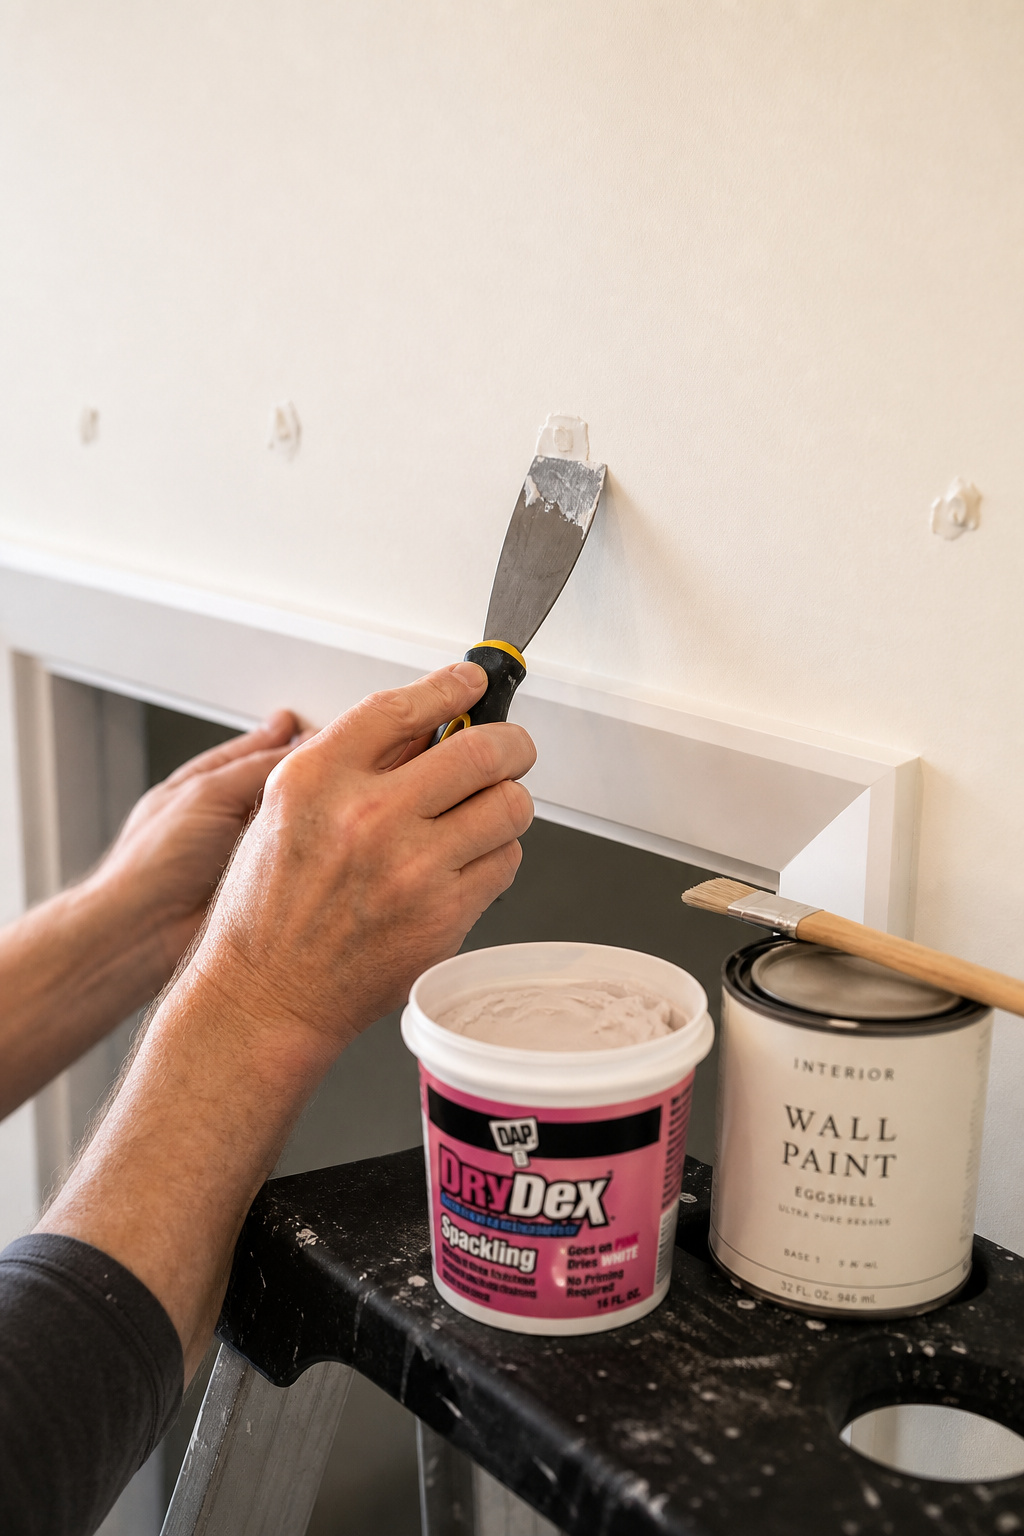
The whole job is one to two hours and under $20 in materials. That matters: HUD guidelines treat nail and pin holes as normal wear and tear, while large or numerous unpatched screw holes can be classed as property damage. “The distinction between the two most often comes down to whether the tenant patched and repainted before the inspection,” notes RentSpree’s wear-and-tear guide — so a handful of holes you’ve filled, sanded, and painted, with photos to prove it, rarely crosses that line.
Store the door flat, label a bag of screws and tape it to the track. The board may need re-cutting for the next opening, but at $15–$40 it’s trivial against the hardware you keep. Pick the method your lease and door weight point to, and buy the lightest panel that gives you the look.
FAQ
Can you install a barn door in a rental apartment without losing your deposit?
Yes, if you use a removable header board and patch the screw holes before the move-out inspection — HUD treats nail and pin holes as normal wear and tear, and a finite set of patched lag-bolt holes usually falls the same way. A freestanding frame leaves zero holes. Photograph the wall before and after.
What is the maximum weight a tension-mounted barn door track can hold?
It’s set by the pole manufacturer’s stated limit, not the track rating — for most residential tension poles the practical door limit is about 25–35 lbs, meaning hollow-core panels only. Solid wood and solid-core MDF start at 50–80 lbs and won’t work. Always check the pole’s specific spec before buying.
How do you attach a barn door track without hitting a stud?
Use a header board that anchors into studs at both ends; the track then bolts to the solid board rather than the drywall, so its mounting points never need to align with studs. If you can’t reach studs, heavy-duty toggle bolts rated for three times the door weight can supplement. For zero drilling, a freestanding frame needs no wall attachment.