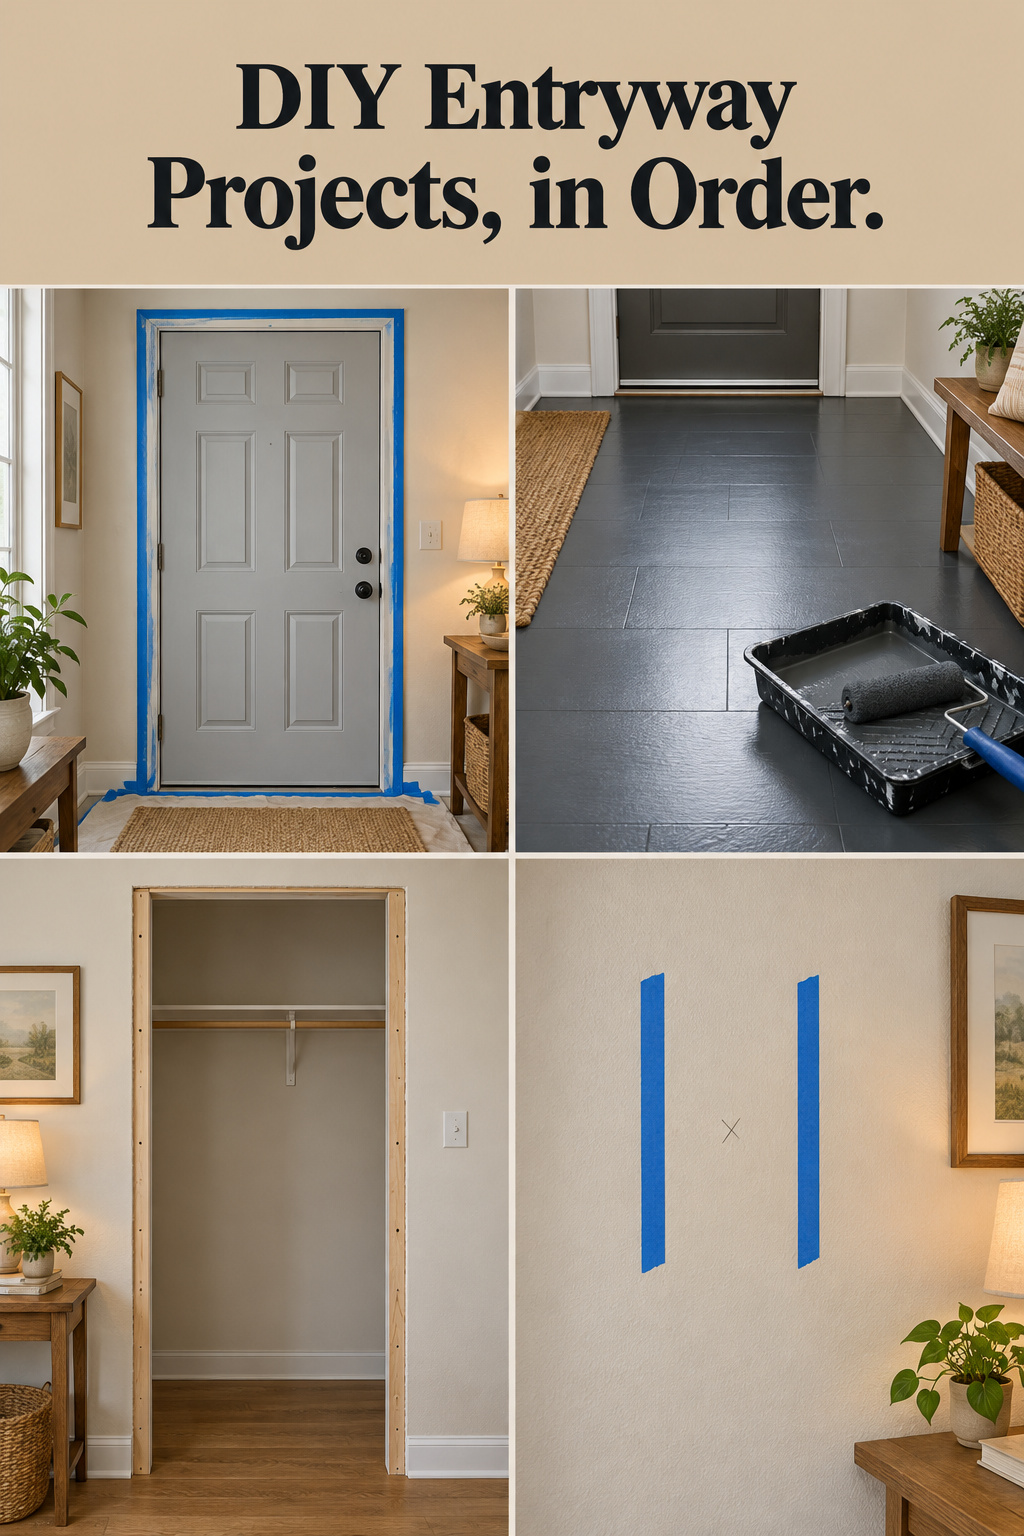
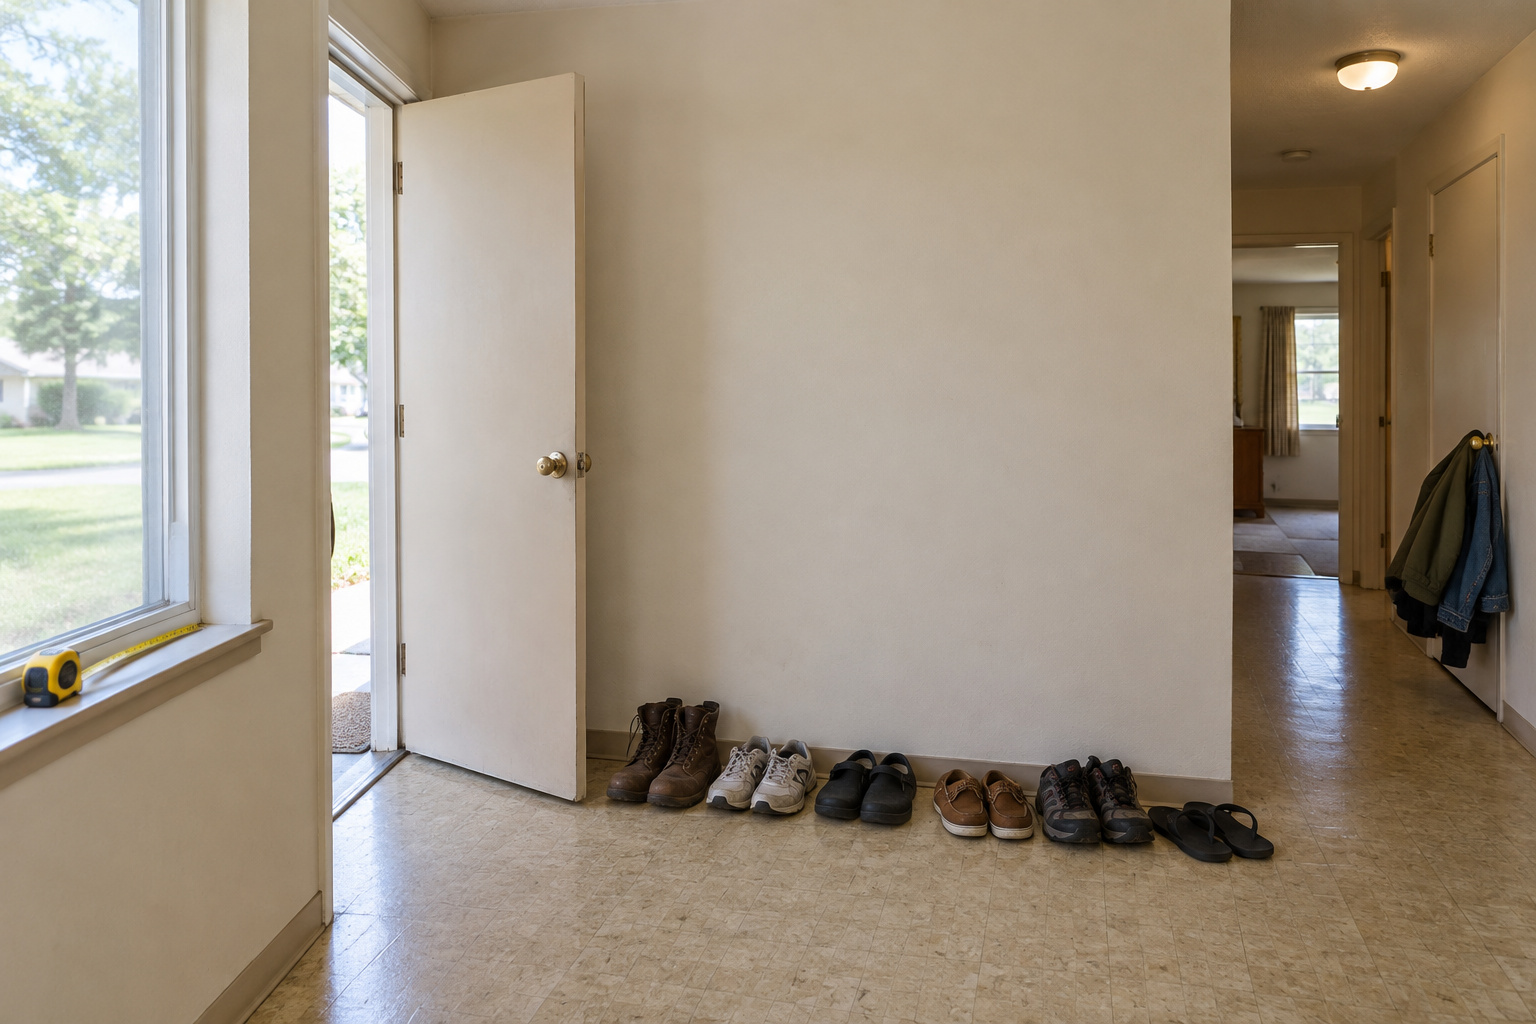
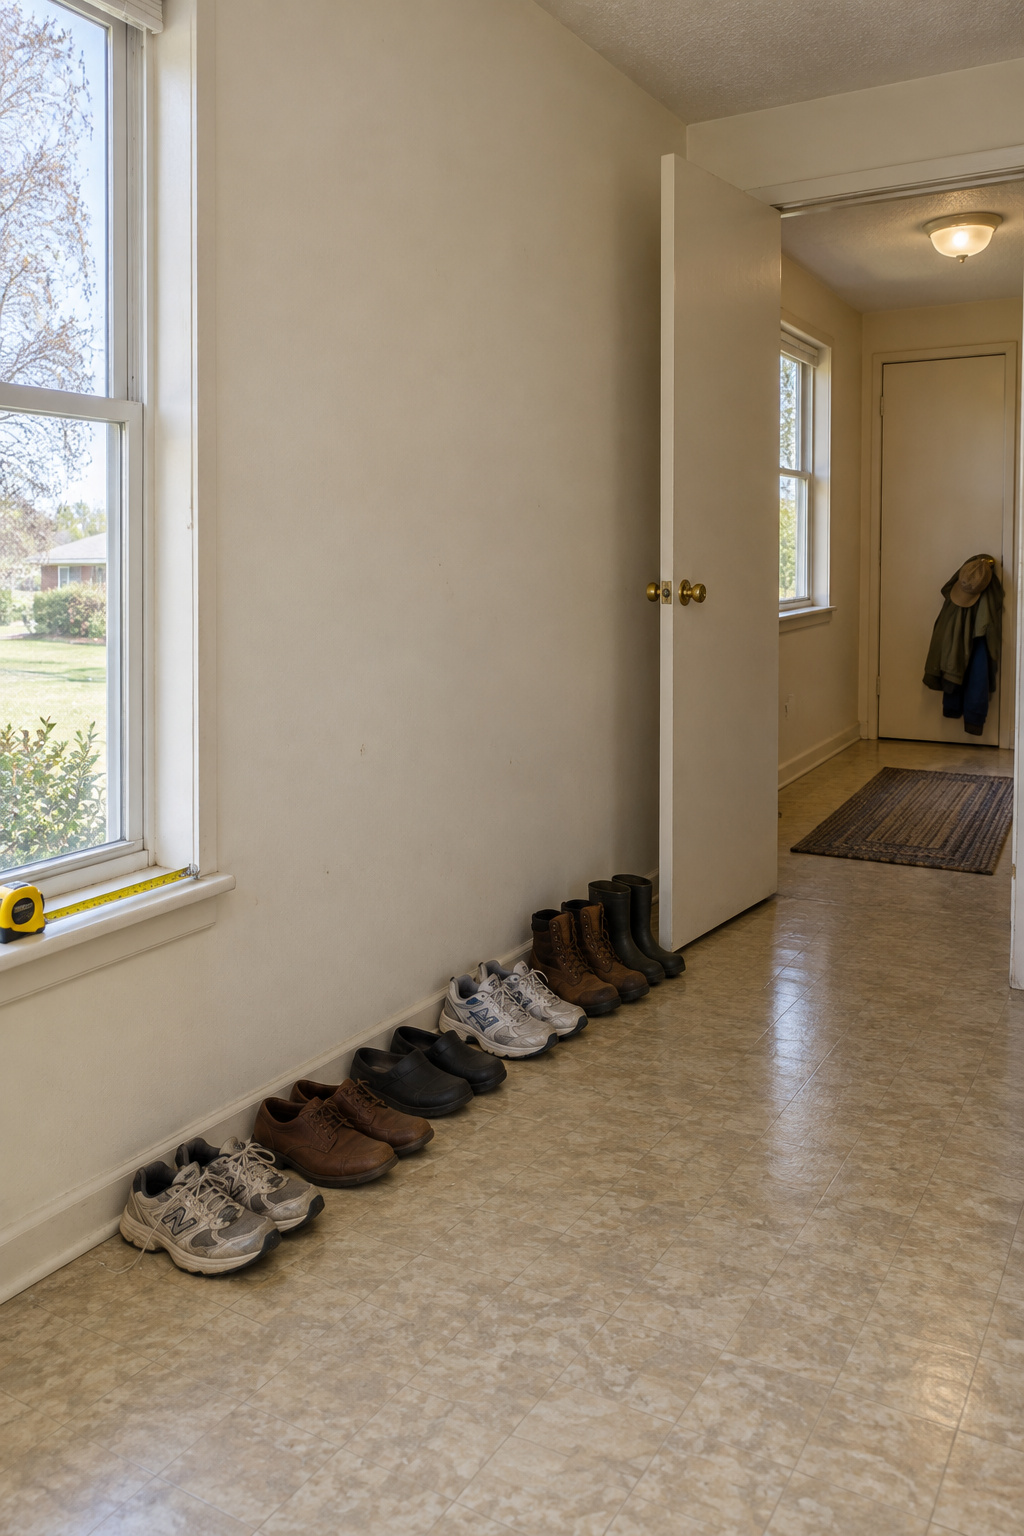
Stand inside your front door and read the entry like a job list. The door sticks at the top corner, so everyone shoulders it shut. The floor inside it has gone dull in a lane from the sill to the hall. The coat closet is a heap behind a door nobody opens fully. The bare wall beside it is where the coats land, and the shoes sit on the floor in a loose line that gets longer every wet week. That’s five jobs and a sixth for the table you keep meaning to build. Meanwhile a search for DIY entryway projects hands you a long scroll of single before-and-afters with no word on what to do first.
Pick the wrong first job and you do something twice. Build the shoe rack first and it has to come back out when you paint the floor. Paint the floor before the door is fixed and a door that drags scuffs a fresh arc into it. Hang a shelf before the closet is open and you may find the coats wanted to live somewhere else.
The order I work in is door first, then floor, closet and wall, with the freestanding pieces last. Each later project sits on, hangs from or hides the work before it. I live outside Knoxville in a 1970s ranch house I’ve been fixing up room by room, and room by room is how I’d tell anyone to go.
DIY Entryway Projects at a Glance: Weekends, Cost, Skill and Renter Rules
The costs are rounded on purpose. Prices move a lot by store and season, so each project’s own guide carries the real shopping list.
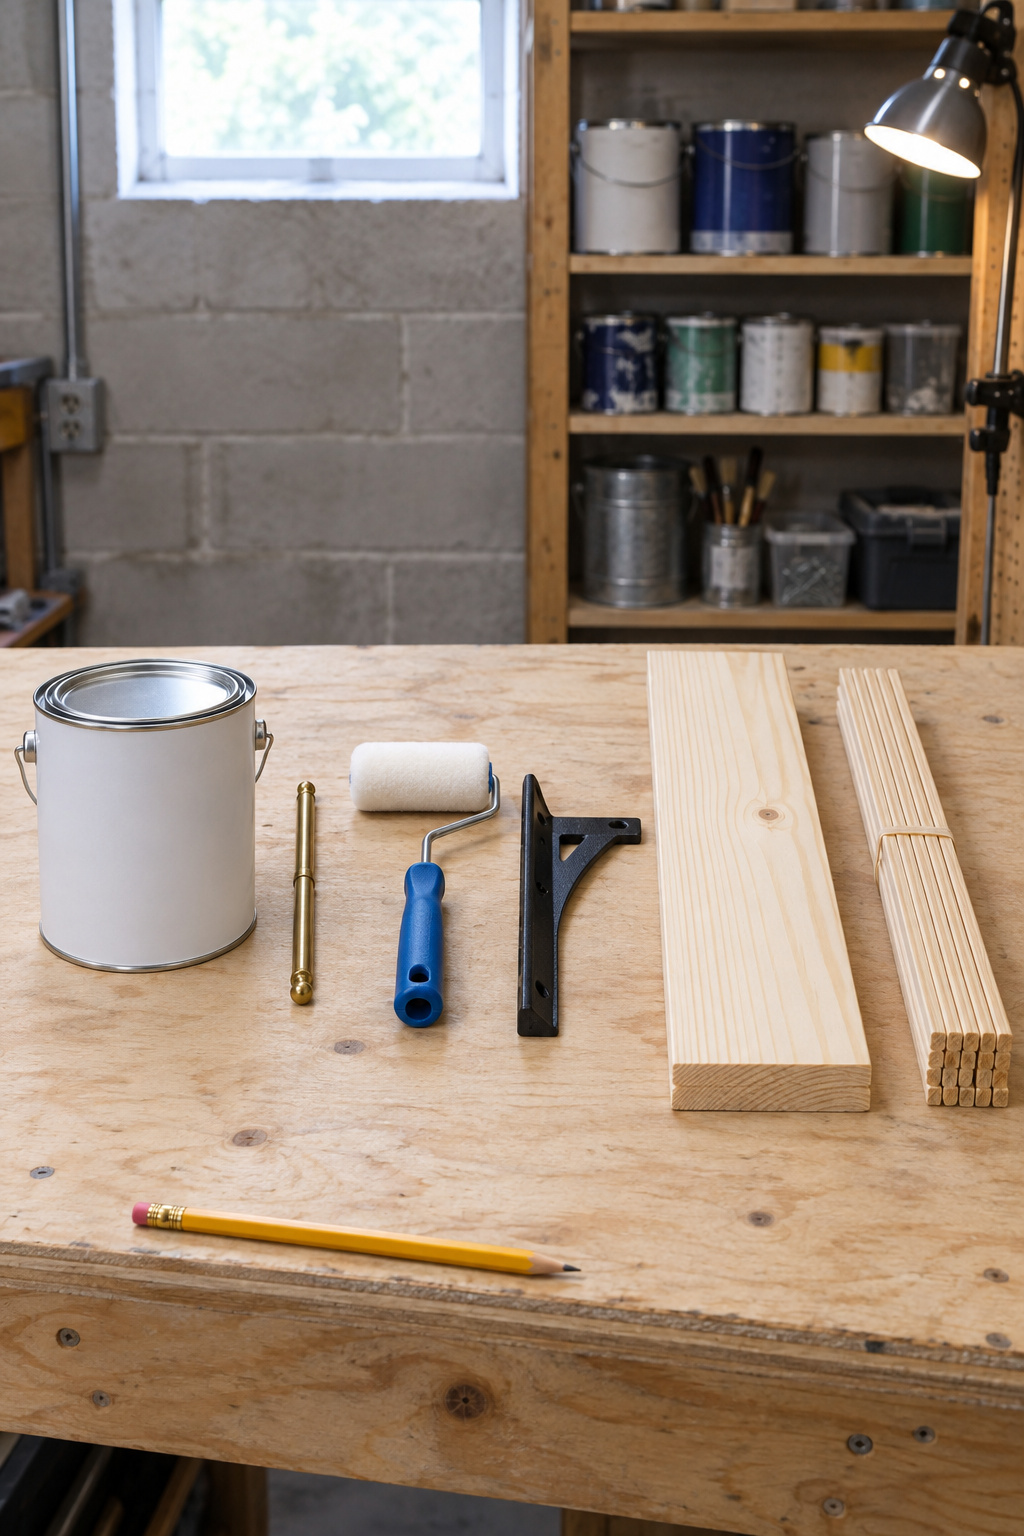
| Order | Project | Weekends | Skill | Rough cost | Renter-safe? |
|---|---|---|---|---|---|
| 1 | Front door: repair, paint, hardware | 1 (2 if it needs repairs first) | first build | about $10–$30 a quart of paint; about $135 with a first-time supply kit; repair parts extra | ask your landlord first |
| 2 | Painted floor | 1, then a week with the furniture off | beginner | about $45–$60 a gallon of enamel, plus supplies | ask your landlord first |
| 3 | Closet doors off, open nook | 2 | easy first project | about $30–$165 | reversible if you keep every door, pin and screw; ask your landlord first |
| 4 | Shelf with hooks, on brackets | 1 | some builds | about $120–$190 for three brackets; boards extra | ask your landlord first |
| 5 | Narrow table | 1 | some builds | about $40–$60 in pine, poplar or red oak at a hardwood yard | reversible |
| 6 | Shoe rack | 1 | first build | slats about $45; framing and screws extra | reversible |
Add up the weekends: 1 + 1 + 2 + 1 + 1 + 1 = 7. If the door needs its hinges and weatherstrip sorted before it’s painted, that’s a second door weekend, and the total is 8. I plan for eight out loud and I’m pleased when it’s seven. The two waits don’t add weekends, either. In my plan the floor’s week with the furniture off runs out before the closet weekend starts, and the closet’s week of watching sits between its own two weekends.
Four of the six suit someone who has never built anything. The shelf and the table ask a little more. The shelf goes into studs you have to find and trust, and the table is a glue-up with four legs that have to come out square.
You don’t have to do all six. Pick the ones that bother you most, then do those in the table’s order and skip the rest. If the shoes are the only problem, build the rack and stop there. If the shoes and the floor both bother you, paint the floor first, even though the rack is the job you’re itching to start. The rule only cares about what sits on what.
Two projects you might expect aren’t on the list. Benches and board-and-batten paneling each have their own build guides on the site. And if you rent and can’t drill at all, the renter-friendly entryway guide on the site sticks to adhesive and tension fixes.
Start With the Door: The One Thing Every Guest Touches
Look at the door as it is today, hardware and all. Open it slowly and watch the top corner on the latch side. If it kisses the jamb, the door has dropped. Close it and look for daylight around the edges, then lean on it while it’s latched and listen for a rattle.
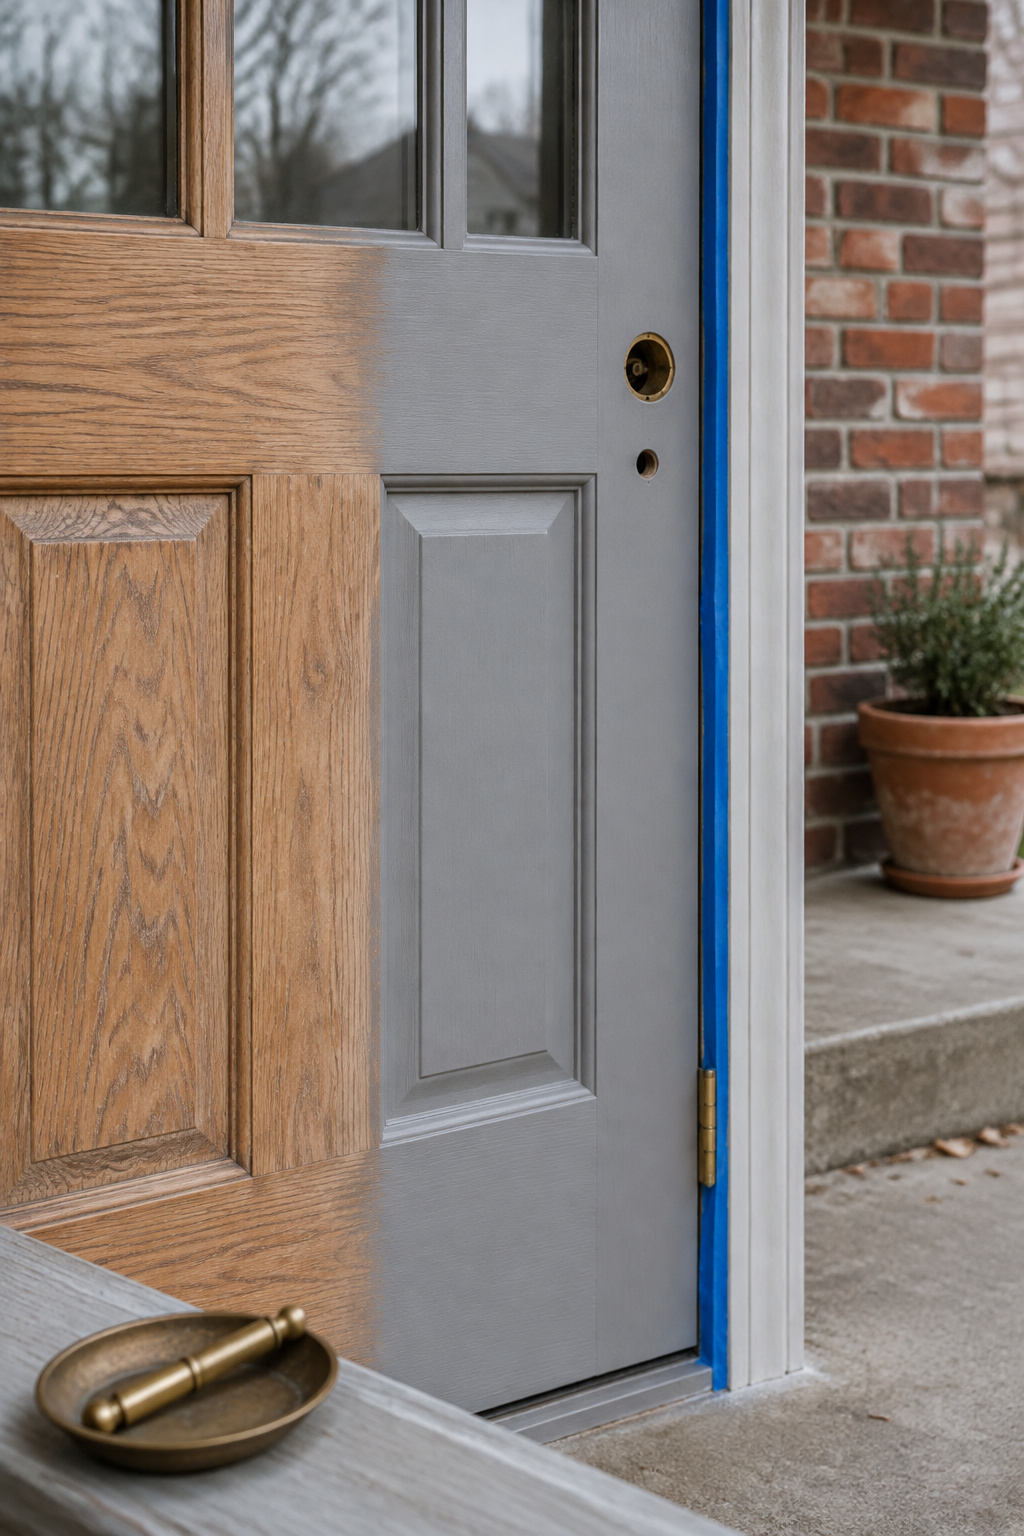
The door goes first because it’s the one project that can undo the others. A door that drags scrapes an arc into whatever floor sits under it, and a door that leaks puts water on that floor every time it rains. So fix the door before you spend a weekend on anything below it.
Inside the door job there’s an order too: repair, then paint, then hardware. Paint over a door that still rubs and the edge scrapes clean the first time it rubs. Rachel Blackwood’s front door makeover works through the sag, the draft and the rattle before any paint goes on, and lays out the checks that tell you when a door really is past saving.
Paint needs a dry, mild day. The door also has to sit open or off its hinges while it dries, then be treated gently for days afterward, so book it for a weekend with good weather in the forecast rather than the first free Saturday. In cold weather the door may have to wait for a mild day, so the floor can go first.
Which color the inside face of the door should be, along with dark lower walls, is a job for the dark moody entryway articles on the site.
Floor Second, Because Everything Else Stands on It
Everything after this point either stands on the floor or drips onto it. Look down at that dull lane from the sill. Paint is the cheapest real fix for it, and it’s also the job with the longest wait.
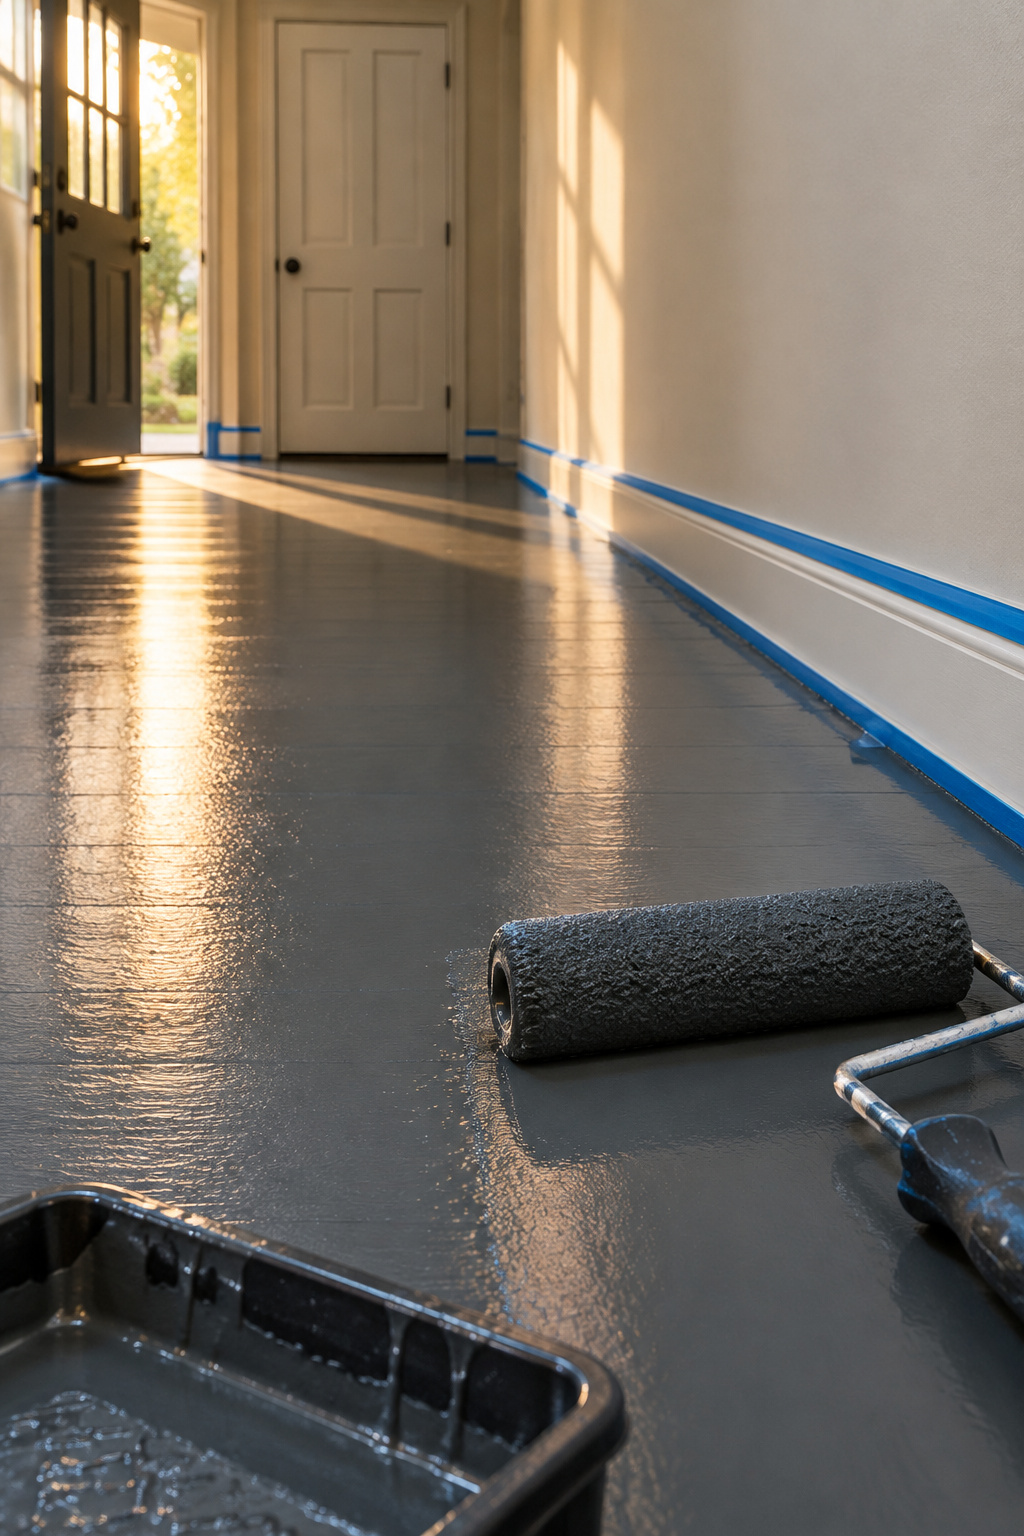
Enamel takes feet long before it takes furniture. Plan on a week with the furniture off. Put a table or a loaded rack down early and the legs print into the film, and dragging one across it is worse, which is why the floor comes second. The entry is never emptier than it is right now, with the door sorted and nothing built yet, so you can roll the whole floor in one go and leave it alone.
The main decision in a painted entryway floor isn’t the color. It’s the pattern, chosen for how it looks once a pale lane has worn to the door, plus the drying schedule hour by hour and a yearly touch-up of the path. Concrete and tile each need their own checks before the first coat, and both are in there.
The common mistake runs the other way: the rack or the table went in first, and now the floor needs paint. Don’t paint around them. Carry everything out to another room and give the new floor its full week before anything comes back.
Closet Third: Take the Doors Off and Leave an Open Nook
Take the closet doors off before you buy a single thing for it. With the doors gone, the heap is in plain view every time you walk past, and so is the coat that ended up over a chair instead.
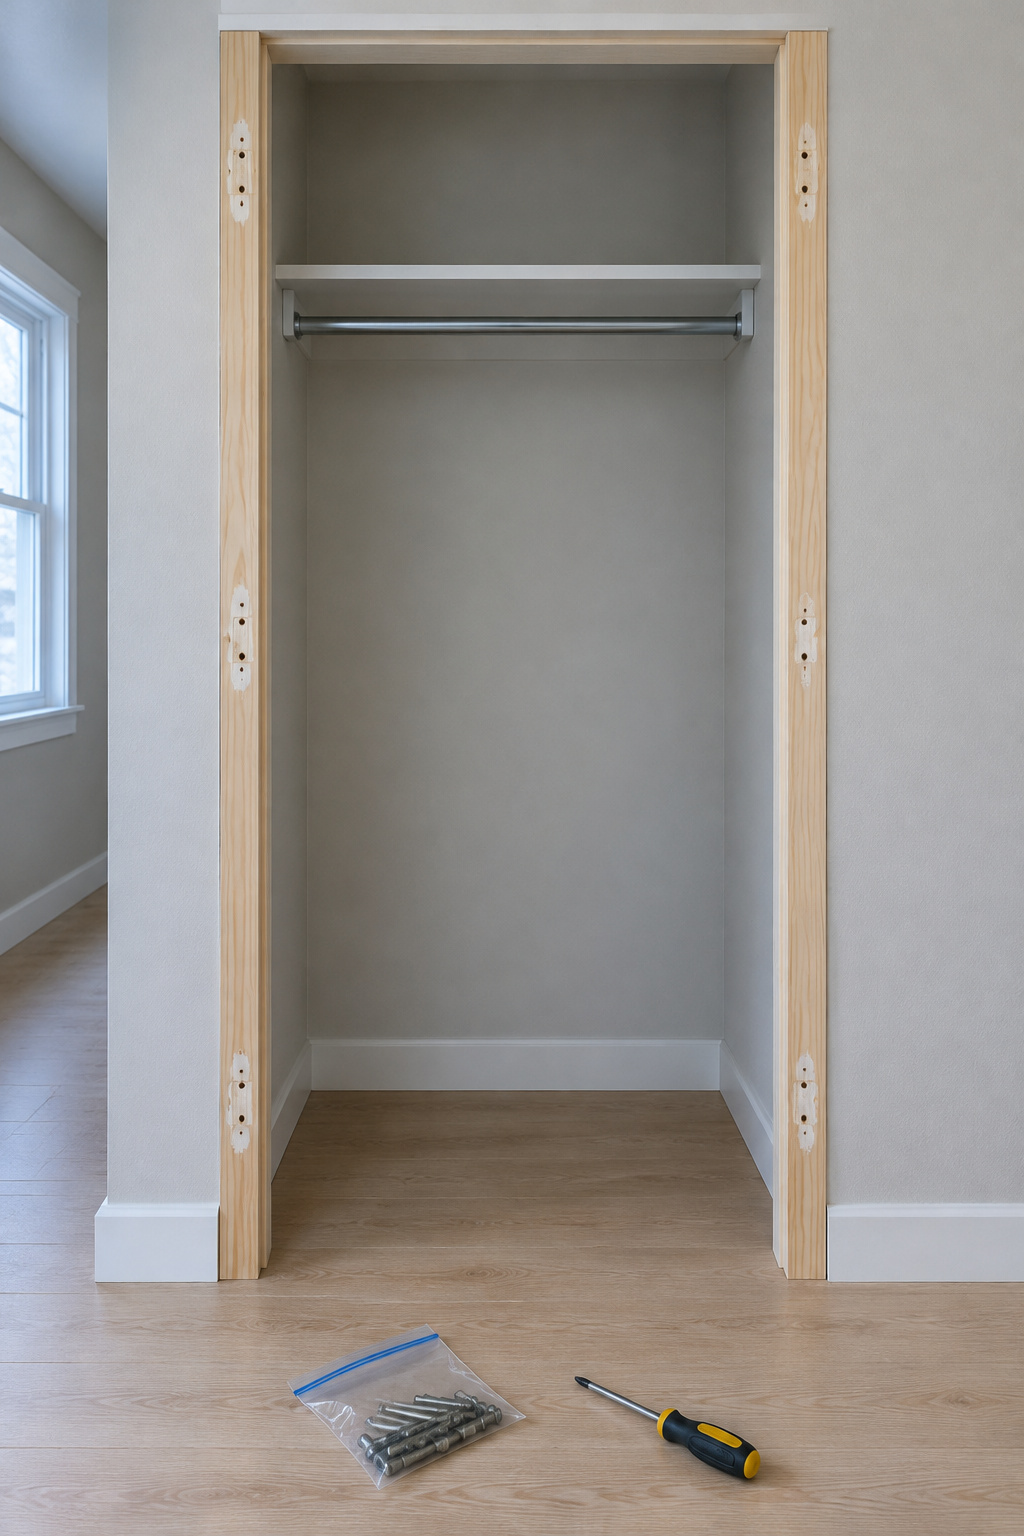
The closet comes before the wall and the rack because it decides where things live. Live with it open for a week and you’ll know whether the coats want the closet or the wall, whether the boots need a seat nearby, and whether the shoes need a rack in the hall at all. Build the shelf or the rack before you know that, and one of them ends up in the wrong place.
The floor under the closet is already done by now, which is the other half of the reason. Lay a drop cloth over it before you patch and paint inside.
The full job, to turn the coat closet into a mudroom nook, starts with that week of watching. It moves on to patching the old rod holes so they don’t show through the paint, and it finishes by fitting the nook out from what that week showed.
Taking the doors off leaves the framed opening alone. Making that opening wider is a different job, and it’s on the hire-out list.
Wall Fourth: A Bracket-Mounted Shelf, Screwed Into Studs
Every wall project in the sequence goes into studs, and I mean confirmed studs. An anchor is not a stud. A stud finder can be wrong as well, especially on plaster and lath, and a pipe or a run of conduit behind the drywall can read as solid wood. Check it twice, with a magnet and then a finishing nail. Tom Silva of This Old House confirms a stud the same way: “we’ll drive a nail. For sure there’s one there.”
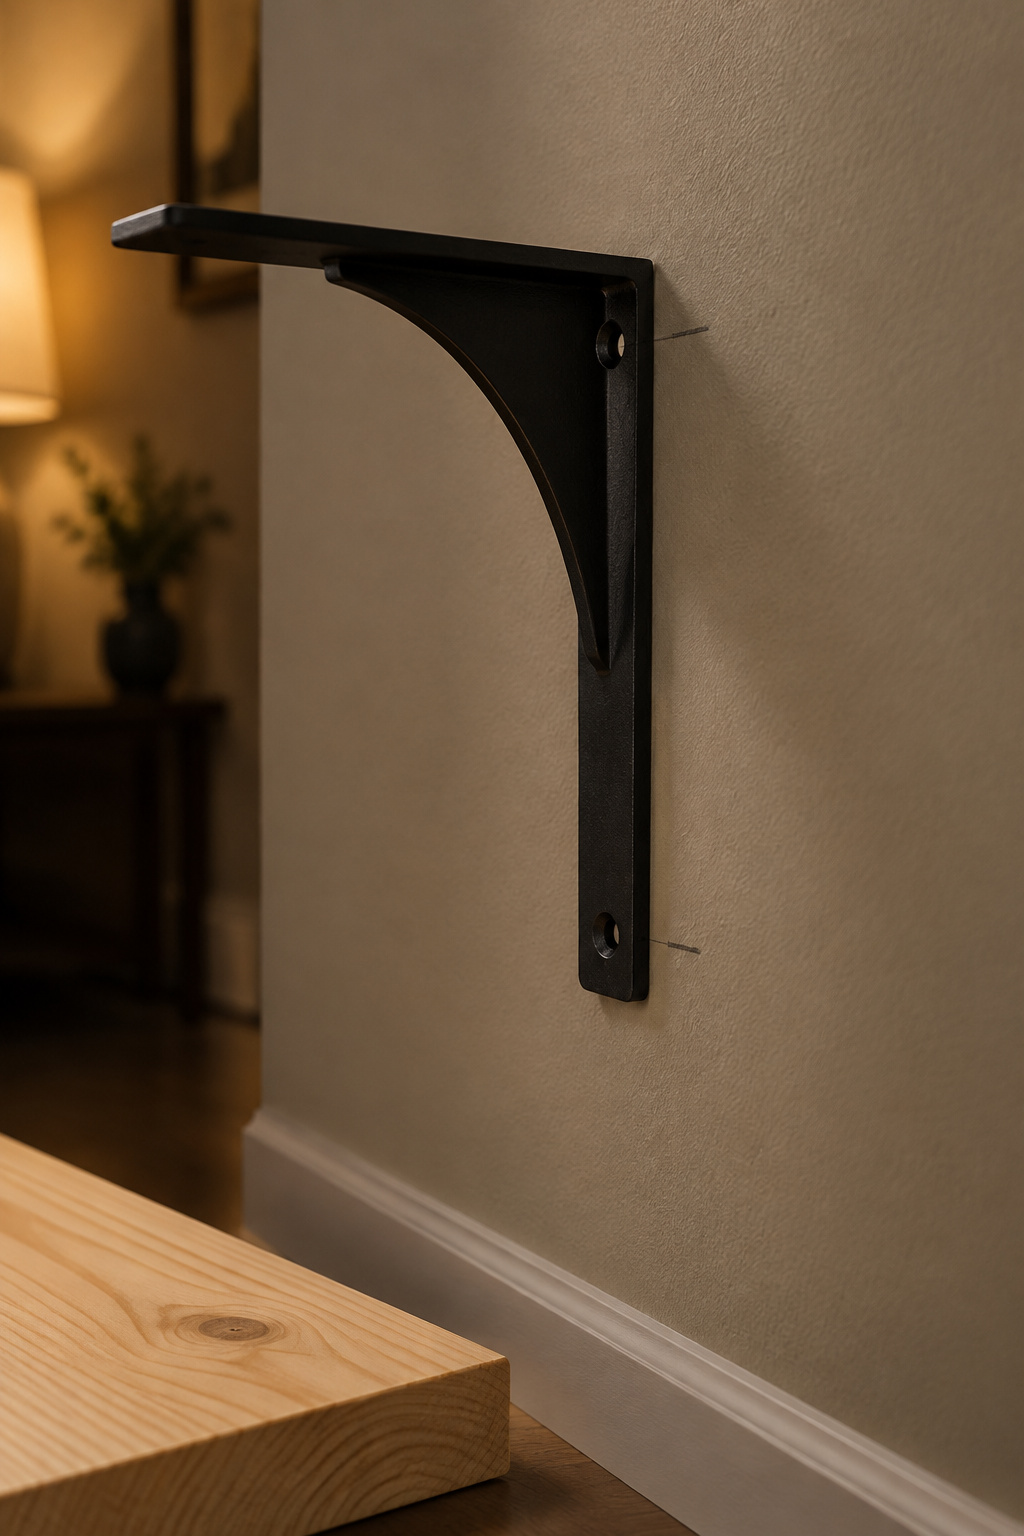
Why fourth? The shelf hangs from a finished wall. Put it up before the closet and floor are painted and you’re cutting in around brackets, or taking them back down. Put it up after the closet is open and you know exactly how many hooks the household uses.
A shelf with coats hanging under it carries more than the coats weigh. Each coat hangs a few inches out from the wall and pries at the top screws. That’s why I use brackets you can see and fix the hook board directly under the shelf, so the brackets carry the coats as well as the shelf. The one bracket I use, the pull worked out on a real load and the hook layout are all in the build for an entryway shelf with hooks.
Freestanding Pieces Last: The Table and the Shoe Rack
Last come the two pieces that just stand there. They go last for two reasons. They stand on the finished floor, so they wait out its week. They’re also the only projects in the sequence you can pick up and carry, so if anything earlier gets redone, they step aside instead of coming apart.
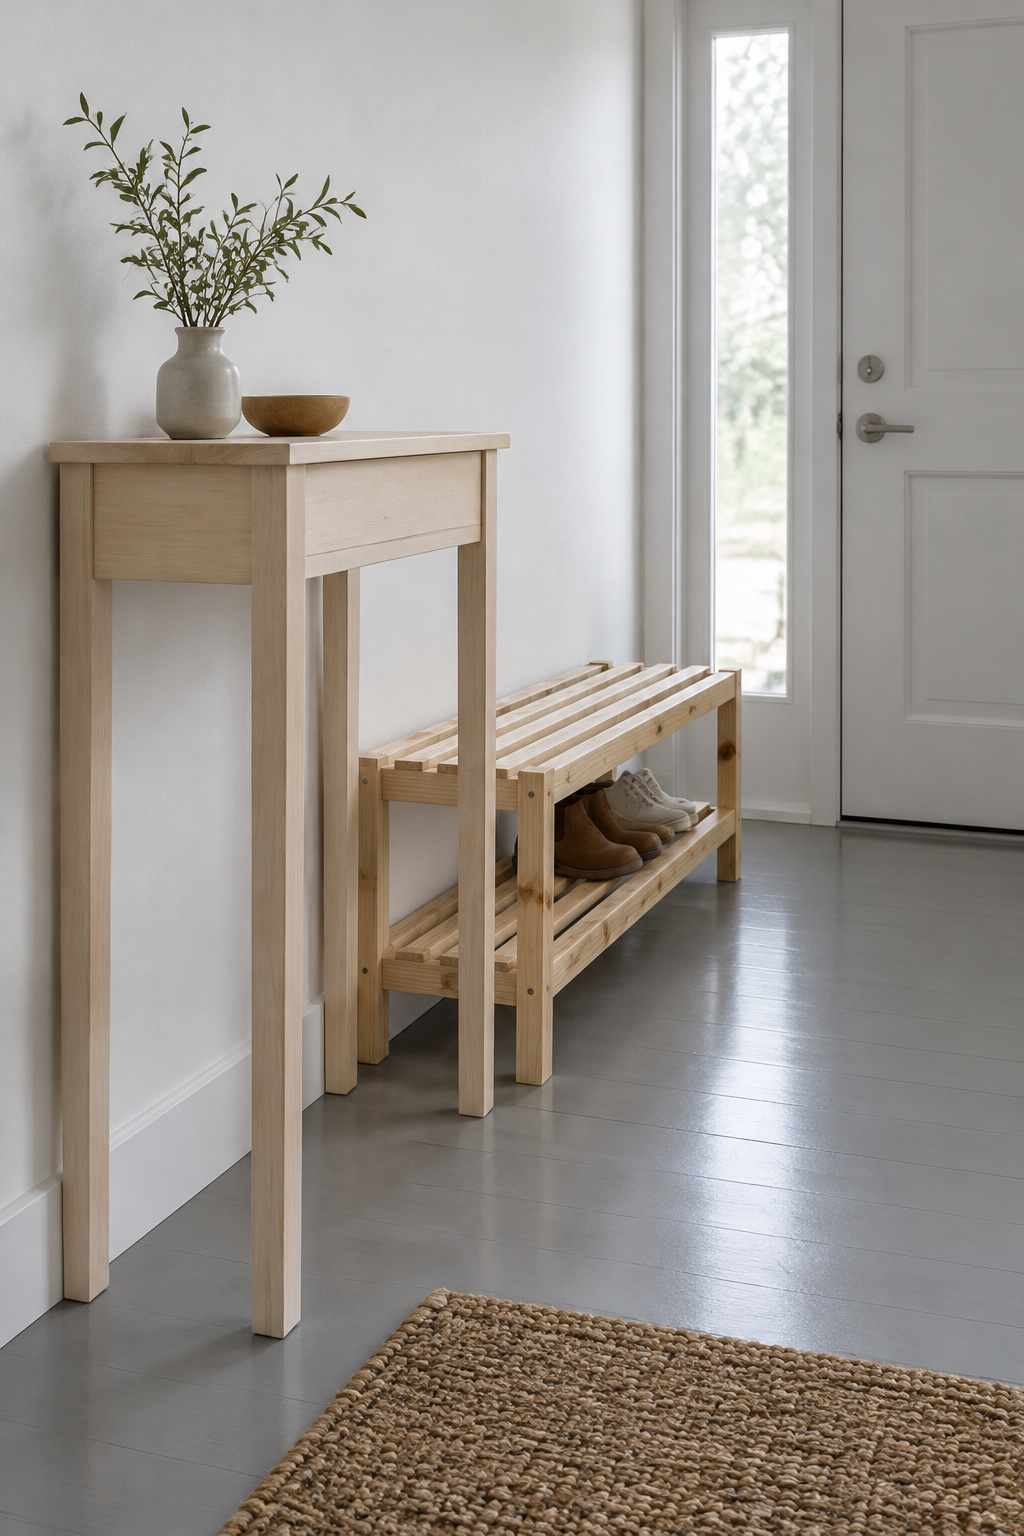
A narrow entryway table you can build from stock lumber
Henrik Larsson’s case is that a foot-deep table uses so little wood that hardwood barely costs more than pine. That holds when you buy by the board foot at a hardwood yard. At a big box, oak costs far more than pine, partly because those boards come planed on all four sides. His guide shows how to build a narrow entryway table with its depth taken from the door swing and a solid top fixed so it can move with the seasons. For a first-ever piece of furniture I reach for paint-grade pine, because it forgives a wobbly cut and a bit of filler, and his yard numbers make a fair case for oak once you’ve built one thing.
His guide also covers whether to anchor it to the wall; the tip-over rules leave that choice to you.
A shoe rack sized to your measured shoes
Owen Gallagher builds the rack from the shoes, not the wall. Count the pairs that really live at the door, measure the tallest boot heel and all, and set each tier from those numbers. A DIY shoe rack sized to your shoes gives the cut list, the woods that cope with wet weeks and the reason every cut end gets sealed before a screw goes in.
Wet boots on paint that hasn’t hardened will mark a new floor. Give the floor its week, then set the rack on a drip tray and keep both off the lane to the door.
One Tool Kit Covers Every Entry Project
Most beginners buy too many tools. Start with a drill, a level and a good tape measure. That kit, plus a few cheap extras, covers all six projects, and anything else can wait until a project actually asks for it.
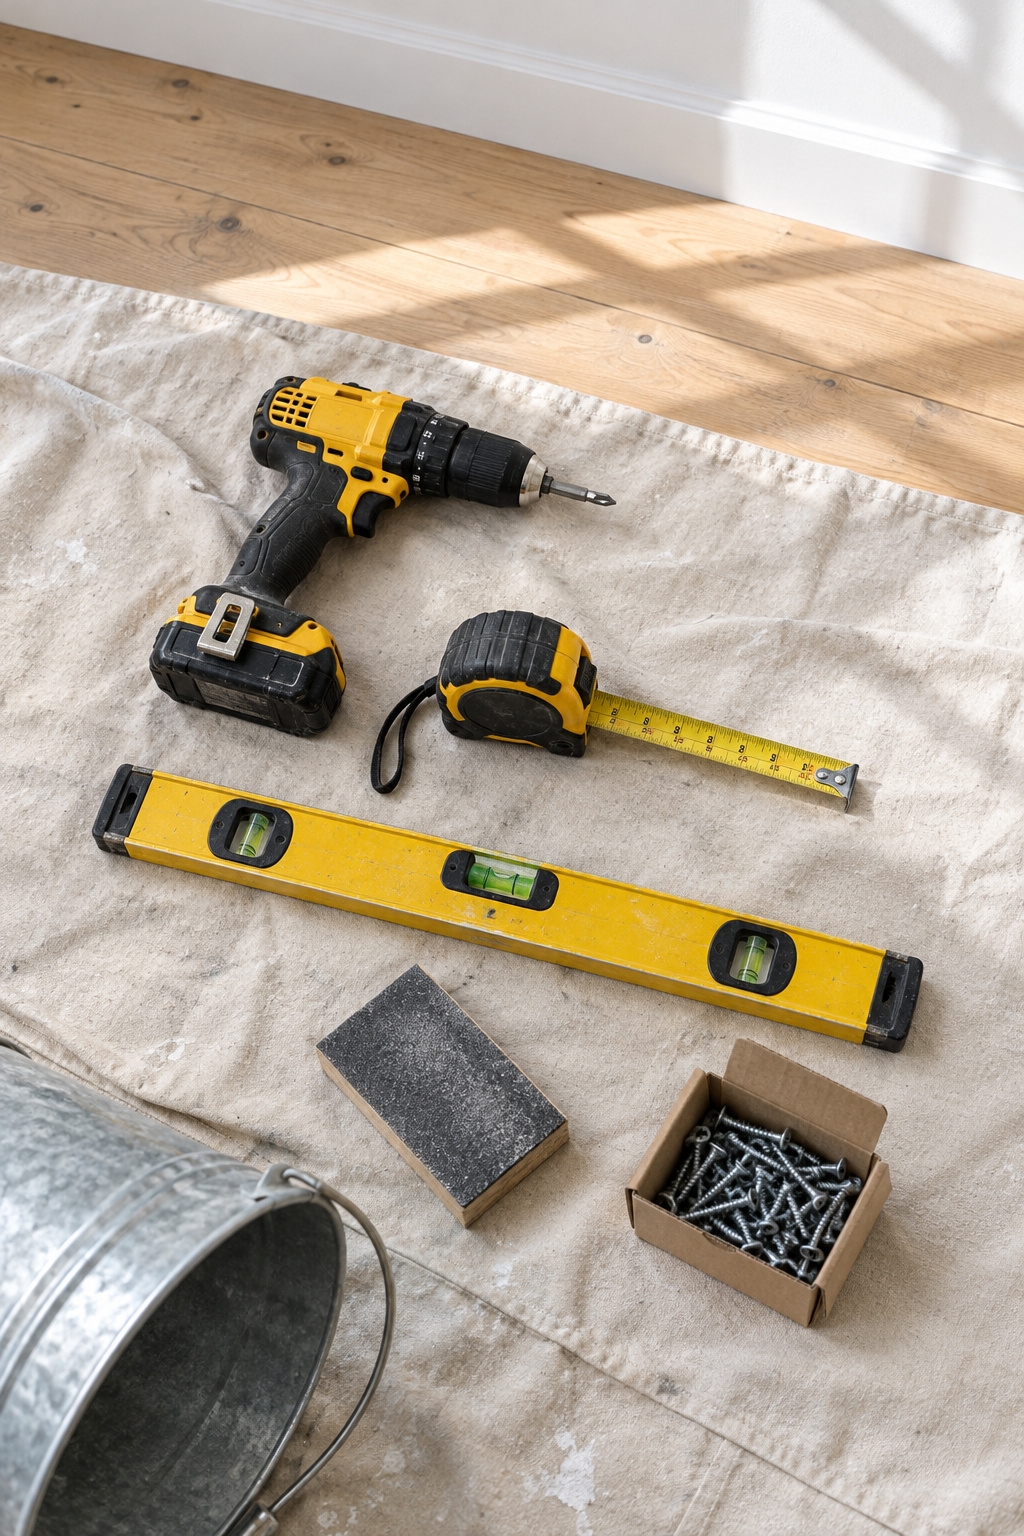
- Cordless drill/driver, for pilot holes and screws. Drive the last turn by hand with a screwdriver if you keep stripping heads.
- A 25 ft tape, which is enough for most jobs.
- A 2 ft level for the door and the shelf, or a 9 to 12 in level if the shelf is the only thing you’ll ever level.
- A way to confirm studs. A magnet wrapped in tape and a finishing nail cost next to nothing. A stud finder is optional, and you still need the nail.
- Sanding by hand. A sanding block does the door edge, the closet patches and the rack. An orbital sander is optional.
- The store’s cut counter instead of a saw. Home Depot gives about ten free cuts, and neither big box cuts pieces under 12 in, so a handsaw covers the short ones. If you’d rather cut your own, a circular saw along a clamped straightedge does the long rips.
There’s no shame in the cut counter. It’s a legitimate tool, and it saves you buying a saw for two cuts.
I keep a box of spare screws, shims and a level behind the seat of my pickup. It started after I drove forty minutes for one screw, and it’s why I write one shopping list per project, to save the trip I don’t want to make.
What to Hire Out: Wiring and Structural Changes
These are the jobs I hand off:
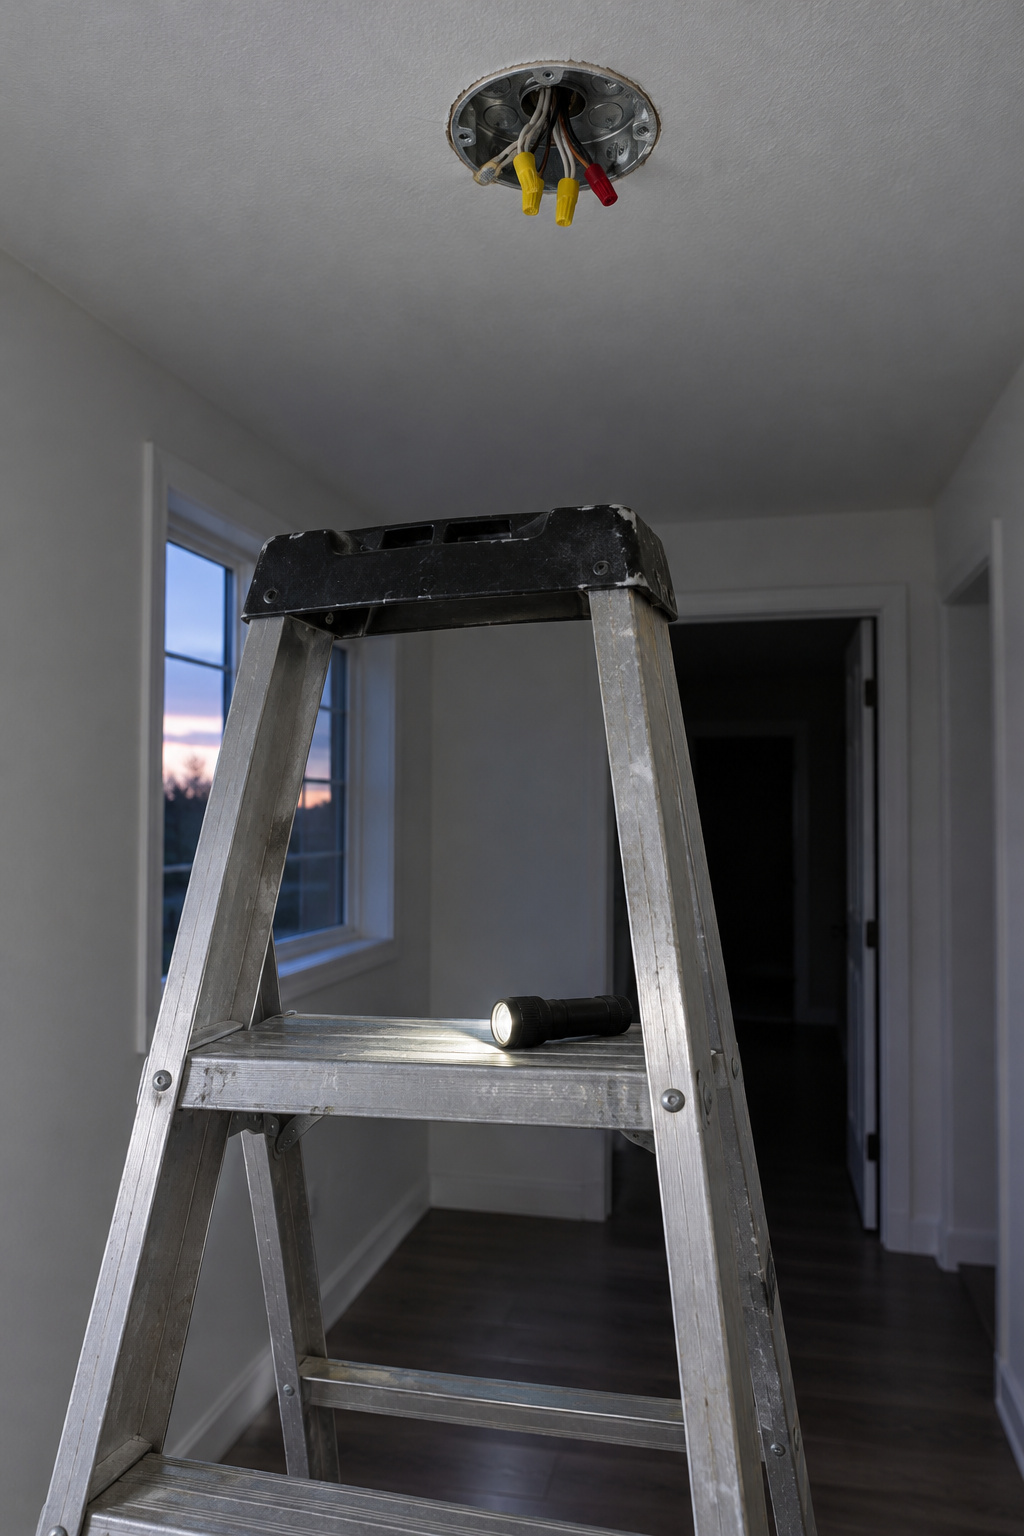
- Wiring of any kind. New fixtures where there were none, new circuits, moved boxes and new panels need a permit in many cities, and simple fixture swaps are exempt in some places and not in others. The rules are municipal, and some places, Louisville among them, let an owner-occupant pull a permit for their own home. Handing wiring to an electrician is my advice, not a legal line.
- A light in the closet nook. Closet lighting has its own code rules about how close a fixture sits to what’s stored, and whether a closet without doors still counts as a closet is unsettled. That’s an electrician’s job.
- Load-bearing walls and wider openings. Whether a wall is structural is a question for a structural engineer, and removing a load-bearing wall takes a building permit in most areas, with an engineer’s plans. Taking closet doors off doesn’t come close. Widening the opening past its jambs does.
- Older paint, which can hide lead. It’s not a hire-out on its own, but test before you sand the door, the floor or the closet, and work lead-safe if it comes back positive.
None of these are on the project list, and none of the six projects needs them.
This Weekend: Find the Studs on the Wall You Plan to Use
Here is that list again: the sticking door, the dull lane, the closet heap, the bare wall and the shoes. The first job this weekend costs nothing and commits you to nothing. Find the studs on the wall where the shelf will go.
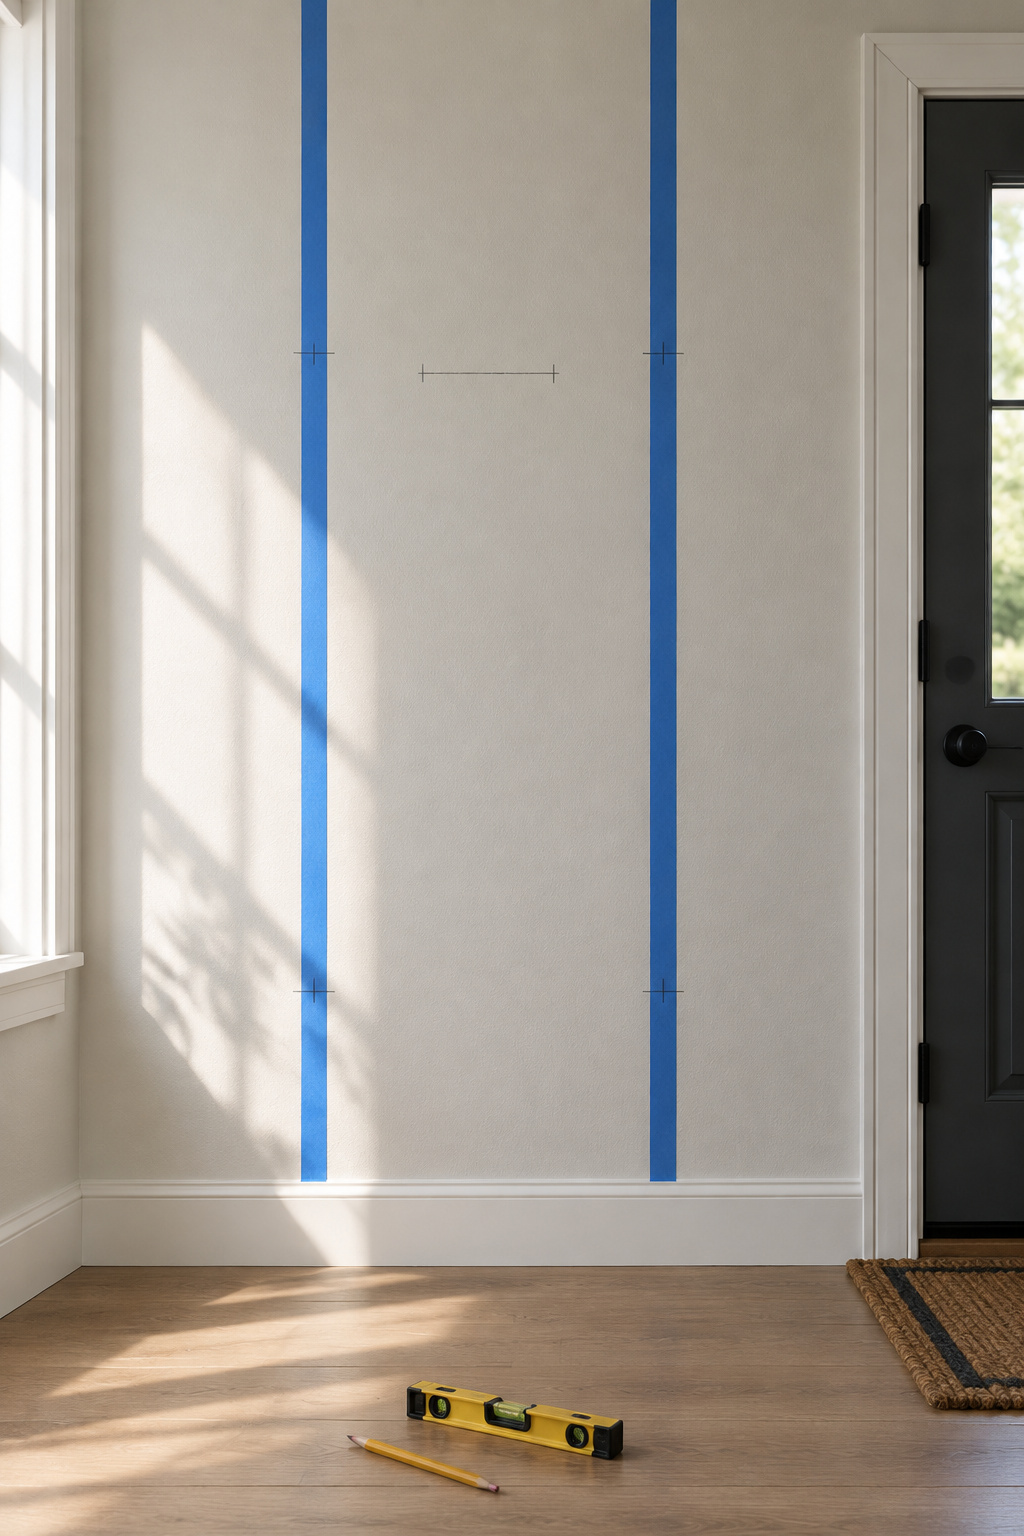
Slide a magnet wrapped in tape across the wall until it grabs a drywall screw. Hold a level against it and follow the line up and down, marking lightly in pencil, then find the next stud along. Tap a finishing nail in where the shelf will cover the hole. Resistance means wood, and a nail that slides straight through means you try again a little to one side. The full method for finding and confirming studs is in the laundry room floating shelves guide on the site.
Those pencil marks settle a real question early. Either the studs fall where the shelf wants to go, or they don’t and the table takes over the landing job. Both answers are better found now than with brackets in your hand.
Then the sequence runs on its own: door, floor, closet, wall, and the pieces that stand on the floor, each one sitting on, hanging from or hiding the job before it. Put the pencil marks up this weekend, and while you’re standing at that wall, write the shopping list for the door.