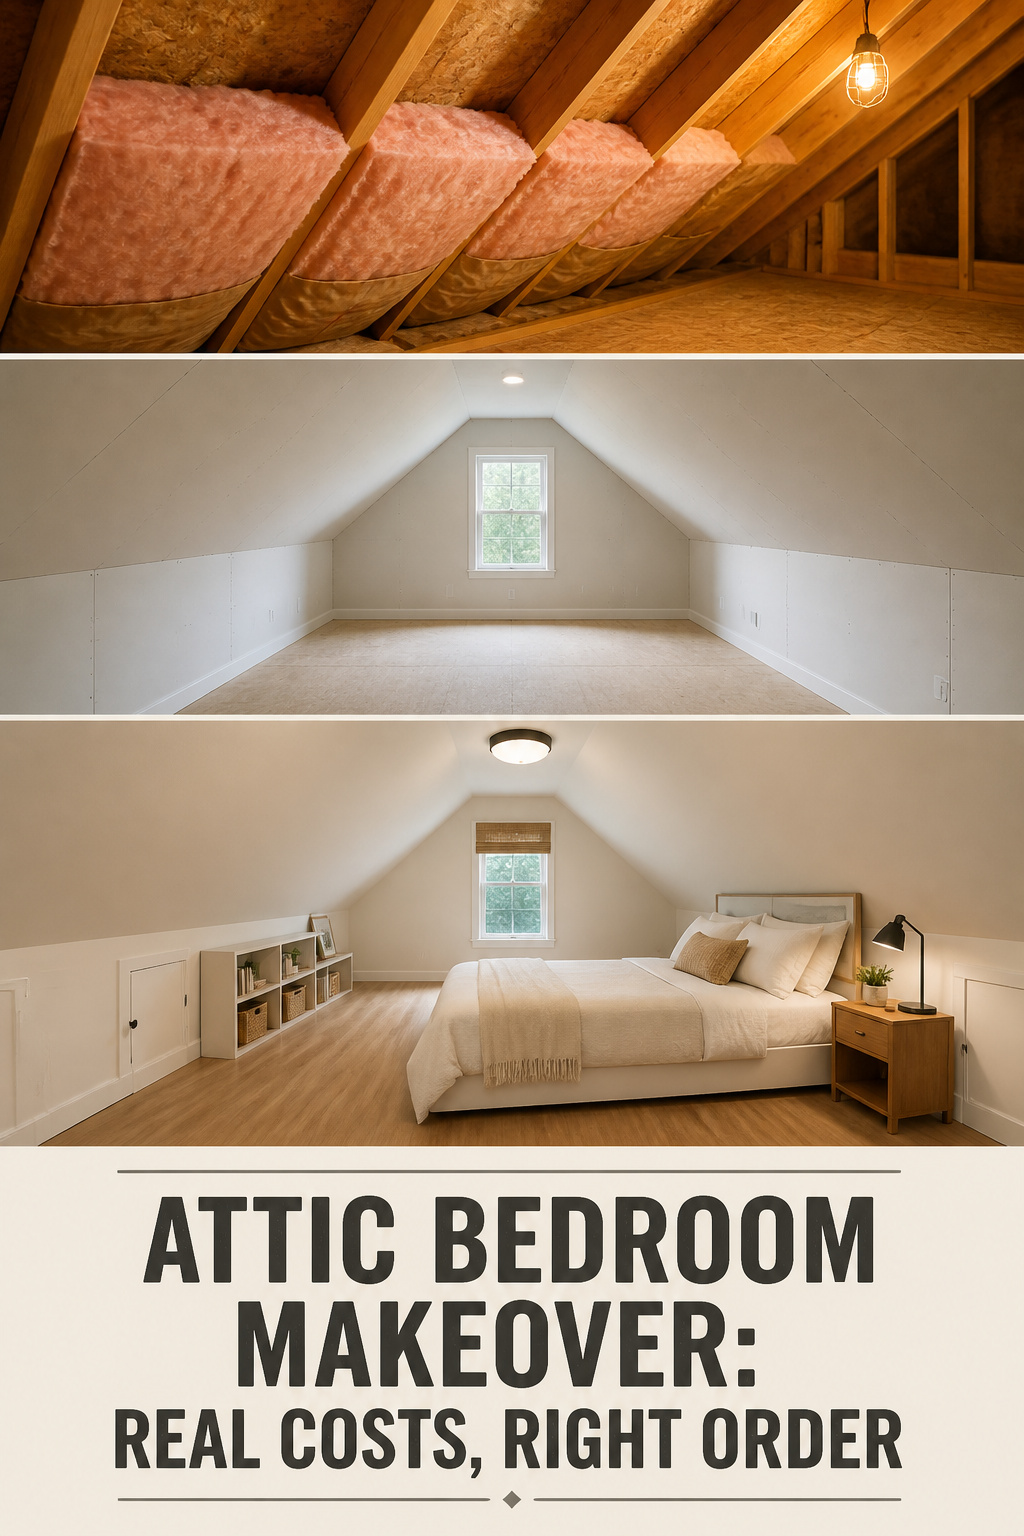
I once lost a whole weekend to a video that promised a two-hour floating shelf, so I budget my projects out loud now — and an attic bedroom makeover on a budget is the one people misjudge worst. They see a Pinterest “after” and price the paint, forgetting the egress window, the inspection, the joints that dry overnight before you can prime. The room is achievable. The number is just bigger and more sequenced than the photo lets on.
TL;DR
- A DIY-heavy attic bedroom that skips plumbing and new joinery runs $2,500–$3,500 in materials when the floor, ceiling height, and egress already qualify; marginal attics needing stairs or egress climb to $10,000–$25,000.
- Spend in order: structural and egress first, insulation and electrical second, drywall and paint third, flooring fourth, fixtures and storage last — and floor the whole room before any built-ins.
- DIY the paint, flooring, and drywall finishing; hire out structural, electrical, and egress, and pull the permit ($500–$2,000). Skipping it is the one mistake that can cost you the room at sale.
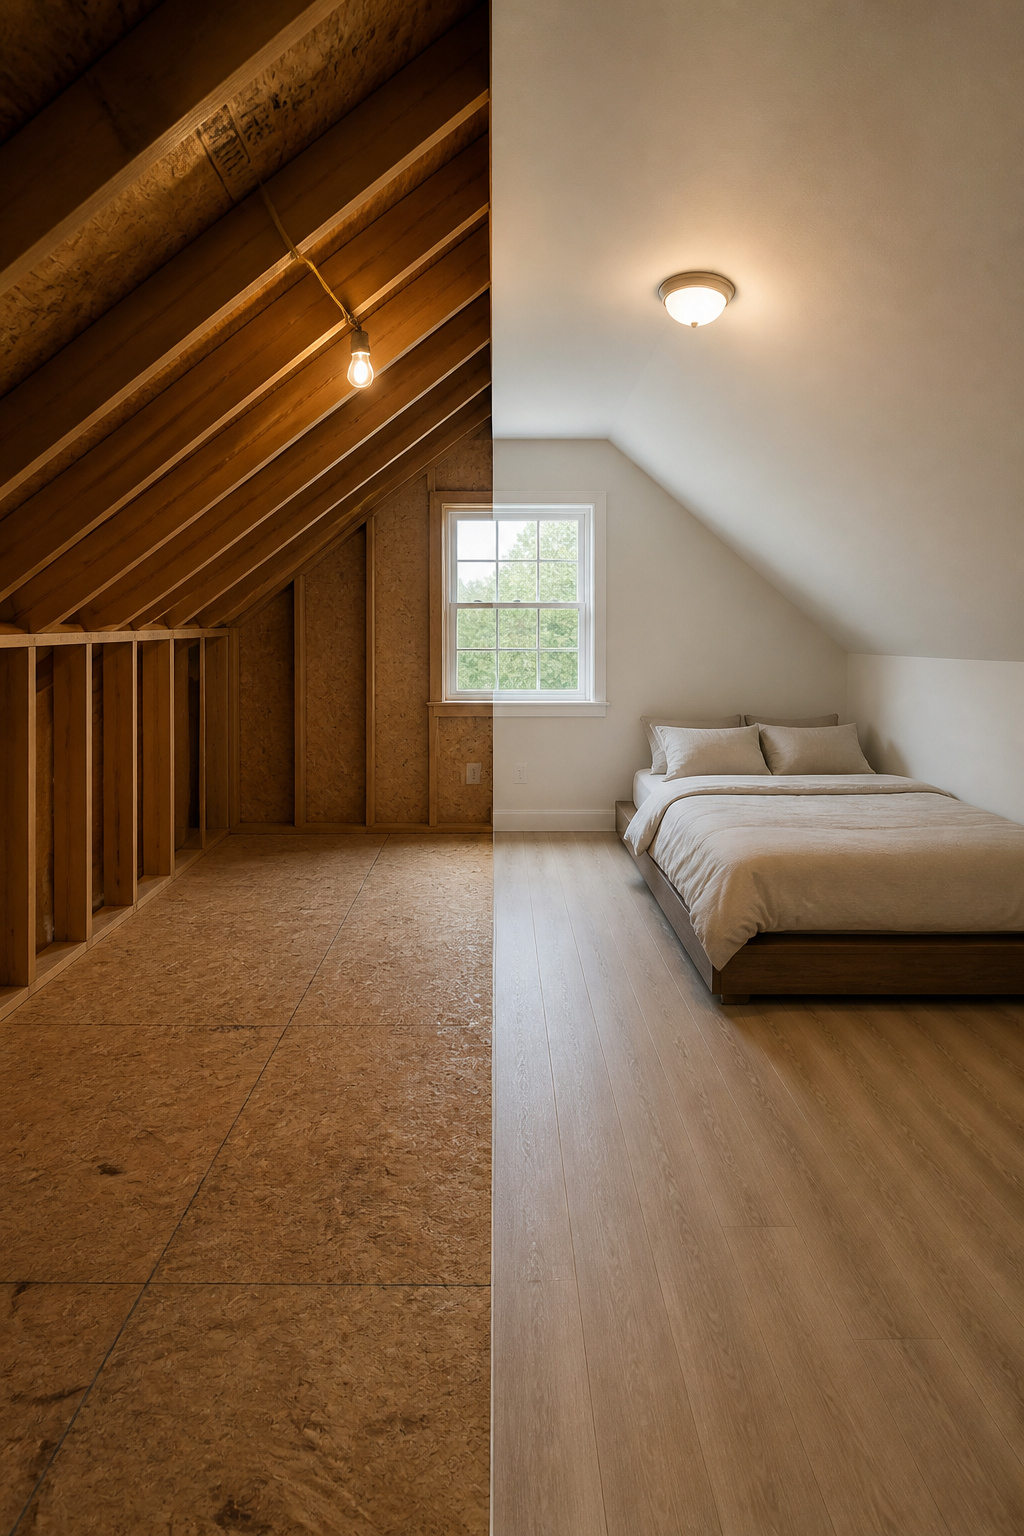
This is the whole-room sequence, not one build. The DIY eaves storage build, the paint colors, and the fixture plan each live in their own guides — this one routes you to them in order. For the room as a whole, start with the attic bedroom ideas guide.
An Attic Bedroom Makeover on a Budget: The Before, the After, and the Real Cost
What a rough attic looks like and why most people stop there
The typical bare attic has one bulb, no outlets, no rafter insulation, and no egress window. Each is a line item. The real stall is structural: most unfinished attics sit on 2×6 ceiling joists rated for 10–20 psf dead load, not the 40 psf live load a bedroom needs. IRC R305.1 wants a 7-foot ceiling over at least half the floor. Trusses instead of rafters can need steel beams and an engineer — adding $10,000–$30,000.
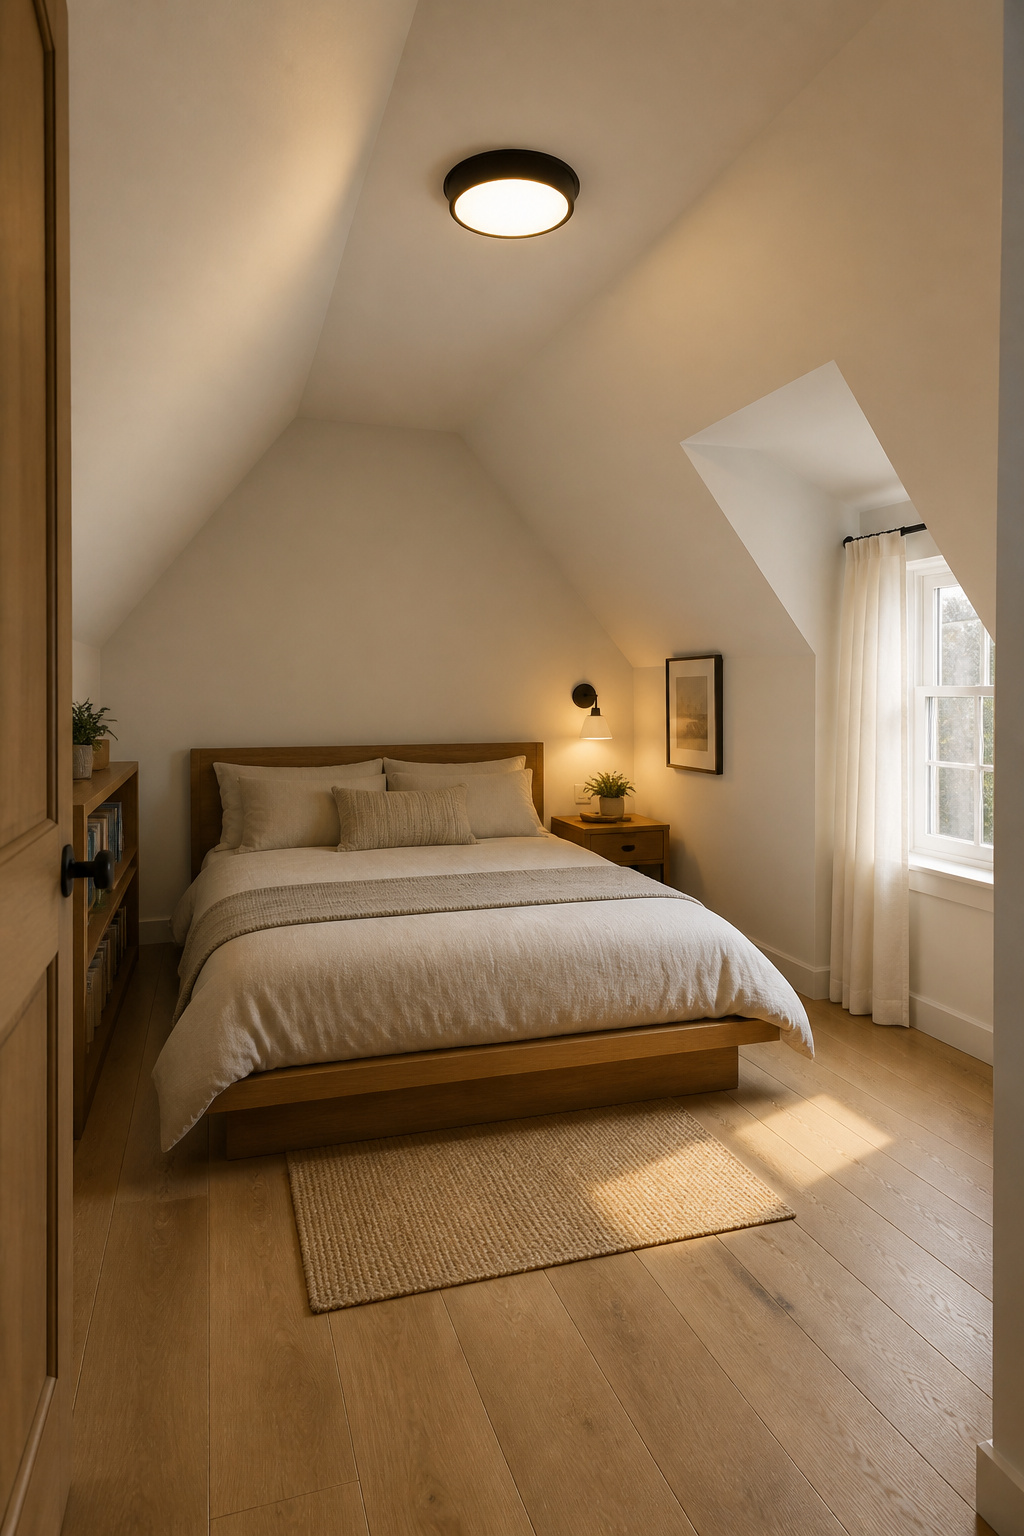
The achievable after: a functional bedroom for $2,500–$3,500 in materials
When the structure qualifies and no new stairs or egress are needed, DIY finishing — subfloor, batt insulation, drywall, paint, simple fixtures — comes in under $3,000 for a 150–200 square-foot attic. Scope drives the number:
| Tier | What it includes | Realistic cost | Weekends |
|---|---|---|---|
| Cosmetic refresh | Paint, lighting, simple floor | $300–$800 | 1–2 |
| Finish a sound attic | Subfloor, insulation, drywall, fixtures | $2,500–$5,000 | 8–12 |
| Marginal attic | Adds egress and stair work | $10,000–$25,000 | 12+ |
Aim for the middle row — attic conversions return about 56% on average per National Association of Realtors data.
What this article is and isn’t
This covers the order of operations and where the money goes. Labor is 30–50% of a conversion, so DIYing the cosmetic layers while hiring out structural, electrical, and HVAC is exactly where you save.
Step One: The Non-Negotiables Before Anything Decorative
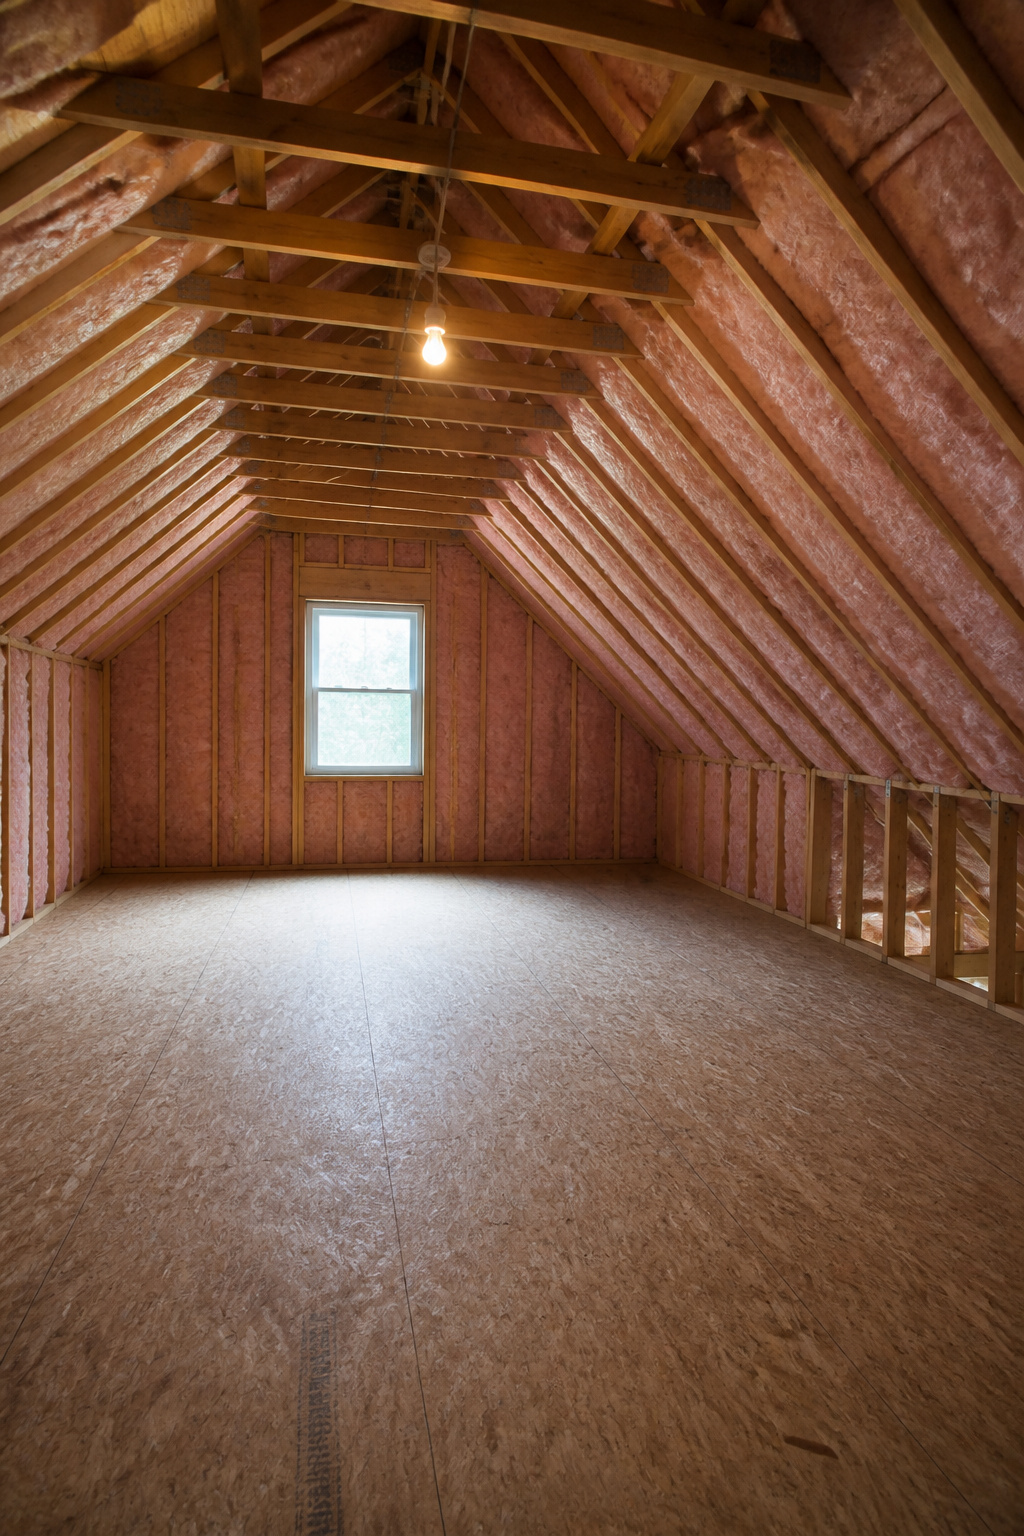
Three structural gates, then the rough-in. None of it is glamorous, and all of it happens before drywall — because drywall seals everything behind it.
Insulation and vapor barrier: the work that makes the room livable
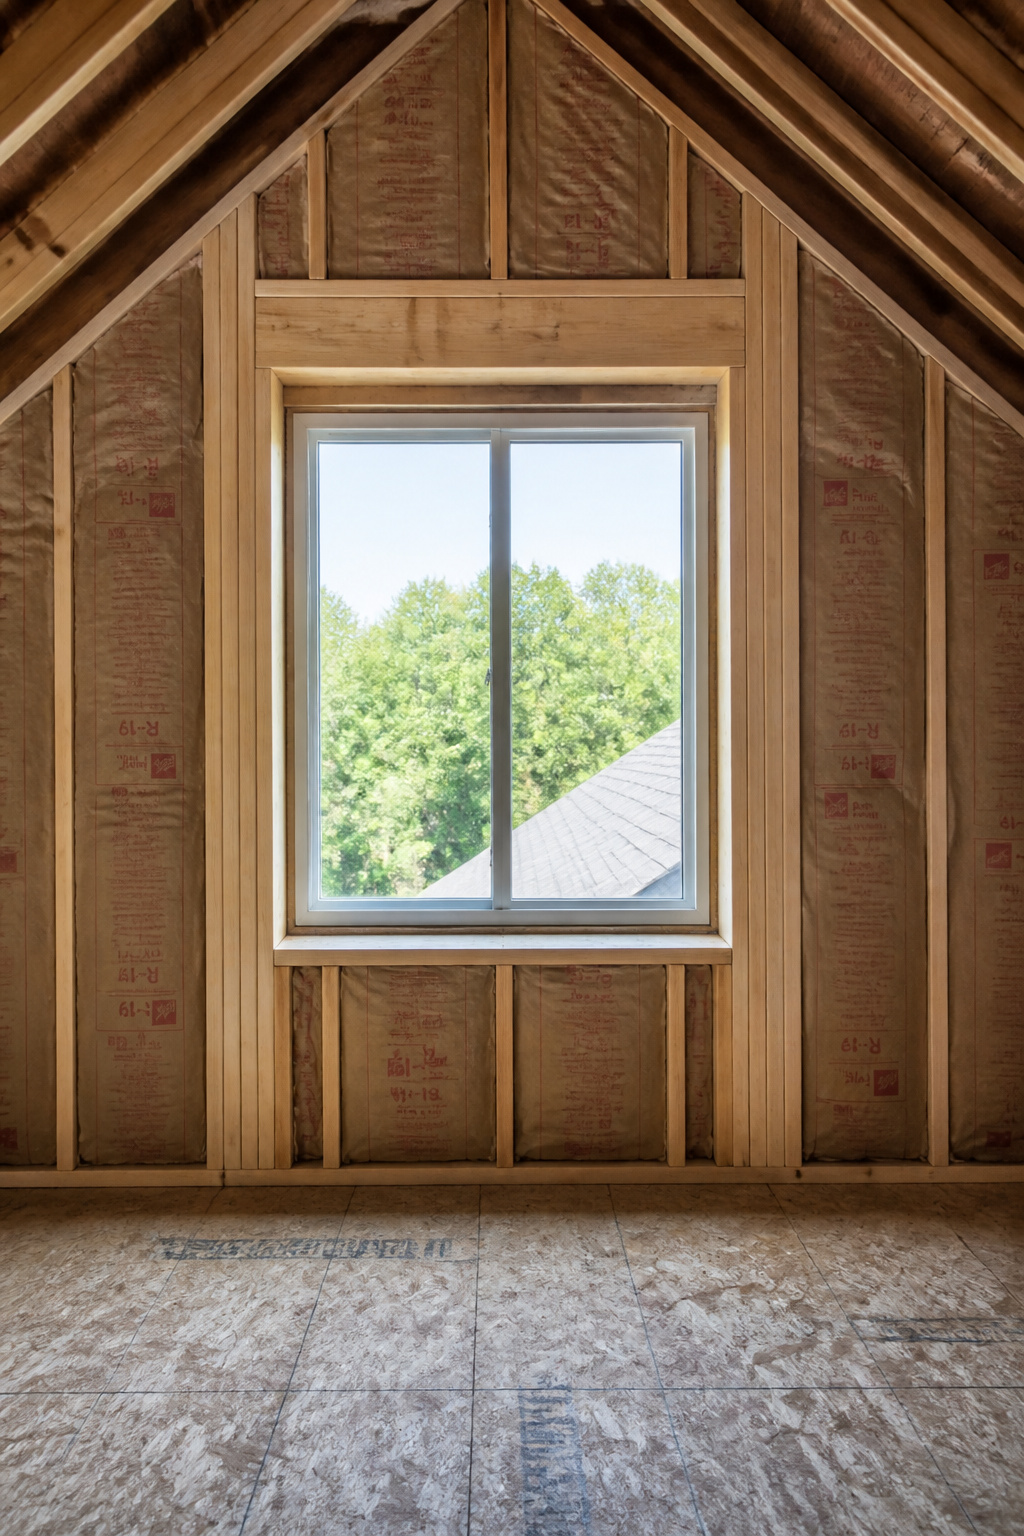
A finished room needs insulation in the rafter bays, not just the floor. The DIY-friendly choice is fiberglass batt with a vapor-retardant facing — $0.30–$1.80 per square foot, landing a small attic at $300–$700 if you hang it yourself. Closed-cell spray foam insulates tighter and acts as an air barrier, but it runs $2.50–$4.50 per square foot and must be professionally applied. Two rules: face toward the living space, never the roof deck; fit rafter vents so air moves soffit to ridge. Skill level: first build.
Floor structure: what to check before adding weight
Hire-a-pro, full stop. A structural engineer ($100–$220/hr, usually 1–2 hours) confirms whether your joists carry 40 psf. Sistering runs $350–$1,000 per joist. If the engineer clears the floor, the DIY subfloor is 2×4 risers perpendicular to the joists at 16 inches on center, then ½-inch plywood screwed every 16 inches — not nailed, so you don’t crack the ceiling below. Materials: $500–$800.
Egress and code: what most DIYers find out too late
IRC R310.2.1 requires an egress window in every sleeping room: 5.7 square feet net clear opening, 24-inch clear height, 20-inch clear width, sill no higher than 44 inches. Cutting a new opening runs $3,000–$7,000 and needs a pro plus a permit. An existing gable window may need only a sill adjustment — $700–$1,500 if the rough opening is big enough — but measure the net clear opening, because frame and sash shrink it. The permit is $500–$2,000. Skip it, Zephyr Thomas Home Improvement warns, and you risk “the need for work to be redone.”
Step Two: Drywall, Paint, and the Slope
Now the room finally looks like a room. Drywall and paint deliver the biggest visual change per dollar.
Drywalling a sloped ceiling: the cut sequence
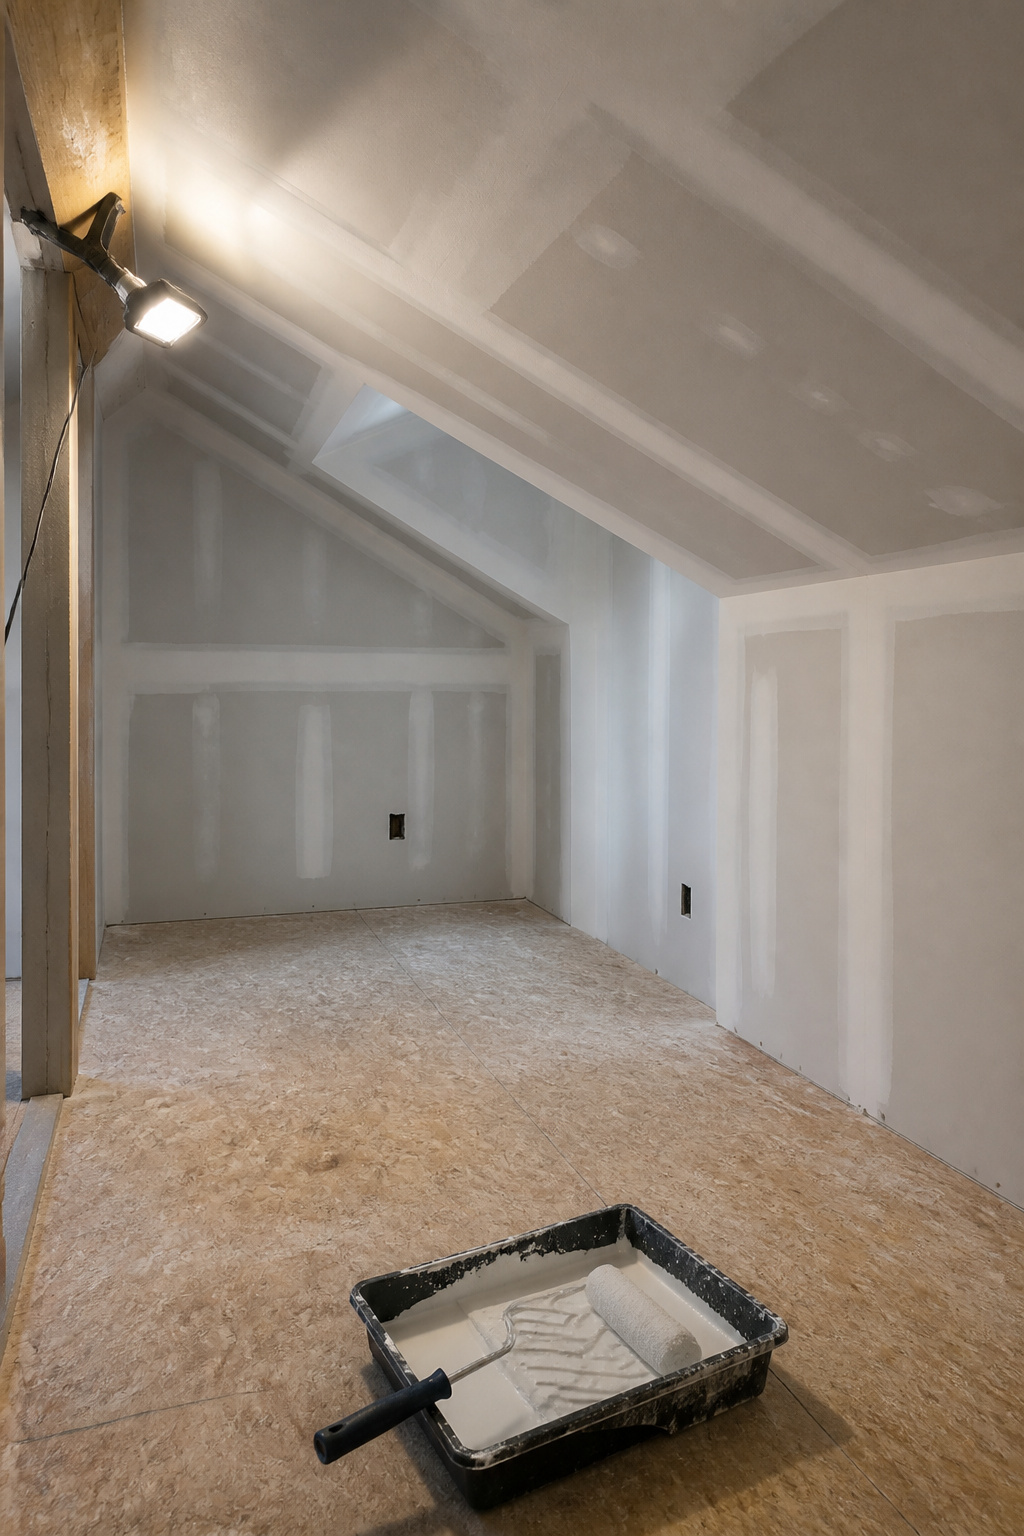
Drywall on a sloped attic ceiling runs $3.00–$4.00 per square foot installed — the high end, because angle cuts and overhead work add 25–100% to flat-ceiling labor. DIY materials are $300–$600 plus $100–$150 for compound and tape. The cut sequence I use — treat it as my jobsite habit, not gospel: measure the rafter bay at its widest, mark the pitch off a speed square, square-cut the panel to that width, then angle-cut the long edges last. Cut the angles first and you waste panels. Budget two full weekends for a first-timer. Skill level: some builds.
Paint on the slope: the primer that earns its cost
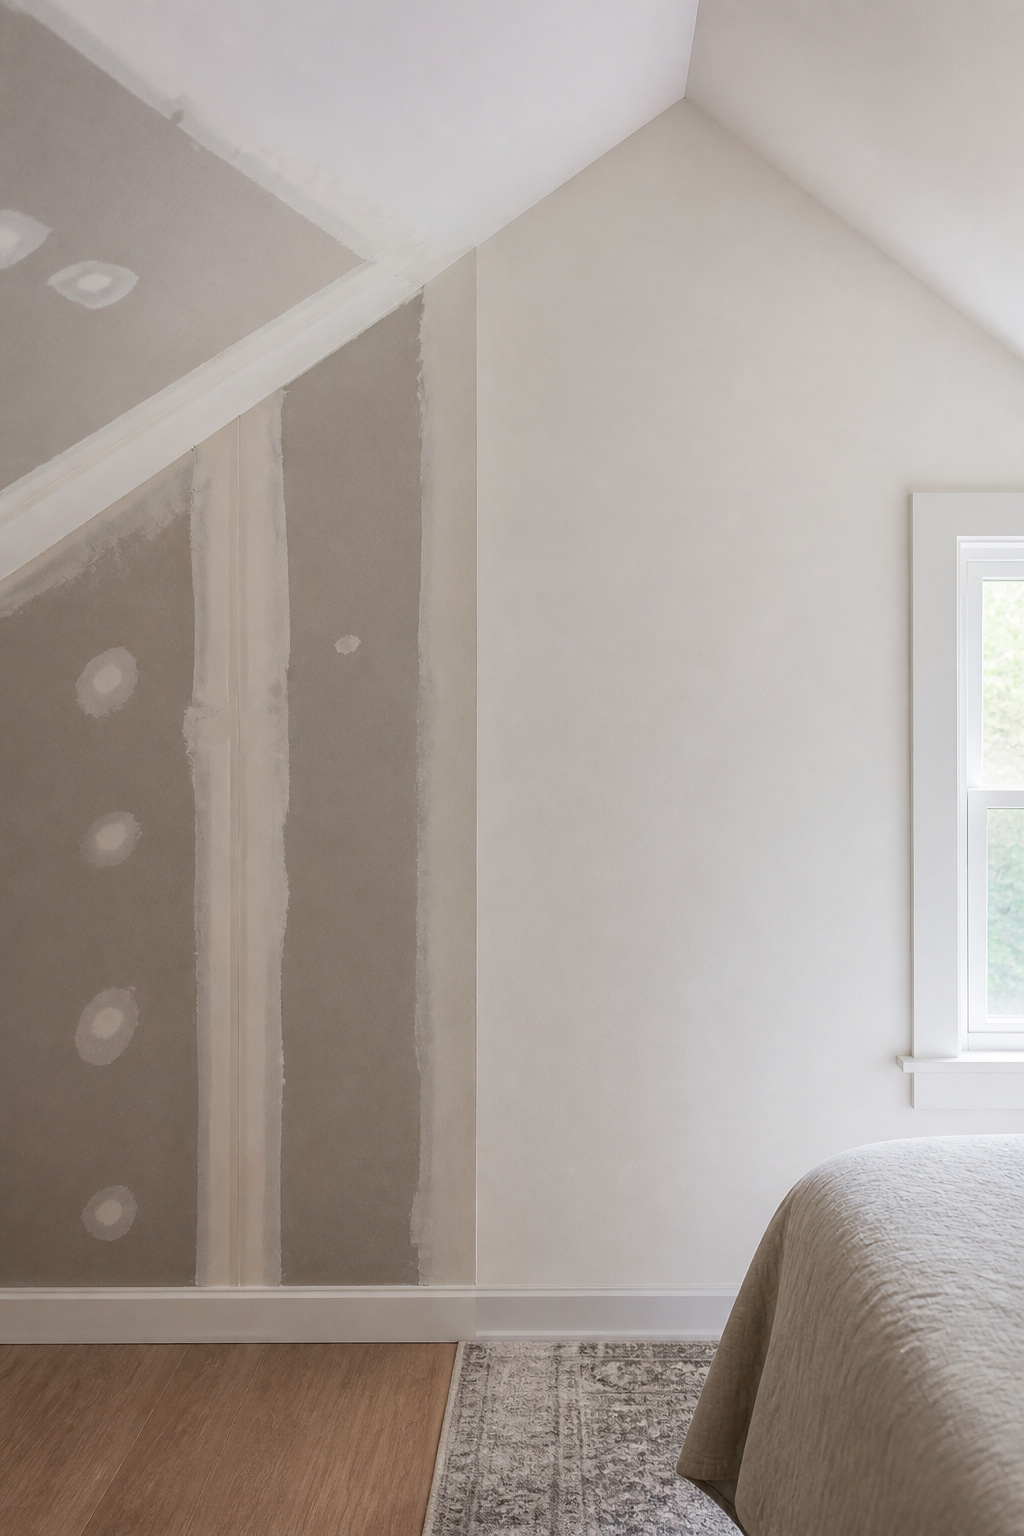
New drywall must get a PVA primer before any finish coat. The bare paper drinks paint unevenly, and on a slope under raking light that flashing shows up badly. Two coats of a high-build primer like Zinsser Bulls Eye 1-2-3, then color. Paint for the whole room runs $120–$180; good ceiling paint at $50–$70 a gallon hides roller texture wall paint won’t. One warning: dust is the number-one new-drywall failure. Primer seals the paper but not sanding dust, so wet-mop before every coat.
The color decision when budget is the constraint
When budget rules, paint the walls and sloped ceiling the same warm white — one product, one step, no color-matching where the angles meet. Lighter colors also keep a window-starved room from reading like a cave. Roll the ceiling first, knock down the drips, then roll the walls over them. That’s the budget move. Deeper colour strategies and the dark-cocoon option belong to a future phase when the bones are solid.
Step Three: Flooring, Light, and Storage — the Order of Spend
Order matters as much as money. Floor first. Then light. Then storage, which can wait.
Flooring first: why it goes in before built-ins
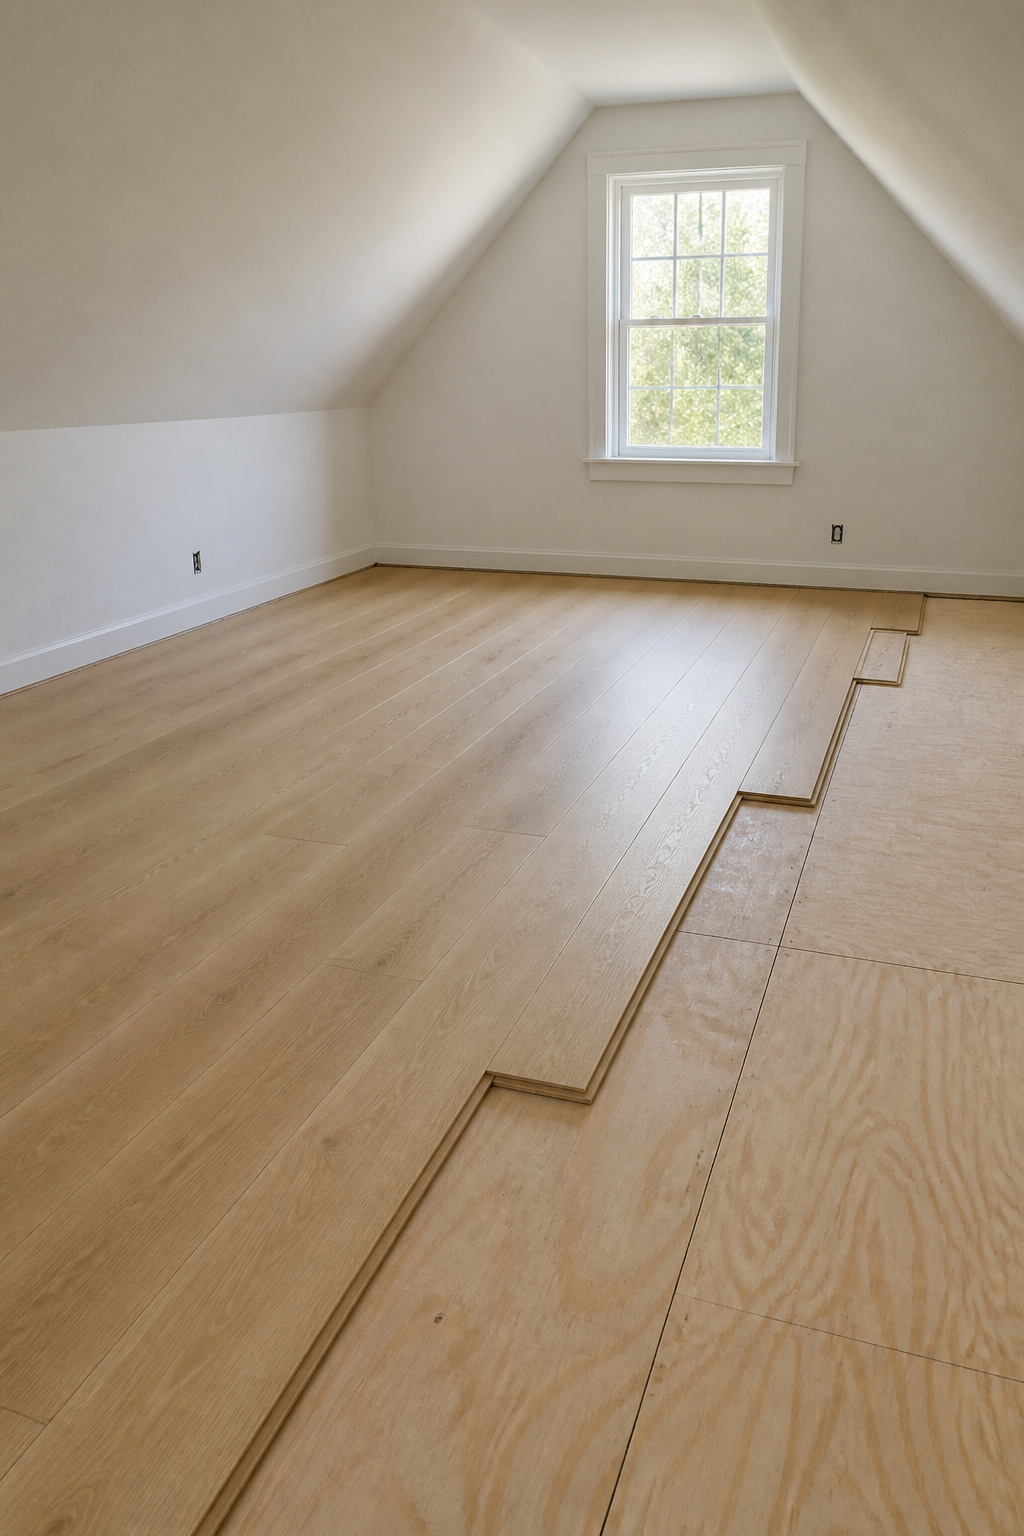
Floor the whole room before a single built-in. Lay flooring after and you’re scribing planks around toe-kicks — a retrofit that costs twice. For a budget attic, LVP wins: water-resistant for the moisture attics get, it floats without adhesive, and runs $4–$8 per square foot installed, or $400–$700 in materials for a confident DIYer. Add $0.50–$1.00 per square foot for underlayment. Carpet is the alternative when the attic sits over living space and you want sound isolation. Skill level: first build.
Light on a budget: the fixtures that matter
Electrical rough-in is hire-a-pro and must pass inspection before drywall — figure $800–$1,500 for a small room. The right budget fixture is a flush-mount LED: it bolts to a standard box with no drop, clears the slope so nobody cracks their head, and a single 1,600-lumen unit covers ambient light at $30–$150. Recessed cans on the slope need IC-rated housings with gimbal trim. The full layered plan — task lighting, dimming, and skylights — belongs in a dedicated lighting guide and beyond this budget article’s scope.
Built-in storage vs freestanding
Built-in eaves storage is the highest-value use of dead attic space, but it forces a sequence call: if it’s budgeted, rough the framing in before drywall; if money’s tight, go freestanding now. An IKEA PAX wardrobe at $300–$600 sits on the finished floor and swaps for built-ins later. The DIY eaves storage guide has the full build sequence. The honest priority order when budget is tight:
| Element | Spend here | Save here | Defer? |
|---|---|---|---|
| Structural / egress | Always | Never | No |
| Insulation / electrical | Always | Never | No |
| Drywall / paint | Prep and primer | Brand of board | No |
| Flooring | Mid-tier LVP | Top-tier looks | No |
| Storage / fixtures | One good light | Built-ins for now | Yes |
As organizer Lauren Saltman cautions, don’t let new storage become “a cycle of holding onto items just because you have the space.”
What Gets Wasted and Where Money Goes Furthest
The three budget mistakes I see every time
First, skipping the permit. It’s $500–$2,000, and the downside is far worse: an unpermitted bedroom must be disclosed at sale and can mean full tear-out. Second, over-spending on insulation brand — R-value is what matters, and a cheap batt hits the same code R-value as a product costing twice as much. Third, buying finish materials before the structural scope is settled, so flooring sits in the attic while a surprise stretches the timeline. The quiet fourth: ignoring HVAC. The extra $1,500–$2,500 for a mini-split over baseboard heaters pays back within a few years.
Where to spend more than the video said to
A few places deserve more than the tutorial budgeted:
- The egress window — the room’s life-safety net; size and sill height aren’t where you economize.
- The structural engineer — $200–$440 to learn the floor needs sistering before you commit $3,000 of flooring to a floor that sags.
- Paint prep — the PVA primer and skim coat decide whether the ceiling reads like a bedroom or a basement.
LVP at the $6–$8 tier is worth it too — the most-touched surface in the room, and it wears far better than the $3–$4 stuff.
The trip back to the hardware store
Every project generates store runs, so build them in: add 10–15% contingency to your material estimate. On $3,000 that’s $300–$450 in reserve — worth more than fancier fixtures. The usual unplanned buys are joint compound, primer, and transition strips at the stair opening. Measuring errors are the single most expensive DIY mistake. Measure twice, cut once is the difference between one store run and three. Many budget attics are a kids’ attic room, where that reserve matters most.
Start This Weekend: The First $200 Move
You can’t pour the whole budget yet — the engineer and permit gate everything. But you can do the move that makes every later stage cheaper.
What you can do before structural work is settled
Clear the attic completely first; you can’t judge joists, moisture, or usable area around boxes. Then measure the floor that clears 7 feet, the joist depth and spacing, and existing electrical. The most important $30 you spend is a moisture meter run across joists and sheathing — an active moisture problem rots a new subfloor within a year. Then call the building department: ask what permits your scope needs and whether an egress window is required to call the room a bedroom.
The supply run that sets up every stage
Here’s the first-weekend kit — and I’ll be honest, this list is my own jobsite judgment, not a number off a code page:
- LED shop light with hook ($35) and poly to protect the room below
- Professional tape measure ($18) and 50-ft chalk line ($12)
- Stud finder with AC detector ($25) — keeps you off the wiring
- Moisture meter ($30) and a speed square ($12)
- Contractor-grade trash bags, notebook, pencil
Buy your paint kit ($50–$100) on this run too, so you’re not waiting on a supply trip when the painting stage arrives.
A realistic timeline from rough attic to finished bedroom
Here’s the part the videos skip. A contractor finishes an attic in 4–8 weeks; a DIYer working weekends takes 3–6 months from permit to move-in. The weekend sequence I’d plan — treat it as my informed estimate, not a fixed schedule, since your inspection queue and surprises will move it:
- Weekend 1 — assessment, permit application, subfloor prep.
- Weekends 2–3 — electrical rough-in (licensed) and egress.
- Weekends 4–5 — insulation.
- Weekends 6–9 — drywall hang, tape, finish coats, prime.
- Weekend 10 — paint. Weekend 11 — flooring. Weekend 12 — fixtures, trim, furniture.
Build inspection holds in — they add 1–4 weeks. And don’t phase the money; allocate the whole budget up front, or you strand yourself with drywall up but unprimed. As Block Renovation puts it, “trying to do everything at once on a limited budget is a recipe for a half-finished project.” Do it in order instead, and nothing gets wasted.
FAQ
How much does it cost to convert an attic into a bedroom?
A contractor-built attic bedroom averages $20,000–$50,000 in 2026, or $50–$150 per square foot. A skilled DIYer handling insulation, drywall, paint, and flooring while hiring out electrical and egress can finish a small, structurally sound attic for $5,000–$12,000. The biggest variables are new stairs, an egress window, and whether joists need sistering.
Can I turn my attic into a bedroom myself without a contractor?
Partly. DIY is viable for insulation, drywall, painting, and flooring — the cosmetic layers that are 40–60% of the budget. But structural assessment, electrical, egress windows, and HVAC legally require licensed pros in most US jurisdictions. Skipping permits to save money is the most expensive mistake: unpermitted bedrooms must be disclosed at sale and often require retroactive work.
What do you need to do before finishing an attic bedroom?
Clear three non-negotiables first: a structural assessment confirming the floor carries 40 psf, ceiling-height verification that half the floor hits the 7-foot minimum, and an egress window of at least 5.7 square feet net clear opening. Then pull the permit and complete electrical and HVAC rough-in before insulation and drywall seal everything in.