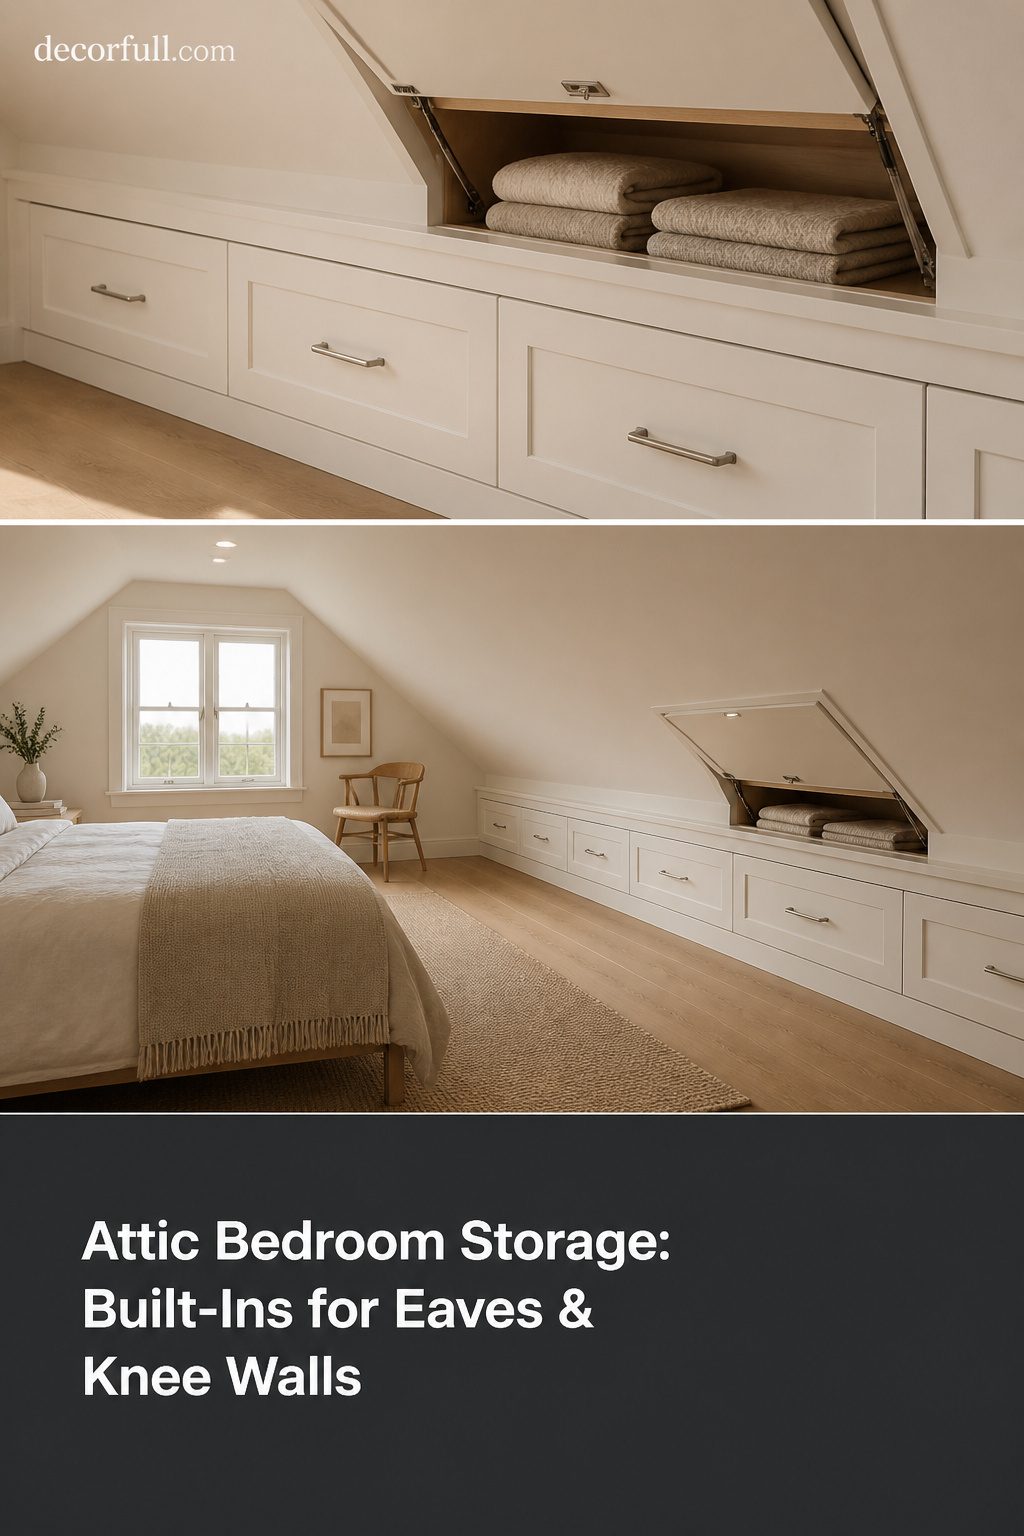
Back on the crews in Tennessee, the knee walls were the first thing the old hands opened up on an attic job — not a few inches of dead air behind them, but a cavity deep enough to swallow a six-drawer dresser, a bookcase, and every tote of holiday lights a family owned. Call it 40-odd cubic feet of free storage hiding behind a short wall everyone had been treating as a wall. The best attic bedroom storage ideas all start there.
TL;DR
- A knee wall hides 30–50 cubic feet of storage per 10 linear feet — enough to replace a dresser and a bookcase — behind a 36-to-42-inch wall most people ignore.
- Three builds, three skill levels: an access-door cubby runs $50–$150 and one weekend; a flush drawer run runs $200–$400 and two weekends; between-truss shelving runs $80–$150 and a day.
- Confirm the wall is non-load-bearing and drill 4-inch inspection holes for wiring before you cut — a structural engineer call is $150–$300 and the only pro step worth paying for.
Below are all three builds, with the mistakes that cost me weekends. For how storage fits the whole room, see the complete attic bedroom design guide.
Attic Bedroom Storage: What’s Behind Your Knee Walls
A knee wall is the short wall — typically 36 to 42 inches tall — where the sloped roofline meets the attic floor. Behind it sits a triangular cavity most homeowners never touch, and every 10 linear feet of it conceals roughly 30 to 50 cubic feet of usable space.
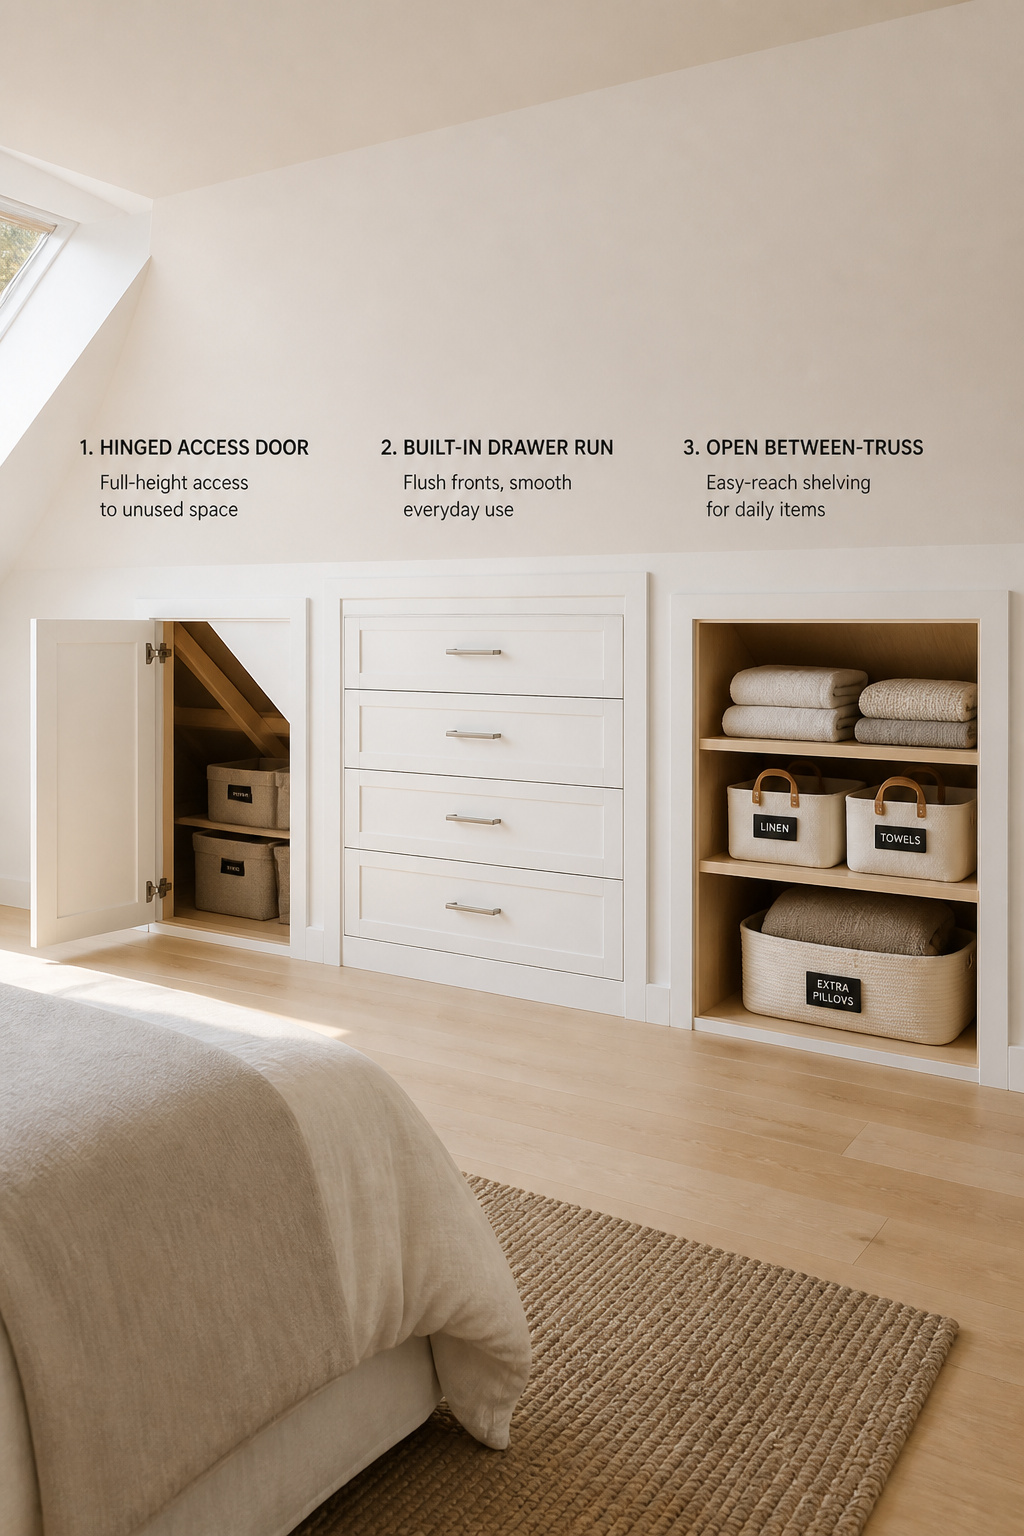
What a knee wall actually is and how much space it hides
Cavity depth follows your roof pitch — typically 18 to 36 inches back to the rafters. Before you cut: confirm the wall is non-load-bearing (a structural engineer consult runs $150–$300 if you’re unsure) and look for HVAC ducts, wiring, or plumbing — Cape Cods love to hide ductwork in these cavities.
Three build approaches: access door, drawer run, and between-truss shelving
The access-door cubby is a cut, a frame, and a door — the cavity behind it becomes a hidden closet. The drawer run is a flush-faced built-in dresser sunk into the wall. Between-truss shelving racks shelves inside the cavity itself.
Skill level and cost at a glance
Costs are 2026 big-box materials; times include the trip back to the store, because there’s always a trip back to the store:
| Build | Materials | Time | Skill level | Best for |
|---|---|---|---|---|
| Access-door cubby | $50–$150 | 6–10 hrs (one weekend) | First build | Seasonal bins, luggage |
| Knee-wall drawer run | $200–$400 (6-ft run) | 12–16 hrs (two weekends) | Some builds | Clothes, linens, daily use |
| Between-truss shelving | $80–$150 | 6–8 hrs (one day) | Confident builder | Lightweight seasonal totes |
Carpenter Andrew Young, who documented a knee-wall built-in for Fine Homebuilding, warns that old roof frames “are a lot like roofs framed with modern engineered trusses — you can’t modify them in any way without creating a major weakness.” His fix: set cabinets between the studs, not remove them. Keep your studs. Build around them.
Access-Door Cubbies: The Fastest Knee-Wall Build
Skill level: first build. Cost: $50–$150. Time: one long Saturday. This is where everyone should start — one clean cut, a header from two boards, and a door. No slides, no face frame to fit.
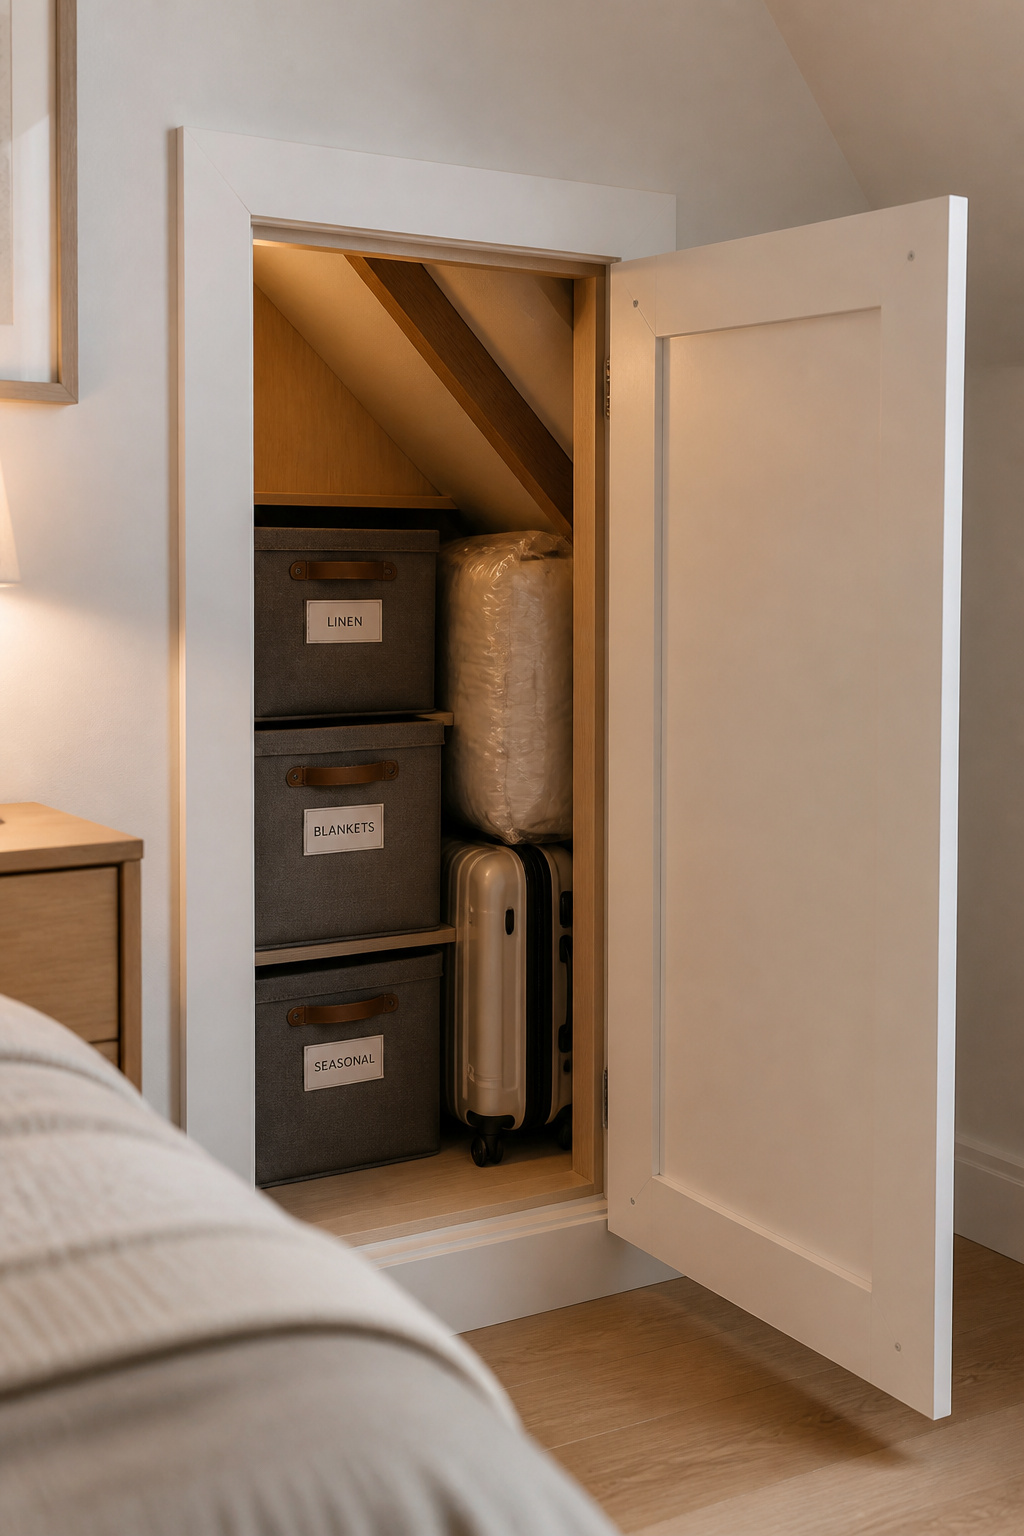
Measuring the truss cavity and cutting the opening safely
Off-the-shelf access doors come in two sizes — 22.5 × 31.5 inches and 27.5 × 35.25 inches — both sized to drop between studs on 16- or 24-inch centers. The sequence:
- Find your studs and mark the opening between two of them.
- Drill 4-inch inspection holes at each corner; flashlight in, look both ways for wires or pipes before you commit.
- Cut the drywall with a drywall saw or oscillating tool.
- To remove a stud, make a 3-inch mark above the cut line, relief-cut its midpoint, pull it out in two pieces, and nail two flat 2×4s above as a non-load-bearing header.
- Keep the opening at least 6 inches above the floor so the baseboard runs under it.
Door options: hinged, magnetic-catch, and handleless flush
A magnetic latch keeps the face flat with no protruding knob — the cleanest look in a bedroom. A DIY door of two half-inch plywood layers around an inch of rigid foam runs $30–$60 and adds light insulation against a cavity that swings hot and cold. Case the opening with 1×4 pine, then caulk and paint the inside corner before hanging the door.
What to store in a shallow 12-inch cavity — and what not to
A shallow 12-inch cubby suits flat seasonal stuff: holiday bins, gift wrap, bedding in vacuum-seal bags; deeper 24–36-inch cavities take rolling bins and luggage. Keep electronics, photographs, and anything moisture-sensitive out of an uninsulated cavity — these spaces hit 90°F-plus in summer and near-freezing in winter.
Two mistakes to dodge. First: people caulk the inside corner, paint it, hang the door — and skip caulking the casing-to-wall joint. Looks fine on install day; the first heating season opens a thin dark line. Caulk it with paintable acrylic before you paint. Second: a single hinge on a door wider than 18 inches sags within six months. Use three.
Knee-Wall Drawer Runs: Built-In Storage That Looks Custom
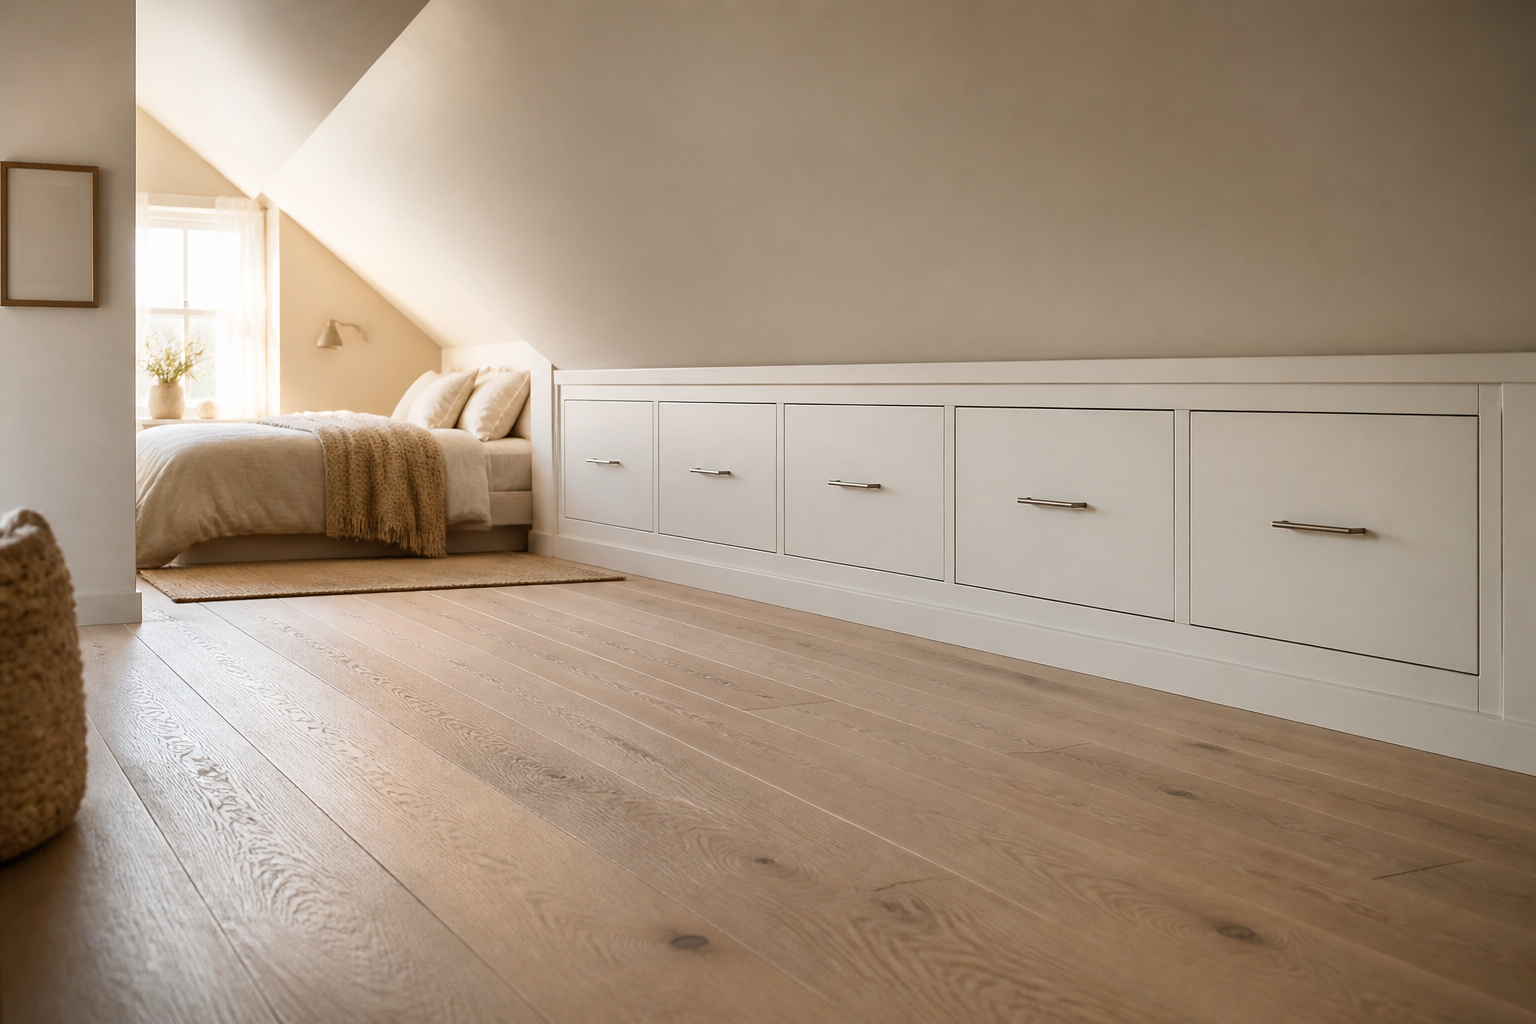
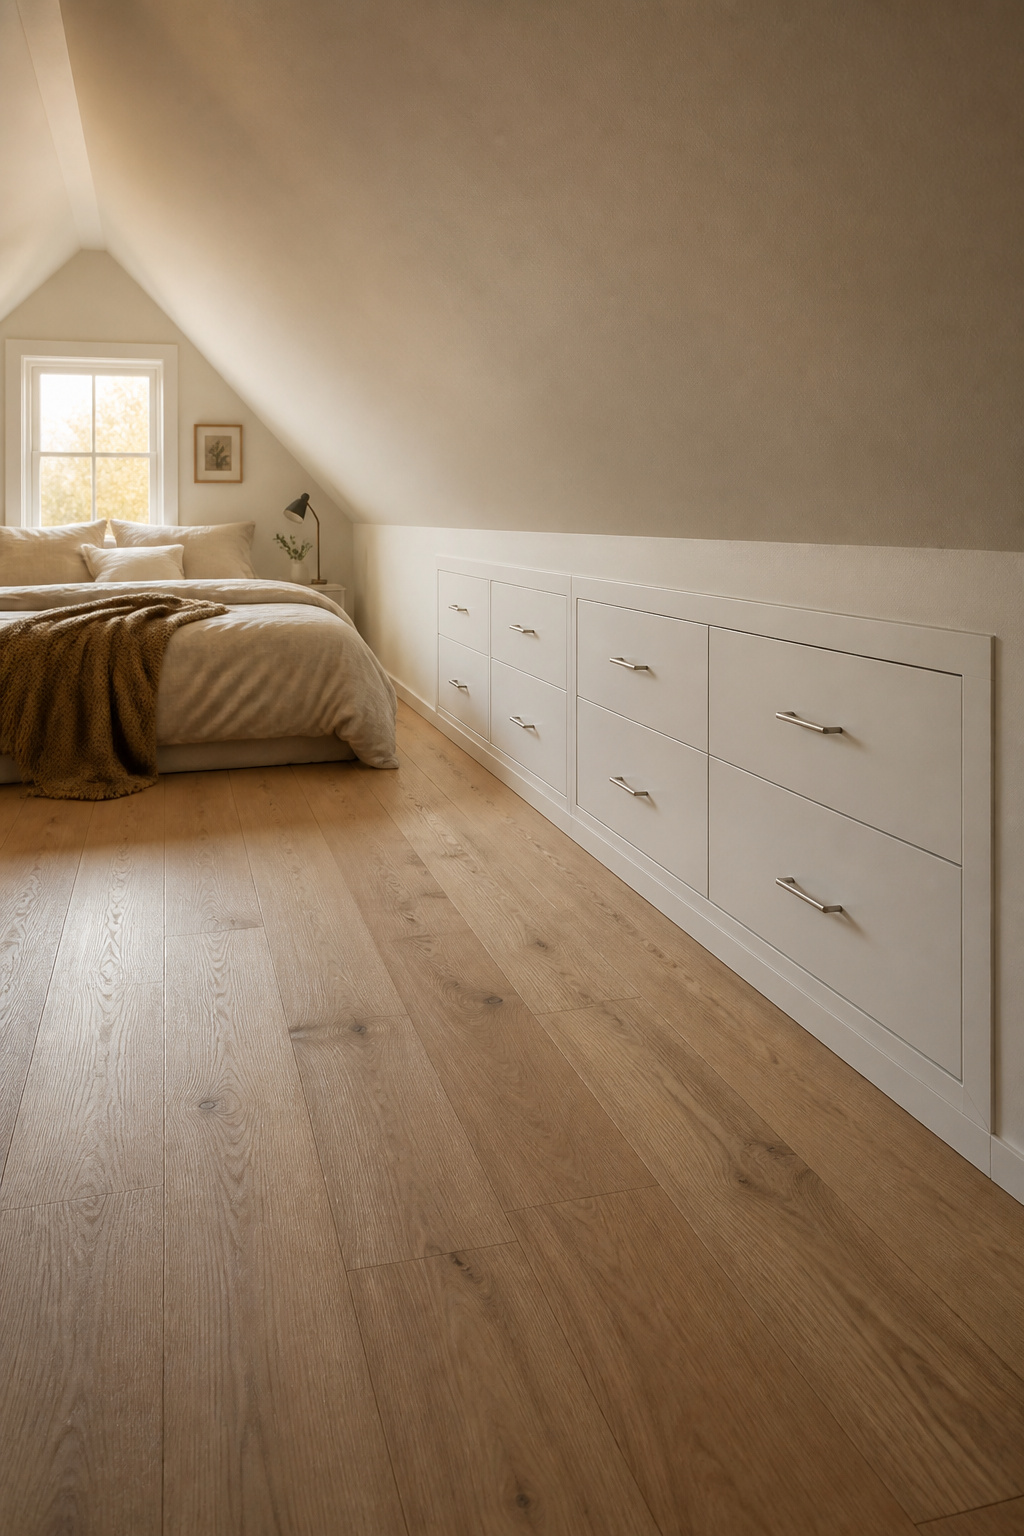
Skill level: some builds. Cost: $200–$400 for a 6-foot run. Time: two weekends. The carcass is a simple plywood box; the custom look comes from level slides, flush fronts, and a tight face frame — and zero floor footprint.
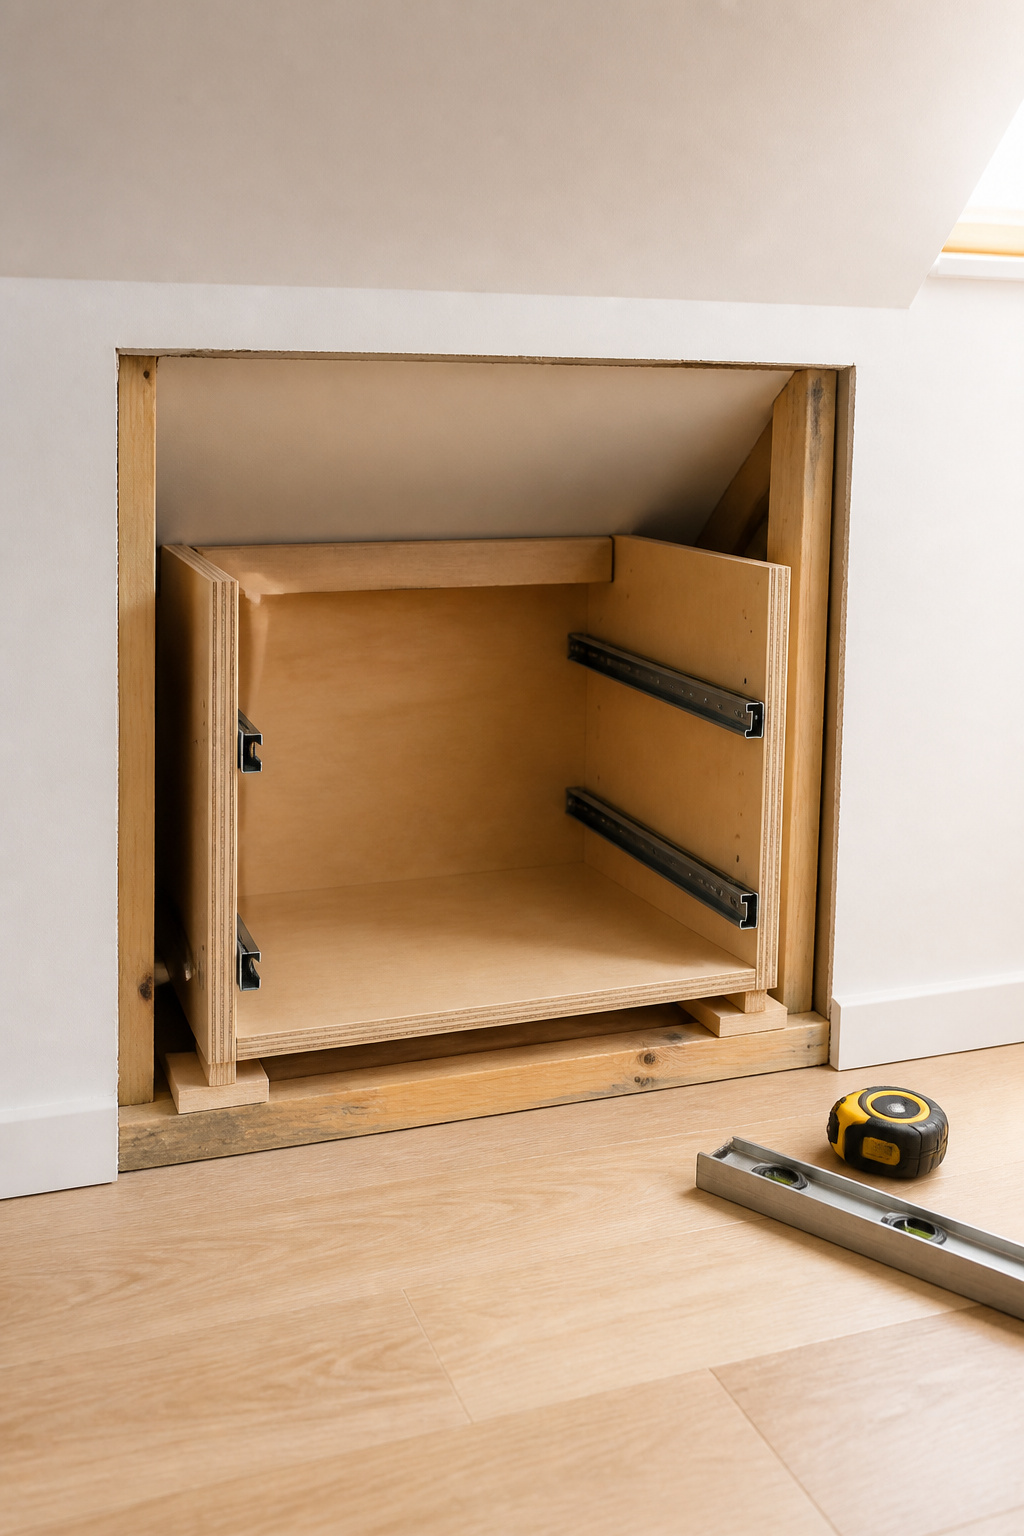
Stock lumber case construction: the cuts that matter
Build the carcass from half-inch plywood for drawers only, or 3/4-inch cabinet-grade birch if it carries shelves too — birch runs $55–$80 a sheet in 2026. A few rules that save a do-over:
- Dividers: plywood, never 2×4. Dimensional lumber twists seasonally and binds slides inside a year.
- Level sill: a 2×4 laid flat across the joists, bringing the box up to finished floor height.
- Size to the smallest bay if spanning several, then shim level — easier than custom-cutting each box.
- Anchor with four 2-inch screws per side into the framing so the unit won’t rack when a loaded drawer comes out full.
Drawer slide options for a low-headroom install
Side-mount full-extension slides bolt to the carcass sides and come in 2-inch steps from 10 to 24 inches — a 22-inch slide suits a standard knee-wall drawer. Buy soft-close slides with the mechanism built in ($15–$35 a pair); don’t clip dampers onto plain ones. Use a level: a 1/8-inch tilt across a 22-inch slide and the drawer creeps open, which on an attic floor that’s rarely true is the whole game.
Finishing flush with the knee-wall face — the step that separates good from great
The face frame is where this build wins or loses. Build it from poplar or maple for paint — solid wood holds screws better than MDF. Leave a 1/8-inch reveal between stile and carcass so the wall gap caulks in one straight line: that joint is the one visible from across the room.
One mistake to dodge: painting drawer fronts before installing them. Paint bridges the gap and glues them shut on the first humid day. Hang them raw, then paint in place.
Between-Truss Shelving: Using Every Inch Above the Floor
Skill level: confident builder. Cost: $80–$150. Time: one day. Shelves span between the rafters inside the cavity — no wall face needed. The catch is reading your truss layout and knowing what the floor can hold.
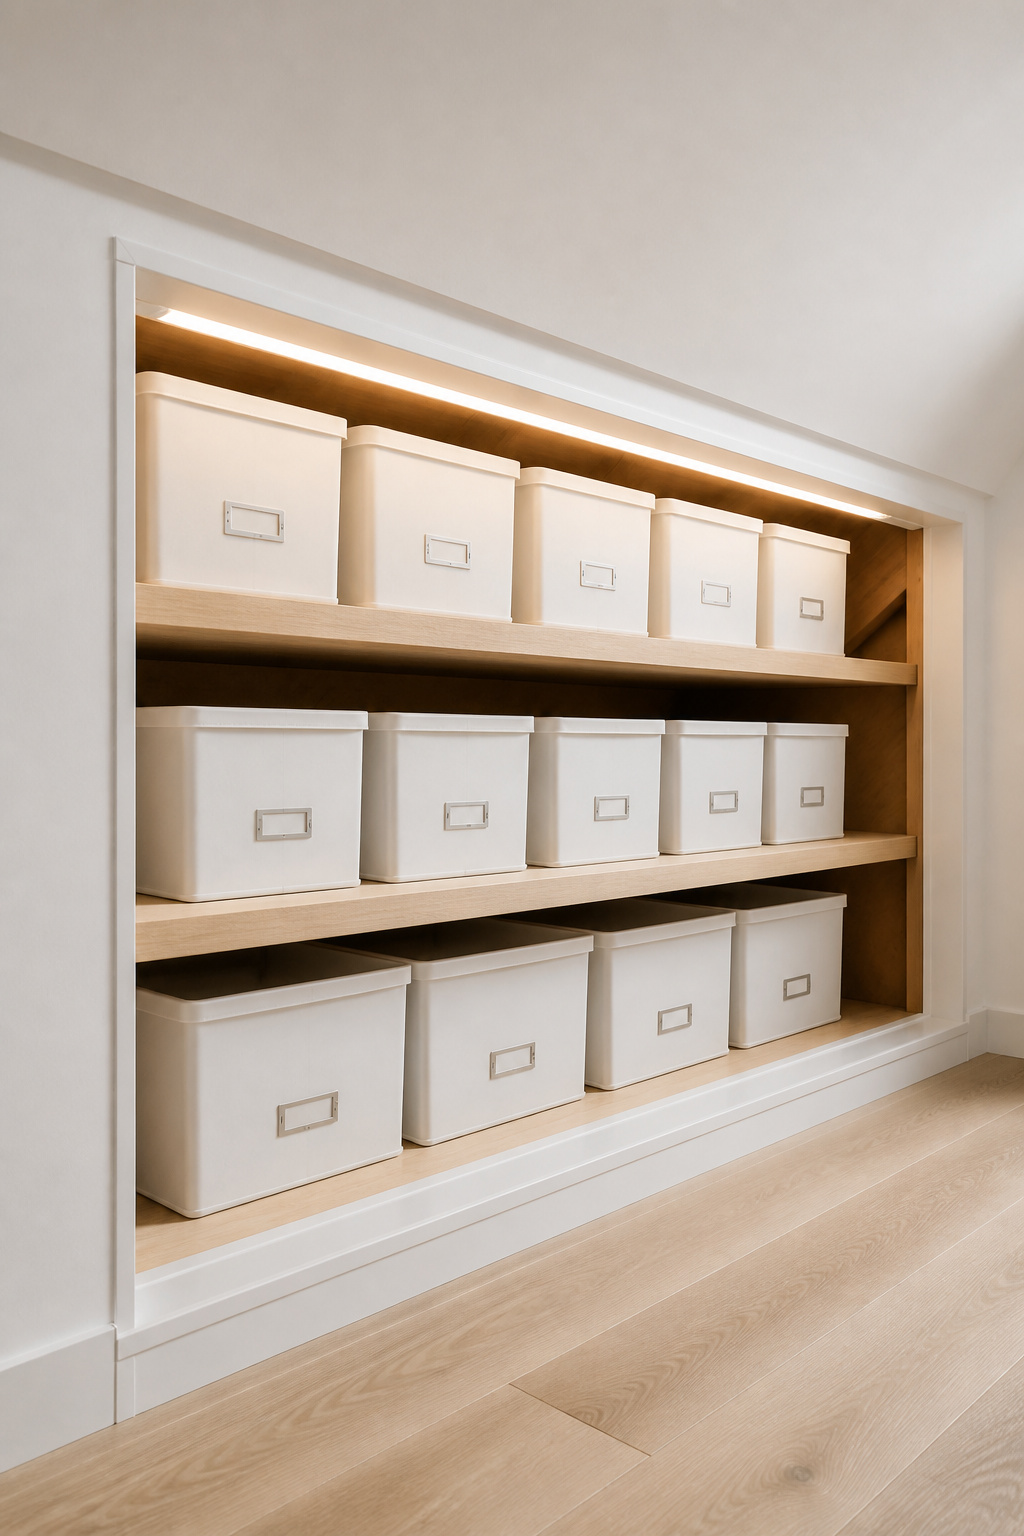
Reading your truss spacing before you design the shelves
Trusses or rafters run 16 or 24 inches on center. Measure the clear span from inside before cutting a shelf, and build to the smallest measured bay. One hard line: if your trusses are engineered (stamped by an engineer), don’t cut or drill into any member — they’re rated assemblies, and modifying one voids the rating and can cause failure.
The 25-lbs-per-shelf figure you’ll see quoted is a product spec — the steel TrussShelf system for 24-inch bays — not a structural reference for your floor. If your floor is 2×4 ceiling joists rated for drywall and insulation only, keep contents light or reinforce the floor first. When in doubt, ask a structural engineer.
Depth limits and what they mean for what you can actually store
Truss spacing decides shelf depth, and depth decides what fits.
| Truss spacing | Max shelf depth | Recommended material |
|---|---|---|
| 16 in on center | 12–14 in | 3/4-in CDX or birch plywood |
| 24 in on center | 22–24 in | 3/4-in CDX or birch plywood |
A 16-inch bay suits books and totes stood upright; a 24-inch bay takes a 20-inch rolling tote laid flat. CDX pine at $30–$45 a sheet handles hidden shelves; spring for birch where the shelf shows. Cut shelves snug with 1/8-inch clearance each side, and support the front edge with a cleat screwed to the joist below.
Lighting the cavity: strip lights and motion sensors that make it usable
A dark 3-foot-deep shelf is a useless shelf. The simplest fix needs no electrician: battery or plug-in LED batten lights lay flat against the rafter without eating headroom. Motion-activated LED cabinet tape ($15–$35) lights when the door opens and shuts itself off. A hardwired circuit is electrician territory: budget roughly $150–$300 for a licensed pro — treat that as an estimate, not a quote, since enclosed-cavity wiring costs vary.
Finishing and Integrating Eaves Storage Into the Room
The gap between a built-in and a patched-over hole is almost all finishing — paint match, casing fit, hardware that looks chosen rather than grabbed.
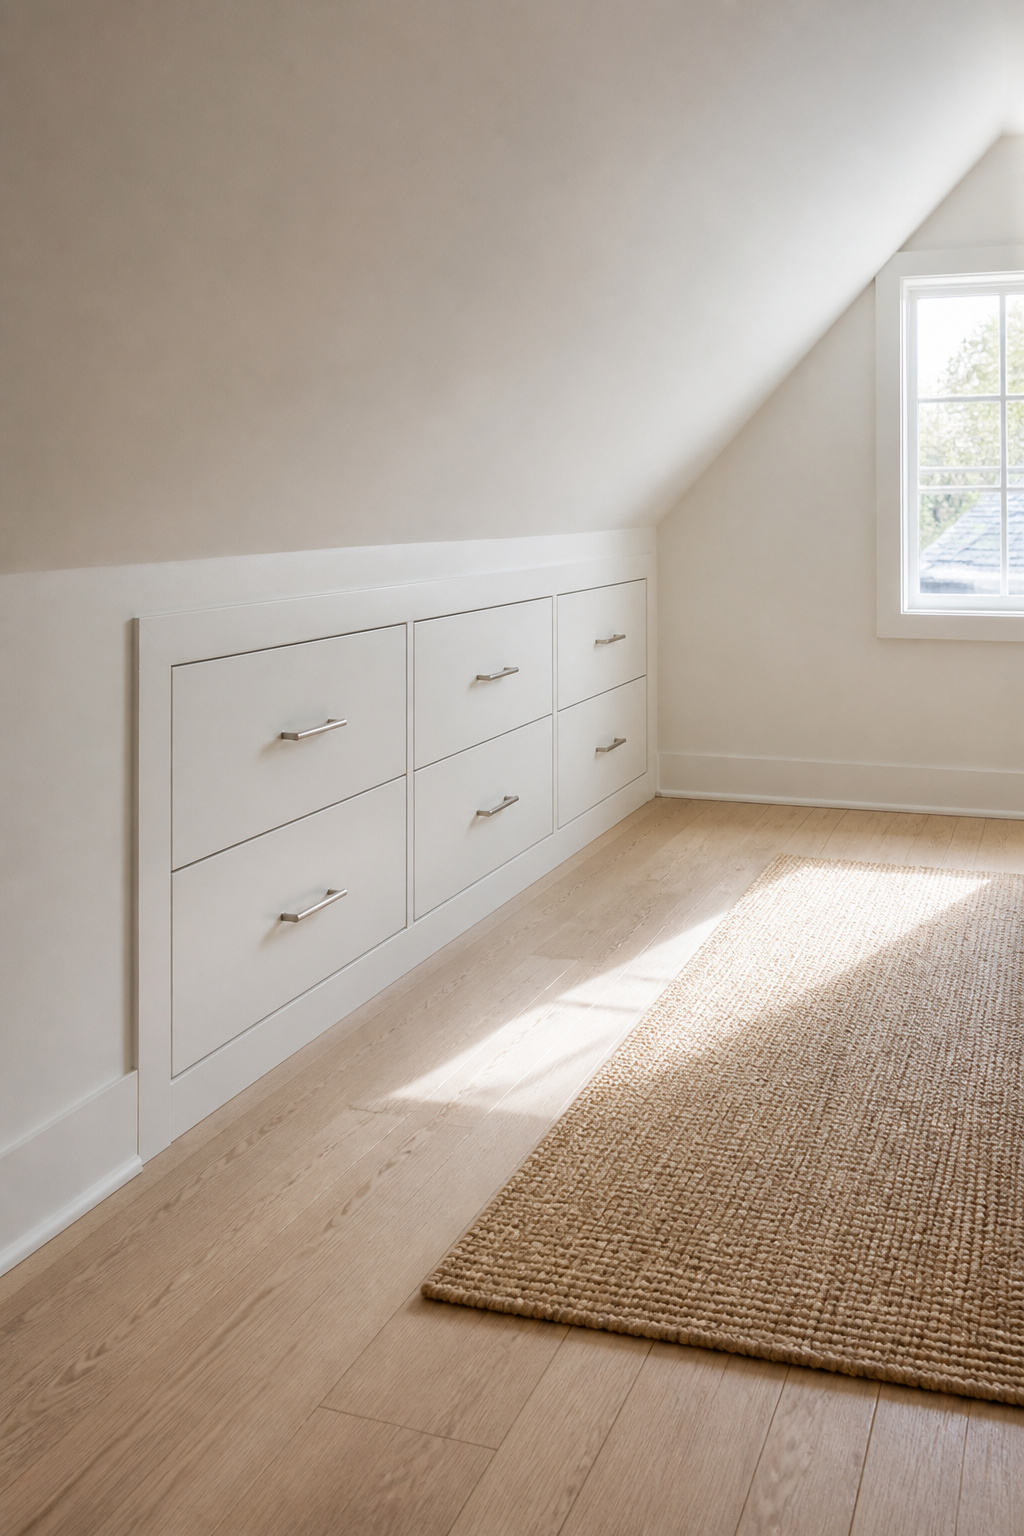
Paint and trim choices that make built-ins look intentional
Paint the drawer fronts and casing the same color as the knee wall and the unit reads as architecture. As DIY woodworker Patticake Wagner put it after her own build, matching the color “really makes them look like they belong there and were planned as part of the room design, rather than being added in after the fact.” Caulk the face-frame-to-wall joint with paintable acrylic — paint alone cracks within one heating season. Ogee doorstop moulding hides the perimeter seam.
Hardware: pulls, hinges, and soft-close catches worth the upgrade
Bar pulls in matte black or brushed nickel ($4–$15 each) are the durable, neutral pick. Skip knobs on any drawer wider than 14 inches — a single off-center knob racks the box. Size the pull at 1/3 the drawer width: a 6-inch bar on an 18-inch drawer. One warning: chrome reads cold next to warm white and oak.
How eaves storage connects to the rest of the room’s layout
Built-ins along the knee wall clear 8 to 20 square feet of floor — significant in a room that might only measure 120 to 200 square feet. Put a drawer run on the wall opposite or flanking the bed, never on the wall the door swings against. Leave at least 24 inches of clearance in front so you can reach a drawer from a crouch; under a 5-foot ceiling, standing access isn’t always possible. This build is a core line item in a budget attic conversion, and reachability matters even more for storage for a kids’ attic room.
Your First Knee-Wall Build: Where to Start This Weekend
Build the access-door cubby first. One opening, no slides, no face frame. This Old House rates it at difficulty 1 out of 5 and 6–8 hours — a single Saturday for your first real built-in.
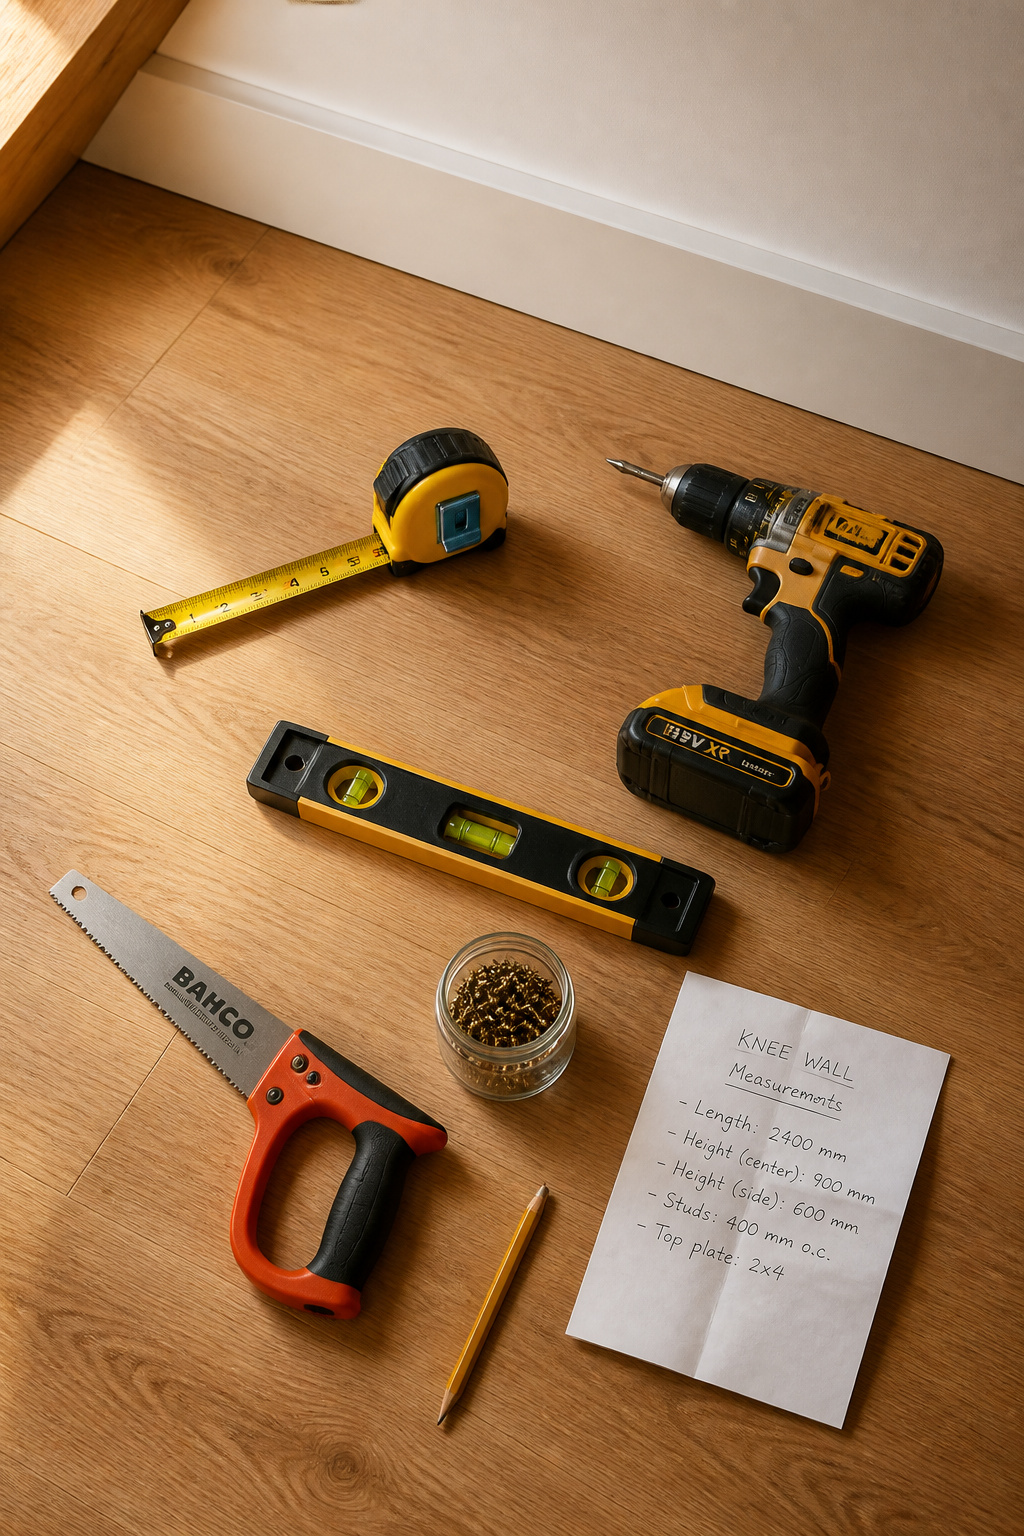
The one build any beginner can finish in a day
A cubby in one stud bay returns roughly 8–12 cubic feet — invisible from the room — for $50–$150. One drywall cut, a flat 2×4 header, a door. Finishing it makes the drawer run stop looking intimidating.
Tools to buy, tools to borrow, tools to skip
Four tools actually matter here. Buy the ones you’ll use forever; borrow or skip the rest.
- Drill/driver — buy ($40–$80 cordless).
- Tape measure and torpedo level — buy ($10–$20 and $15–$25).
- Stud finder — buy ($20–$40). Finding studs before cutting keeps you off the wiring.
- Drywall saw or oscillating multi-tool — borrow. A tool library or neighbor usually has one.
Skip the temptations: no table saw (a circular saw with a straightedge guide makes every cut), no biscuit joiner (pocket screws handle the joinery), no router (buy the moulding pre-milled).
What to do when the truss spacing isn’t what you expected
Older homes often have 16-inch studs in the knee wall even when the rafters run 24 inches — a stud-finder pass settles it in two minutes. If spacing is irregular, build to the narrowest bay and shim. If your first inspection hole finds wiring or pipe, move two bays down and drill again; there’s almost always a clear spot.
Start with the cubby this weekend, learn the wall, and the drawer run will be waiting.
FAQ
How do you build storage under attic eaves without a contractor?
Start with the access-door cubby — an entry-level build a competent DIYer finishes in 6–8 hours. Use a stud finder to locate two studs, drill corner inspection holes for wiring, cut the drywall, frame a flat 2×4 header, and hang a pre-made door with a magnetic catch. Just confirm the wall is non-load-bearing first.
What can you store in attic knee wall space?
Store seasonal, infrequently grabbed items: holiday decorations, spare bedding in vacuum-seal bags, off-season clothes, luggage, and sports gear that fits the 18-to-36-inch cavity depth. Avoid electronics, photographs, or anything moisture-sensitive, because uninsulated cavities swing past 90°F in summer and near freezing in winter. A drawer-run build instead turns the same space into daily clothes-and-linen storage.
How deep should knee wall storage drawers be?
Bottom drawers in a knee-wall run reach 22–24.5 inches deep — the practical limit in a 24-inch-on-center truss bay. Match the slide to the box: side-mount full-extension slides come in 10-to-24-inch lengths, so a 22-inch slide suits a 22-inch drawer. Size the drawer box one inch narrower than the opening for side-mount slides, half an inch each side.