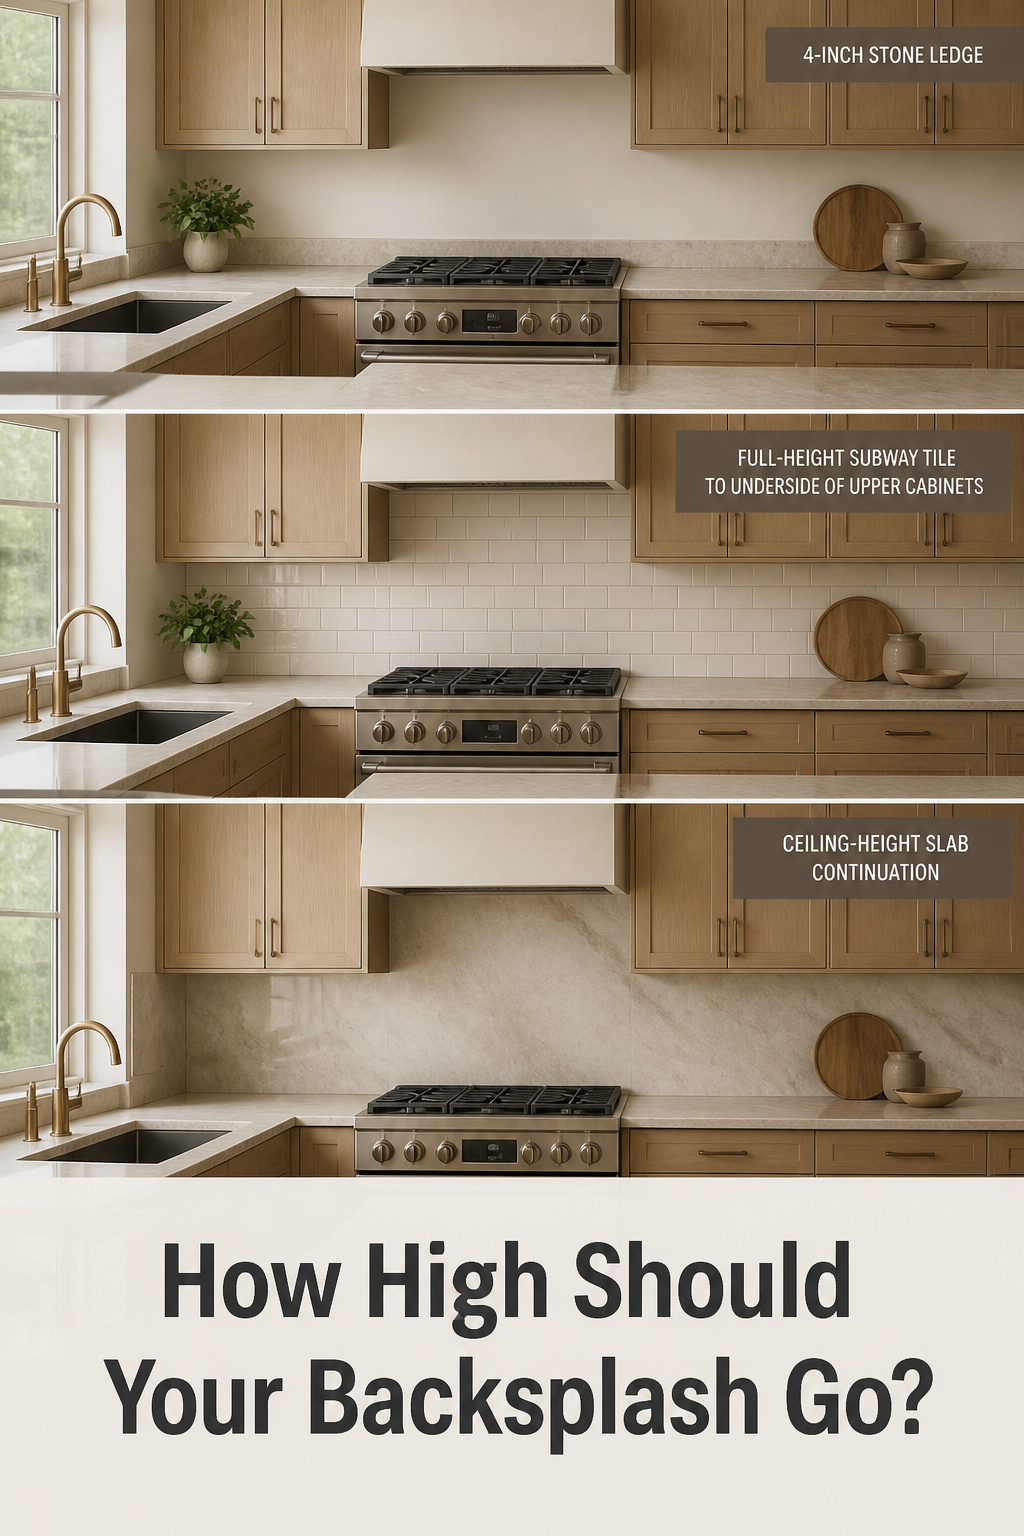
You have probably heard two things about backsplash height, and they cancel each other out. One says the 4-inch ledge is dated and cheap. The other says full-height tile is always better. Both are wrong on their own, and following either blindly is how a kitchen ends up with a height that fights the room. The right backsplash height is not a trend — it is a decision your cabinets, windows, and budget have mostly already made for you.
TL;DR
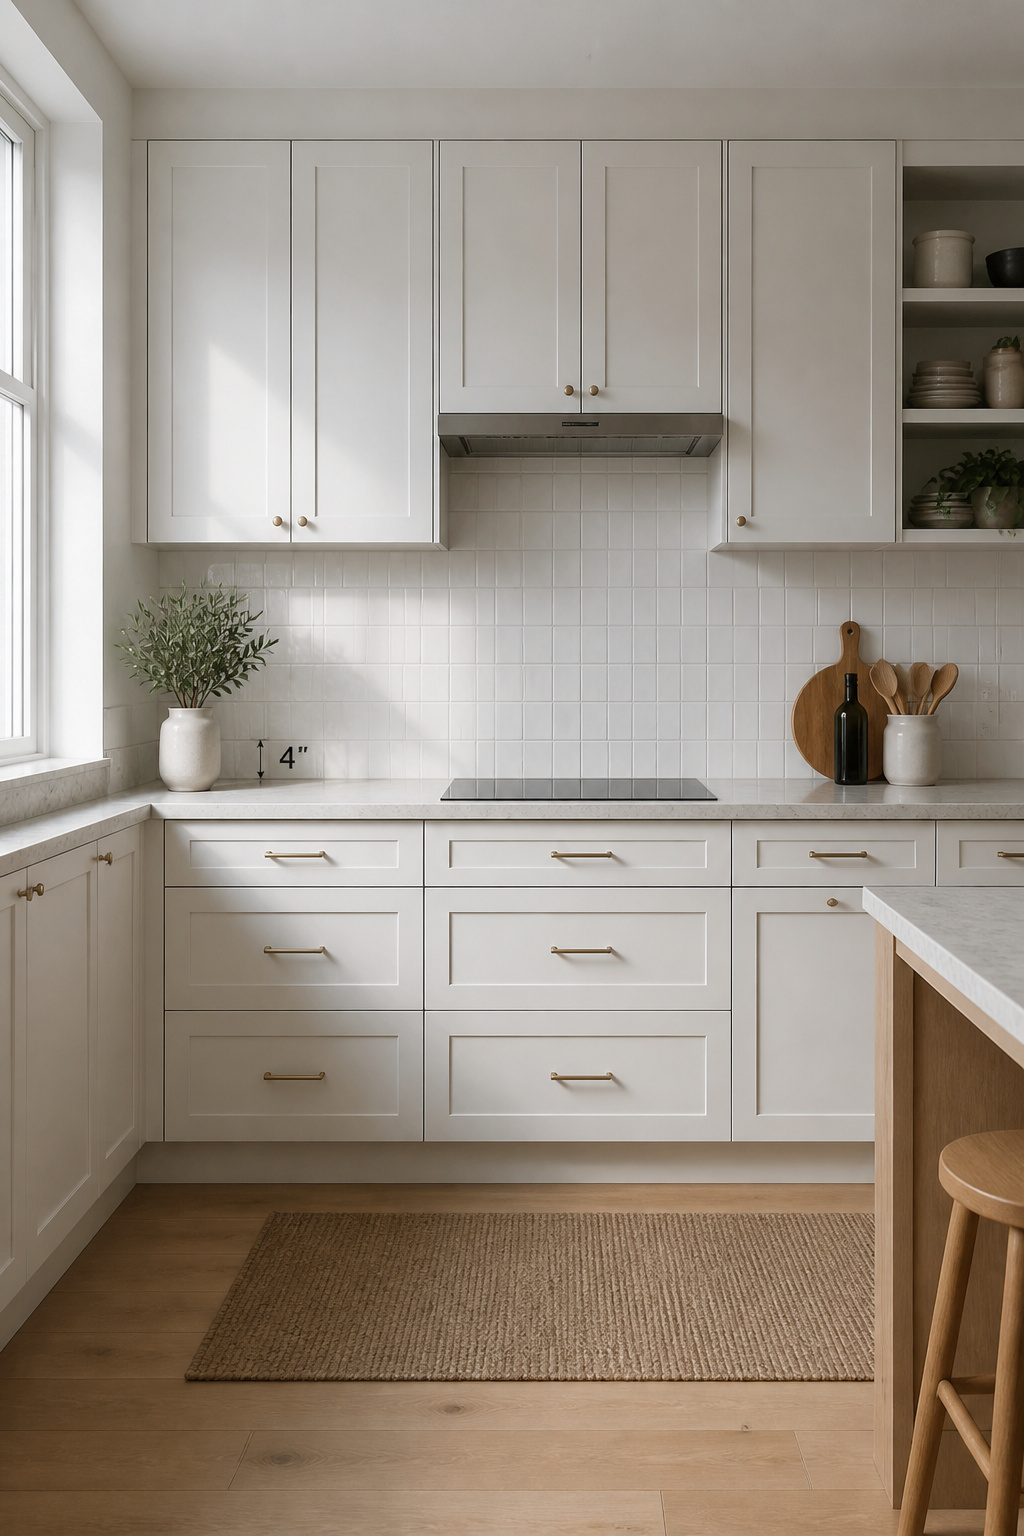
- The 4-inch standard is still the most common backsplash in US kitchens in 2026, and it is a deliberate, finished look — not a builder-grade compromise.
- Full-height tile to the cabinets runs 18–24 inches and costs 50–80% more than standard; a typical install lands at $500–$1,700, with slab-to-ceiling reaching $4,500 or more.
- Short on budget? Run full-height behind the stove only — the wall that needs protection most — for roughly $90–$480, and keep a standard ledge everywhere else.
Forget the Rule You Heard
Both claims treat height as a matter of taste when it is mostly a matter of fit.
The ‘4-inch is outdated’ myth
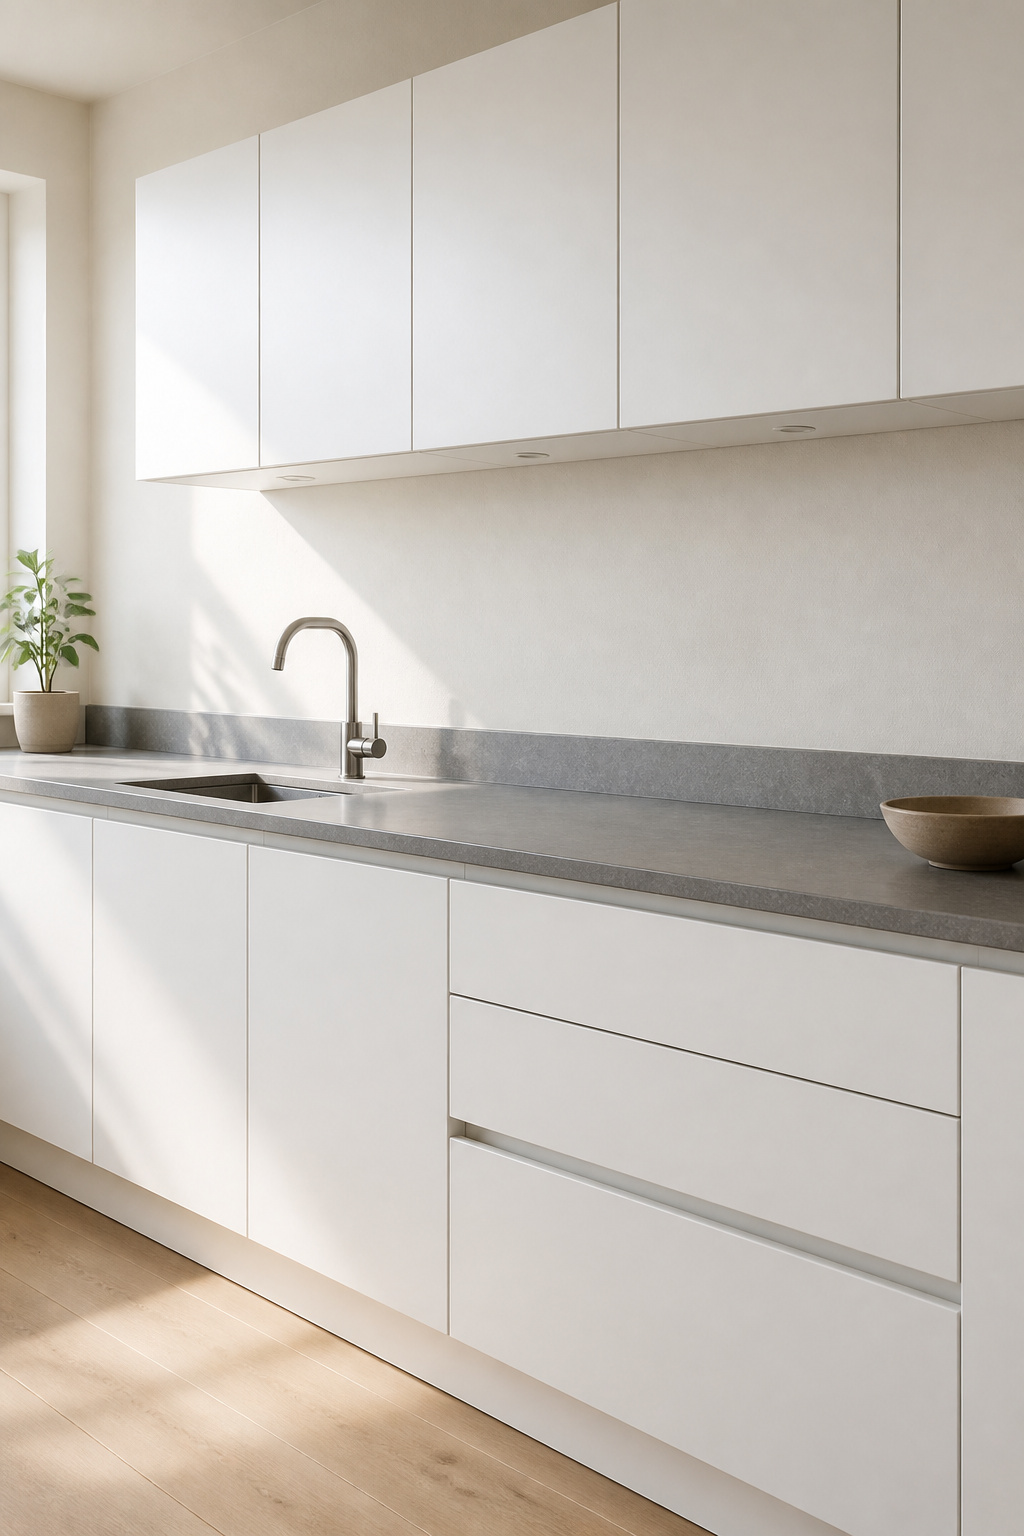
The 4-inch backsplash is still the most common installation in US kitchens in 2026 — the fact the “it’s dated” crowd skips. Fabuwood Cabinetry puts it plainly: “The 4-inch backsplash is a classic for a reason — it never goes out of style.” What dates a kitchen is a trend-specific tile pattern stacked on top, not the height. Social media over-represents high-budget renovations, so the eye learns to read anything modest as unfinished. A matching-stone ledge is clean, complete, and chosen.
The ‘full-height is always better’ myth
Full-height has its own myth: that more tile is always more kitchen. The cost alone argues otherwise — a full run costs 50–80% more than standard, because tile is priced by the square foot and the area is four to six times larger. Stone Central warns that a quartz slab behind a gas range can develop “lamination issues because of the heat from the stove.” In a kitchen with several windows or open shelving, a tall run competes with the light instead of settling the room.
What actually decides height
Four things make the call: where a cabinet or window creates a natural stop point, how much cooking protection the wall needs, budget, and the visual proportion of ceiling height to kitchen size. Fabuwood’s rule is clean: cost-effective and classic, go standard; bold statement at higher cost, go full height; small kitchen, full height makes the space read larger. I add one question first — what do I want this wall to do? A wider view of choosing a kitchen backsplash sits behind it if you want the full landscape.
The Heights, and What Each One Is For
Four heights, each doing a specific job.
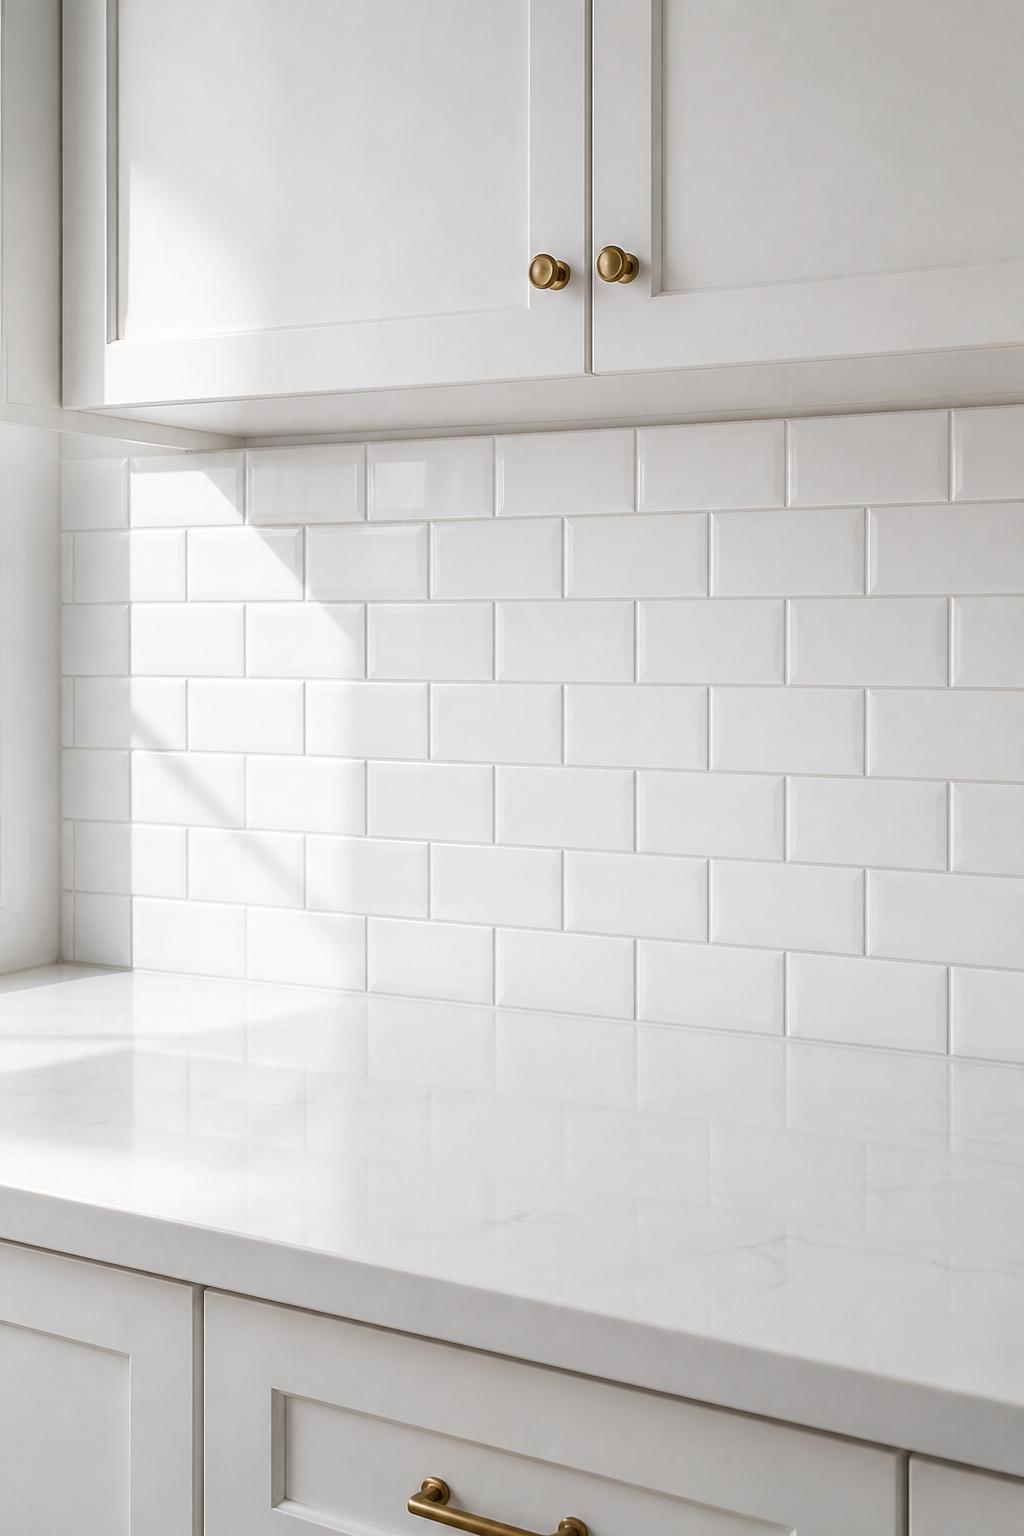
| Height | Wall protection | The look it gives | Relative cost |
|---|---|---|---|
| 4-inch standard | Lowest splash zone only | Clean, finished, minimal | Lowest — often included with the counter |
| 6-inch standard | Slightly more, still a ledge | A thicker, more upscale ledge | Low |
| Full-height to cabinets (18–24 in) | The whole counter-to-cabinet zone | Design-forward, tiled wall | $500–$1,700 typical |
| Ceiling / slab continuation | Maximum, full wall | Dramatic, seamless focal wall | Highest — slab can reach $4,500+ |
The 4-inch and 6-inch standard
The 4-inch ledge usually uses the same stone as the counter, reading as one monolithic surface. Angi classes 3–6 inches as the standard range, with 4 the average. The 6-inch version — Precision Granite’s “middle ground” — adds “more protection and a slightly more upscale appearance” without the complexity of cutting tile around full-height outlets.
Full-height to the cabinets
Full height covers the wall from countertop to the underside of the cabinets — 18 inches in a standard kitchen, up to 24 inches in taller ones. It is the most common design-forward choice in 2025–2026 remodels: subway, herringbone, and large-format tile all read best at full coverage, and the zone wipes down far more easily than drywall. The added cost is material — four to six times more square footage — plus labour for outlet cutouts. Material does the deciding here, so settle which material to run full height before you commit.
All the way to the ceiling and slab
The tallest option runs from counter to ceiling past the cabinet line — most often a quartz or marble slab continuing the countertop up the wall in one veined plane. Grout-free and easy to maintain: Stone Central notes slab is “incredibly durable and easy to wipe down” and “less grout also means fewer places for grime to hide.” Cost is the catch: a full wall can reach $4,500 or more. In a small kitchen it earns its place — carrying the surface to the ceiling draws the eye up and makes the room feel larger.
Let the Room Set Your Backsplash Height
Read the room before you choose the tile. Three facts decide the right height — where the cabinets stop, where windows and shelves interrupt, and what the ceiling does to proportion.
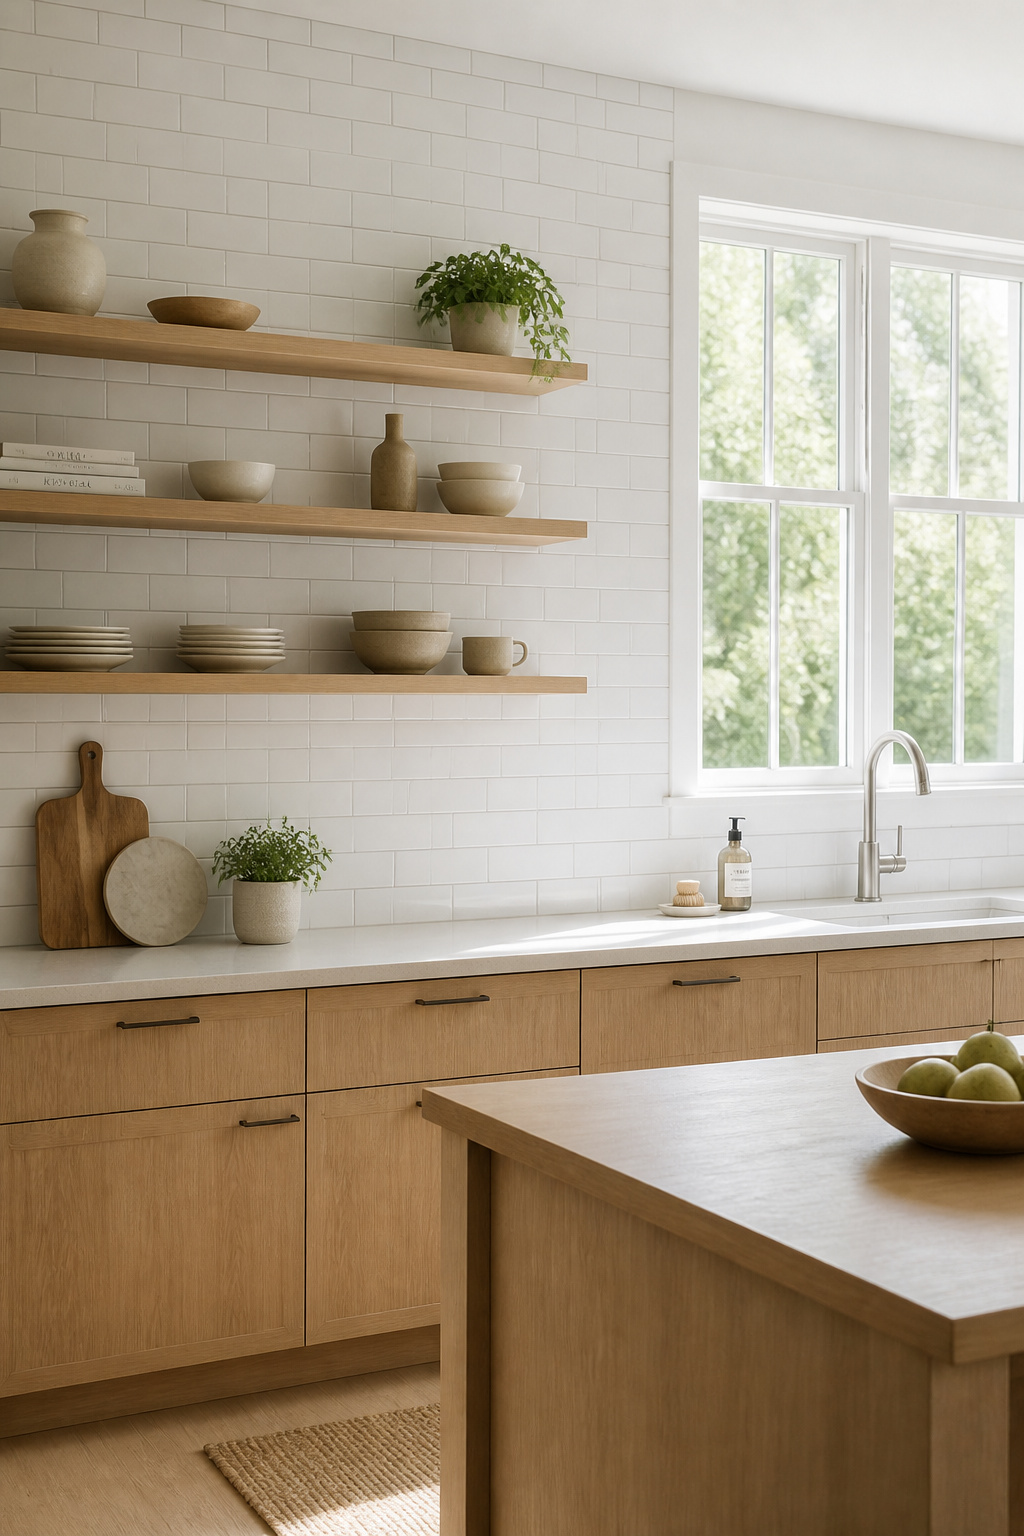
Cabinets, windows, and the stop-point rule
End the backsplash at a natural stop point: underside of the cabinets, a window sill, or the bottom of open shelves. Stop mid-wall with nothing to anchor to and it looks arbitrary. Standard counter-to-cabinet clearance is 15–18 inches — enough tile to justify a pattern while the cabinet acts as the top edge. Where a window sits above the counter, end the tile at the sill. With open shelving, run the tile up behind the shelves and continue to the ceiling so the wall reads as one surface. Where there are no upper cabinets, the range hood becomes the stop point. The height should mirror the room’s vertical generosity.
Ceiling height and small kitchens
Ceiling height is where I lean on judgment rather than a published rule. In a small kitchen with an 8-foot ceiling, full height to the cabinets genuinely helps — it unifies the wall and draws the eye up. At 9 feet or above, taking tile all the way up earns its grandeur. Where the ceiling is low and ceiling-high tile would feel oppressive, stop at the cabinet base — the cabinet acts as a ceiling and the tile stays in its lane. One practical note: a full run can throw the counter into shadow, so under-cabinet lights are standard practice whenever tile goes full height.
The Money-Smart Compromise: Full-Height Behind the Stove Only
If the full-kitchen number is too high, tile full height behind the stove only and keep a standard ledge everywhere else. Most protection where it matters most, at a fraction of the cost.
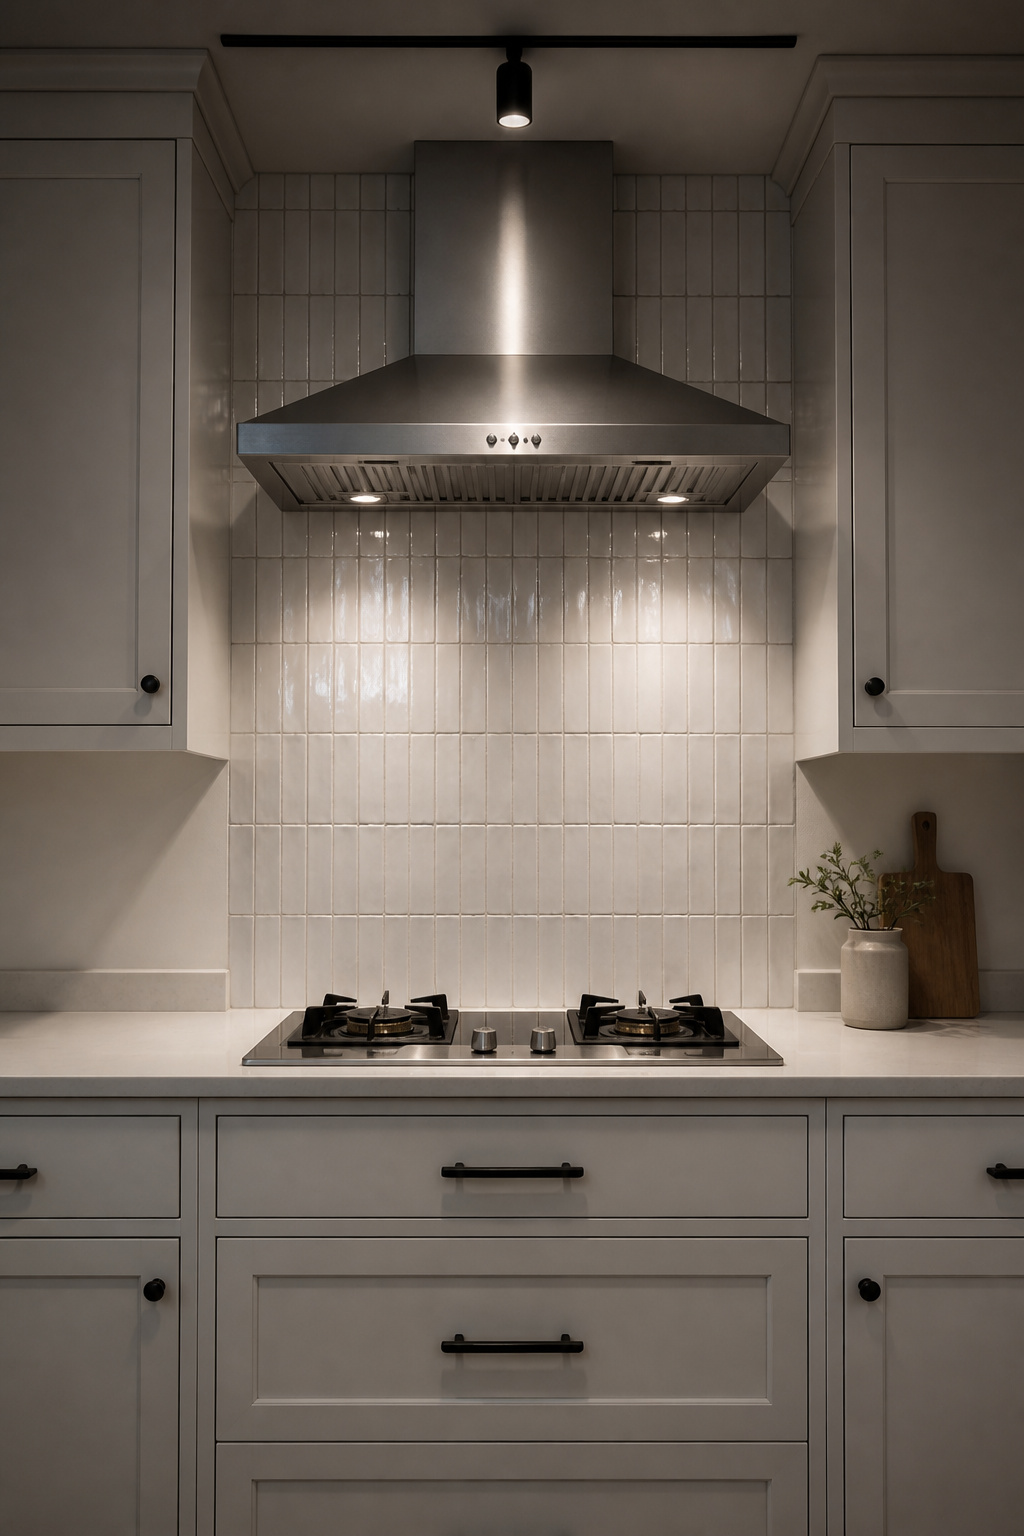
Where protection actually matters most
The wall behind the stove — typically 24–36 inches wide — takes the most concentrated heat, grease, and splatter in the kitchen, and painted drywall degrades there fast. The recommended minimum is 18 inches above the cooking surface; gas-range and frequent fry cooks do better at 30–36 inches or full height to the hood. A 4-inch ledge is not enough here — the gap between a short ledge and the hood collects grease. Ceramic, glass, stone, and stainless steel all handle cooking heat; a quartz slab can laminate near a gas flame, so check with your fabricator first.
Why the stove wall earns the splurge
The stove wall is a naturally bounded zone — cabinetry on each side, a hood above — which is exactly why a stove-only backsplash looks deliberate rather than partial. CLE Tile puts it well: treat the stove wall as a framed picture, where the cabinetry and hood do the framing and the tile is the art. Fireclay Tile calls it “a simple yet effective way to add both style and functionality” at a fraction of the full-kitchen cost. The bounded zone also makes it safe for a design risk — subway, herringbone, a handmade glaze, or a slab continuation — because the complexity stays contained.
Pairing a feature wall with a standard run
Full-height tile behind the stove paired with a 4- or 6-inch ledge elsewhere reads as a choice, not a budget cut. The cleanest version: standard tile everywhere plus a contrasting feature tile behind the stove, or the countertop slab carried up the stove wall with a simple ledge of the same stone at the sink and prep zones. Avoid the same tile at two heights without clear contrast; that reads inconsistent. The slab-up-the-stove approach is the one I reach for most in Scandinavian kitchens, and it is the foundation of modern seamless backsplashes.
Pick Your Height in Five Minutes
One measuring session in your own kitchen answers this.
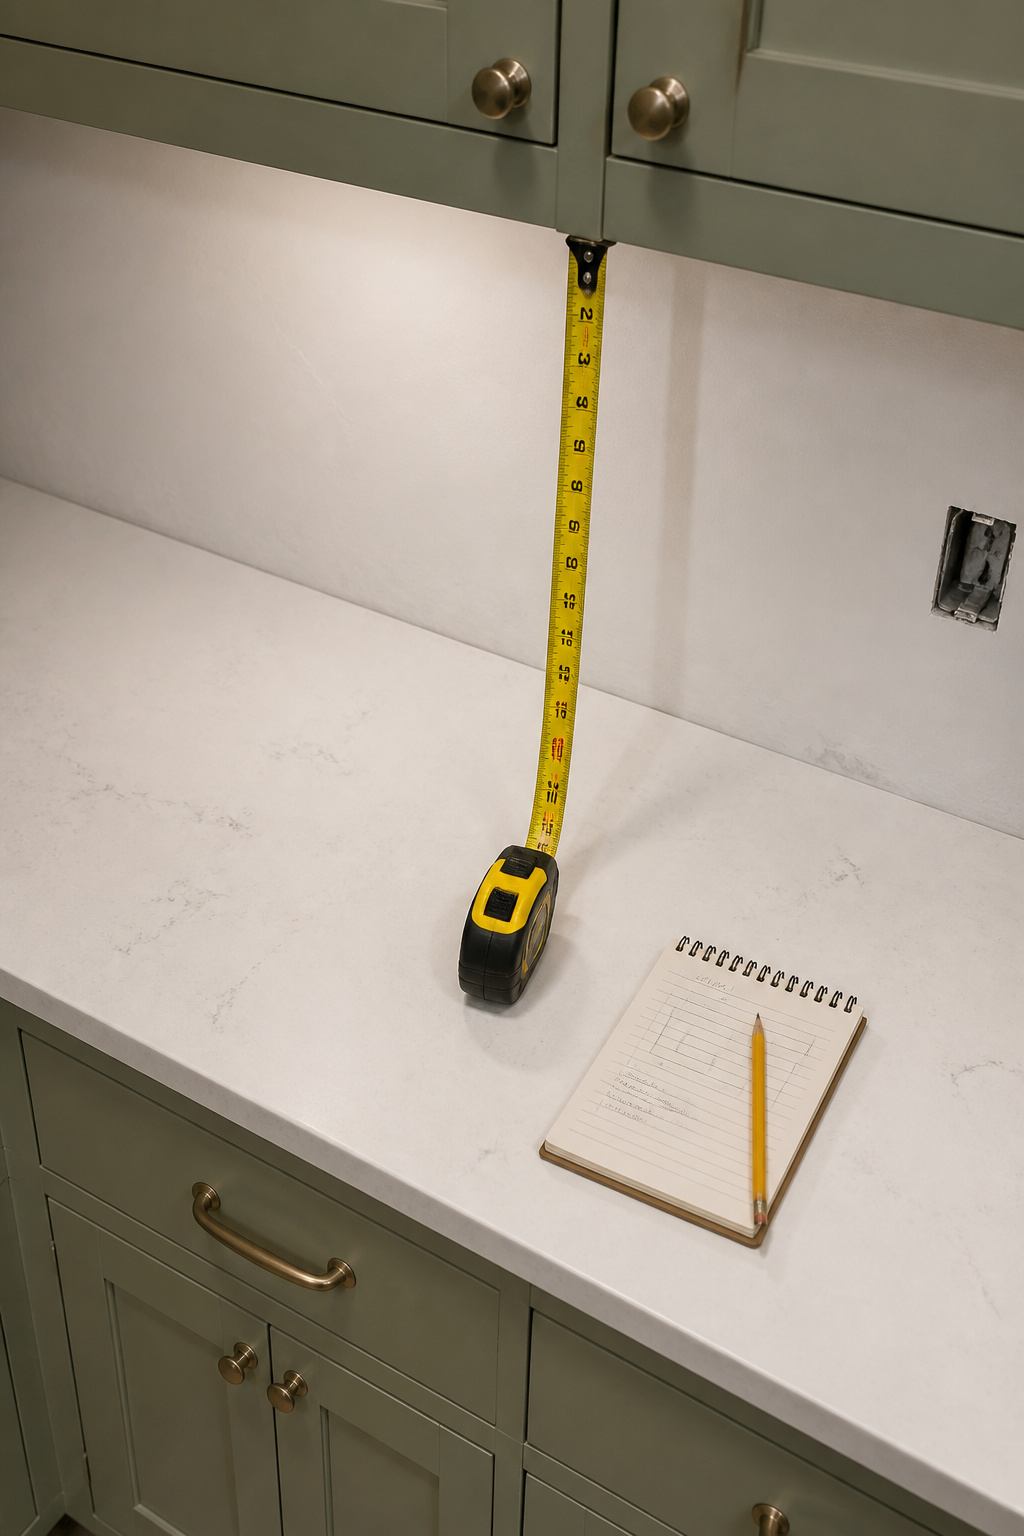
The measure-first checklist
Four readings close the decision:
- Measure the gap. Counter surface to underside of cabinets — usually 15–18 inches. This is your full-height dimension.
- Mark the stop points. Window sills, shelf brackets, and the hood. These anchors often make the height call for you.
- Judge the cooking. Gas range with daily high heat means full height behind the stove. Electric or induction with occasional cooking is fine with a 4- or 6-inch ledge.
- Price the area. Multiply the gap by linear feet of counter, then cost it at $15–$40 per square foot installed. If full height fits, proceed; if not, the stove wall covers the priority zone for far less.
Matching height to budget
Three paths. A standard 4- or 6-inch ledge often costs near nothing — it uses the countertop remnant. Full height to the cabinets runs $500–$1,700 for a typical 35-square-foot kitchen (Angi 2026), with material driving where you land. A stove-only feature wall at 6–12 square feet runs roughly $90–$480 at $15–$40 installed — an approximate range, not a quoted figure. Slab to the ceiling is the top end, $4,500 or more.
Your first move today
Measure the counter-to-cabinet gap now. Under 15 inches, tile looks cramped; 18 inches or more gives it room to mean something. If budget is the constraint, start with the stove wall — most protection where it matters, and a standalone project. Tape a few samples to the wall and look at them in your own light, morning and evening; a white ceramic shifts noticeably between a north- and a south-facing room.
You came in with two myths and no rule. You leave with a height — standard, full, or stove-only — chosen by your cabinets, windows, cooking, and budget. That is the whole decision.
FAQ
What is the standard kitchen backsplash height?
The standard kitchen backsplash height is 4 inches above the countertop, included by default in most countertop installations and usually cut from the same stone as the counter. Some installs use 6 inches for slightly more coverage. Full backsplashes covering the counter-to-cabinet gap run 18–24 inches and count as an upgrade, not the standard.
Is a full-height backsplash worth the extra cost?
A full-height backsplash is worth it when the kitchen has good ceiling height, your cooking justifies more wall protection, or you want a seamless material statement; in small kitchens it also makes the space feel larger. It adds buyer appeal over a plain ledge. The best-value compromise is going full height behind the stove only.
How much does a full-height backsplash cost to install?
Professional installation runs $500–$1,700 for a standard kitchen of roughly 35 square feet, at $15–$40 per square foot installed for most ceramic and porcelain. Material drives the top end: glass, marble, or quartz slab can reach $4,500 or more. A stove-only feature wall covers 6–12 square feet for about $90–$480.