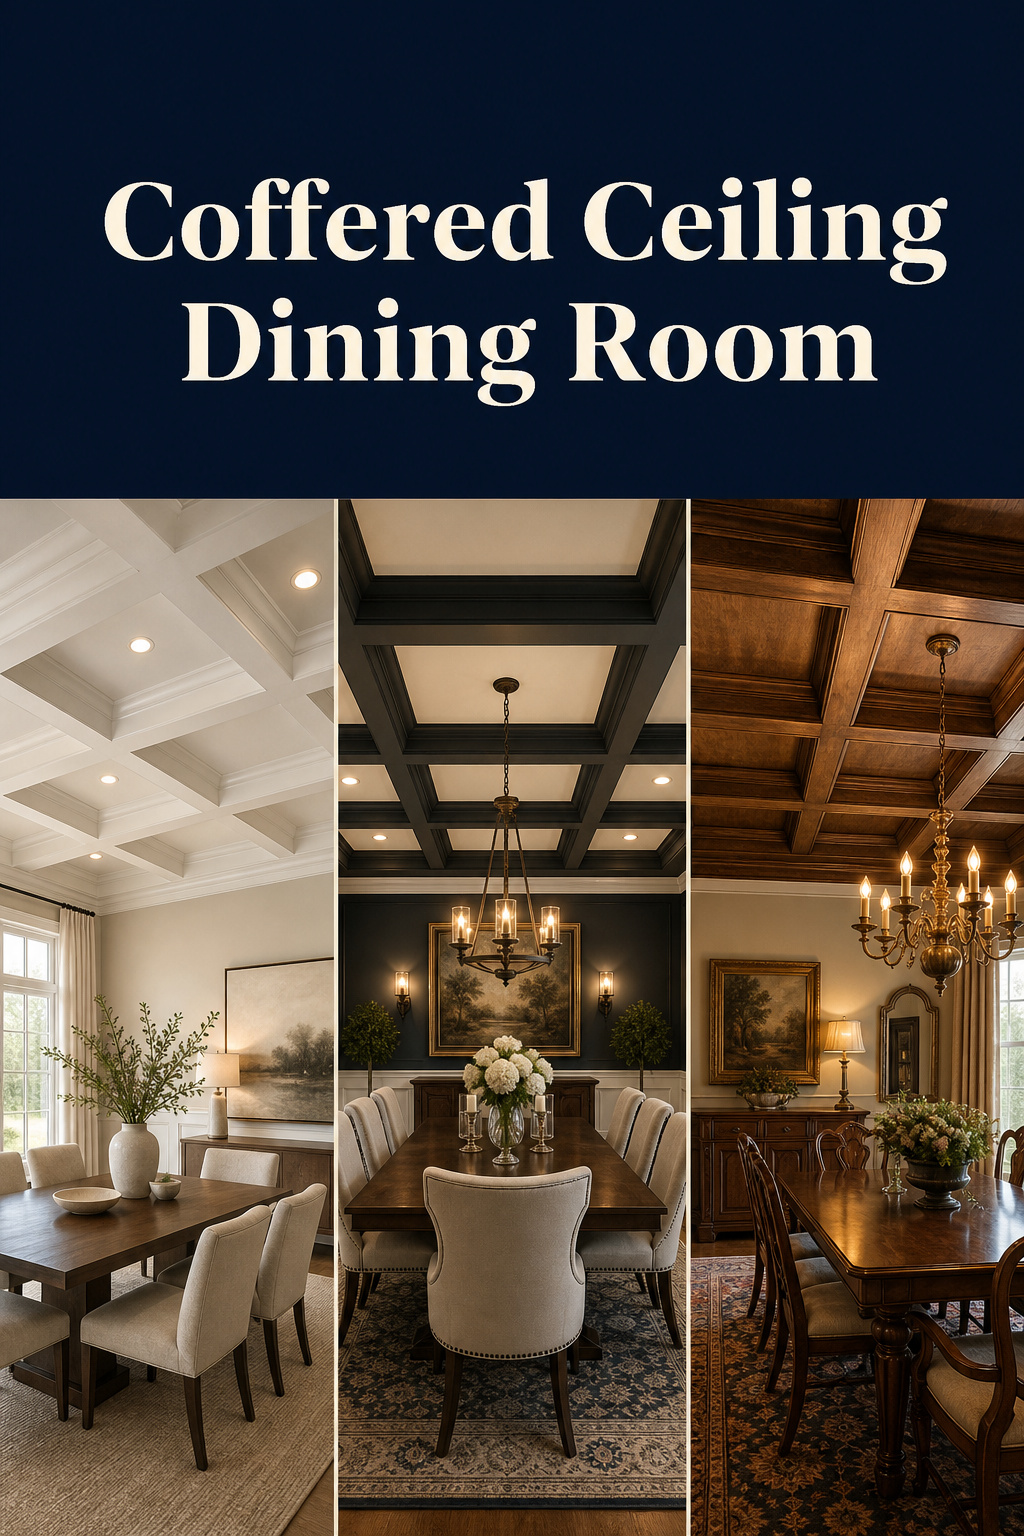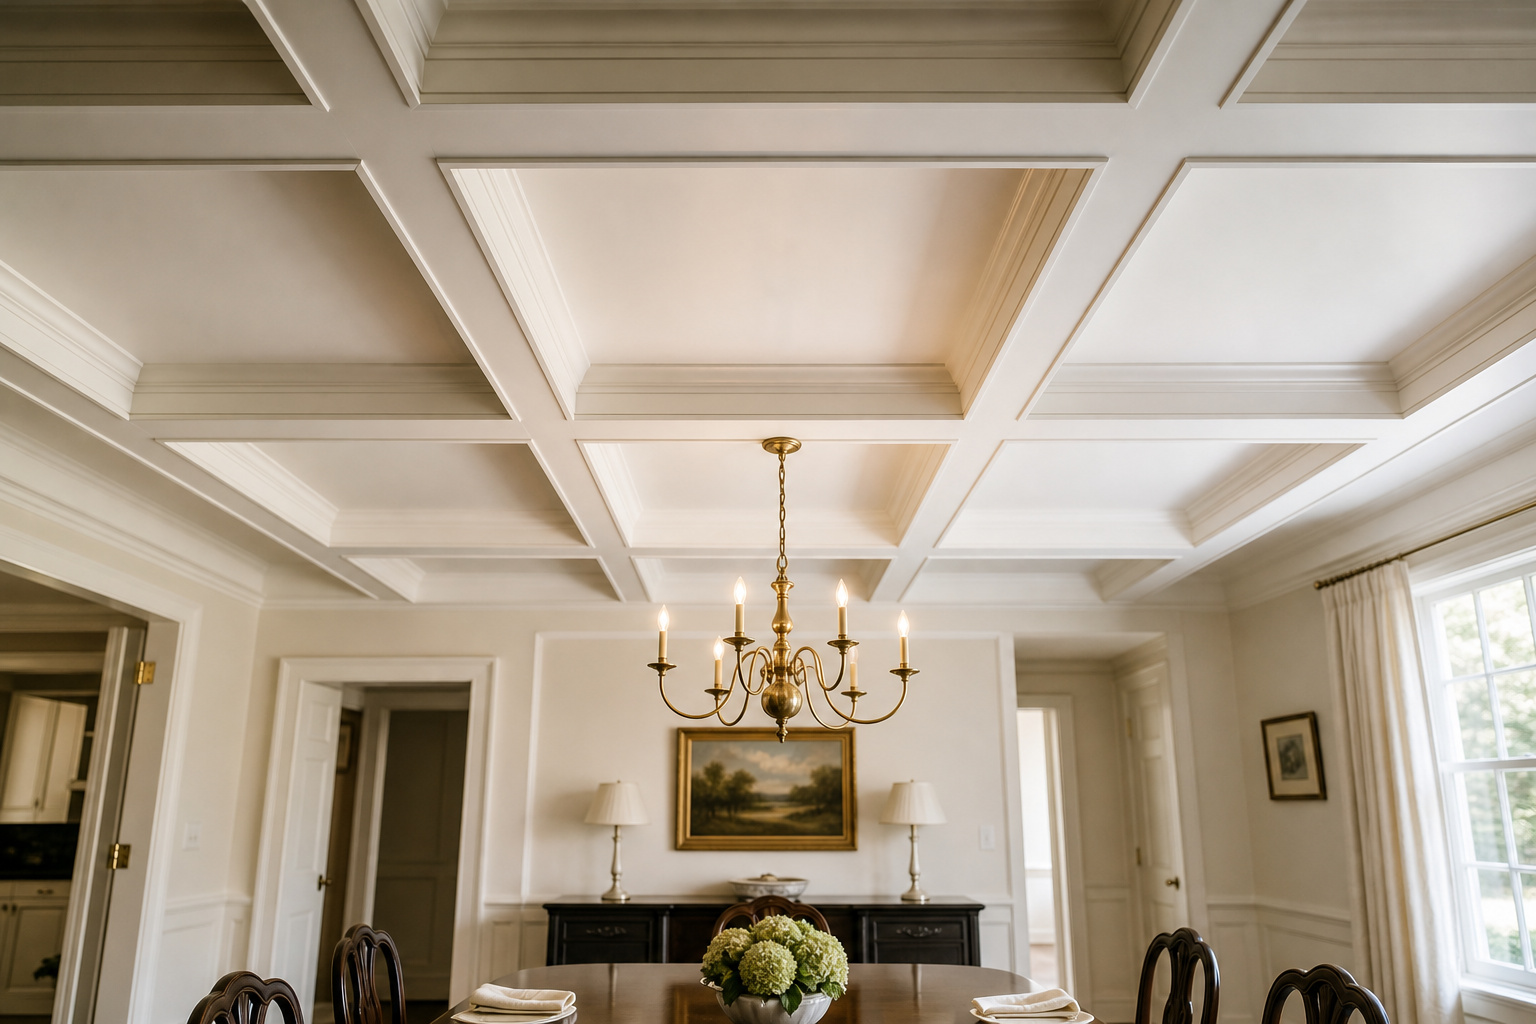

The oldest coffered ceilings we can still stand under are not wood at all — they are cut stone. At the sanctuary on Samothrace, marble slabs were lifted into a grid of sunken panels across a span of roughly six metres; in seventh-century BC Etruscan tombs, masons carved the same crossing-beam-and-panel pattern straight into tufa. The Romans turned the idea into engineering at the Pantheon, where 140 coffers in five rings reduce the dead weight of the dome rather than merely decorate it. So when you commission a coffered ceiling dining room today, you are not buying a trend — you are borrowing a piece of structural intelligence two and a half thousand years old.
TL;DR
- A coffered ceiling is a grid of intersecting beams forming multiple recessed panels (typically a 3×3 layout of nine coffers) — not the single perimeter step of a tray ceiling.
- It needs height to read right: 9 feet is the practical floor, 10–12 feet the sweet spot, with coffer depth set at roughly 5–10% of ceiling height (3–6 inches on a 9–10-foot ceiling).
- Professionally installed cost runs $10–40 per square foot; a 224-square-foot dining room lands around $4,480–$6,720, driven mostly by material choice and labour.
What a Coffered Ceiling Is — and Is Not
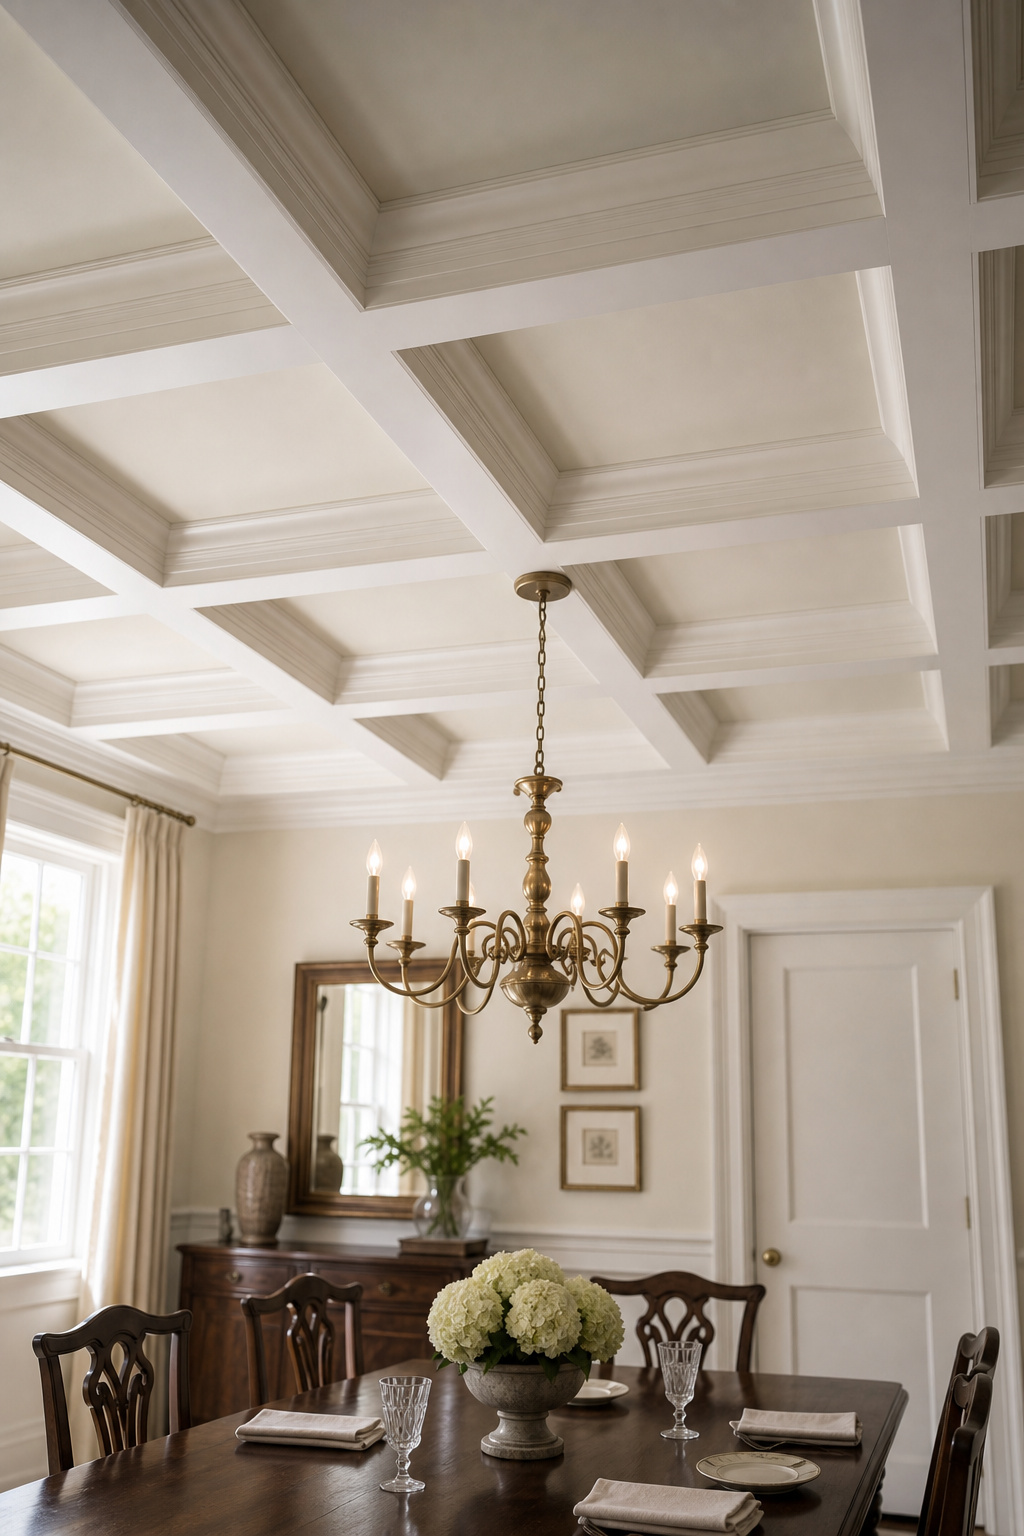
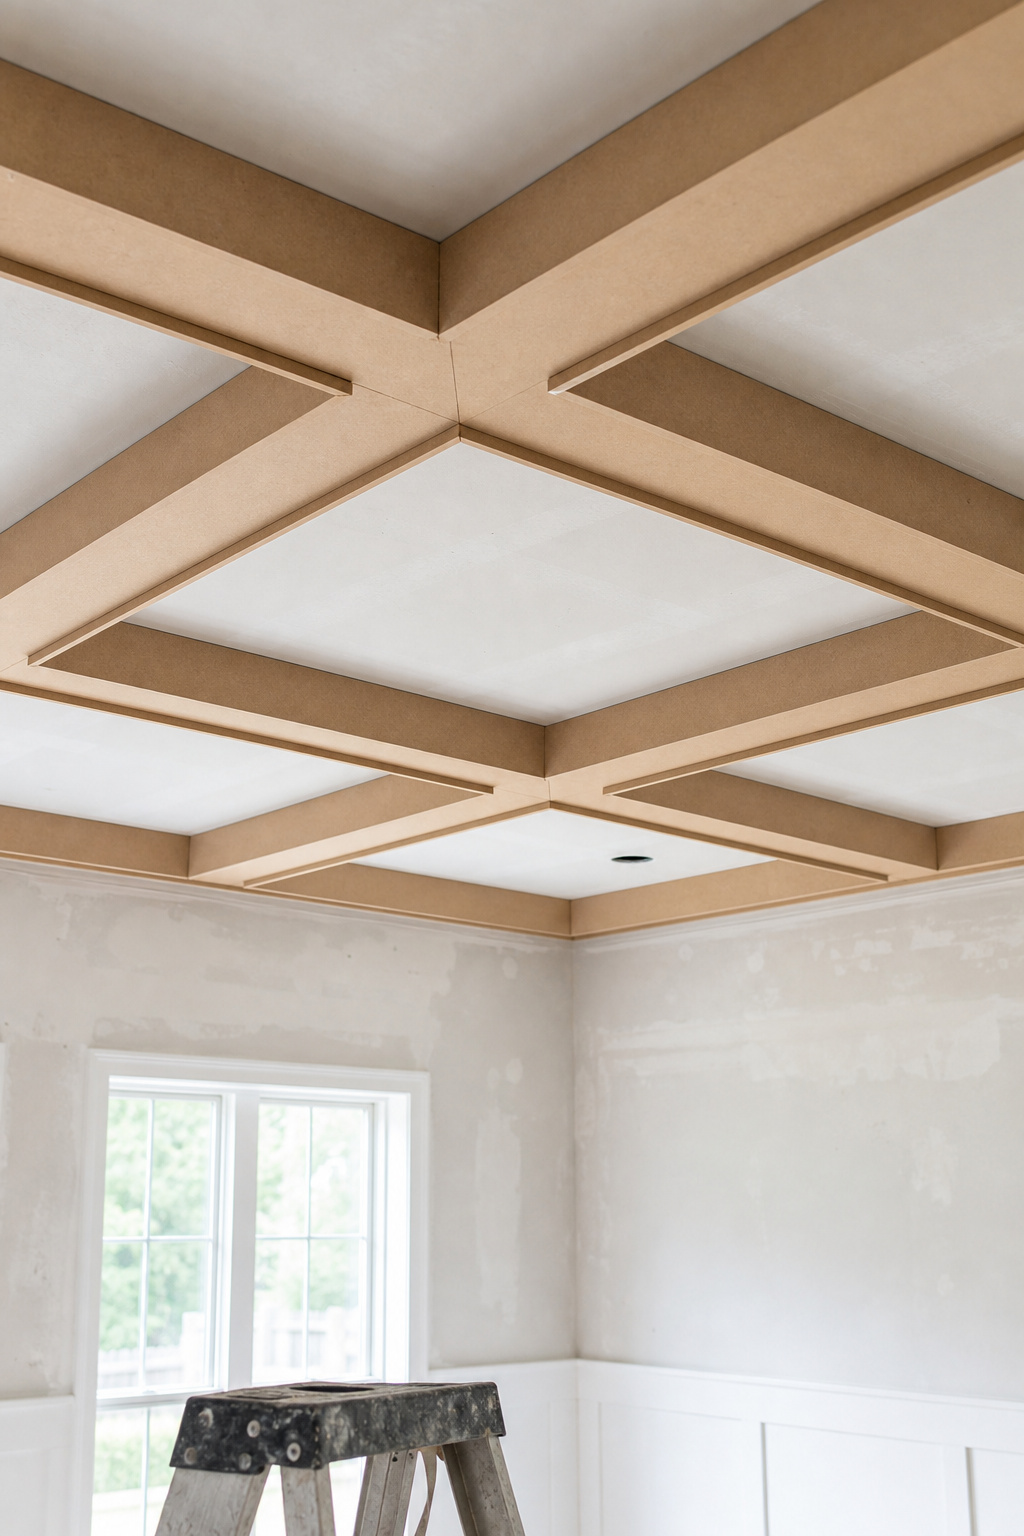
In architectural terms a coffer is a sunken panel — square, rectangular or octagonal — set into a ceiling, soffit or vault, and the strength of the system lives in the framework of the coffers themselves. The Latin names survive in specification today: caissons, boxes, and lacunaria, spaces or openings, so a coffered ceiling may correctly be called a lacunar ceiling. But the word that matters for a homeowner is grid. A coffered ceiling is a series of recessed boxes formed by intersecting beams. If there is only one recess, you are looking at something else.
That distinction is the most common point of confusion, and it is worth drawing crisply. A tray ceiling has a single raised area surrounded by one stepped-down border — a single recess, not a grid — and the two require entirely different structural approaches. If your instinct is toward that quieter single step, it belongs to the single-recess tray alternative rather than here.
Wooden coffering was long assumed to be a Renaissance invention, but 2012 excavations at the House of the Telephus in Herculaneum recovered the carbonised remains of a full Roman timber coffered ceiling — proof the technique is far older in wood than the textbooks allowed. By the Georgian and Victorian eras the form had moved into painted wood-beam systems with simpler profiles, still quoting the classical vocabulary of the Pantheon and Palladio. The modern descendant is MDF, primed and painted, doing the same job at a fraction of the weight.
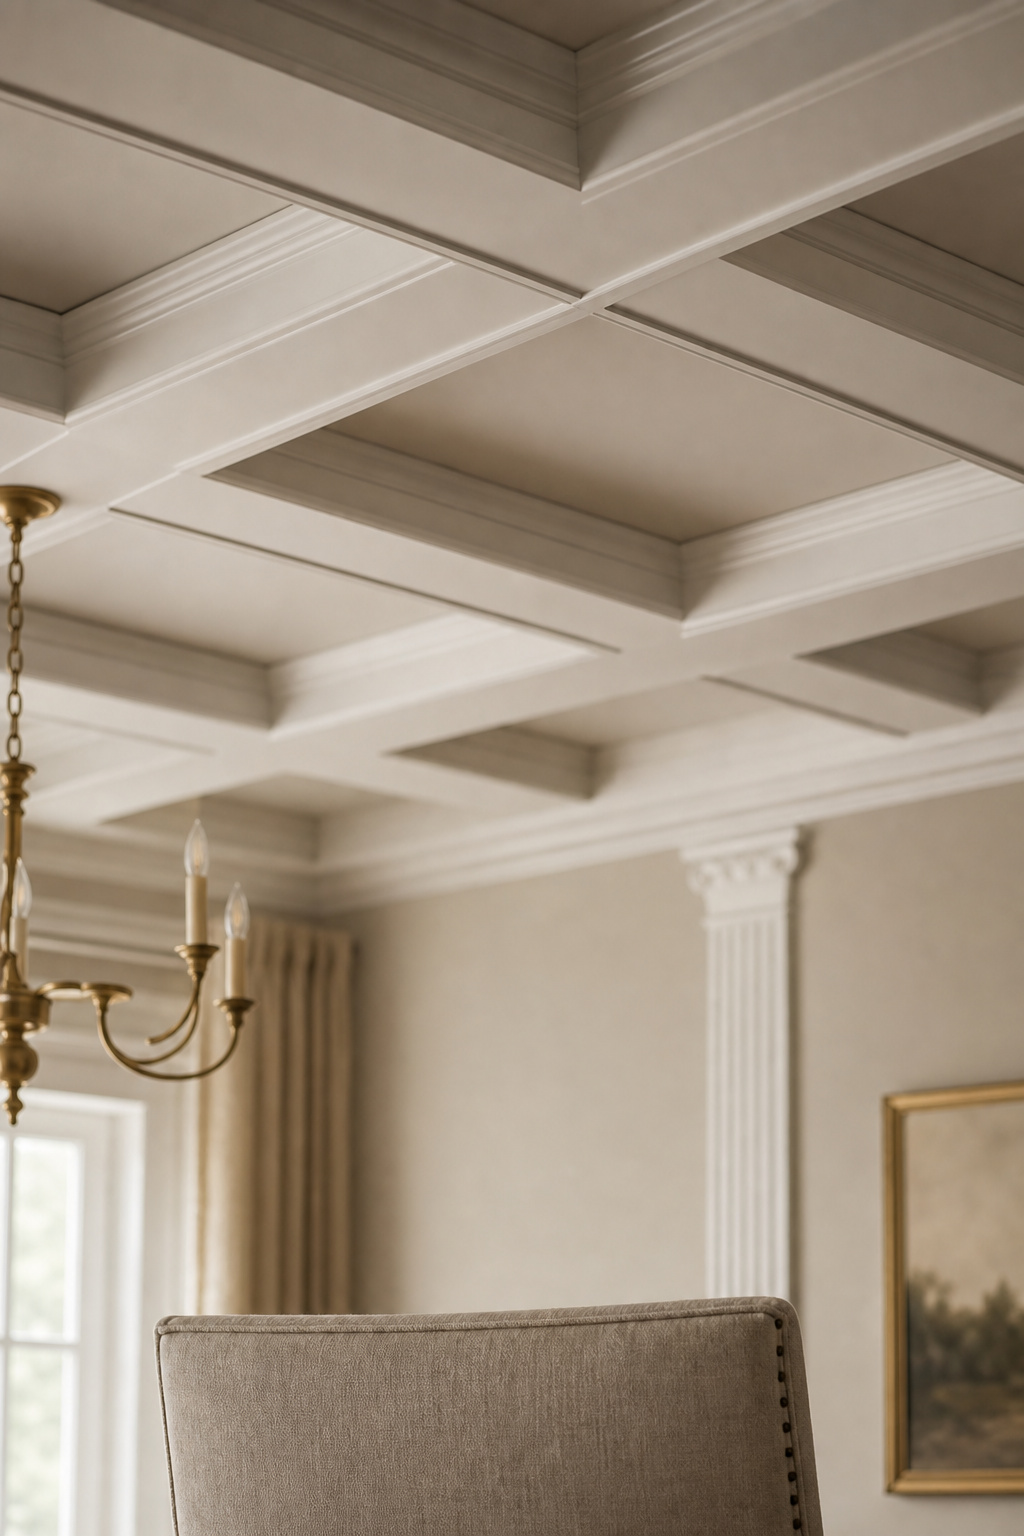
The reason I treat the grid as an architectural decision, not a decorative one, is practical. A coffered ceiling must terminate cleanly against four walls; it does not resolve into a hallway or an open-plan edge. Rooms close to square are the right candidates, which is why finish carpenter Gary Striegler points to formal dining rooms and libraries — closed perimeters, near-square footprints, taller ceilings — as the spaces where the grid reads as intent rather than afterthought. The treatment also dictates lighting: recessed lights, registers and the chandelier box must be planned with the grid, not after it, because relocating an electrical box once the beams are up is expensive and avoidable.
Proportion and Depth: What Makes a Grid Read Right
Proportion is where most coffered ceilings are won or lost, so it pays to settle the numbers before anyone touches a beam. The shape is governed by three relationships: beam depth against beam width, coffer depth against ceiling height, and panel count against room footprint. Get them right and the grid reads as structure; get them wrong and it reads as compression. The table below gathers the trade-standard figures by room size.
A quick word on how to read it. The fundamental rule is that beam depth should exceed beam width — a 7-inch-wide beam built to 8-inch depth carries the visual weight of structure, not trim. Coffer depth should sit at roughly 5–10% of ceiling height, which is why a 9-foot ceiling tolerates only a conservative 3–6 inches of recess while a 12-foot room carries deep coffers without feeling heavy.
| Ceiling height | Recommended grid | Coffer (recess) depth | Reads as |
|---|---|---|---|
| 8 ft | Shallow kit only, 3×3 | 3–4 in (1.5 in beam profile) | Borderline — most carpenters advise against |
| 9 ft | 3×3 (9 coffers) | 3–6 in | Designed intent (practical floor) |
| 10 ft | 3×3 or 4×4 | 6–12 in | Professional sweet spot |
| 12 ft+ | 4×4 (16 coffers) | 6–12 in, deeper possible | Dramatic, if ornamentation stays restrained |
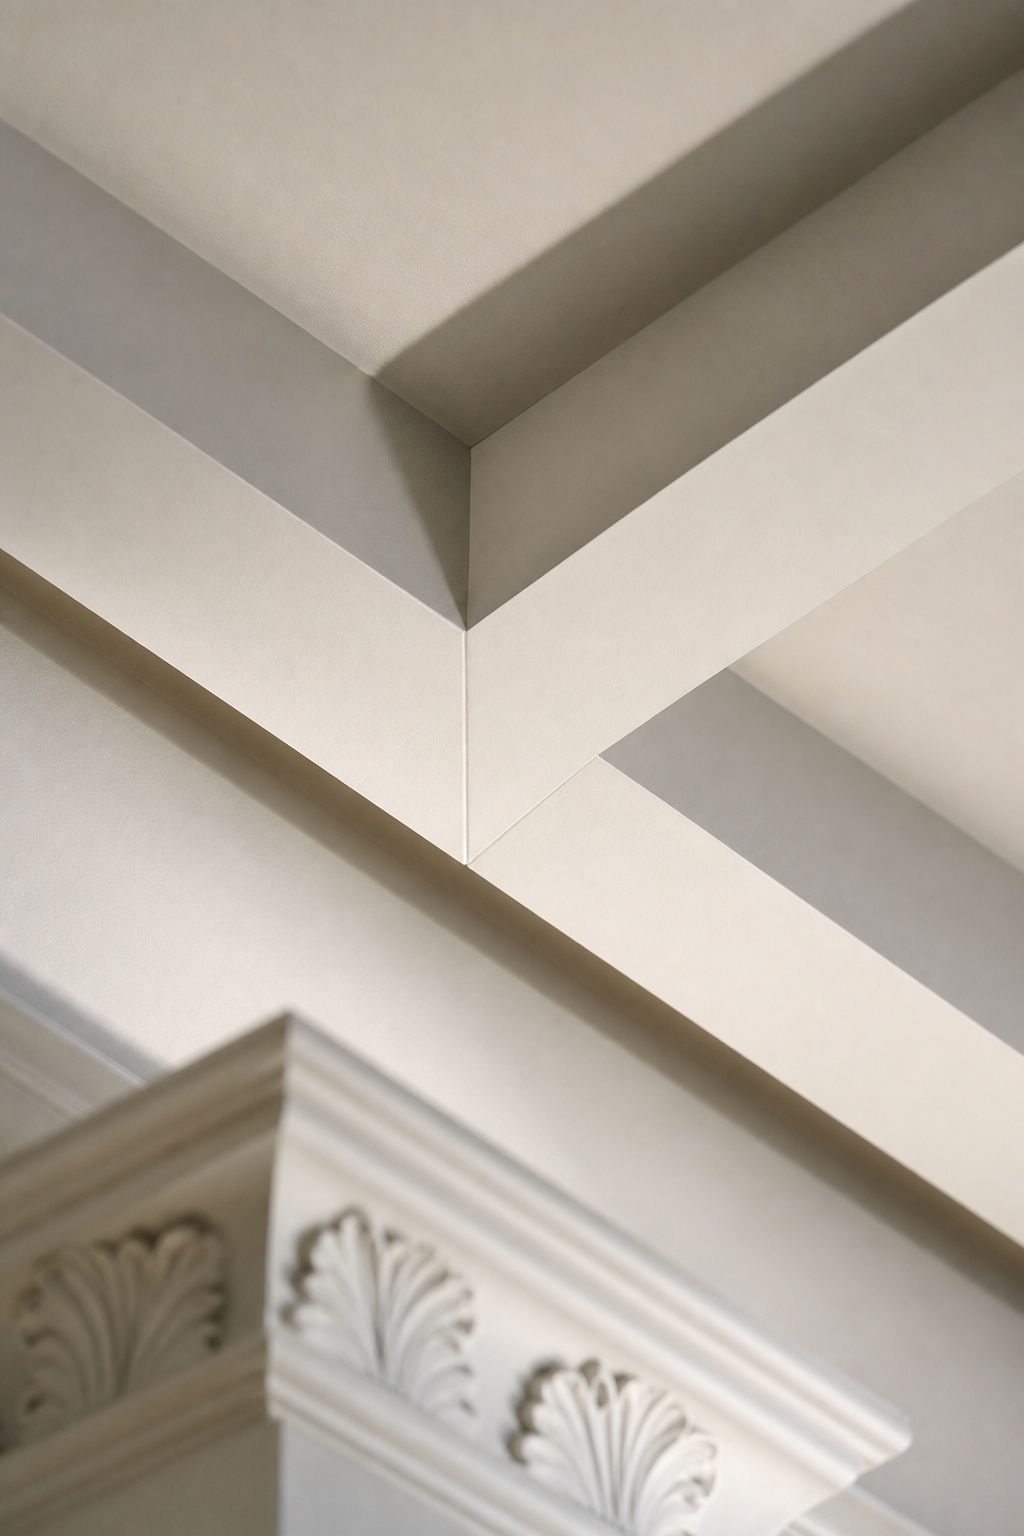
The nine-panel 3×3 grid is the dominant residential choice for good reason: Striegler reports the vast majority of coffered ceilings he has built had exactly nine sections. That layout gives equal-width coffers in a near-square room and stays legible from the doorway — it suits rooms roughly 12 to 16 feet square, which covers most dining rooms. A 4×4 grid earns its place only in genuinely larger or more rectangular rooms. The error to avoid is crowding: a 5×5 grid in a 12-by-14 room produces narrow panels that read as texture, not depth.
Panel sizing follows a habit any finish carpenter will recognise: measure all four walls, average the opposing pairs, subtract the combined beam width running in each direction, then divide the remainder by the coffer count. Cut each panel 1/16 inch under the opening so it shims true, and run the perimeter beam at roughly two-thirds the field-beam width so the grid tapers pleasingly toward the edges.
Nine feet is the line I will not cross without a conversation. The Finish Carpenter puts the rule plainly: aim for at least a 9-foot ceiling, set coffer depth at 5–10% of that height, and remember taller rooms allow deeper coffers — violate either and the ceiling fights the room instead of lifting it. Below 9 feet the added beam depth starts to read as oppressive rather than architectural. (Raising a ceiling to gain height is a $10,000–$20,000-plus undertaking and almost never worth it residentially — work with what you have.)
Real Wood vs MDF Coffer Systems: Cost and Trade-offs
Material is the single largest cost variable, and where my own stance lives, so I will be direct. The table sets out the trade-offs across the four systems you will actually be quoted; the prose after it commits to a recommendation.
| System | Approx. installed cost | Weight | Paintable | Stainable | DIY viability |
|---|---|---|---|---|---|
| Polyurethane / foam kit | $2–6/sqft material | Very light | Yes | No | High (glued, no framing) |
| MDF | $3–8/sqft material | Moderate | Yes (takes paint cleanly) | No (no grain) | Moderate |
| PVC / composite | $10–18/sqft material | Light | Yes | No | Moderate |
| Solid timber (poplar to walnut) | $8–50/sqft material | Heavy | Yes | Yes | Low (finish-carpentry skill) |
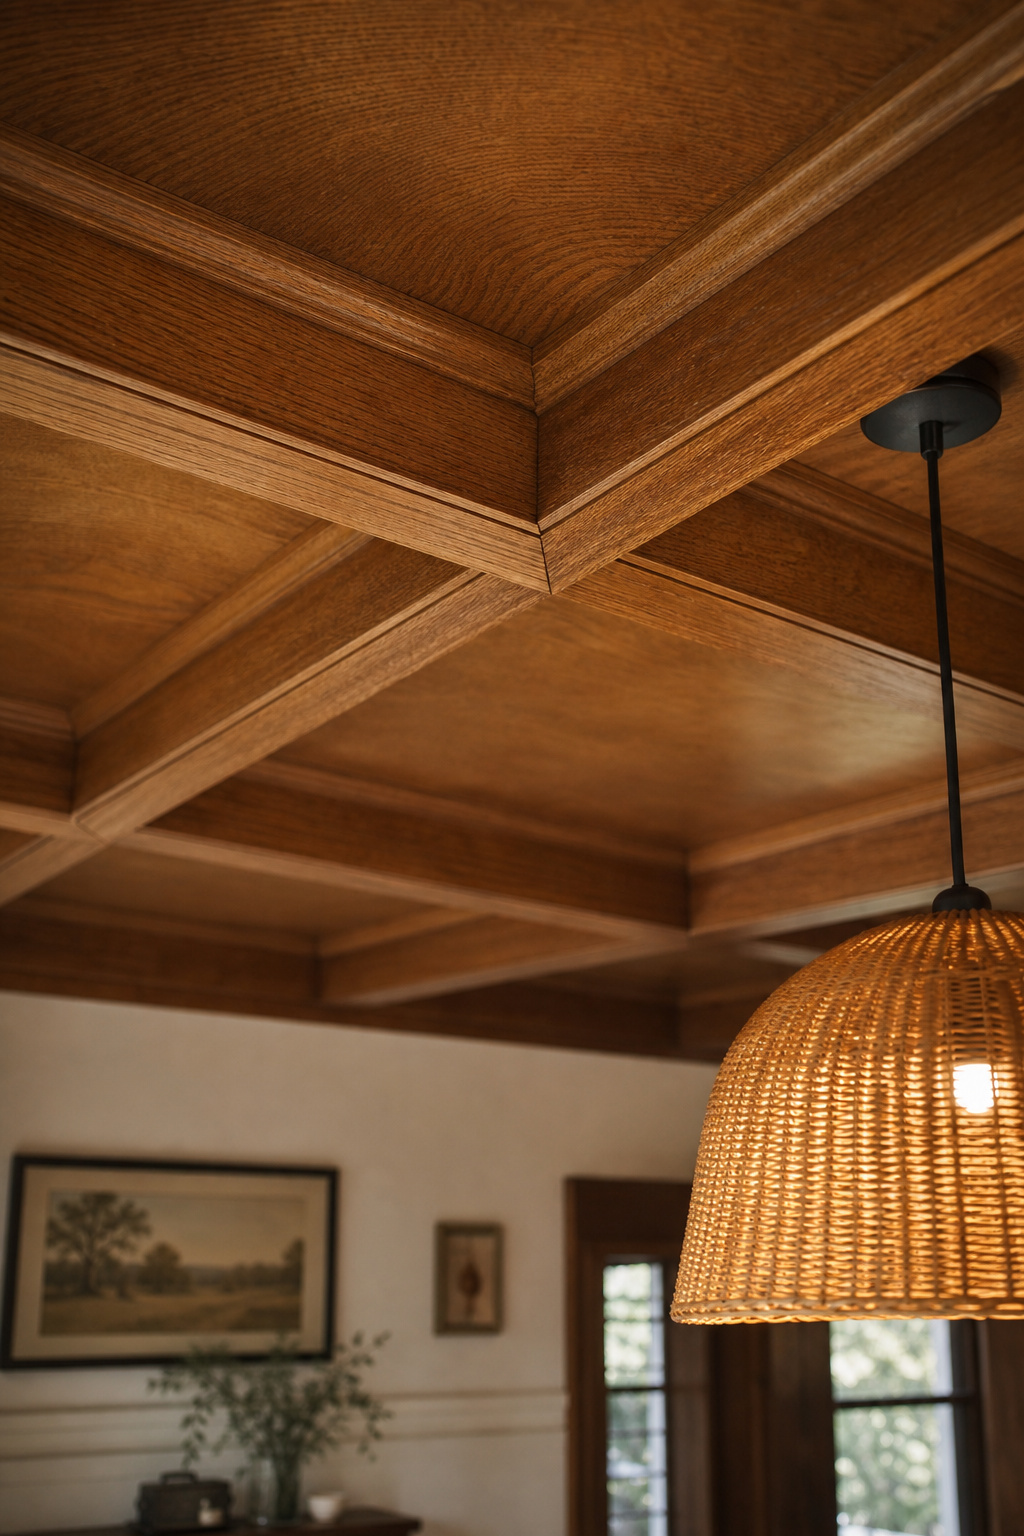
Here is the truth that decides most projects: from eight feet below, there is no visible difference between painted MDF and painted hardwood. The entire case for solid timber rests on two things — the ability to stain and show real grain, and long-term material integrity. MDF has no grain and will not take a stain honestly, so any ceiling meant to display wood character must be built from real timber. Poplar is the cost-effective painted-grade choice; old-growth Douglas fir and pine are the period-appropriate timbers for a stained grid in a Georgian or Craftsman house; quarter-sawn oak, with its medullary-ray figure in the panel faces, is the one I reach for when staining is the goal.
So which earns its price? If the ceiling is being painted, MDF wins on merit — dimensionally stable, holds a crisp edge, primes and paints beautifully. The moment a client wants to stain, that conversation ends and timber begins. Two genuine cautions: MDF absorbs moisture and will swell and fail in a basement or any humid space, where PVC or composite is the correct call; and a full solid-hardwood grid adds real load, so confirm the joists can carry it before you commission one.
On total cost, installed work runs $10–40 per square foot, with a national average near $3,750 for a 150-square-foot room. Labour is typically half to sixty per cent of the bill, and the adders are predictable: crown moulding inside each coffer alone can add $1,000–$2,500, while height above ten feet (scaffolding, not ladders), popcorn-ceiling prep at $1–3 per square foot, and registers or sprinkler heads inside the grid all push the figure up.
Painting the Grid: Monochrome, Contrast and Colour Inside the Panels
A coffered ceiling depends on contrast to be seen at all, and that contrast can be built three ways. The principle underneath all of them, as the American Society of Interior Designers notes, is blunt: without some degree of contrast the structure disappears — and a grid you have paid several thousand dollars for becomes an invisible feature. So the colour decision is not finishing; it is half the design.
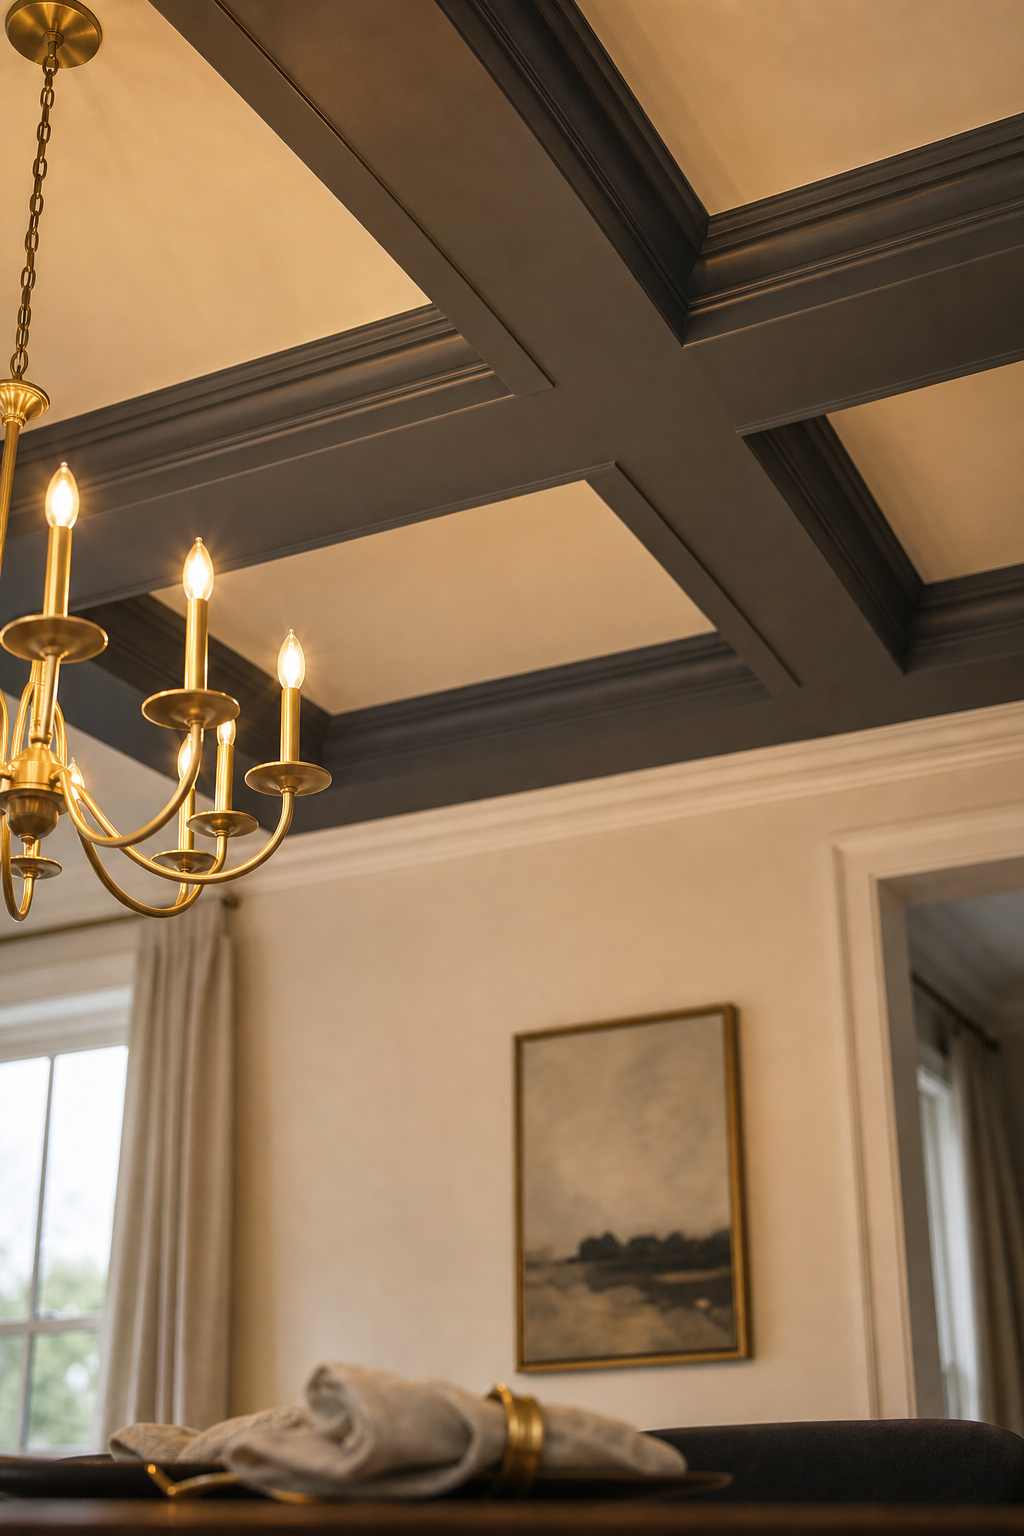
A monochrome ceiling puts beams, panel faces and the surrounding plane in one colour and relies entirely on shadow geometry. It works, but only with deeper coffers (5 inches or more) where the shadow line is strong, and only with a sheen difference to keep the grid legible — matte or flat on the recessed panel faces to absorb light and emphasise depth, eggshell or satin on the beam faces to clarify the structure. Skip that sheen step and the detail vanishes at normal viewing distance, which is the most common monochrome mistake.
Contrast painting is the luxury dining-room default and my usual recommendation: beams a shade or two darker than the panel field — charcoal, deep navy, a rich warm white — so the grid asserts itself. Matching the beam colour to the room’s cornice and skirting treats the ceiling as part of the trim vocabulary rather than a separate event. A semi-gloss on beam soffits amplifies a chandelier nicely, but keep full gloss off the broad faces or you flatten the very shadow the grid depends on. The current move is darker still — navy or charcoal inside the recesses with white beams framing them — for an intimate, candlelit overhead; just remember dark panels absorb light and will want supplementary fixtures. The full case for colour and sheen overhead belongs to painting the grid for depth.
The Chandelier in a Coffered Ceiling
The grid changes how a chandelier hangs, and the change is geometric. The electrical box belongs in the geometric centre of the central coffer panel — never at a beam intersection, never nudged into an adjacent coffer; any other placement reads as a layout error the eye catches immediately. And if the table is not centred in the room, the fixture follows the table, not the room.
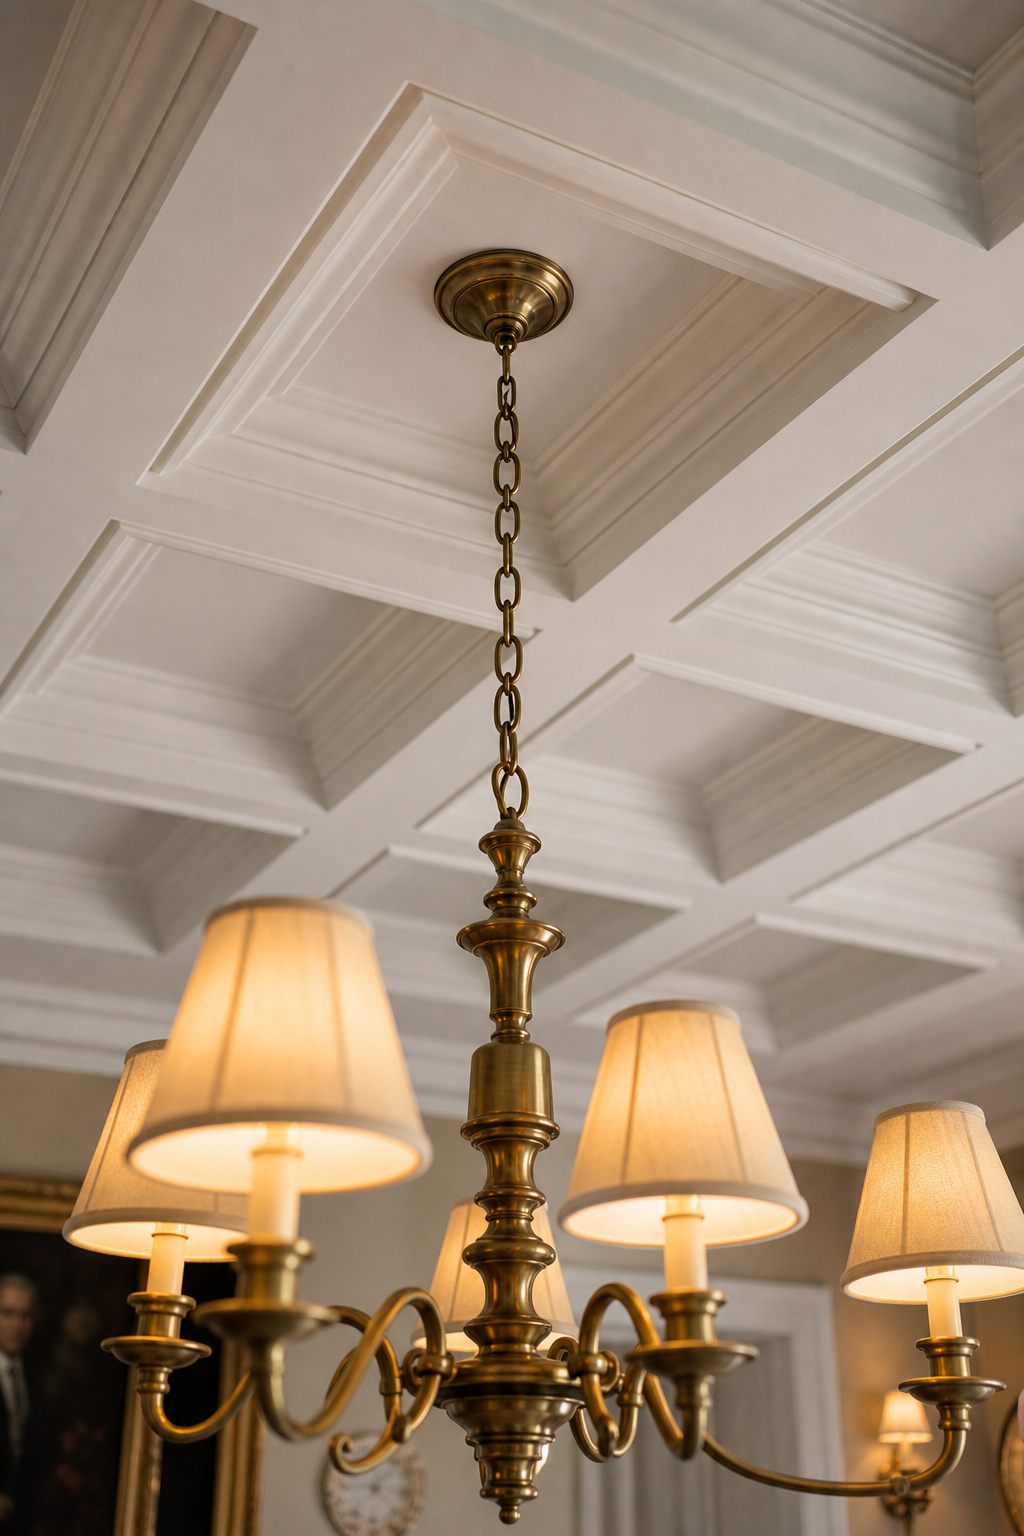
The complication is that the recess raises the ceiling plane at the fixture. A 6-inch-deep coffer means the canopy mounts six inches above the surrounding beam-bottom line, so the chain must be calculated from the full ceiling height, not the beam-bottom line, and bridge that extra depth back down — deep coffers often need a longer threaded rod between box and canopy. A standard 4–6-inch canopy sits cleanly inside the coffer and needn’t span to the beams. For coffered work specifically, buy a fixture with adjustable hanging height; the recess adds a variable that makes fixed-chain fixtures hard to position. The full diameter-to-table and hanging-height rules — the 30–36-inch-above-the-table figure and the rest — are their own subject, covered in the chandelier sizing guide.
What to Know Before You Commission or Build
A coffered ceiling is not a removable treatment, so the groundwork before signing matters as much as the design — most of what goes wrong is briefed away in advance. Put these five questions to any plasterer or carpenter before money changes hands:
- Have you built coffered ceilings specifically — can you show photos of finished grids (not general trim) and three recent references?
- Will you provide three itemised quotes that separate materials from labour, so I can compare like for like?
- What is the lead time on the coffer system — and is that figure for an MDF grid or for custom timber mouldings?
- How will you terminate the grid where this room meets the kitchen or hallway?
- Will I see and approve a layout drawing — beam widths, coffer dimensions, every joint and seam — before any framing begins?
That separated-quote question protects you twice over: a material-heavy bid with cheap labour usually signals poor execution, while a labour-heavy bid with cheap materials can mean MDF priced as hardwood. Treat the often-quoted 8–10-week lead time with care — that figure comes from commercial acoustic-timber suppliers; a residential MDF system can run shorter and custom timber profiles longer, so make them name the number for your material.
A few technical checks finish the brief. If registers, sprinkler heads or recessed lights already sit in the ceiling plane, the grid must be designed around them or relocated first — relocation alone adds 15–25% to labour time. The framing should pass the diagonal check: opposing corners equal to within 1/8 inch before any trim is fixed, with a laser level confirming every beam runs plumb and true. Gaps wider than a hairline get resolved with correctly profiled moulding, not caulk. And insist the lighting layout is marked on the ceiling before framing starts; lights planned after the beams are up produce off-centre panels and compromised beam widths — the single most expensive sequence of errors on the job.
The professional position in short: build only where the height and a closed perimeter genuinely support a grid, set the proportions before the material, separate your quotes, and approve a drawing before anyone lifts a beam. Get those right and you inherit a feature that absorbs echo, adds lasting value and asks almost nothing of you once it is up — a piece of architecture the next owner will be glad you treated with care. For where coffering sits among every other option overhead, the complete dining room ceiling guide maps the full territory.
FAQ
Can you add a coffered ceiling to a room with 8-foot ceilings?
Only with shallow coffers — a profile depth of 3–4 inches at most, using a shallow kit with a 1.5-inch beam that installs with adhesive. Most carpenters advise against deep coffers at this height because the added depth makes the room feel compressed; 9 feet is the accepted minimum for a coffered ceiling to read as designed intent.
How much does it cost to install a coffered ceiling in a dining room?
A professionally installed coffered ceiling in a dining room averaging 224 square feet costs about $4,480–$6,720 at the standard $20–30 per square foot benchmark, with a national average of $3,750 across room sizes. Material drives the range: MDF runs $3–8 per square foot, hardwood $20–50, and labour adds $8–25 regardless.
What is the difference between a coffered ceiling and a tray ceiling?
A coffered ceiling is a grid of intersecting beams forming multiple recessed panels — at minimum four in a 2×2 layout, typically nine in a 3×3 residential grid. A tray ceiling has a single raised centre surrounded by one drop-down border step, usually 4–12 inches deep. Cost separates them too: trays run $3–7 per square foot installed, coffered ceilings $10–40.