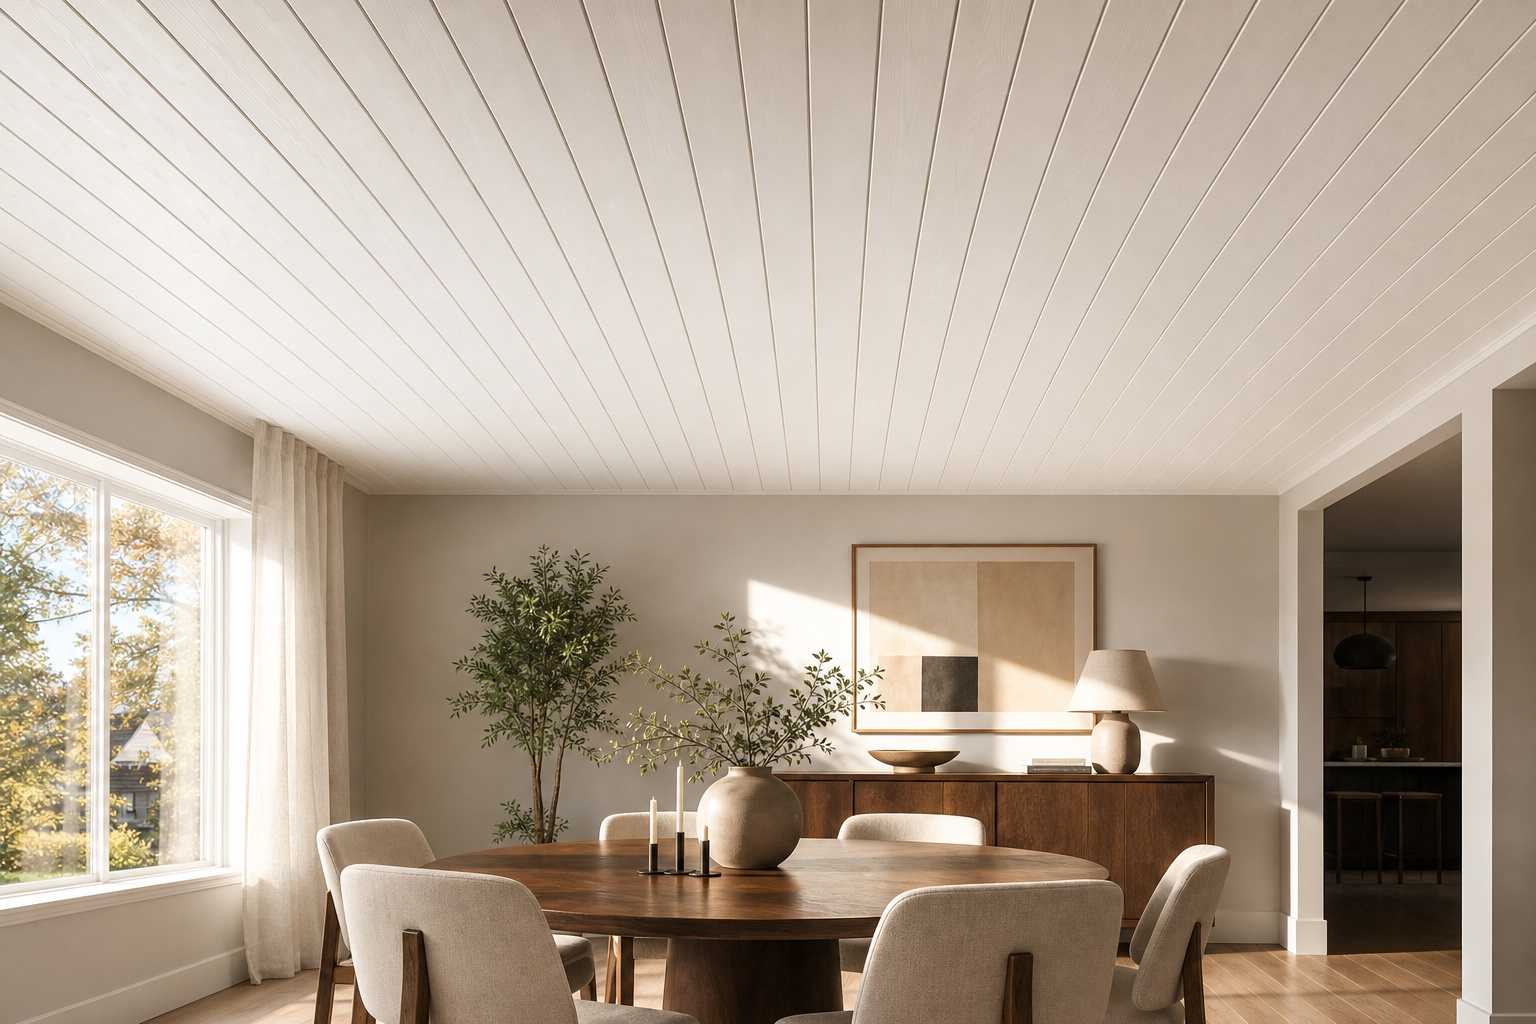

Somewhere along the way everyone decided a planked ceiling means farmhouse — barn doors, shiplap walls, a galvanized pendant, the whole package. Blame five years of HGTV. The boards never carried that style, though; the paint and the width did. A planked ceiling dining room can read Scandinavian, coastal, or buttoned-up contemporary depending entirely on what goes on the wood and how wide the boards run. Same tongue-and-groove joint, completely different room. So before you talk yourself out of cladding the whole ceiling for fear it’ll look rustic, here are the levers that control the look — and the honest version of what it costs to put up.
TL;DR
- A planked ceiling dining room reads contemporary, coastal, or period depending on board width and finish, not the material — choose 3 to 5-inch face widths and white paint to avoid farmhouse character.
- Tongue-and-groove is the right joint for overhead work because the boards self-align while you nail; DIY pine runs about $4 to $5 per square foot, landing a 150 to 200 sq ft dining room ceiling around $625 to $860 all-in.
- Planking covers cracked, stained, or popcorn ceilings without tear-out, costing roughly 1.5 to 2 inches of ceiling height over furring strips — fine above 8 feet, worth checking below.
A Planked Ceiling Dining Room Is Not Just for Farmhouses
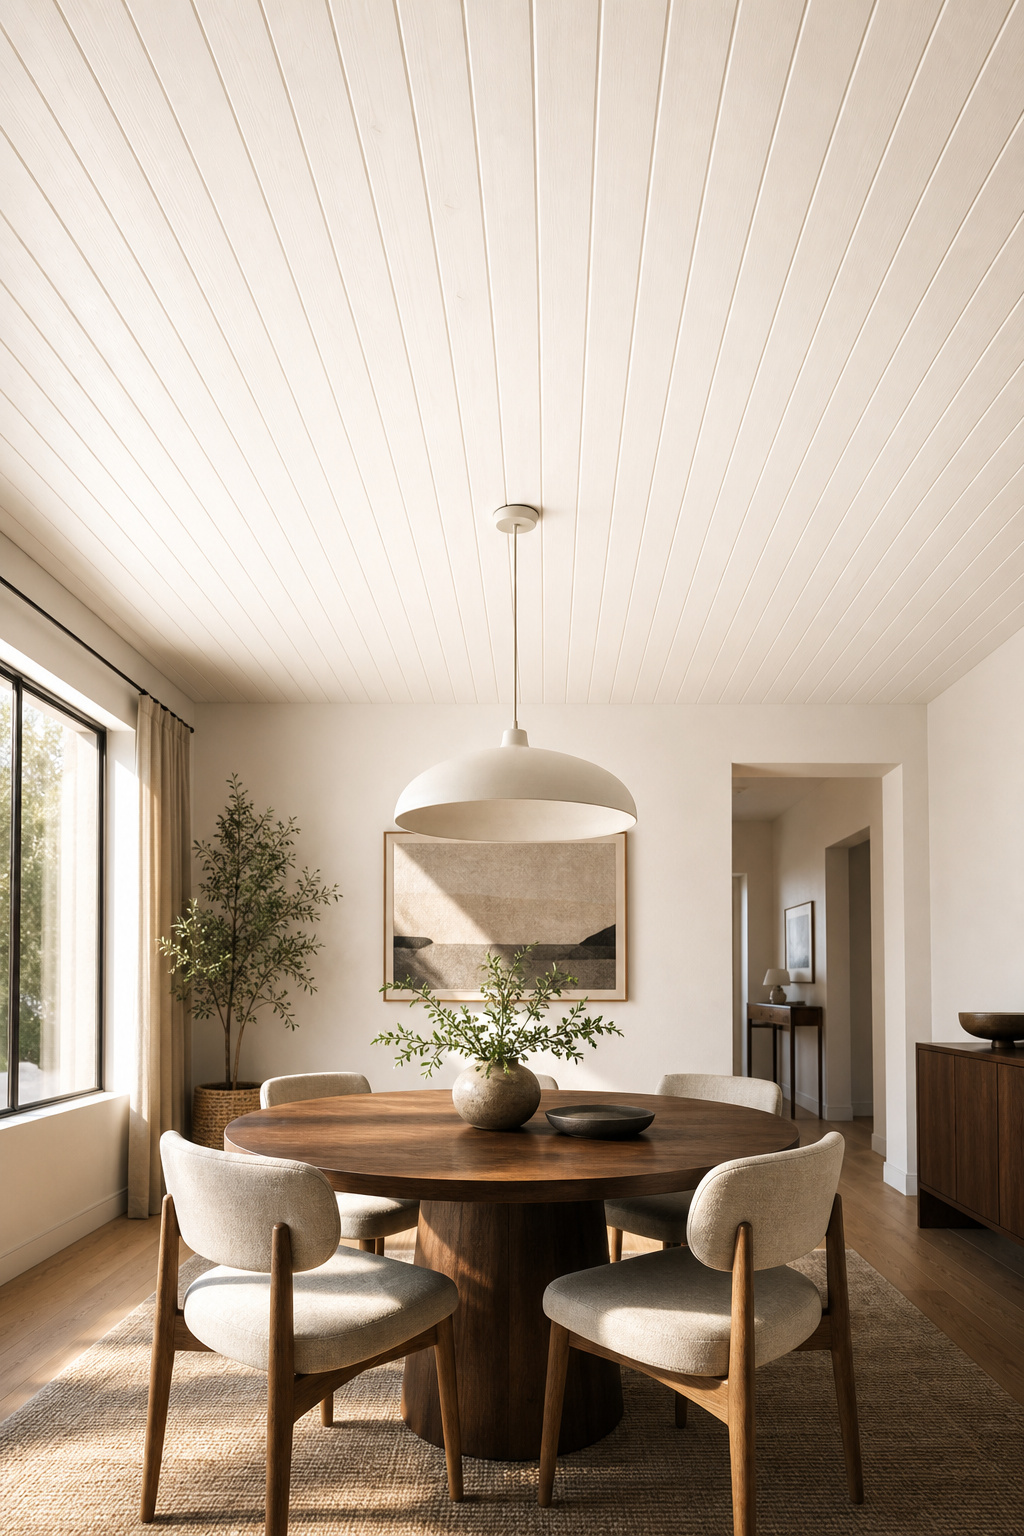
The farmhouse association has a source. From roughly 2015 to 2020, planked ceilings showed up almost only alongside shiplap walls, barn doors, and farmhouse fixtures — a full package that fused in everyone’s head. But the board profile, width, and finish set the style register, not the joint underneath.
Where the farmhouse-only assumption comes from — and why it is wrong
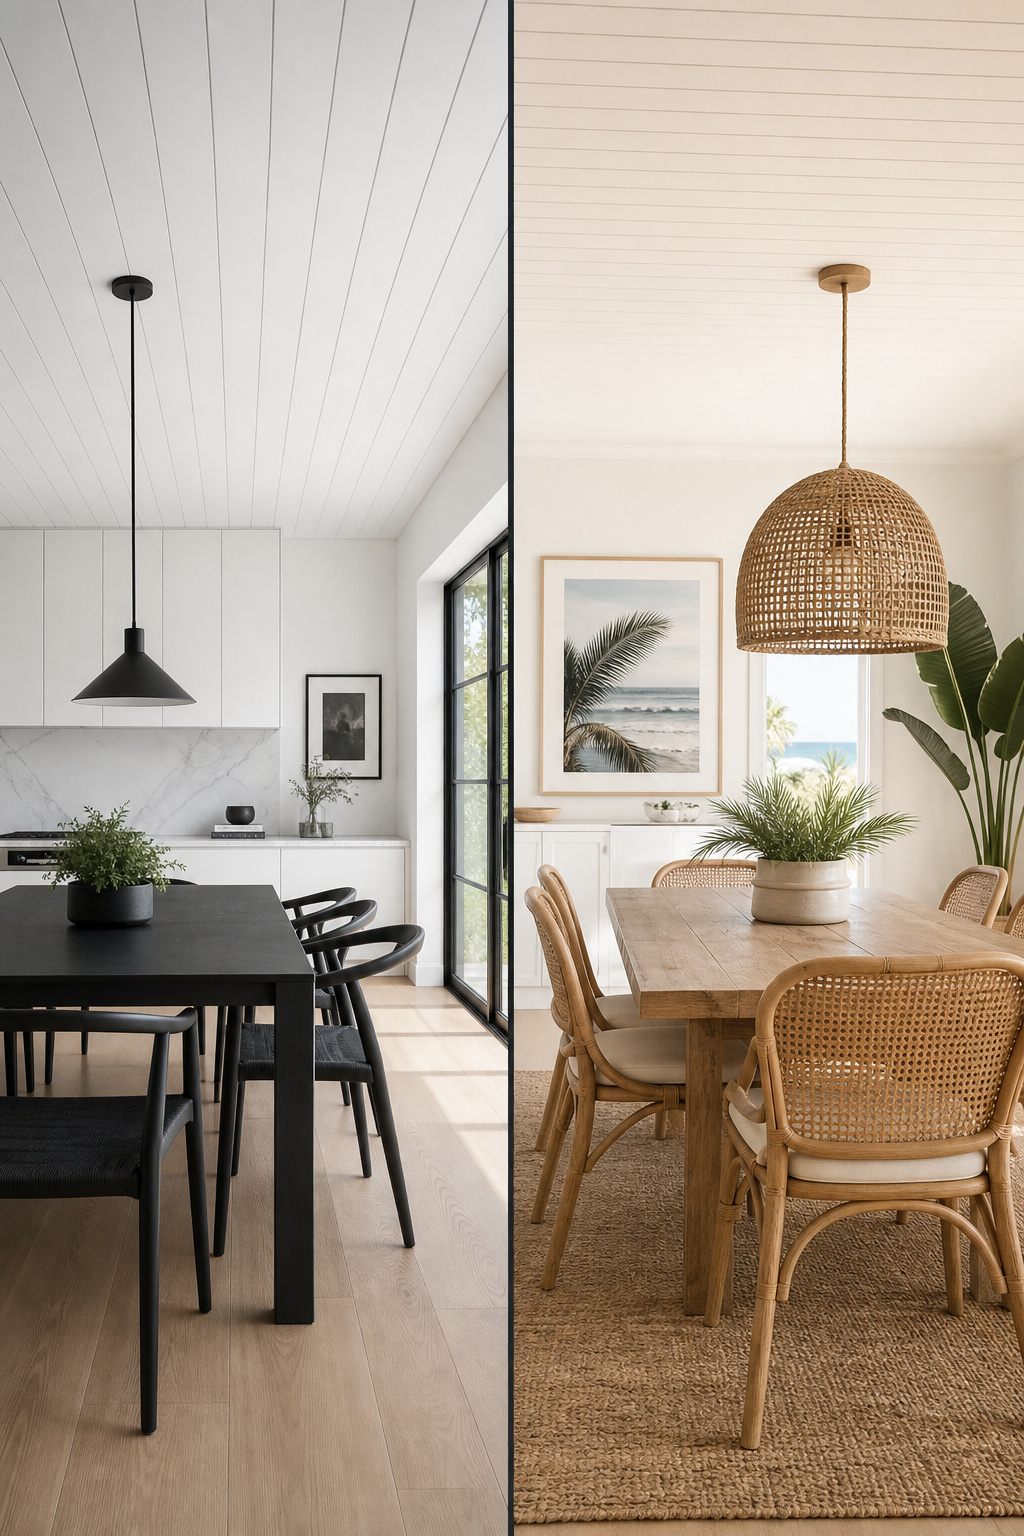
A whitewashed pine ceiling reads Scandinavian. Narrow white-painted beadboard reads coastal cottage. Dark-stained wide planks read mountain lodge. Same method, three different rooms. The biggest tell is board width: 2 to 3-inch faces read fine-grained; 6 to 8-inch faces read barn. For a dining room that shouldn’t look like a farmhouse, stay in the 3 to 5-inch range and you’ve won half the battle.
Planked ceilings in contemporary, coastal and period dining rooms
In a contemporary dining room, white-painted narrow tongue-and-groove (3 to 4-inch face) makes a clean linear grid overhead with no rustic baggage, especially under a flush or semi-flush modern fixture. In coastal rooms, beadboard in soft white or sea-glass grey is the standard — its low-relief texture diffuses light without competing with the view. In a Victorian terrace or Craftsman bungalow, wide knotty pine or painted beadboard restores the pre-plasterboard character that flat painted drywall can’t fake.
What full-surface cladding does that beam accents cannot
Cladding covers 100% of the ceiling plane with one consistent texture — the ceiling becomes a deliberate surface, not the gap between things. That’s the real split from beam accents versus full cladding, where the flat ceiling between the beams does the work; boards replace that surface entirely. They also break up sound reflection better than flat drywall, taking some hard echo out of a room full of glass and hard floors, and they hide cracks, water stains, and popcorn texture without a single bag of dust.
Planking, Beadboard and Tongue-and-Groove: Choosing Your Board
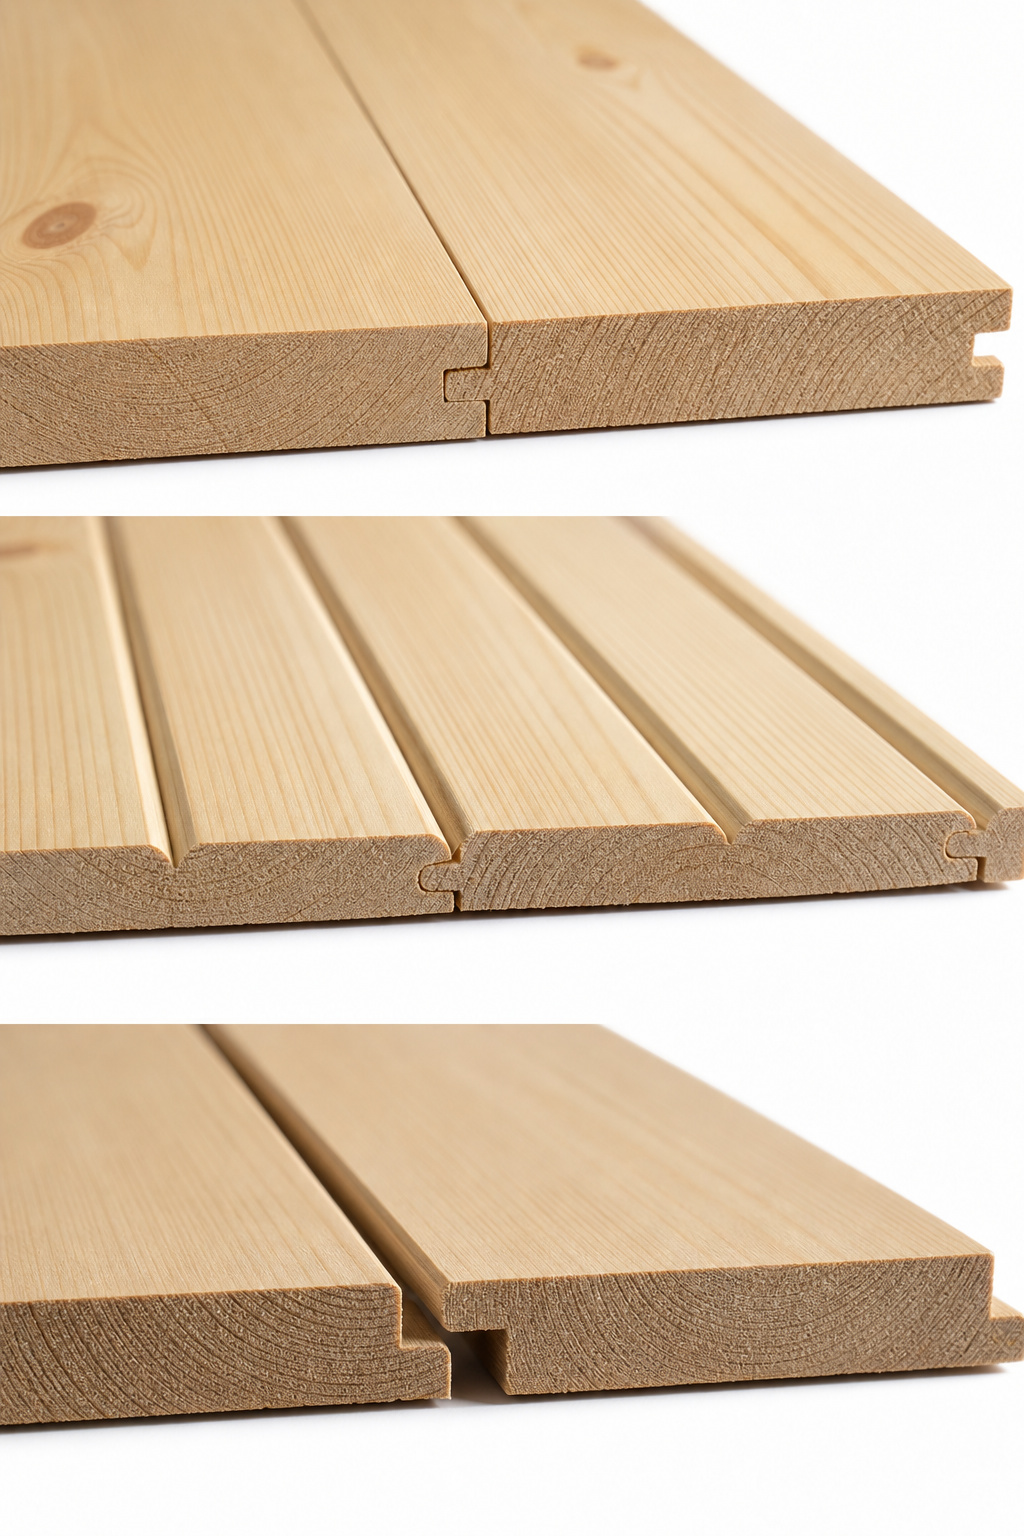
Three board families cover this category, and they differ on cost, joint type, install difficulty, and the style they throw. Here’s the comparison laid out so you can decide before you ever load a cart. Costs are material-only unless noted.
| Board type | Typical face width | Material cost/sq ft | Joint | Install difficulty | Style / note |
|---|---|---|---|---|---|
| Tongue-and-groove pine | 3, 4, 5, 6 in | $2–$6 | Interlocking, self-aligning, invisible | First build (most forgiving overhead) | Clean and contemporary; refined at 3.5–5 in |
| Beadboard (strips) | 1.5–3 in | $2–$4.20 | T&G with rounded bead | First build | Decorative, period, coastal |
| Beadboard (4×8 panels) | sheet | $2–$4.20 | Sheet edges | Some builds (awkward to hoist solo) | Faster coverage, harder for one person |
| Flat shiplap pine | 5.5–7.25 in (1×6, 1×8) | $2–$7 | Rebated overlap, open shadow gap | Some builds (no mechanical indexing) | Wider, more rustic; alignment by eye |
| MDF (T&G or shiplap) | varies | $1.50–$3 | as profile | First build (pre-primed) | Paint-only; swells if it ever gets wet |
My pick for a first dining-room ceiling is narrow tongue-and-groove pine, 4-inch face. As the Prestige Wood Products install guide puts it, the mechanical joint keeps each board in line while you drive the nail with both hands over your head and gravity fighting you — with shiplap you’re holding the board, judging the gap, and nailing all at once, which is how gaps wander.
Two distinctions to settle before you buy. Beadboard and plain T&G share the joint but differ in the face: beadboard’s rounded bead throws a repeating decorative shadow line that reads period and coastal, while plain T&G’s near-invisible seam reads cleaner and contemporary. And MDF, though pre-primed, knot-free, and cheapest, can’t be stained and — per D&G Flooring’s guide — swells irreversibly from one steam-heavy cooking event. Buy MDF only for a closed, dry room you’ll paint white; near a stove, choose pine or poplar.
Using Planked Ceilings to Cover a Damaged or Uneven Ceiling
This is the use nobody markets: planking is one of the cleanest ways to deal with a cracked, stained, or popcorn ceiling without scraping anything. The boards go straight over the existing surface, and the skim-coat mess never happens.
When planking over makes more sense than patching
Tongue-and-groove planks install directly over an existing popcorn ceiling — no scraping, no cleanup of the old texture. For hairline cracks, water stains, and uneven patches, the boards cover everything and the furring layer absorbs minor variation. One safety note that matters: popcorn ceilings from before 1980 may contain asbestos. Planking over the texture without disturbing it is safer than scraping, and a mail-in asbestos test runs $25 to $50 if you want certainty first. A skim-coat repaint costs $1 to $3 per square foot; planking the same area runs $4 to $10 installed, but you get a permanent textured finish instead of flat paint.
The furring-strip substrate
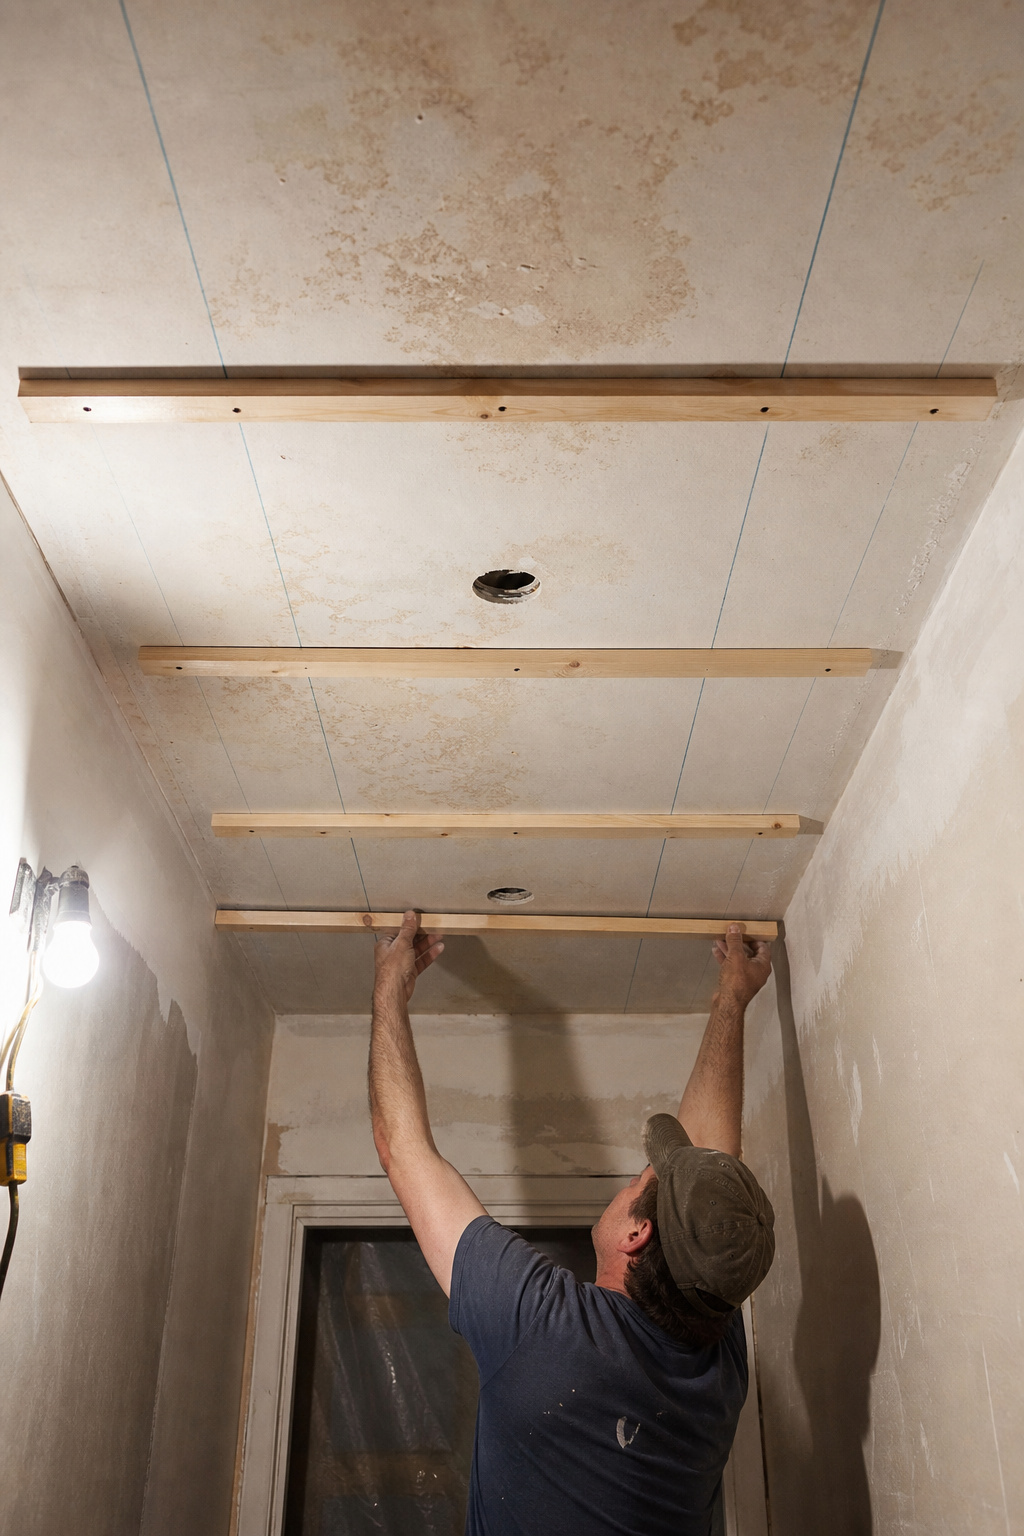
Furring strips — 1×3 or 1×4 lumber run perpendicular to the joists, 16 inches on centre — create a fresh, level nailing surface regardless of what the old ceiling is doing. Locate the joists, snap chalk lines on their centres, then drive 2.5 to 3-inch screws through each strip into the joist (longer through thick plaster). Where the old ceiling waves, shim the strips with cedar shims to true the plane. As one experienced builder on the Homesteading Today forum puts it, in an older house the strips are almost always worth it because you can pull strings and verify flat before a single plank goes up — forcing boards to follow a wavy ceiling is how you get something that looks handmade in the wrong way.
What it costs you in ceiling height
Honest math: 1×3 furring plus 3/4-inch planks loses roughly 1.5 inches; real-world installs report 1.5 to 2 inches for solid T&G over strips, about 1 inch for engineered systems. That’s nothing in an 8 to 9-foot room, but it starts to matter as you near the 7-foot minimum for a comfortable ceiling — measure before you commit. If you’re tight, thin 3/8-inch planks adhered straight to flat drywall drop the loss under half an inch, but only if the ceiling is genuinely flat.
Installing a Planked Ceiling: The Full Sequence
This is a two-weekend job for a confident beginner working alone — boards acclimating in the room for 48 to 72 hours first (some makers want 7 to 14 days), at 60 to 80°F and 30 to 50% humidity, stacked with spacers so air moves between them. The boards are lighter than people expect, and the self-aligning tongue does a lot of the holding. Here’s the order.
- Calculate and order the boards: measure the ceiling, add 10% for waste, and a further 5% for knotty pine you’ll want to spread the knots across.
- Locate and mark every joist with a stud finder — 16 inches on centre in standard framing.
- Install furring strips if the ceiling needs levelling, shimming for a true plane.
- Snap a chalk line for the first row, parallel to the dominant wall — never use the wall itself as your straight edge.
- Nail the first plank to the chalk line, groove toward the wall, with a 1/4-inch expansion gap; face-nail this row.
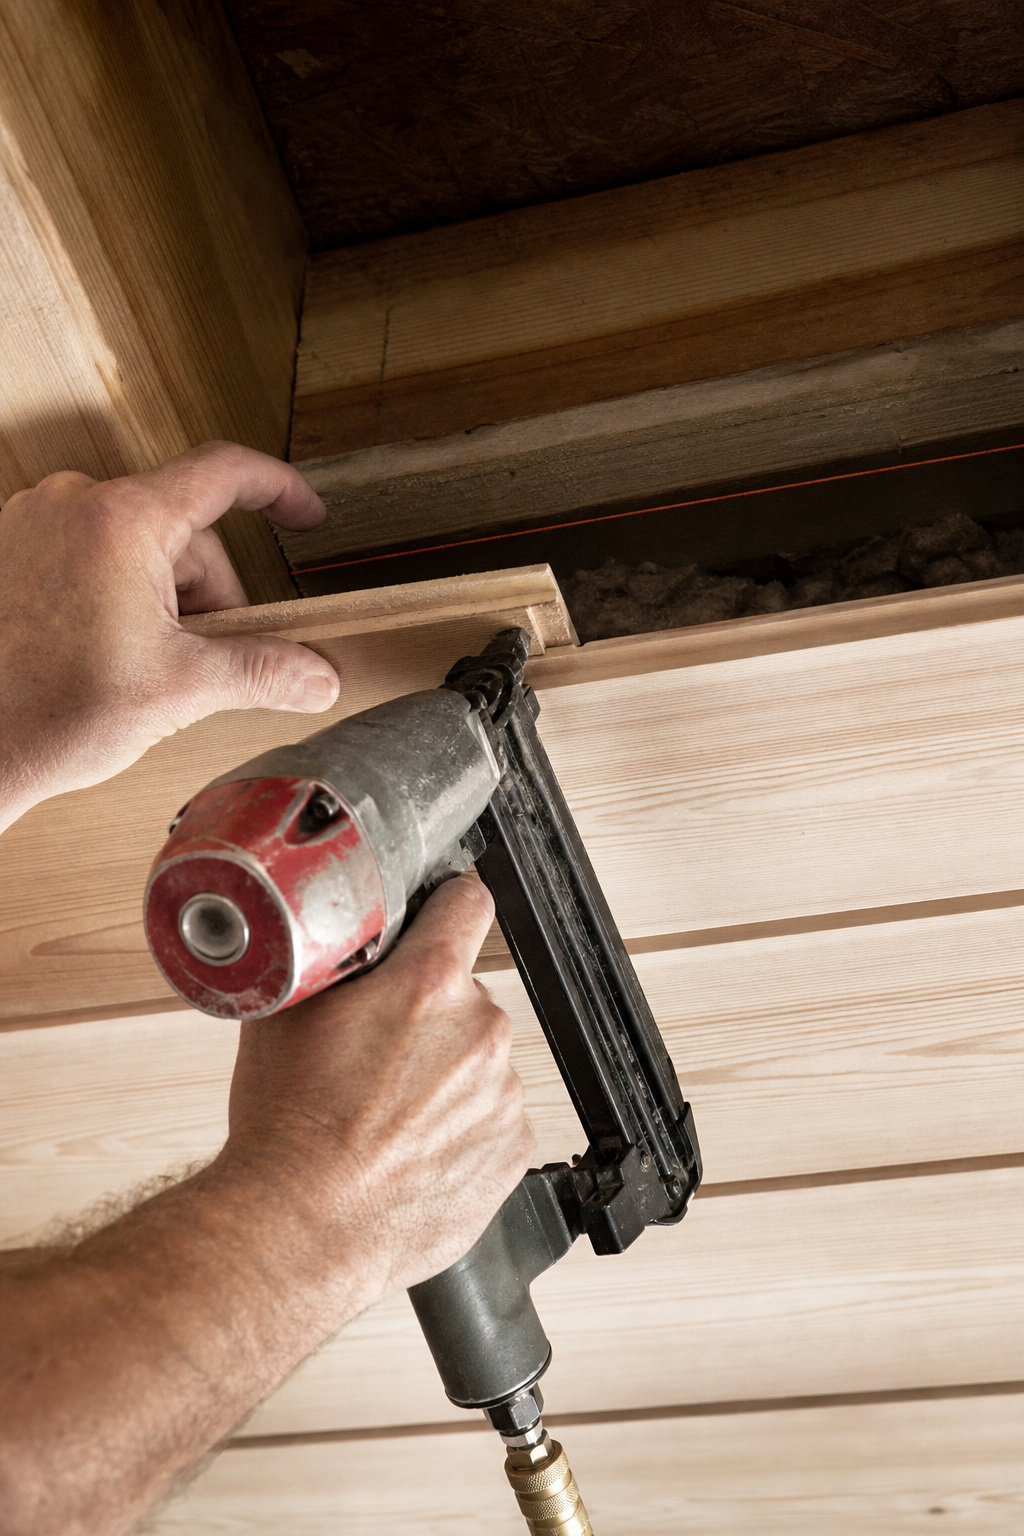
- Blind-nail subsequent rows at 45 degrees through the tongue shoulder, so the next board’s groove hides the head.
- Stagger end joints by at least two joist bays so no two adjacent rows break in the same place.
- Cut and fit the final row to width, keeping the 1/4-inch perimeter gap; face-nail it.
- Install perimeter moulding nailed to the wall (not the planks) so the boards can move seasonally.
- Fill, prime and paint — fill the face-nail holes on the first and last rows, sand flush, prime, then finish.
The mistake that shows lives at step four, and it ruins more planked ceilings than anything else. The installer skips the chalk line, butts the first board tight to the wall, and trusts the wall to be straight. It isn’t — walls run 3/4 of an inch out of square end to end all the time. By the time you’re halfway across, that error has opened into a wedge-shaped gap at one end and a board notching into the wall at the other, and there’s no caulking your way out. Snap the line, check it twice, and treat the first board as the only one that matters, because it is. After that, a long level across the field every three or four rows catches small tongue-seating errors before they compound into a quarter inch of drift by the eighth row.
Painting a Planked Ceiling: White, Colour and Wood-Tone
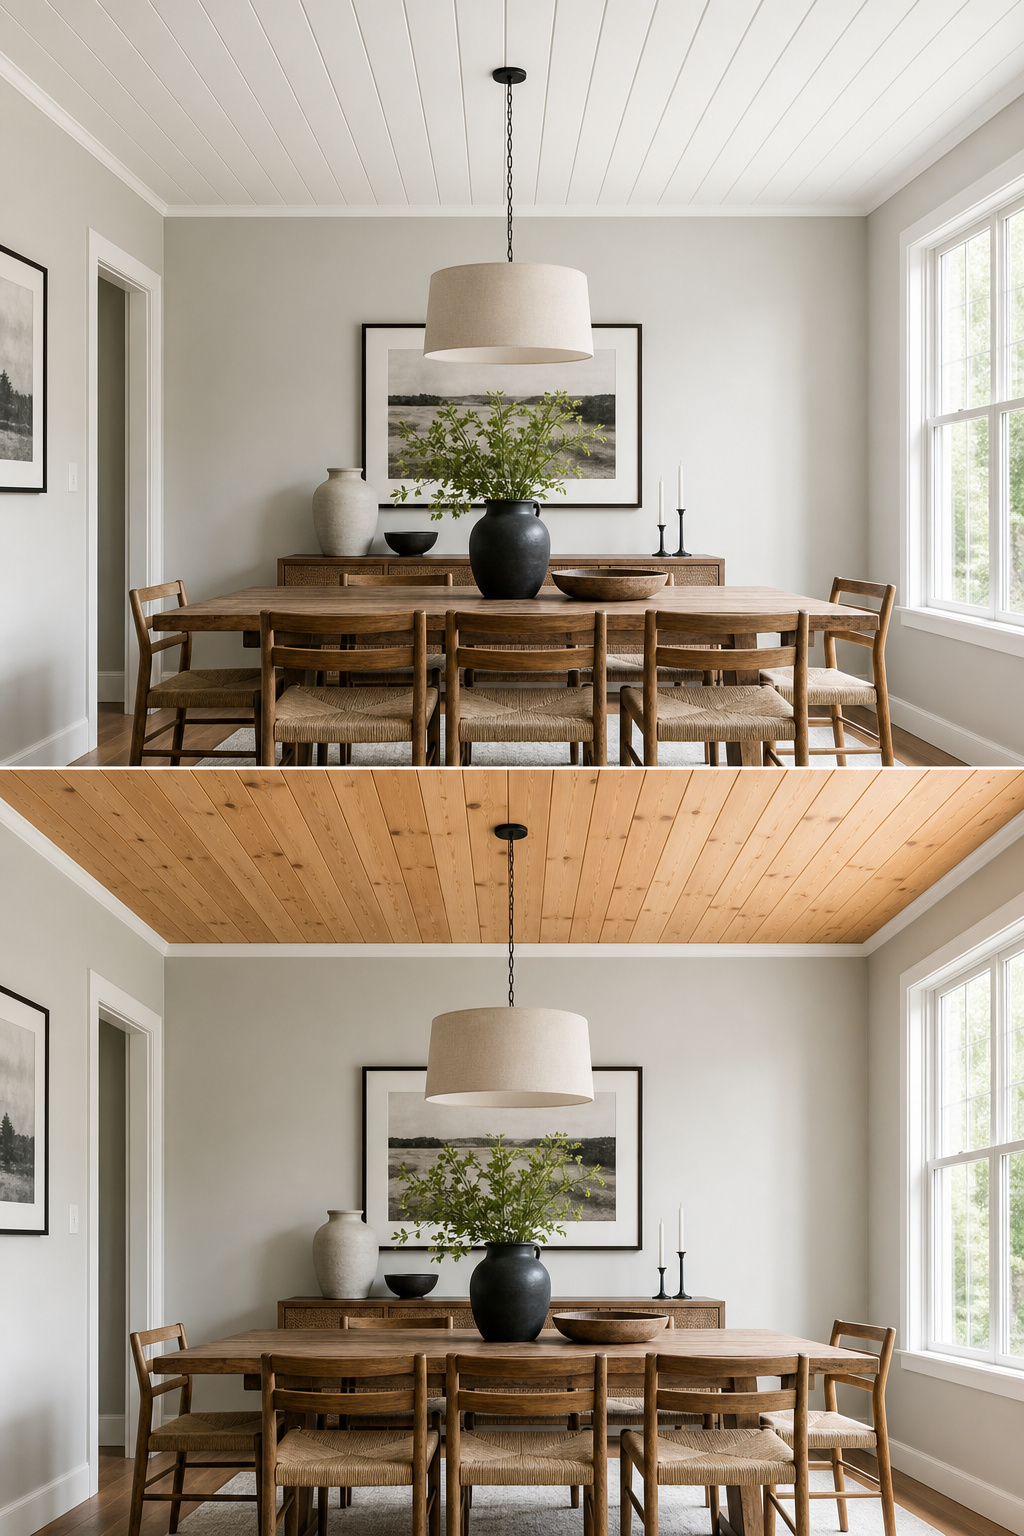
The finish is where the same ceiling becomes a different room. As the Addicted2Decorating editorial notes, paint on a planked ceiling behaves differently than on flat drywall — the shadow lines between boards register as texture, so you’re never applying just colour, you’re applying colour plus relief.
That’s why white-painted tongue-and-groove is the safe, classic dining-room choice: the colour recedes, the texture stays. A flat or matte sheen is standard; eggshell adds a little light bounce. One non-negotiable — prime knotty pine with a shellac-based primer, or the knots bleed yellow-brown rings through your finish coats within weeks. MDF arrives pre-primed and skips it.
Going dark is a real option but conditional: a black satin or dark-stained ceiling reads architectural rather than rustic, but it needs 9 feet of height and good ambient light. Under about 8.5 feet, a dark plank ceiling presses down on the room — practitioner guidance rather than a measured rule, but I’d hold to it. For the deeper colour conversation, see the painted dining room ceiling guide. If you’d rather leave the timber raw, seal it: unfinished pine over a table absorbs cooking vapours and goes greasy, so two coats of water-based polyurethane (it stays clear instead of ambering) before the room’s in use is the move. Planking only the inside of a recess is its own approach — that’s planking a tray recess territory.
This Weekend: What to Do First
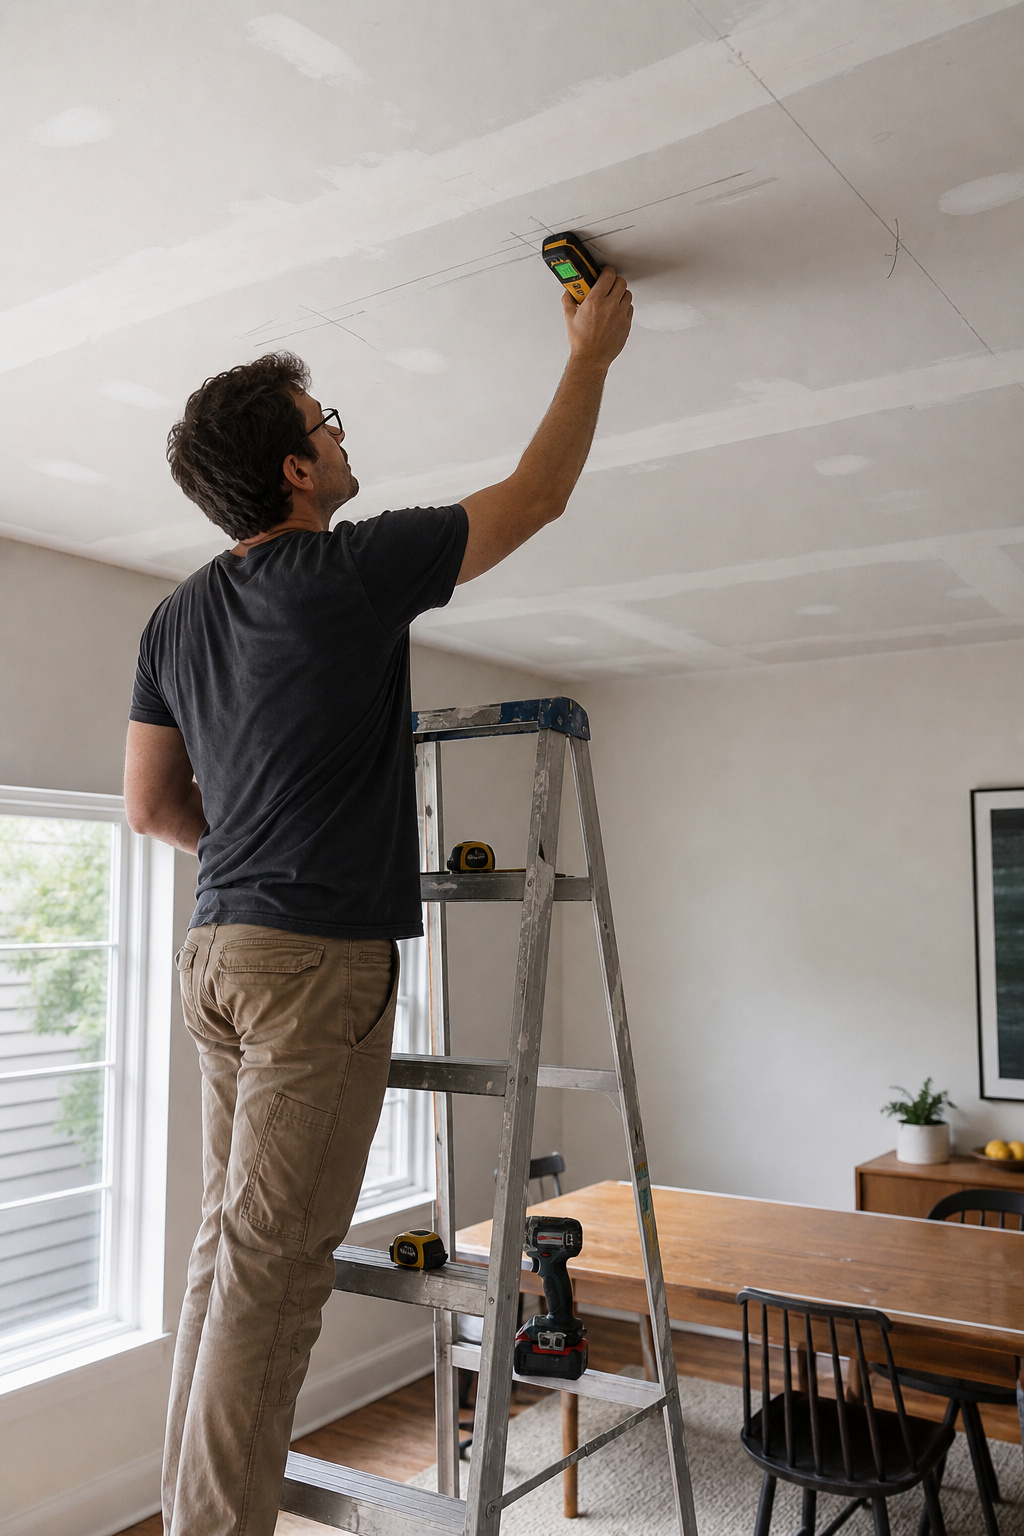
You don’t need to order anything yet. The first job is twenty minutes with a tape measure and a stud finder, and it tells you whether this is a straightforward install or one that needs furring strips.
Measure the ceiling at all four corners and write each number down separately — a ceiling that’s 12 feet at one end and 11 feet 9 at the other is out of square, and you want to know before the first cut, not halfway across. Hold a 6-foot straightedge to the ceiling and note any gap over 1/4 inch; that’s your signal for shimmed furring strips. Mark the joist direction while you’re up there, since the planks run perpendicular to it. If the house predates 1980, order the asbestos test kit now.
On cost: a 150 to 200 sq ft ceiling in DIY pine T&G at $3 a square foot is $450 to $600 in boards, $495 to $660 with the 10% overage, plus $80 to $150 to rent a miter saw and nail gun and about $50 in consumables — call it $625 to $860 all in, against $600 to $2,000 for a pro. Species is the biggest variable: MDF $1 to $2.50, pine $2 to $4, poplar $2.50 to $5, pre-finished engineered planks $1.50 to $4 with no painting step.
The tool you already own does most of the work: a cordless drill handles furring strips, joist confirmation, and moulding. Rent the pneumatic finish nailer — hand-nailing 150 square feet overhead is a special kind of misery. Spend the small money on a decent stud finder with AC detection too; cheap ones miss ceiling joists, and guessing wastes more than the $20 to $40 you’d save. To see how cladding sits beside every other option, the full guide to dining room ceilings has the comparison.
FAQ
Can you install a planked ceiling yourself without professional help?
Yes — it’s rated beginner to intermediate DIY. The core skills are straight measuring and cutting, finding joists with a stud finder, and running a rented finish nailer. Most homeowners finish a standard 150 to 200 sq ft dining room ceiling in a two-day weekend, saving roughly $300 to $750 in labour. The one underestimated factor is overhead-work fatigue, so use prop supports.
Does a planked ceiling make a room feel lower?
Physically it lowers the ceiling about 1.5 to 2 inches with furring strips plus plank thickness — negligible above 8 feet. Visually it depends on finish: white-painted planks read nearly as light as flat white drywall, while dark-stained boards in a low room can feel compressive. Below 7 feet, do a full ceiling-height analysis before committing.
What is the difference between beadboard and tongue-and-groove ceiling?
Both use a tongue-and-groove interlocking joint; the difference is the face profile. Plain tongue-and-groove has a flat face and a virtually invisible hairline seam. Beadboard has a small rounded bead milled near the tongue edge, so joined boards throw a repeating decorative shadow line. Beadboard reads decorative and period; plain T&G reads cleaner and contemporary. Both install the same way.