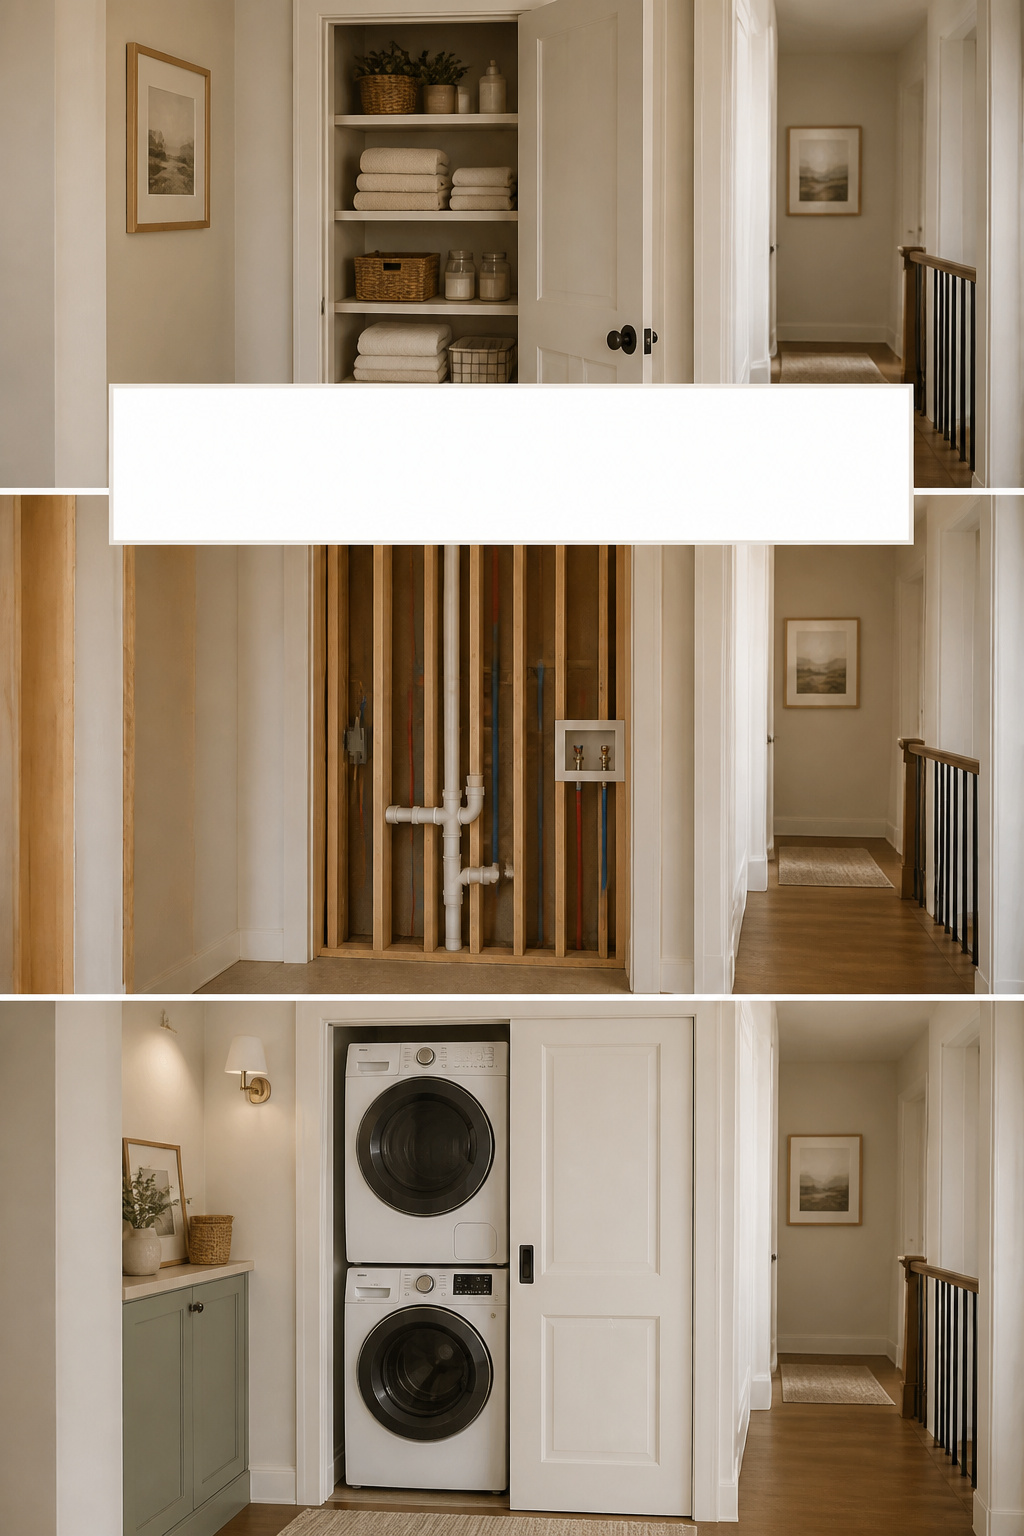
The first closet a client wants to convert is almost never the right one. They point at the linen closet nearest the bedroom, the convenient one, and I have to walk them eight feet down the hall to the one that backs onto the bathroom wall. That second closet is the one that keeps the project on budget, because the plumber connects to pipe that already exists instead of chasing new lines across the subfloor. Pick wrong here and you can add $1,100 to $2,500 to the job before anyone swings a hammer.
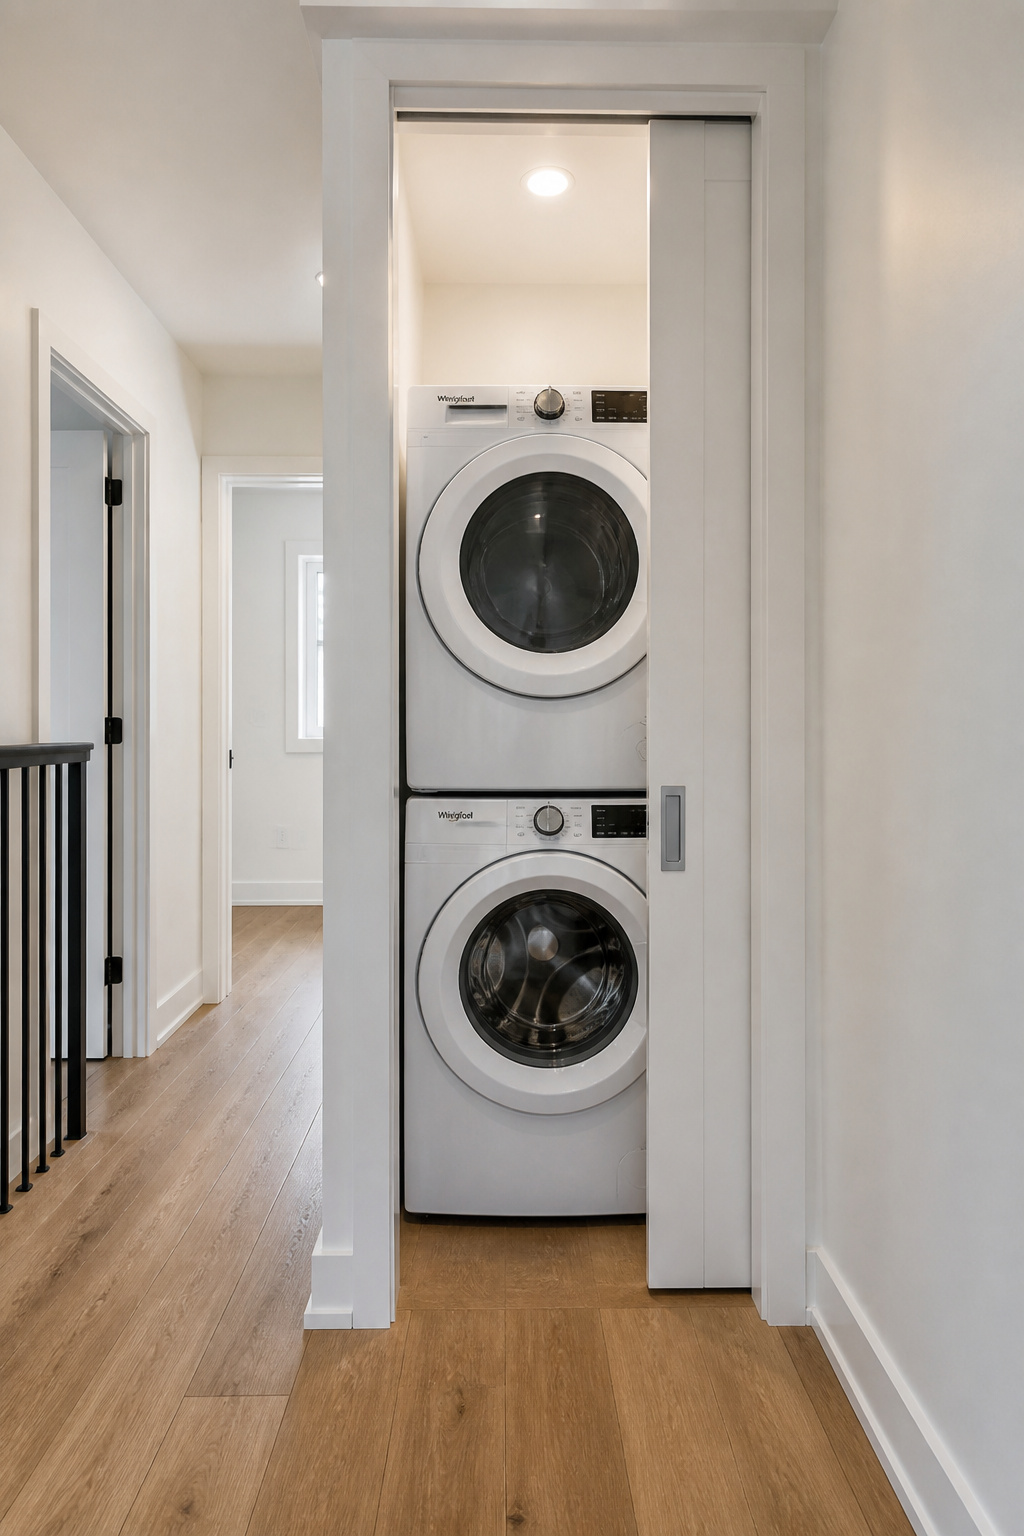
So before we talk cost or doors, we talk about which closet earns the conversion, and then what the job really takes.
TL;DR
- A closet near the bathroom plumbing stack converts for $2,000–$7,500; one needing new long-run plumbing or framing runs $8,000–$15,000+.
- You need at least 25 inches of width and 30 inches of depth for a stacked compact set, plus an exterior vent path or a ventless dryer.
- Plumbing, electrical, and dryer venting must be permitted and done by licensed trades in most jurisdictions; skipping the permit risks fines, insurance denials, and resale headaches.
If you want to convert a closet into a laundry room, you’re really running a small construction project with three licensed trades inside it. I’m covering scope, cost, and design decisions here. For the technical hookups and machine clearances, I’ll link the detailed guides as we go, and the broader complete guide to upstairs laundry rooms covers the whole project end to end.
Choosing the right closet to convert: what to look for before you start
Proximity to a bathroom plumbing stack: why it’s the biggest cost variable
A closet that backs onto a bathroom wet wall, or sits directly above one, can tap the existing supply and drain lines with a short run. Block Renovation says proximity to existing plumbing is the first thing to check, because running new lines is simpler and cheaper when the closet shares a wall with a bathroom or kitchen.
When the closet sits away from existing water and drain lines, the new plumbing extension alone can add $1,100 to $2,500 or more, sometimes doubling the plumbing scope. Aim for a closet within 5 to 10 feet of the main soil stack and you have already won the budget fight.
Minimum interior dimensions for stacked vs side-by-side machines
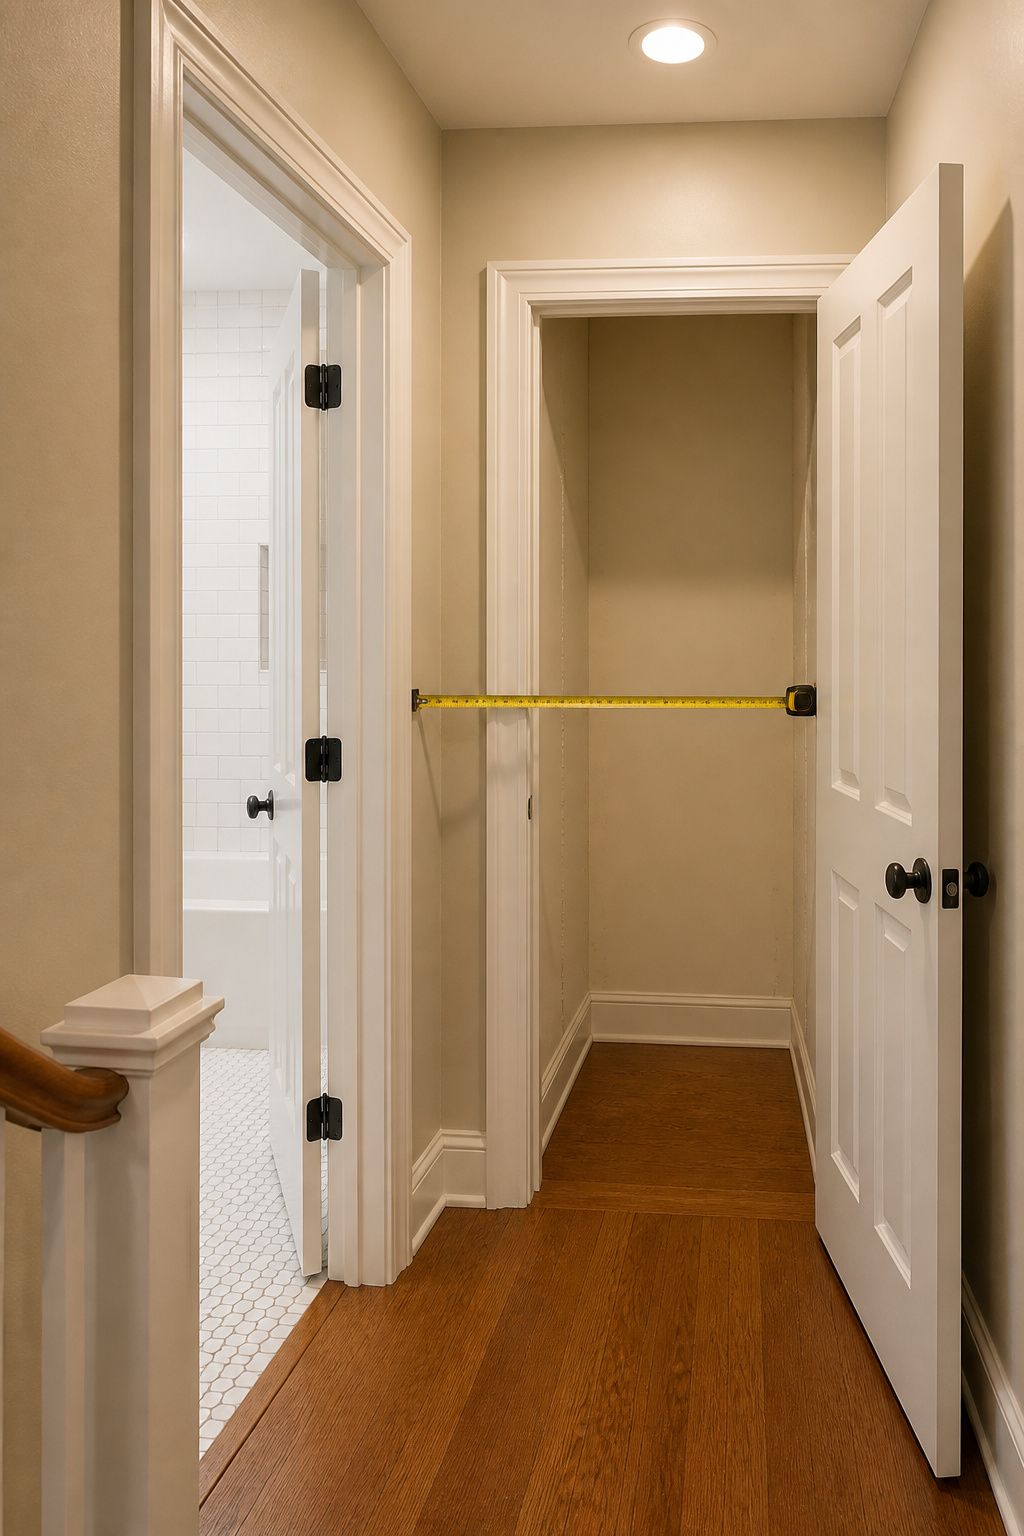
Most converted closets take a compact stacked set: roughly 24 inches wide, 24 to 26 inches deep, and 66 to 76 inches tall stacked. For that, the closet interior needs to be at least 25 inches wide and 30 inches deep. The extra 6 inches of depth is hookup clearance behind the machines, and you can’t skip it.
Side-by-side full-size machines are a different animal. Each is 27 to 30 inches wide, so you need a 60-inch opening minimum, and most standard linen closets simply aren’t that wide. A loaded washer can top 200 pounds, too, so have a contractor check the joist span before you put a full-size pair on an upper floor. The configuration question decides the whole project, so see what configuration fits before you commit. That guide covers the clearances in detail.
What rules out a closet: load-bearing walls, no exterior wall for venting
Two things disqualify a closet fast. The first is a load-bearing wall in your way. Exterior-facing walls are almost always bearing, and altering one needs a structural engineer’s sign-off, which runs $500 to $1,500 at the permit stage. A quick field test: check the attic or basement and see which way the joists run relative to the wall. Parallel usually means non-bearing; perpendicular means it’s probably carrying load.
The second is venting. A dryer needs a path to the outside, and code caps the equivalent duct run at 35 feet, with every 90-degree elbow eating 5 feet of that budget. A closet buried three rooms deep may not leave a compliant path at all. The fix is a ventless or heat-pump dryer. That’s a legitimate choice, but budget for it: ventless units run $200 to $600 more than vented equivalents.
The realistic budget: what a closet conversion actually costs
Most basic-to-finished conversions near existing plumbing land between $2,000 and $7,500. The moment you need new long-run plumbing, structural framing, or premium finishes, you’re looking at $8,000 to $15,000 or more. Block Renovation’s range matches what I see on real jobs. Here’s where the money goes:
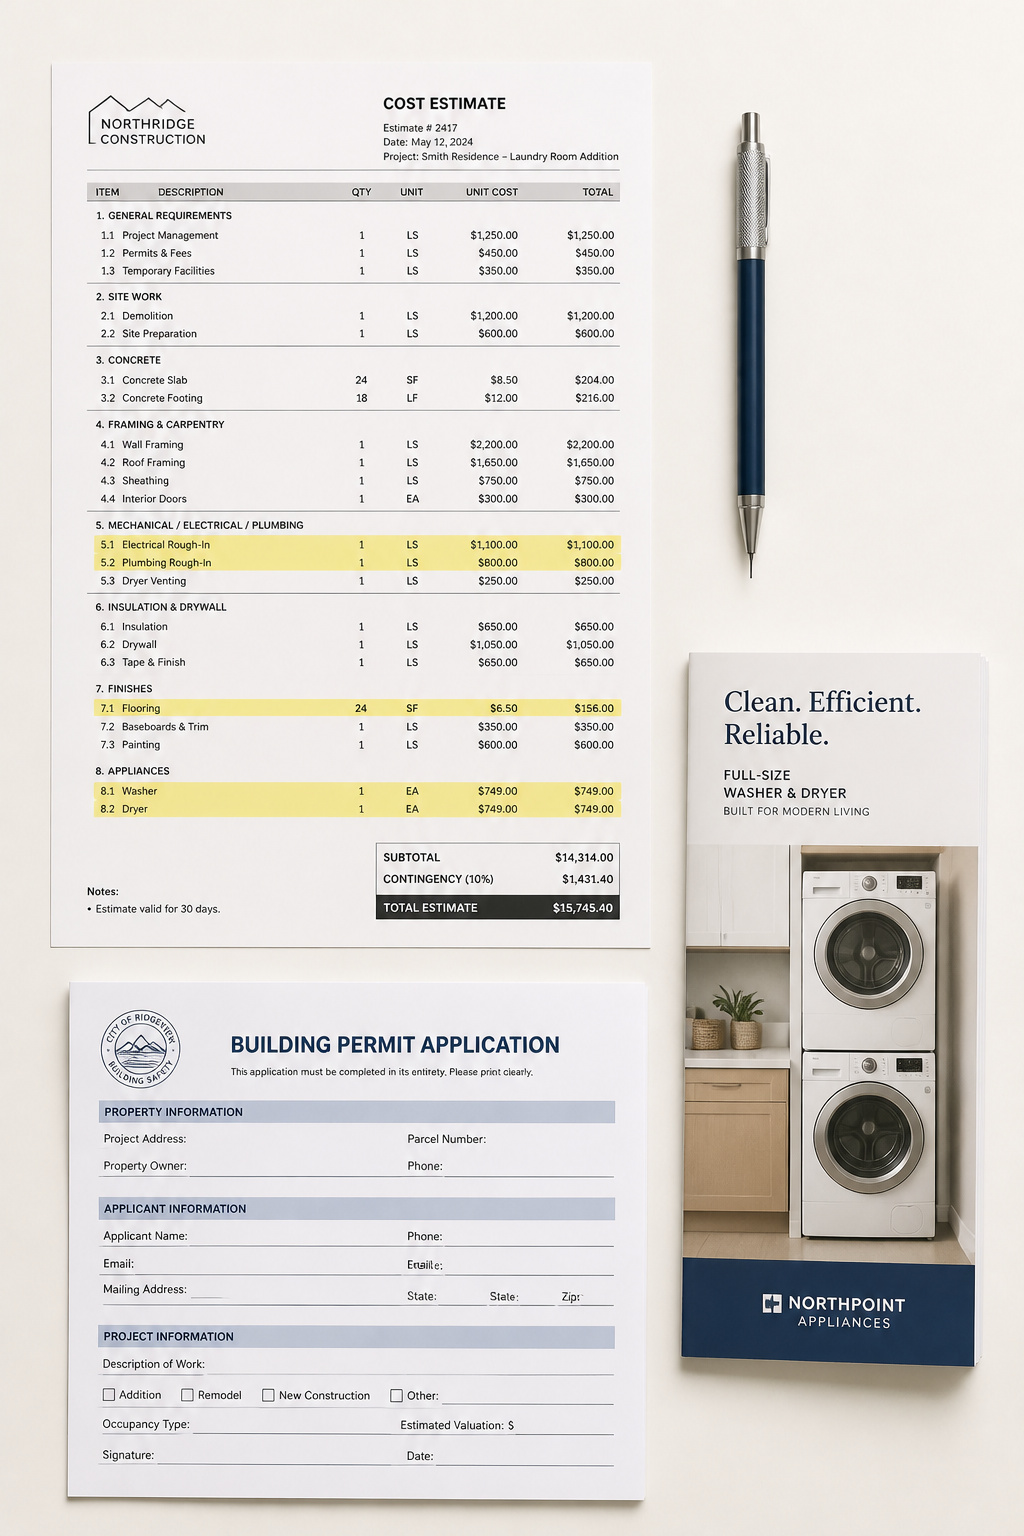
| Line item | Low | High | DIY-able? |
|---|---|---|---|
| Building permit (plumbing/electrical/mechanical) | $400 | $1,300 | No |
| Plumbing rough-in (supply + standpipe) | $1,100 | $1,800 | No |
| Electrical (120V washer circuit or 240V dryer circuit) | $300 | $1,000 | No |
| Framing & drywall | $500 | $1,500 | Partly |
| Door (bifold to pocket-door retrofit) | $367 | $4,200 | Partly |
| Appliances (washer + dryer) | $800 | $2,500 | Yes |
| Cabinetry (if added) | $500 | $3,000 | Partly |
If your panel needs an upgrade for that 240V dryer circuit, add another $1,000 to $3,000. That one catches a lot of people out.
Where the money goes and what you can DIY vs what needs a pro
Labor runs about 40 percent of a laundry addition. Plumbing, electrical wiring, dryer venting, and structural framing are the lines that must go to licensed trades in most jurisdictions. DIY on those lines voids your homeowner’s insurance and creates permit problems at resale.
What you can do yourself without touching any of that: paint walls and cabinets with moisture-resistant paint, install shelving and organizers, lay LVP or tile over a finished subfloor, and build a folding counter over front-loaders. If you’d rather hand off coordination entirely, a general contractor to manage trade sequencing adds 20 to 50 percent. On a $6,000 job, that’s $1,200 to $3,000 for someone else to chase the schedule.
The hidden costs most budgets miss
Three line items get left off nearly every first budget. Subfloor waterproofing or cement backer board runs $155 to $495 and is one of the most common things skipped right before a water-damage claim. Post-construction cleanup is $140 to $700 and is rarely in the contractor’s quote. And you want a contingency of 10 to 20 percent for what the wall hides: old wiring, mold, joists that need sistering.
One more, if you’re in a condo or co-op: board approval and an engineer’s letter can add 4 to 8 weeks and $200 to $500 in filing before anyone starts.
Framing and rough-in: the weekend you can’t skip
This is the stage that decides everything else, because it happens before the walls close and you only get one shot at it. A licensed GC, Tom Lopatosky of LOPCO Contracting, is blunt about the team it usually takes: a carpenter to modify the closet, a plumber for the rough plumbing and finish connections, an electrician for the circuit and receptacles, and sometimes a roofer for a vent hood. “Rarely,” he says, “things really are as simple as running a few connections. That is the exception rather than the rule.”
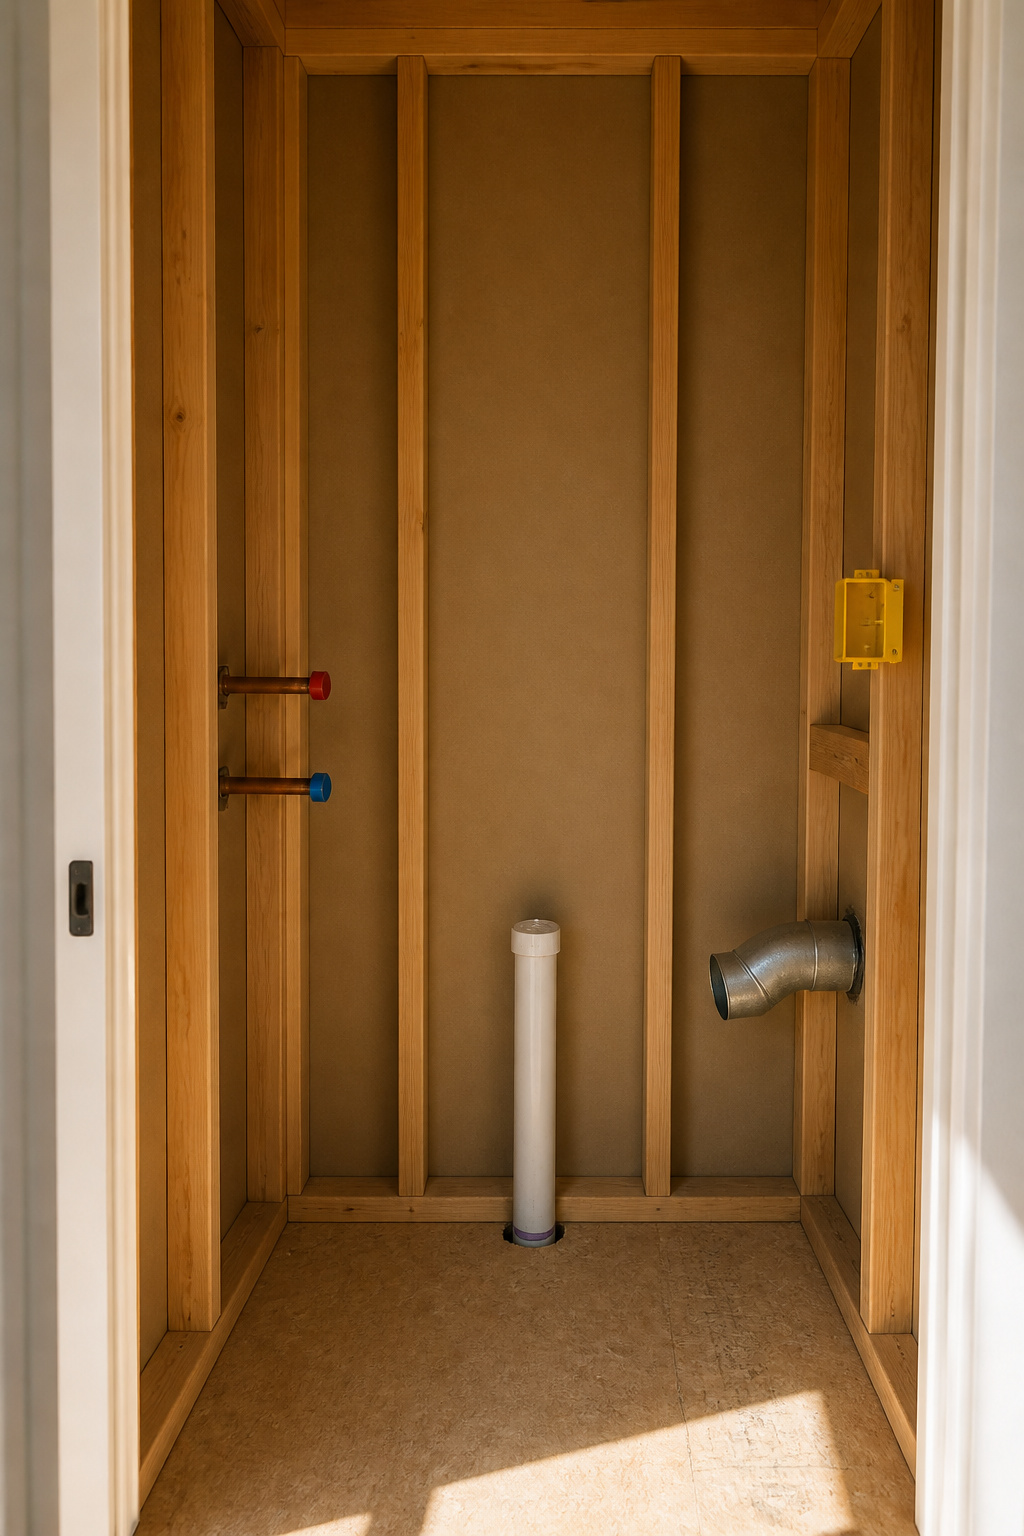
Framing for a new door opening or widening an existing one
Most linen closets have a 24- or 30-inch bifold opening. Widening that to a 32-inch pocket-door rough opening (the standard residential size) usually means pulling one or two studs and setting a new header. A pocket door also needs a hollow wall pocket as wide as the door slab, which eats 3 to 5 inches of wall depth, so a 2×4 stud wall is the practical minimum. Framing a single opening wider adds $200 to $600; a brand-new rough opening in a non-bearing partition runs $500 to $1,000.
Blocking in the walls for washer hookup and dryer vent exit
While the walls are open, three things get located permanently. The plumber runs hot and cold supply plus the standpipe drain. The dryer vent gets its 4-inch exit hole blocked in for rigid metal duct. And the electrician installs a flat 2×4 backer between studs at the right height for the receptacles. Locate any of these wrong and fixing it later means cutting open finished walls. This is also the moment to plan the drain pan’s floor penetration, long before any machine is set.
The order of trades: who goes in first and why it matters
There’s a typical sequence, though it varies by jurisdiction, and your inspector and local practice have the final word. The order usually runs:
- Framing and demo
- Plumbing rough-in
- HVAC and dryer vent
- Electrical rough-in
- Rough-in inspection (must pass before any wall closes)
- Insulation
- Drywall
Plumbing generally goes before electrical because pipe needs the room and the electrician routes wire around it; flip that order and you can pay for a reroute. The rough-in inspection is often the longest lead-time item (one to three weeks in many areas), so book it the moment rough-in starts. For the full mechanical spec, standpipe heights, and vent routing, see how to run the plumbing and venting.
Door choices that make the conversion feel finished
The door is where a converted closet stops looking like a hole in the wall. Three options cover most conversions, and they trade off access, noise, and cost differently:
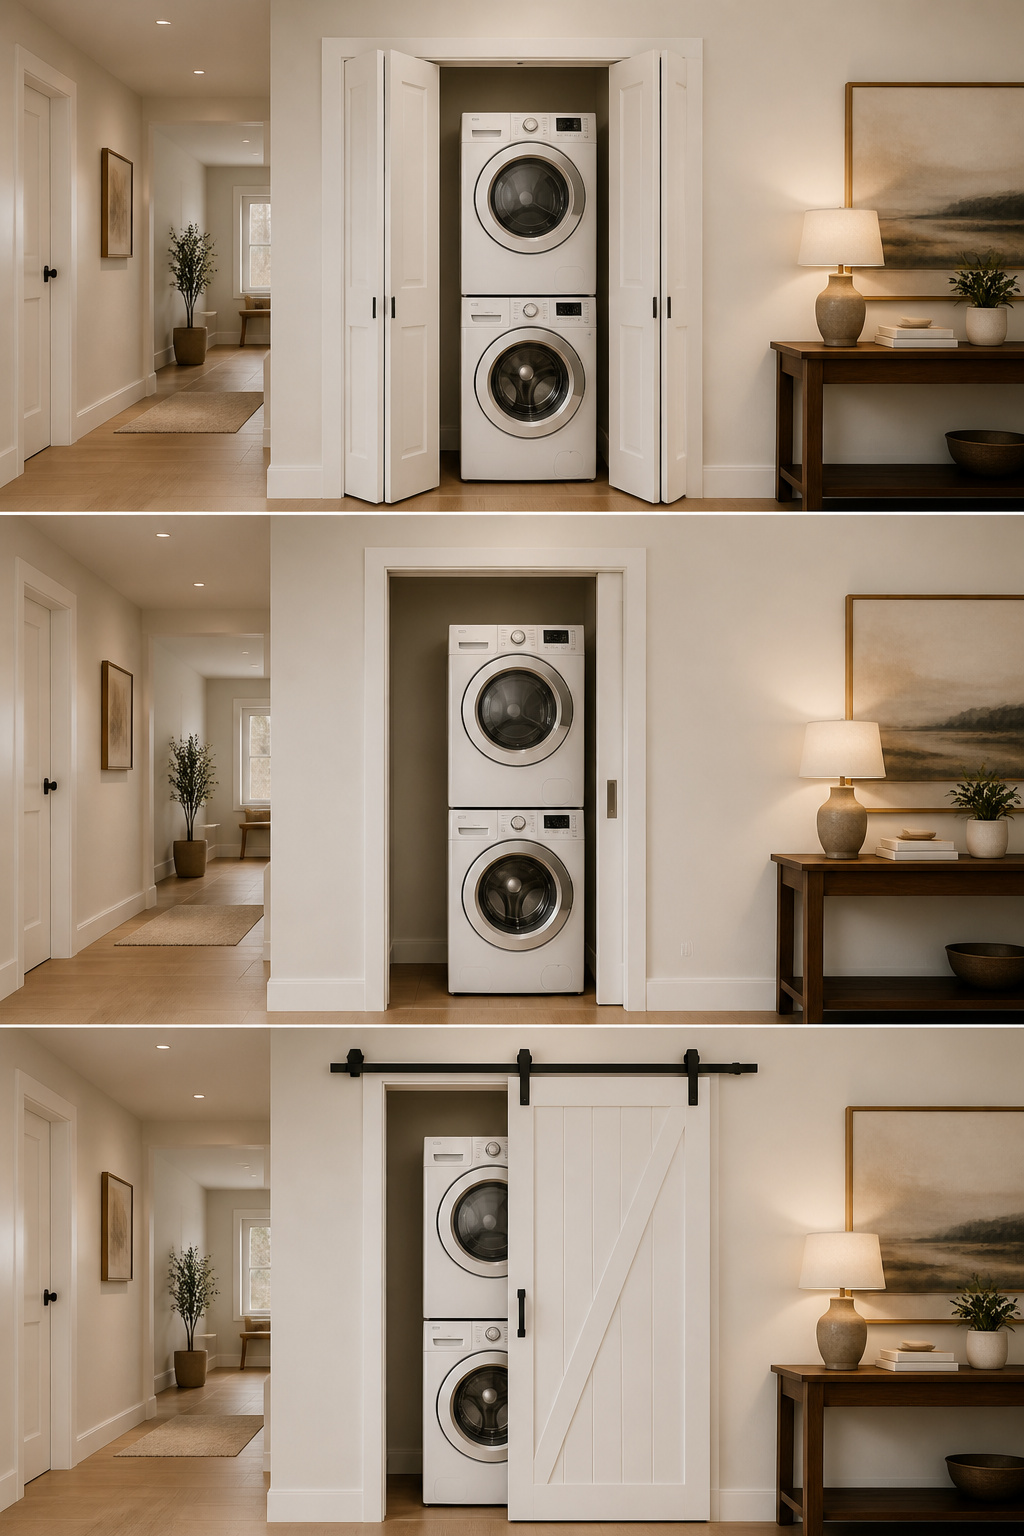
| Door type | Cost installed | Clearance needed | Noise seal |
|---|---|---|---|
| Bifold | ~$367 | Panels stack 3–5 in to one side | Poor |
| $1,550–$4,200 | None (slides into wall) | Best | |
| Barn | $400–$700 + slab | Wall run beside opening | Worst |
Bifold doors: clearances, pros, cons, and the floor-track problem
Bifolds are the most common laundry-closet door for good reason: full-width access to both machines, lowest cost, and modern top-hung versions skip the floor track entirely, so there’s no groove to trap lint. A House Digest design expert sums it up: for a laundry closet, bifolds give full access without protruding into the space in front of the units. The catch is that the folded panels do project into the hallway, and in a tight corridor a basket on the floor plus open panels can block the path. They also seal noise poorly.
Pocket doors: the premium option and what they cost to retrofit
A pocket door slides fully into the wall, leaving zero floor clearance and nothing sticking into the hallway. That makes it the best pick for a tight upstairs corridor, and it has the best noise seal of the three. You’re paying for the wall work: $1,550 to $4,200 retrofitted into a non-load-bearing wall, covering demo, reframing the pocket, patching, and hardware. Keep it to an interior partition and you avoid the structural-engineer surcharge a bearing wall would trigger.
Cabinet-front doors and barn doors: when they work and when they don’t
Barn doors are the Pinterest favorite and the worst acoustic choice. The slab rides half an inch to an inch proud of the wall, leaving permanent side gaps that pass noise, lint, and odor straight into the hall. As South Florida Doors & Closets notes, a hinged solid-core or pocket door is the better call near bedrooms. Cabinet-front panels that hide the machines look polished, but they want a deep closet. Figure on roughly 30-plus inches of clear interior depth so the appliance doors can swing without hitting the front. Treat that depth as a rough working figure and confirm it against your actual machine’s door swing before you build to it.
What goes wrong and how to recover
I’ve watched the same three mistakes sink conversions, and all three are avoidable with a half-hour assessment before demo.
The first is the vent run that’s too long. Code allows 35 equivalent feet, and each 90-degree elbow costs you 5 of them, so a closet three rooms in with three bends has burned 15 feet before a single straight section. If you’re over, you have three recoveries: re-route to a shorter path, add a booster fan that buys 20 to 25 feet (about $100 to $200 for the fan, $150 to $300 to install), or switch to a ventless dryer that needs no duct at all. And never, ever terminate the vent into an attic or wall cavity. That’s a code violation and a fire risk, with no exceptions.
The second is the closet wall that turns out to be load-bearing. Cut into one without an engineer’s design and you can get a sagging floor and drywall cracking across the whole level. The recovery isn’t cheap: an engineer’s letter is $500 to $1,500, and the header and shoring add $800 to $2,500. The thirty-minute prevention is to look in the attic above that wall first.
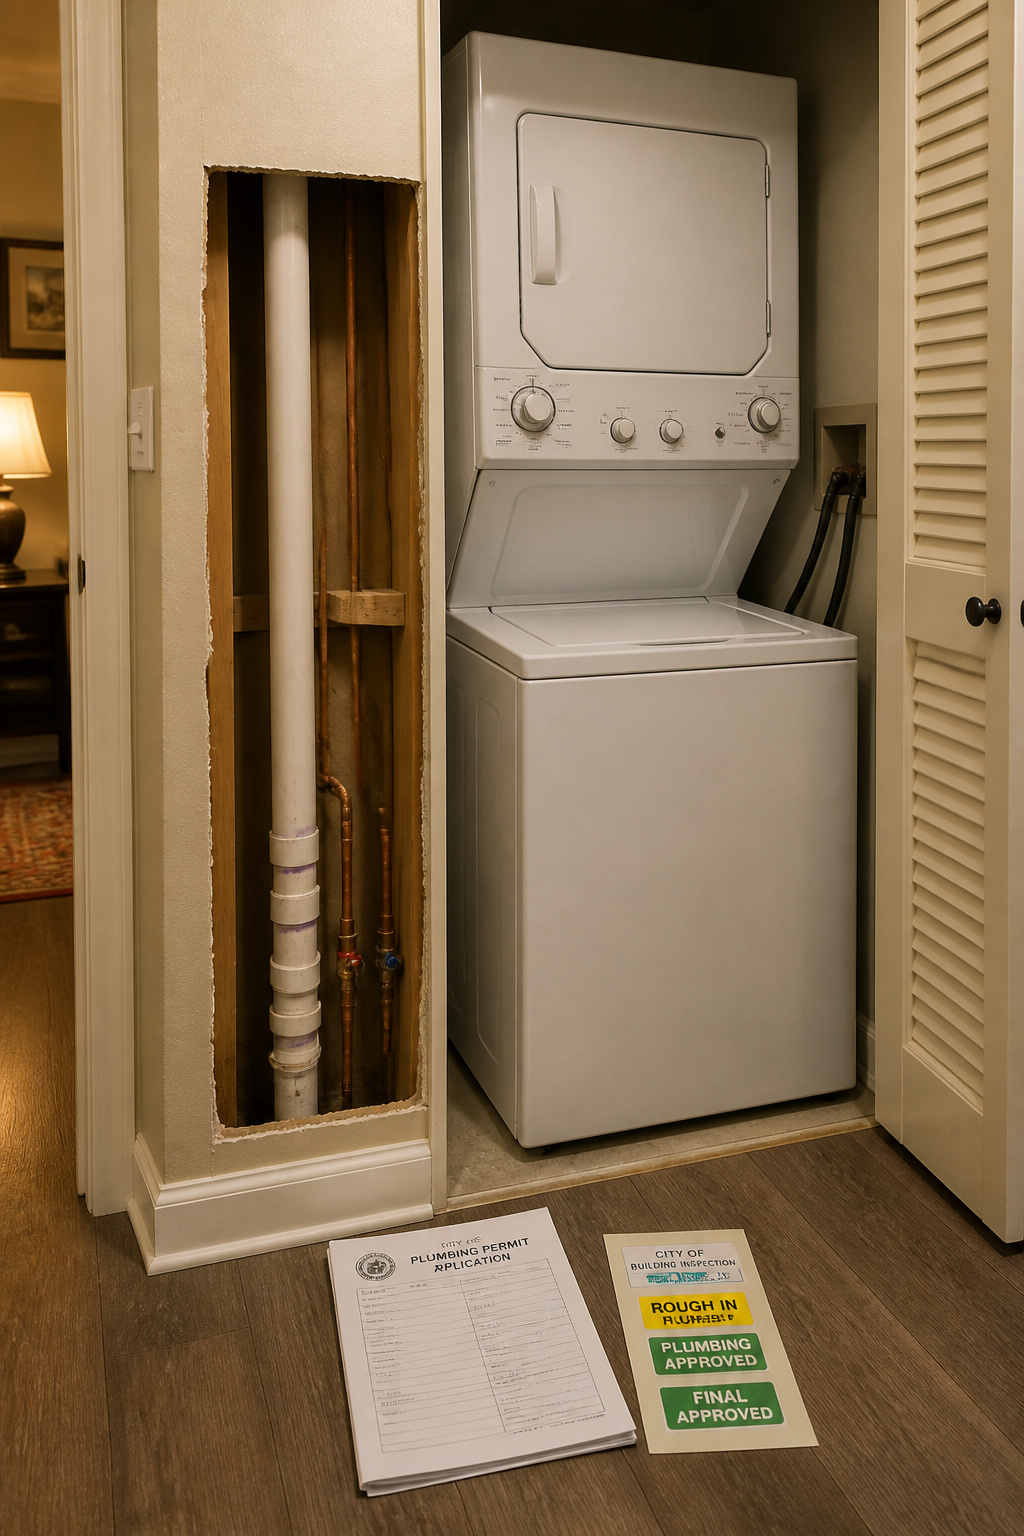
The third is skipping the permit, which always costs more than the permit itself. Building permits run $400 to $1,300. Getting caught can mean $500-a-day fines, a stop-work order, or demolition of finished work. Worse, unpermitted plumbing can get a water-damage claim denied, which is exactly the failure most likely upstairs. A retroactive “as-built” permit usually exists, but it often means opening finished walls so an inspector can verify what’s behind them, at your cost. Block Renovation’s advice is the right instinct: check local codes and HOA rules before you start, not after.
Finishing the conversion: from rough-in to running machine
Once the drywall is up, painted, and the floor is down, the room turns from a construction site into a laundry. Here’s the order I work the finish:
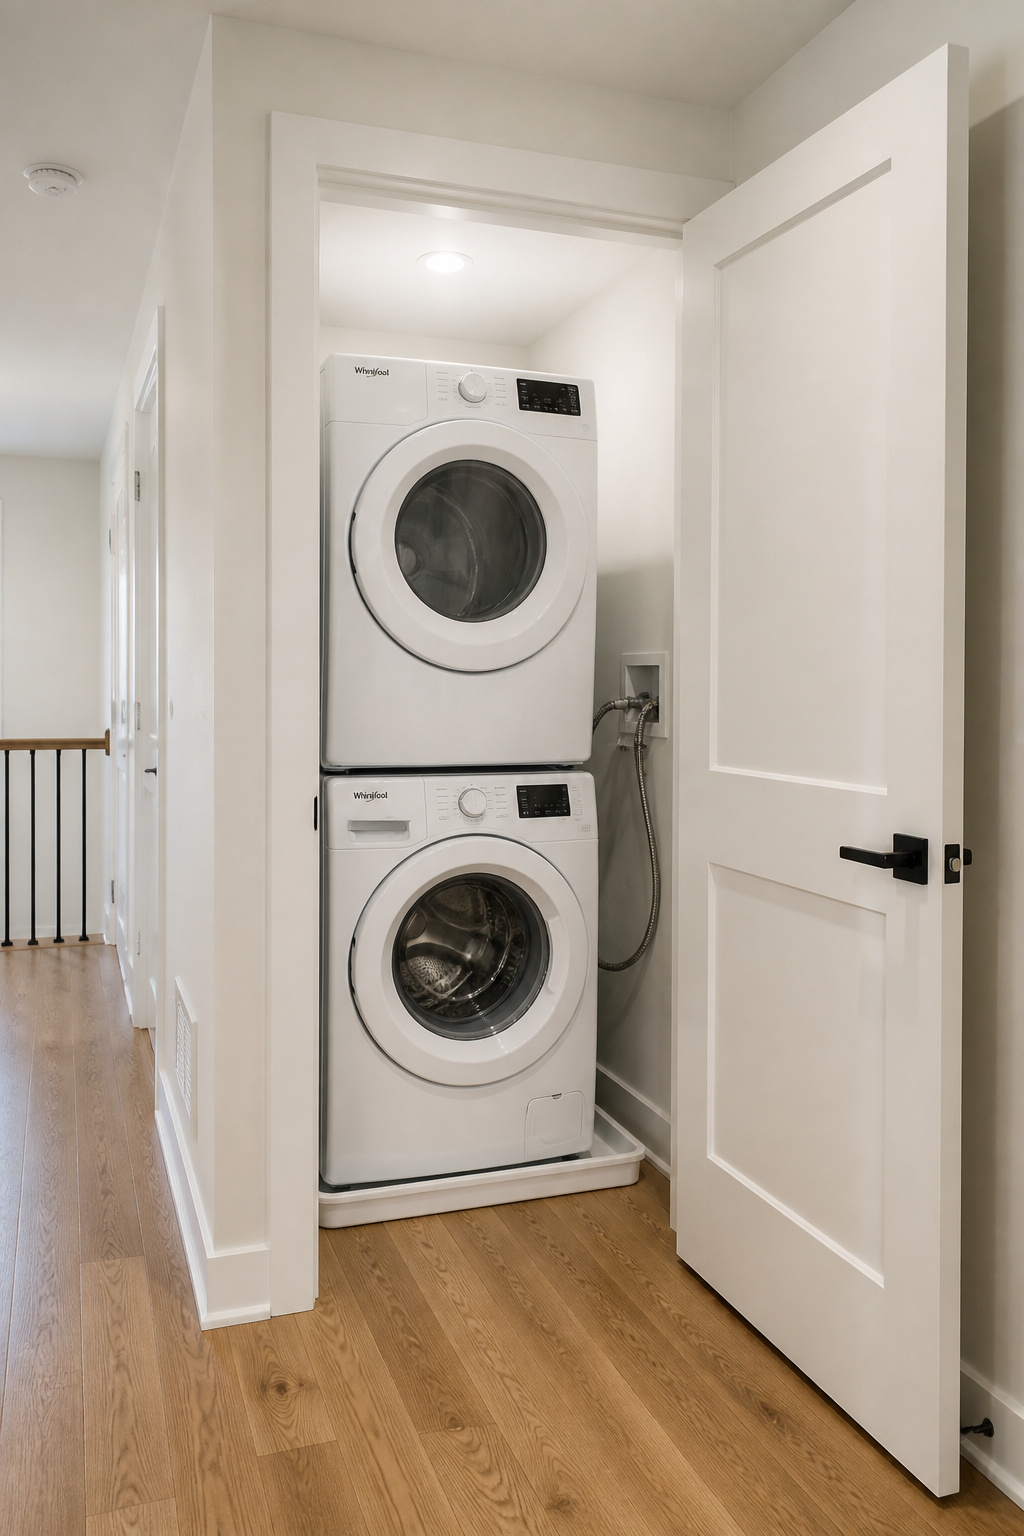
- Paint the closet interior and lay flooring before anything else. A stacked set in a 24-inch closet leaves no room for a brush later.
- Set the drain pan, then the machines. A pan sized to the washer footprint (often 30×30 inches) goes in first; you cannot slide it under afterward without pulling the machine back out.
- Stack the dryer with a manufacturer-matched kit ($15–$50). Cross-brand kits aren’t rated and can void the warranty.
- Leave 6 inches behind the machines for hoses, vent, and cords; cramming them to the wall is the top cause of kinked drain hoses and restricted vent connections.
- Have the licensed trades make the final plumbing and electrical connections.
Flood protection installed at this stage
This is the cheapest insurance you’ll buy for an upstairs laundry, and the stage where it has to happen. The drain pan goes under the washer before it’s set. Swap the rubber supply hoses that ship with the machine for steel-braided ones. That’s the single lowest-cost upgrade that most reduces the odds of a catastrophic upstairs water event. An automatic shutoff valve adds a layer that cuts the water when it senses a leak. Build all of it in now, during the finish stage, rather than retrofitting after a ceiling stain tells you it was needed.
The punch list before you call it done
Run a hot-wash test cycle and check under and behind the washer for drips and the standpipe for slow drainage. Confirm the dryer is exhausting outside by holding a tissue at the vent hood during a heat cycle. It should deflect outward steadily. Check that both machine doors swing fully with the closet door open. As for timeline, a basic conversion near existing plumbing tends to take 2 to 4 weeks from permit to first load, and a complex one with new plumbing or framing runs 4 to 8 weeks. Treat those as a guide. DIY-managed jobs with gaps between trades commonly stretch to 6 to 12 weeks. The video always said one weekend; the calendar always says otherwise.
What you end up with is a working laundry where the clothes actually live, built right where a coat of towels used to sit.
FAQ
How much does it cost to convert a linen closet into a laundry room?
Most linen closet conversions cost $2,000–$7,500 when the closet sits near existing bathroom plumbing; projects needing new long-run pipes, framing changes, or premium finishes reach $8,000–$15,000. The three biggest variables are proximity to the plumbing stack, whether a new 240V dryer circuit is required, and the door choice. Appliances add another $800–$2,500.
What size closet do I need for a washer and dryer?
For a stacked compact unit, the usual conversion choice, plan on a minimum 25 inches wide, 30 inches deep (24 inches for the machine plus 6 inches of hookup clearance), and at least 76 inches of ceiling height. Side-by-side full-size machines each run 27–30 inches wide and need a 60-inch opening, which most standard linen closets can’t give without framing changes. Depth matters as much as width.
Do I need a permit to convert a closet into a laundry room?
Yes, in virtually all US jurisdictions: any conversion adding plumbing, electrical, or dryer-vent work needs the relevant building permits. Fees run $400–$1,300, and skipping them risks $500-plus daily fines, a stop-work order, forced demolition, denied insurance claims for water damage, and mandatory disclosure at resale. A retroactive “as-built” permit exists but may require opening finished walls.