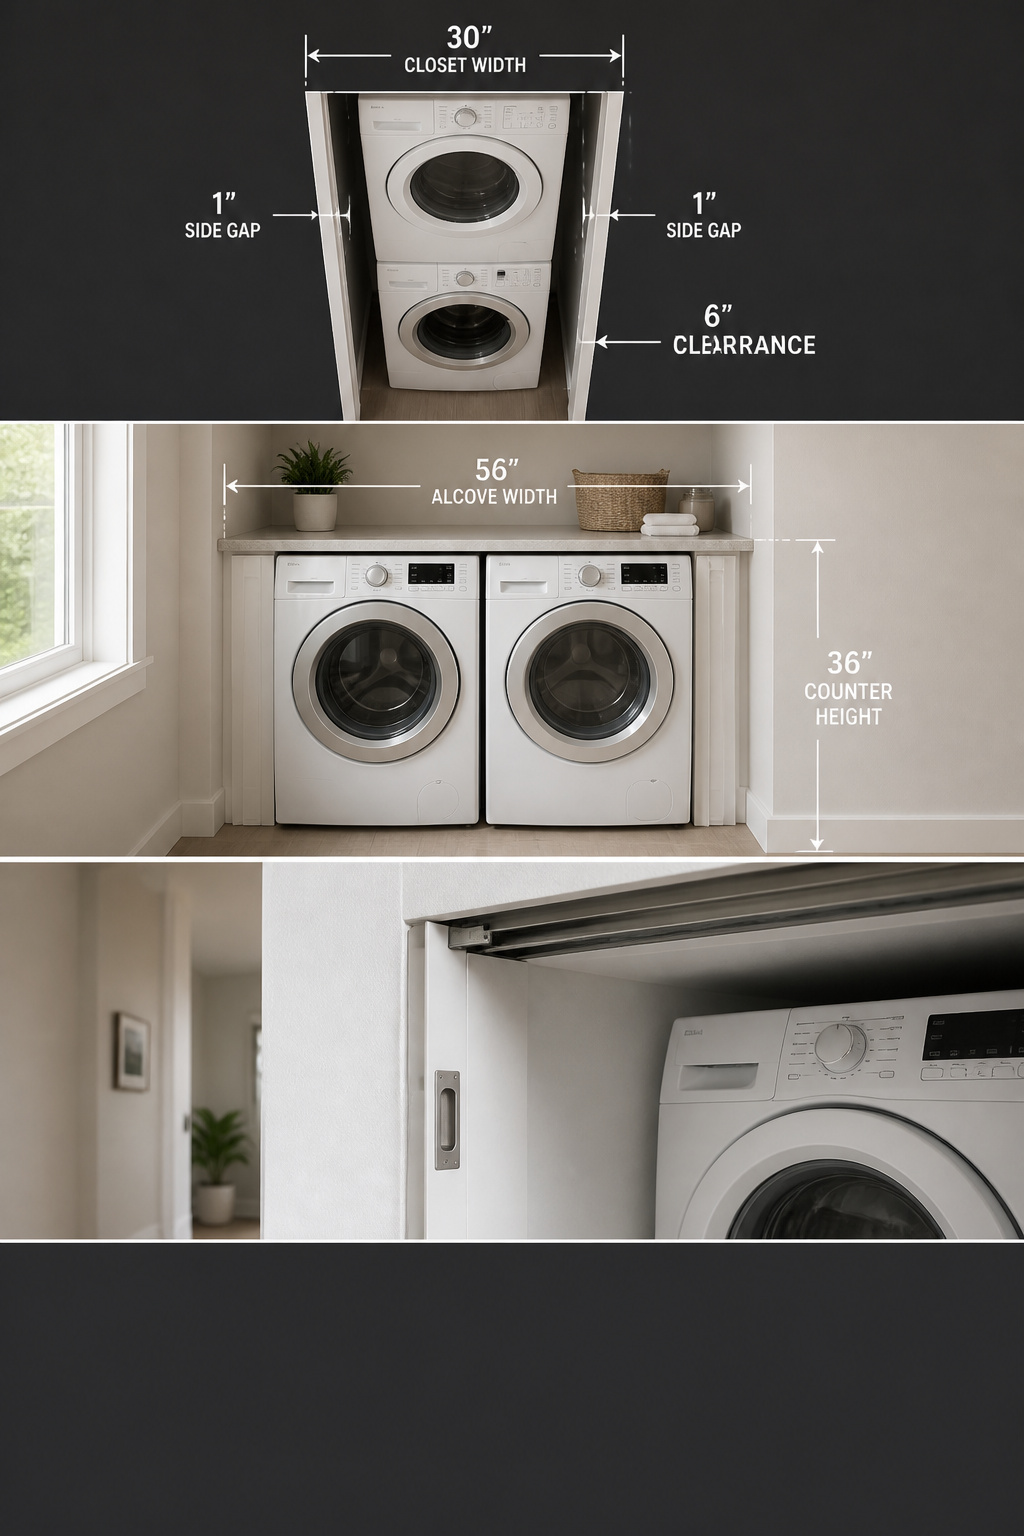
A small laundry closet layout is decided by three numbers: the width of the opening, the depth of the wall behind it, and the height of the ceiling. Know those and the configuration chooses itself. Most plans go wrong by working the other way around, picking the machines first and then bending the closet around them.
TL;DR
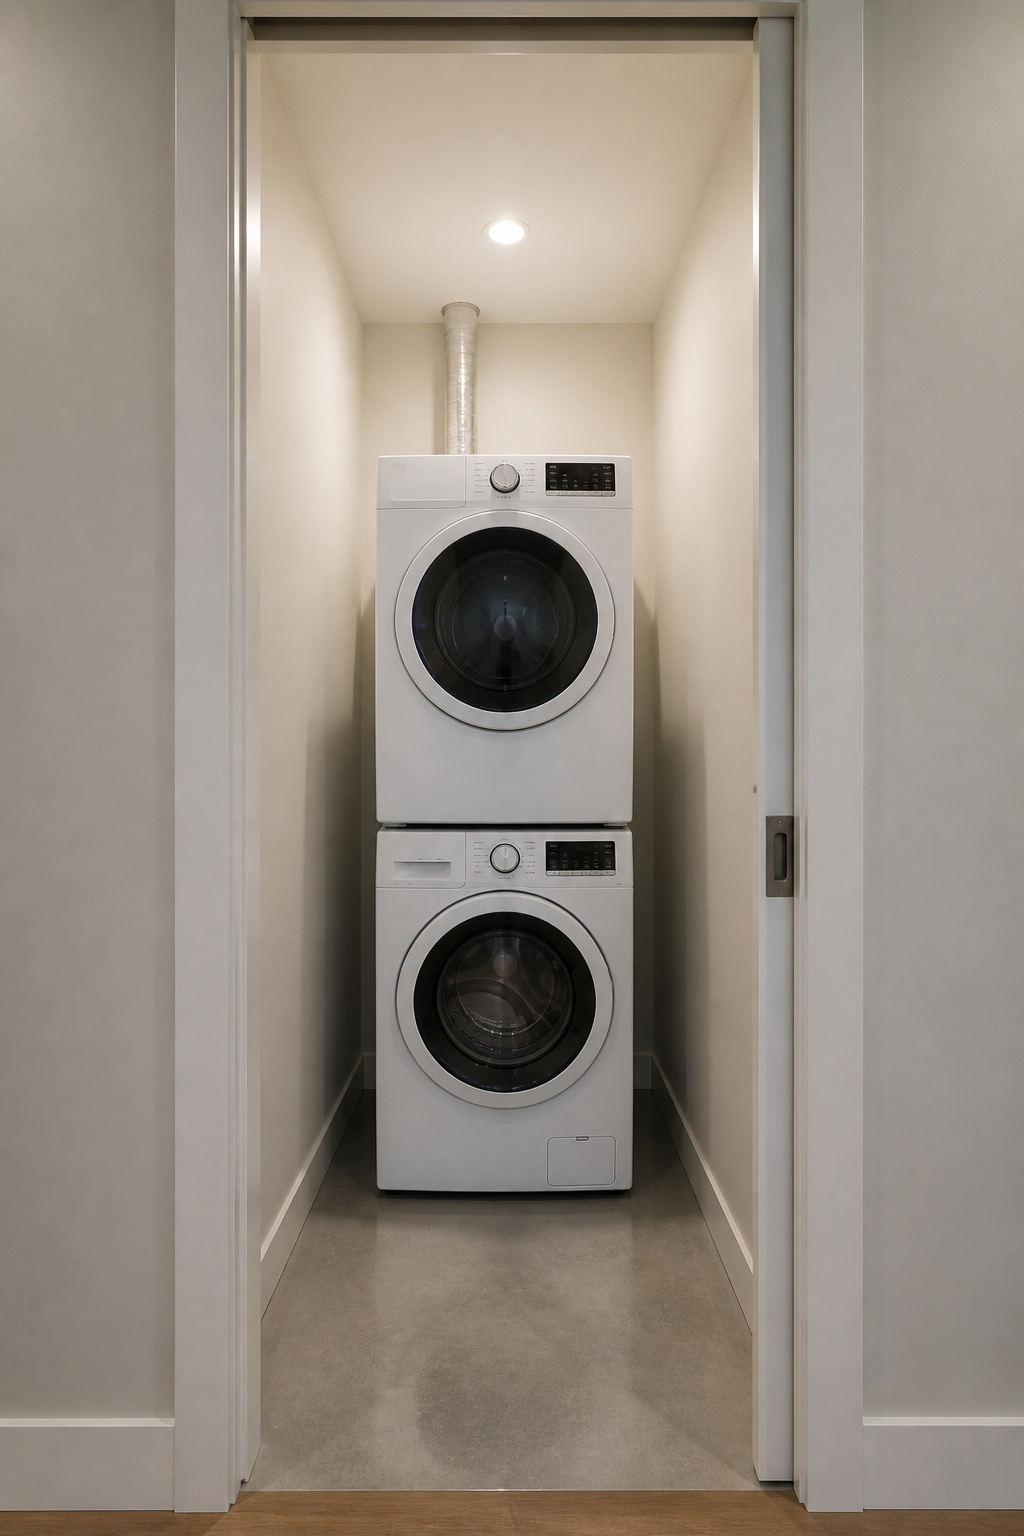
- A standard 27-inch stacked front-load pair fits a closet 30 inches wide and 36–40 inches deep; a 24-inch compact pair drops that to a 26-inch opening. Side-by-side needs at least 56 inches of width.
- Stacking works only with front-load machines and a matching manufacturer stacking kit ($25–$75); the dryer always sits on top, never a top-loader.
- For a hallway nook, a pocket door is the only sensible choice. It clears the corridor and seals far better than a bifold, whose panel joints leak spin-cycle noise into bedrooms.
This article covers where the machines and the door go. Once those are placed, how you add storage around the machines becomes its own decision. A closet that needs framing or a new opening cut is a construction project, which goes beyond layout.
In a tight closet, the clearances earn their space. A door needs room to clear, and a machine needs to be pulled forward for a hose change. Plan for those gaps and the closet stays usable for a decade.
Small laundry closet layout: the number that decides everything
Machine dimensions are fixed, and the clearances around them are just as fixed, even though most plans treat them as optional. These numbers govern every configuration.
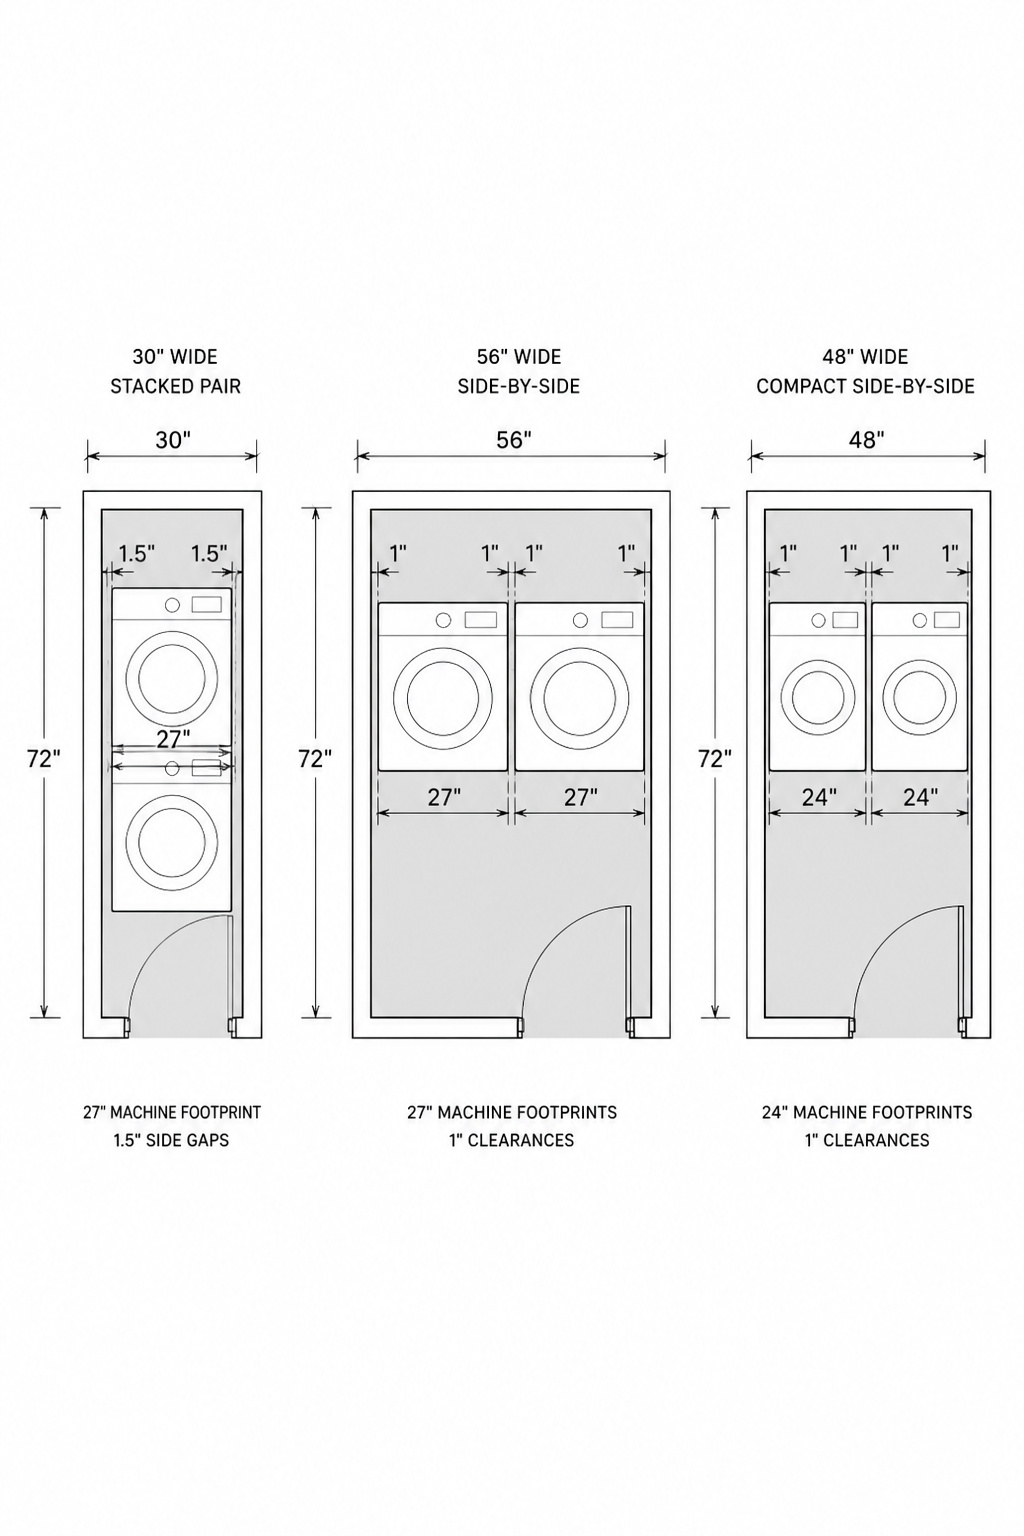
| Configuration | Min width | Min depth | Front clearance |
|---|---|---|---|
| Stacked, standard 27-in | 30 in | 36–40 in | 36 in (48 in for door open) |
| Stacked, compact 24-in | 26 in | 30–34 in | 36 in |
| Side-by-side, standard | 56 in | 36–40 in | 36 in (48 in for door open) |
| Side-by-side, compact | 48 in | 30–34 in | 36 in |
Commit the first row to memory. A standard 27-inch front-load pair stacks to roughly 27 wide, 30–34 deep, 74–77 tall, so the opening needs 30 inches: the appliance plus 1 inch of clearance each side for heat and vibration. The ceiling must clear 80 inches for the stack to go in and breathe above the dryer.
Stacked unit minimum: 24 inches wide, 27 deep, and why less doesn’t work
Depth is where plans fail without anyone noticing. The machine runs 30–34 inches deep, but add 4–6 inches at the rear for hoses, vent, and cord, or the vent kinks the moment you push the unit back. A compact 24-inch pair is more forgiving: a 26-inch opening and only 30 inches of depth, which suits many existing linen closets.
Side-by-side minimum: 56 inches wide and what that rules out
Two standard machines sit about 54 inches across, so the closet must be 56 wide for air to move at the sides. Compact 24-inch models need 48, a real saving when you are eight inches short. Below 56, standard machines simply can’t go side by side.
The clearance rules most plans ignore (door swing, service access)
You need 36 inches of clear floor in front of the machines to stand and load, closer to 48 when a front-load door swings fully open. That same 36 inches is your service access, the room to pull a machine out for a hose change without removing cabinetry. As Angi’s closet-dimensions guide puts it, measure width, depth, and height, then add the door, hose, and vent clearances before you choose a machine.
Configuration one: the stacked setup for tight closets
Stacking is the answer when the opening is under 56 inches. It cuts the footprint to one machine’s width, recovering 27–30 inches against a side-by-side run, and can work in as little as nine square feet.
What stacked gains and what it costs in ergonomics
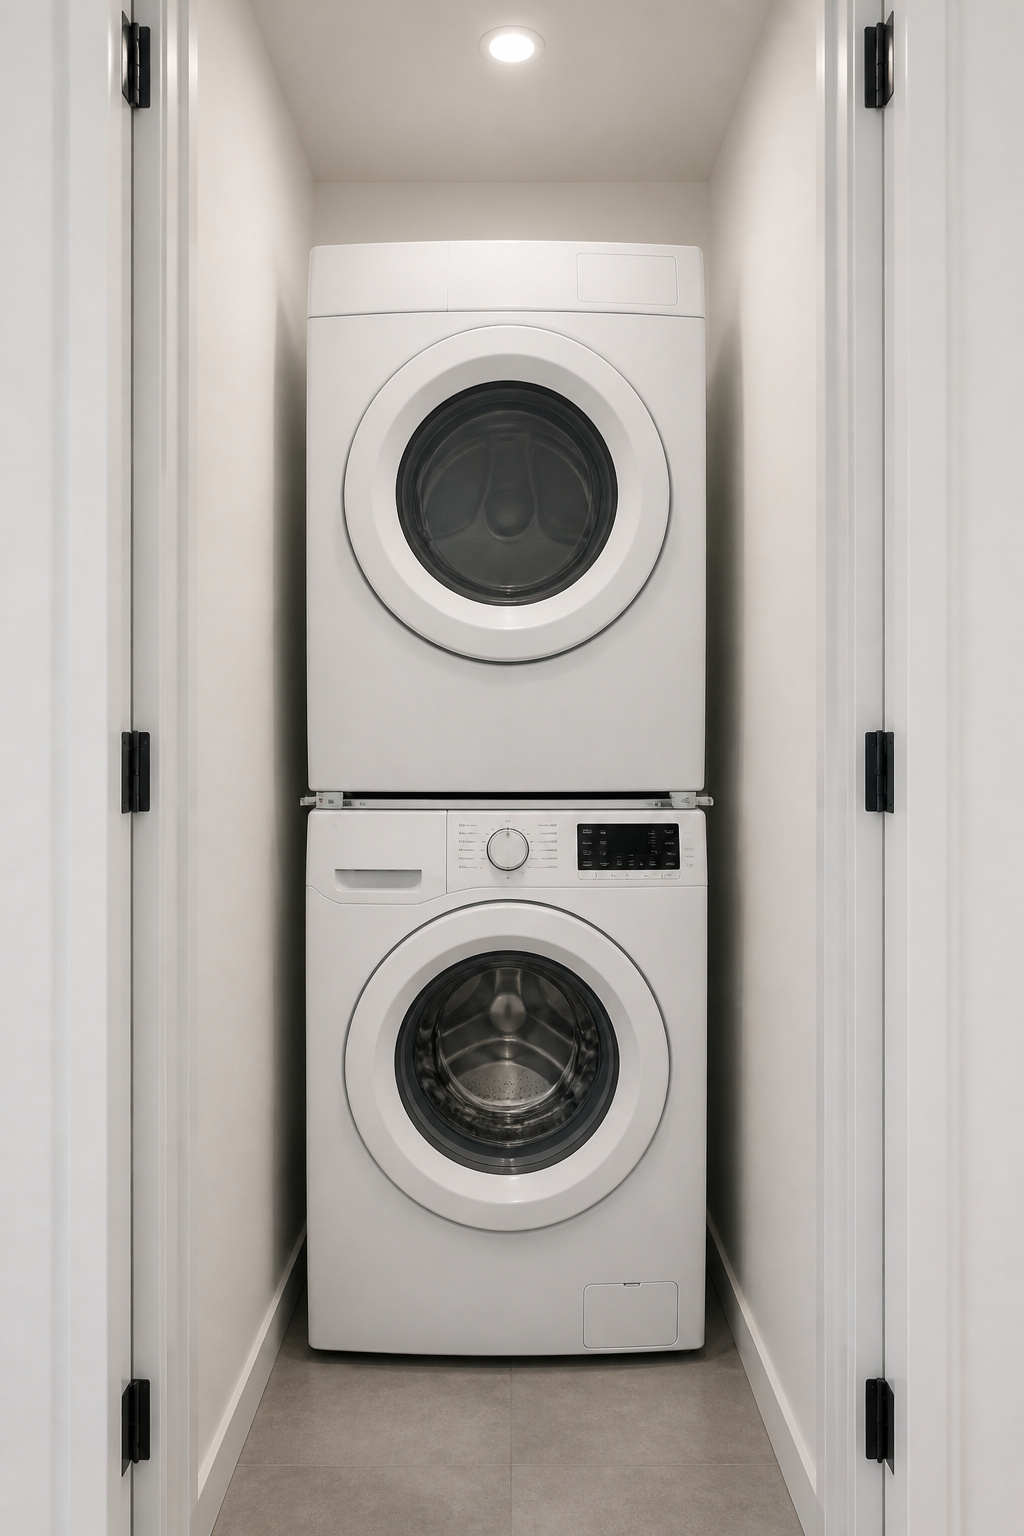
The gain is floor; the cost is reach. The dryer sits about 39 inches above the washer top, putting its drum opening at 55–77 inches off the floor. That’s fine for tall users and awkward for anyone under about 5’4″, who ends up hunting for the lint filter without a step stool. The washer at the base loads easily and the dryer above does not, and that trade sits at the honest centre of the decision.
Front-loader vs top-loader stacking: what’s actually stackable
Only front-load machines stack. A top-loader cannot go under a dryer: the lid and the weight distribution make it unsafe and void the warranty. The dryer goes on top and the washer at the base; no manufacturer supports the reverse. In the tightest closets, the alternative is an all-in-one washer-dryer combo with one drum, a single 27-inch footprint, and no kit, though it dries far more slowly than a dedicated machine.
Henrik’s one rule for stacked: commit to a front-loader pair and buy the kit
Buy the washer and dryer as a matched set from one manufacturer, and buy that manufacturer’s stacking kit. I do not soften this one. The kit is brackets and clips that lock the dryer to the washer top so it cannot walk during a spin cycle, and it costs $25–$75. Bungee cords, mismatched brackets, or nothing at all create a tip hazard and void both warranties. A kit is cheap; a falling dryer is not.
Once the machines are in, storage around them is the next decision, and that gets its own article.
Configuration two: side-by-side when the width allows
When the width exists, side-by-side is the easier configuration to live with: both machines at waist height, nothing reached overhead, and two tops you can work on, which stacking can’t give you.
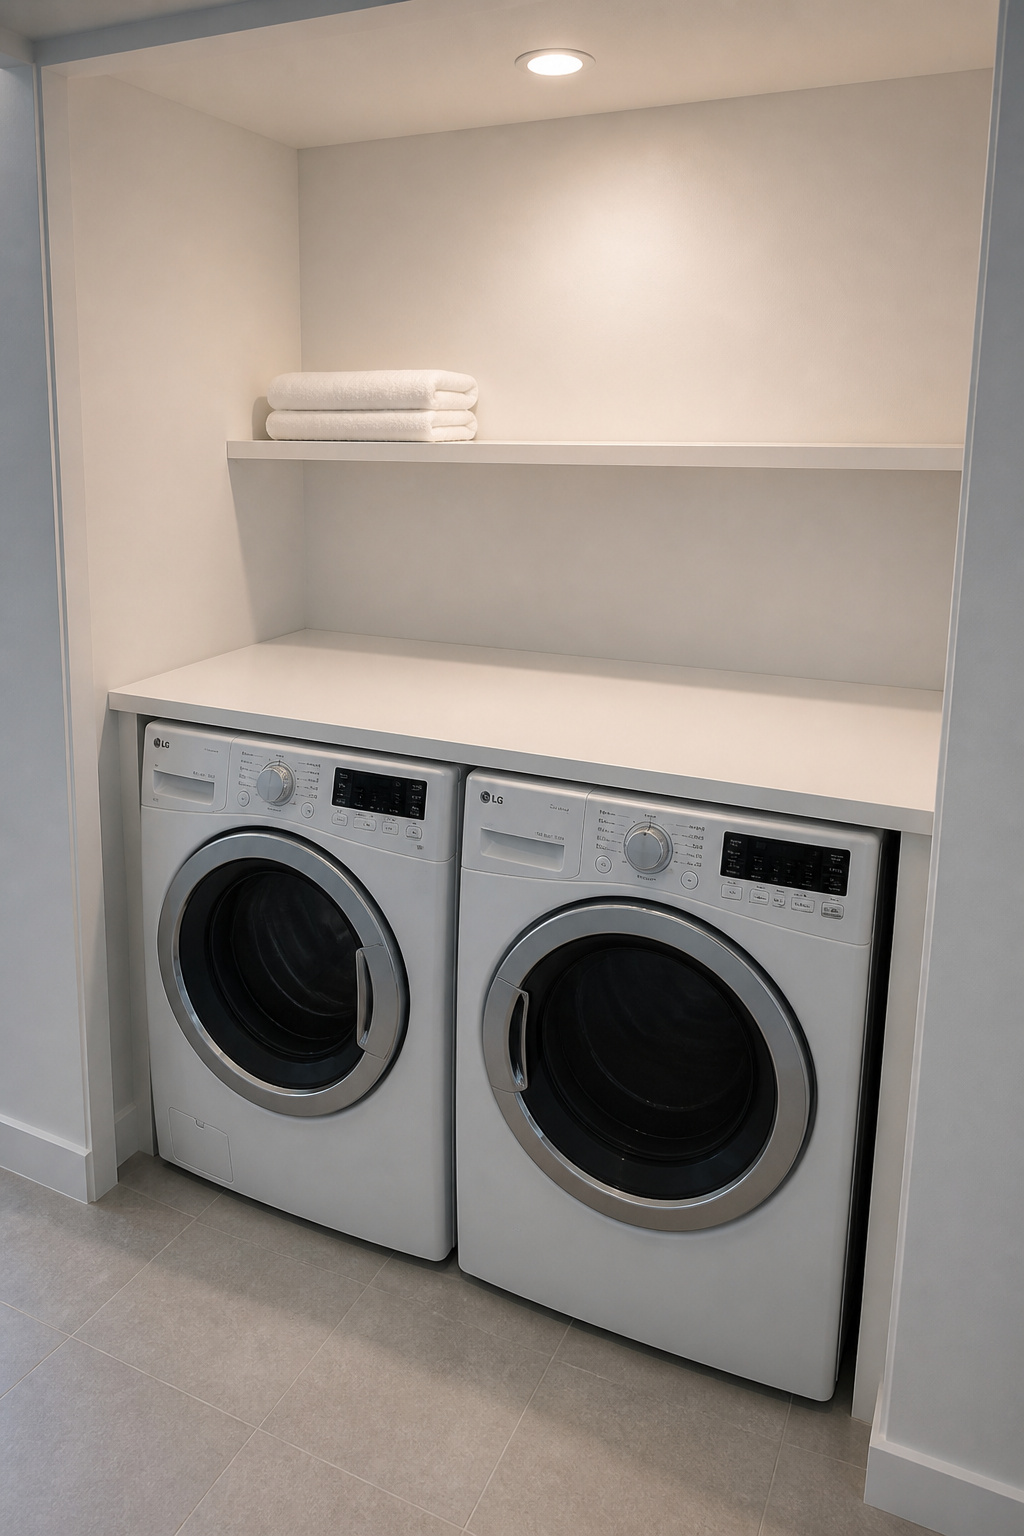
What side-by-side gains: ergonomics, a counter surface, a folding spot
Standard front-loaders stand about 39 inches tall, which is counter height. Set side by side, their tops become a continuous folding surface at no extra cost. Whirlpool’s sizing guide makes the same point: place front-loaders side by side and you have your folding station for nothing. In a small room, that surface is the best argument for side-by-side.
The minimum width to make it work without feeling cramped
Fifty-six inches is the floor for standard machines, but it is tight; 60 is where daily use stops feeling pinched. Below that, compact 24-inch models at 48 inches are the only side-by-side option. Depth is 36–40 inches with the rear clearance, which means a standard 24-inch-deep bedroom closet cannot take side-by-side machines at all. That fact rules out more closets than width does.
How to use the space above side-by-side units before going to storage
Use the machine tops first. They are the most ergonomic surface in the room, and relying on them keeps the closet visually light. A single shelf set 20–24 inches above the tops clears the lids and gives you a storage band without committing the whole wall. Where that shelf goes and what holds the rest belongs in the storage article.
Configuration three: the hallway pocket-door nook
When no dedicated closet exists, you can carve laundry from a corridor. A hallway nook frames a recess 30–36 inches wide and 38–40 deep into a non-load-bearing wall. That is the minimum for a stacked pair, and stacked is the only configuration a hallway can absorb.
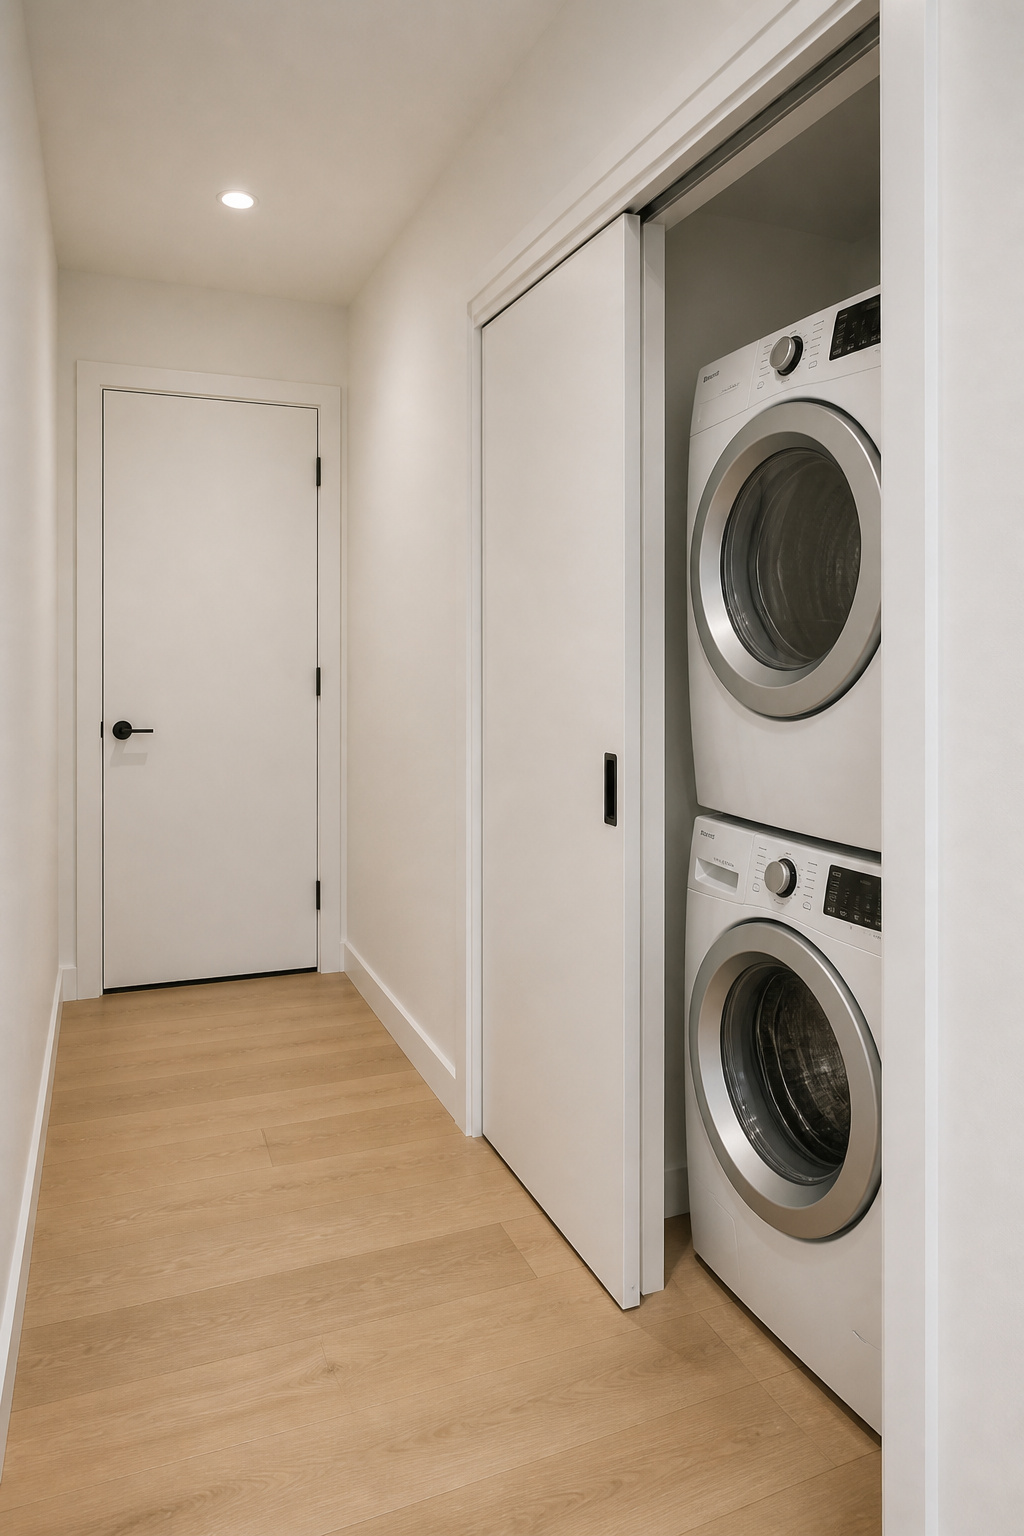
Why a hallway nook works when a dedicated closet doesn’t exist
The constraint is the corridor. After the machines are in, the hallway must keep at least 36–40 inches of clear walking width, and a front-load door needs 48 inches to open, so a hallway under about 60 inches total becomes impractical. The back wall needs water lines, a drain standpipe, and a vent path, which means siting the nook against a plumbing wall, typically behind a bathroom. A nook far from a stack gets expensive fast. At that point it is a conversion, covered in fitting laundry into a converted closet.
Pocket door vs bifold vs barn door for a hallway nook: what seals and what doesn’t
A pocket door slides into the wall, takes zero swing space, leaves the corridor fully passable, and seals tighter than any folding alternative. A bifold stacks 3–5 inches into the hallway and leaves a gap at every panel joint. A barn door needs parking wall beside the nook that a hallway rarely has. For a corridor, the pocket door is the one I specify; the others are compromises.
The noise consideration: hallway nooks have no acoustic buffer
A nook has no surrounding walls to absorb noise. One door surface stands between the spin cycle and the bedrooms, so the seal decides how much you hear. A solid-core pocket door with an acoustic seal kit can cut noise by a directional 12–18 dB, per soundproofing-product figures. That is enough to make a spin cycle tolerable next door, but treat the number as a guide rather than a tested rating. Structure-borne vibration travels through the floor regardless, so anti-vibration pads under every foot are mandatory here. Soundproofing an upstairs laundry room gets the full treatment in its own article.
Door choices and the space they either save or steal
Treat the door as a layout variable. The pocket cavity, the bifold stack, and the cabinet frame each change the clearances, so choose the door before the closet dimensions are final.
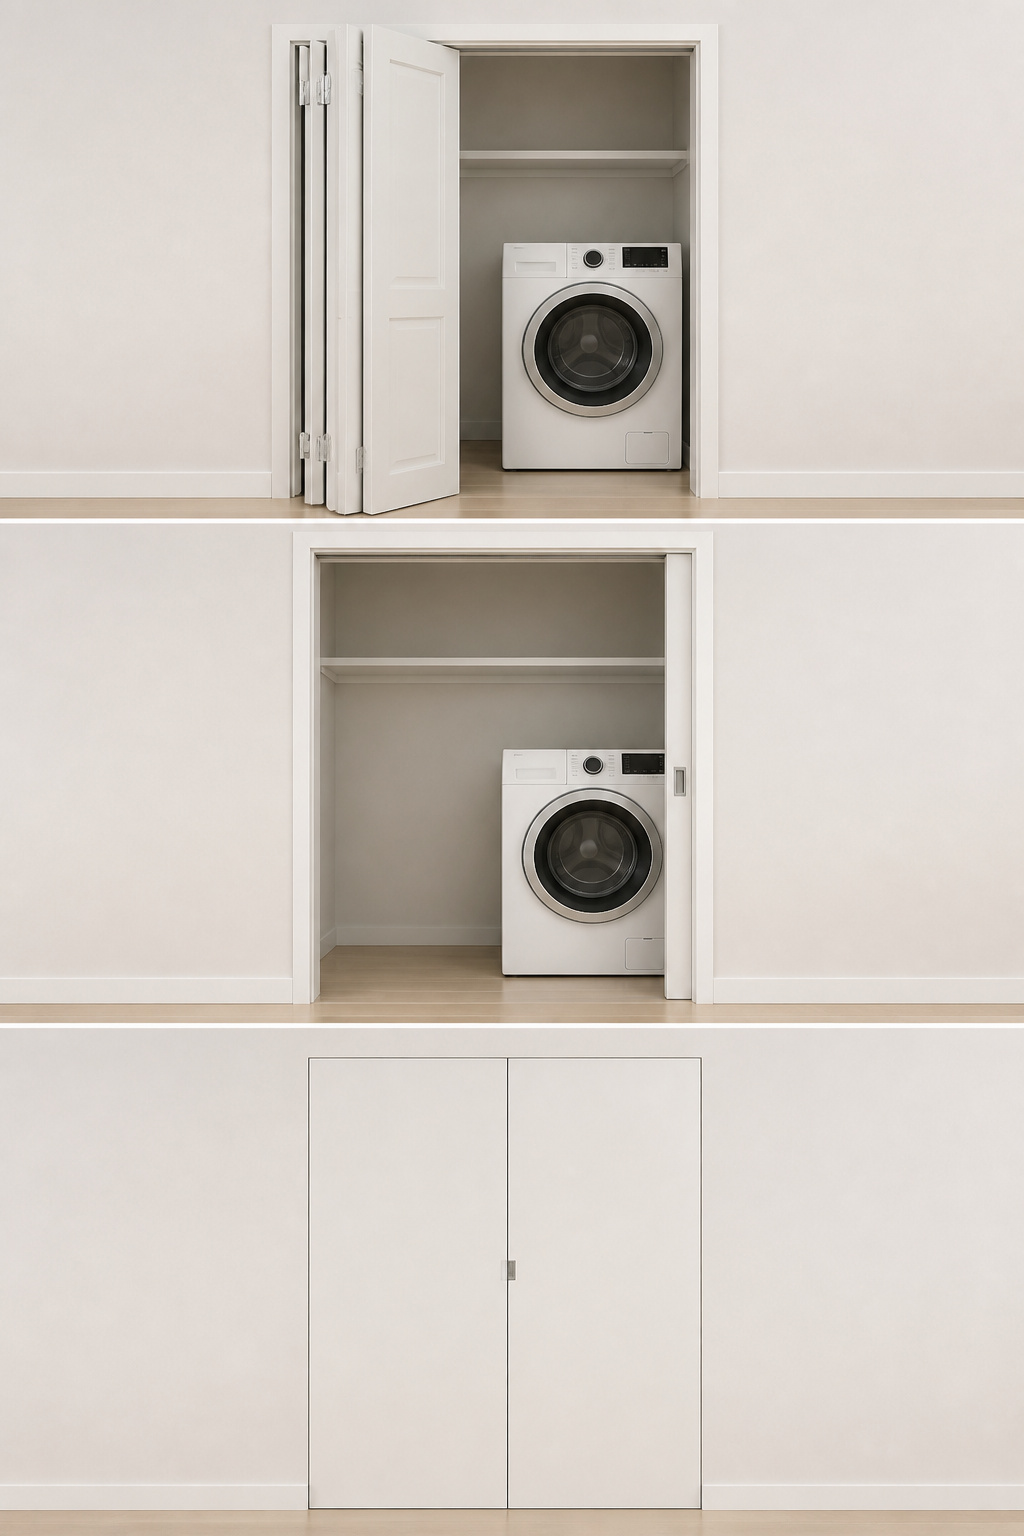
| Door type | Cost | Swing clearance | Noise seal | Installs on existing frame |
|---|---|---|---|---|
| Bifold | $50–$400 | 3–5 in stack into room | Poor (panel joints) | Yes |
| $400–$3,500 retrofit | None | Good with seal kit | No (needs wall cavity) | |
| Cabinet-front | $411–$827 per door | Hinge swing only | Tightest | Needs precise framing |
Bifold: the cheapest option with the most clearance problems
A bifold installs on a standard frame with no wall work, which is its whole appeal. Open, though, it stacks 3–5 inches into the room, and closed it leaves 1/8 to 1/4-inch gaps at every joint where sound, humidity, and dryer odour pass. Hollow-core panels also warp in a humid closet. It’s cheap for a reason.
Pocket door: saves the swing, costs more to retrofit
The pocket door’s advantage is absolute: no swing clearance, open or closed. The cost is the wall. A non-load-bearing retrofit runs $400–$1,000; a load-bearing one climbs to $1,000–$3,500 and may need an engineer. The perimeter seal that matters for noise is a separate gasket kit, not included with the frame.
Cabinet-front doors: the cleanest look, the tightest tolerances
Cabinet-front panels hinge flush with the wall so the laundry reads as built-in joinery, and they give the tightest seal of any option. The price is precision: the framing must be exact, with about a 1/16-inch gap around inset panels (a cabinetmaker’s specification rather than a building-code figure). Allow for seasonal wood movement in a humid closet or the door binds in summer.
Henrik’s selection guide: which small laundry closet layout fits
Taste comes after the measurements. Answer three questions in order and the closet tells you what it wants.
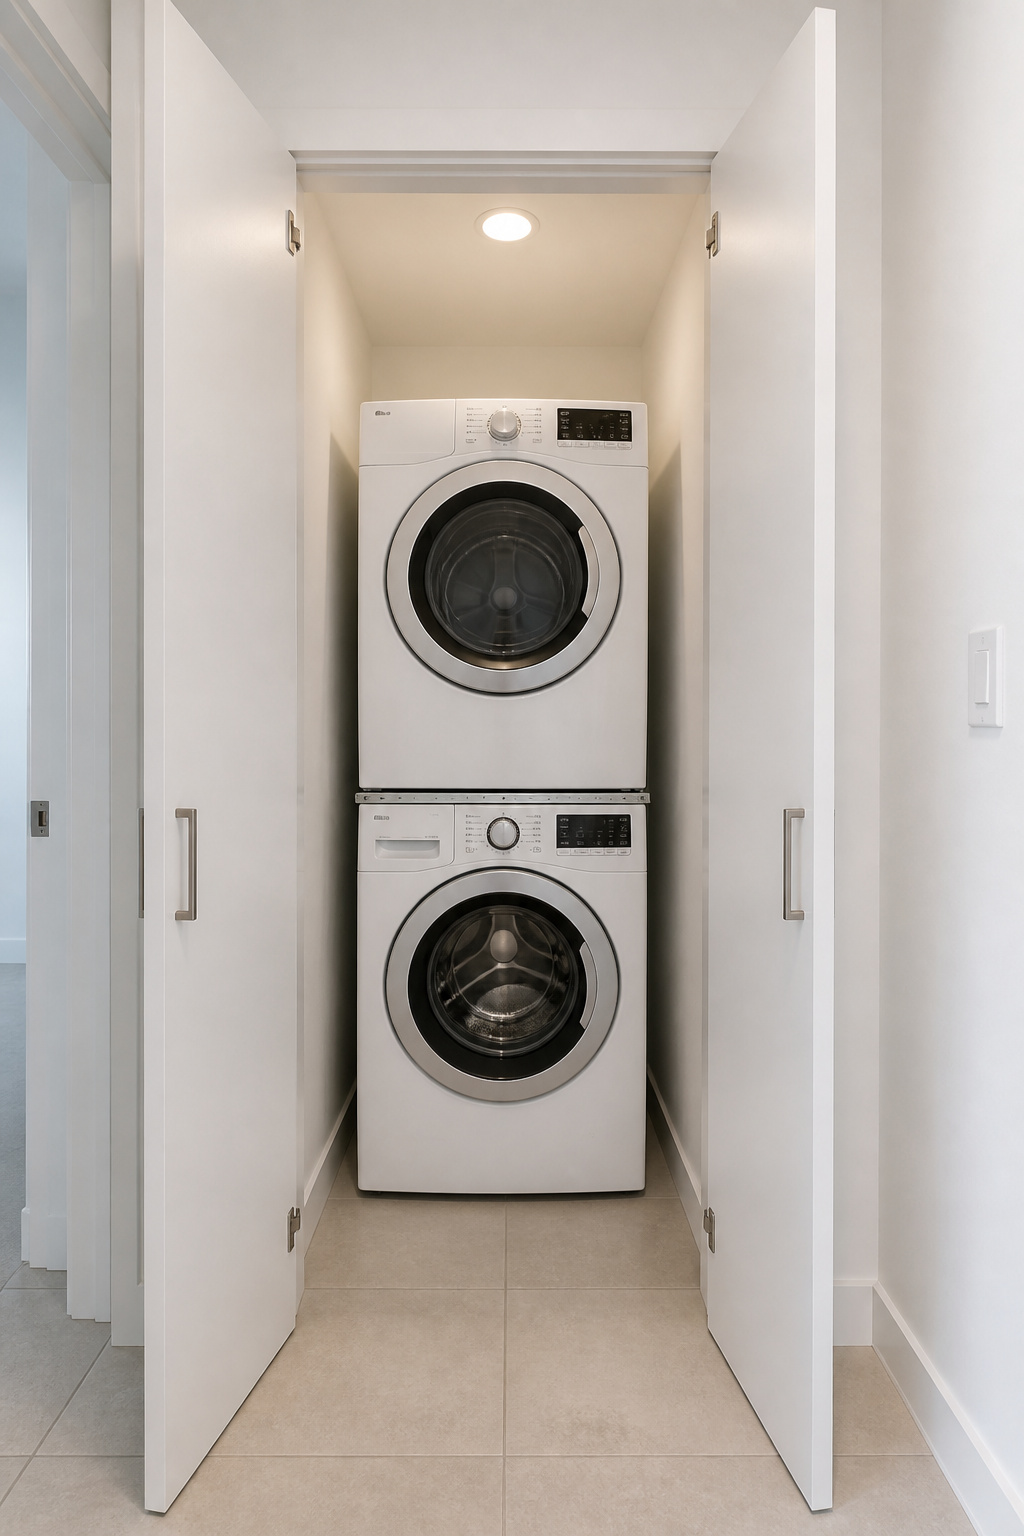
The three questions to answer before choosing
First, the clear interior width. Under 55 inches: stacked. 48–55 with compact machines: compact side-by-side or stacked. 56 or more: standard side-by-side is on the table. Second, what the wall allows: a cavity for a pocket door, whether the wall is load-bearing, and room for a bifold stack. Third, who is the primary user, and how tall? A stacked dryer at 55–77 inches is a daily nuisance for a shorter person. Width decides the configuration; the user decides whether stacked is kind.
The configuration Henrik recommends most often and why
For most upstairs closets, usually a converted linen or bedroom closet 36–48 inches wide, I most often recommend a stacked front-loader pair with a pocket door. It fits the width, clears the hallway, and closes for noise and moisture. The Scandinavian instinct here is commitment over compromise: a 36-inch stacked closet done properly beats a side-by-side forced into 52 inches with no clearance to spare. My preferred specification is a compact 24-inch stacked pair, which needs a 26-inch opening and only 30 inches of depth. That is enough to rescue closets too shallow for standard machines.
What to do when none of the standard configurations fit
Under 26 inches of clear width, an all-in-one combo is the single-machine answer: washing and drying in one drum, available ventless for an interior closet. When depth is the constraint, a ventless condenser or heat pump dryer removes the rigid vent duct and shrinks the rear clearance. When neither width nor depth works, the move is a hallway nook against the nearest bathroom wall, which turns a layout question into a build. For the broader picture of where laundry goes upstairs, see the full upstairs laundry guide.
FAQ
What is the minimum size for a laundry closet with a washer and dryer?
A stacked pair needs roughly 30 inches wide by 36–40 deep, the depth allowing 6 inches at the rear for hoses and the vent; compact 24-inch machines drop the width to about 26 inches. A side-by-side pair needs at least 56 inches wide. Ceiling height should clear 80 inches for a stack.
Is a stacked washer dryer better for small spaces?
Yes, below 56 inches of width, where stacked is the only two-machine option and shrinks the footprint to 9–20 square feet. It works only with matched front-load machines and a manufacturer stacking kit, never top-loaders. The trade-off is reach: the dryer drum sits at 55–77 inches, awkward for users under about 5’4″.
Can a laundry room fit in a hallway?
Yes, with a stacked front-load pair in a nook at least 30 inches wide and 38–40 deep set into the hallway wall, leaving 36–40 inches of clear walking width alongside. Most designers want at least 60 inches of total hallway. Use a pocket door. It clears the corridor and seals noise far better than a bifold.