
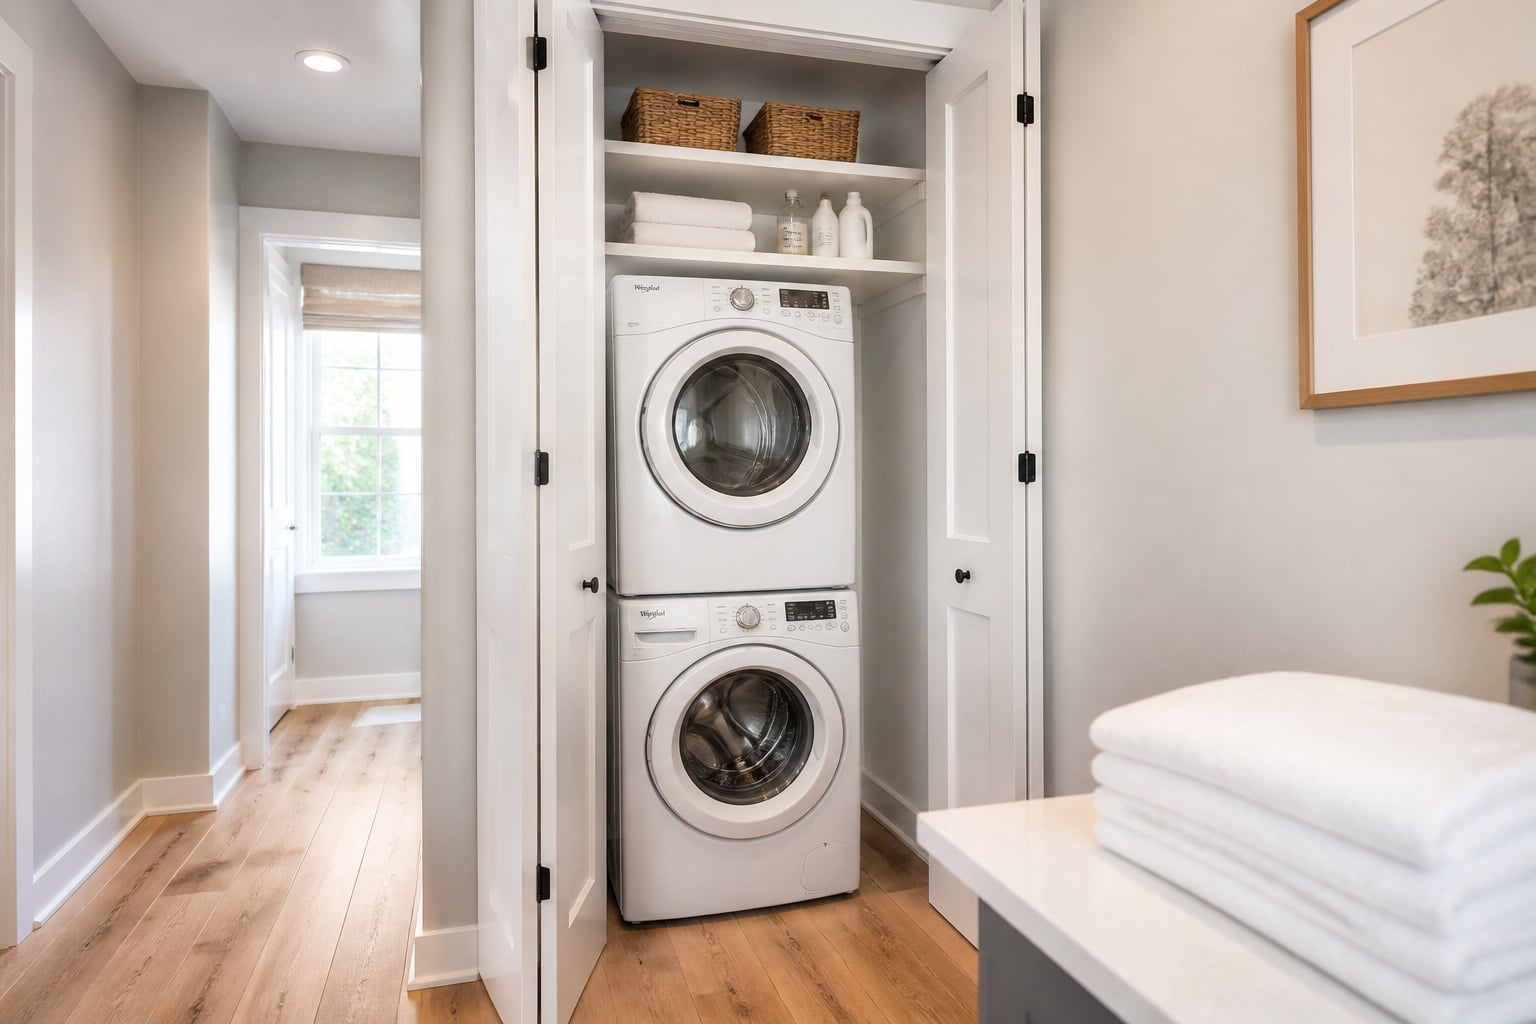

The best upstairs laundry room ideas all start from one number I keep coming back to on these jobs: roughly 95% of a household’s laundry (clothes, sheets, towels) is generated on the second floor, where the bedrooms are. Then most homes ask you to carry it down a flight of stairs, wash it, and carry it back up. Putting the machines where the dirty clothes already live is the whole case for going upstairs, and it’s a good one.
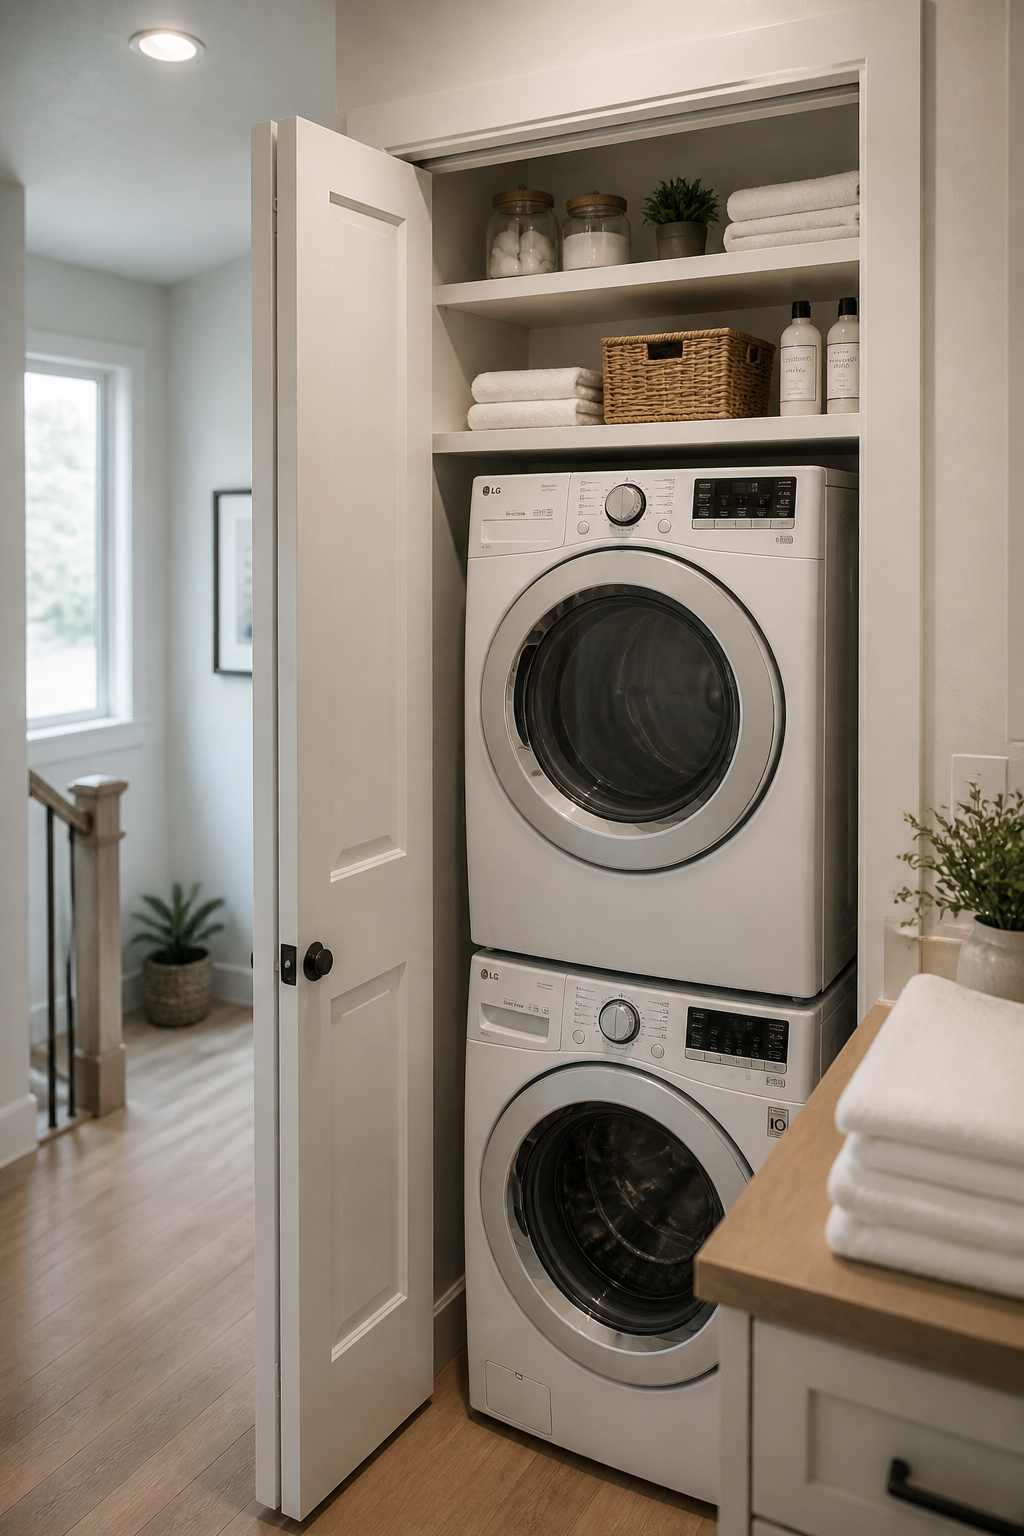
This is also where the honest part starts, because a second-floor laundry has problems a first-floor one doesn’t. Water that gets loose has somewhere worse to go, the spin cycle has bedrooms to broadcast into, and the plumbing has to climb to reach you. None of that rules it out, but all of it needs planning.
This guide maps the whole project, from “should we even do this” to a finished, organised room. I’ll cover siting, leak protection, plumbing and venting, converting a closet, noise control, layout, and storage. Each gets a survey-level pass and a link to the article that goes further. Read it top to bottom, or jump to the section you’re stuck on.
What moving laundry upstairs changes, for better and worse
The case for an upstairs laundry is proximity. The case against it is what’s at stake when something goes wrong. Know which trade-offs you’re accepting before you start, and you’re far less likely to end up with a room you regret.
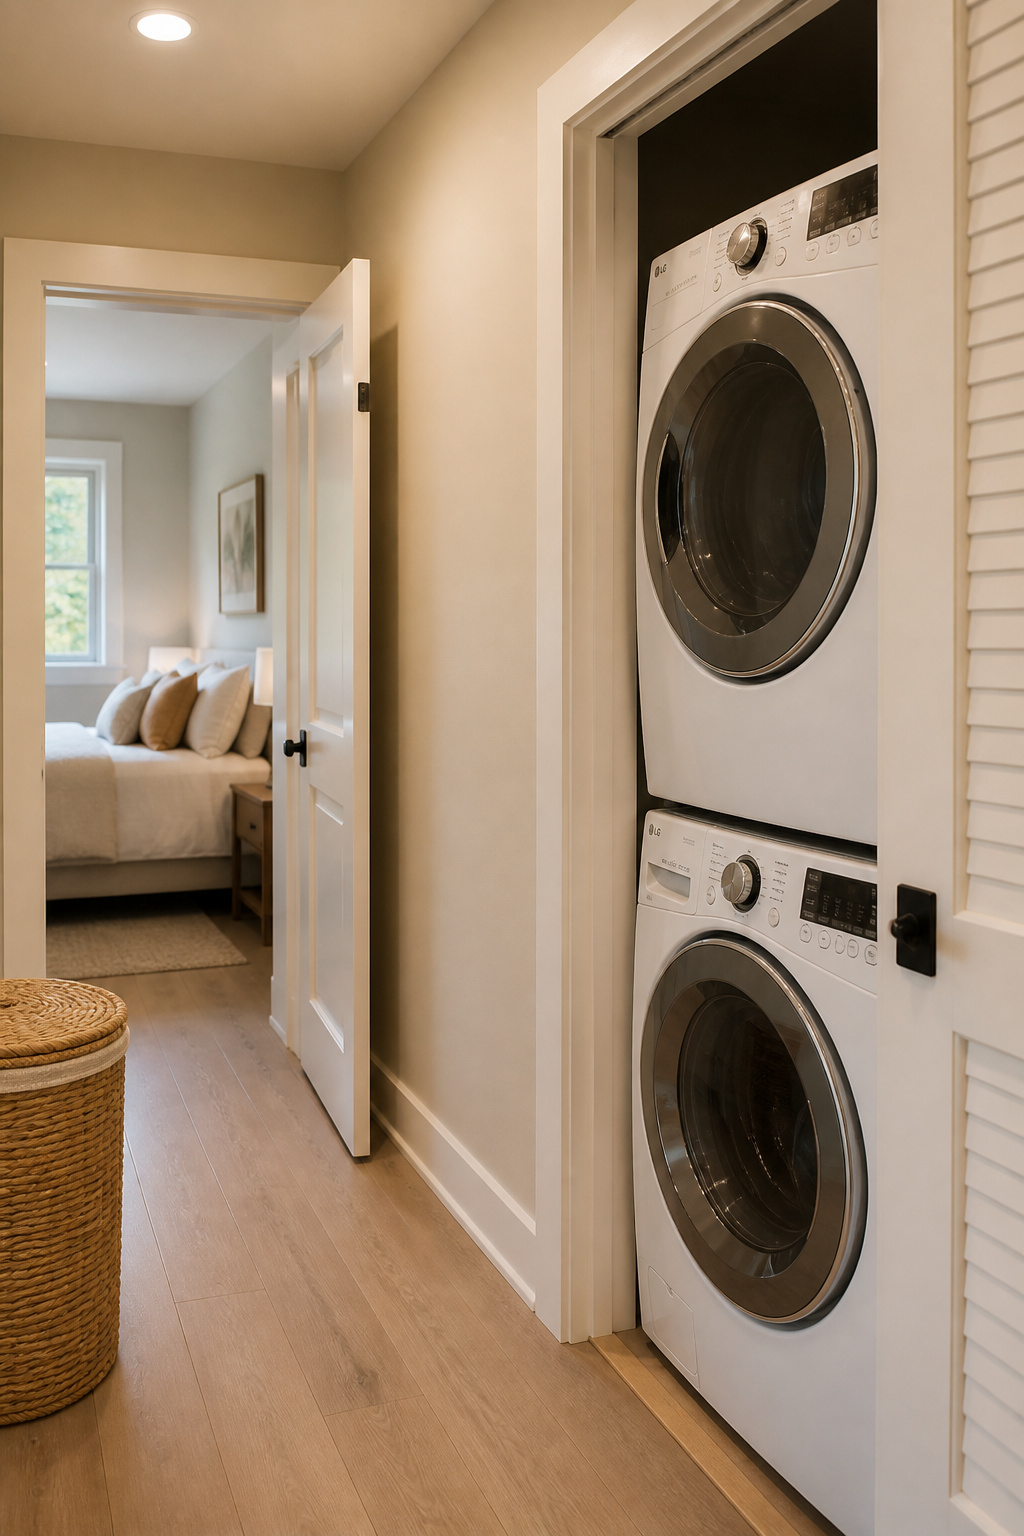
The main advantage: laundry lives where the clothes do
Start with the gain, because it’s the reason anyone does this. With the machines on the bedroom floor, dirty clothes go straight into the washer, with no pre-collection trip and no haul back up with a full basket. Homeowners with second-floor laundry consistently name this the biggest practical win: the chore takes less time when nobody’s carrying loads up and down a staircase.
It also frees space. In older homes with small wardrobes, an upstairs laundry can eliminate bedroom hampers, because the washer is close enough to be the hamper. And for anyone with a herniated disc, arthritis, or a back injury, taking the stairs out of laundry day is what keeps doing your own laundry possible at all.
The two upstairs-only problems you must plan for
Two problems exist only because you’ve gone upstairs. Both are manageable if you plan for them before the drywall goes up.
The first is water. A burst supply hose discharges roughly 650 gallons an hour (about six gallons a minute), and upstairs that water soaks framing, insulation, and the rooms beneath it on the way down. Supply-hose failures cause around $150–$170 million in flood damage a year across the US and Canada, and nearly 55% of washing-machine water-damage claims trace back to a hose, at an average of about $6,000. Josh Rudin, who runs ASAP Restoration in Tempe, says it plainly: “We get calls for flooded laundry rooms all the time; usually it has something to do with the hoses.”
The second is noise. Front-load washers throw off vibration that travels into the floor joists as structure-borne sound, then re-radiates into the bedrooms next door and below. A spin cycle two feet from a sleeping child is a different problem than one in the basement.
A smaller third issue: running the dryer upstairs in summer adds heat to the floor where you sleep. Keeping the laundry door shut while it runs handles most of that.
Who this guide is for and what it covers
This guide is for anyone weighing a second-floor laundry, whether you’re framing one into a new build or retrofitting an existing home. The new-build version is far easier, because plumbing and venting get designed in from the start. A retrofit is absolutely doable, but be honest with yourself up front: it usually means a plumber, an electrician, and possibly a permit.
Before you commit to any of it, it’s worth taking time to fully weigh the pros and cons of going upstairs, because the placement decision is the one that’s hardest to undo. Everything after that (flood protection, plumbing, the conversion, noise, layout, storage) is what the rest of this guide walks through.
Where to put it: placement options that keep costs down
The biggest cost driver for an upstairs laundry is how far the machines sit from existing plumbing, and everything else is rounding error next to it. Get the location right and a retrofit stays affordable. Get it wrong and you’re paying a plumber to chase new lines across the subfloor.
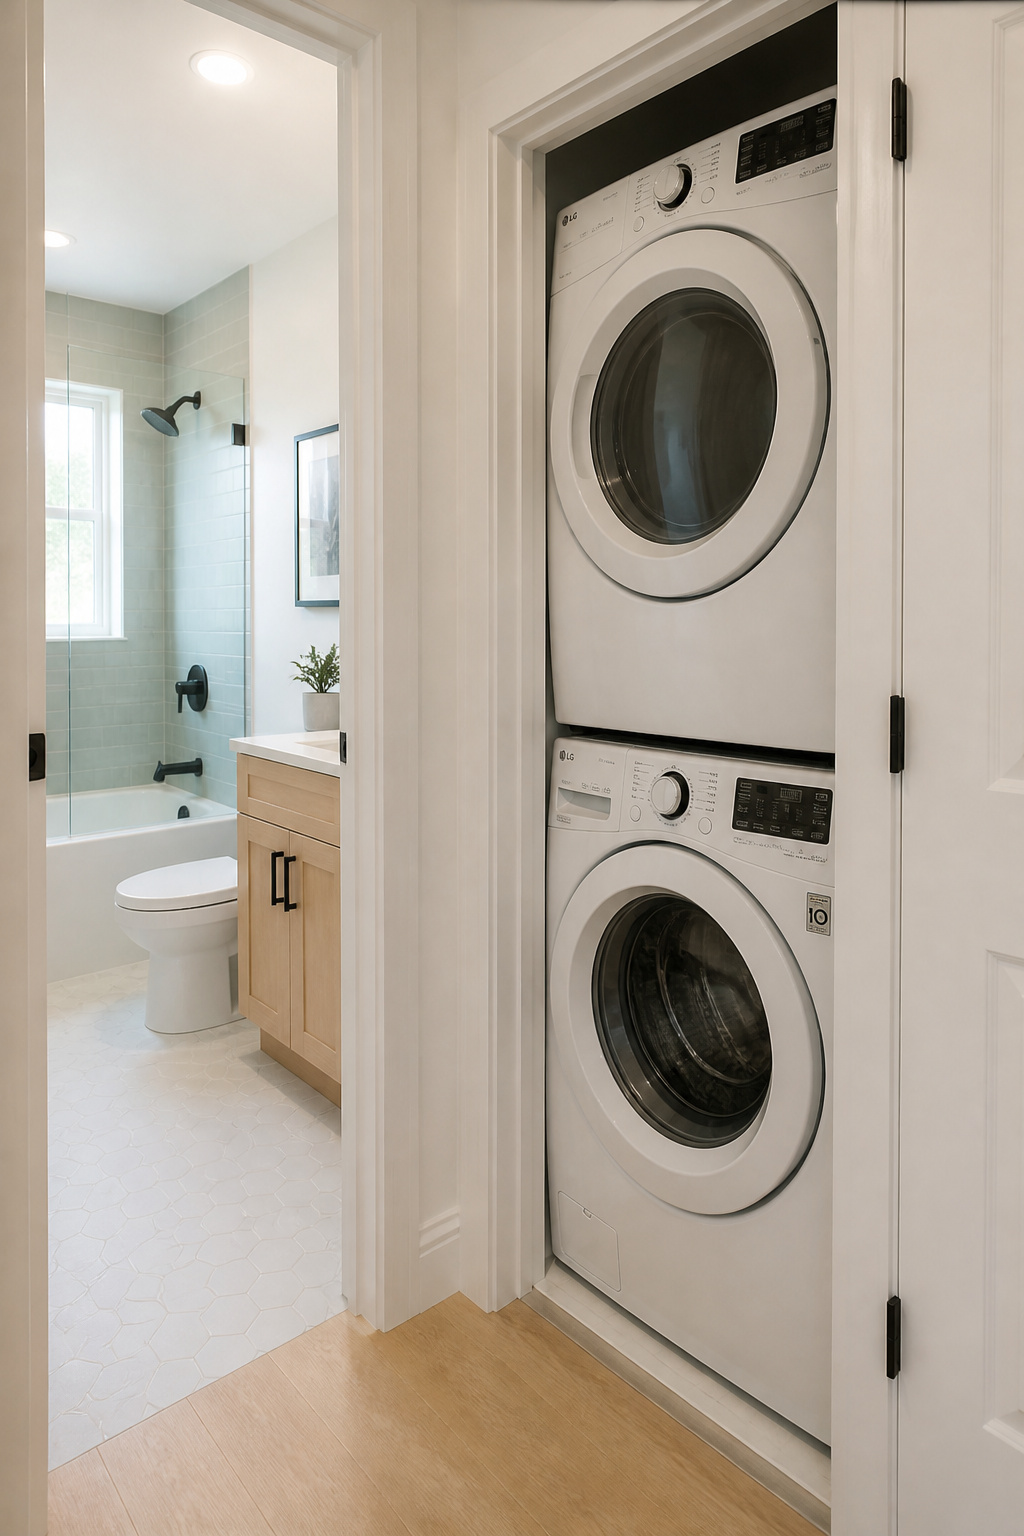
Back-to-back with an existing bathroom stack: the cheapest route
The cheapest laundry you can build is the one that backs onto a bathroom you already have. Put the new hookups directly next to (or above) an existing bathroom or kitchen, and the supply and drain lines you need sit two to five feet away. The design-build pros at Patrick A. Finn give the same advice: “Find a location close to existing plumbing lines… This limits the amount of new pipe that needs to be installed, keeping cost as low as possible.”
Plumbing runs of 10 feet or less typically cost $500–$1,500 in labour; push past that, or add a new drain run needing its own slope, and you can blow past $2,500. Total cost to move laundry upstairs averages $1,500–$3,500 once you add electrical and a dedicated 240V dryer outlet ($200–$400 on its own). Cold climates get a bonus: keeping supply lines off exterior walls cuts freeze risk.
Hall nook, linen closet, and bedroom-corner options
Most upstairs laundries land in one of three footprints. A hall or linen closet takes a stacked unit at 36 inches wide by 36 deep; a side-by-side set needs 56 by 48, which rules most closets out. Behind the machine, leave 6 inches for hoses and venting and an inch each side so it isn’t buzzing against the walls.
The third option is a bedroom-corner laundry, often tucked into a primary suite walk-in or en-suite. It works well for couples without kids, but you’re putting machines inside the sleeping zone, so the noise trade-off has to be worth it.
What to rule out before choosing a location
Some locations look fine until you check two things. First, the drain: any spot without access to a soil stack or bathroom wet wall needs a full new drain run pitched 1/4 inch per foot toward the stack. That means opening the ceiling below, with all the disruption that brings. Second, the dryer vent: it has to reach an exterior wall or roof within a developed length of 35 feet, and every 90-degree bend knocks 5 feet off that budget. If you can’t stay under the limit with rigid metal duct, the spot isn’t viable unless you switch to a ventless heat-pump dryer.
The mistake I see most is committing to a closet for its convenience, then learning after framing that the vent run is too long or there’s no drain within reach. Check the route before you fall in love with the spot.
Leak protection: the non-negotiable upstairs layer
On an upper floor, this section matters most. Leak protection comes in three layers, and each one catches what the layer above it missed. Skip them and you’re betting your downstairs against a $6,000 average claim, when the whole stack costs a fraction of one repair.
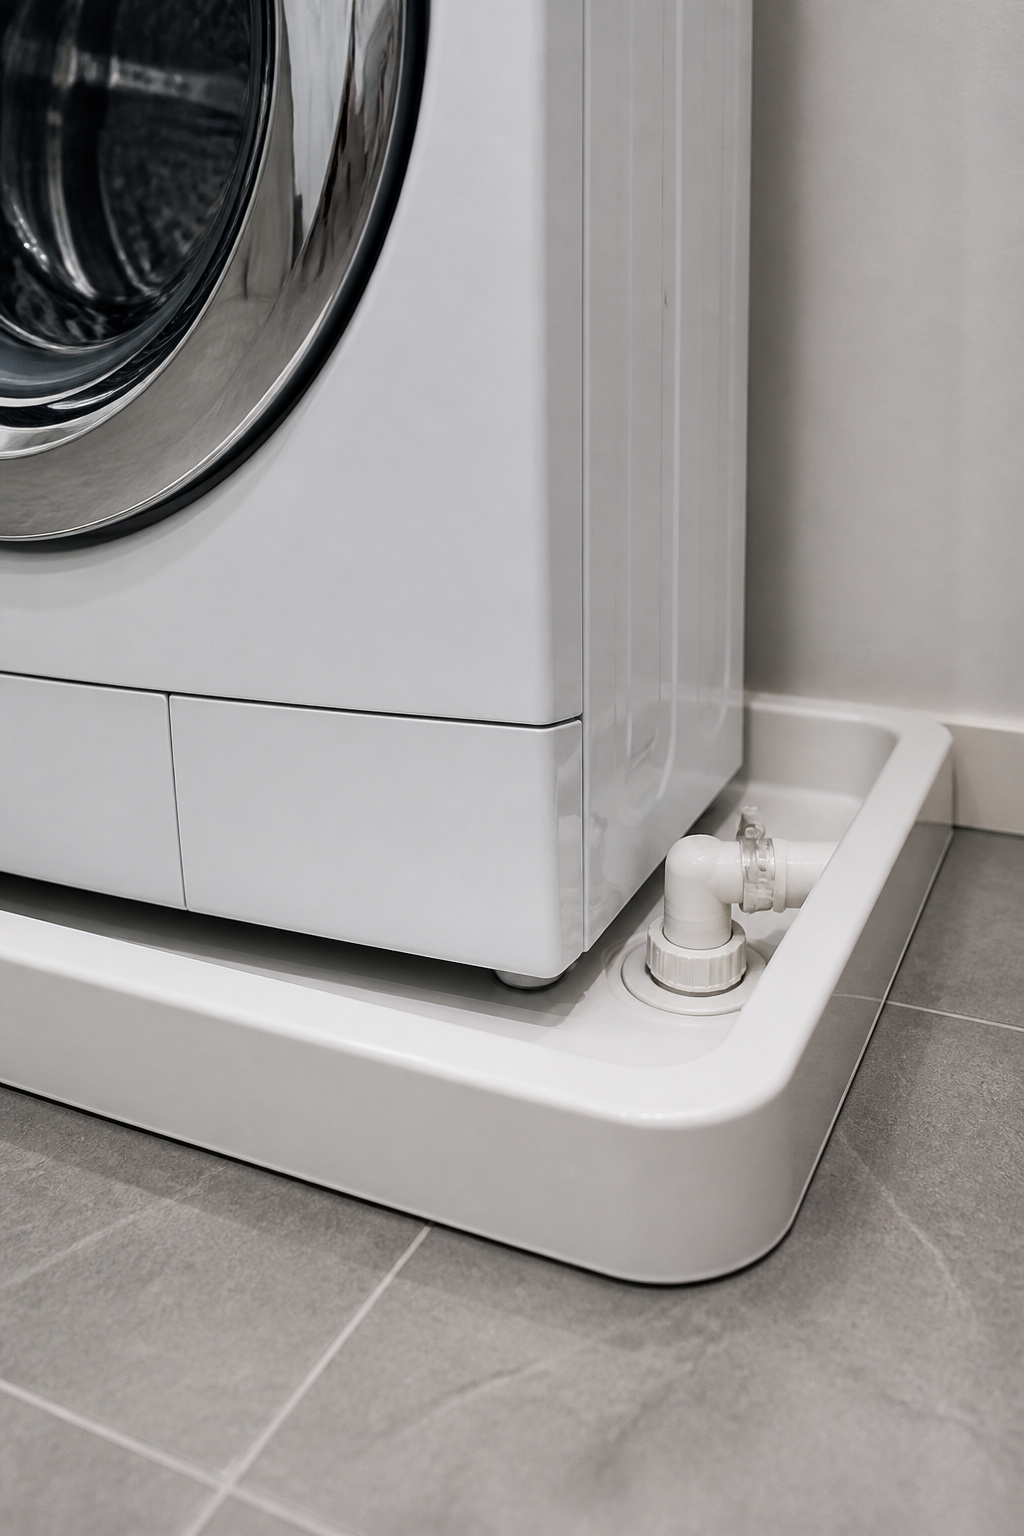
- Drain pan plumbed to a drain. A drain pan is $50–$120 on its own, about $200 installed; a plumbed floor drain on the second floor runs $500–$1,500, because tying it into the drain stack means opening the ceiling below. An unplumbed pan catches condensation and small seeps, but a hose burst overwhelms a 2-inch lip in minutes. Codes generally don’t require a floor drain in a single-family laundry, but where you add one, the pipe must be at least 2 inches and the floor must slope 1/4 inch per foot toward it.
- Auto-shutoff valves and steel-braided hoses. Steel-braided hoses resist the aging and cracking that take out rubber hoses, more than half of which fail before the machine turns eight. An auto-shutoff kit (FloodStop and similar) puts motorised ball valves on both supply lines that snap shut when a sensor trips; many install in under 10 minutes without a plumber. A single-lever shutoff lets you kill the water by hand when the machine’s idle.
- Leak sensors as the alarm. A Wi-Fi leak sensor under the washer ($25–$80) pings your phone the moment it gets wet. It only alerts you and won’t stop the flow, so pair it with auto-shutoff valves and one trip both notifies you and closes the water.
Josh Rudin, on what a flooded upstairs laundry leaves behind: “If moisture has traveled into the walls or floor, you may need to remove carpeting, cut drywall two feet past the flood mark, and sand studs to prevent mold.” Three inexpensive layers up front keep you from making that call.
For the full build (how to plumb the pan, which valves and sensors to buy, and the DIY-vs-pro split), here’s how to prevent an upstairs laundry flood end to end.
Plumbing and venting: what the second floor actually requires
You don’t need to be a plumber to plan an upstairs laundry, but you do need the vocabulary: enough to have an informed conversation and spot a cut corner.
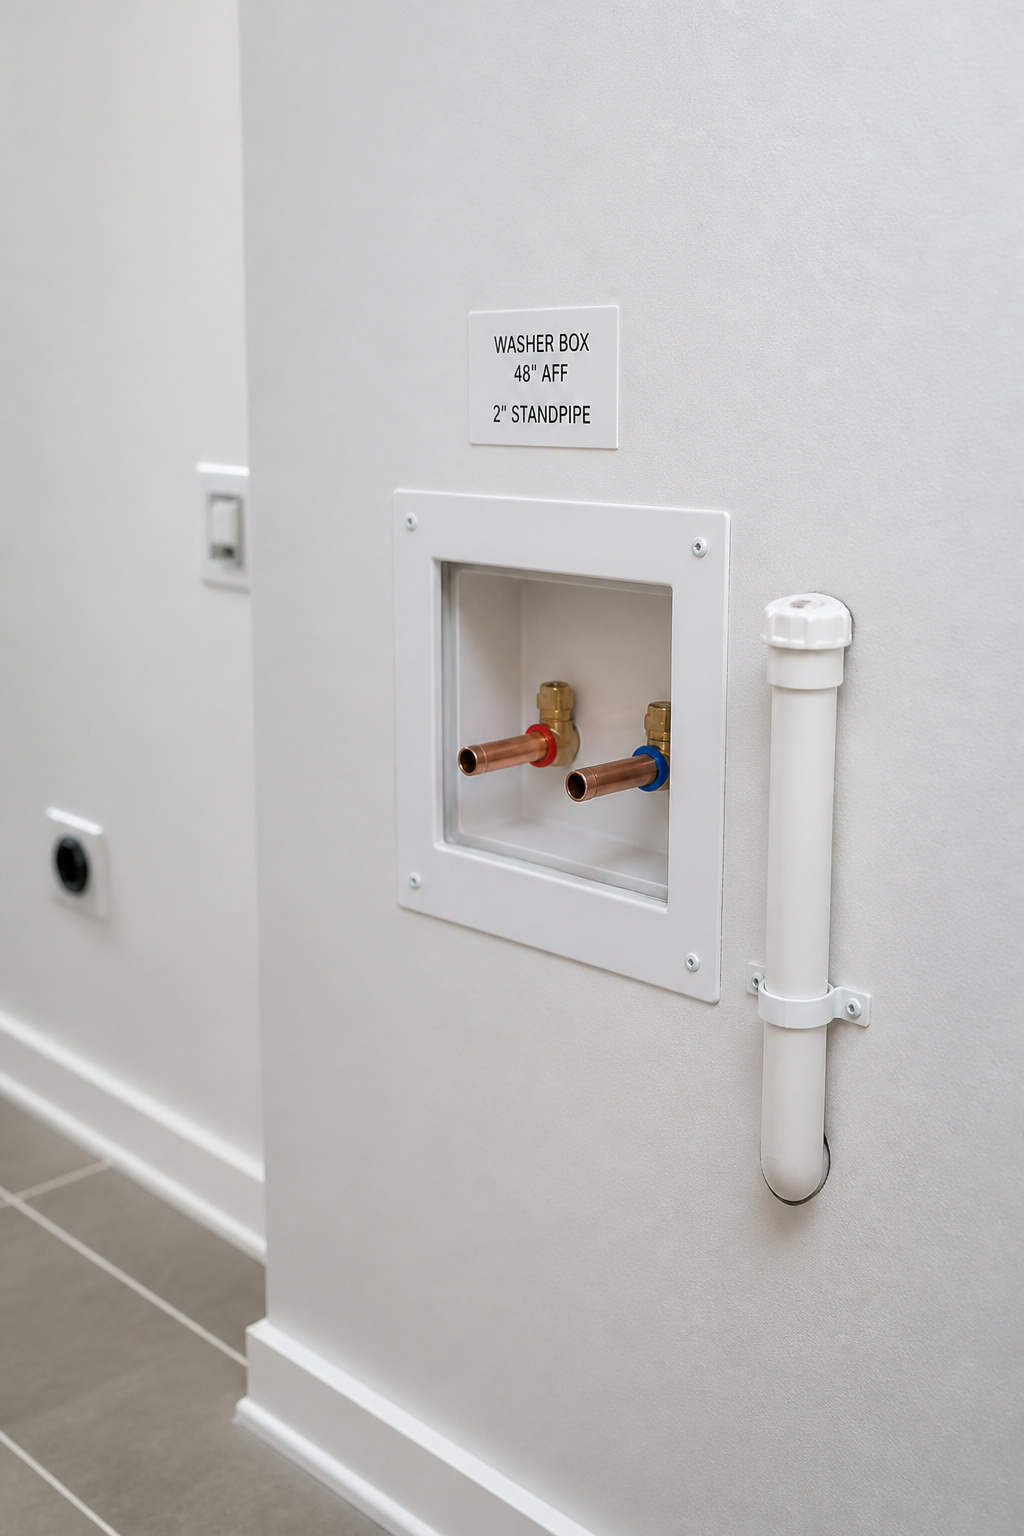
Hot/cold supply lines and the standpipe code minimum
Supply is the simple half: two 1/2-inch lines, hot and cold, usually copper or PEX. For a retrofit I reach for PEX every time, because it’s flexible and needs no soldering. The stub-outs (or a recessed washer box) sit about 48 inches up so the shutoff valves stay reachable behind the machine.
The drain side carries the rules. The standpipe must be at least 2 inches in diameter, with its opening 18–42 inches above the P-trap, and it has to rise higher than the washer’s flood rim. The P-trap weir sits 6–18 inches off the floor; the vent past it needs at least 1-1/4 inch before tying into the building’s venting, or an air admittance valve where code allows. Electrically, every laundry receptacle needs GFCI protection per the NEC, plus a 120V/20-amp circuit for the washer and a four-prong 240V/30-amp outlet for an electric dryer.
Dryer venting: shortest rigid-metal path outdoors, never into the attic
The dryer vent has the strictest rules and the highest stakes, because the failure mode is a lint fire. Use 4-inch smooth-wall rigid metal duct; flexible plastic is prohibited for concealed runs. The maximum developed length is 35 feet, less 5 feet per 90-degree bend and 2.5 per 45. A typical second-floor run with two 90s (down through the floor, then out a wall) has an effective ceiling of about 25 feet. It must terminate outdoors with a backdraft damper, at least 3 feet from any opening, and never into an attic, soffit, or crawl space.
Patrick A. Finn’s team sums it up: “The shorter and straighter the dryer exhaust vent, the better… ensure the vent terminates directly outdoors.” If your only viable spot can’t hit those numbers, a ventless heat-pump dryer skips the duct entirely and uses roughly 50% less energy than a vented electric model. That’s why it’s my default for tight or landlocked closets.
DIY vs licensed-pro territory at a glance
The line between DIY and licensed trade comes down to whether you’re cutting into the system or connecting to it:
| Task | DIY-friendly? | Notes |
|---|---|---|
| Connect braided supply hoses to existing stub-outs | Yes | Hand-tight plus a quarter turn |
| Set the drain pan and place the machines | Yes | Pan goes in before the machine |
| Install a washer box with shutoff valves | Yes (PEX) | Snap-fit, no soldering |
| Connect a short rigid dryer vent to an existing penetration | Yes | Rigid metal, foil tape, no screws |
| New supply line runs to the room | Pro | Licensed plumber; permit |
| Standpipe, P-trap, and drain tie-in to the soil stack | Pro | Licensed plumber; inspected |
| New 120V and 240V circuits | Pro | Licensed electrician; permit |
A complete new rough-in runs $650–$2,500, with permits adding $150–$300. As Family Handyman’s Chris Deziel warns, codes aren’t uniform: “Some states follow the UPC, others the IPC, New Jersey the NSPC. When a code question arises, the best person to answer it is usually a local plumber.” For the full standpipe heights, vent math, and code detail, here’s the plumbing and venting it needs in depth.
Closet or hallway conversion: turning existing space into a laundry room
Most upstairs laundries are conversions rather than new rooms: a linen closet, bedroom closet, or hallway nook that needs plumbing, power, and venting added. Two decisions decide whether it goes smoothly: which closet you pick, and stacked or side-by-side.
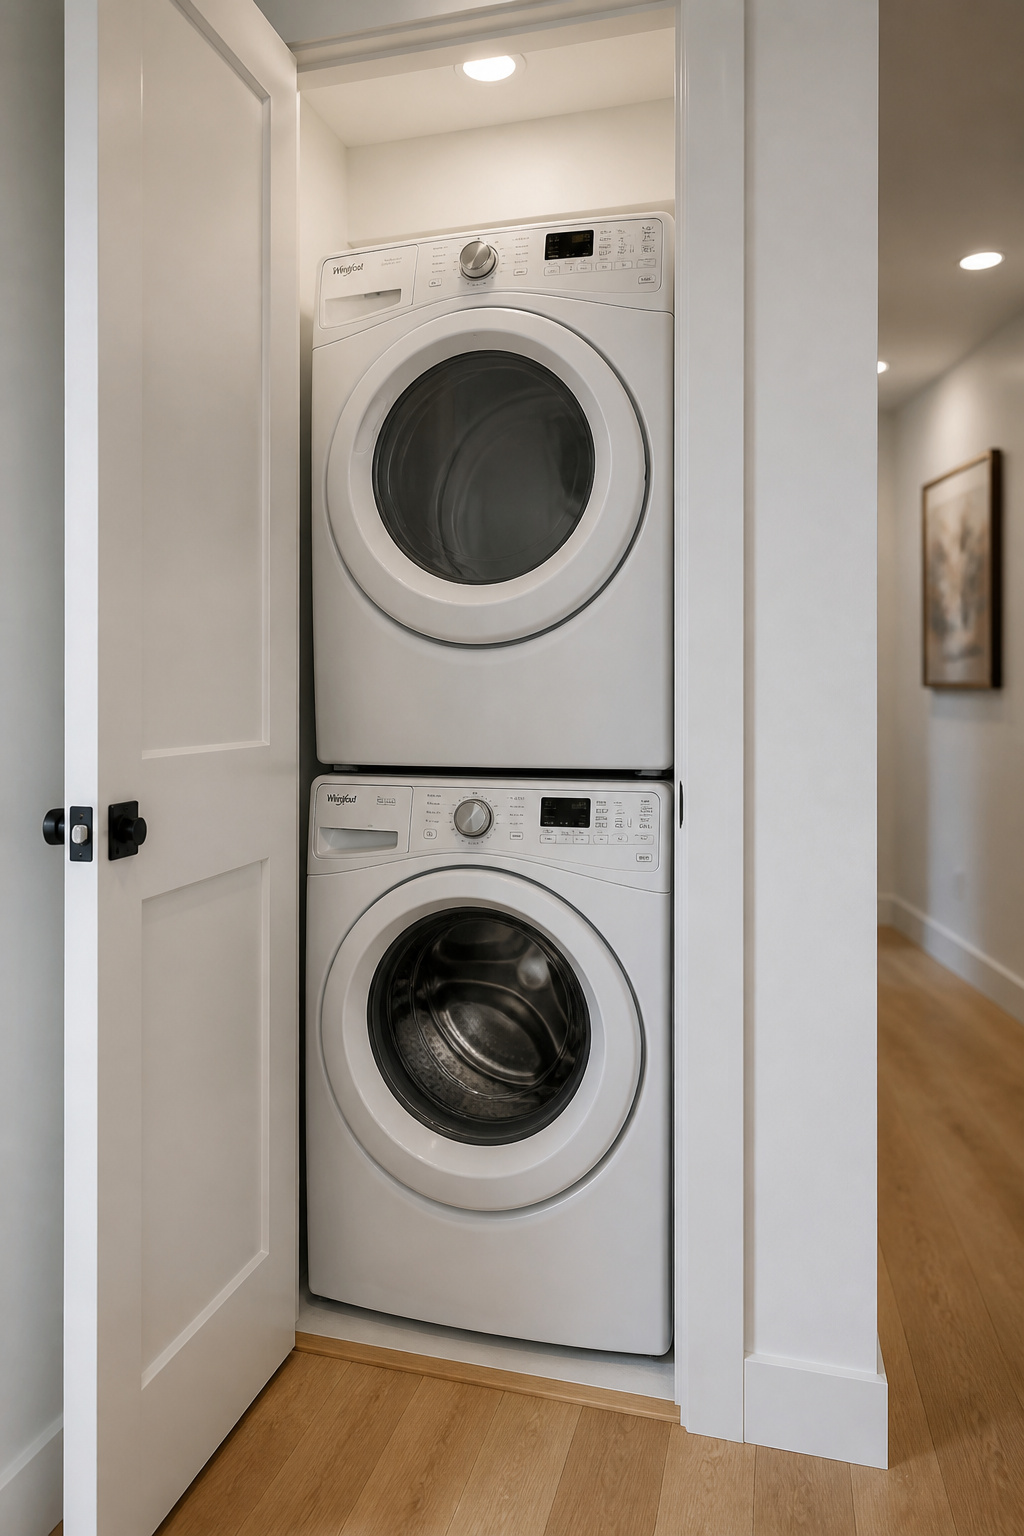
Choosing the right closet near a bathroom stack
The right closet is the one that shares a wall with live plumbing, which is rarely the closest one. A linen closet backing onto a hall bathroom puts supply and drain connections within two to six feet of existing pipe. Size still applies: 36 inches square minimum for a stacked unit, 56 by 48 for side-by-side. Before you commit, map the vent run. No exterior wall or viable ceiling path within 25 effective feet means a ventless heat-pump dryer is your only out.
Stacked vs side-by-side: which fits the footprint
A standard stacked set is about 27 inches wide and 30–34 deep, stacking to 74–77 inches tall; compact 24-inch European units stack to 67–70 inches, which saves you in a closet with a low opening. Stacked machines need at least an inch of clearance each side and 6–12 inches above the dryer for service access, plus a manufacturer-specified stacking kit. Never set a dryer loose on a washer, because vibration will walk it off. Side-by-side needs roughly 56 inches of width and a full 4 feet of clear floor in front for loading, which is why it rarely fits a converted linen closet.
Door options that keep it usable and hidden
The door is where small conversions live or die, because a swinging door eats the floor space you need to load the machine. A pocket door is the cleanest answer: it vanishes into the wall and gives back the 36-inch swing a hinged or bifold demands. Bifolds are cheapest and work when the hallway has at least 24 inches of clear approach. Either way, remember the make-up air rule: an enclosed space with dryer venting needs a 100-square-inch opening (IMC 504.5), which a louvered door panel satisfies.
For the full project (budget bands, trade order, and the mistake to avoid), here’s how to convert a closet into a laundry room; once you know which machines fit, lay out a small laundry closet covers the rest.
Keeping the noise out of bedrooms
Noise is the second upstairs-only problem, and people underestimate it until the first spin cycle rattles a bedroom wall. The most effective fix is also the cheapest, and you can knock down most of the problem without touching a wall.
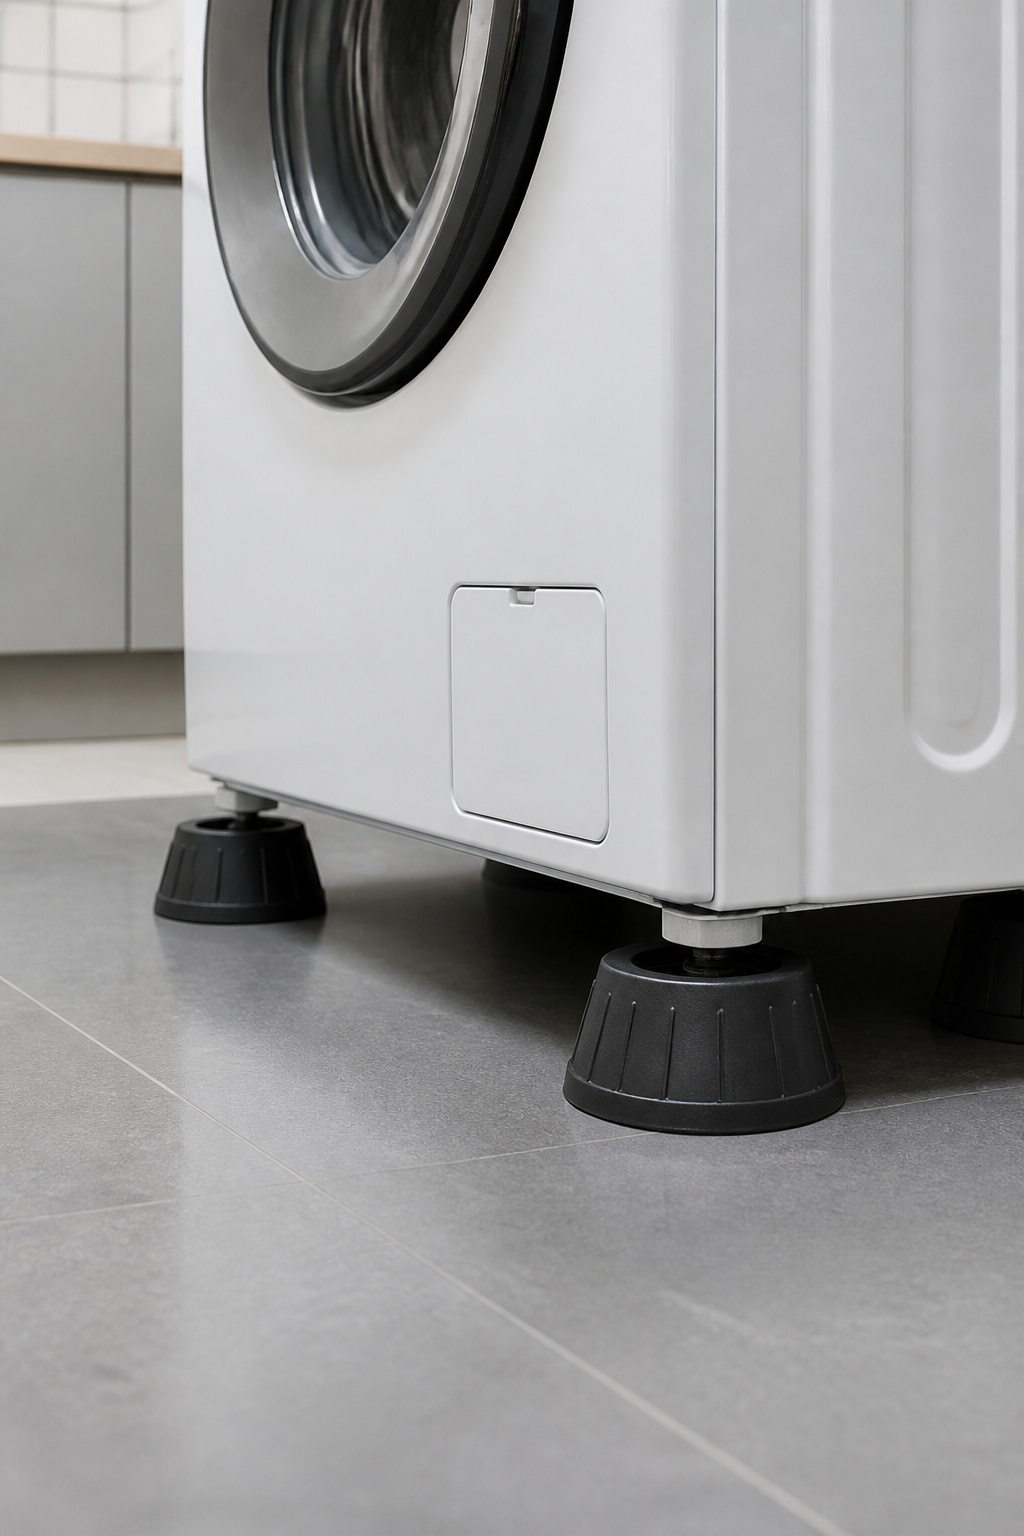
Where upstairs washer noise comes from (structure-borne vs airborne)
Washer noise reaches a bedroom by two roads. The harder one is structure-borne: the spinning drum vibrates the feet, that energy travels through the floor joists, and the structure re-radiates it as sound in rooms below and beside. It’s tough to measure and often more disturbing than airborne noise, because you feel it through the floor and furniture as well as hearing it. The easier road is airborne noise (motor hum, drum rotation, the clink of zippers and coins) escaping through door gaps. Treat both, but start with structure-borne, because that’s where the energy is.
Vibration isolation pads and what they cost
The best dollar you’ll spend on noise goes on anti-vibration pads under the machine feet. Sorbothane pads stop up to 94.7% of washing-machine vibration; neoprene at 8–10mm is the standard spec, 10–15mm for front-loaders or concrete substrates. A set runs $15–$50 and works the moment you slide the machine back. A second layer, an anti-vibration mat of recycled car-tire rubber an inch thick and cut to size, adds $30–$80. That’s the whole structure-borne fix for under $130.
Door and floor strategies that make a real difference
After the pads, the door is your biggest lever. Swapping a hollow-core door (8–10 kg) for a solid-core one (25–30 kg) cuts airborne transmission by about 10 dB; a perimeter seal and door sweep close the gap where the rest leaks out. If you’re opening the walls anyway, acoustic floor underlayment and mineral-wool batts address what remains, and the only cheap moment to add them is before drywall goes up. Don’t start with wall soundproofing; it’s the least effective first move while the machine still buzzes into the floor.
For the full ranking of what’s worth doing and what isn’t, here’s how to soundproof the room against bedroom noise properly.
Small-space layout: fitting machines into a tight upstairs footprint
Upstairs laundries are almost always tight, and the clearances below are what the machines physically need to open, breathe, and get serviced.
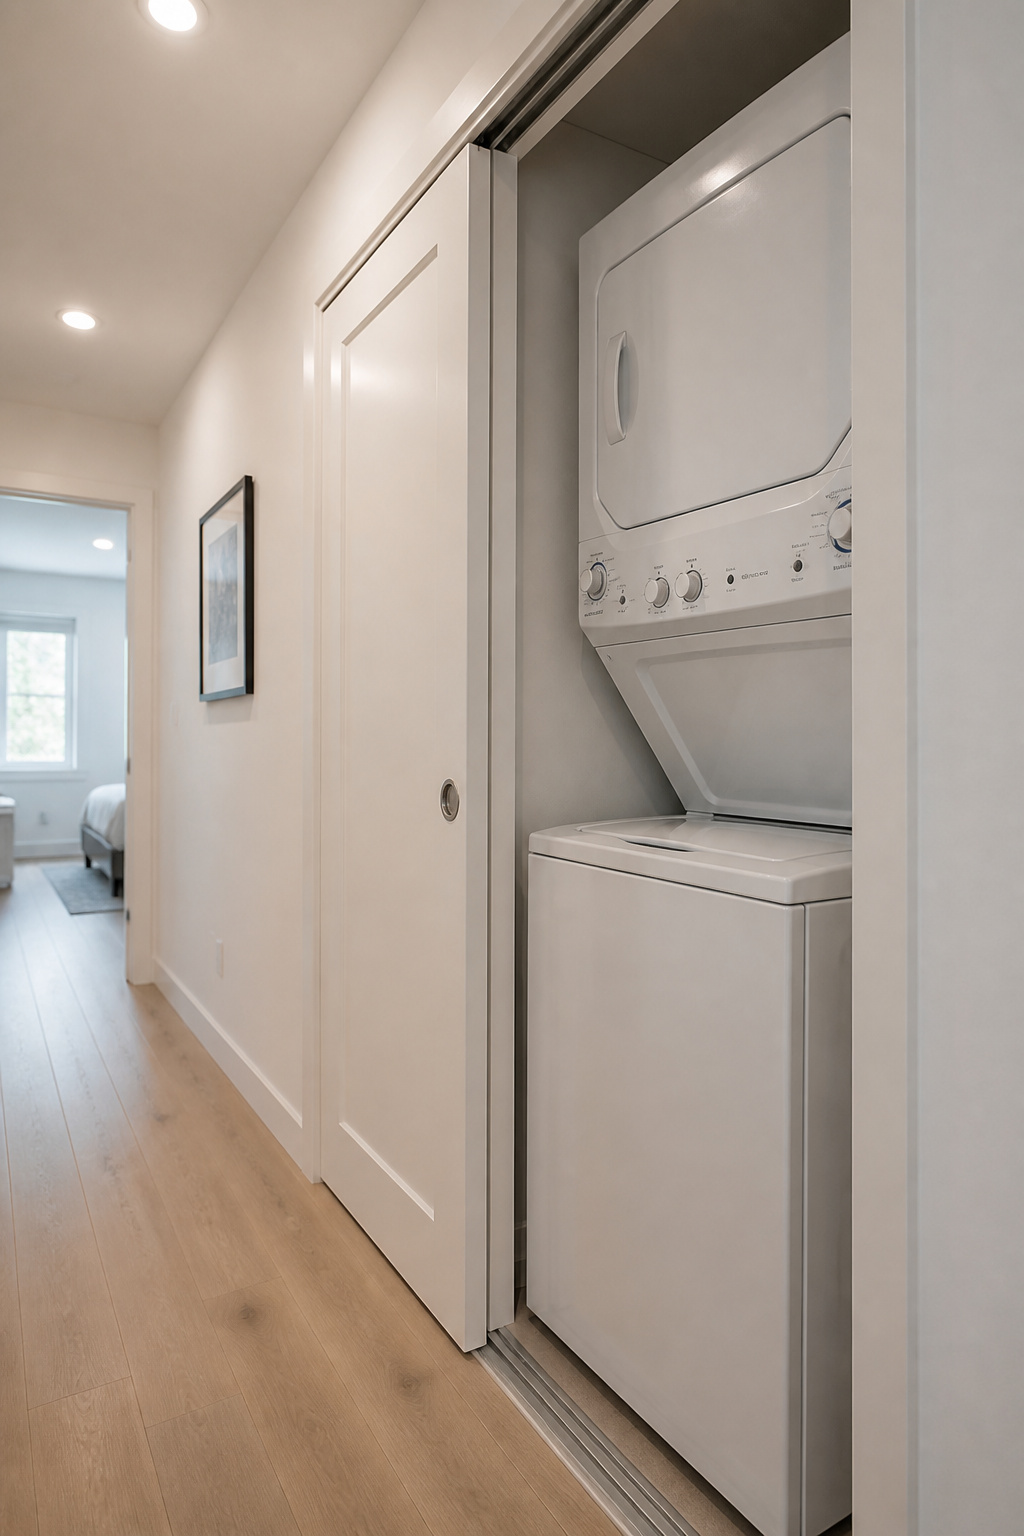
These are the minimum footprints that work in practice:
| Configuration | Min. width | Min. depth | Notes |
|---|---|---|---|
| Stacked (standard 27″) | ~29 in opening | ~40 in | 6 in rear for hoses/vent, 1 in each side |
| Stacked (compact 24″) | ~26 in | ~30 in | Stacks 67–70 in tall; fits an 8-ft ceiling |
| Side-by-side (two 27″) | ~56 in | ~34 in machine | Needs a 4-ft clear zone in front to load |
| Minimum functional closet | — | — | ~9 sq ft stacked; 15–20 to load comfortably |
As Block Renovation’s sizing guide notes, “The minimum for stacked units can be as little as 9 square feet… though 15 to 20 square feet gives you a noticeably more comfortable working situation: enough to load, unload, and sort without bumping into a wall.” If you have the space for the larger number, take it.
The hallway pocket-door nook: clearances and door choices
The hallway nook is the most popular small-space format, and the pocket door makes it work. A stacked unit fits a nook as small as 42 inches wide by 36 deep; 4 feet of width gives loading room without blocking the hall when the door’s retracted. The pocket door erases the 36-inch swing a hinged or bifold needs, and that’s what makes a 36-to-48-inch corridor viable. Don’t forget the 100-square-inch make-up air opening for the dryer; a louvered panel or wall grille handles it without leaving the nook open.
What makes a small laundry room feel bigger
A few cheap moves keep a tight room from feeling like a cave. White walls and white machines cut the visual contrast that reads as cramped. Don’t under-light it either: a windowless closet wants 2,000–4,000 lumens overhead, or it becomes the dark corner nobody uses.
Every clearance, configuration, and pocket-door detail is in the full guide to small laundry closet layouts.
Storage that makes a small upstairs laundry work
A tight laundry room with no storage is a closet with appliances and a pile. Three moves make the small footprint livable, and none are expensive.
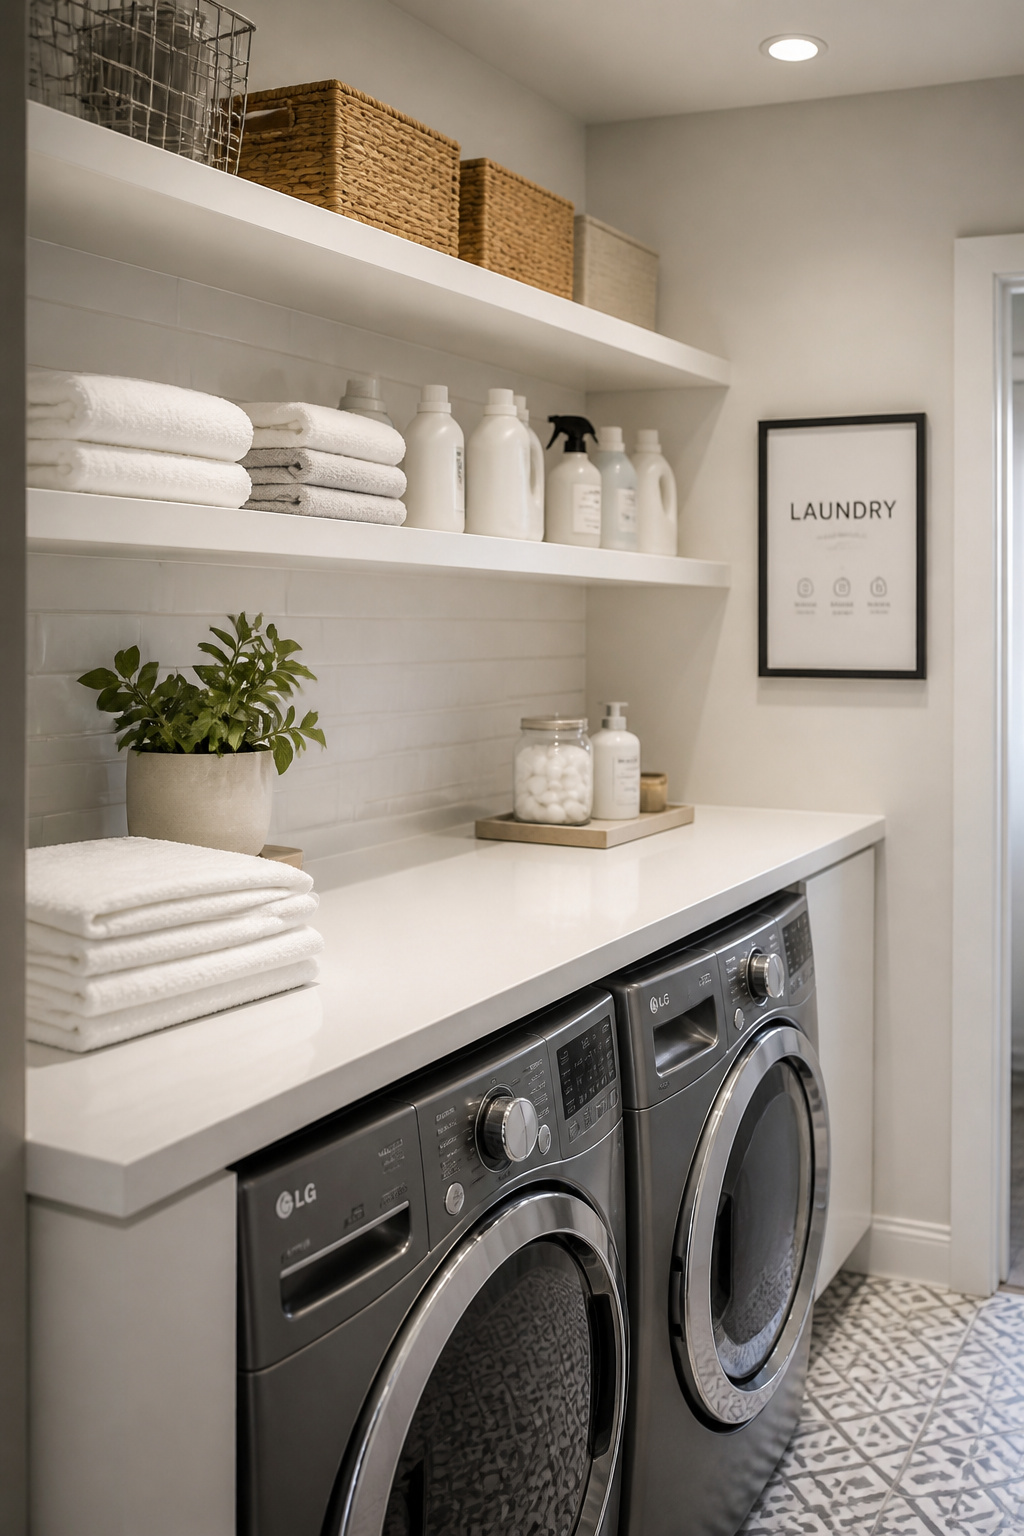
- A counter over front-loaders. Build a counter on top of the machines (about 36 inches for side-by-side) and you’ve got a folding station for free, the biggest space gain in a small laundry. Keep any overhead shelf at least 18 inches above the machine top so the lid clears, 20–24 inches for front-loaders with a counter.
- Cabinets vs open shelving. Open shelves are cheaper and keep detergent grab-and-go, but they show lint, drips, and labels; keep working depth to 8–12 inches so doors still close. Cabinets hide the clutter; an IKEA solution runs $150–$400 against $800–$2,000+ for custom. Either way, mind the load: a full laundry shelf carries 40–60 lbs, so skip the standard 25–30 lb floating brackets for heavy-duty steel brackets into studs rated 150 lbs.
- A pegboard or rail system. A pegboard panel ($15–$30 for 4×4 feet) above the machines hangs baskets, hooks, and small shelves and reconfigures whenever you need. A rail system (IKEA SKADIS and similar) holds brushes, mesh bags, a drying rod, and sock hooks at eye level with no permanent shelving. Add pre-sort baskets at floor level and the chaotic pile disappears.
Whirlpool’s guides land on the same first move: “Adding shelves above your washer and dryer is one of the easiest storage hacks… without rummaging through clutter.” Start there, then build out. For the full system, here’s storage and organization that fits a small upstairs room.
Putting the upstairs laundry room ideas together: a checklist
Everything above is one project, and the order you work it is what keeps it on budget. Skip a phase or swap two of these steps and you’ll pay for it in demolition.
- Planning: location, plumbing proximity, permit check. Measure the distance from the candidate spot to the nearest bathroom stack; under 10 feet keeps plumbing costs in the $500–$1,500 range. Map the dryer vent route, subtracting 5 feet per 90-degree bend; if it comes out over 35 feet effective, plan for a ventless heat-pump dryer. Pull permits before any demo. Lock in stacked vs side-by-side and give exact dimensions to the contractor before they frame; switching afterward means tearing it out.
- Build: flood protection, mechanical rough-in, framing. Set the drain pan and run its line to the waste stack during rough-in, before drywall buries it. Have the plumber run the 1/2-inch supply lines, 2-inch standpipe and P-trap, and drain tie-in; the electrician runs the 20-amp/120V and 30-amp/240V circuits. Pack mineral-wool batts into walls and ceiling now; it’s the only cheap moment for the noise layer.
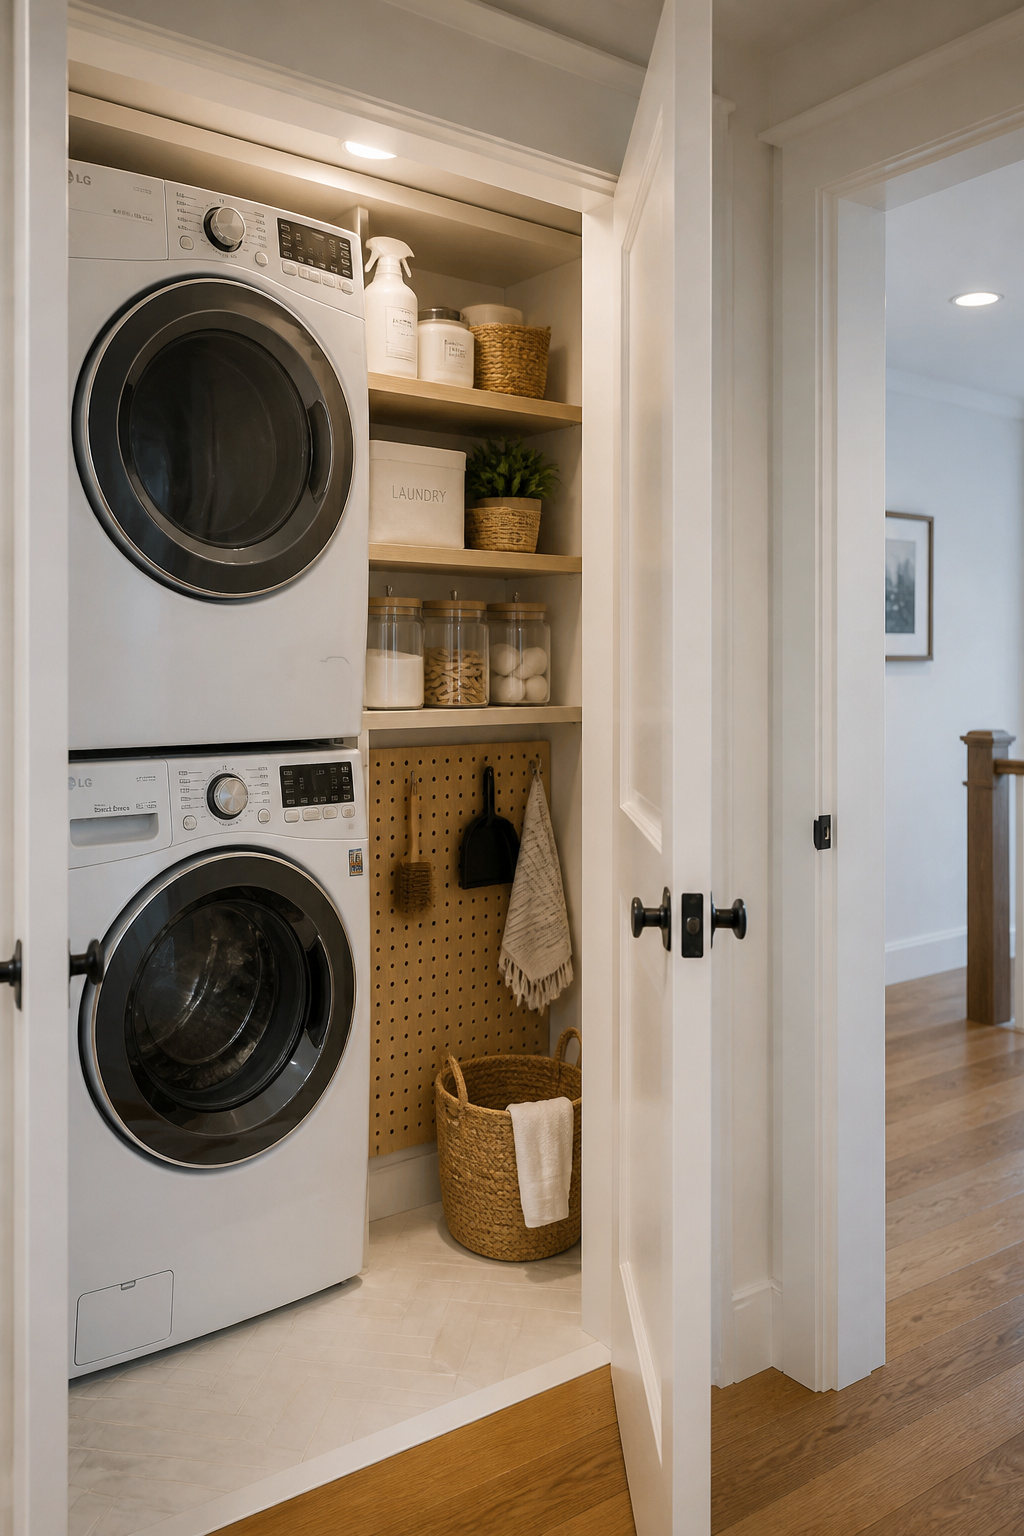
- Finish: layout, storage, door, done. Set the machines, connect braided steel hoses to the washer-box shutoffs, run the drain hose into the standpipe, and connect the dryer to its rigid duct. Slide anti-vibration pads under each foot first. Hang shelving on 150-lb stud-mount brackets at least 18 inches above the machines, drop a Wi-Fi leak sensor under the washer, and hang the door last: solid-core with a perimeter seal, or the pocket door you prepped framing for in phase two.
That covers the whole arc, from the math that sold you on the idea to a finished room. As Patrick A. Finn’s team puts it, good planning “prevents the most expensive second-floor laundry problem: discovering a maintenance issue only after removing drywall.” Work the three phases in order, and the room pays you back time on every wash day.
