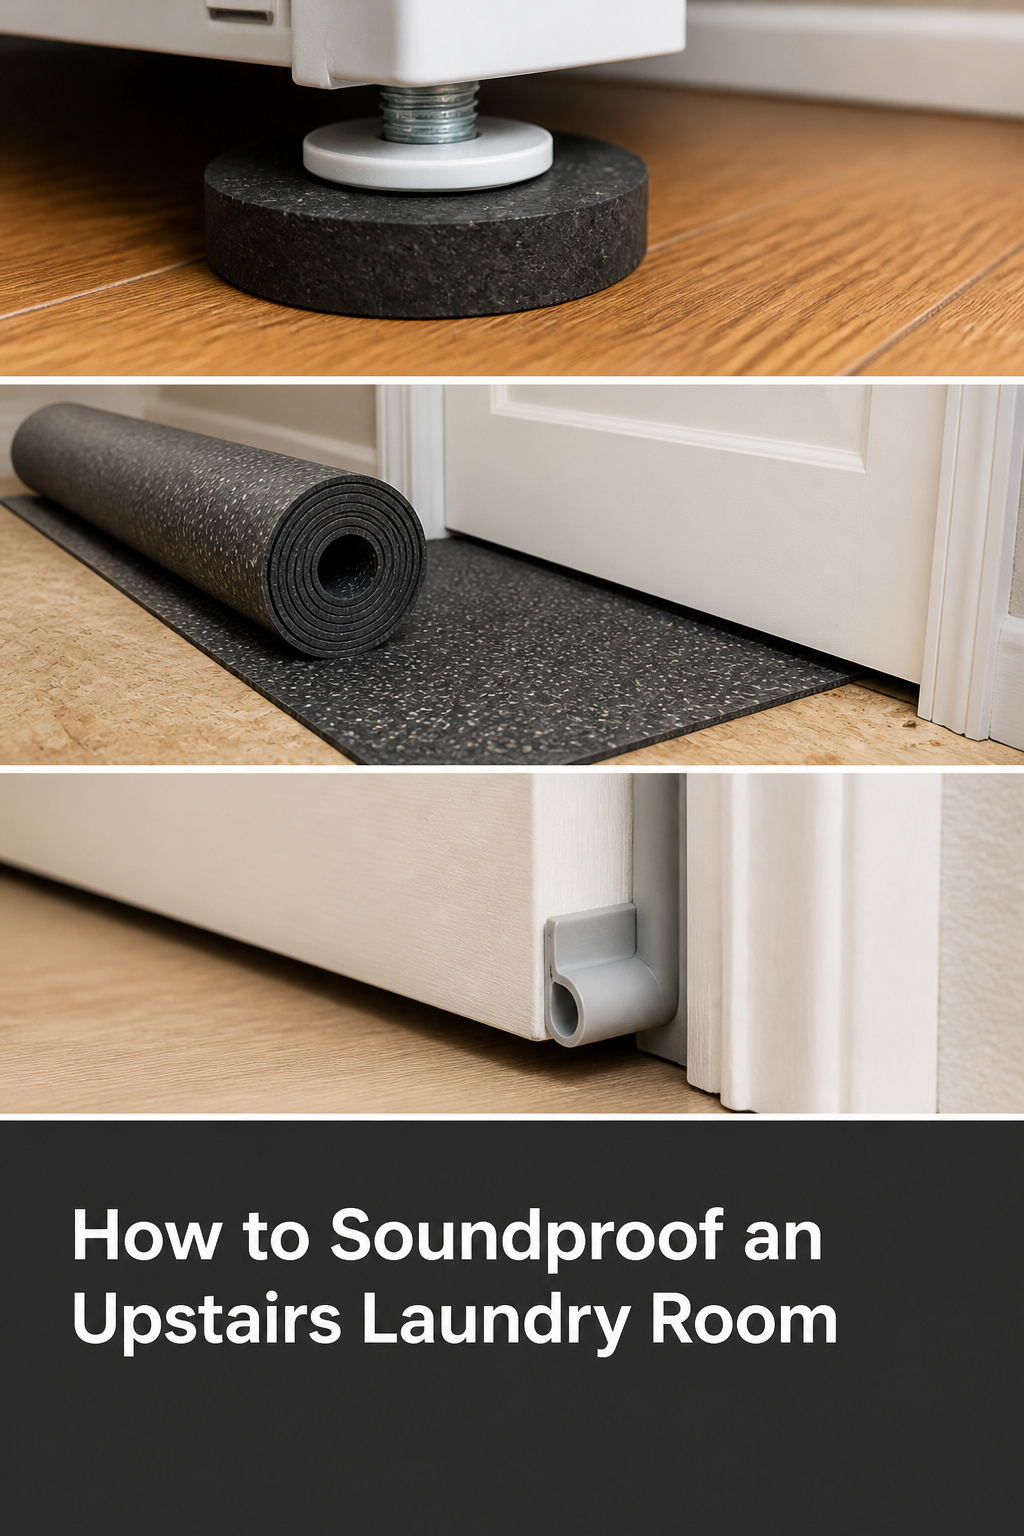
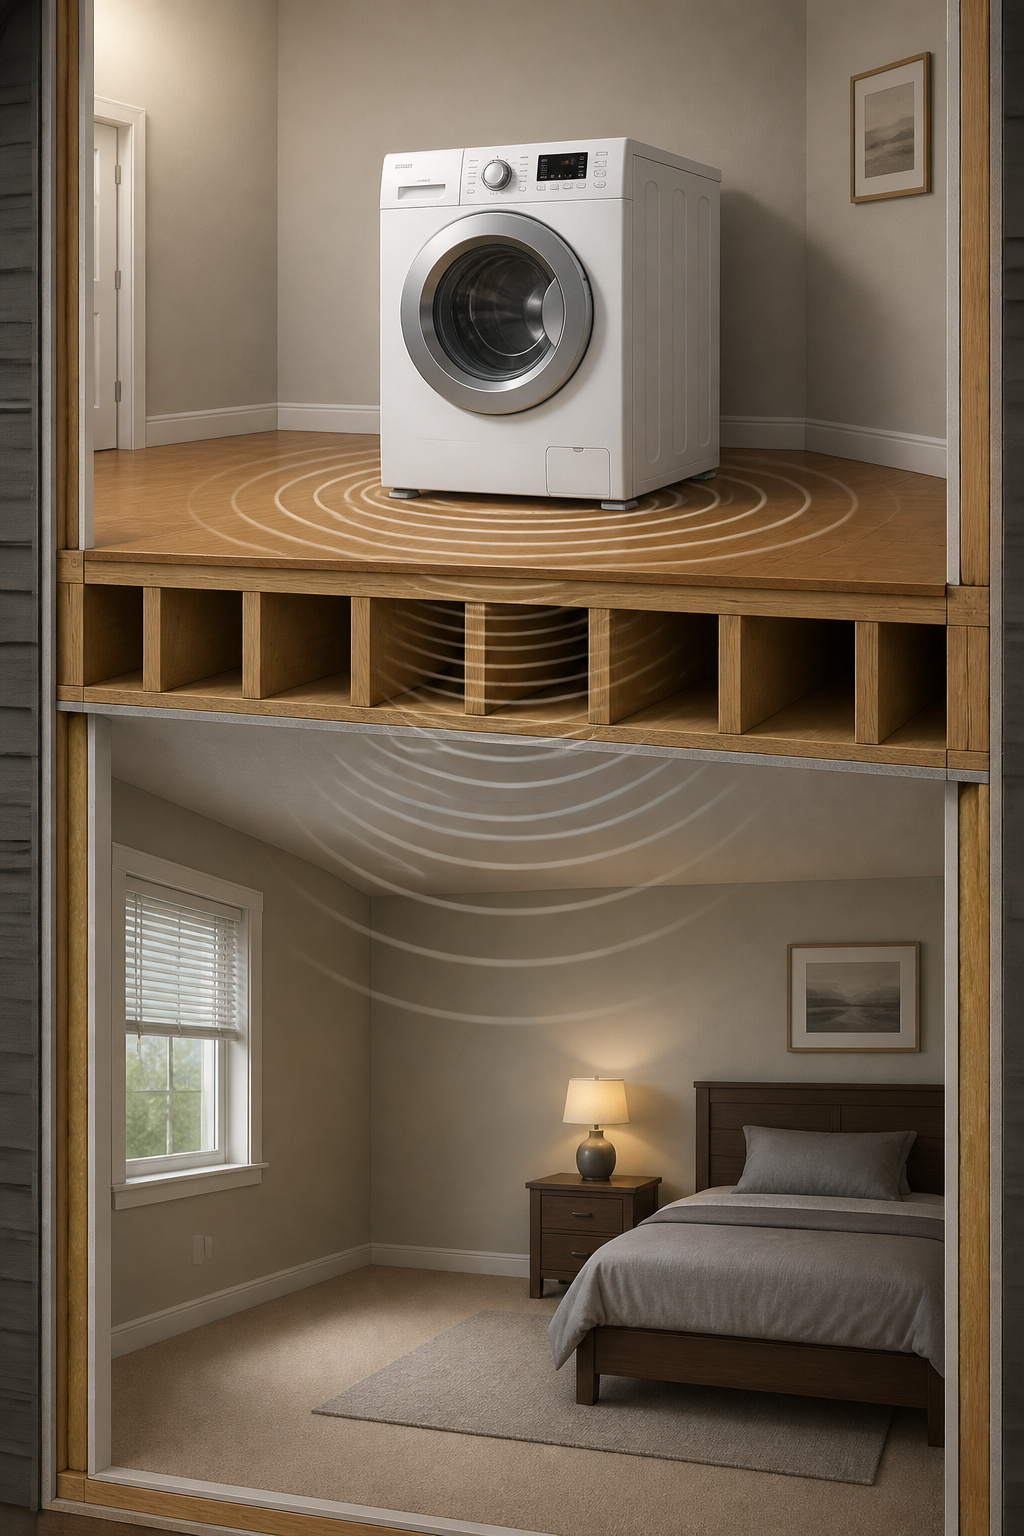
The complaint is almost never “the laundry room is loud.” It is “I can hear the washer in the bedroom.” That gap is why most laundry room soundproofing money goes to the wrong fix. A spin cycle reads 70 to 80 decibels in the room, about a loud vacuum, but that airborne racket is not what travels. What reaches the bedroom is vibration: the machine drives it through its feet into the subfloor and joists, until the ceiling below acts like a speaker cone. Treat the floor like the loudspeaker it is.
TL;DR
- Spend at the source first: level the machine and fit anti-vibration pads under each foot ($20–$50). Independent Consumer Reports testing found cheap rubber pads underwhelmed, so buy dense rubber or a spring-mounted platform, not foam.
- The floor carries the noise, not the walls. Full-room rubber underlayment improves a floor-ceiling assembly’s impact rating by 10–20 IIC points; a solid-core door with perimeter seals takes the airborne path from roughly STC 22 to 35+.
- Wall treatment is last and costs the most ($1,000–$2,000+). For most upstairs laundries, pads plus a sealed solid-core door (around $210–$570 DIY) buys the majority of the result.
This is the logic I bring to a home theater: the room decides what you hear before the gear does. The fixes below run source, floor, door, walls: the order a professional uses. If you are still planning a second-floor laundry from scratch, you can design most of it in for almost nothing.
Why upstairs laundry noise is different from any other room
Structure-borne vs airborne noise: the two problems with different fixes
A washing machine makes two kinds of sound. Airborne noise (the motor whir, the drain rush) moves through air gaps and thin surfaces, so it answers to mass: a heavier door, more drywall. Structure-borne noise is the troublemaker, leaving the drum as vibration and only becoming sound again when the ceiling below radiates it. As Eric Zuck of Second Skin Audio puts it, “both types require different soundproofing treatments, so it is important to understand the difference before you start.” STC rates airborne blocking; IIC rates the structure-borne kind.
| Noise source | Type | Travels through | What fixes it |
|---|---|---|---|
| Spin-cycle vibration | Structure-borne | Floor, joists, ceiling below | Isolation pads, floor underlayment |
| Motor whir, drain rush | Airborne | Door gaps, thin walls | Solid-core door, seals, wall mass |
| Dropped items, dryer thump | Structure-borne | Floor plane | Full-room underlayment |
Why the floor is a drum and wall treatment almost never helps first
On a hard floor (tile, hardwood, LVP), the machine’s energy transfers straight into the subfloor and joists, which behave like a sounding board. Soft surfaces break that path; hard ones pass it along. Acoustic wall panels feel like soundproofing, but they only absorb airborne sound bouncing inside the room: high NRC, near-zero STC. They make the laundry room sound nicer while doing nothing for the bedroom below.
What a spin cycle measures in decibels, and where it goes
A high-spin front-loader can hit 76 dB or more at peak, but the meter reads the airborne sound at the machine, not the vibration through the floor. Worth knowing before you buy: a direct-drive washer, with no belt between motor and drum, runs quieter than a belt-drive model at the same speed. That is free quiet.
Fix one: vibration isolation at the source
The floor is doing the broadcasting, so the highest-payoff move is to stop feeding it at the machine, before a dollar goes into the structure.
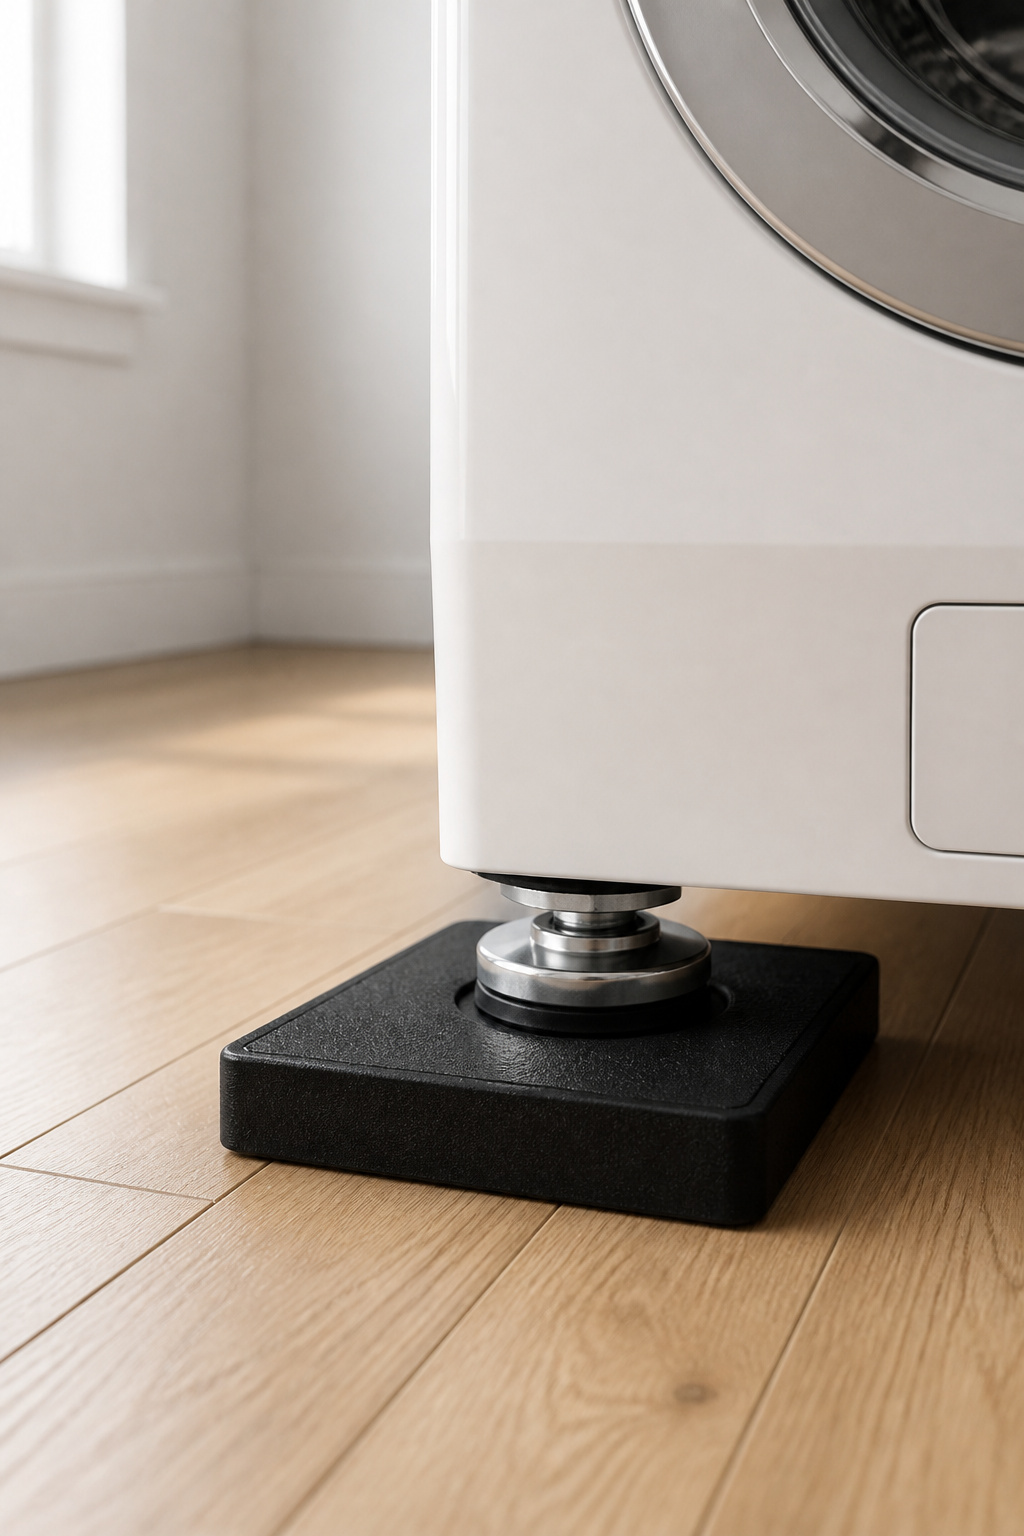
Anti-vibration pads: what they are, cost, and how to fit them
Anti-vibration pads sit under each appliance foot (four per machine) and convert vibration into heat before it reaches the subfloor. Dense rubber or Sorbothane is the material that holds up; Sorbothane claims up to 94.7% vibration reduction, and 8–10 mm neoprene is the residential standard. A set of four runs $20–$50.
When Consumer Reports tested seven products, basic rubber pads did not cut vibration noticeably in their protocol. The one that clearly worked was a spring-mounted isolation platform around $200, needing clearance from walls and the dryer. Buy dense rubber, skip closed-cell foam (it compresses and quits within weeks), and where the budget allows, the spring platform is the proven performer.
Machine leveling: why an unlevel washer is louder than a poorly treated room
Before you spend anything, level the machine. It is free, and it outperforms a lot of paid treatment. An unlevel washer lets any load imbalance get amplified by centrifugal force at 1,400 RPM, driving far more energy into the floor than the same machine sitting flat, and it chews through bearings and shocks over time. The job is tool-free: turn the threaded front legs, then check a bubble level on top, front-to-back and side-to-side. Pad first, then level, then run a test spin.
High-spin machines vs standard: the noise tradeoff worth knowing
A faster spin wrings out more water but drives a higher vibration peak. Modern washers with magnetic suspension or 3D vibration sensing can match an older slow machine even at 1,400 RPM. The technology matters more than the RPM number on the spec sheet.
Fix two: floor underlayment to kill structure-borne sound
With the machine isolated, the next gain is treating the floor plane itself.
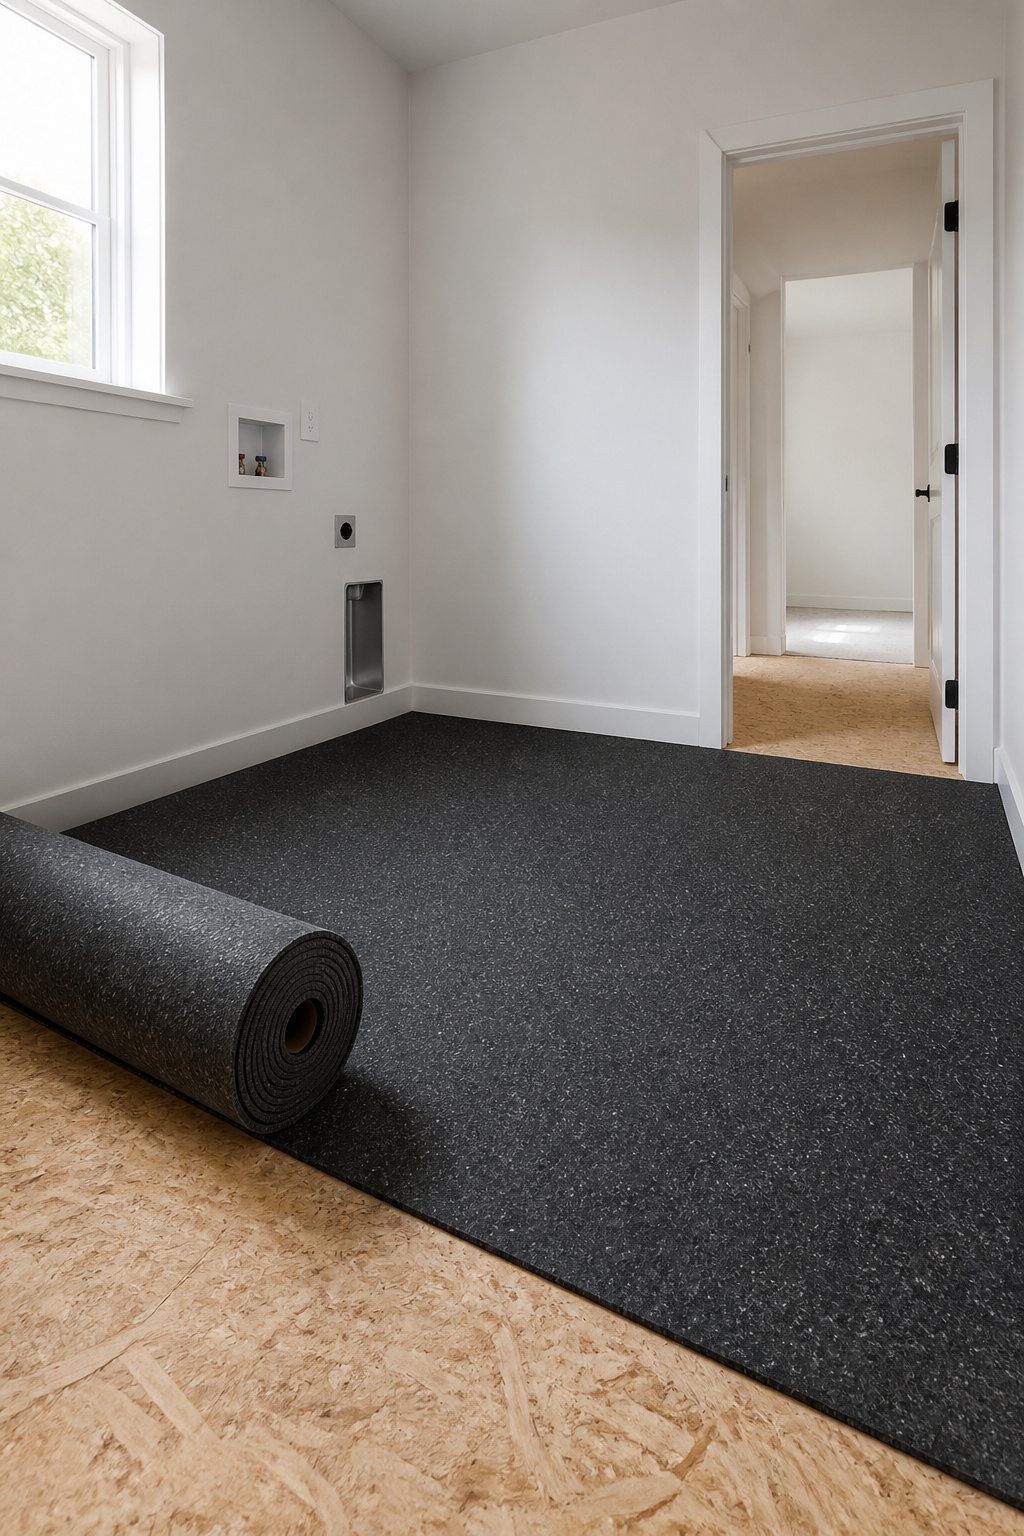
What floor underlayment does that pads can’t
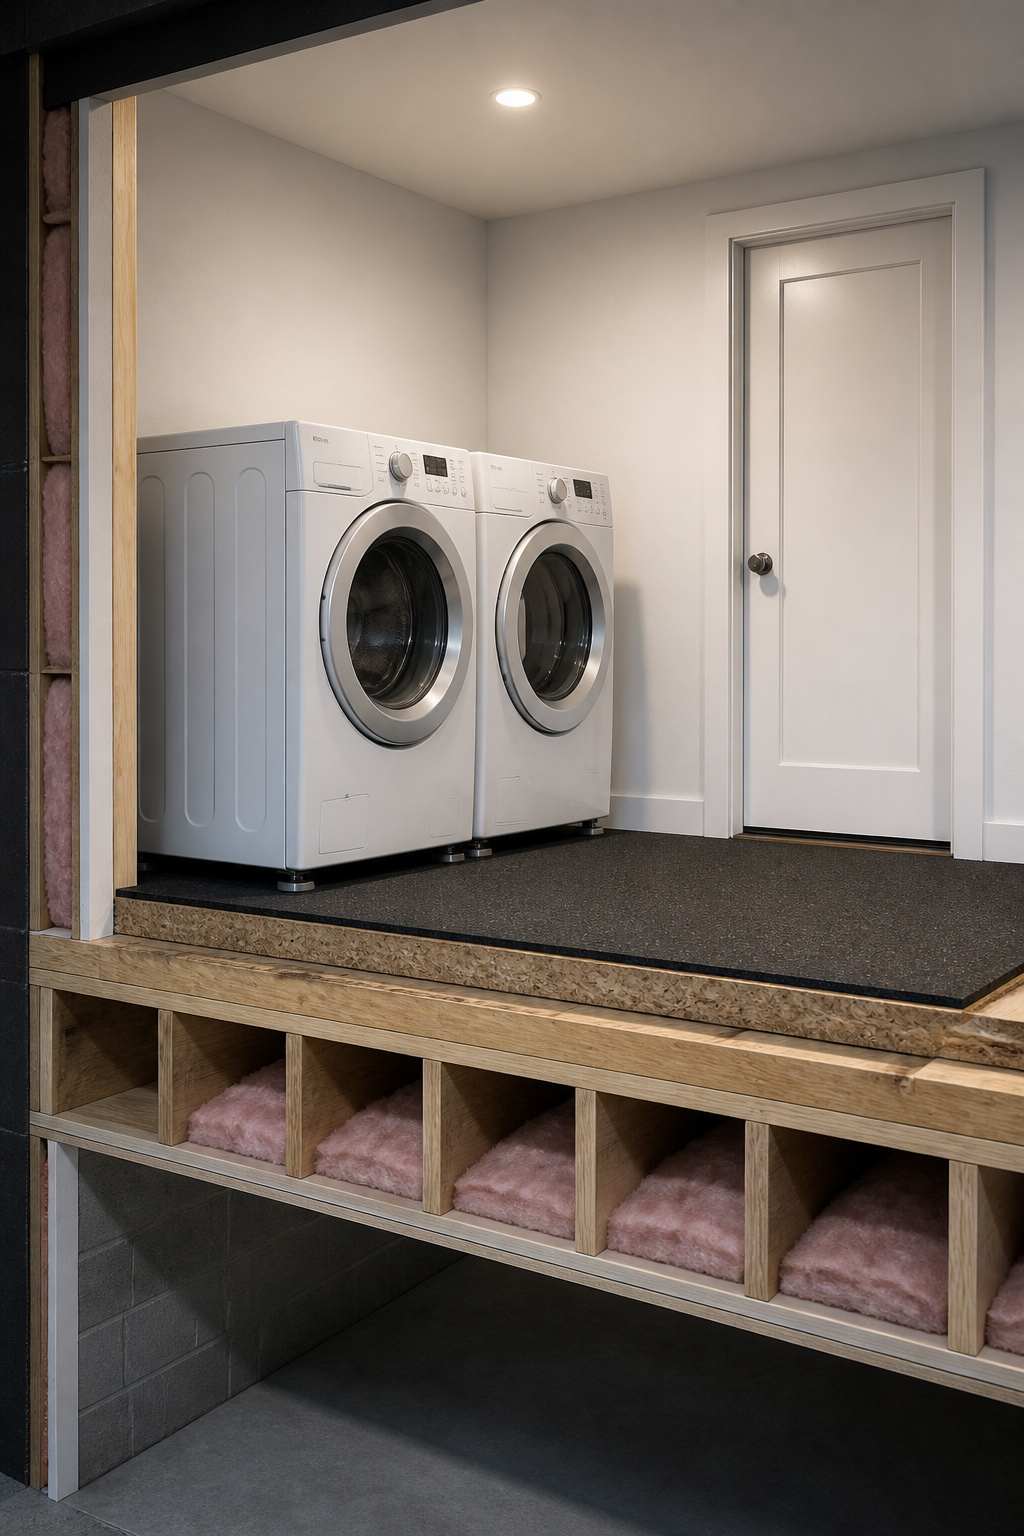
Pads isolate four small points; acoustic underlayment decouples the whole finished floor, catching everything: the dryer’s thump, a dropped detergent jug, footsteps. The International Building Code requires IIC 50 (lab-tested) or IIC 45 (field-tested) between dwelling units. Standard wood-frame construction lands around IIC 30–40, a gap underlayment can close by 10–20 points.
Underlayment types: rubber, cork, acoustic foam
Rubber is the performer; cork a solid second; foam the cheap-and-weak option, at a third to a half of rubber’s performance at equal thickness. One number to treat carefully: manufacturers often quote IIC figures from concrete-slab assemblies that flatter the result over a wood-frame floor. Compare on Delta IIC instead: the improvement the underlayment itself contributes, independent of the assembly.
| Material | Typical thickness | Acoustic verdict | Note |
|---|---|---|---|
| Rubber | 5–12 mm | Best impact isolation | FloorMuffler UltraSeal HD: Delta IIC 25 (IIC/STC figures assembly-dependent) |
| Cork | 6–12 mm | Good; 12 mm for upstairs rooms | 12 mm for impact-priority floors |
| Foam | varies | Weakest | ~1/3–1/2 of rubber at equal thickness |
For an upstairs floor where impact noise is the point, 12 mm cork or quality rubber is the call.
Installing underlayment without a full floor demo
You do not have to gut the room. Acoustic underlayment goes down as a floating layer under new LVP, laminate or tile, and peel-and-stick products lay straight over a clean subfloor. For a no-flooring-replacement retrofit, a full-footprint rubber mat under both machines plus pads under each foot buys meaningful isolation with zero demolition, and waterproof options exist, no small thing above a finished ceiling. Door type and machine placement matter here as well; the layout choices that affect noise are worth settling before the floor goes down.
Fix three: doors and perimeter seals
The floor handles the structure-borne path; the door is where the airborne sound gets out, the weakest surface in most laundry rooms.
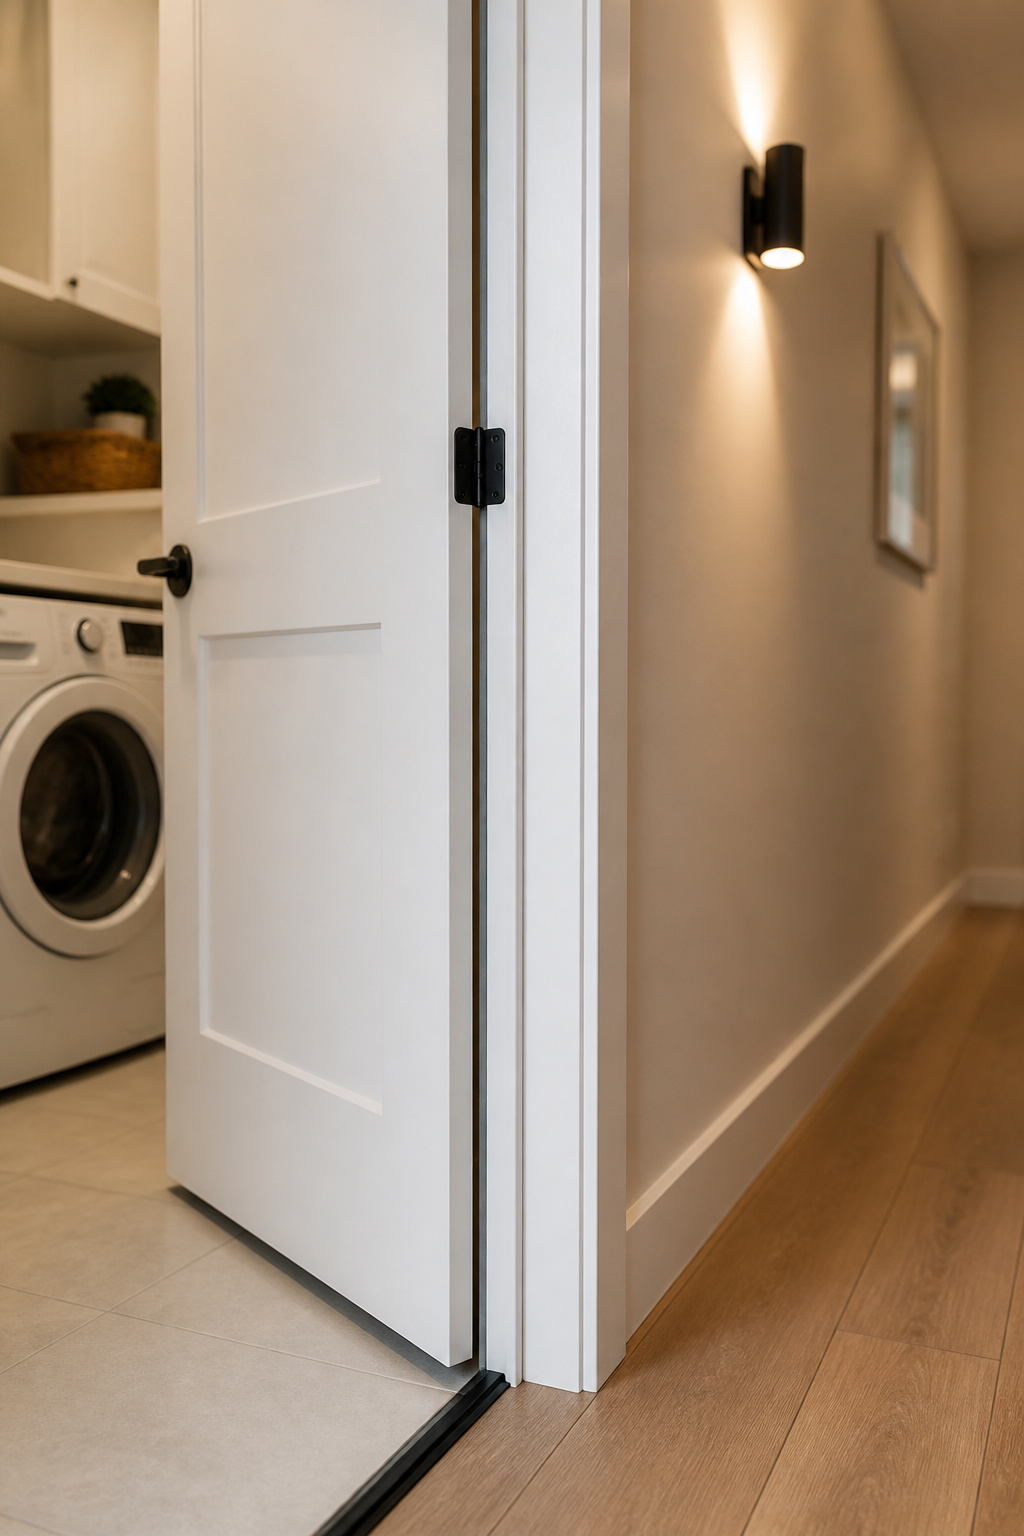
Solid-core vs hollow-core doors: what the STC difference sounds like
Most closet and laundry doors are hollow-core, which Zuck calls “horrible at blocking sound,” and the ratings agree at STC 20–25, where normal conversation comes straight through. A solid-core door runs STC 27–35; at 30 loud speech turns to mush, at 35 normal TV volume is well dampened. The mechanism is pure mass, and every doubling of it buys about 6 STC points. Swapping one is usually a straight hinge-for-hinge exchange, $150–$400 for the slab.
Pocket doors and their noise tradeoff
Pocket doors save space beautifully and seal badly. They rest in the opening with 1/4 to 1/2 inch gaps on all four edges and no compression seal. As the Journeyman HQ guide puts it, “hinged doors always outperform sliding, pocket, and barn doors for sound isolation.” Engineered acoustic pocket doors can reach STC 40+, but at a cost that defeats the point. If quiet is the priority, hang a hinged solid-core door.
Door sweeps, perimeter seals, and threshold strips: the last few decibels
Even a solid-core door leaks around its edges. A perimeter gasket (silicone or neoprene on the frame) compresses shut to close the side and top gaps, and a door sweep handles the bottom. Trade figures put a sweep at roughly 1–4 dB; treat those as typical ranges, not promises, since they come from retailers, not a lab. A full kit runs $40–$120 and goes on in under an hour. Fit only the sweep and you have solved the easy gap while leaving three edges open.
Fix four: wall treatment, where it helps and where it doesn’t
This is the last layer for the same reason it is last in any theater build: it costs the most and returns the least until everything cheaper is done.
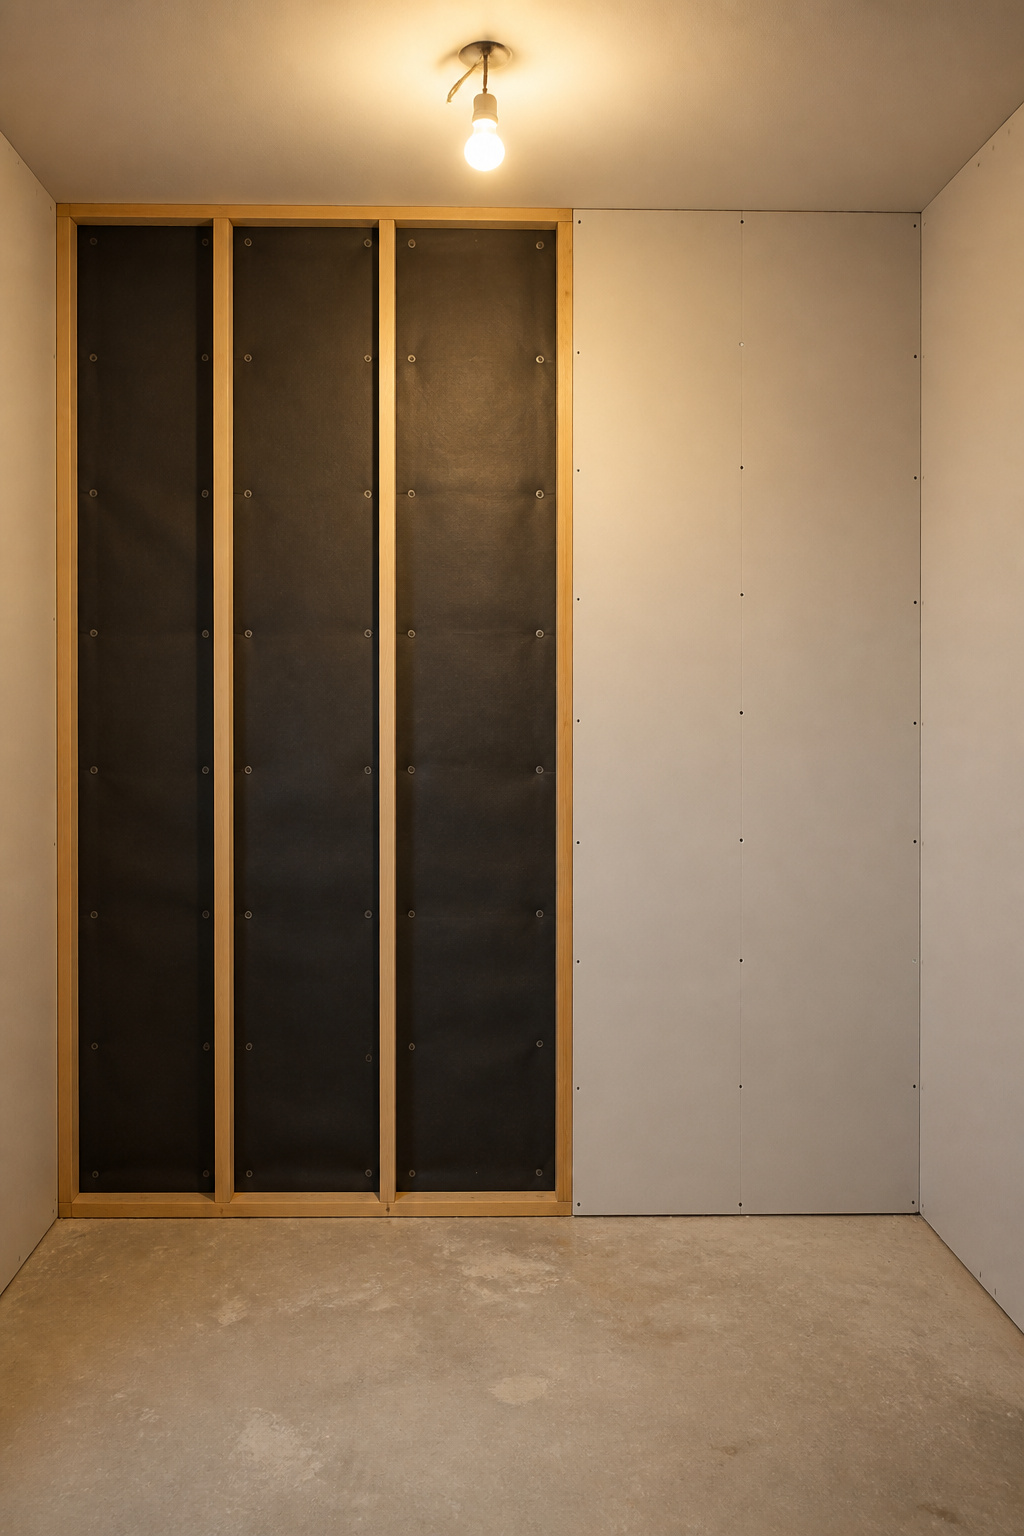
When adding mass to shared walls is worth it
When the laundry directly backs a bedroom, mass helps. A second layer of 5/8-inch drywall with Green Glue between can lift STC from about 30 to 40 at $1.50–$2.50 per square foot. Zuck’s line is “no need to rip out existing walls, just add to what you have.” Mass Loaded Vinyl adds 5–8 STC points as an alternative. Both pay off only after the floor and door are handled.
Decoupled drywall (resilient channel) for serious reduction
Resilient channel separates drywall from the studs and adds 5–10 STC points done right, but “done right” is the catch. RC fails in the field more often than not, because a single screw bridging the channel converts a decoupled system back to a solid one; sound isolation (RSIC) clips are harder to botch. A full retrofit runs $10–$30 per square foot installed and is rarely justified unless the bedroom wall is the proven culprit.
Acoustic panels: what they fix and what they don’t
Panels at NRC 0.70–0.85 absorb up to 85% of the sound inside the room, so the laundry itself sounds calmer, but they add no mass and block no transmission next door. Their honest job is last-layer refinement. Noise like this is one reason people weigh up noise as a second-floor trade-off before committing to the location at all.
The payoff ranking: laundry room soundproofing by the dollar
The first dollars do the most work; the last buy almost nothing unless aimed precisely.
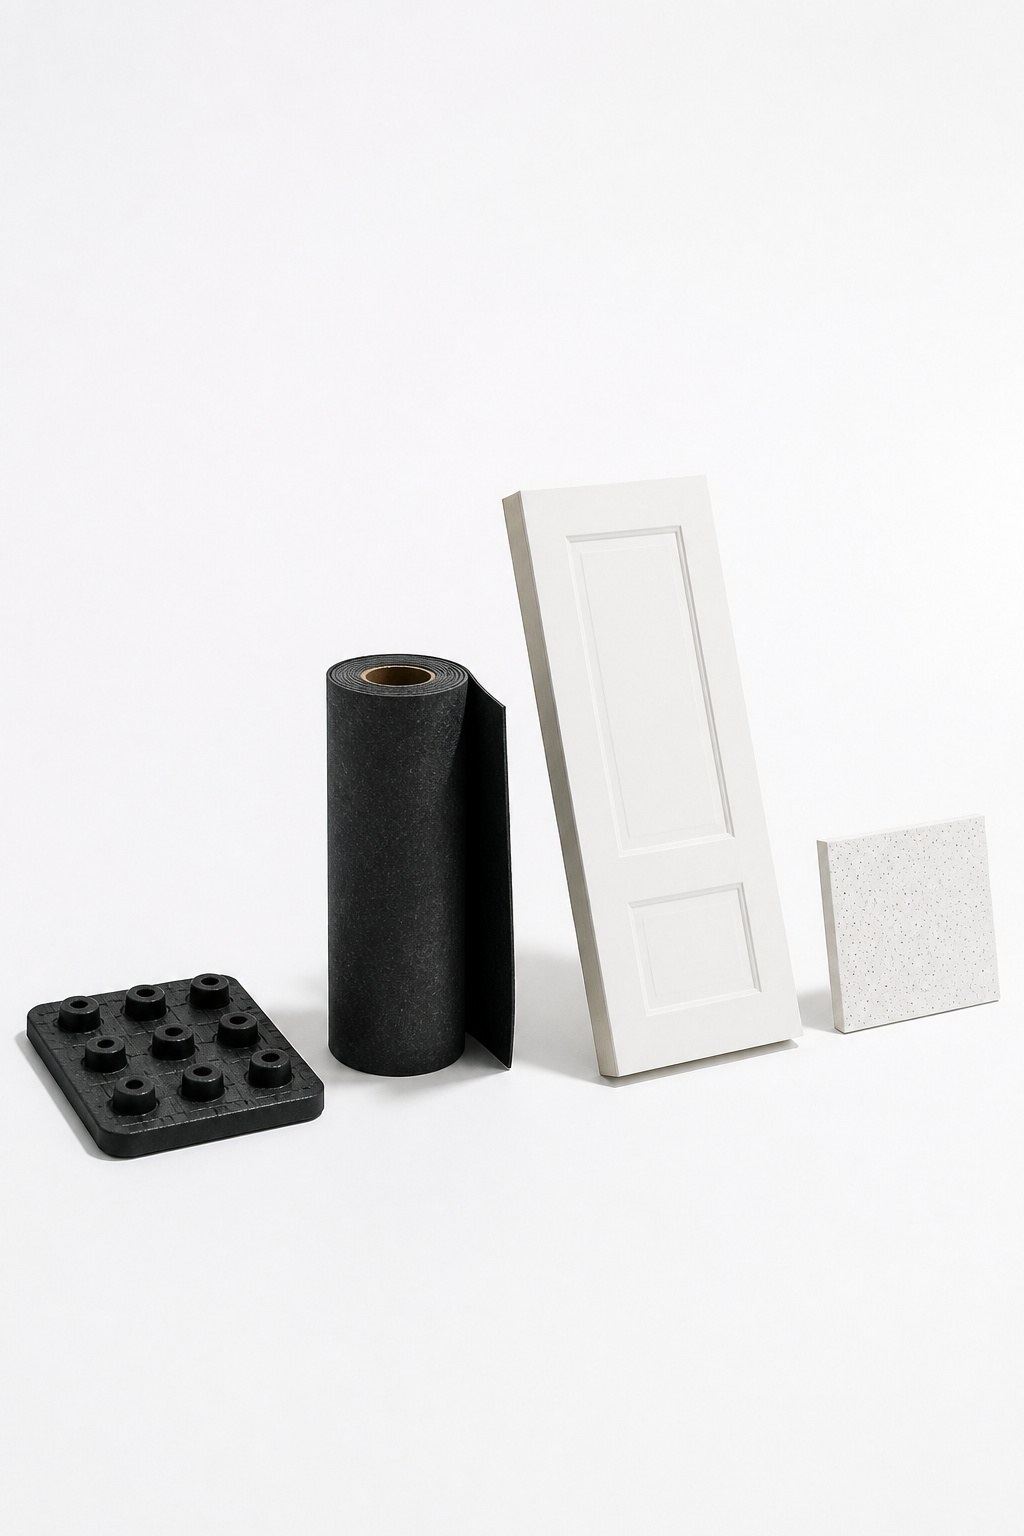
Ranked by noise reduction vs cost
| Fix | Cost | What it buys | DIY-able |
|---|---|---|---|
| Level + anti-vibration pads | $20–$50 | Stops noise at the source — highest ROI | Yes |
| Full-room rubber underlayment | $3.40–$5.30/sq ft installed | +10–20 IIC across the floor | Partly |
| Solid-core door + seal kit | ~$190–$520 | Airborne ~STC 22 to 35+ | Yes |
| Wall treatment (mass, RC, panels) | $1,000–$2,000+ | Last 25–50% when wall is the path | No |
The minimum effective setup for most upstairs laundries
Three moves cover the majority of what is achievable: level the machine, fit pads, and hang a solid-core door with a seal kit, about $210–$570, all DIY. Add full-room underlayment whenever you are already replacing the floor, where it costs only $1–$2 per square foot extra over standard underlayment. Cheap fixes on the dominant paths beat expensive ones on the minor path.
When to call an acoustic consultant
Call a pro when the DIY layers are all in and noise still bothers you, or you are in a multi-unit building with noise ordinances. A consultant runs $150–$500 to identify the actual dominant path, including flanking routes through ductwork or plumbing: cheap insurance against dropping $2,000 on a wall when the real leak was the door. Spend in order and you run out of noise before you run out of budget.
FAQ
Do anti-vibration pads actually work for washing machines?
Mostly yes, with a caveat. Dense rubber and Sorbothane pads damp vibration before it reaches the floor. Manufacturer data claims up to 94.7% reduction for Sorbothane, but Consumer Reports’ independent testing found basic rubber underwhelmed, while a $200 spring platform clearly worked. Front-loaders on hard floors benefit most, and the machine must be level first.
What is a good STC rating for a laundry room door?
Aim for STC 30 or higher. A solid-core door rates STC 27–35 versus 20–25 for hollow-core; at STC 30 loud speech turns muffled, and at 35 normal TV volume is well dampened. No door hits its rated number without seals. Add a perimeter gasket and a door sweep, because air gaps around the edges leak sound regardless of the slab’s mass.
Can I soundproof an existing laundry room without tearing out the walls?
Yes. The no-demolition wins are anti-vibration pads ($20–$50), a solid-core door with acoustic seals ($190–$520), and peel-and-stick underlayment during any planned floor update ($3.40–$5.30 per sq ft). For shared walls, a second layer of 5/8-inch drywall with Green Glue adds roughly 10 STC points without removing the existing drywall.