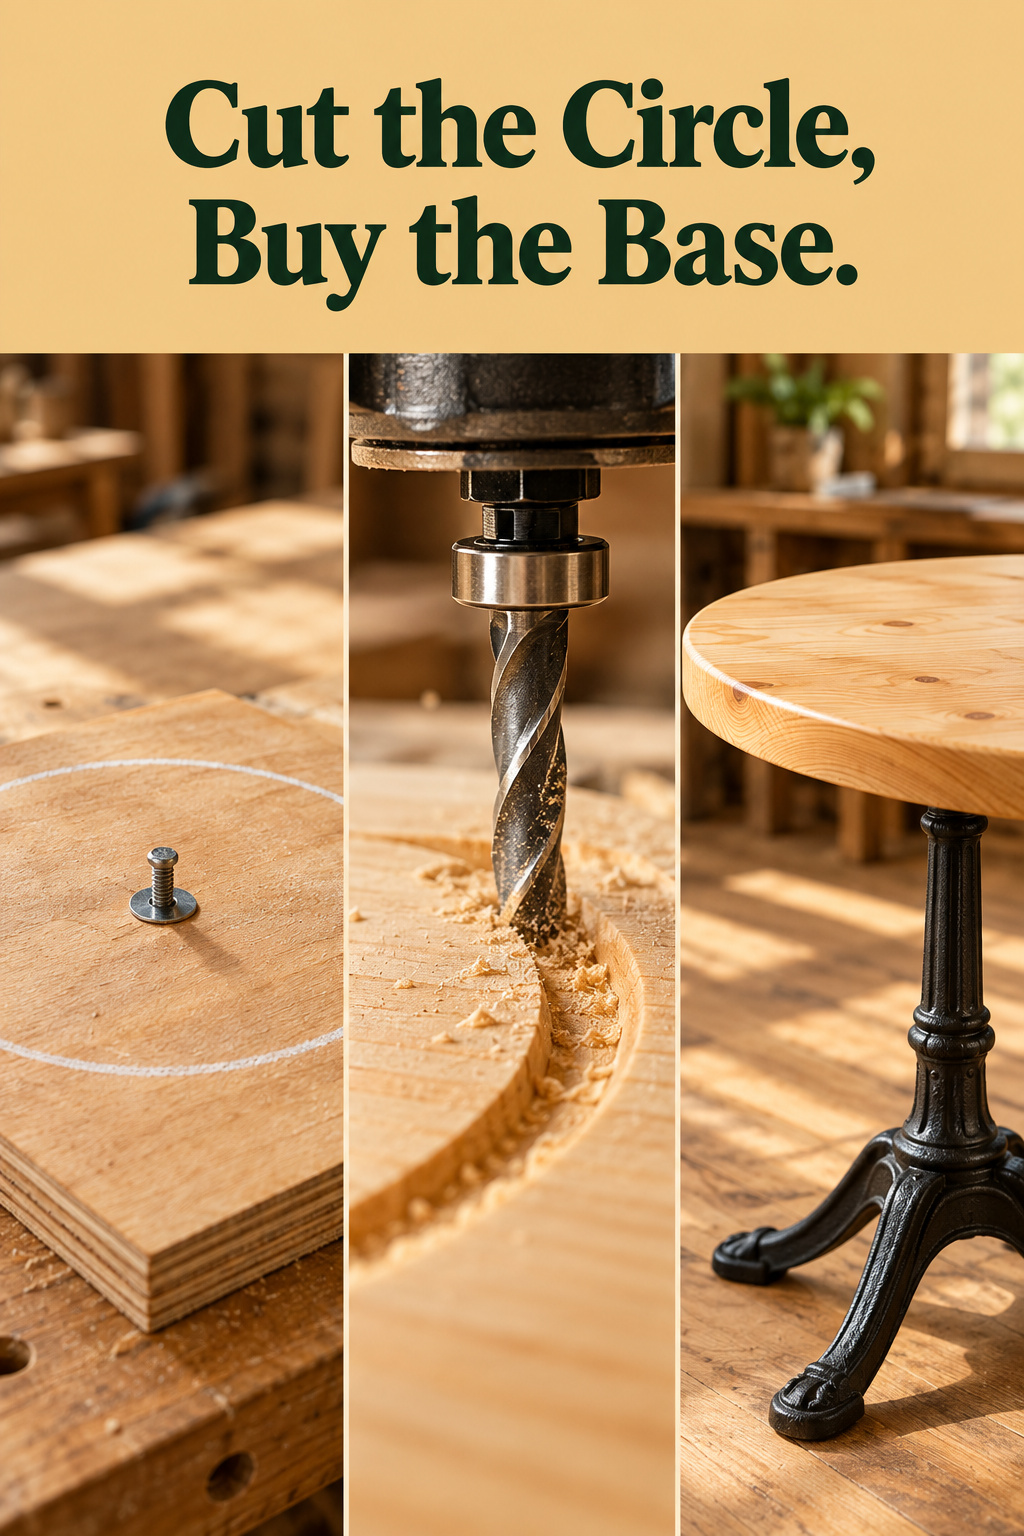
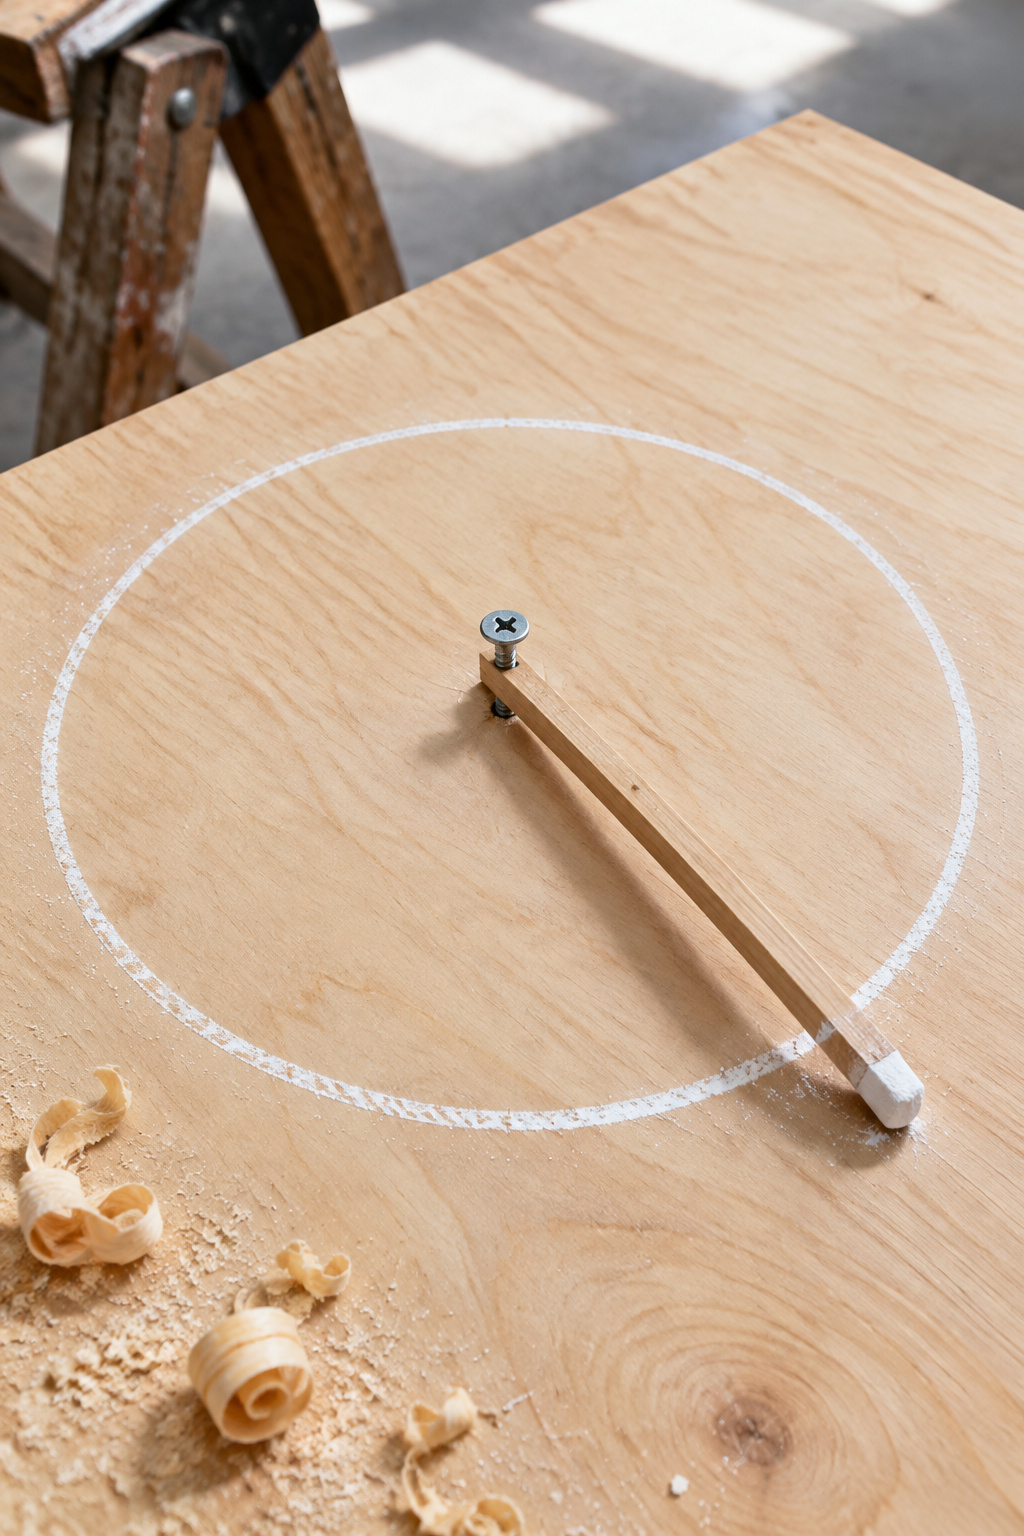
Which half of a DIY round dining table should you make? Start with the half that is only a cut. A chalk circle on a sheet of plywood, a pencil standing at the trammel pin in its center, and you’re most of the way to a tabletop. Make that. Buy the base. Budget about $220 to $325 for a 42 or 48 in table, and two weekends, not one.
TL;DR
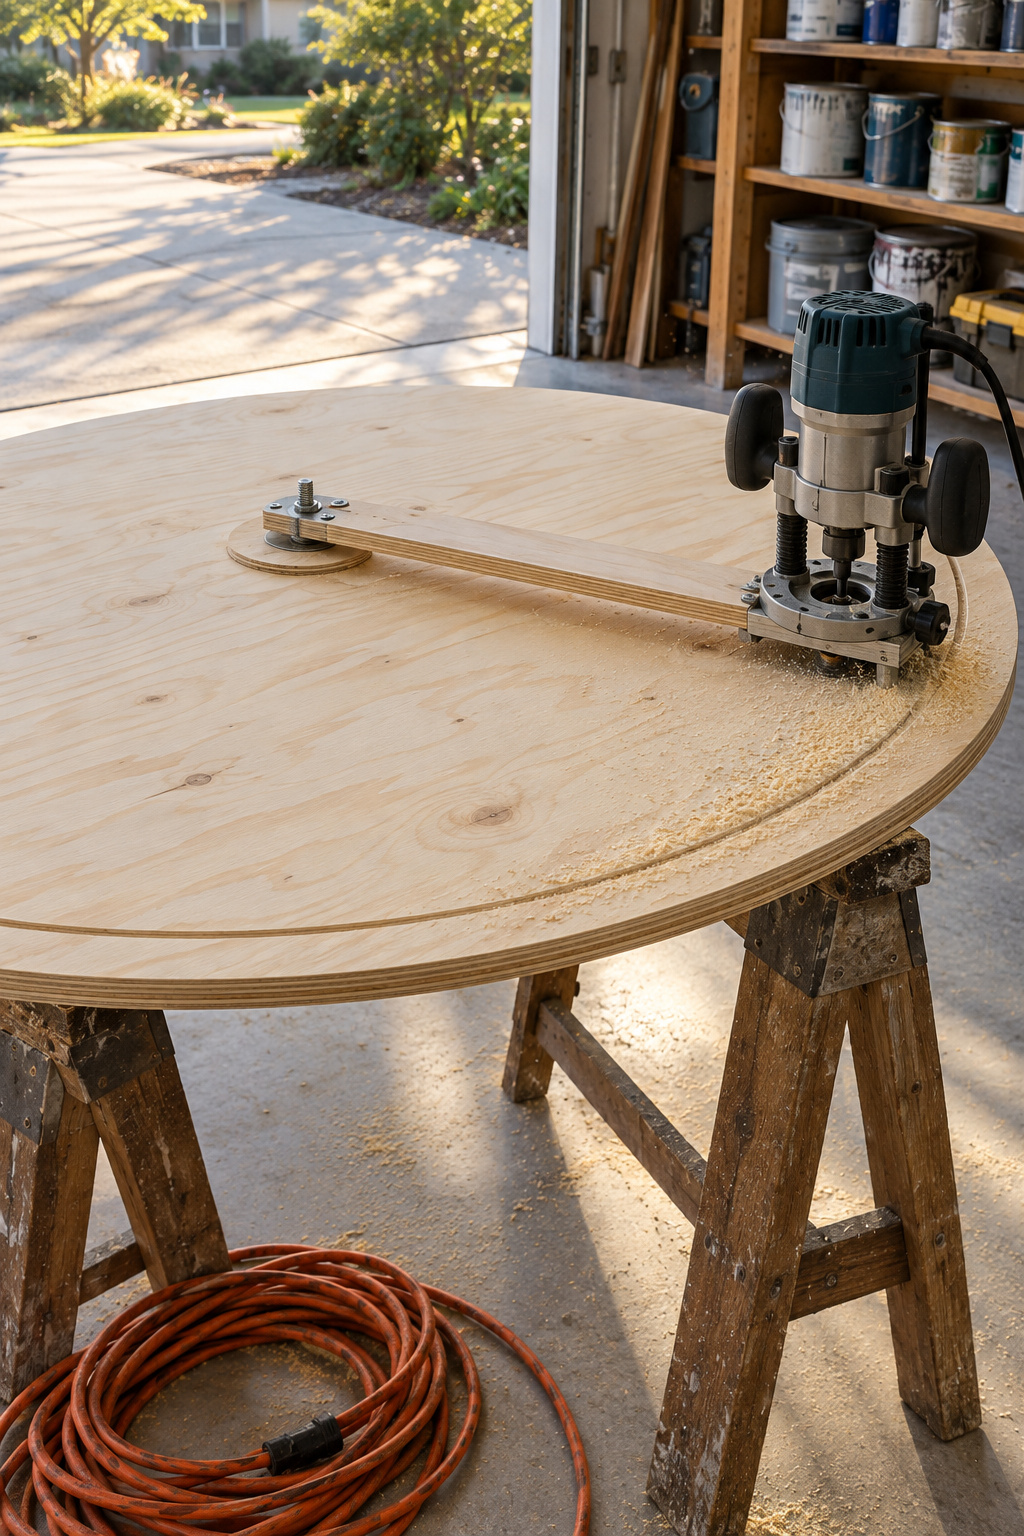
- Cut the top with a plunge router on a shop-made trammel in shallow passes, 1/4 in first and 1/8 in more each time, with a spoilboard under the last one; the trammel takes about 10 minutes to make.
- Buy a base that lists a maximum top size: Rockler’s cast-iron round base lists a 42 in top on its 26 in spread and a 60 in top on its 30 in spread.
- A solid-wood top moves about 3/16 in per foot of width, roughly 3/4 in on a 48 in round, so fasten it with slotted holes around one fixed point; plywood barely moves.
A DIY Round Dining Table Starts With the Top: Why You Buy the Base
You need one sheet of 3/4 in birch plywood, a bought base, an evening for the cut, and two weekends once you count edging, sanding and finish coats that have to dry. A plywood top is a first build. A pedestal is not.
That’s my view. A bought base comes with a rating: the maker lists the largest top it will carry, sometimes a weight limit too. A homemade pedestal comes with your hope. Plan-makers do publish simple bases. But the base holds the load and decides whether the table rocks under an elbow, so that’s where I’d rather a beginner spend money than guess. A circle that’s a little off is still a sound top. A base that’s a little off is a table you fold coasters for.
Plywood Top First, Solid Wood Second: What the Circle Is Made Of
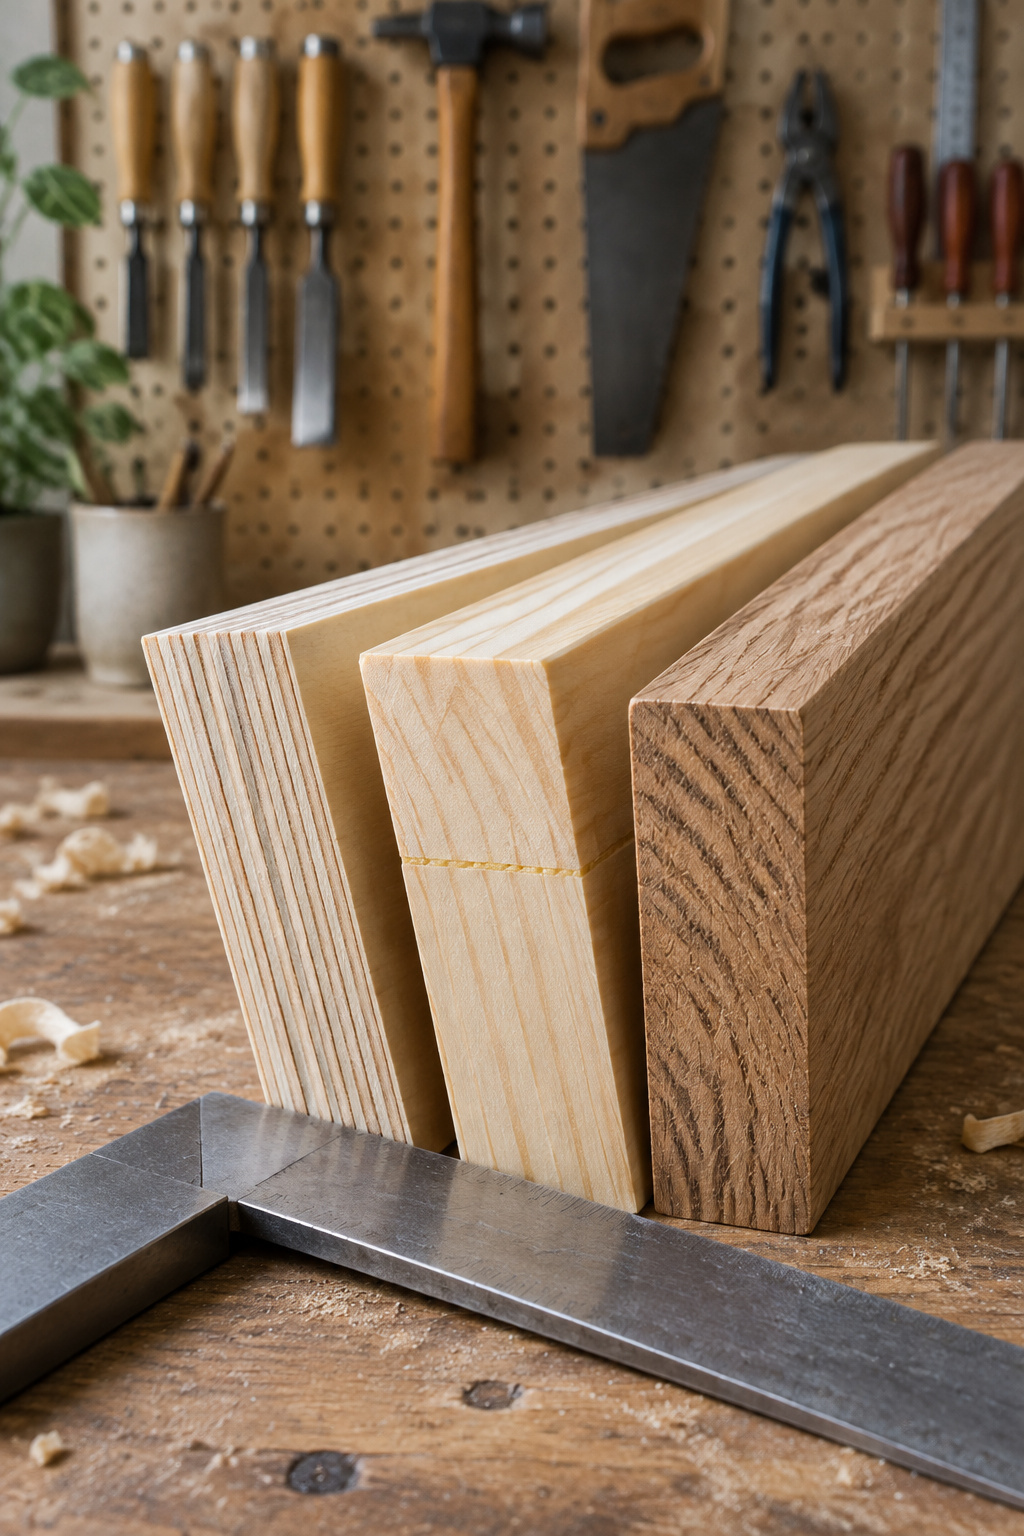
Plywood is the forgiving choice because it hardly moves with the seasons, and a circle up to about 48 in comes out of one 4×8 sheet. The realistic options:
| Top | Material cost | Skill level | Seasonal movement | What it forgives |
|---|---|---|---|---|
| 3/4 in birch or hardwood plywood | $45–$110 a 4×8 sheet | First build | Very little | Almost everything; fasten it simply |
| Two layers of 3/4 in plywood, glued and screwed (1-1/2 in) | $90–$220 for two sheets | Some builds | Very little | A heavier look; twice the router passes |
| Glued-up paint-grade pine boards | Priced by the board | Some builds | About 3/16 in per foot of width | Paint hides glue lines; clamp and wait 24 hours before flattening |
Skip construction-grade CDX for a top you’ll look at every day. It’s cheaper, $25 to $70 a sheet, but its layers have voids, and a table top shows them.
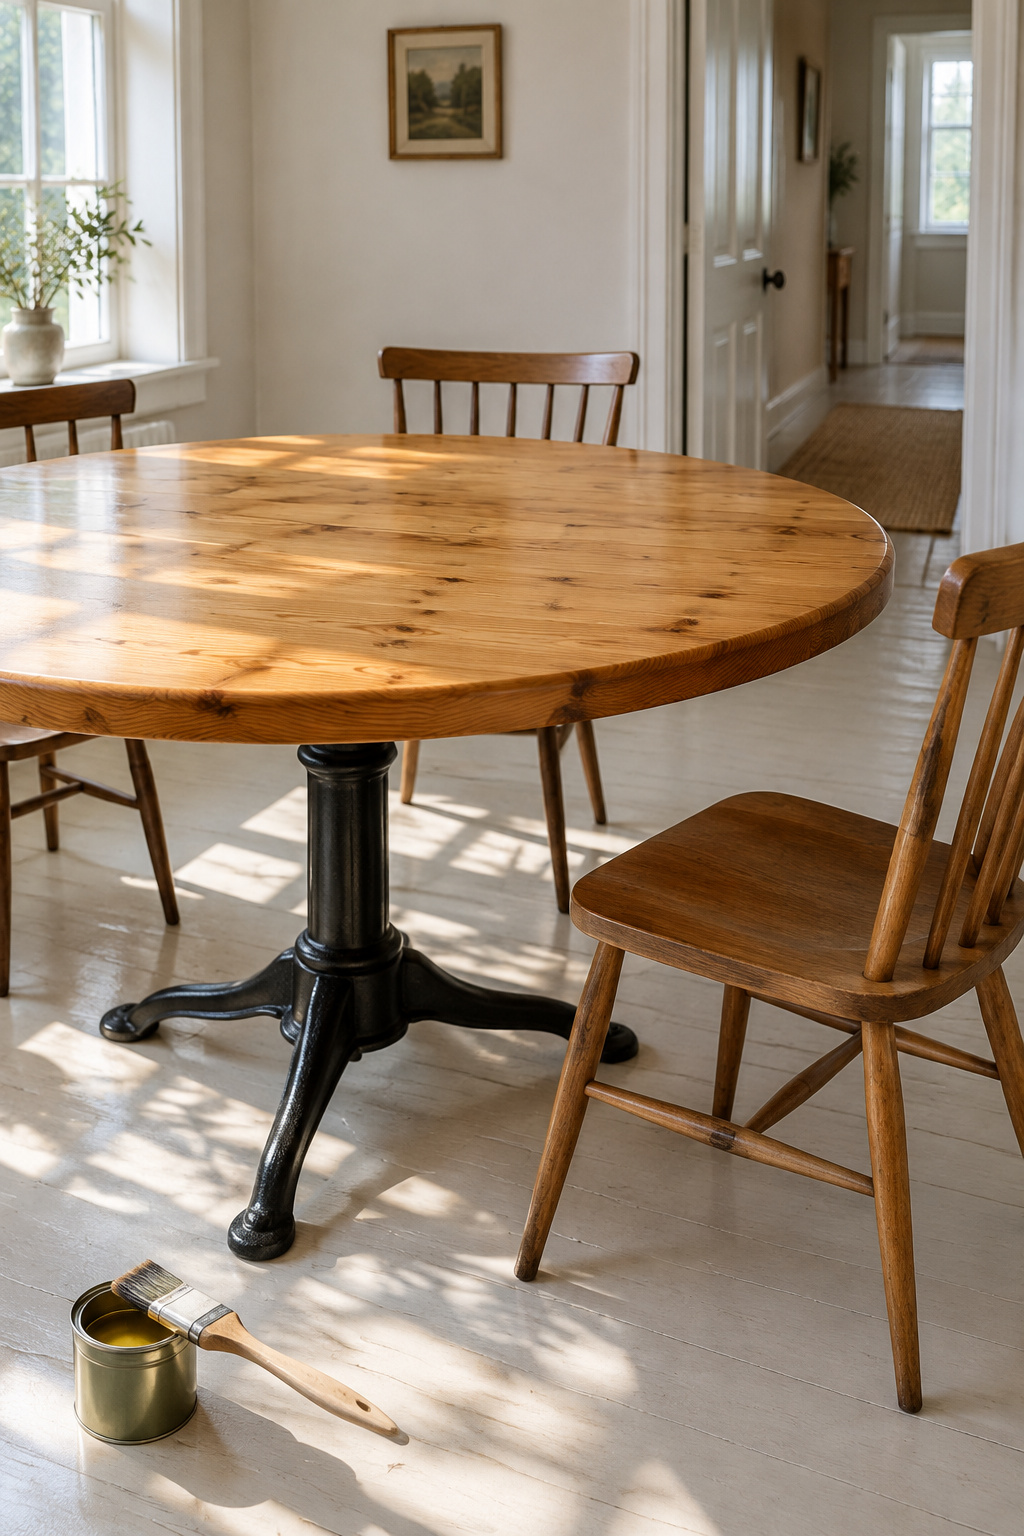
Paint-grade pine plus patience beats hardwood plus frustration, and glued-up pine makes a fine second top. It moves, though: about 9/16 in across a 36 in top and about 3/4 in across a 48 in round, season to season. That’s why it needs different fasteners from plywood. If you’re still weighing wood against stone, read how a wood top wears compared with stone before you buy the sheet.
Have the store cut the 4×8 in half. The cut counter is a legitimate tool. Keep the spare half for a practice circle.
Cutting the Circle With a Router on a Trammel
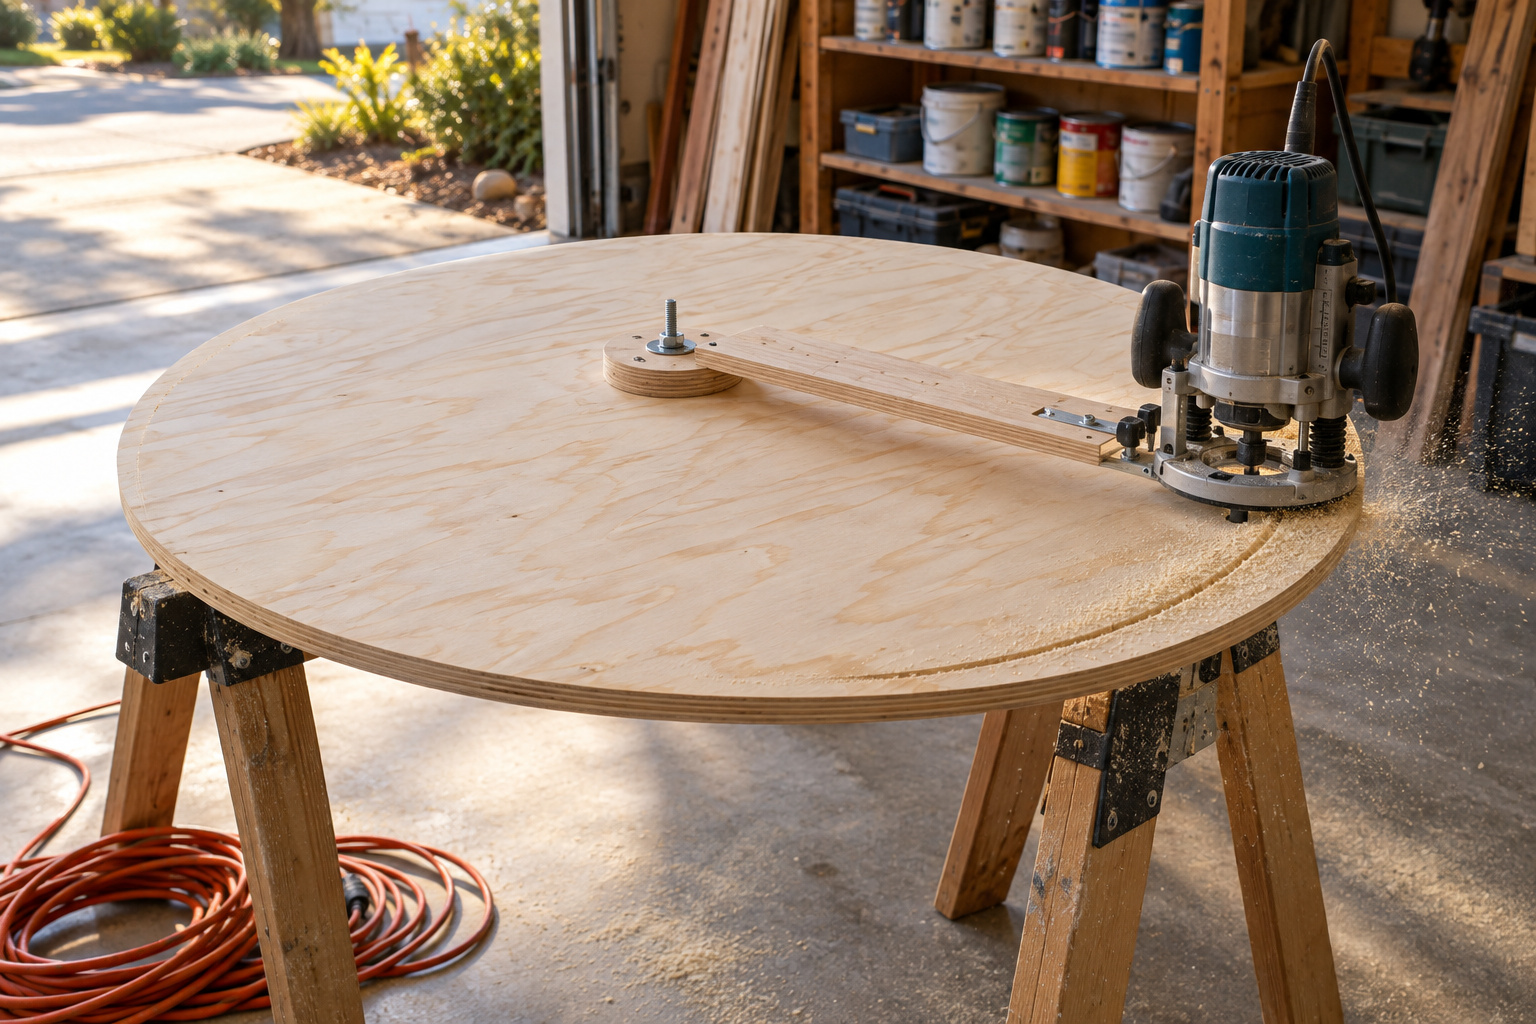
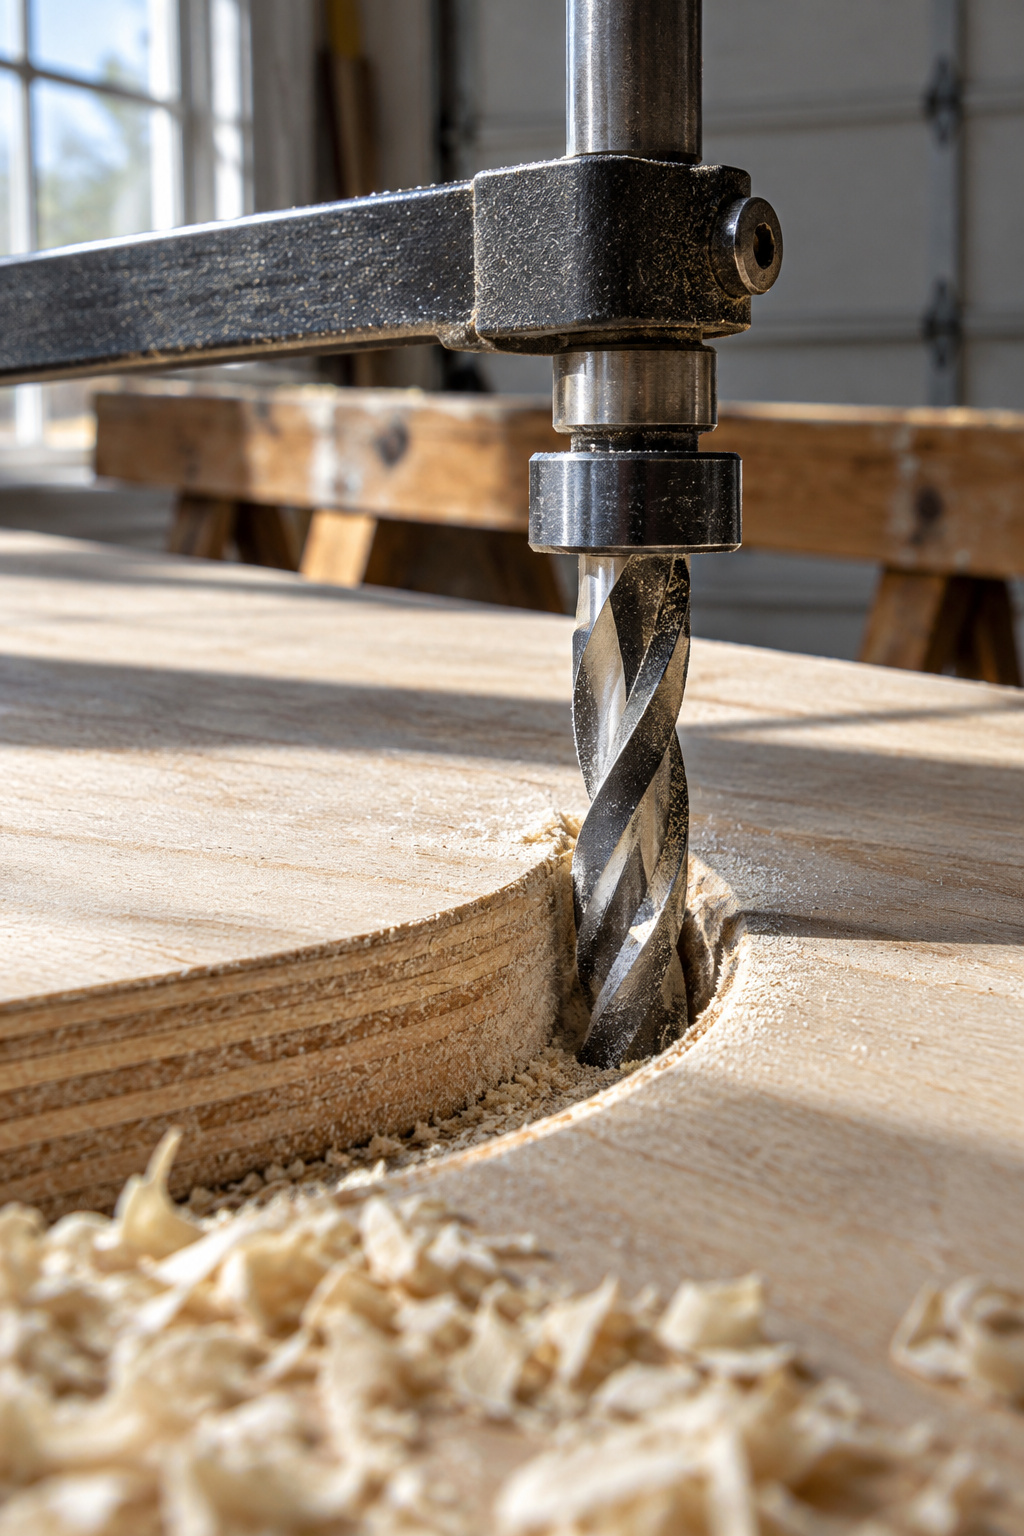
Most beginners buy too many tools. Start with a drill, a level and a good tape measure, then add a plunge router with a spiral or straight bit. A router and a plywood trammel arm are all the circle needs. The trammel is a narrow arm on the router base, pivoting on a screw at the blank’s center; the distance from screw to bit sets the radius. Make it from 1/4 in hardboard or plywood about 8 in longer than the radius.
- Mark the center of the blank’s back face with corner-to-corner diagonals.
- Drill the pivot pilot hole about two-thirds through (7/64 in for a #8 x 3/4 in screw) so it never breaks through the show face.
- Set the radius from the screw to the nearest edge of the bit, not its center. A 42 in top is a 21 in radius.
- Test the setting on the spare half-sheet.
- Clamp a spoilboard under the blank, good face down, so a 1/4 in upcut spiral bit leaves the show face clean.
- Rout the first pass 1/4 in deep, then 1/8 in deeper each pass, never deeper than the bit’s diameter.
- Stop with about 1/8 in left, then make the final pass through into the spoilboard.
Feed against the bit’s rotation, as your router manual shows. Guides disagree on which way that works out around a trammel, so the manual for the router in your hands settles it. Keep it moving; a router that dwells burns the edge.
The last pass is where it goes wrong. The disc comes free, drops a fraction and pinches the bit, or the pivot screw has worked loose and the circle wanders. Check the screw between passes. No spoilboard? Leave a few small uncut tabs and finish them by hand. And a radius set from the bit’s center gives a circle one bit radius too big or too small, which is what step four catches.
A laminated 1-1/2 in top may be deeper than your bit reaches. Rout as deep as it goes, cut the waste just outside the groove and flush-trim the rest with a bearing bit.
The jigsaw backup, and what it costs you in sanding
A jigsaw can do it with a hardboard auxiliary base and a 10-tooth-per-inch blade, which cuts tear-out and blade wander. It won’t be as clean. Cut just outside the line, then sand to it until the edge feels even under your palm all the way round. On a circle this size that’s real work.
The Rim Is Where a Round Top Looks Homemade
Run a hand around a plywood circle and you feel every layer. That edge needs covering.
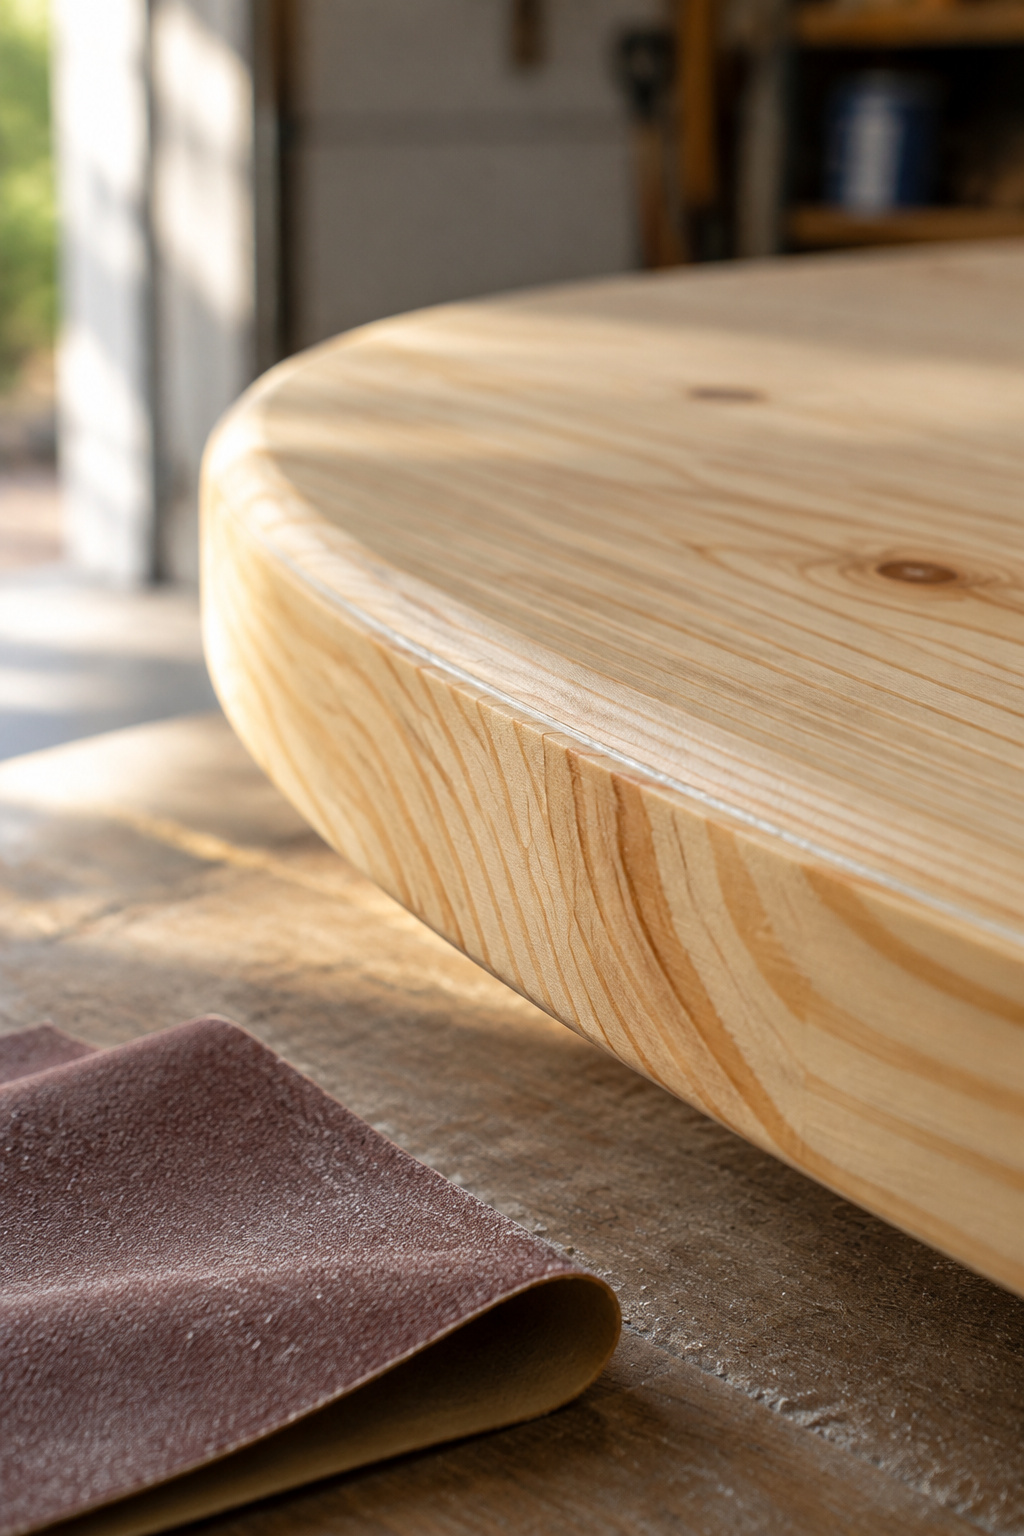
Iron-on banding is the fast way: a household iron and a trimmer. A 42 in circle is 131.9 in around, so cut the band 2 in longer, at 133.9 in, start heating 1 in from the end and cut both ends together with a utility knife so they meet. Each of the two heat-and-press stages needs about 10 minutes to cool. On the edge everyone leans on, though, thin banding chips or lifts sooner or later, and it takes no profile.
A solid edge can take a hit. Thin 1/8 in strips bend to the curve with 30 minutes to an hour in clamps, and a thicker solid edge stiffens the panel too. Finish with a 1/4 in roundover, which is kinder to elbows and dents less than a sharp corner.
Then the boring step: sanding, 80, 120, 180 grit, without chasing a proud edge band so hard you sand through the face veneer. Coatings slow wood movement without stopping it, so they never replace good fastening. Our guide to the best finish for a kitchen table covers which coat to use; count its drying time into weekend two.
Buy a Base Rated for the Top, Then Fasten It So the Top Can Move
Read the listing before the photo. Rockler lists a Max Top Size per base: 42 in round on the 26 in spread, 60 in round on the 30 in spread. Those are the maker’s recommendations, not a standard, and they shift with the top’s material; another retailer’s base lists 52 in for wood but 42 in for 3/4 in stone. Some bases give a weight limit instead. Don’t buy one for looking heavy, and buy it before you cut. Then work through checking a base before you bolt a top to it, because a rating doesn’t tell you how the feet meet your floor.
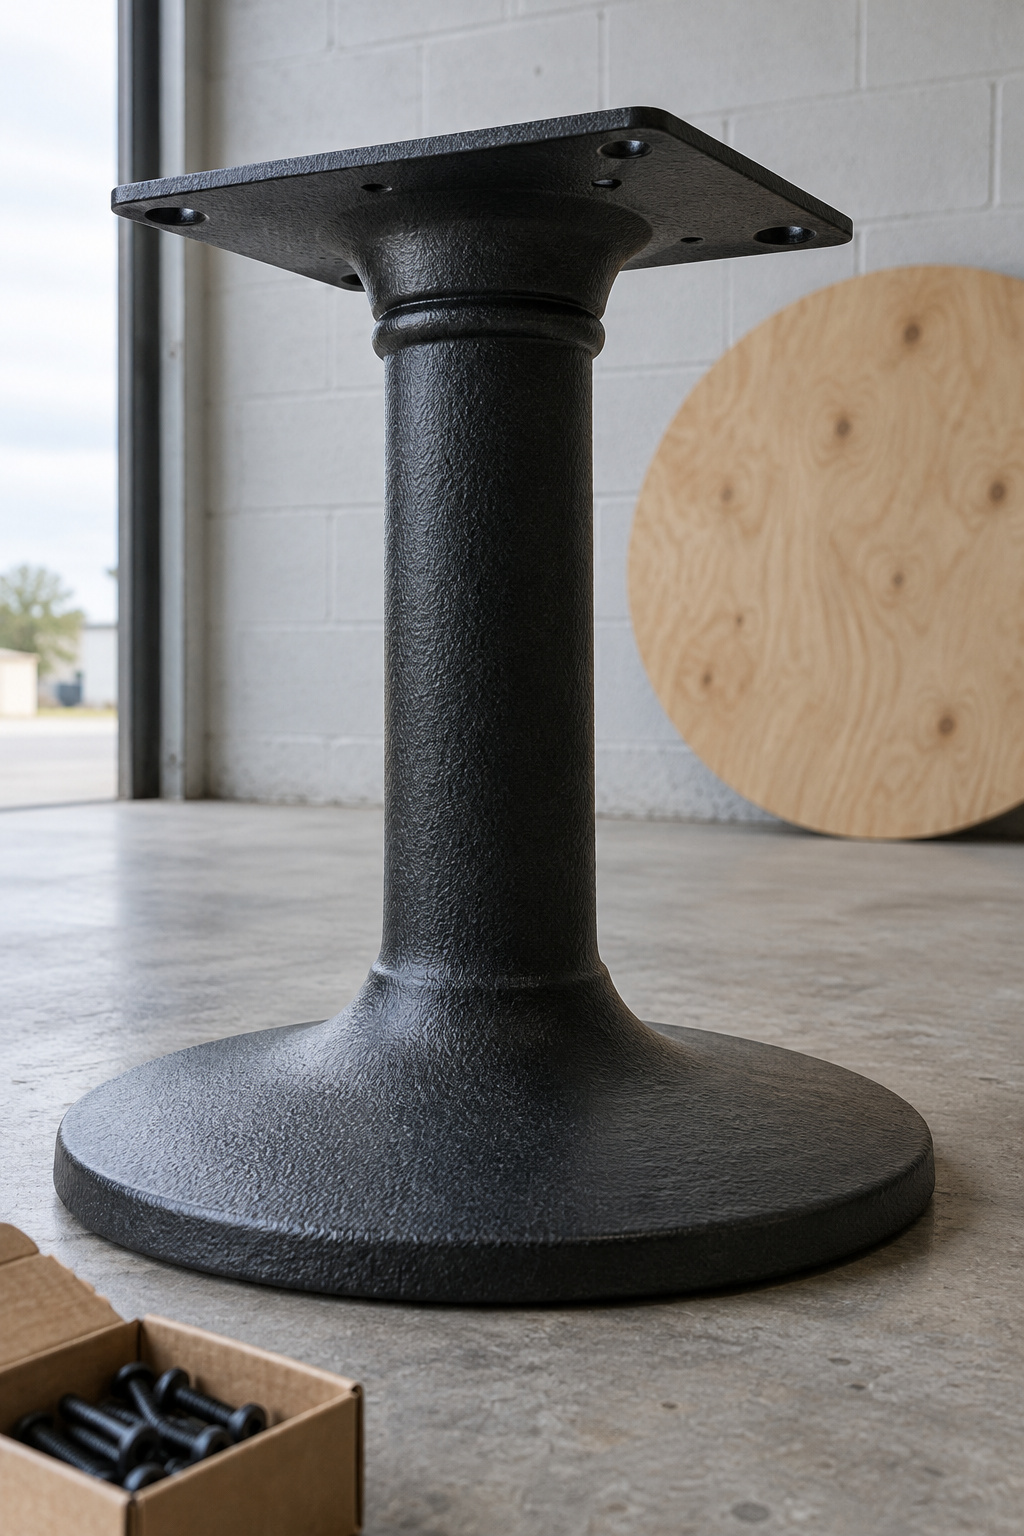
A plywood top is stable, so I screw it straight through the plate’s holes. A solid or glued-up top has to move across the grain. The published fastening advice comes from tables with aprons, so what follows is my adaptation to a pedestal plate. Put one fixed screw in a round hole at the center, so the movement happens either side of it. Make the other holes slots running across the grain, with a washer or pan-head screw so the screw can slide. Skip figure-8 fasteners: their swing is limited, and they suit tops under about 18 in wide. Screw a solid top down rigidly at every hole and you’ve built in a crack.
If you must build the base
Build a simple X-style trestle from 2x4s and 4x4s, not a turned column. One published plan sizes it for a 40 in top and stretches it for bigger ones by lengthening the arms and legs. Run it through the same base checks as a bought one.
Two Weekends, Not One: Time, Cost and the Trips Back to the Store
Videos show the cut in minutes, so it’s tempting to plan one weekend. The cut is the quick part. My estimate is two weekends, with a trip back to the store for a pivot screw, a bit or sandpaper. Buy the extra box.
| Stage | When | What you’re waiting on | Cost |
|---|---|---|---|
| Buy the sheet and base, have the sheet cut | Weekend 1, morning | The store queue | Plywood $45–$110; base $174.99 (26 in spread) or $214.99 (30 in spread) |
| Layout, trammel, test cut, cut the circle | Weekend 1, afternoon and evening | About 10 minutes to make the trammel | Included |
| Edge and sand | Weekend 1, second day | Two 10-minute cooling waits for banding, or 30–60 minutes in clamps for solid strips | — |
| Finish coats | Weekend 2 | Drying between coats | — |
| Fasten to the base | Weekend 2, last day | Nothing | — |
| Total with a bought base | Two weekends | About $220–$285 for a 42 in top; $260–$325 for 48 in |
A laminated top doubles the plywood line, and edging, finish and fasteners aren’t in these totals.
I teach a Saturday beginners’ class at a community workshop, and this is the order I’d give any of them: lay out the circle, rout it in passes, cover the rim, fasten it so it can move. Your first move is picking the diameter and buying the base that lists it. For how big to go and what goes around it, start with these ideas for a round dining table. Whether that base stays steady once the top is on is past my half of the job. Floor, glides and plate make a check of their own.
FAQ
What is the largest round table top you can cut from one sheet of plywood?
About 48 in, because a standard 4×8 sheet is 48 in wide. At exactly 48 in there’s no margin for a slightly narrow sheet or a wandering pass, so measure the sheet’s real width before you set the trammel. Anything bigger needs two pieces of plywood joined together.
How thick should a DIY round table top be?
A single layer of 3/4 in plywood works for a 42 in top on a leg-and-apron frame. On a pedestal or X base, some plans laminate two layers to 1-1/2 in for a 40 to 48 in top. Either way, a 3/4 in top wants the base’s plate and a listed top size, not a guess.
Can you put a DIY round top on an old pedestal base?
You can, but you’d be guessing at its capacity. New bases list a maximum top size or load; an old base has no listing, so there’s nothing to check it against. If the top is solid wood, fasten it with slotted holes around one fixed screw. A plywood top can simply be screwed down.