You know the pile. Coats on the floor, one shoe under the radiator, a backpack blocking the door, three people late. Here is the part most mudroom bench ideas skip: that pile is not a discipline problem. It is a design problem, and design problems have answers. Give every child a spot they can reach, open, and put things back into on their own, and the pile mostly disappears — because a child who owns a zone will use it.
TL;DR
- Assign one cubby per person — at least 15–18 inches wide so a backpack and coat hang side by side — because shared hooks belong to nobody and pile up by morning.
- Hang a lower hook row at 36–42 inches and set the bench seat at 14–16 inches so a young child reaches their own coat and gets both feet flat to tie shoes.
- Build in adjustability from day one — shelf-pin holes and a second hook row — so the zone that fits a five-year-old still fits the same kid at ten.
I spent years kneeling on classroom floors to see a room the way a four-year-old does, and a family mudroom runs on the same rule.
The Per-Person Zone: Where Mudroom Bench Ideas Begin
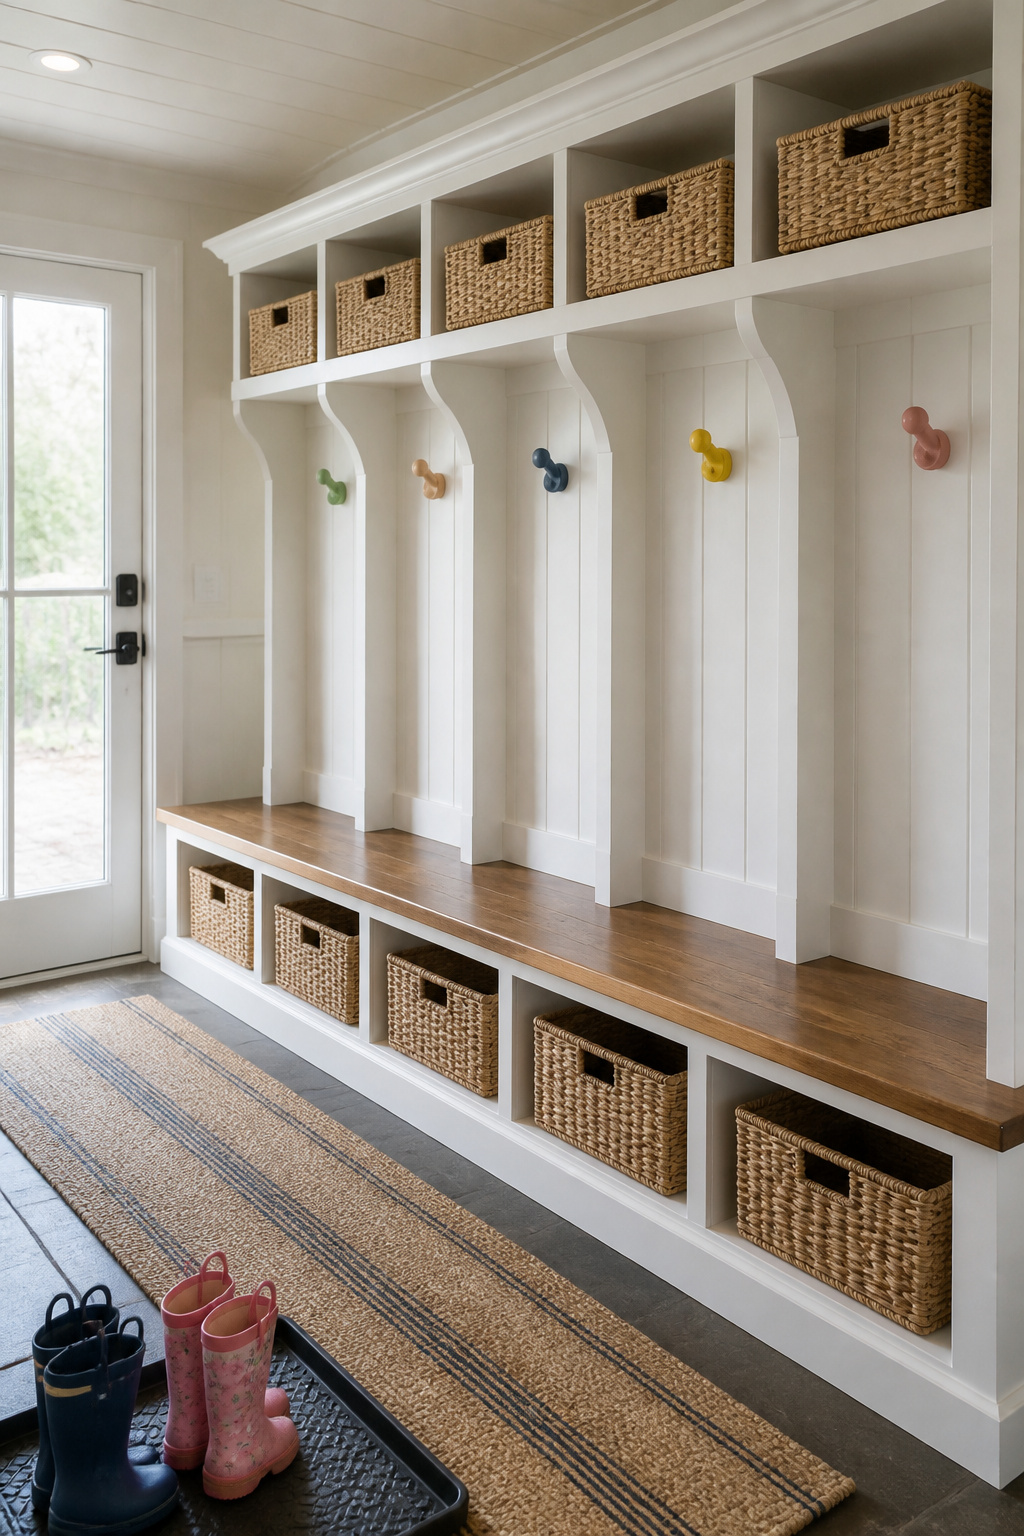
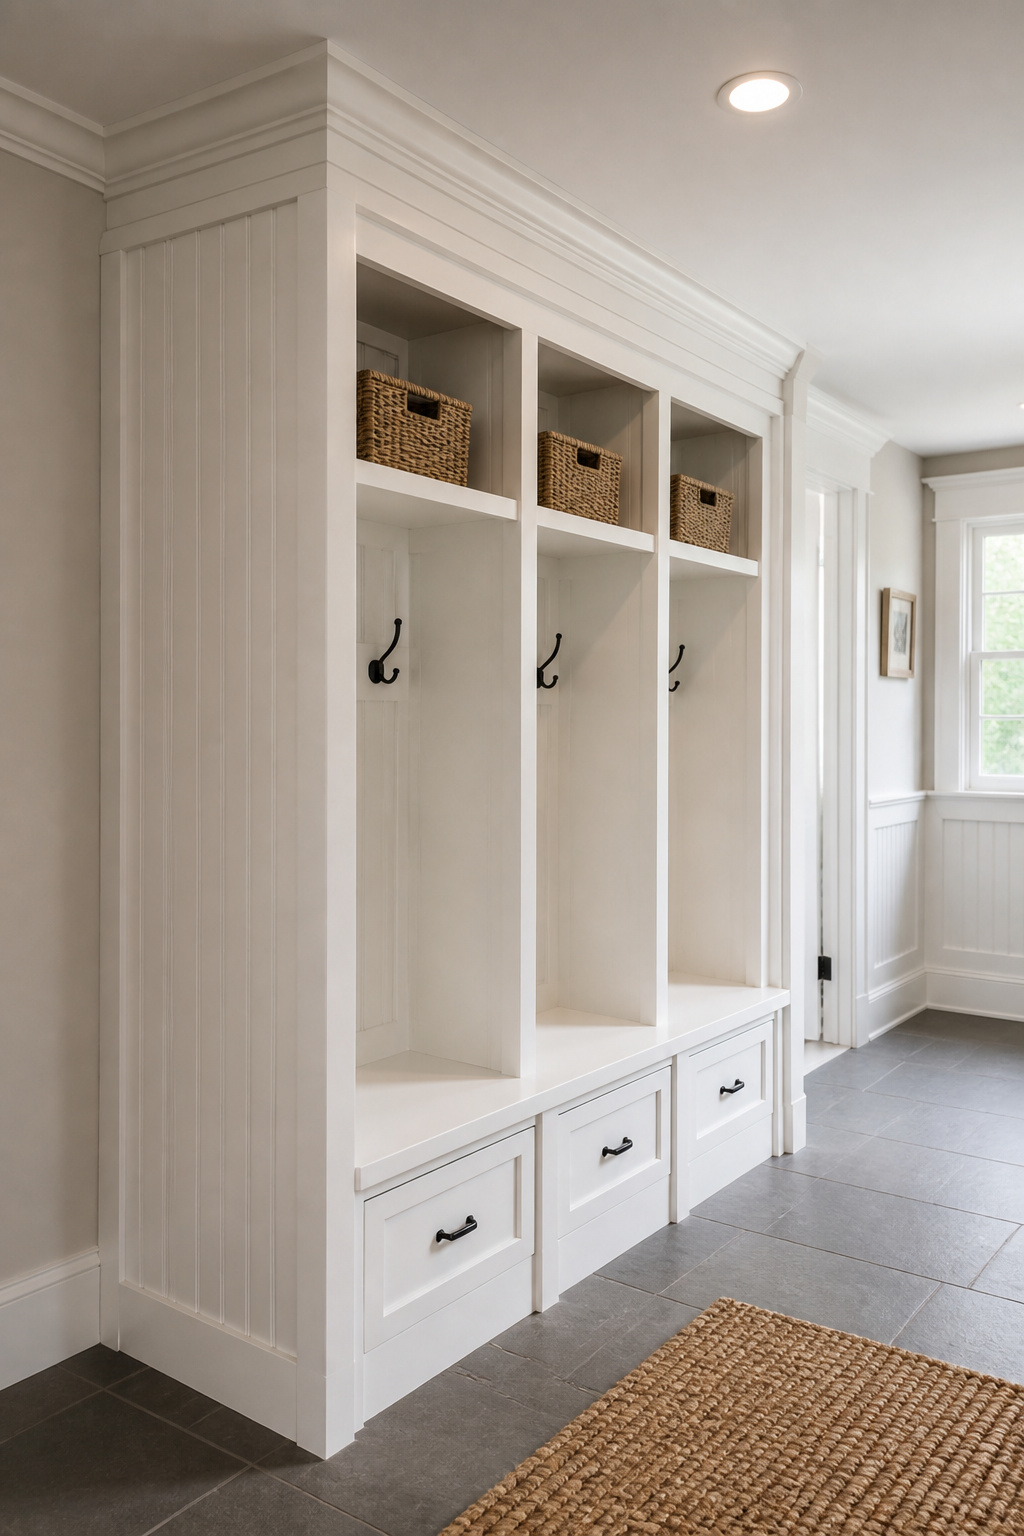
Children return things to a spot that is clearly theirs — developmentally, ownership is what triggers the put-it-back behaviour. So the single most useful move in any mudroom is the simplest: give each person their own cubby. It is where the broader guide to choosing an entryway bench becomes a family problem.
How assigned zones end the pile-by-the-door problem
The pile is really an ownership vacuum. As mudroom specialist Mike Foti of Innovate Home Org puts it, once every coat has a peg with no owner, nobody owns it — and the coats end up on the floor by morning. A named cubby, even a small one, changes the psychology entirely. Within it, keep boots below the bench and dry backpacks above.
Sizing cubbies for a backpack plus a coat, not just shoes
Here is where most families come up short. A 12-inch cubby works for shoes only — design guides cite that as the minimum, but treat it as common practice rather than a code requirement, because the day your child carries a real backpack, 12 inches stops working. For a coat-plus-backpack zone, plan 15–18 inches of width per person and 18 inches of depth so coats hang without poking into the walkway, and leave 36–48 inches of clear floor in front.
Labelling for non-readers: pegs, photos and colour coding
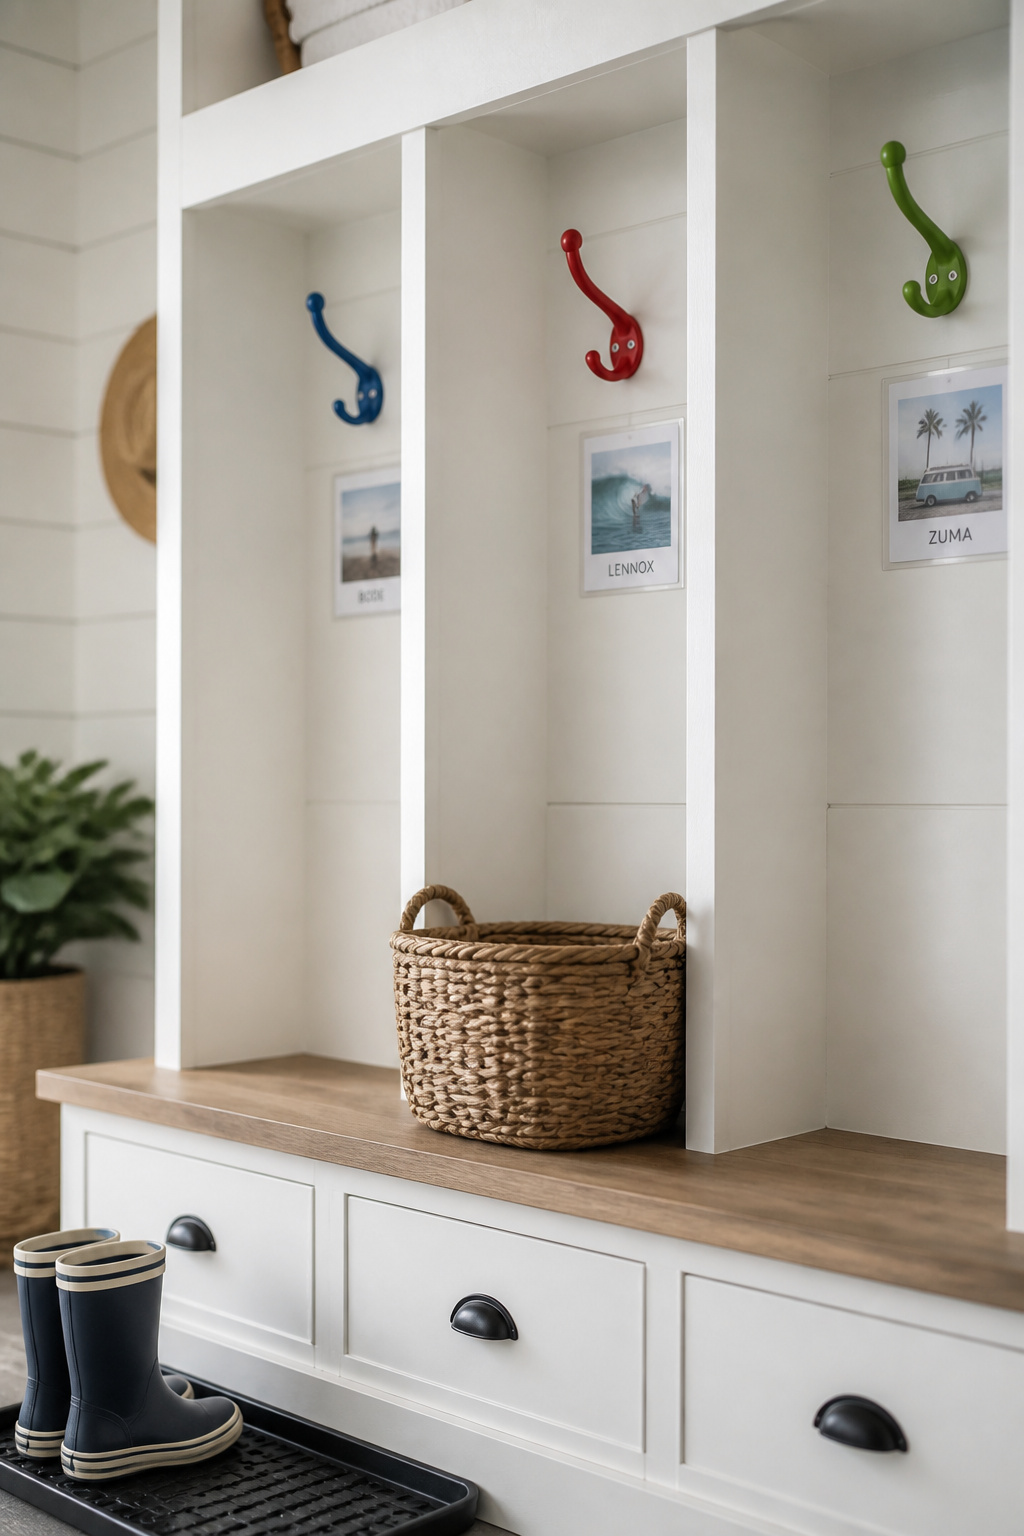
A pre-reader cannot use a name label, so give them a cue they can decode. The most reliable one is colour: assign each child a hook colour and the rule becomes “the red hook is yours.” Colour recognition develops before letter recognition — widely observed in early-childhood settings — so a colour cue beats text for a child under five. A laminated photo beside the name works too.
Hook and Bench Height for Children: The Kneel-and-Look Test
Before you install a single hook, kneel down where your child stands. That is their eye level, and everything reachable from there is where their hooks belong — not at adult elbow height, where the coats just land on the floor.
Hook heights by age: 36–42in for under-10s, 48–54in for middle-school
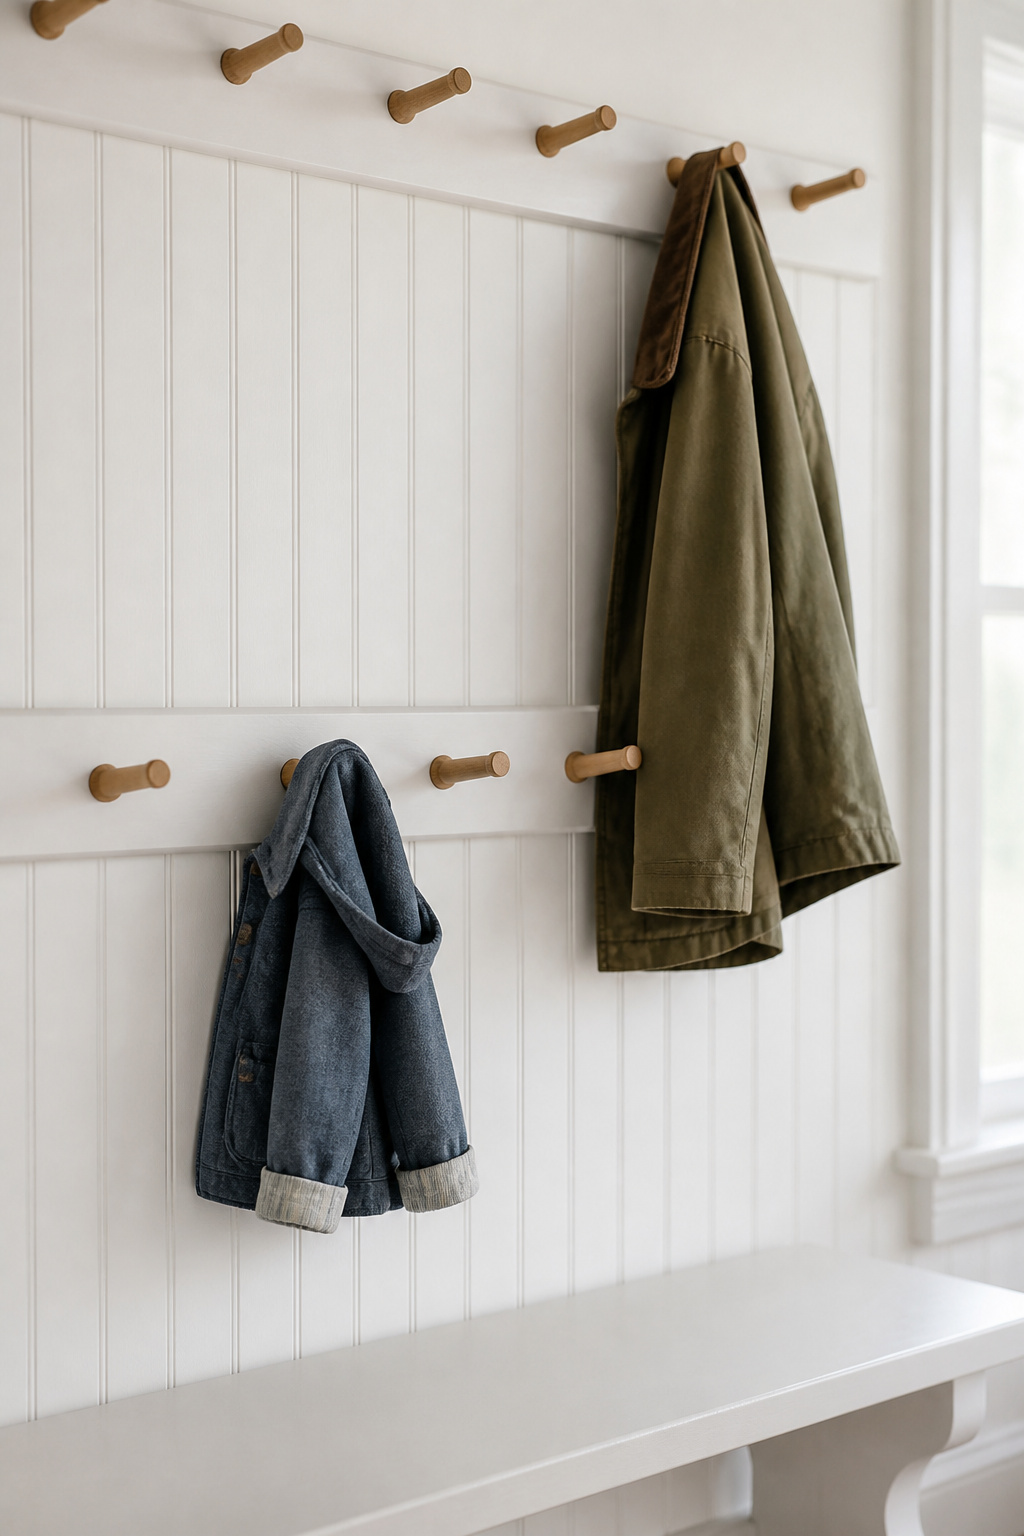
The reach numbers are not guesswork — they come from the ADA children’s appendix, which records average high reach by age: 33 inches for ages 2–4, 41 inches for ages 5–8, and 44 inches for ages 9–12. In a working mudroom, that means a lower hook row at 36–42 inches for under-10s, a middle row at 48–54 inches for middle-schoolers, and adult hooks at 60–65 inches above the same bench.
| Child age | Lower hook row | Bench seat height | What changes |
|---|---|---|---|
| 2–4 | 36–38 in | 14 in | Hooks at their reach; feet flat |
| 5–8 | 38–42 in | 14–16 in | Ties own shoes seated |
| 9–12 | 42–48 in | 16 in | Add a middle hook row |
| Teen/adult | 60–65 in | 17 in | Lower row removed or repurposed |
For the hardware half — anchoring heavy parkas, two-row spacing — add coat hooks above the bench.
Bench seat height for a six-year-old putting on their own shoes
The adult-standard mudroom bench sits at 17–19 inches, and on that bench a six-year-old’s feet dangle. Dangling feet wreck the balance shoe-tying needs, so the child slides off and sits on the floor instead. Drop the seat to 14–16 inches and those feet reach the floor — with 16–17 inches the honest compromise where adults share the bench.
Planning for three years from now, not just today
A child’s forward reach grows only 2–3 inches every two years between ages 5 and 12. So a hook set at 40 inches for a six-year-old is still right at ten — four to five years before you raise it. Make raising it painless: mount hooks on a Shaker-style peg rail so they move up without patching the wall.
Surfaces That Survive Daily Kid Traffic
Wet backpacks, muddy boots, sticky hands on every edge: choose materials for the mess that is actually coming.
| Bench seat material | Moisture resistance | Scratch resistance | Cost tier |
|---|---|---|---|
| High-pressure laminate | Excellent — no swelling | Excellent | Mid |
| Solid hardwood | Good with resealing every 2–3 yr | Good | High |
| Painted MDF | Poor — swells at unsealed seams | Poor | Low |
Bench seat materials: painted MDF vs solid wood vs laminate under wet backpacks
For a family bench seat, high-pressure laminate is the practical winner — it is melamine over industrial particle board, the same build K-12 schools use for the same reasons: repels moisture, shrugs off backpack-zipper scratches, and wipes clean. Painted MDF is the trap: a wet boot on an unsealed seam wicks in, the core swells permanently, and the paint peels. Solid hardwood lasts longest but costs more and needs resealing every few years.
Flooring at the bench base: what wipes clean after muddy boots
The floor under the bench takes the worst of it. Porcelain or large-format tile is the professional standard: waterproof, mopped clean, with fewer grout lines to scrub. Luxury vinyl plank is the warmer, DIY-friendly alternative — fully waterproof and easy to wipe. Interlocking rubber tiles cost the least and give small feet the softest landing.
The one finish to avoid (and what to use instead)
Flat or matte paint marks with every muddy hand and cannot be wiped without lifting the paint itself. Use semi-gloss or satin enamel instead. For the seat specifically, as Mike Foti notes, laminate over particle board wins the durability battle — it won’t rot, ding, or need repainting.
The Wet Boot Problem: Drainage, Boot Trays and Ventilation
This is what separates a mudroom from any other entry. The real enemy is not clutter — it is moisture: wet coats and snowy boots need air to dry, or the room grows a smell by midwinter.
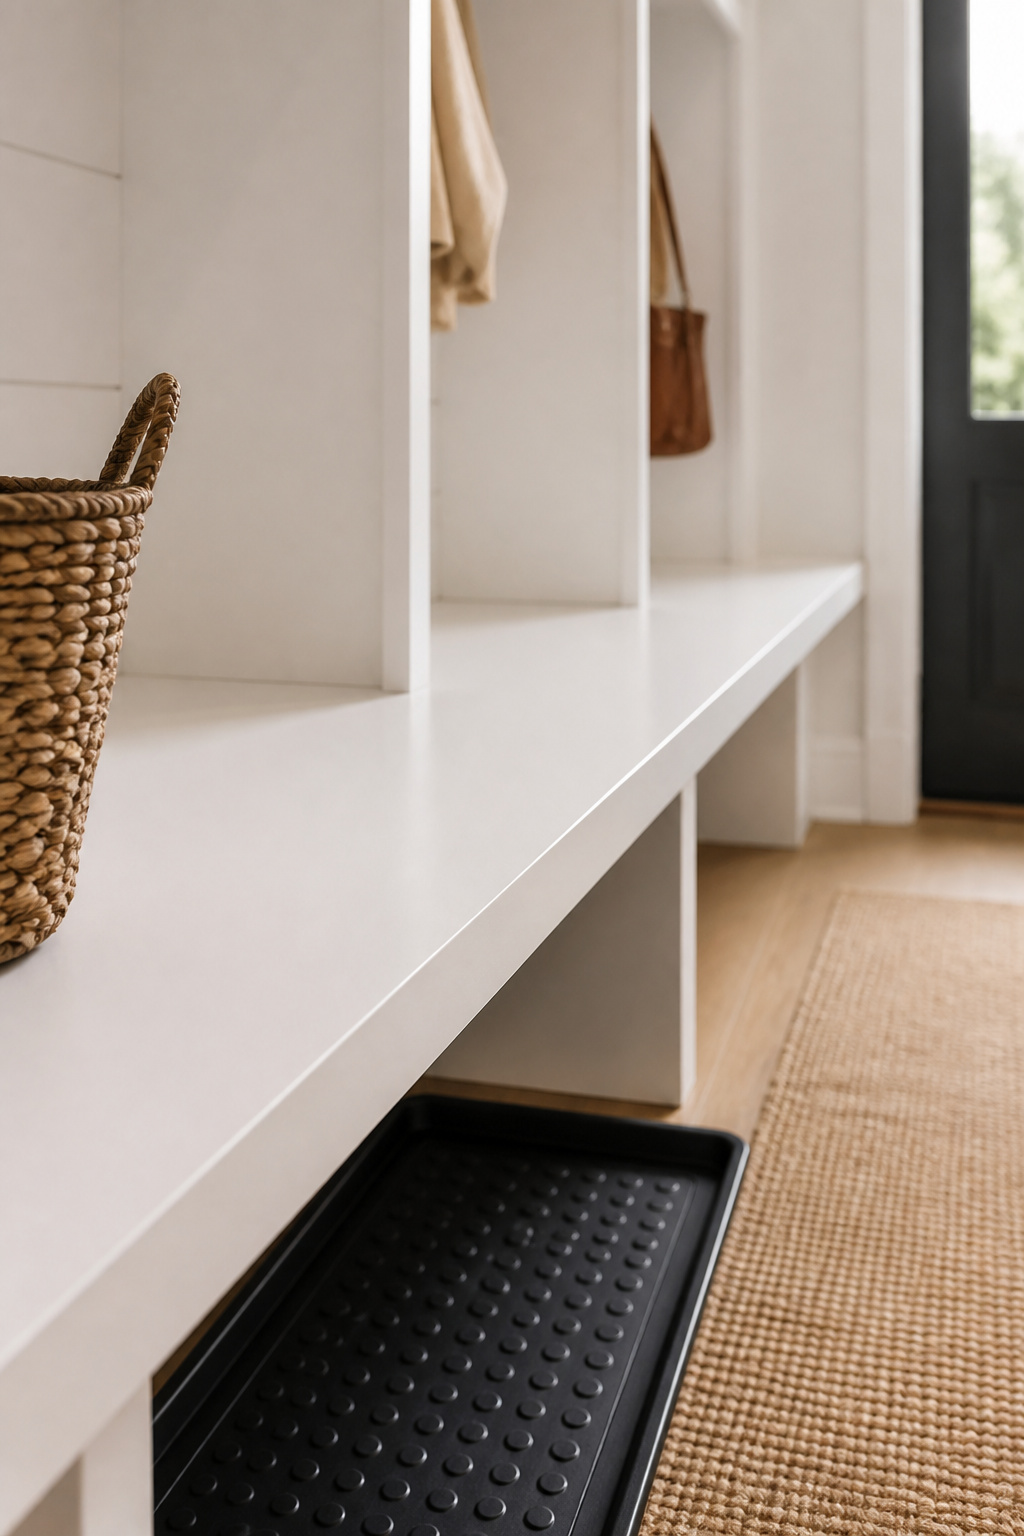
Boot tray sizing for under a standard bench
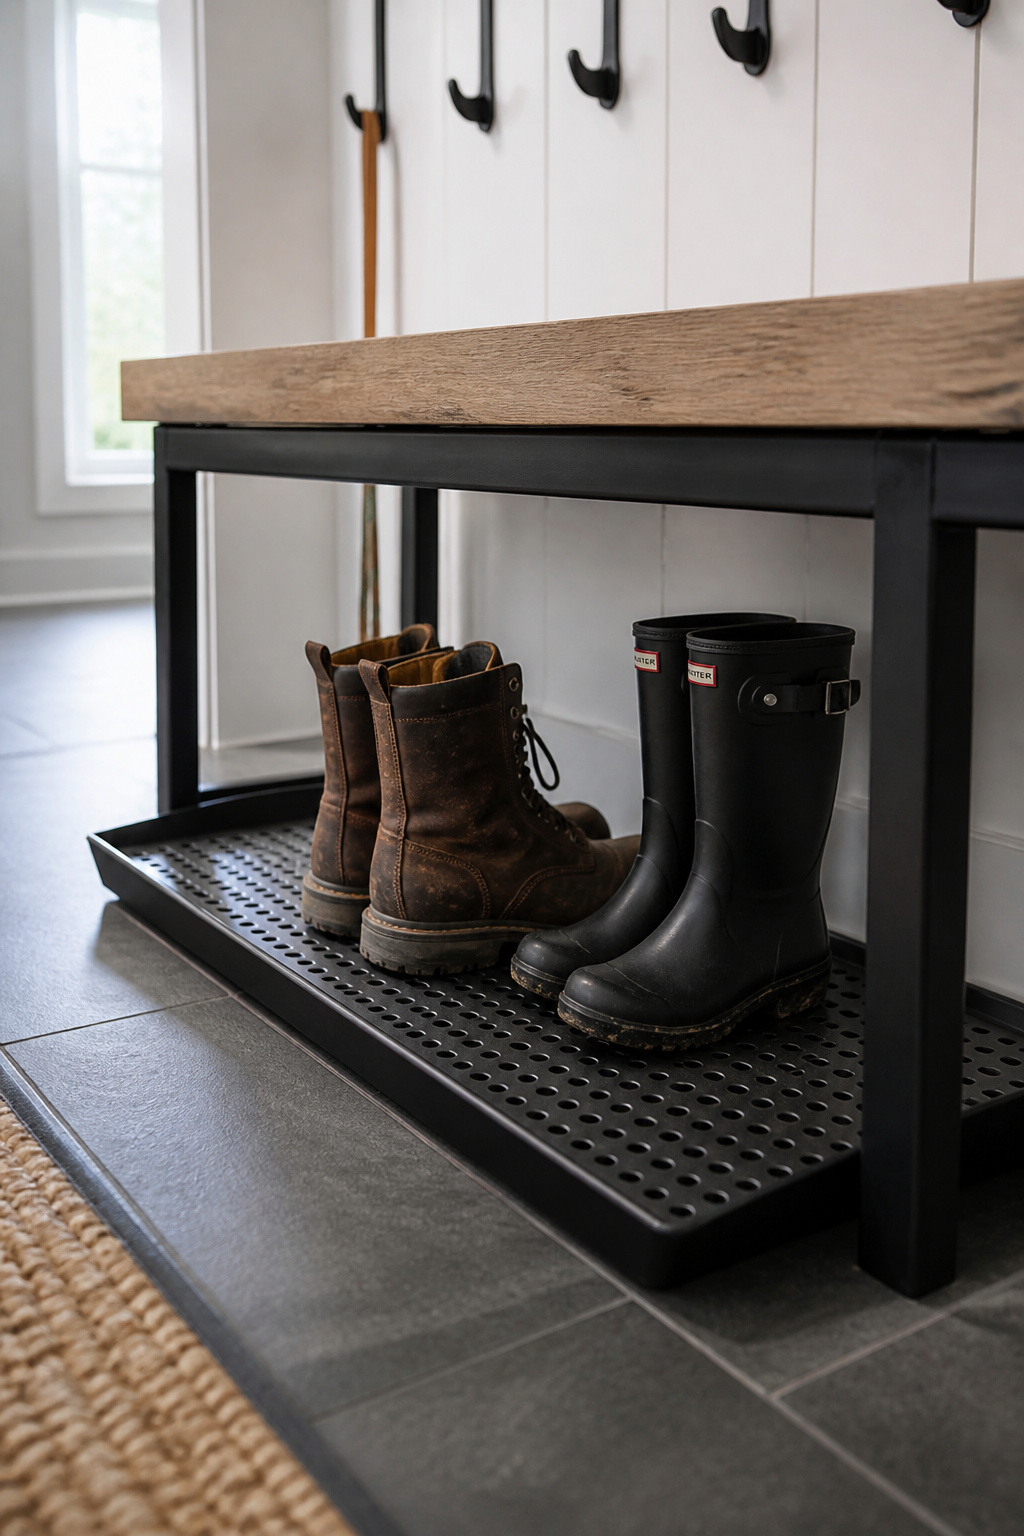
A boot tray that protrudes into the walkway gets kicked and tracks water across the floor. Standard trays run 30×16 or 34×16 inches, but the depth that matters is front-to-back: keep the tray at least 2 inches shallower than the bench, so a 16-inch bench takes a 14-inch tray and leaves 10–12 inches of vertical gap for tall winter boots.
Vented cubbies and open shelves vs closed cabinet doors for wet gear
Closed cabinet doors look tidier in a magazine, but they trap moisture. Per the This Old House mudroom team, that creates the odour problem most families blame on the mudroom itself — within a single winter. Open-back or vented cubbies let air circulate; if you want a tidier face, choose doors with metal-mesh inserts rather than solid panels. An open-base bench also lets you sweep straight out from underneath.
The drip-dry hook: where wet coats go that isn’t the floor
Mount a row of hooks directly above the boot tray, and a wet coat drips into the tray instead of onto the seat or floor — a problem turned into a system. Use metal or powder-coated steel here, not wood, which can grow mould in a damp entry. Space hooks at least 6 inches apart so jackets aren’t pressed together. For how many pairs your family parks at the door, scale up to shoe storage that handles the pile.
Built-In vs Freestanding Mudroom Bench: Making the Right Call
Here I argue from family sanity, not from what photographs best. Built-in or freestanding is really a question about your life: how long you’ll stay, and whether you can stomach weeks of construction.
Built-in: how a mudroom bench integrates with wainscoting and lockers
A built-in fits wall-to-wall, claiming every awkward inch — the alcove under the stairs, the corner a freestanding unit can’t fill — and lets wainscoting run across the back panel so buyers read it as part of the house. The catch is cost: full custom cabinetry runs roughly $500–$1,200 per linear foot installed, per one manufacturer’s figures. Treat that as a rough, on-the-high-side range, since a simple locker run can land below it.
Freestanding: the movable option that works in a rental or small space
Ready-made freestanding units run about $200–$800 for entry-level cubby benches and install in an afternoon with no carpentry. For renters they are the only real option. The limitation is fit: it comes in the sizes it comes in.
Hybrid: anchoring a freestanding unit to look built-in on a budget
For most families, the hybrid is the smart middle. Stand a modular locker unit flush to the wall, then add a site-built header board and beadboard that wrap it to floor and ceiling — it reads as built-in for roughly 30–50% less than custom. A crown-moulding cap caulked to the ceiling is the single most convincing trick. Before committing to a true built-in, ask yourself:
- Do you own or rent?
- Will you be here five or more years?
- Is the wall straight enough? Built-ins reveal every wave.
- Can you tolerate weeks of construction, not days?
Designing for Where the Kids Are Now — and in Three Years
A mudroom built for this year’s child is the most expensive mudroom in the house, because it gets ripped out in four years when the backpack grows. As Mike Foti says, little toys turn into massive bookbags. An adjustable system flexes with them.
Adjustable shelving: the extra $30 that buys five years of relevance
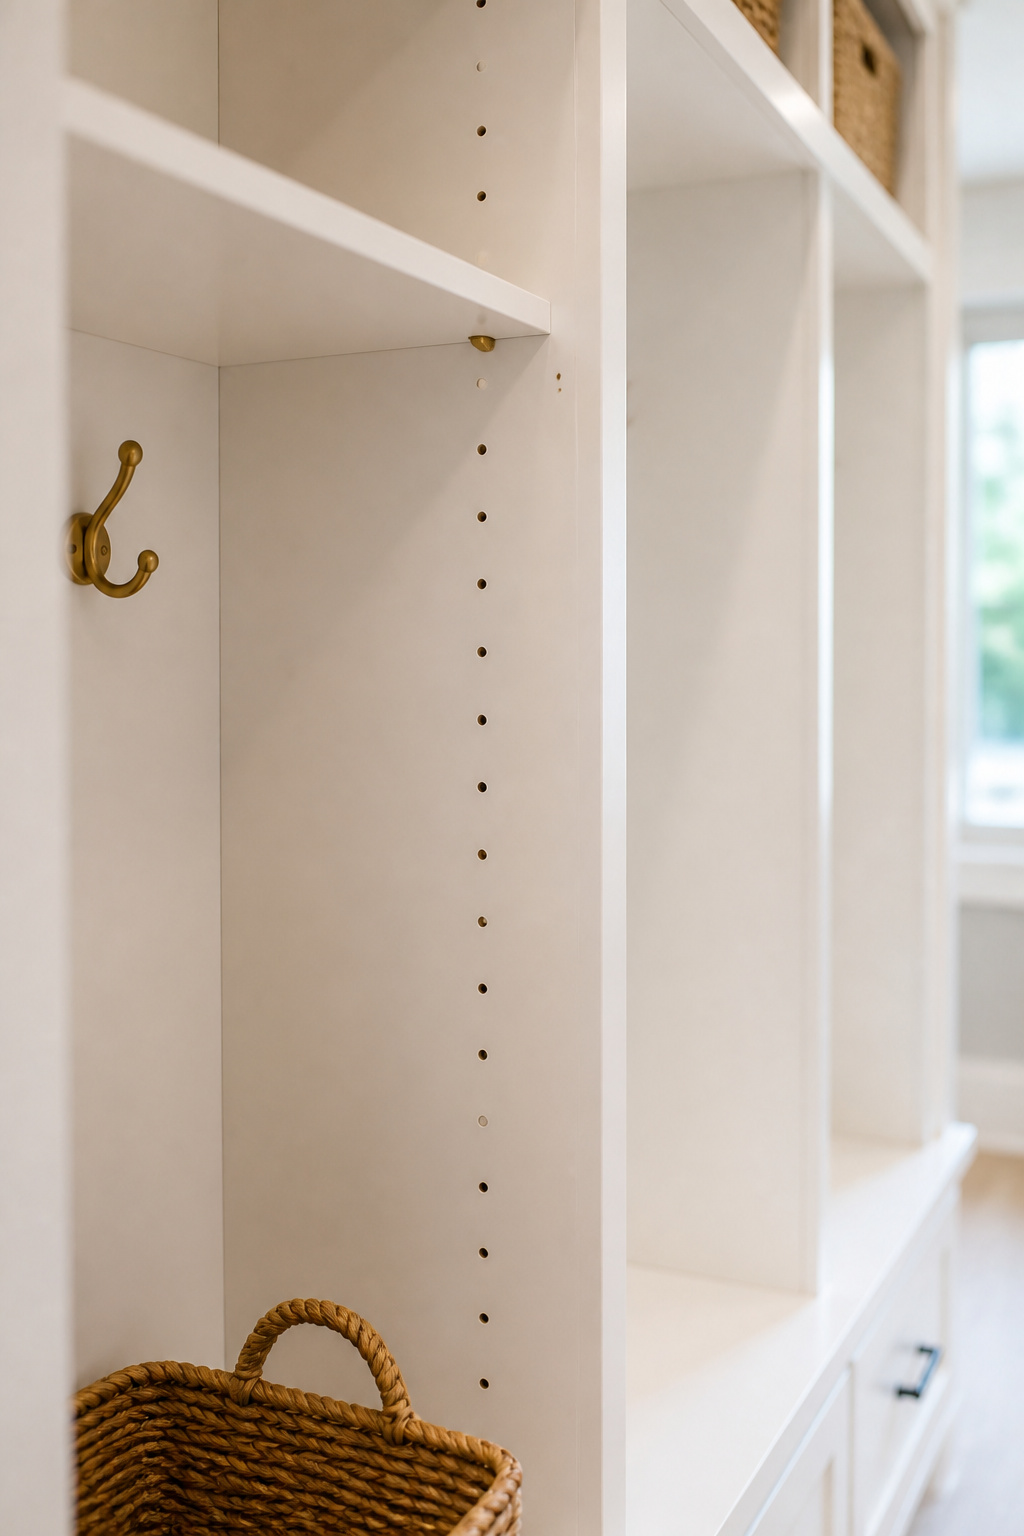
Laminate systems come with factory-drilled shelf-pin holes, so a shelf moves in minutes without tools — the most-cited reason families pick laminate over fixed-shelf wood. For a wood built-in, ask for adjustable shelf standards in each cubby; that adds roughly $25–$40 per section, an order-of-magnitude estimate rather than a firm quote. The payoff: the shelf holding a five-year-old’s hat drops to clear a middle-schooler’s backpack later.
What changes when the youngest starts school
School arrives with a backpack — about 12×17 inches for a primary bag — plus a sports bag and project boards. The toddler’s 12-inch hook zone now has to become an 18-inch backpack-plus-coat zone. Movable vertical dividers let the same wall reconfigure from narrow toddler slots to wider school-age bays without cutting wood. Plan a hat-and-glove shelf around 72 inches up at build time; anchoring one in later means hunting studs.
Handing the zone to a teenager without rebuilding
By 14 or 15, a child’s hook height matches the adult standard of 60–65 inches, so the lower child row comes off and the holes get patched. Teen gear adds bulk — a sports bag wants the full 18-inch depth — which you only get if the lower shelf was adjustable from the start. The cosmetic refresh costs under $20: swap the colour-coded labels for plain name plates and repaint the childhood peg. No teardown.
That is the promise of a good mudroom bench. Design it once, kneeling at child height, then let it grow with the kids instead of fighting them. The pile by the door was never about the children; it was about whether they could reach. Build it so they can, and the mornings get quieter on their own.
FAQ
How deep should a mudroom bench be?
A mudroom bench should be 15–18 inches deep front to back. Fifteen inches is the comfortable minimum that keeps walkways clear; 18 inches sits more comfortably and fits a standard boot tray underneath. For under-bench tray clearance, make the tray 2 inches shallower than the bench, so a 16-inch bench takes a 14-inch tray.
What is the standard height for a mudroom bench with cubbies?
For adults, the standard mudroom bench seat height is 17–19 inches, like a dining chair. For families with young children under 7, lower it to 14–16 inches so a child can tie shoes with both feet flat instead of sliding to the floor. Above the seat, cubbies typically run to 72–84 inches, leaving room beneath an 8-foot ceiling.
How do you keep a mudroom bench from getting cluttered?
Assign one cubby per person rather than sharing hooks, so every family member has a named zone nobody else fills. Size each cubby 15–18 inches wide so a backpack and coat actually fit, instead of overflowing onto the seat. Then hold one rule: nothing lives on the seat. The bench is for sitting; hooks and cubbies absorb the rest.