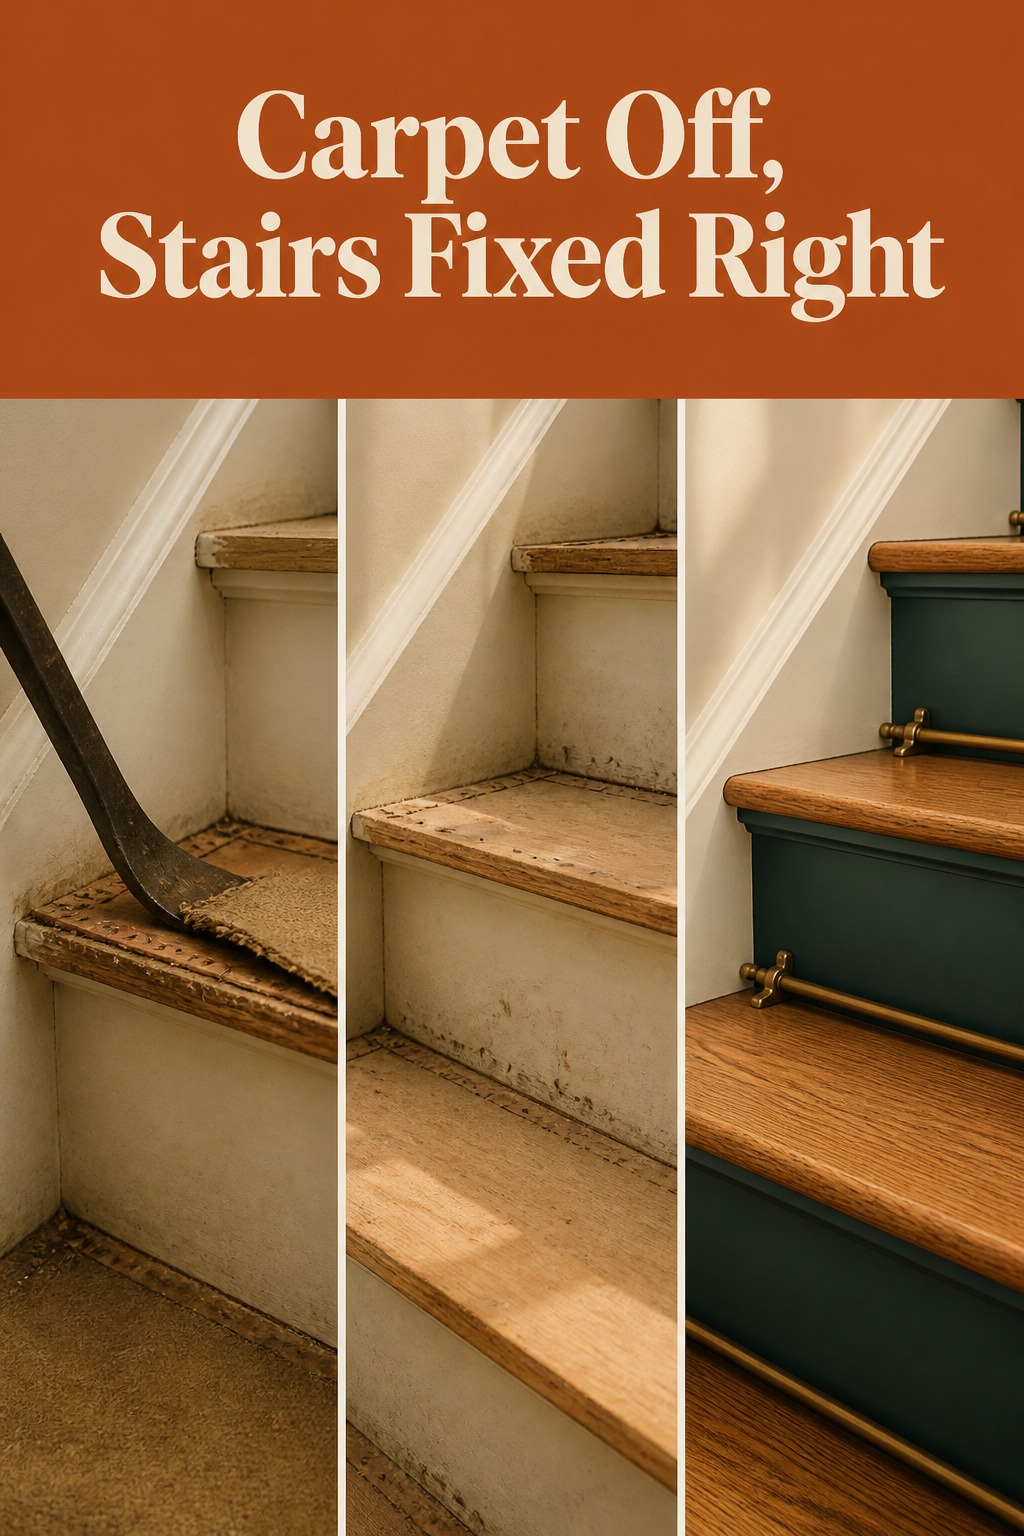
Most carpeted staircases hide a budget decision more often than damage. Carpet was the finish the builder planned on, and This Old House states the consequence flatly: the hardwood may not extend beyond the visible edges of the treads. Removing carpet from stairs is only half the job. The staples come out over a weekend. What’s underneath decides the next three.
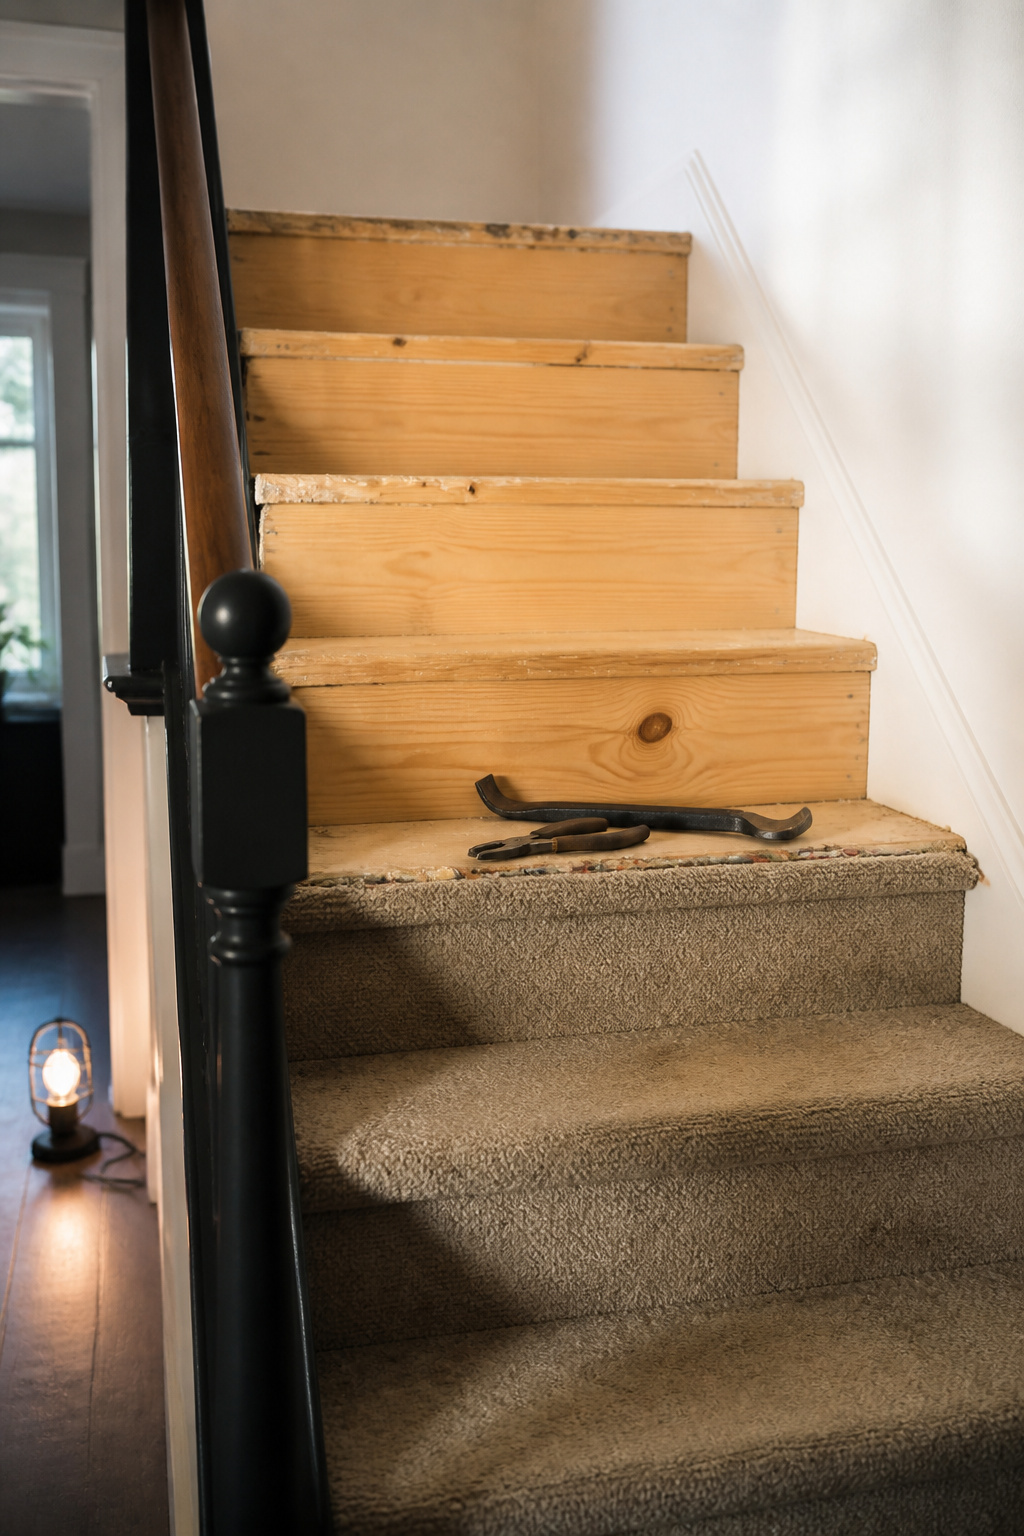
TL;DR
- Removal alone runs roughly 5 hours for a standard flight and about $25 in supplies; one documented staircase took 8 hours 30 minutes.
- Triage the bare wood three ways: hardwood with staple holes gets refinished, sound knotty pine gets filled and painted, and a spongy, warped or badly split tread gets replaced.
- Refinishing a whole staircase DIY runs $200–$1,000 against $100–$250 per step to replace, so replace only the treads that actually failed.
The temptation is to pick a finish before you know what you’re finishing, so pull first and decide second.
What’s under your stair carpet (and why it’s rarely a surprise)
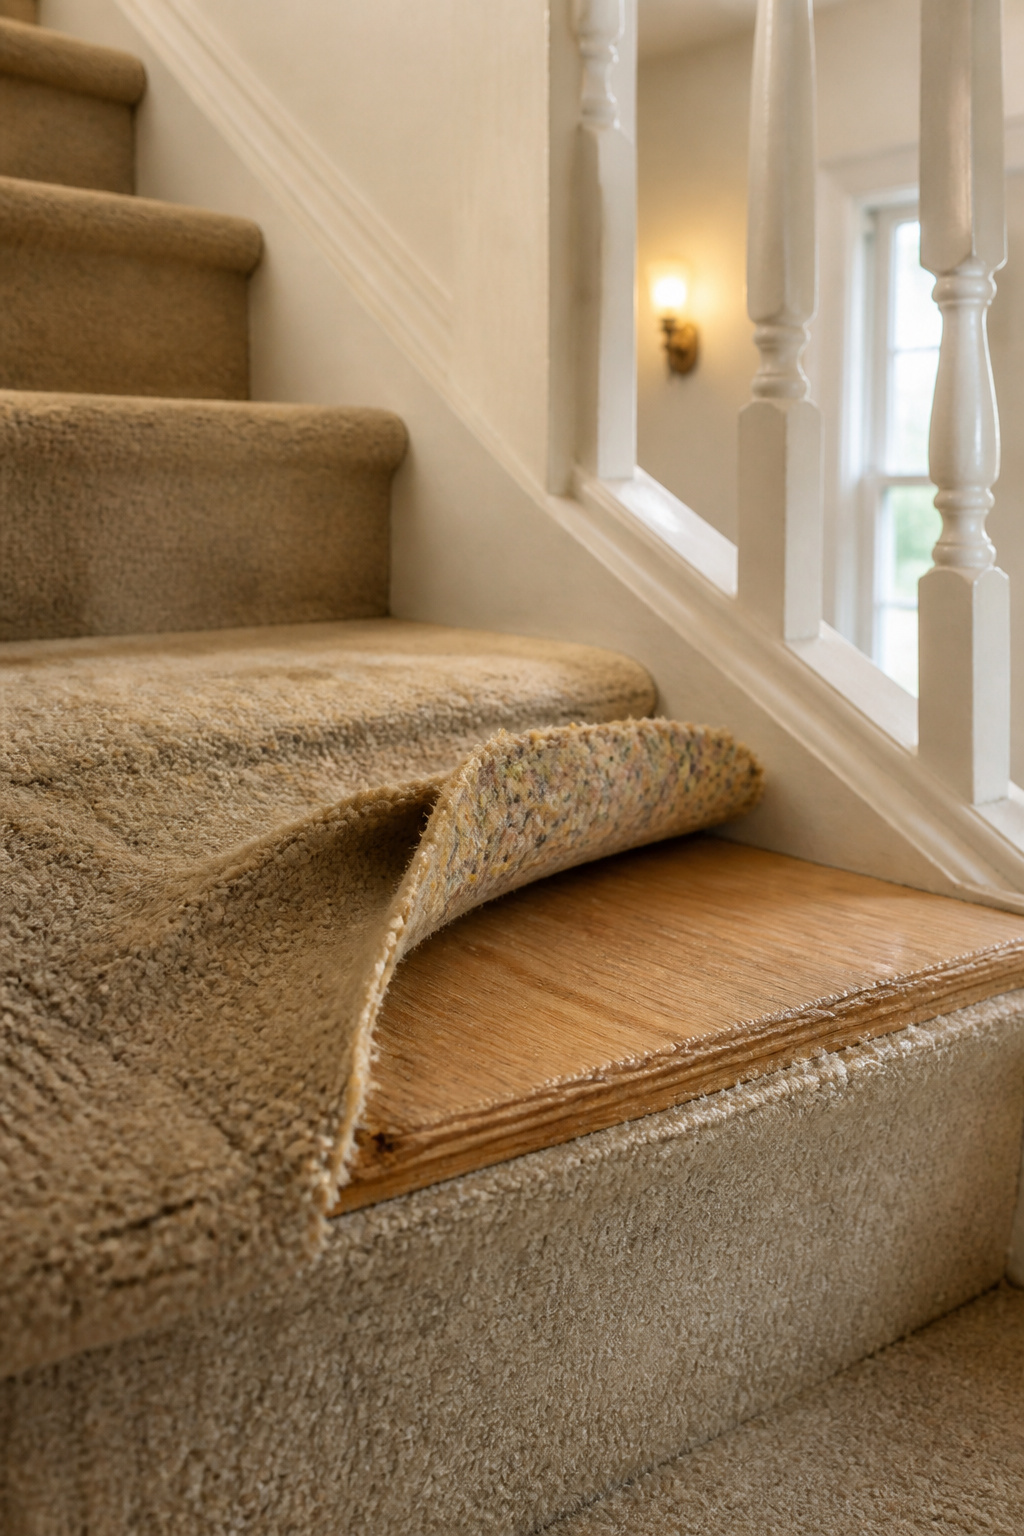
Kneel where the carpet dies into the newel post and work a corner up with a screwdriver. It’s the cheapest peek you’ll buy here.
Why most staircases hide paint-grade pine, not oak
Builders frequently ran real wood or veneer only along the visible edges of treads and risers, because carpet was always the intended surface. Oak is a dense hardwood chosen for stairs meant to be seen and stained; pine is soft construction-grade stock. One DIYer’s carpeted stairs came up as knotty, water-stained pine wearing the builder’s paint drips.
How to guess what’s under there before you start pulling
Look at the margins: visible grain, nail heads or a wood-toned lip where carpet meets a wall or newel. House age helps too: pre-1980s homes often have hardwood that got carpeted later, while builder-grade 1990s and 2000s homes were built carpet-ready.
Setting expectations before the first staple
Plan a full weekend for a standard 13 to 15 step staircase. Removal supplies run about $25; a pro charges $2 to $20 per step to strip and haul, averaging $7 to $10.
How to remove carpet from stairs: tack strips, staples and the slog
Eight hours thirty minutes is the documented time for one flight, carpet through staples, plus $130 in materials. Other estimates put removal-only labour nearer 5 hours. Budget the day, not the morning.
Tools that make this faster (and the ones that don’t)
No power tools needed. What you want:
- A long pry bar, for more leverage and less arm fatigue by step nine.
- Large pliers and needle-nose, for whole staples and snapped-off stubs.
- A 5-in-1 painter’s tool, or a stiff flathead screwdriver if you’d rather not buy one.
- A utility knife for cutting carpet into strips and for glued-down patches.
- A hammer, to flatten nails that break below the surface.
- Knee pads, gloves, glasses and a dust mask, because you kneel on what you’re removing.
Skill level: first build, but physically demanding. If dust or upper-body strength is a problem, hand it off.
Removing tack strips without gouging the treads
Work top to bottom:
- Cut the carpet into strips at each tread nose and roll them down as you go.
- Lift the padding and pull its staples.
- Find each tack strip along the tread and riser edges.
- Slide the bar under the nail heads, not the middle.
- Wiggle it loose. A strip yanked straight up takes the tread nose with it.
Strips can stay only if you’re recarpeting or running a runner straight over them. Any refinish or paint route means they come out.
Getting the hidden staples as well as the visible ones
This is the part that takes the time, and I won’t pretend otherwise. Pull each staple with the large pliers, needle-nose for the broken ones, and hammer flat any nail that snaps off. Then run your bare palm slowly across the tread; your hand finds the stub your eyes skipped. Vacuum as you go; loose staples on a tread you kneel on are a hazard.
Where this goes wrong: you rush the last two steps as the light goes, leave a dozen half-staples behind, and meet them next weekend when the sander shreds a sheet of 60 grit.
Triage: refinishable treads, paint-grade wood or replacement
You’ll usually get one of three answers, and one staircase often gives you two.
Signs the wood is worth refinishing
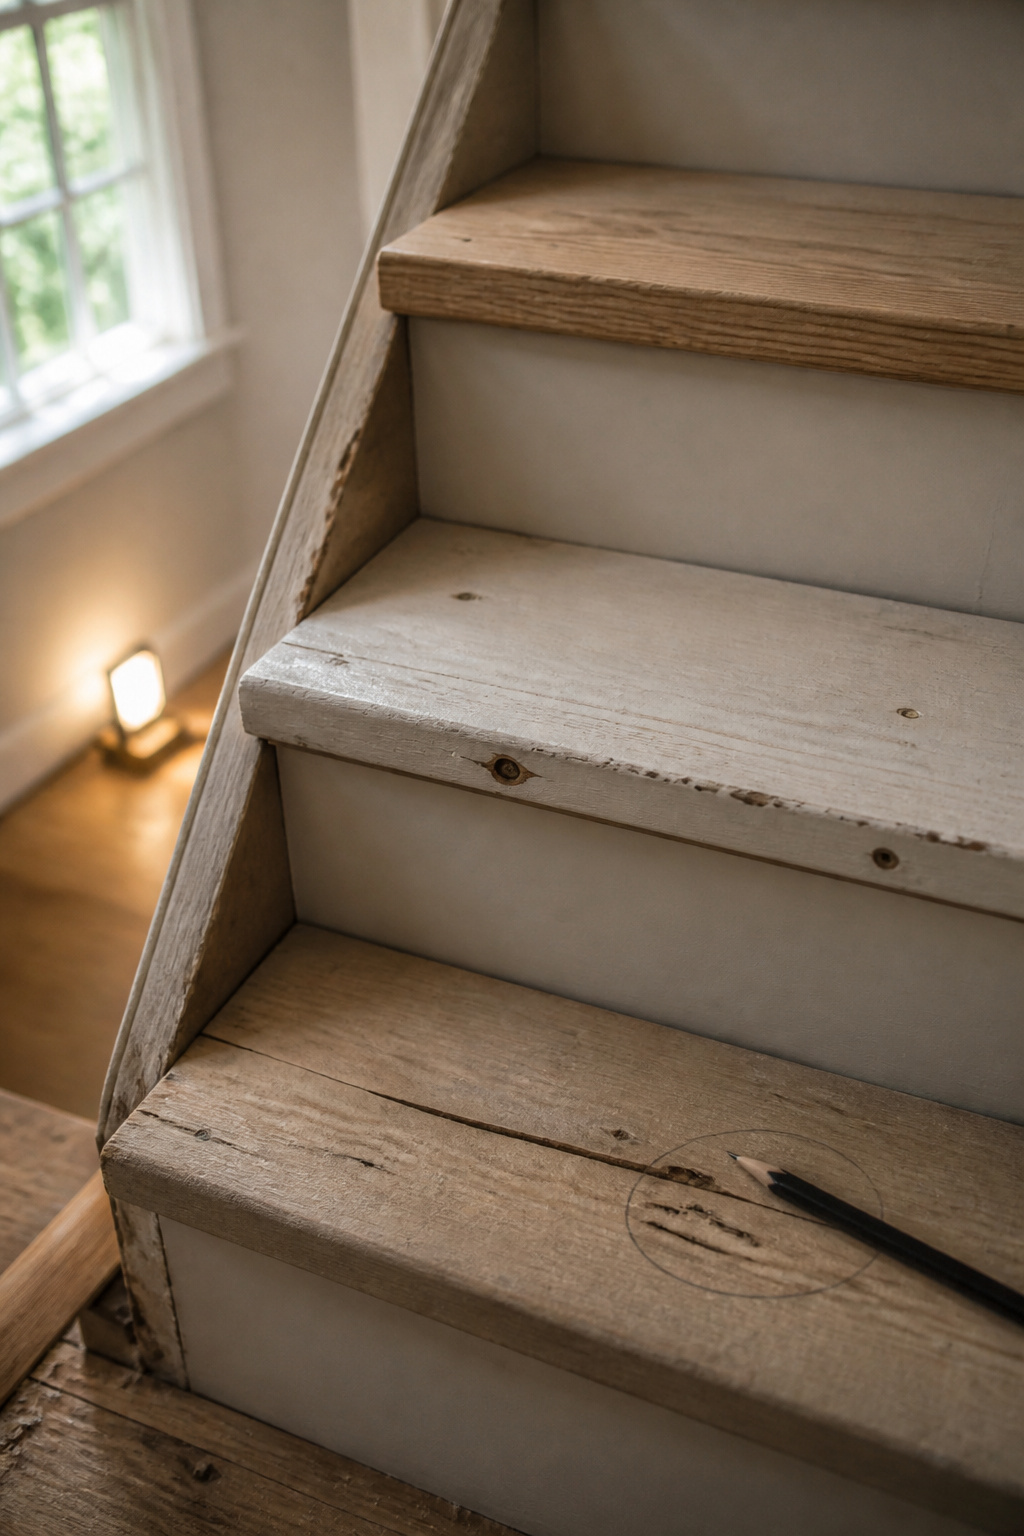
Species first. Oak, maple and other hardwoods take stain evenly, so they’re worth sanding for a clear or stained finish. Staple holes, light water staining and old adhesive residue look alarming on bare wood and disqualify nothing. A sanding-and-filling pass resolves the lot.
Signs you’re looking at paint-grade pine
Knotty grain. Builder paint drips. Boards that don’t match in colour because the treads were pieced from mixed scrap. Softwoods take stain blotchy even when structurally perfect. The wood is sound; it’s telling you what finish it was built for.
Signs a tread needs to be replaced, not saved
The replace line is structural, not cosmetic. This Old House draws it at four flags: soft or spongy wood, multiple large cracks or splits, a tread warped out of level, or a repair that already failed. One crack in a sound tread isn’t in that group. Glue and dowels drilled perpendicular to the split hold it.
Route one: sand and refinish what’s salvageable
The mistake that ruins this route happens before any sanding: filling staple holes after staining instead of before. Filler doesn’t take colour the way wood does, so you get pale dots you can’t fix without starting over.
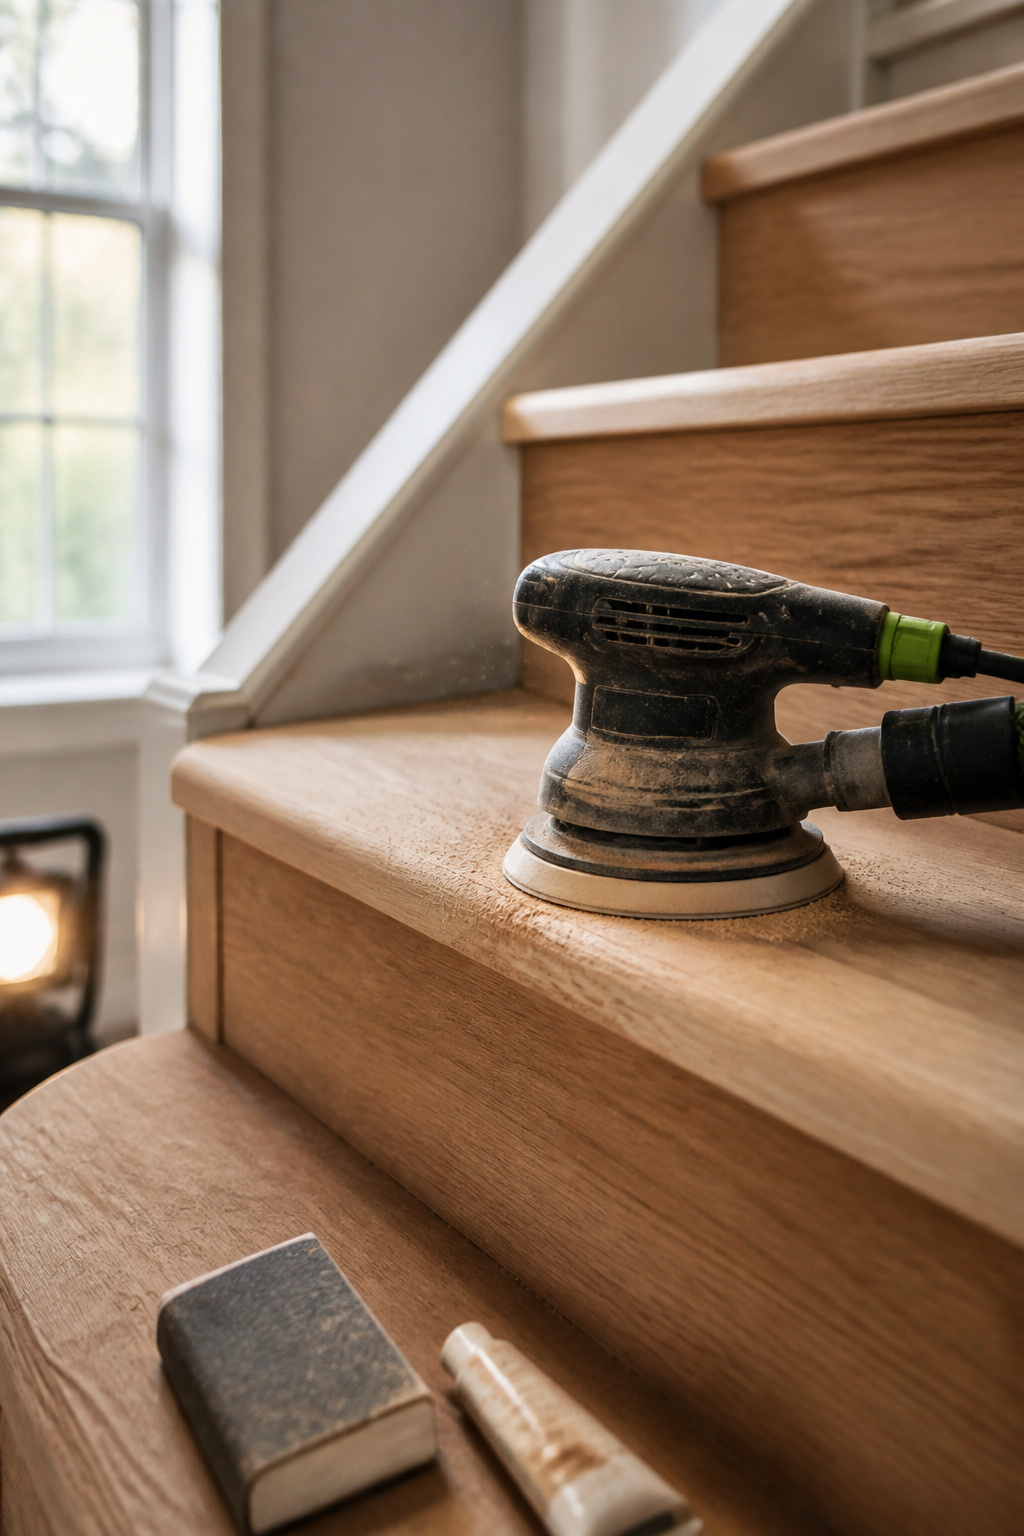
Sanding schedule for old finish and adhesive residue
Three passes: 60 grit to cut old finish and adhesive residue, 80 medium, 120 to finish. Start at 60 even though it feels aggressive. Fine paper on glued-up, stapled wood clogs without cutting. An orbital sander handles the flat faces; corners and the tread-to-riser radius get hand blocks, medium then fine.
Filling staple holes and gaps before stain or clear coat
Press stainable wood filler into every staple and tack-strip hole with a putty knife, then sand, and do it before staining, always.
Matching stain to the rest of the house
Test on a hidden tread edge first, since old wood takes colour differently than the store’s fresh-cut sample. One refinisher matched a staircase to existing trim with two coats of stain and three of polyurethane, about two hours between coats. Recoat sooner and you trap a soft layer under a hard one.
Route two: prep paint-grade wood for paint
Pine under the carpet can still be a good outcome. Paint-grade pine plus patience beats hardwood plus frustration, and a painted staircase in a good colour outlives a blotchy stain job that never took.
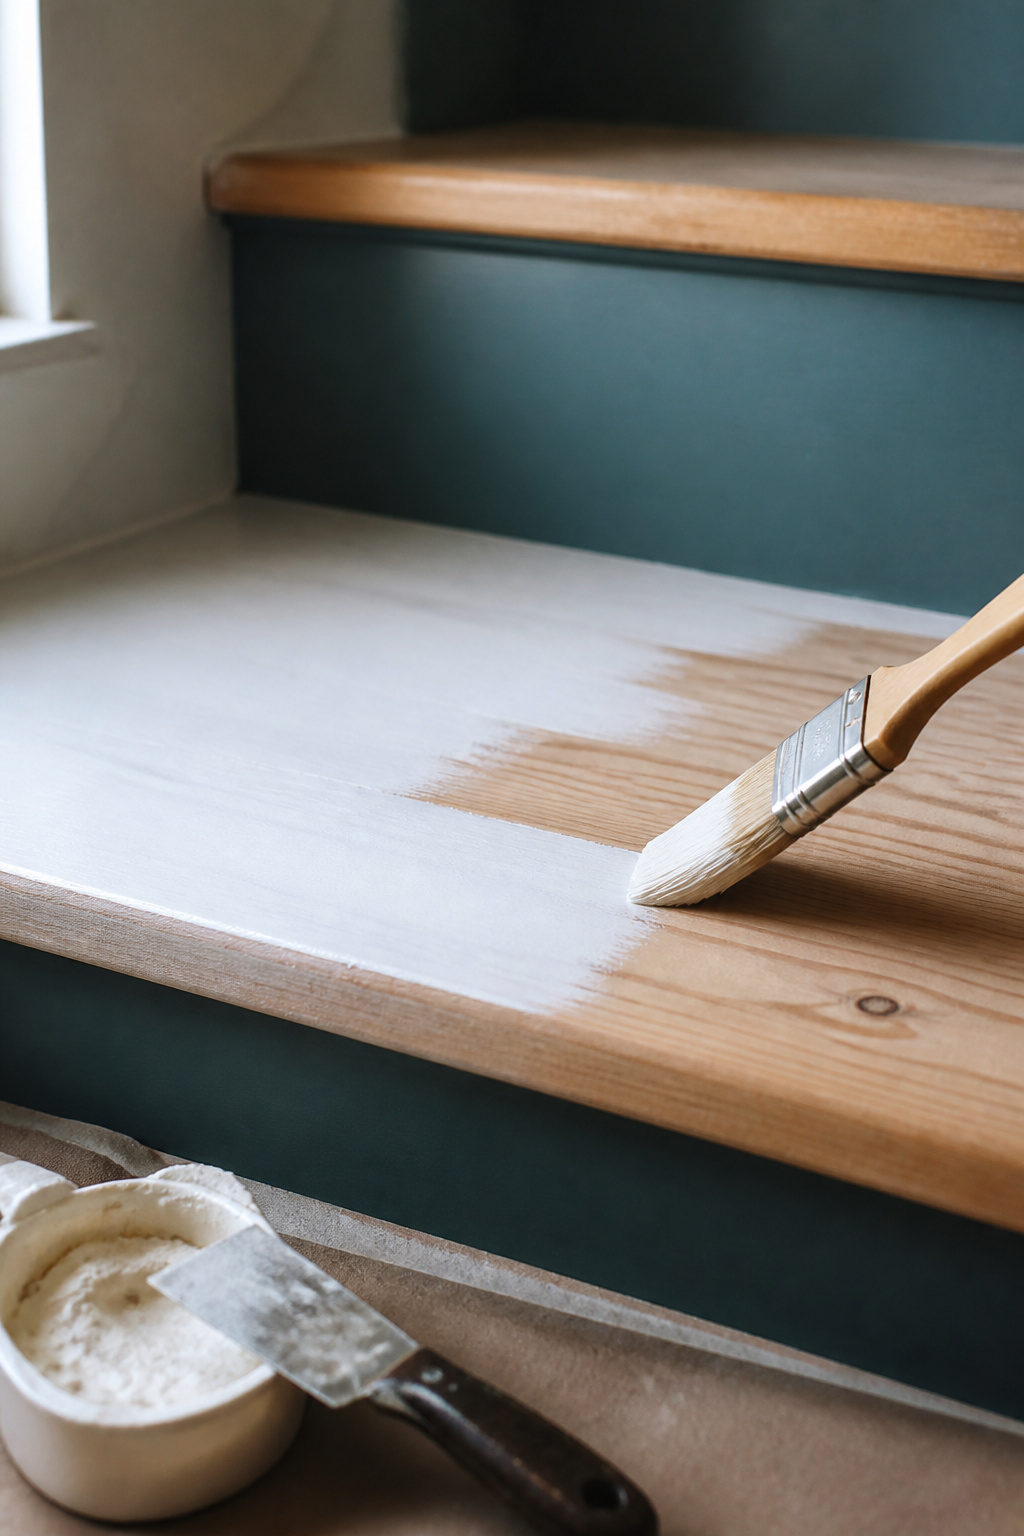
What makes wood paint-grade instead of stain-grade
Paint doesn’t rely on even grain absorption the way stain does, which is why pine’s softness and inconsistent grain stop mattering the moment you switch finishes. Treads pieced from mismatched boards sit in the same bucket: colour-matching the wood isn’t realistic.
Filling and priming for a smooth painted finish
Filler goes in before primer, never after. Patch a painted surface and the texture mismatch shows through. For the sanding build, 80 grit flattens, 150 smooths, and 150 is the ceiling: sand finer and the primer has nothing to grip. That cap sits lower than a from-scratch bare-wood paint job would use, for reasons specific to this wood. The surface already carries staple scars and old adhesive residue, and it’s about to disappear under filler anyway. Primer wants tooth more than polish on wood this rough. Between coats, a light 220-grit pass knocks down dust nibs.
Handing off to a paint scheme
Primed, filled and sanded treads are finish-agnostic. Which colours go where, and which enamel survives daily feet, is its own decision. Pick your paint schemes for the revealed stairs.
Route three: when to replace the treads
Press your thumb into the tread just behind the nosing. If it gives, no amount of sanding helps. You’ve moved out of finishing and into carpentry.
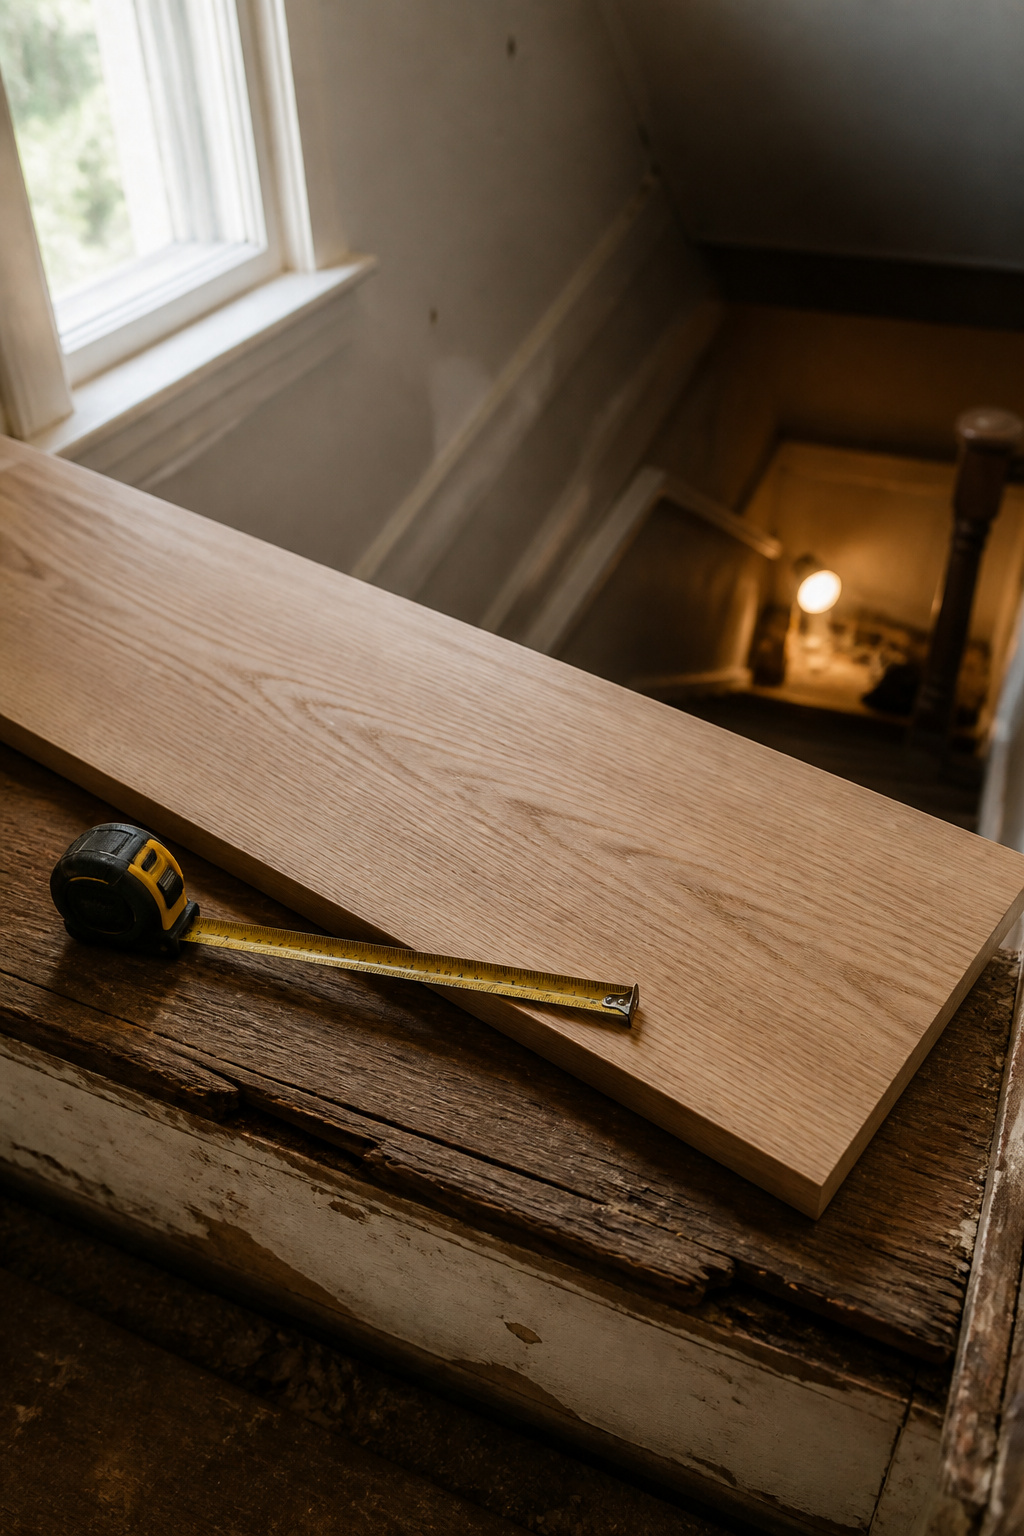
Damage that’s beyond sanding or filling
The four triage flags are the whole test here: soft or spongy wood, multiple large splits, warping out of level, a repair that already failed. Everything short of them has a cheaper answer.
Matching new tread stock to existing stairs
Replacement treads sell as unfinished solid builder-grade red oak, commonly 11.5 inches deep in 36 and 42 inch lengths. Measure first: IRC R311.7.5 requires a minimum 10-inch tread depth and maximum 7.75-inch riser height, and no tread or riser in a flight may vary by more than 3/8 inch.
Cost and time of replacement vs refinishing
Replacement prices per step, not per project. That’s the argument for swapping two bad treads instead of condemning the flight.
| Route | Typical cost |
|---|---|
| Refinish whole staircase (DIY) | $200–$1,000 |
| Replace one tread (DIY materials) | $30–$75 per tread |
| Replace one step (installed) | $100–$250 |
| Replace treads and risers (pro, per step) | $100–$200 per step |
| Replace treads and risers (pro, full run) | $400–$1,500 |
Refinishing an entire staircase costs less than replacing a handful of steps.
Softening it back up with a runner
Stripping wall-to-wall carpet and then putting textile back on sounds backwards. Wall-to-wall carpet buried the staircase; a runner leaves the wood you worked on visible at the margins, and gives back grip and quiet.
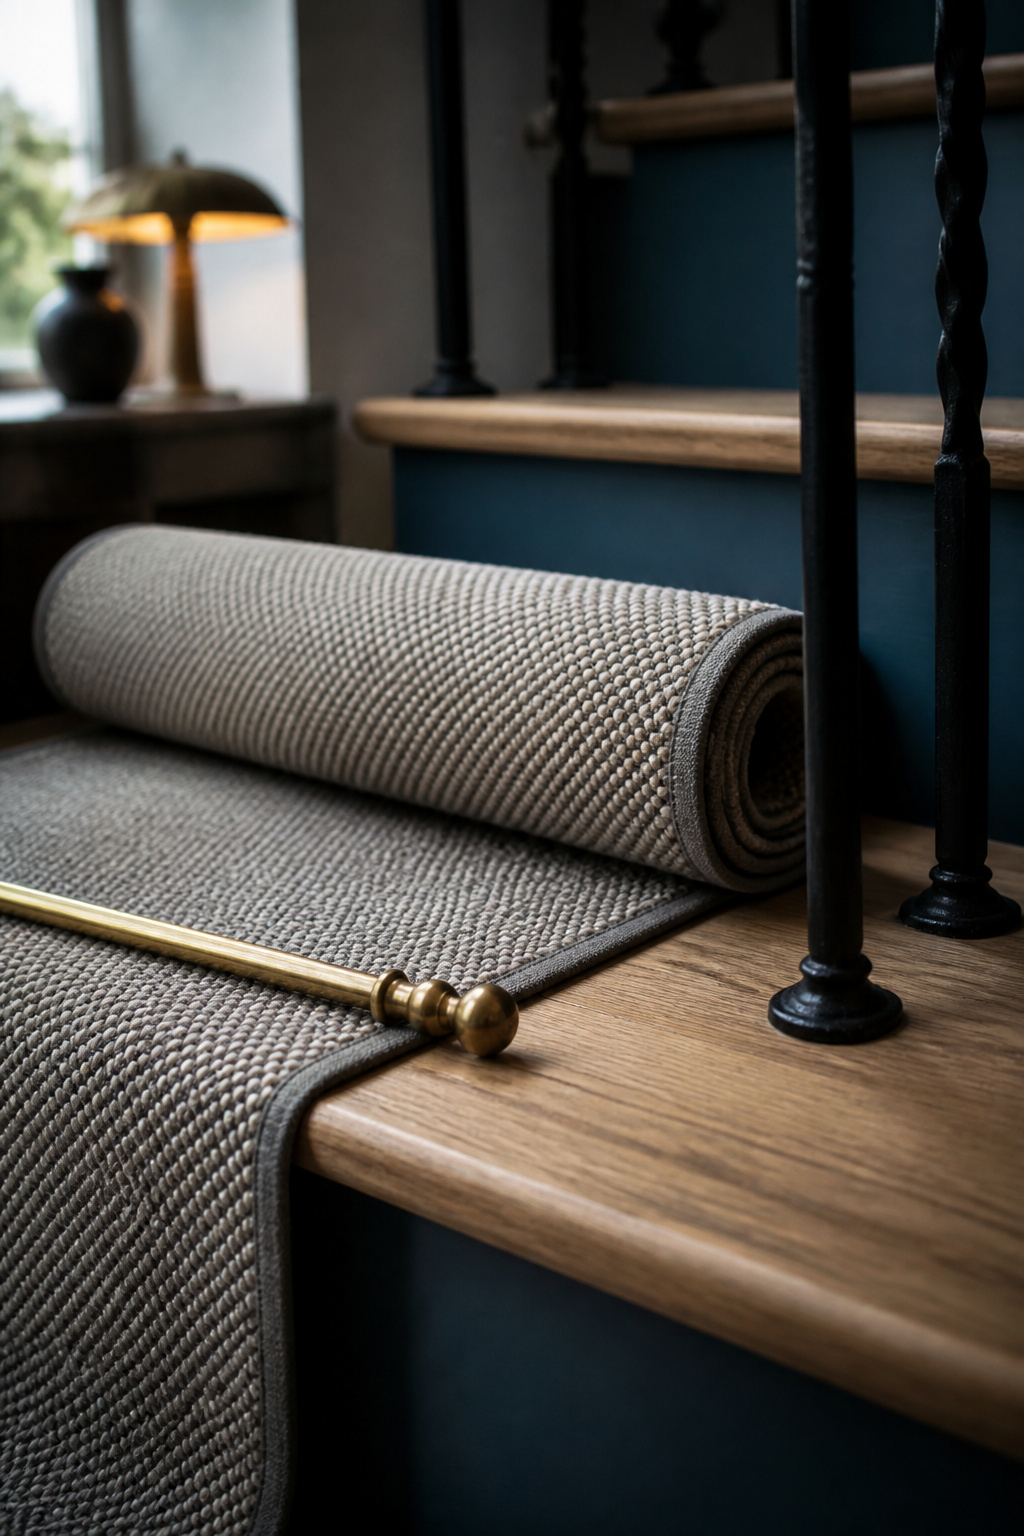
Why bare stairs often aren’t the final step
Bare treads are frequently a mid-project state, not a finished look. Plenty of people who strip carpet planned a runner from the start.
What a runner needs from the surface underneath
Flat, cured, and clear of proud staples or tack-strip remnants. Every triage issue telegraphs through: a warped tread shows as a ripple, a missed stub works through the backing, soft wood won’t hold a fixing.
Timing the runner install after refinishing
Dry and cured are not the same thing. Water-based polyurethane fully cures in roughly 3 to 5 days; oil-based takes light foot traffic at about 12 hours but isn’t fully cured for 30 to 45 days. Rods, staples or adhesive backing on a still-soft finish leave marks you can’t buff out, and paint needs its own cure window before screws go through it. Then handle adding a runner back the right way.
So: pull the carpet before you choose a finish, and sort each tread on evidence rather than hope. Fill before you stain, stop at 150 grit before you prime, replace only what has structurally failed, and let the finish cure before anything goes on top. Your staircase is one lever among several, and the full staircase transformation guide sequences the rest, but this is the one that decides what you’re working with.
FAQ
Is there asbestos risk under old stair carpet?
It’s a real consideration in homes built before the 1980s, when asbestos was common in flooring products and underlay. Sight won’t confirm it: the fibres are intertwined within the material, and colour tints aren’t reliable clues. Intact material is lower-risk than disturbed material, so have a certified inspector sample and lab-test it first.
How long does it take to remove carpet from stairs?
Removal-only labour (carpet, padding, tack strips and staples) runs roughly 5 hours for a standard staircase by one estimate, while one documented flight took 8 hours 30 minutes. Treat the weekend as the realistic window for removal alone. Sanding, filling and refinishing are separate work, on separate days.
Do you need to remove tack strips before refinishing?
Yes, for any refinish or paint route. Tack strips sit proud of the tread surface, so sanding, filling and painting all become impossible until they’re out. The only exception is recarpeting or fitting a runner immediately, with no bare wood in between. Pry and wiggle beneath the nail heads rather than yanking, which reduces splintering.