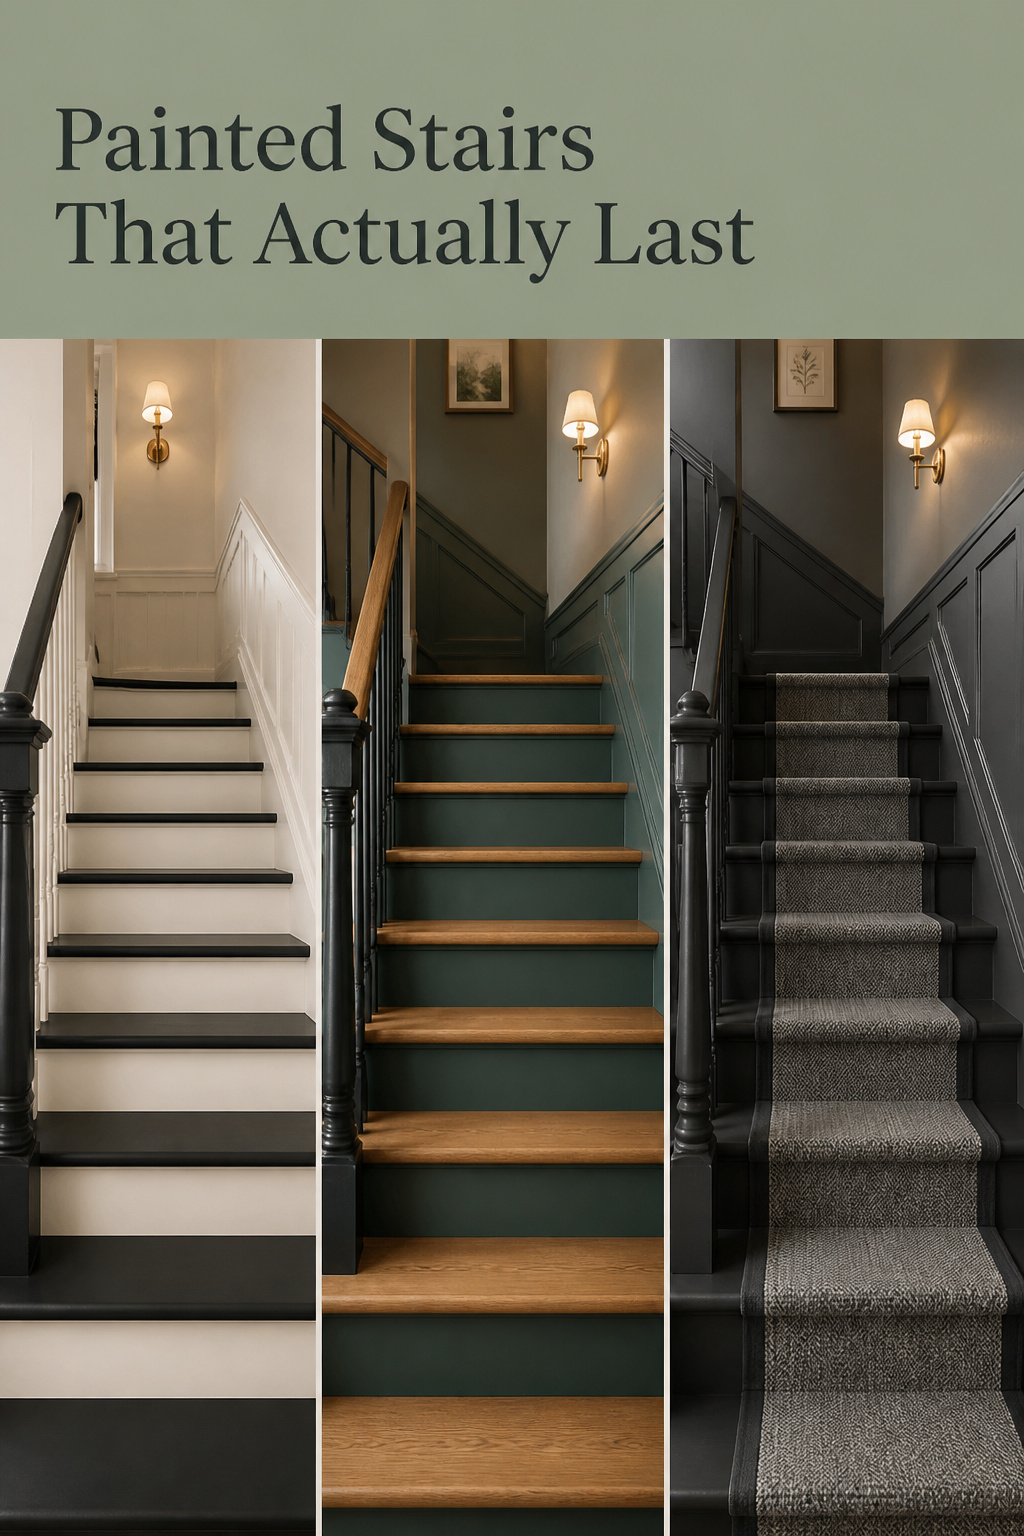
The best-looking thing I ever built cost $212 in stock lumber. It was a kitchen island for my sister, and her family still calls it the showroom one. The joinery was nothing clever. What sold it was the finish. Painted stairs ideas ask for the same bet on the cheapest surface in the house. Color does the looking, and whatever’s in the can decides whether it survives to spring. The scheme is the fun half; the product and the prep decide whether you repaint in six months.
TL;DR
- Buy a porch or floor enamel, not wall paint: Sherwin-Williams Porch & Floor covers 350-400 sq ft per gallon, light traffic at 24 hours.
- Prep is half the job: degloss or sand, work 60 to 120 to 220 grit, vacuum between passes, then prime: oil-based on bare wood, shellac over old finishes.
- Plan the calendar, not the paint day: light traffic at 24 hours, heavy traffic at 7 days, full cure near 21 days water-based and 30 oil.
What usually works against you is leftover wall paint in the basement and a Saturday deadline, more than brush technique.
Why paint is the highest-leverage stair update
What a paint job changes about a staircase
A staircase is a connector. It asks for no attention until it carries the room’s color. Then it’s the first thing anyone sees from the front door. That’s why dark schemes, black included, keep gaining ground. The stairs become the focal point without new treads or a new railing.
What it costs and how long it really takes
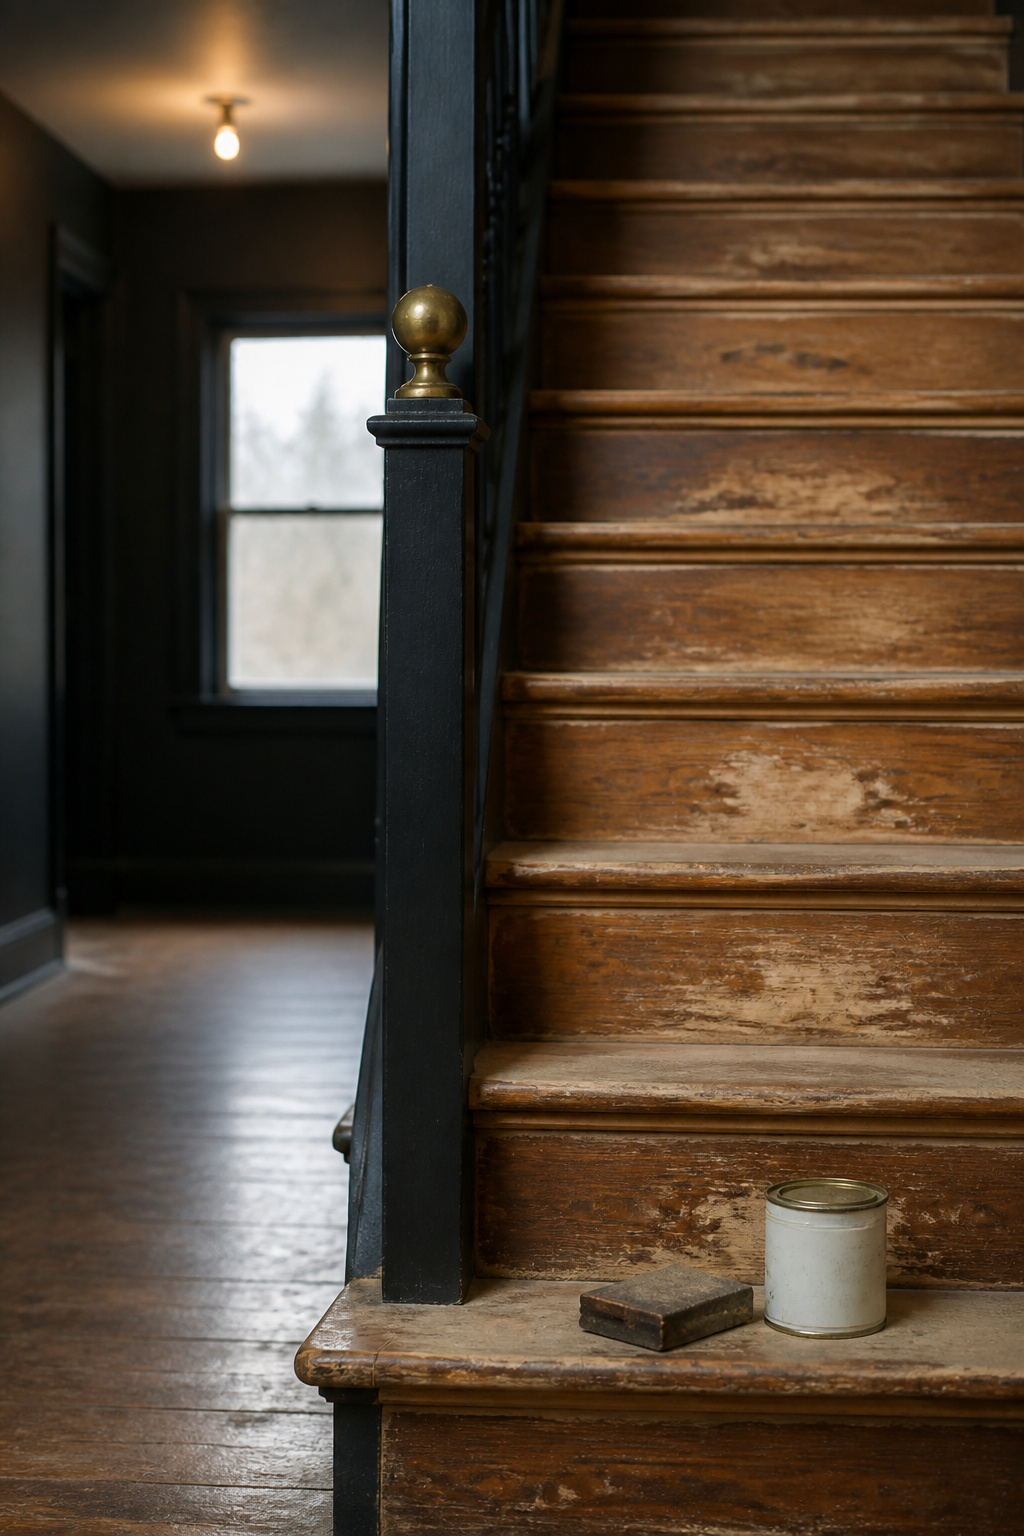
Hire it out and a straight flight averages $350 to $450, ranging $225 to $700 and reaching $750 at 20 steps. DIY strips the labor out. One gallon of porch and floor enamel covers 350 to 400 square feet, two coats on most flights. Skill level: first build. The catch is the calendar. Paint day is one day; the stairs are out of service for a week.
Where painted stairs go wrong, and why most of it is preventable
Almost every failure traces back to prep rather than brushwork. This Old House’s tread method runs 120 grit then 220 on tops and fronts, another light sanding before the final coat, and dust pulled with a wet/dry vacuum between passes. That’s half the job before color goes down.
Choosing a tread and riser color scheme that works with your house
Dark treads, light risers, and why that pairing works
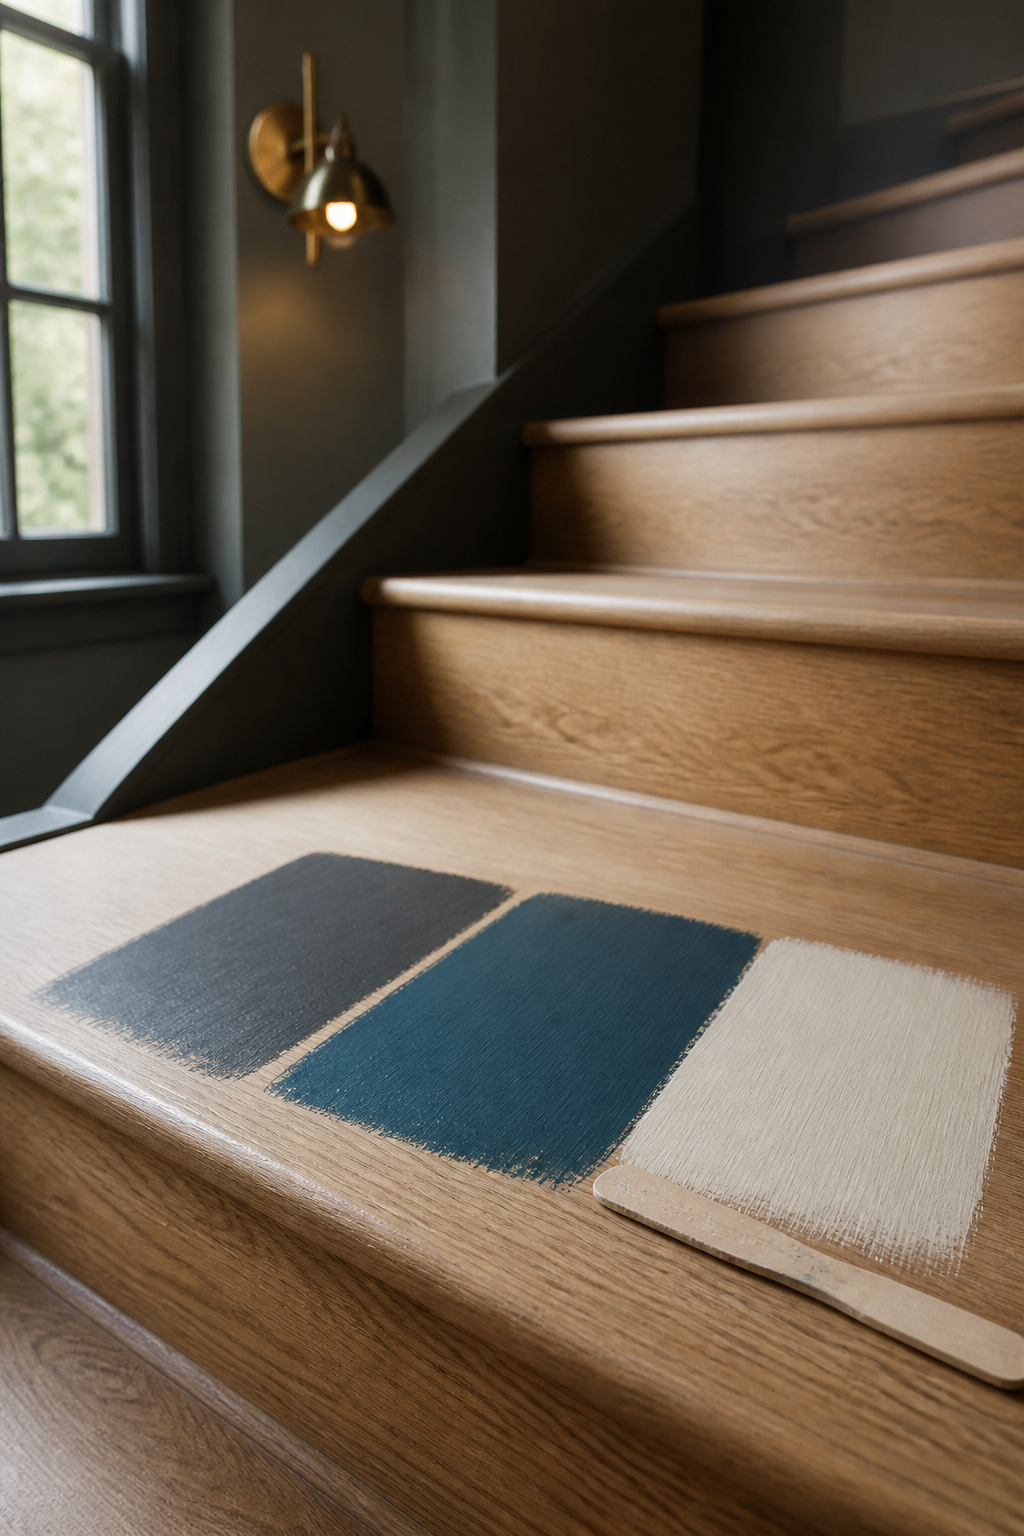
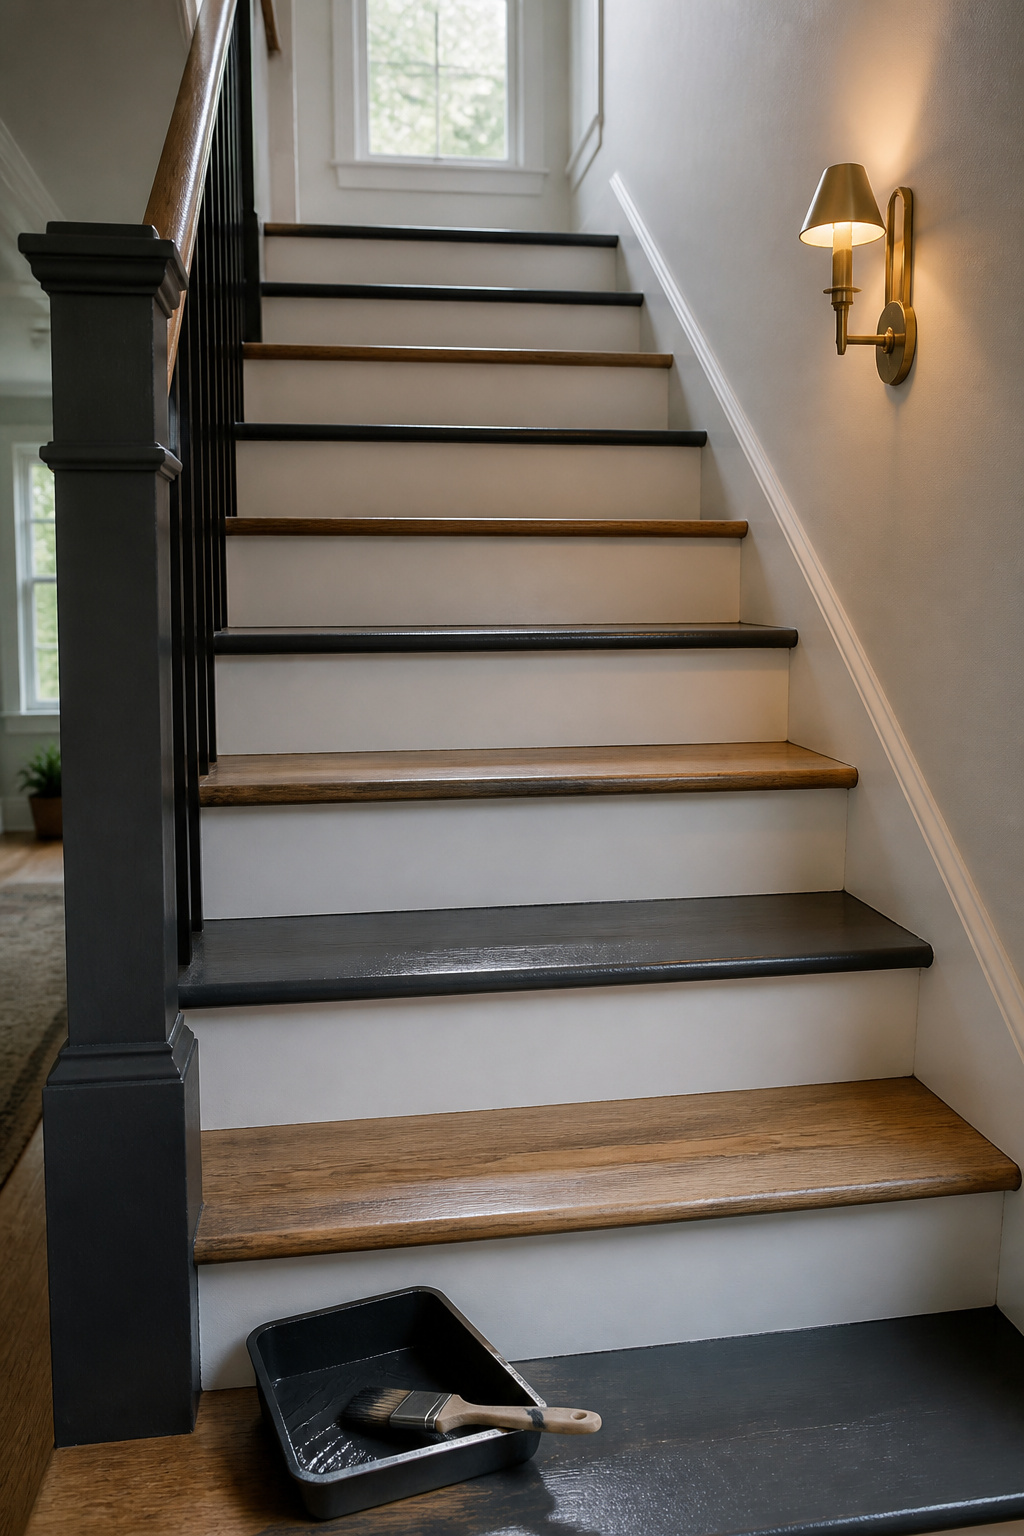
This pairing shows up in every painted-stair gallery because it copies what the staircase already does: treads take feet and dirt, risers take light and eyes. Painting contractor George Zarogiannis pairs white risers with natural white oak treads and darker stained spindles. It reads as a decision. Off a manufacturer’s palette: Decorator’s White OC-149 risers under Hale Navy HC-154 treads.
Monochrome and all-dark schemes: when they earn their keep
Farrow & Ball colour curator Joa Studholme says painting a whole staircase one color “will create huge visual interest.” She puts the darker tone on the risers deliberately: a deep shade like Bancha hides the scuffs a pale one broadcasts. That practical scuff-hiding is a stronger reason to go dark than drama alone. Monochrome also lets a stairwell join the wall color: Raccoon Fur 2126-20 against Newburyport Blue HC-155 walls.
Testing a scheme before committing the whole staircase
I’m borrowing this from general paint-sample advice, since no one’s published a stair-specific version. A sample wants three days on the surface, checked at 8am, noon, 4pm and again under evening light. A stairwell’s light swings wider than a wall’s, so brush the swatch onto an actual tread. Sherwin-Williams 8oz samples run $5 to $8; peel-and-stick swatches, $2 to $3.
The paint that survives foot traffic
Porch and floor enamel vs regular interior paint
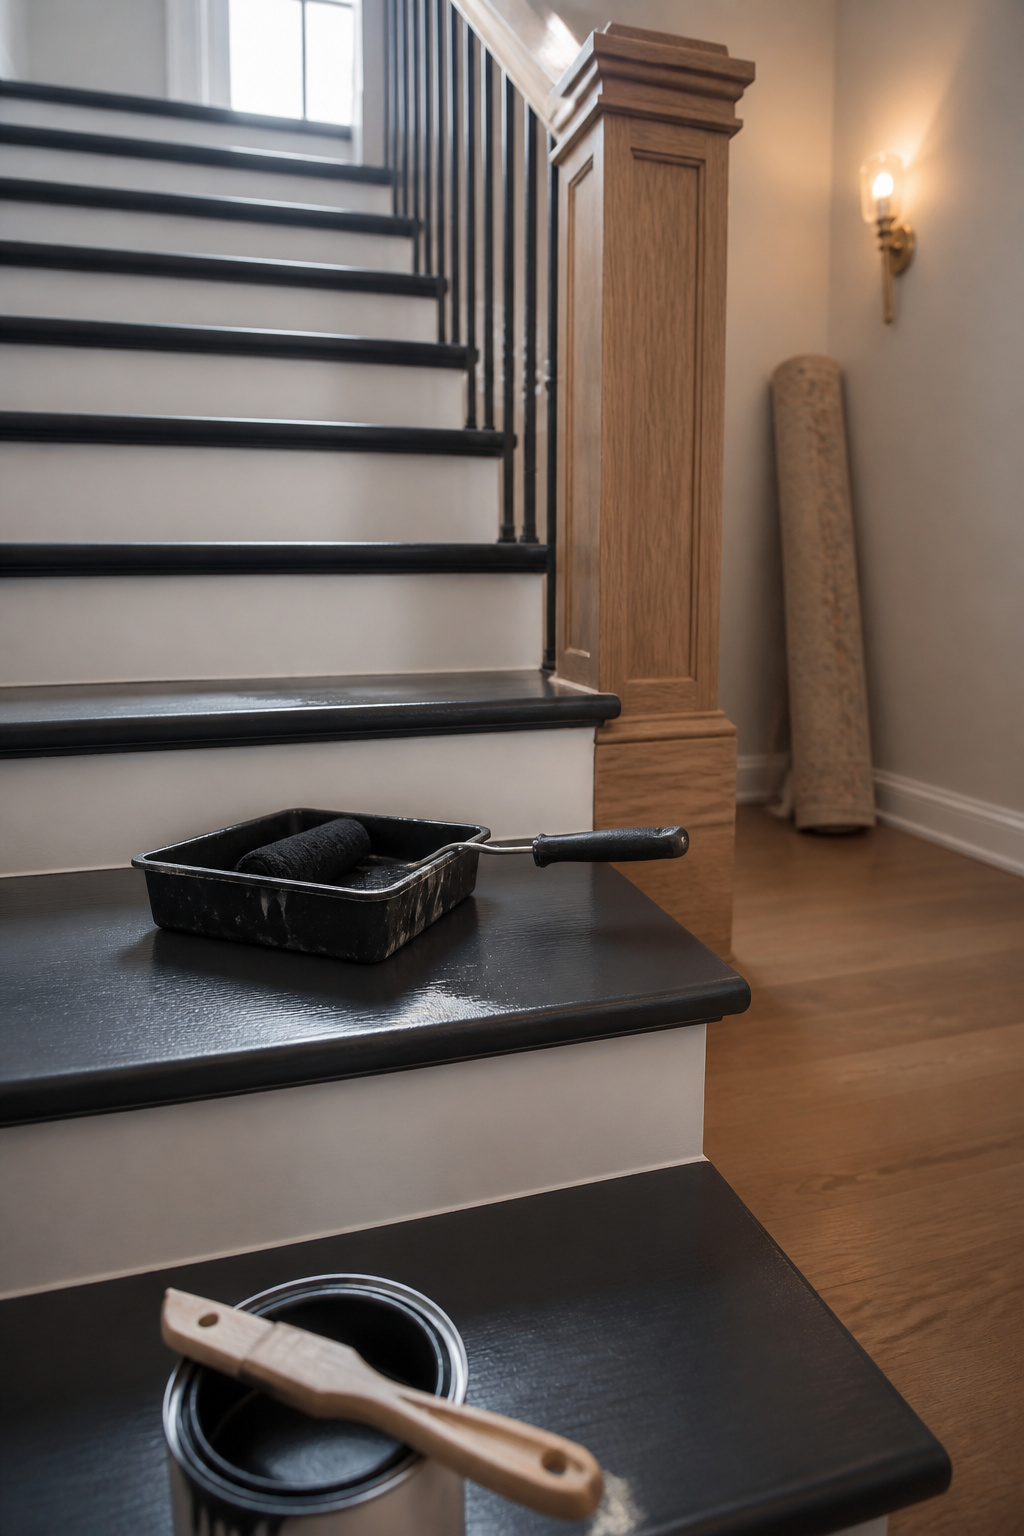
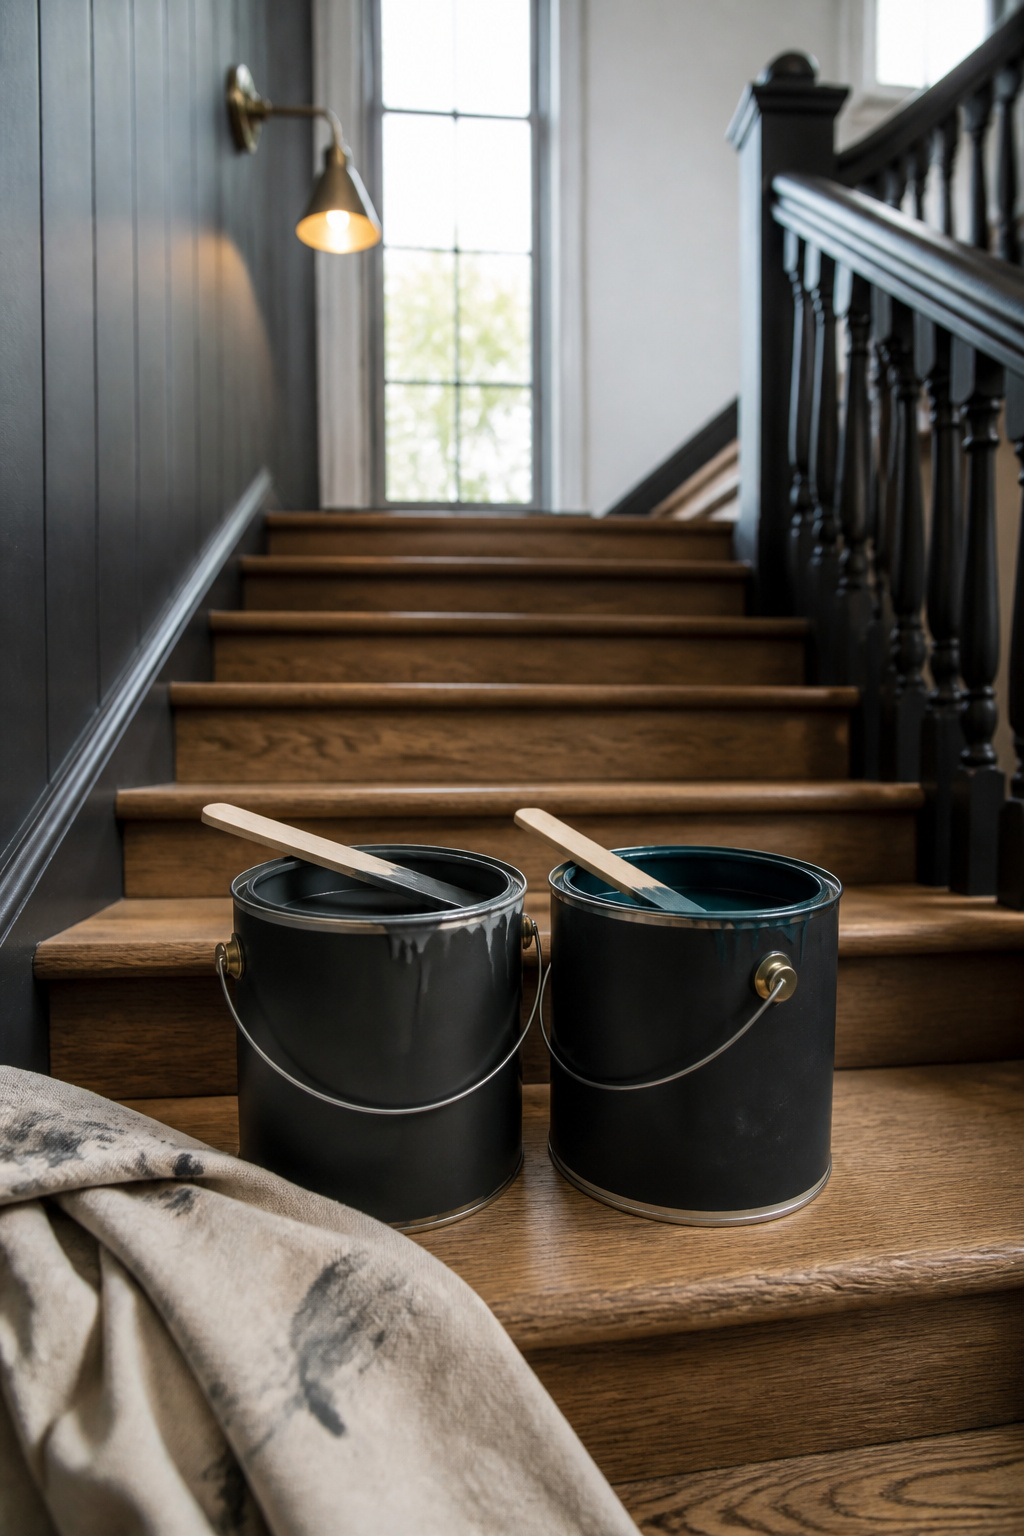
The most expensive money you’ll ever save is skipping that leftover half-gallon of wall paint. It doesn’t carry the resins foot traffic demands. Floor products do:
| Product | Coverage per gallon | Where it belongs on stairs |
|---|---|---|
| Sherwin-Williams Porch & Floor Enamel (waterborne) | 350-400 sq ft at 1.5 mils dry | Treads and risers; self-priming on bare wood; light traffic 24 hours, full cure 7 days |
| Rust-Oleum Porch & Floor | 350-400 sq ft in two coats | Wood or concrete treads |
| BEHR Premium Porch & Patio Floor Paint (Low-Lustre or Gloss) | 200-400 sq ft, by texture | Treads, spindles and railings; skip it on surfaces taking tires |
Oil-based vs water-based durability trade-offs
Old advice says oil, and old advice is half right. Oil-based enamel dries harder and shrugs off early wear. But its limited elasticity means it cracks, chalks and dulls over years. Water-based acrylic enamels now dry hard enough to resist the same wear while flexing through temperature swings. They also hold sheen longer.
What a can needs to say on the label
Read the category, not the color card: “porch and floor,” “floor and patio,” or “floor enamel” on the can. Then check for two separate times: a recoat window in hours (Porch & Floor is touch dry at 1, recoat at 4) and a heavy-traffic figure in days (7).
Prep, sand, prime: the steps you can’t skip
Cleaning and deglossing the existing finish
Deglosser is a shortcut with a narrow lane. It dulls glossy paint, varnish, lacquer and polyurethane so new paint can grip. Apply it undiluted on a lint-free cloth, 30 minutes before primer. It also fails on thick coatings. Save it for balusters and newel posts.
Sanding schedule by grit
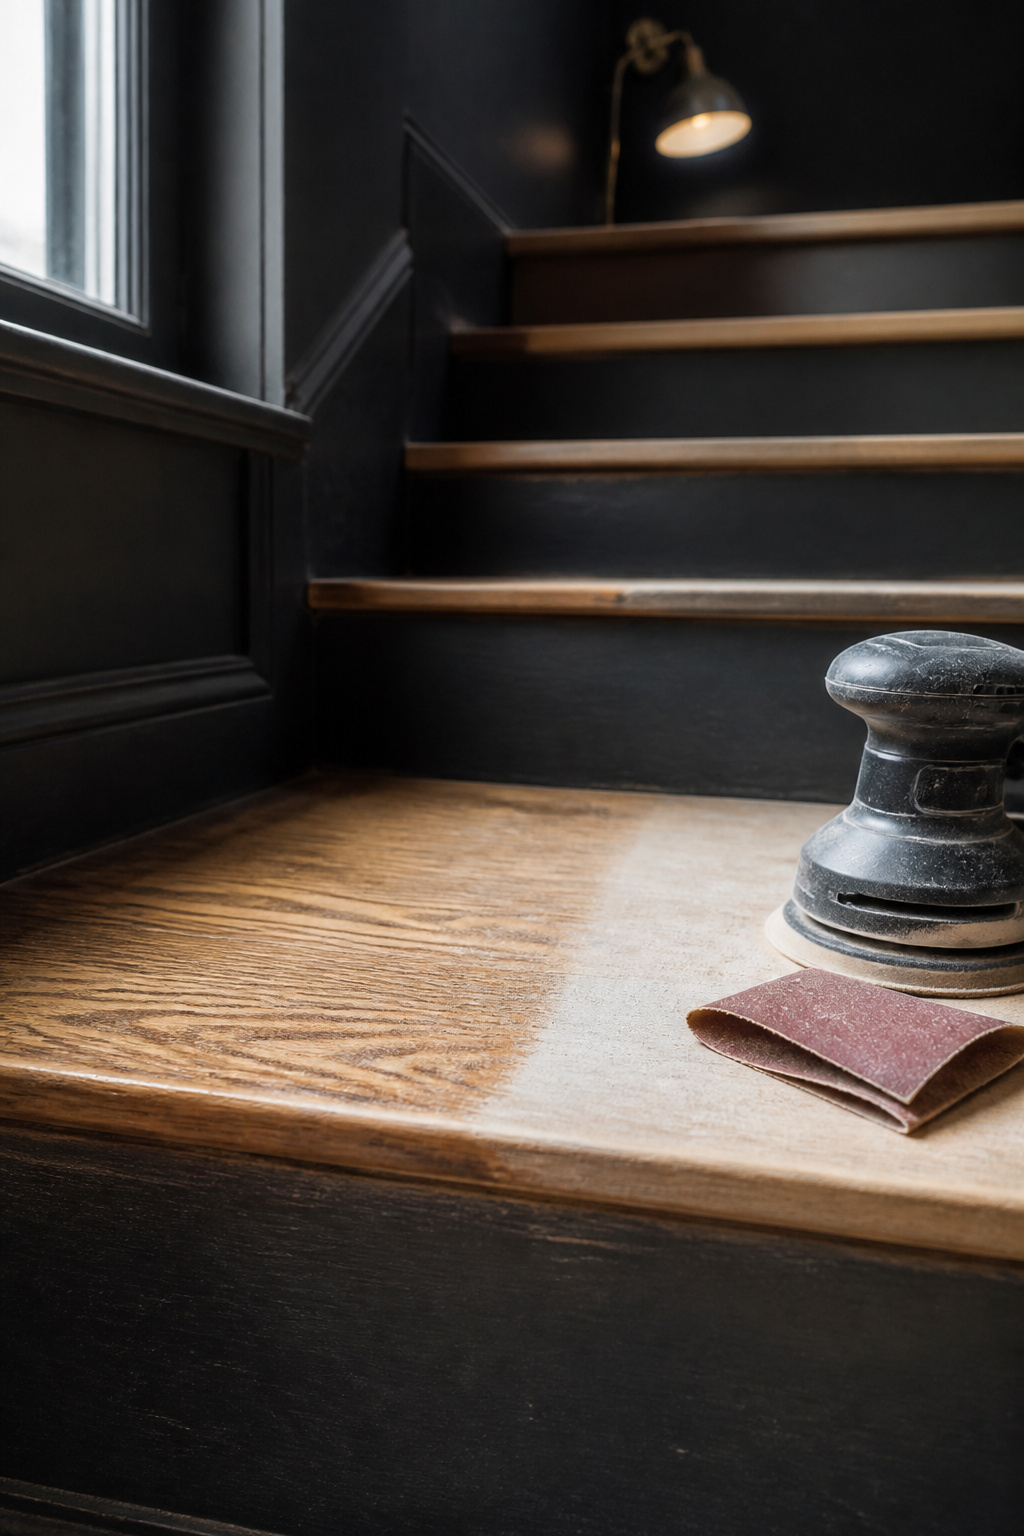
On bare treads and risers the grit sequence isn’t a preference. It decides whether scratches telegraph under the color.
- Start at 60 grit on bare wood to flatten mill marks and old finish.
- Move to 120 grit to erase the 60-grit scratches: the pass people skip, and the reason scratches show through later.
- Vacuum with a wet/dry vac and brush attachment after every pass.
- Finish at 220 grit before primer, tread tops and front edges both.
- Re-sand lightly at 220 before the final coat, then vacuum again.
That 220-grit ceiling is right for a dedicated bare-wood job like this one: treads that have never worn a finish, sanded purely to take paint well. Wood revealed from under old carpet, headed straight into filler before primer ever touches it, tops out lower for the same reason a rougher tooth grips better: less to sand off means less time spent, and the filler coat doesn’t care how smooth the wood was first.
Recoating an existing porch finish differs: clean, sand at 60 to 80 grit, dry 48 hours.
Priming for adhesion more than coverage
Two primers, two jobs. Bare wood takes oil-based primer first. Stairs with an unknown paint history take shellac-based primer like Zinsser BIN. It bonds to cured oil paint, glossy alkyd and old varnish without scuff-sanding, then recoats in about an hour. Oil alkyd primer such as Cover Stain needs a 220-grit scuff-sand on gloss first. Its 1-hour label recoat is a trap: wait overnight before a water-based topcoat, or you seal solvent under the new film.
Applying the paint and getting the cure time right
Painting order: risers first or treads first, and why
Risers first, every time. Paint that lands on a tread while you cut in a riser wipes off before the tread finish goes on. The reverse costs you the tread. Dry risers mask easily with tape. But give them 24 hours after the final coat, or the tape lifts a still-soft finish. The way I run a flight: top down, skip a step, then double back.
Coats and dry time vs cure time (they’re not the same thing)
Dry time is the interval between coats. Cure time is when the finish can take daily life. The number on the front of the can is the first one. Sherwin-Williams Porch & Floor allows light foot traffic at 24 hours and specifies 7 days before heavy traffic or furniture. That 7-day mark is a traffic threshold, not the finish line. Full cure lands nearer 21 days water-based, 30 oil-based. Plan the downtime around those numbers, never the 1-hour touch-dry.
The mistake that ruins a painted staircase in week one
Someone walks up in shoes four hours after the last coat, because the paint felt dry. It was dry to touch, and that part is real. But a shoe puts a body’s weight on one small edge, and a soft film takes that as an impression or a pulled patch. No one’s studied this exact failure; that is what the dry-versus-cure math adds up to. Sherwin-Williams’ own durability profile concedes that a satin floor film burnishes and thins where feet land most by the second winter. If it happens anyway, scuff-sand the tread and lay one touch-up coat.
Where painted stairs ideas go next once the paint is down
Coordinating painted stairs with a runner or riser pattern
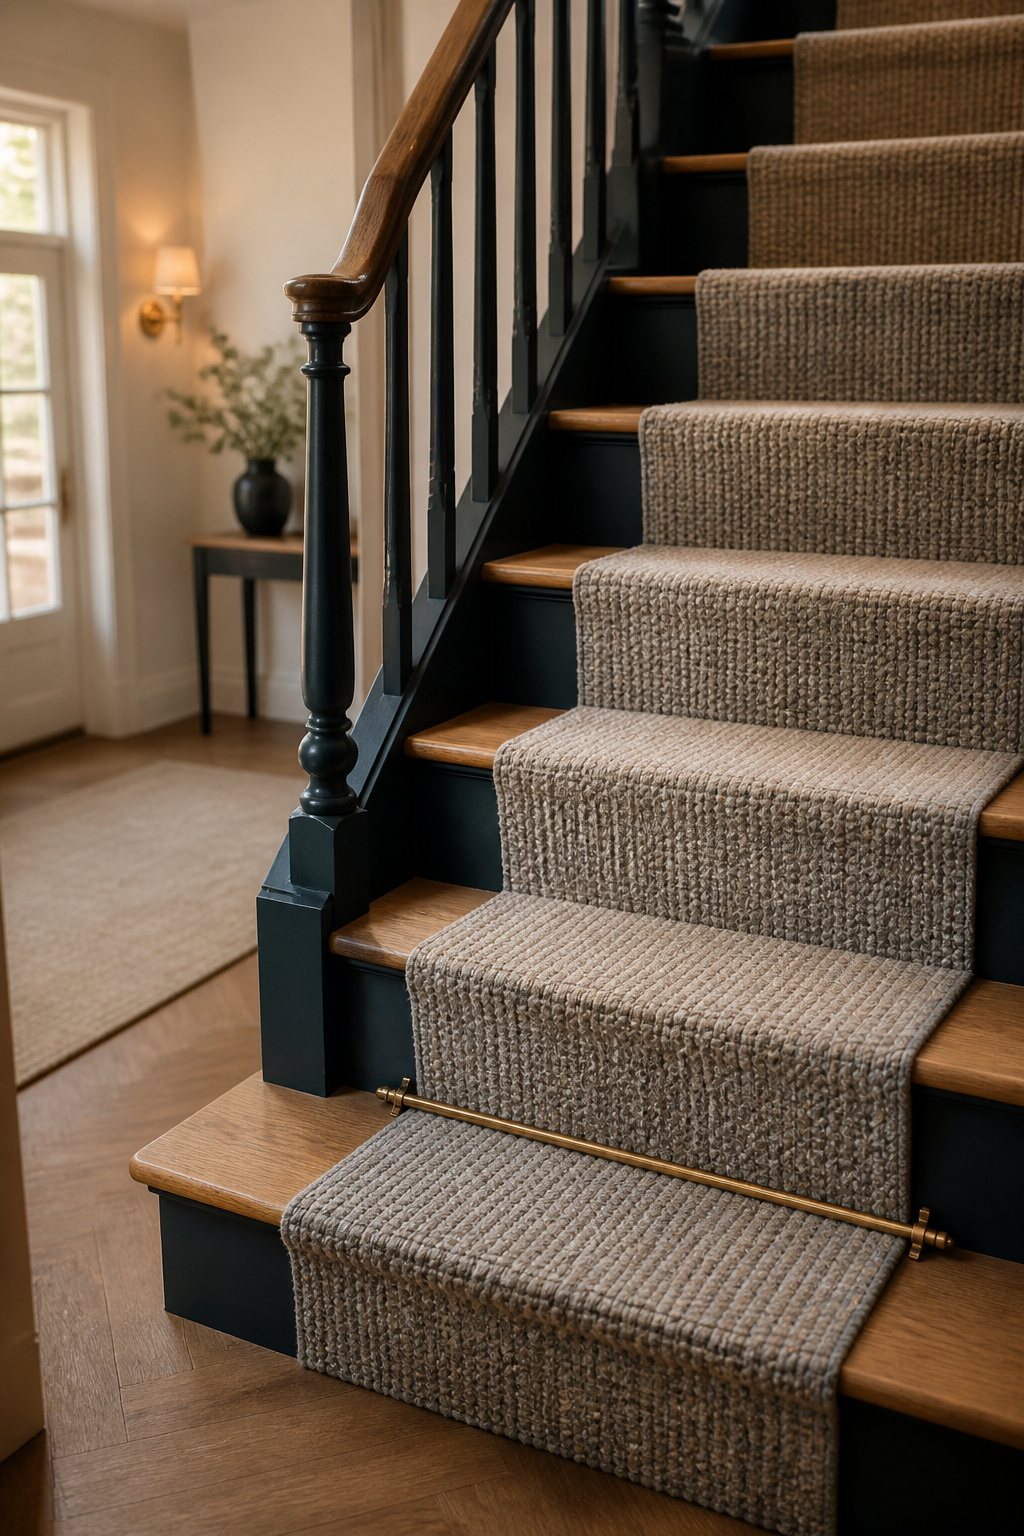
One documented makeover left five inches of painted wood showing beside the runner. The paint stayed part of the design, not hidden under it. Paint the flight first, lay the runner second. A neutral textured runner, diamond weave or indoor/outdoor, holds interest without competing with a bold tread color. Carpet tape and a staple gun install it. If you want pattern rather than texture, riser treatments beyond paint go further than a second color can.
When painted stairs are step one of a bigger reveal
Paint is rarely the last thing that happens to a staircase, a pattern I’d trust more than a rule. Once the color proves the stairs can carry a new palette, bigger jobs look reasonable: a baluster swap, refinished treads, or the move that usually belongs first. Removing the carpet first shows you what you’re actually working with.
Living with painted stairs: touch-up and maintenance
Maintenance is light, which justifies the week of waiting. Past the 7-day cure, ordinary household cleaners won’t hurt a water-based porch enamel. Tread centers will burnish and thin over seasons. That is expected wear rather than product failure. Keep a labeled quart from the original job: scuff-sand the spot, one coat, done.
The can you buy this week
Stop shopping for the perfect color and start shopping for the right label. Once your sample passes the three-day light test, buy the full gallon: porch or floor enamel, not the leftover wall paint. Write the cure date on the can before you open it. Skip it, and you’re touch-up-painting one scuffed tread in month two instead of walking past stairs that still look freshly done. The prep is the boring half of this job; the patience is the free half. Spend both, and the color gets to be the only thing anyone notices. If paint is the opening move rather than the whole renovation, the wider run of staircase makeover ideas picks up from here.
FAQ
Do painted stairs get slippery?
They can. A satin or gloss floor enamel is slicker underfoot than flat wall paint. The standard fix is a non-slip grit additive: silica sand, polymer grit, or a packet from the paint aisle. Stir it into the final coat on treads, landings and the first and last step. Keep the texture light, since sandpaper-rough is harder to mop.
How much does it cost to paint a staircase?
Professionally, $350 to $450 on average, from $225 at the low end to $700 at the high. It scales with step count: about $200 to $250 for 8 steps, $600 to $750 for 20. Sanding-heavy prep adds $4 to $9 per square foot. DIY, one $15 to $65 gallon covers 350 to 400 sq ft.
How long before you can walk on freshly painted stairs?
Light foot traffic is safe at 24 hours on a dedicated porch and floor enamel. Heavy traffic and furniture wait 7 days. Dry-to-touch is a different measurement: the window between coats, not permission to use the stairs. Full cure takes about 21 days water-based, 30 oil-based.