Seventy-five dollars sits at one end of this list. Sixty-three hundred sits at the other. Both are real figures from finished work: a whole flight repainted for $75 after a rebate, and a professionally installed 25-foot railing run at the top of its material range. That spread is why most staircase makeover ideas stall before anyone buys anything. Seven levers can change a staircase, they don’t cost alike, and a gallery of finished stairs won’t tell you which one yours needs first.
I sorted them by what they cost and how long they take, not by taste. Every lever below carries the same three things: the before, the after, and an honest effort label (weekend, multi-weekend, or call-a-pro). The costs come from documented projects with receipts. Pick the one that matches the weekend you actually have, then ignore the other six until it’s done.
Staircase makeover ideas: how to choose your first move
The costliest mistake on this whole list is paint. Not the wrong colour: paint applied to a tread that needed a carpenter. Two coats of enamel over a soft, flexing step buys you a better-looking hazard, and you find out about it in a season. So the first job is reading the stairs, not choosing a finish.
Read your stairs: what’s dated, what’s damaged, what’s just tired
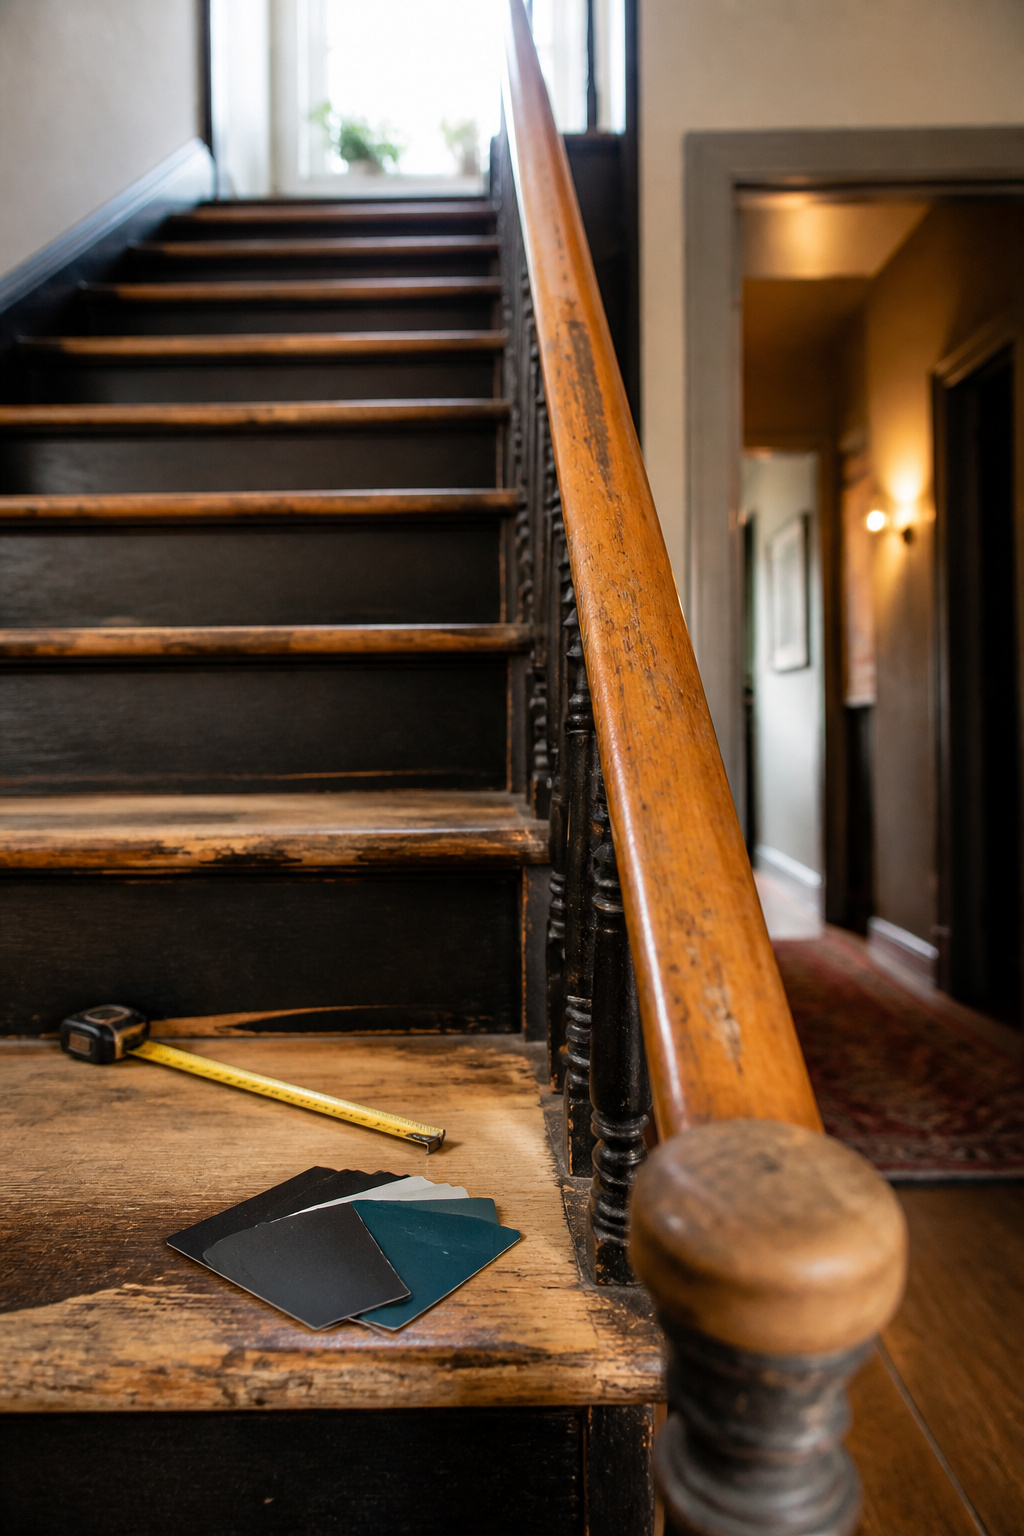
Dated is a finish problem. That orange-oak handrail everybody hates isn’t bad wood: red oak runs pink-red naturally, and the polyurethanes common through the 1990s and 2000s dried with a strong yellow undertone. Stain or paint corrects it, so replacement is the expensive answer to a cheap question.
Tired is a coverage problem: bare treads, plain risers, a dim stairwell. Weekend-lever territory.
Damaged has a number attached. IRC R311.7.5 caps riser height at 7-3/4 inches and sets a minimum tread depth of 10 inches, and within one flight the largest riser or tread may exceed the smallest by no more than 3/8 inch. Outside that variance you have a safety issue, not a decorating project; spongy treads and loose balusters sit in the same bucket. One more check if your run is three risers or fewer: ASTM International Standard F1637 treats short flights as their own hazard category, because nobody watches three steps the way they watch twelve.
Match the lever to your budget and weekend availability
Documented DIY projects cluster low. A paint-only refresh landed at $75 to $80: three cans of porch-and-patio paint plus an edger, after a manufacturer rebate. A carpet-to-hardwood reveal on another flight, with new plywood risers and beadboard on the landing, came to $135. The paid tier is a different world: professional refinishing alone runs $350 for a five-step flight to $4,100 for thirty-five, and the table at the end of this guide prices every lever side by side.
Time is the number people get wrong more often than cost. A professional sands a straightforward staircase in about two hours. The same job solo, counting hardware removal, dry time between coats and touch-ups, realistically stretches to a week.
Effort labels: weekend, multi-weekend, call-a-pro
Every lever below carries one of three labels:
- Weekend: 4 to 8 hours of active work plus overnight cure. Paint, most riser treatments, a runner on a straight flight.
- Multi-weekend: anything with a reveal-then-decide step or sequential stages. Carpet removal and triage, baluster swaps, wall panelling.
- Call-a-pro: structural. Any flight outside that 3/8-inch variance, or a step whose rise or run is inconsistent enough to trip on.
Then add a weekend to whichever label you land on. Every project takes one more than the video said, and I’d rather you hear it from me now than work it out at nine on a Sunday with the stairs out of service.
Paint: the cheapest lever with the biggest visual payoff
Seventy-five dollars. That was the whole staircase, after a $30 rebate: three cans of porch-and-patio paint, an edger, tape. Nothing else here comes close on cost, and nothing else changes as much of the view from the front door.
Before: dated or bare treads and risers
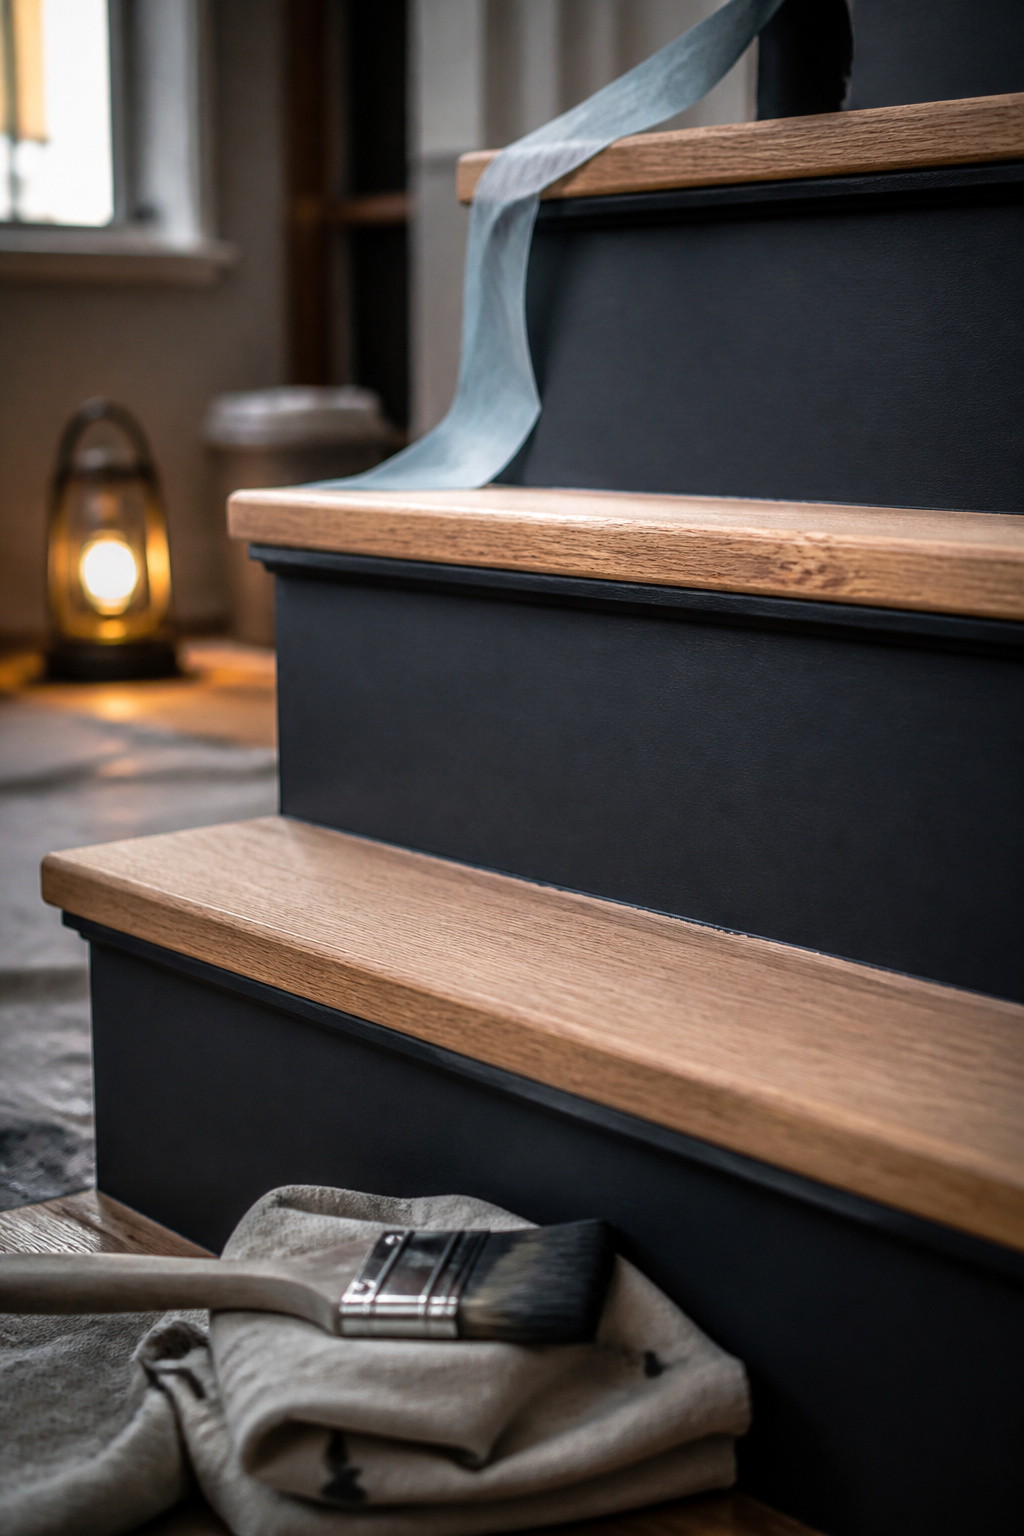
The starting condition is the same across most documented projects: bare or unevenly worn treads, above risers that either never matched or were finished decades ago in a tone the house has moved past. What decides the outcome is what’s already on the wood, more than the colour going on top. Old glossy finish is what peels new paint, which is why a shellac-based primer beats a water-based one here: it blocks tannin bleed-through and grips a slick old surface that water-based primer lifts off within weeks. Shellac announces itself before the lid is off, too. That solvent bite at the back of the throat is the smell of something that’s going to hold.
After: a coordinated painted scheme that reads intentional
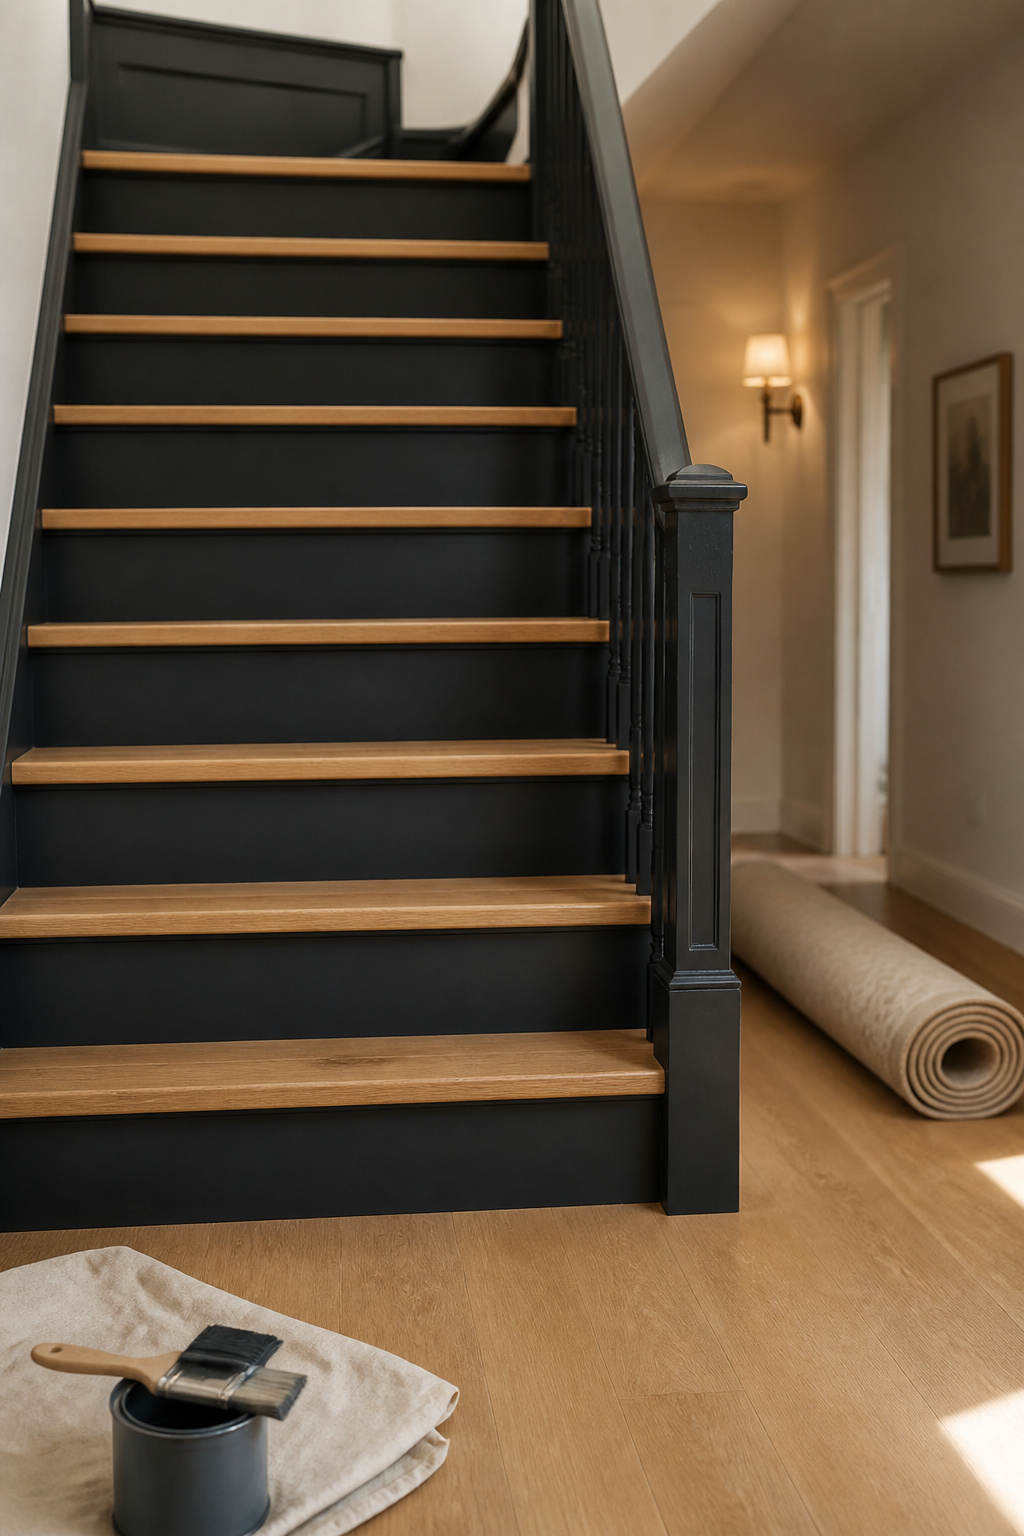
The scheme that does the most work leaves the treads alone. Put the dark tone on the risers and the stringer, then leave the treads in natural or lightly stained wood. The contrast is the design, and the wood you kept is what stops the whole flight looking like a corridor.
Product category matters more than brand: porch-and-floor enamel, not wall paint. It’s formulated for foot traffic and interior wall paint is not. The documented $75 flight went on in four layers with 4 to 6 hours of dry time between each. Rush that window and the layer underneath is still soft when you bury it.
Effort label and real cost range
Weekend project. Prep is quick when the surface is sound: one documented flight reported about 30 minutes of sanding before priming. Budget $75 to $80 for paint alone, or $135 if you’re pulling carpet and fitting new plywood risers on the same stairs.
Three ways it goes sideways: leftover wall paint on treads, no shellac primer under an old glossy finish, or a recoat rushed inside that 4-to-6-hour window. All three fail in the same place, about a season in. Which enamel, which colour goes where, and when shoes are allowed back sits in painted stairs ideas that hold up, along with the difference between dry and cured.
Pull the carpet and see what you’re working with
The room smells of old padding for a day afterwards. That, plus a contractor bag of grey foam by the front door and a coffee tin of bent staples, is what five hours on a staircase actually looks like.
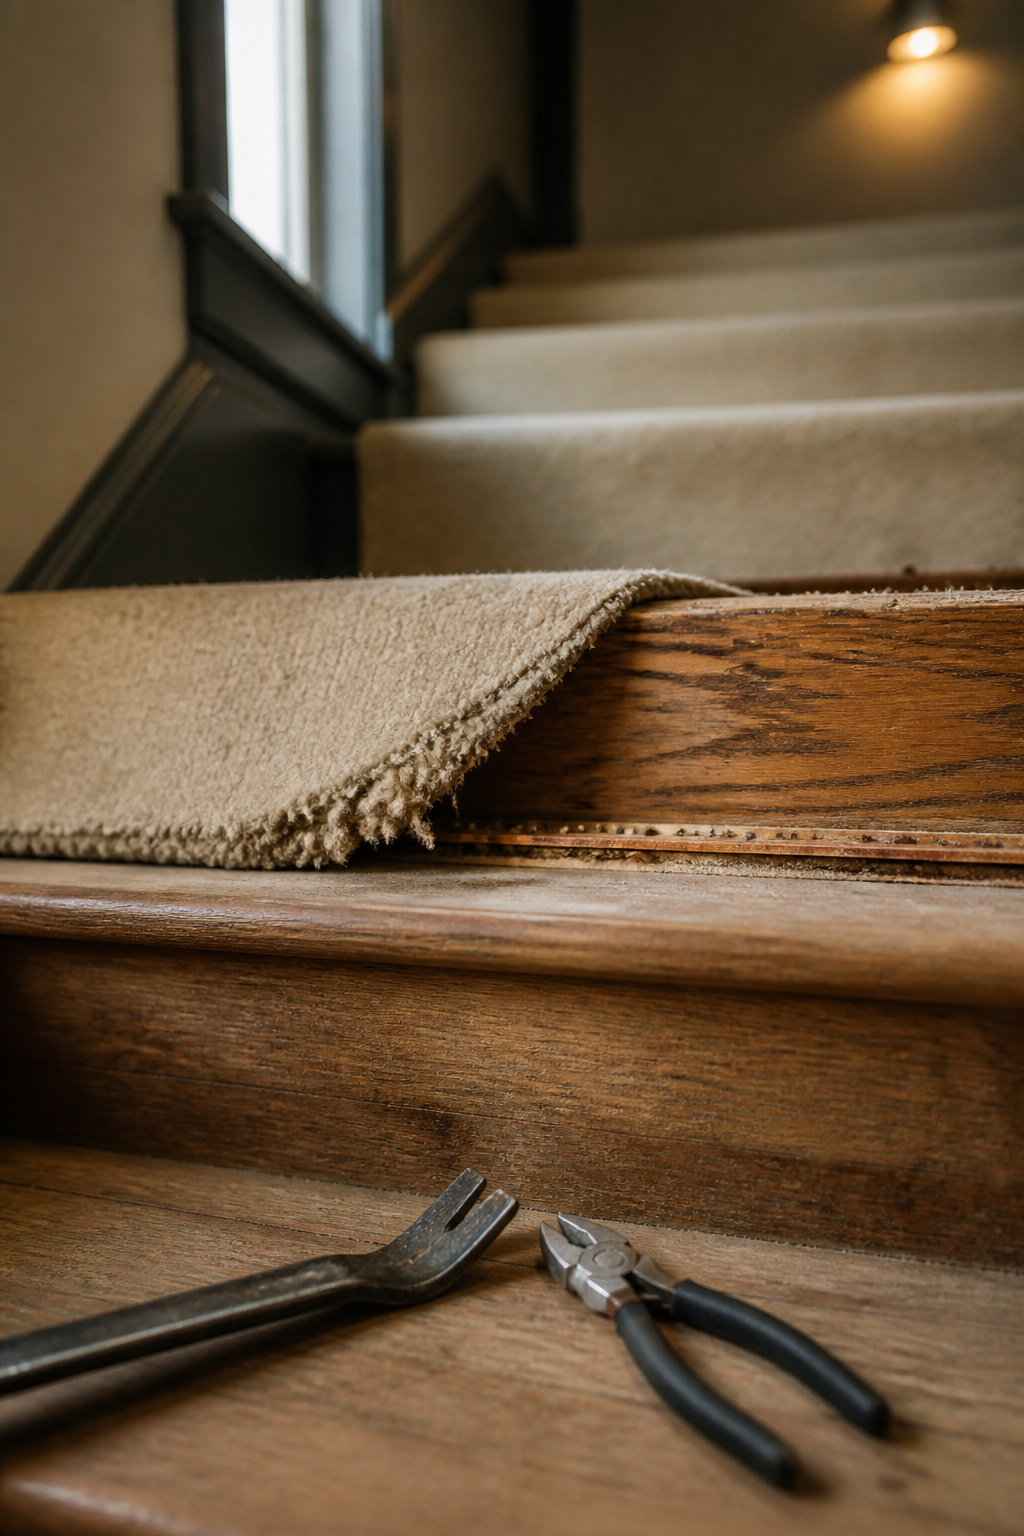
Before: wall-to-wall stair carpet hiding the treads
Carpet hides the tread material and its condition at once. Plenty of builders ran real wood only along the visible tread edges and left plywood in the middle, so the reveal is unpredictable house to house, which is exactly why it’s the cheapest information on the whole staircase.
After: bare wood revealed and triaged
Removal runs the same sequence on every stair: carpet off the riser, then off the tread, padding out, then tack strips and staples. About five hours for a full flight, up to $25 in materials.
Tack strips splinter rather than lifting whole, so slide a wide putty knife under your pry bar and let the leverage land on the knife instead of the tread. Most staples come up with the carpet; the rest stay embedded and need pliers or a heavy-duty staple remover. Those stragglers are why this takes five hours instead of two.
Then you triage. Solid hardwood is worth sanding and staining. Plywood or mismatched wood is worth priming and painting. Anything past both gets replaced. One documented project found salvageable hardwood under its carpet and held the job at $135 because of it.
Effort label and the honest slog it involves
Weekend for the pull, multi-weekend once triage is counted, because sanding, priming or swapping a bad tread all happen after. The gear list isn’t optional either: goggles, work gloves, a mask, long sleeves and long trousers, knee pads, sturdy shoes. The injury risk here is staples and splintering strips, not the carpet.
The strip, the staples and which of the three answers your treads deserve are laid out in removing carpet from stairs the right way, including what to do with the ones that fail.
Bring back softness and grip with a runner
Putting textile back on stairs you just stripped bare sounds backwards until you live with hard treads. Bare wood gives up cushioning and grip at once. Hard treads in socks are the slipperiest surface in the house, and a runner is the only lever here that fixes both.
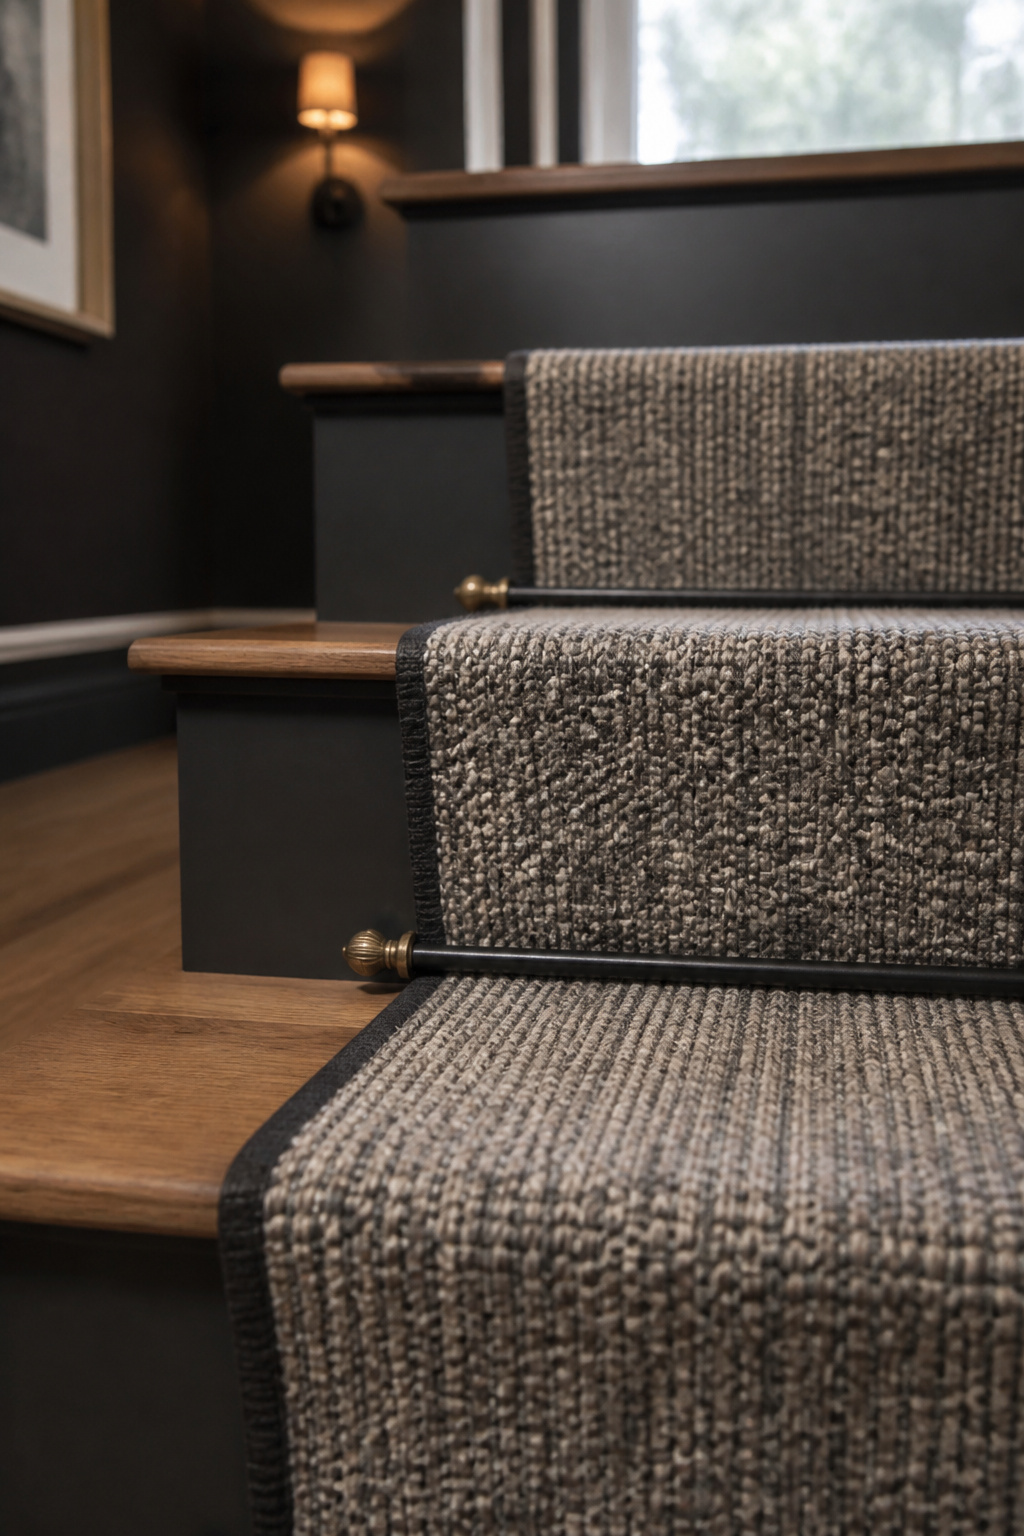
Before: bare or worn treads with no cushioning
Post-carpet-pull stairs and always-hardwood stairs land in the same place: they look finished and they sound like a drum. That practical case is the better reason to buy.
After: a runner chosen for material, width and pattern discipline
Material sets the price before anything else does. At the standard 27-inch width, nylon and polyester run $15 to $30 per linear foot, sisal $25 to $45, and wool starts at $45 and can pass $100. Then add $4 to $14 per linear foot for binding or serging the edges against fraying, the line most people leave out of the budget entirely.
Pattern behaves differently here than on a floor. The same 12 to 18 inches of design repeats on every single step, so a busy print stacks into noise by the fourth tread. A woven or subtly patterned wool flatweave reads as texture instead, which is what still looks chosen in five years.
Effort label and install routes
Weekend on a straight flight, multi-weekend once there are turns. DIY supplies (padding, tack strips or staples, install tools) run roughly $200 to $300 for an average staircase. A professional install on a straight flight, budget pre-made material, is $300 to $550 total, roughly $10 to $25 per step; winders, turns and landings push that to $550 to $850 and up. Wool with rods runs well past any of those numbers.
Henrik Larsson takes the selection apart properly in choosing and fitting a stair runner: density before colour, the width that leaves an even reveal on both sides of every tread, and which install route is honestly a homeowner job.
Railing and baluster updates that change the whole stairwell
Sixteen dollars and sixty-six cents. That’s what the balusters and hardware cost on a documented wood-to-iron swap for a full flight: basket-style and single-twist iron, plus flat shoes. The project totalled $100 to $250. Everything above that $16.66 went to stain and sealant.
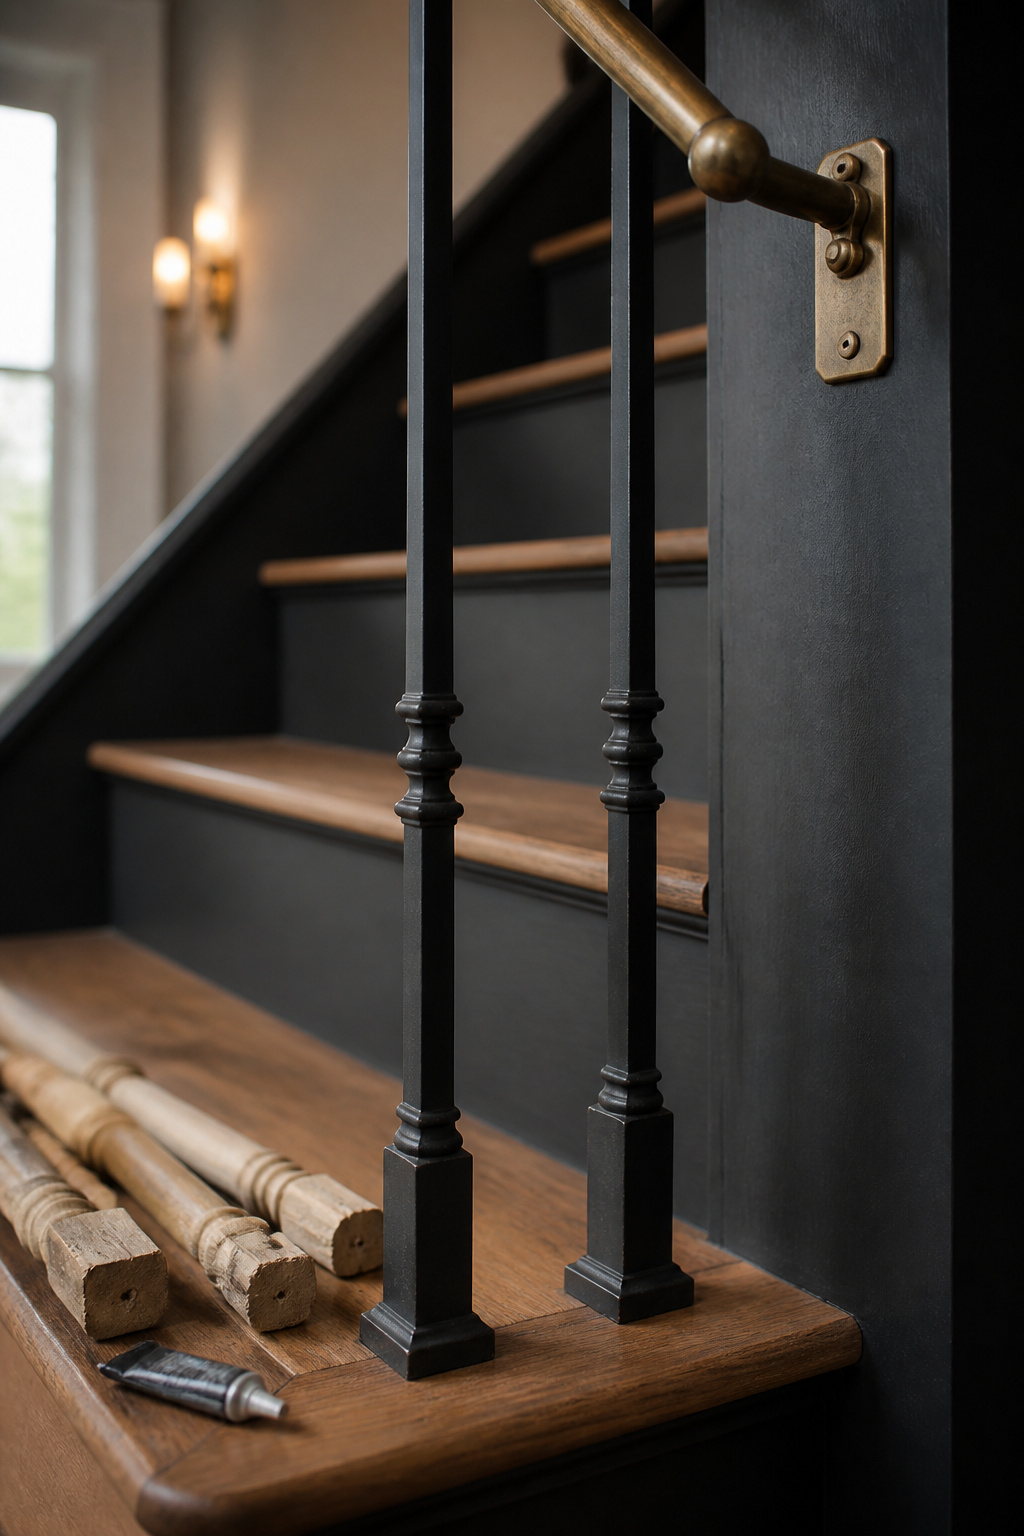
Before: an orange-oak or worn handrail dating the house
The handrail is the most-touched surface on a staircase and the detail most often blamed for dating a house. Usually that’s a finish problem rather than a wood problem, and a rail you can refinish is one you don’t have to buy twice.
After: paint, swapped balusters, or a full refinish
The baluster swap is the middle route, and its timeline surprises people:
- Remove the old wood balusters: about an hour.
- Sand the handrail and the tread seats where the balusters sit: about another hour.
- Set the new iron balusters in epoxy or hot glue: about two hours, and it speeds up once you find the rhythm.
The top route is a full professional railing installation, priced by the linear foot: $20 to $60 in wood, $50 to $250 in metal, $100 to $600 in glass. On a 25-foot run that’s the $500 to $6,300 bracket, and the highest-disruption move on this list.
Effort label and disruption ranking
Low to high: paint (weekend, nothing structural changes), baluster swap (multi-weekend, about four hours active plus stain and sealant drying), full refinish or replacement (call-a-pro).
One rule outranks all three. No sphere larger than 4 inches may pass through a guard (4-3/8 inches on the open side of a stair guard), with one narrow exception allowing a 6-inch sphere through the triangle formed by tread, riser and bottom rail. Check new spacing against that before buying anything. IRC R311.7.8 also wants a handrail on any flight of four or more risers, continuous, 34 to 38 inches above the nosing.
Rachel Blackwood ranks the three routes by disruption in railing makeover routes from paint to balusters, starting with how to read the newel post, which tells you whether you’re holding an original worth restoring or a builder-grade rail worth swapping.
Riser treatments for the inches everyone skips
A riser is about a square foot of surface. It’s the only part of a staircase where a bold idea costs almost nothing to try, and almost nothing to undo.
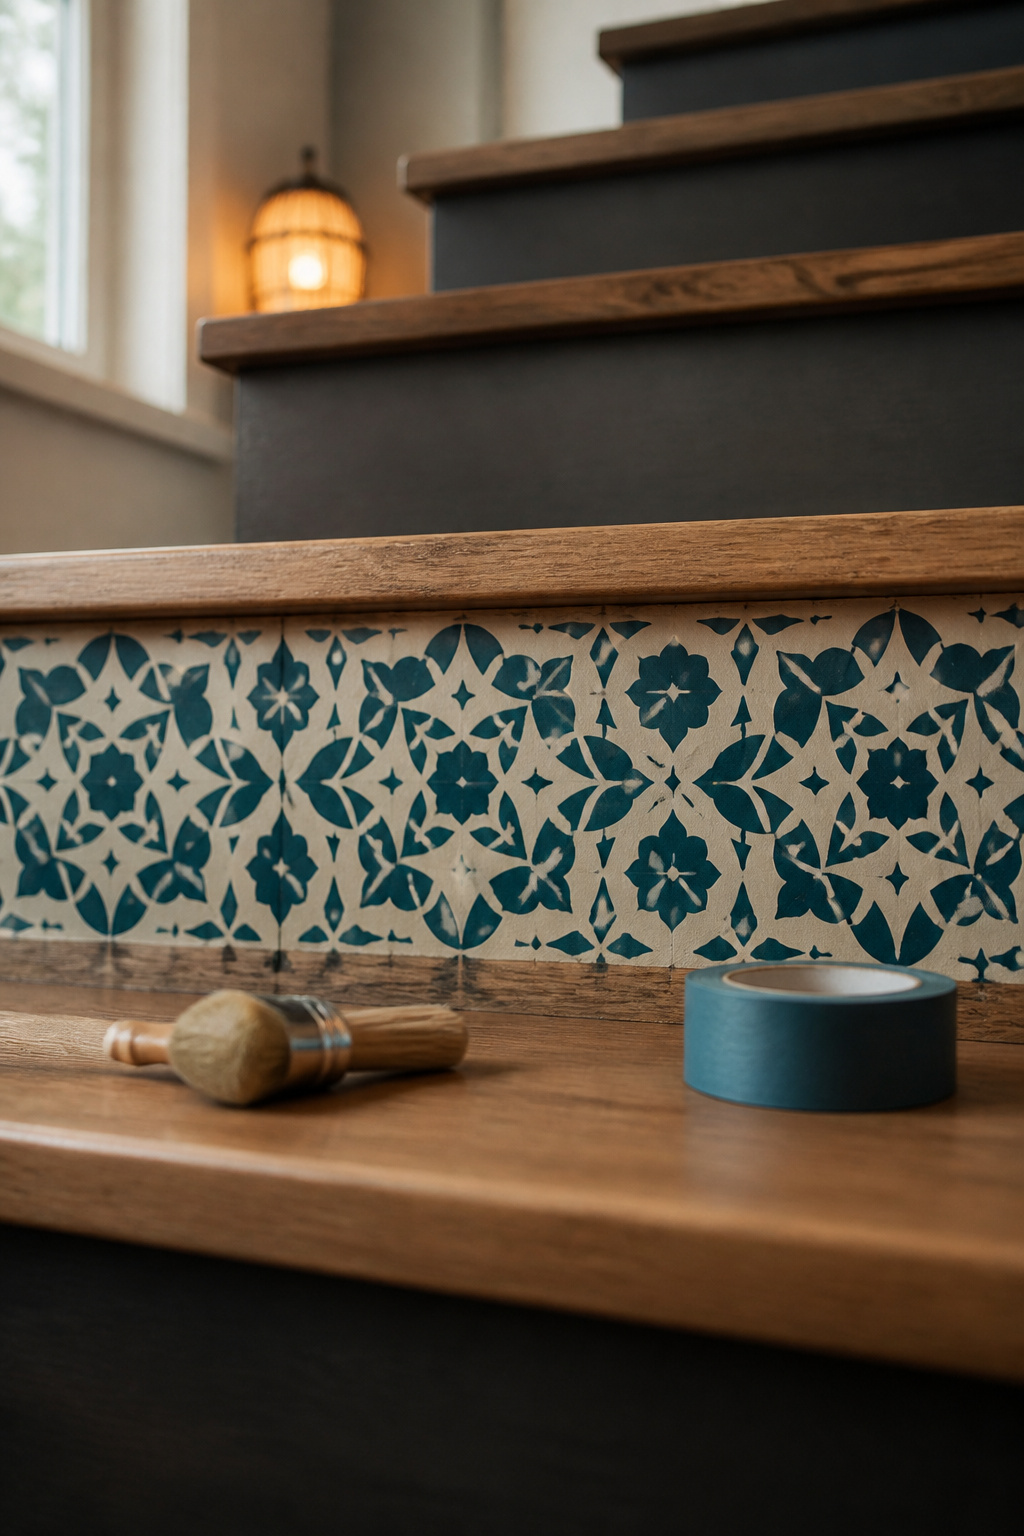
Before: plain painted or bare risers
Plain white or unfinished risers are the builder-grade default: fourteen vertical faces doing no visual work, on the one surface at eye level as you climb.
After: pattern, wallpaper or tile-look treatments
The documented method uses a removable base (peel-and-stick canvas cut to each riser’s exact dimensions) plus stencil brushes, stencil creme paint, and a sealant over the top. Because the canvas comes off, the pattern can be swapped later without repainting the riser underneath.
Two details decide whether it looks crisp. First, offload the brush onto a paper towel before each pass; a loaded brush pushes paint under the stencil edge and that bleed is permanent. Second, burnish the canvas with a squeegee or a credit card after positioning, then trim with a craft knife. Bubbles trapped at that stage stay trapped.
Tile-look and Moroccan geometric sets are the most documented pattern category, and the reason is scale. A repeating geometric motif survives being cropped into a narrow band; a large-repeat floral gets sliced apart by every tread edge.
Effort label and real cost per stair
Weekend project, and the cheapest experiment on the staircase. Kits bundle the canvas and stencil to keep the cost predictable, and the treatment is removable, which is what lowers the risk of trying a strong pattern.
The odd economics of it: four risers or fourteen, the material bill barely moves, because each face is only about a square foot. Labour per riser is the real cost driver. The fourteen just cost you Sunday.
Decals, wallpaper offcuts, stencils and tile-look vinyl each wear and price differently. The per-route numbers sit in riser treatments beyond plain paint, plus the rule that stops a patterned staircase arguing with itself.
Dress the stairwell walls
Stand at the bottom with a roll of painter’s tape and the problem shows itself in about a minute: one long uninterrupted diagonal, one light switch, and no natural break points except the door casings and the ceiling line at either end.
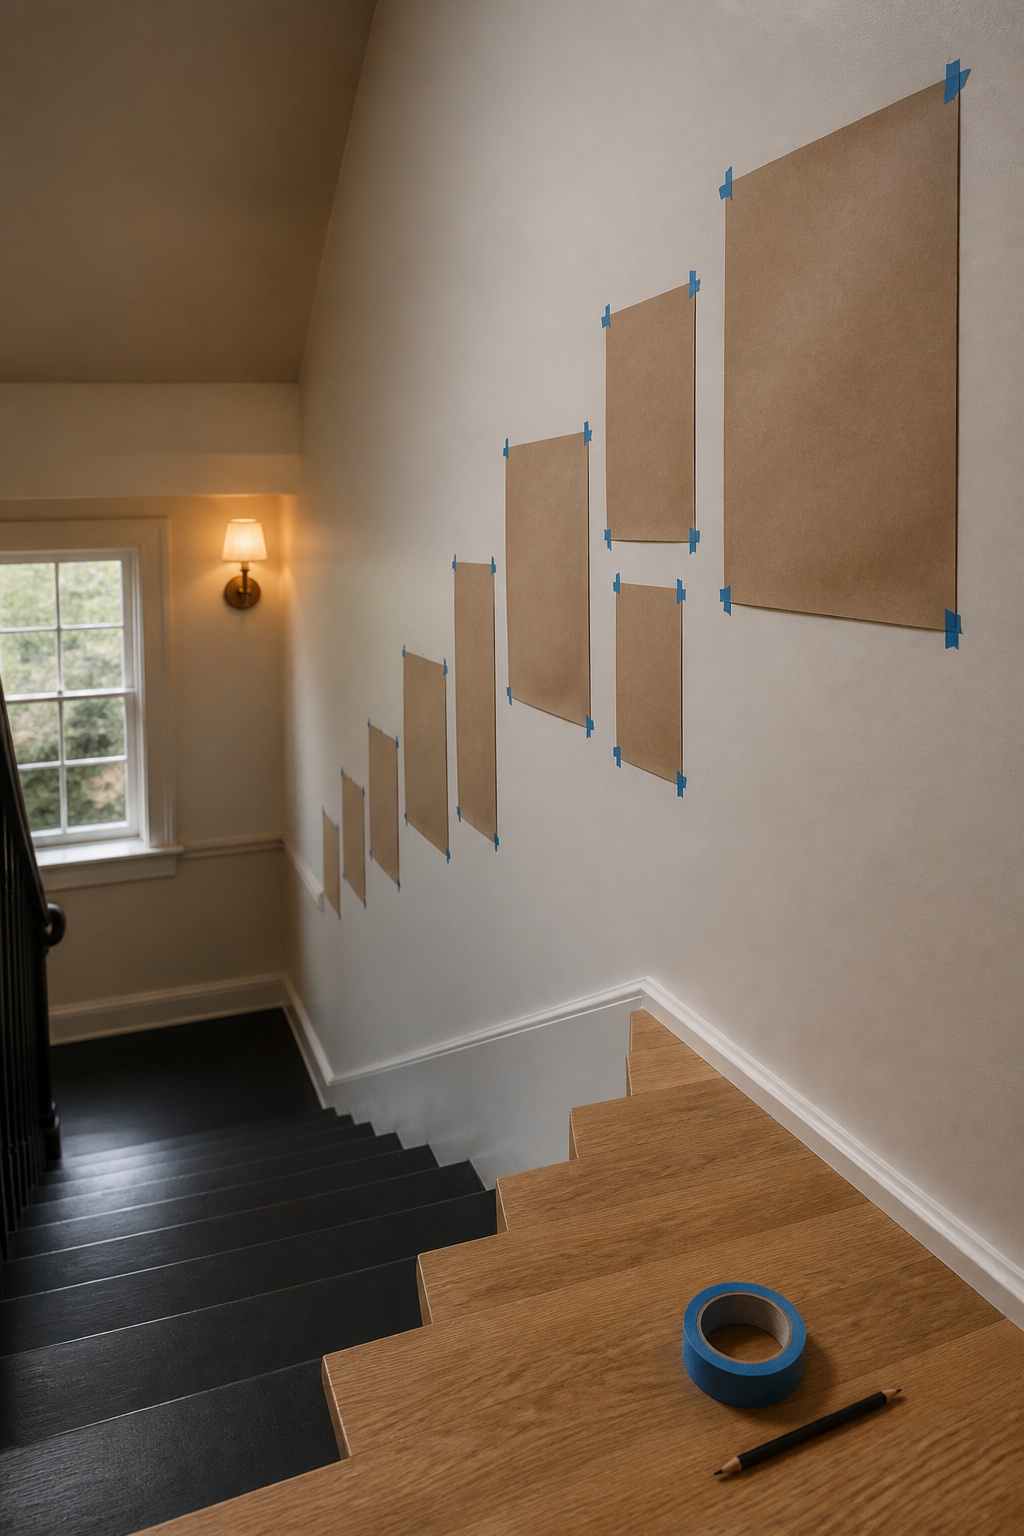
Before: a blank diagonal wall running the stairs
Molding guides and gallery-wall guides both treat the stairwell as its own layout problem rather than a scaled-down flat wall, because the pitch defeats every template designed for level ground. That’s why this wall stays blank in most houses.
After: panelling, molding or a gallery wall that steps with the pitch
Both routes share one method: template on the wall itself.
For molding, tape the design out directly on the wall rather than sketching a plan first. Tackle the hardest section (the top of the stairs, working down) before the easy stretches, and let the smaller boxes follow the angle of the stairs instead of forcing one uniform box size down the run. One documented project held roughly 1.5 inches between boxes, adjusted section by section rather than templated once.
For a gallery wall, trace each frame onto paper, cut the shape out, and tape it up until the arrangement is right. Standard frame-to-frame spacing is 2 to 3 inches, wider for larger frames. A floor mockup doesn’t survive contact with a pitched wall.
Effort label and what changes with an older vs newer house
Multi-weekend for either route, because the templating pass finishes before anything gets cut, nailed or hung. House age changes the hardware more than the layout: plaster stairwells want hanging hardware rated for plaster (toggle-style, not standard drywall anchors) plus a molding adhesive that copes with an uneven surface. Newer drywall takes the standard stuff.
This is the one lever where I can’t hand you a documented project total. House-to-house variation in wall height, run length and profile choice is too wide for any single published figure to mean much here. The layout is well covered, though: Rachel Blackwood works the geometry in panelling and gallery ideas for the stairwell wall, from the rise-over-run measurement everything derives from to a gallery line that climbs the pitch instead of stepping down it.
Light the stairs for safety and mood
Between 1999 and 2008, U.S. emergency departments treated more than 93,000 children under five each year for stair-related injuries, roughly one child every six minutes. That’s why this lever gets ordered differently from the other six: the safety figure comes first, and atmosphere goes on top of it.
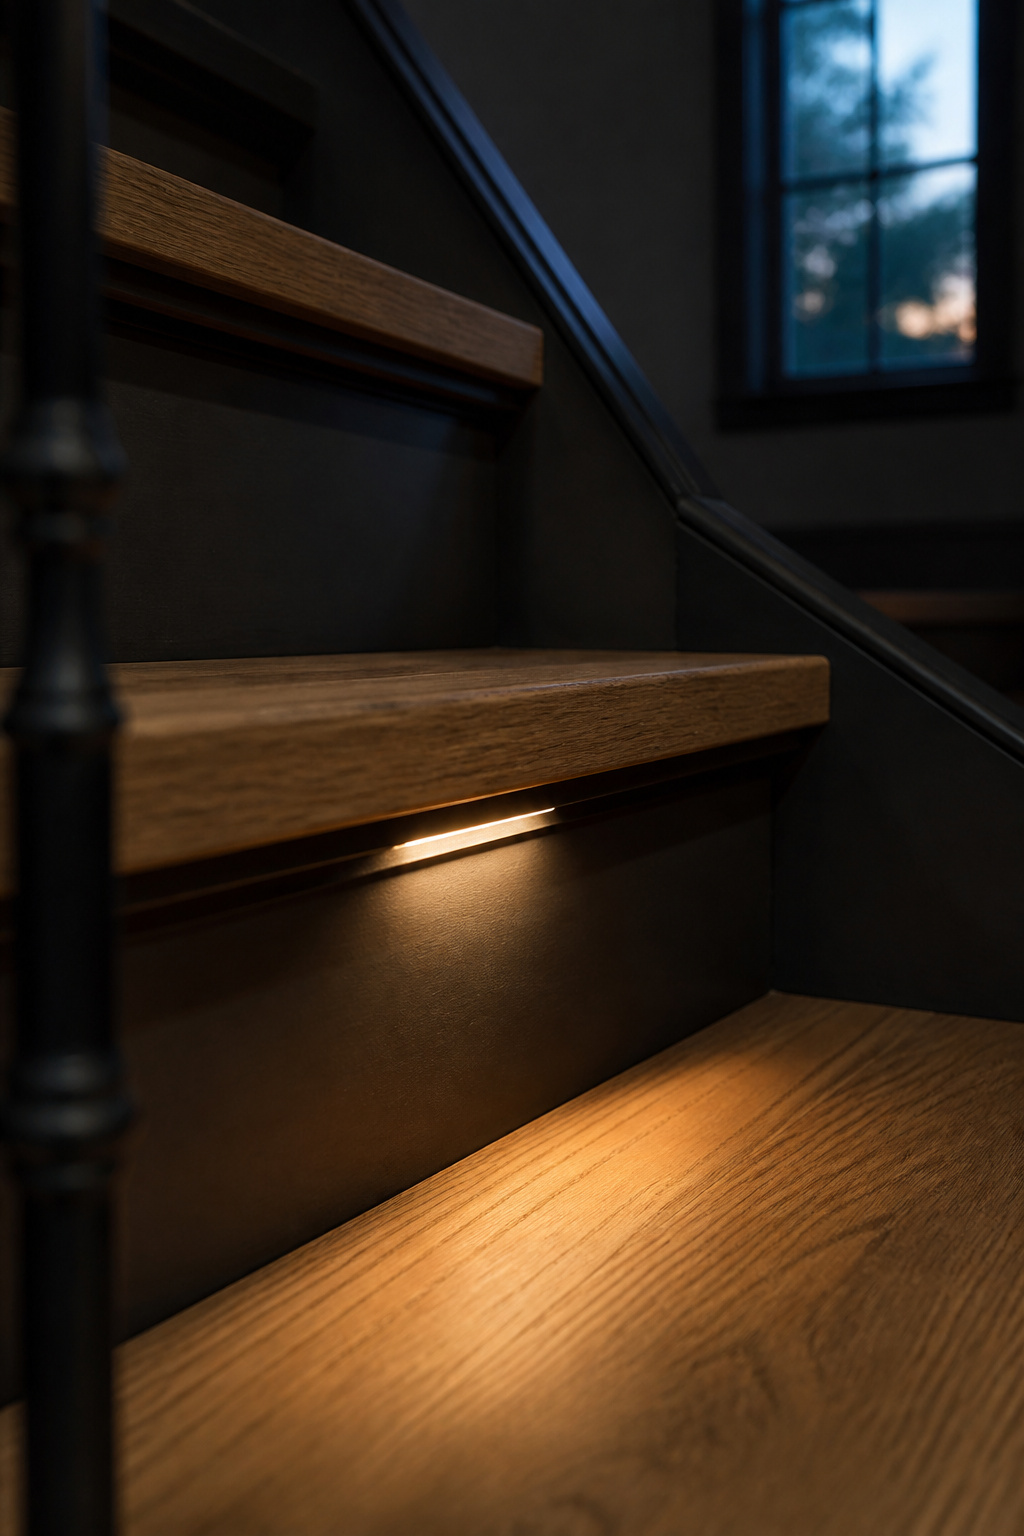
Before: a dim or hazardous stairwell
A stairwell you navigate by memory is a safety project wearing a decorating disguise, and the lever people postpone longest, because a dark stairwell never looks broken in daylight.
After: a layered scheme meeting code with mood added on top
IRC Section R303.7 sets the floor: interior stairways need artificial light providing a minimum of 1 foot-candle, about 11 lux, at the centre of each tread and landing. Every other choice has to clear that first.
Then layer. Recessed lights along the sidewalls, LED strip under the tread nosings or along the railing, sconces up the run: layer them for depth, because one fixture type alone usually leaves dark patches. Recessed step and riser lights output 50 to 150 lumens per fixture, fitted to every step for intensive lighting or every other step for something more atmospheric. Whichever pattern you pick, the top and bottom steps always get lit.
One detail earns more than any fixture. A contrast stripe at the nosing wants at least 30% luminance contrast against the tread, in a single solid colour. Two tones of similar lightness register as decoration, because the eye needs a lightness difference to read an edge as depth.
Effort label and retrofit-friendly options
Individual recessed step or riser fixtures range from about $7 to $180, most practical options between $15 and $67 each before labour. LED strip and battery or plug-in step lights are the retrofit route where there’s no wiring in place, since they avoid opening walls at all. Hardwired fixtures and sconces are multi-weekend at best, and where the circuit or the panel is in question, that’s an electrician. I don’t hedge on that one.
Henrik Larsson runs the whole scheme in lighting the stairs for safety and mood: what code expects at the landings, the spacing that leaves no dark treads, and what changes once the treads are painted dark.
Budget, effort and timeline at a glance
Everything above in one place, using documented figures rather than averages I smoothed out, so where a range is wide, it’s wide because the real projects were.
Cost tier by lever
Cheapest first, with the effort label attached to each:
| Lever | Real cost | Effort label |
|---|---|---|
| Paint (treads, risers, stringer) | $75-$135 total, DIY | Weekend |
| Riser treatments | About 1 sq ft per riser; material barely scales with step count | Weekend |
| Carpet removal and triage | Up to $25 in supplies; about 5 hours for the pull | Multi-weekend |
| Baluster swap | $100-$250 DIY; hardware from $16.66 | Multi-weekend |
| Stairwell wall treatment | Materials vary; cost is mostly labour time | Multi-weekend |
| Stair runner | $15-$100+ per linear foot material; $200-$300 DIY supplies; $300-$850 professional install | Weekend straight / multi-weekend with turns |
| Stair lighting | $15-$67 per fixture typical ($7-$180 range), plus electrician labour | Weekend retrofit / call-a-pro hardwired |
| Professional refinish | $350-$800 (5 steps) to $3,100-$4,100 (35 steps); ~$800 average at 12-17 steps | Call-a-pro |
| Full railing replacement | $500-$6,300 for a 25-linear-foot run | Call-a-pro |
Read the label column before the price column. A cheap lever you don’t have the weekends for is still the wrong lever.
Weekend estimate by lever
One weekend: paint, riser stencils, a runner on a straight flight. Multi-weekend: carpet pull plus triage, baluster swap, any wall treatment. Call-a-pro: full railing replacement, professional refinishing, structural repair outside the 3/8-inch variance.
Which levers stack well together
Sequence matters more than ambition here, and four rules cover almost every combination:
- Carpet comes off first. A runner needs bare treads to install onto, and a paint scheme needs to know what’s underneath before you commit.
- Paint and riser treatments stack into one weekend. Same prep (clean, prime, paint) on surfaces already exposed and taped off.
- The runner goes on last at tread level, after the paint or stain beneath it has cured.
- Lighting runs in parallel with anything. The code minimum is independent of what’s happening to treads, risers or walls, so it carries no sequencing dependency. Wall work is nearly as flexible.
Doing the lighting and the walls last, when both could have run alongside the tread projects, is how a six-weekend staircase becomes a ten-weekend one.
The decision is smaller than it looked at the top of this page. Carpeted stairs? The carpet comes off first; five hours and $25 buys the information every other lever depends on. Bare, sound treads? Paint returns more per dollar than anything else here, at $75 to $135. Treads fine and the handrail dating the house? That’s a $100 to $250 baluster swap, not a $6,300 replacement. And a genuinely dark stairwell jumps the queue whatever the treads look like, because 1 foot-candle at tread centre isn’t a style preference.
What I’d avoid: painting before checking the treads are sound, budgeting the finish without budgeting the reveal that comes first, laying a runner over paint that hasn’t cured, and treating a flight outside the 3/8-inch variance as a decorating problem. Those four account for most of the staircases I’ve watched get redone twice.
Everything else is matching one effort label to one free weekend, and adding the extra weekend I already warned you about.