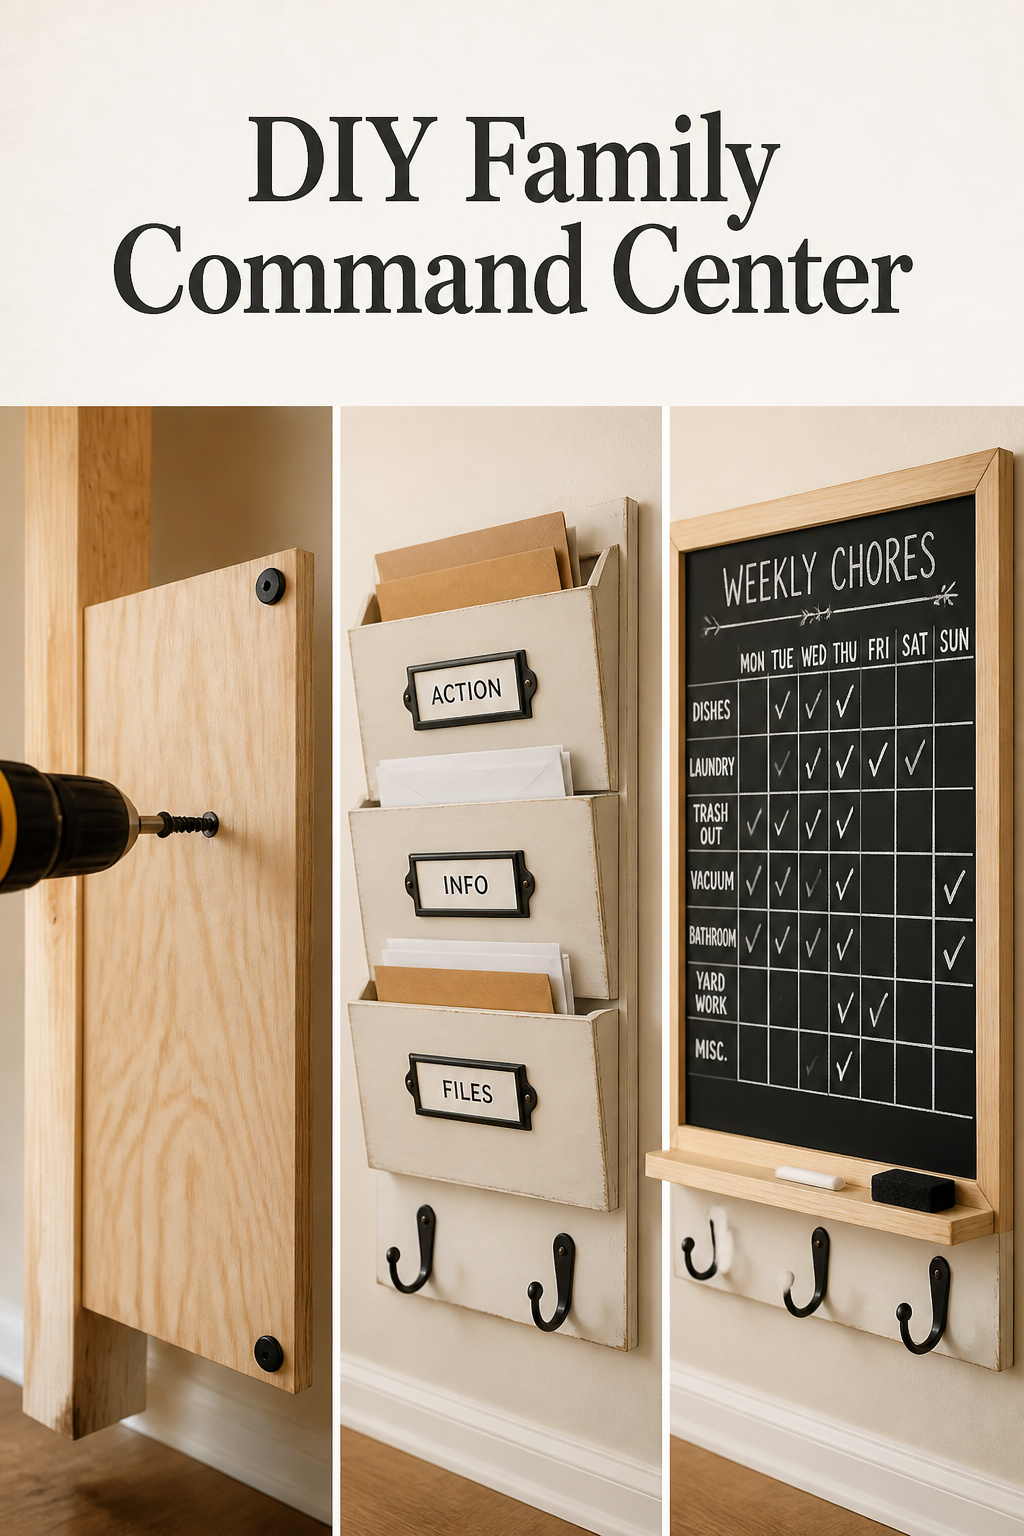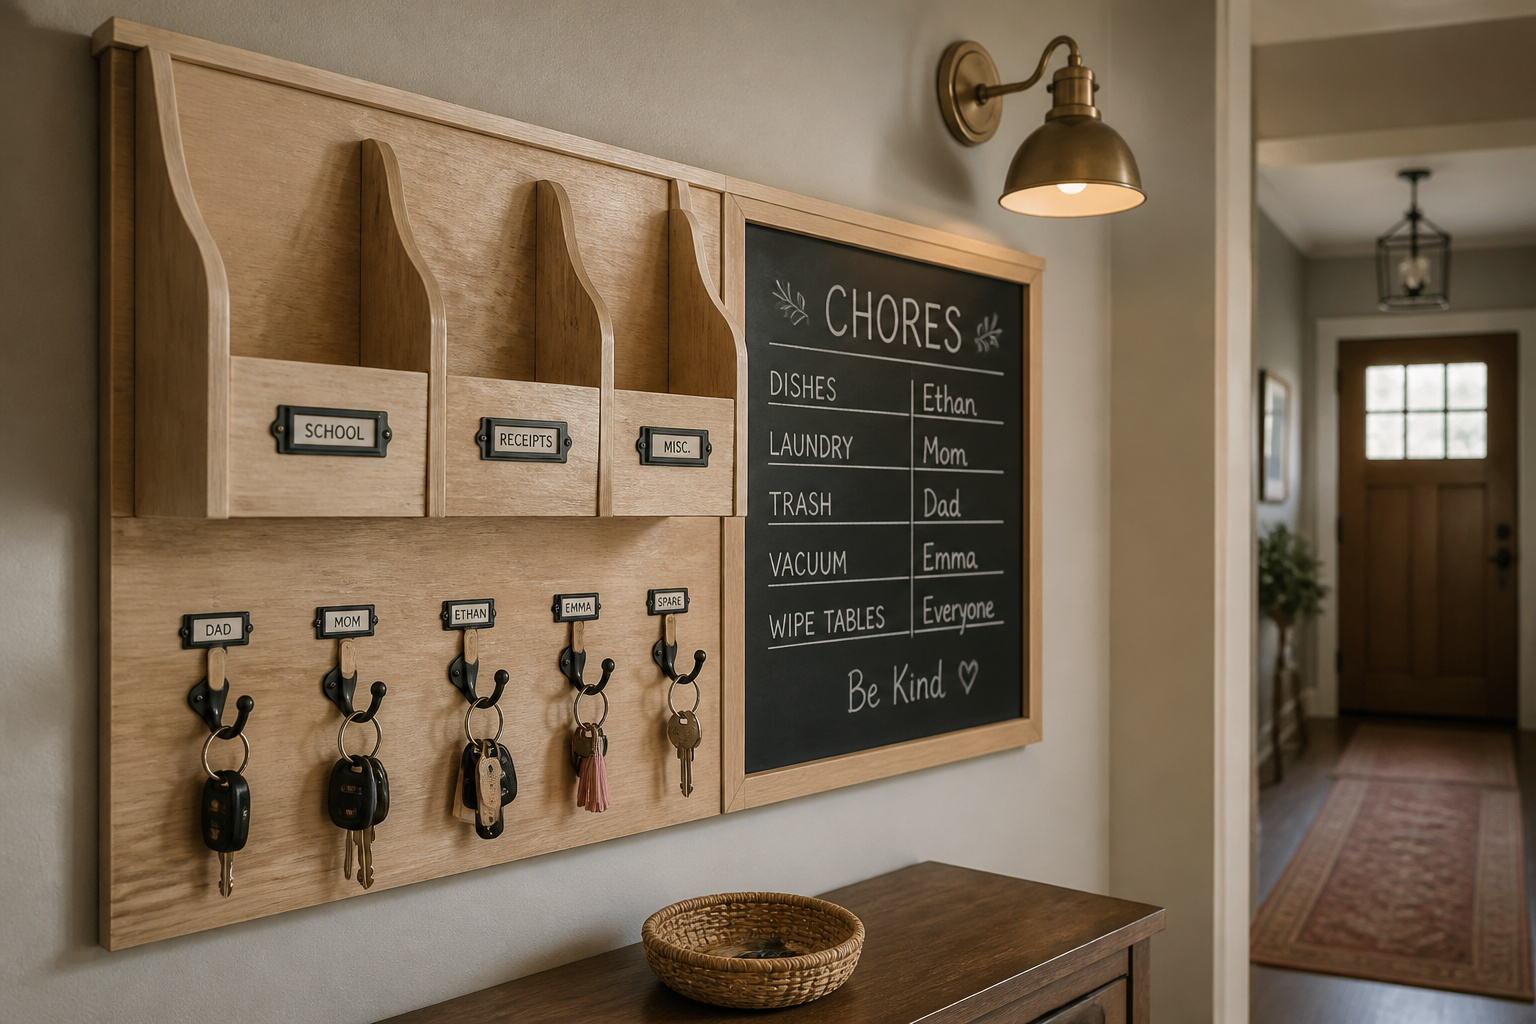
I once lost a whole Saturday to a “two-hour” floating-shelf video, most spent driving back to the store for anchors I hadn’t known I needed. So when I built a wall command center for the mail, keys and forms breeding on my counter, I planned it like a job: one stud-mounted plywood panel, a mail sorter, a row of hooks and a board. Most family command center ideas online look like custom cabinetry — but you don’t need cabinetry, just a panel screwed to two studs and a system that fits your pile.
TL;DR
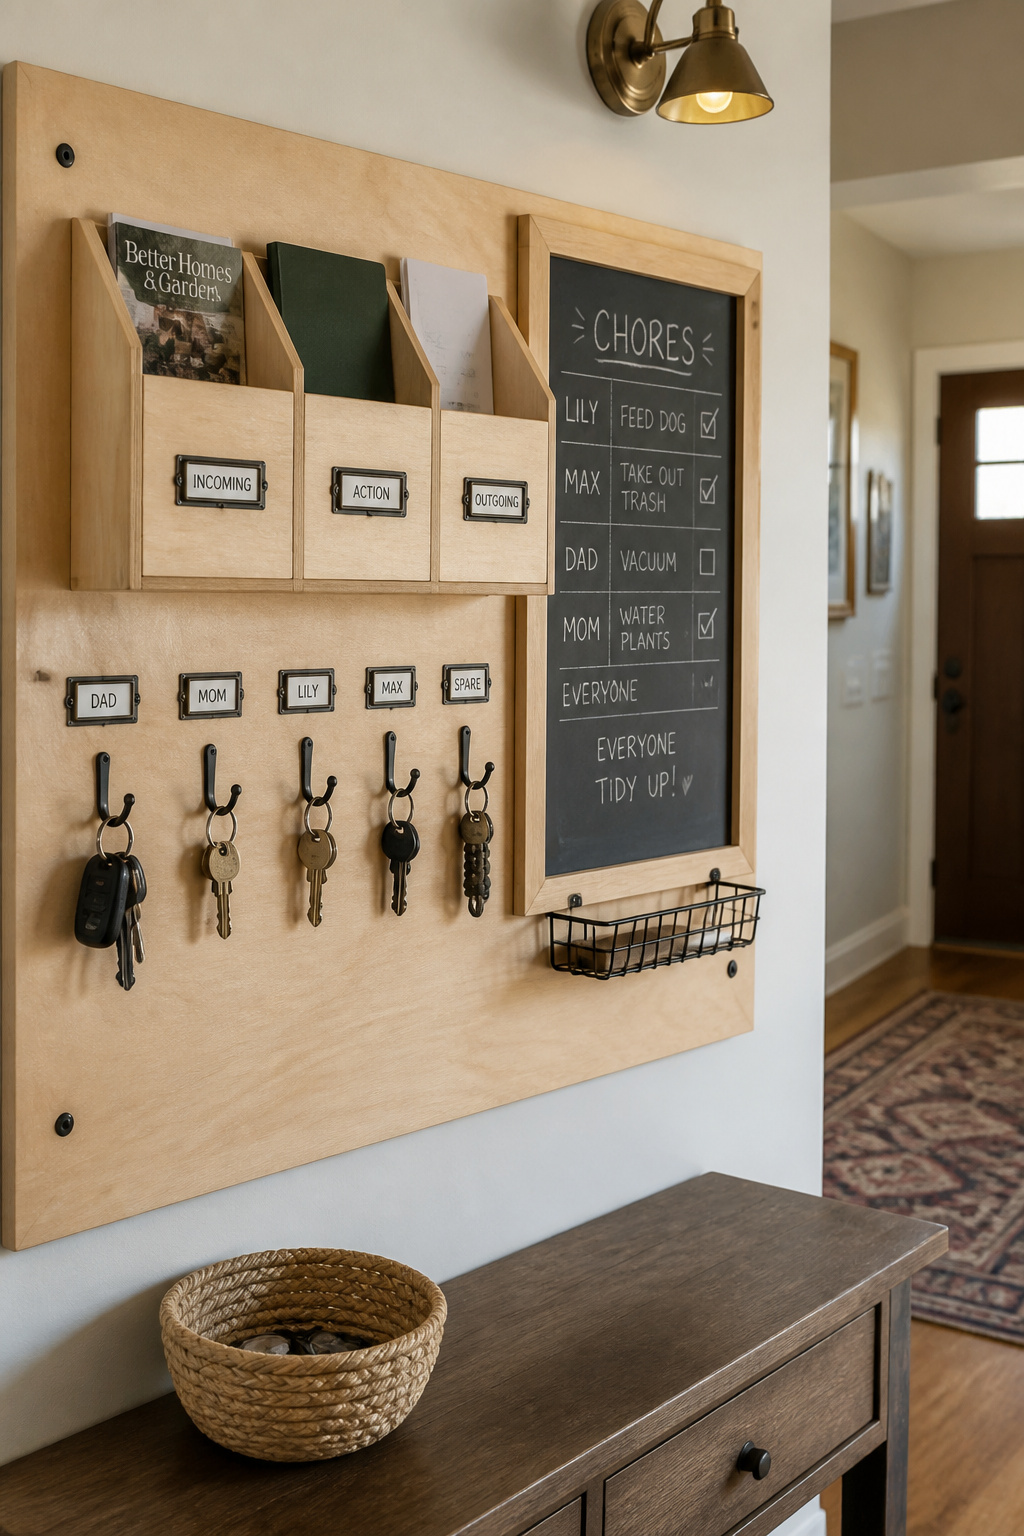
- A working command center does three jobs: sort mail by what happens next, give every person a labeled key hook, and run a weekly board you don’t rewrite nightly.
- It’s a stud-mounted 3/4-inch plywood panel with a mail sorter, hooks and a chalk or dry-erase board — buildable for roughly $50–$100 in materials.
- Plan a full weekend as a first-timer, or an afternoon of 3–5 hours if you’ve got tools on hand and a cut list ready.
What a Family Command Center Actually Needs to Do
Mail, keys and schedules each fail in their own way, and a command center only works if it fixes all three at the door. Organizers converge on a three-job definition: do these three and it’s a command center — do more, and you’ve over-built it.
Mail sorting: incoming vs. action-needed vs. recycle
The fix for mail isn’t a prettier box. It’s deciding what happens next the moment you touch a piece — the one-touch rule, cited more often than any container as the cure for pileup. Keep the sort small: recycle, act now, act later, with a recycling bin right at the drop spot so junk gets culled before it reaches a counter.
Key hooks: one per household member, labeled
One hook per person, and label each by name — the labels, not just “enough hooks,” are what stop keys from vanishing into drawers. Mount adult hooks around 48 to 52 inches from the floor, comfortable reach without a coat’s long drop, and add a lower rail at 36 to 40 inches so kids can hang their own.
A calendar or chore board that survives more than a week
A board fails when it needs rewriting every night. Build a weekly view instead — seven columns, or five weekdays plus a shared weekend — so the whole week shows at a glance. What separates a command center from a plain calendar is combining zones (chores, dinner, forms to sign) in one look.
What This Build Costs and How Long It Takes
Here’s the honest math before you commit. I’ll rate this one some builds — beginner-friendly, but it involves locating studs and mounting to load, a step past a shelf.
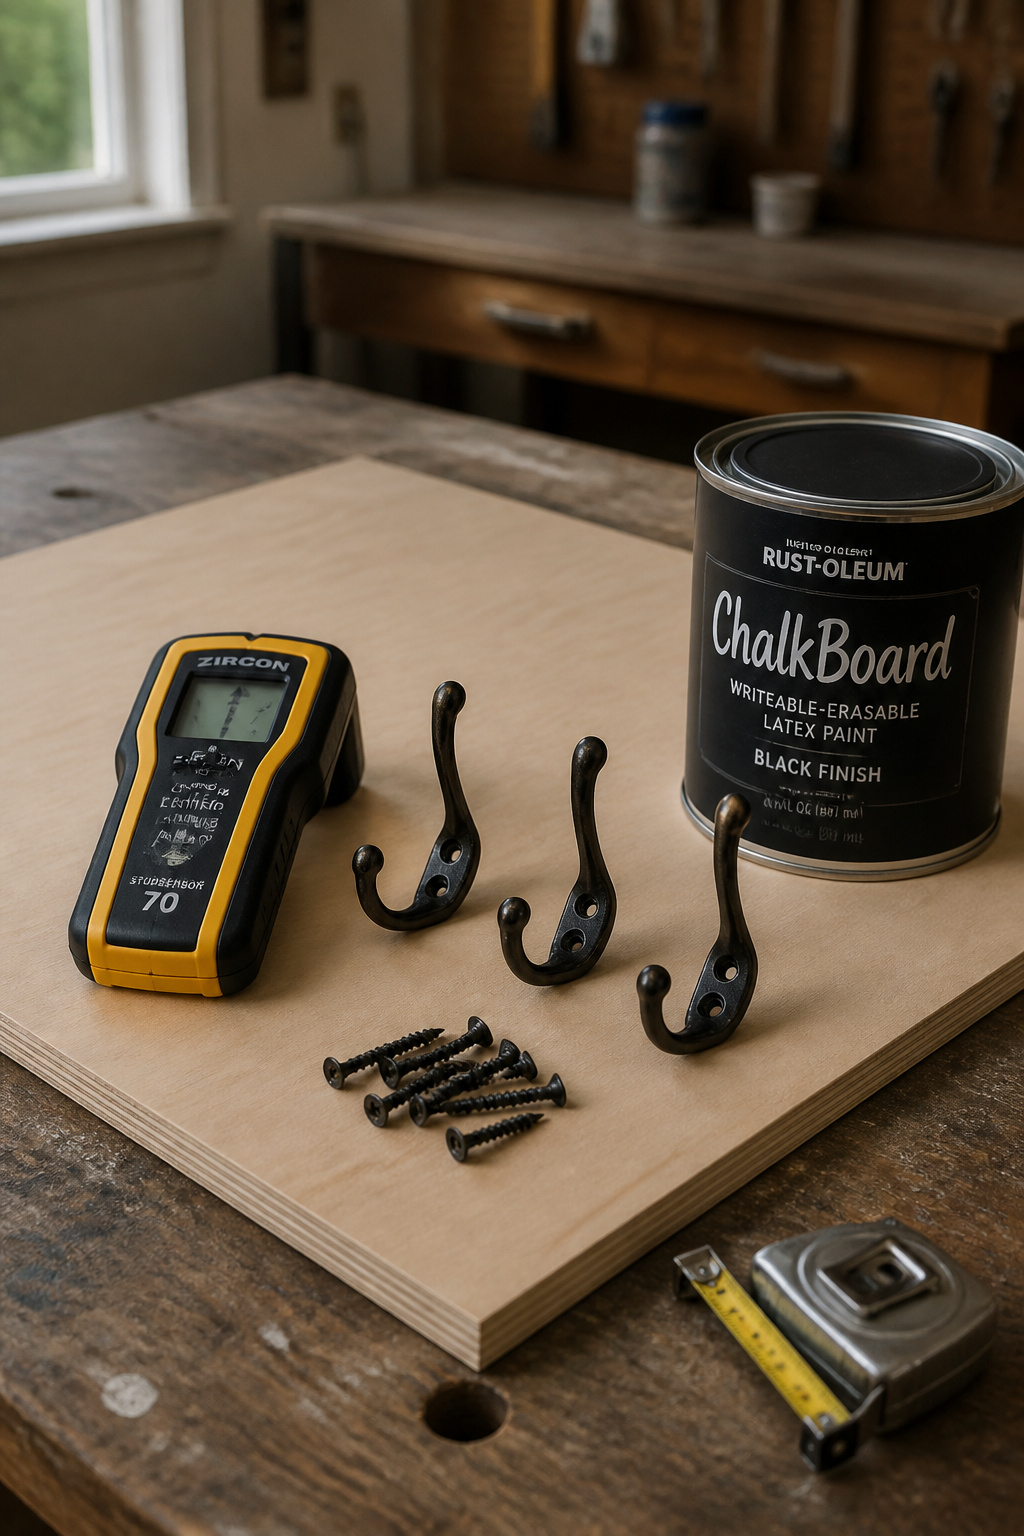
Materials list: plywood, hooks, mail sorter, cork or chalk panel
The panel drives your cost, since plywood grade swings hard:
| Item | Cost | Notes |
|---|---|---|
| Plywood, cut to panel size | $15–$40 | Store-cut quarter- or half-sheet from a $30–$80 4×8 — skip buying the full sheet |
| Wood mail sorter | under $25 | From 1×10 boards, not a full sheet |
| Stud finder | under $30 | Skip if you own one |
| Chalk or dry-erase paint | ~1 quart | Covers a project panel |
You’ll also want key hooks, screws, wood glue and a cork or painted board — a cut-down panel keeps the total realistic.
First build vs. confident builder time estimate
Time depends on your tools and whether you’ve cut ahead — these are reasonable ranges, not a stopwatch spec:
- New to this: a full weekend, split across cutting and mounting one day, hardware and paint the next.
- Confident builder, tools ready: an afternoon, roughly 3 to 5 hours of active work.
The gap is mostly cure time — paint needs to dry between coats, real project time even though your hands are free.
The trip back to the hardware store to budget for
There’s always one — budget for it. The two most common: toggle bolts, when studs don’t line up with where you want hooks; and a second quart of paint, since most people under-buy for a two-coat job.
Building the Base Panel
Now the part everything hangs on, literally. Get the panel right and the rest is just hardware.
Cutting and mounting the backer board to studs
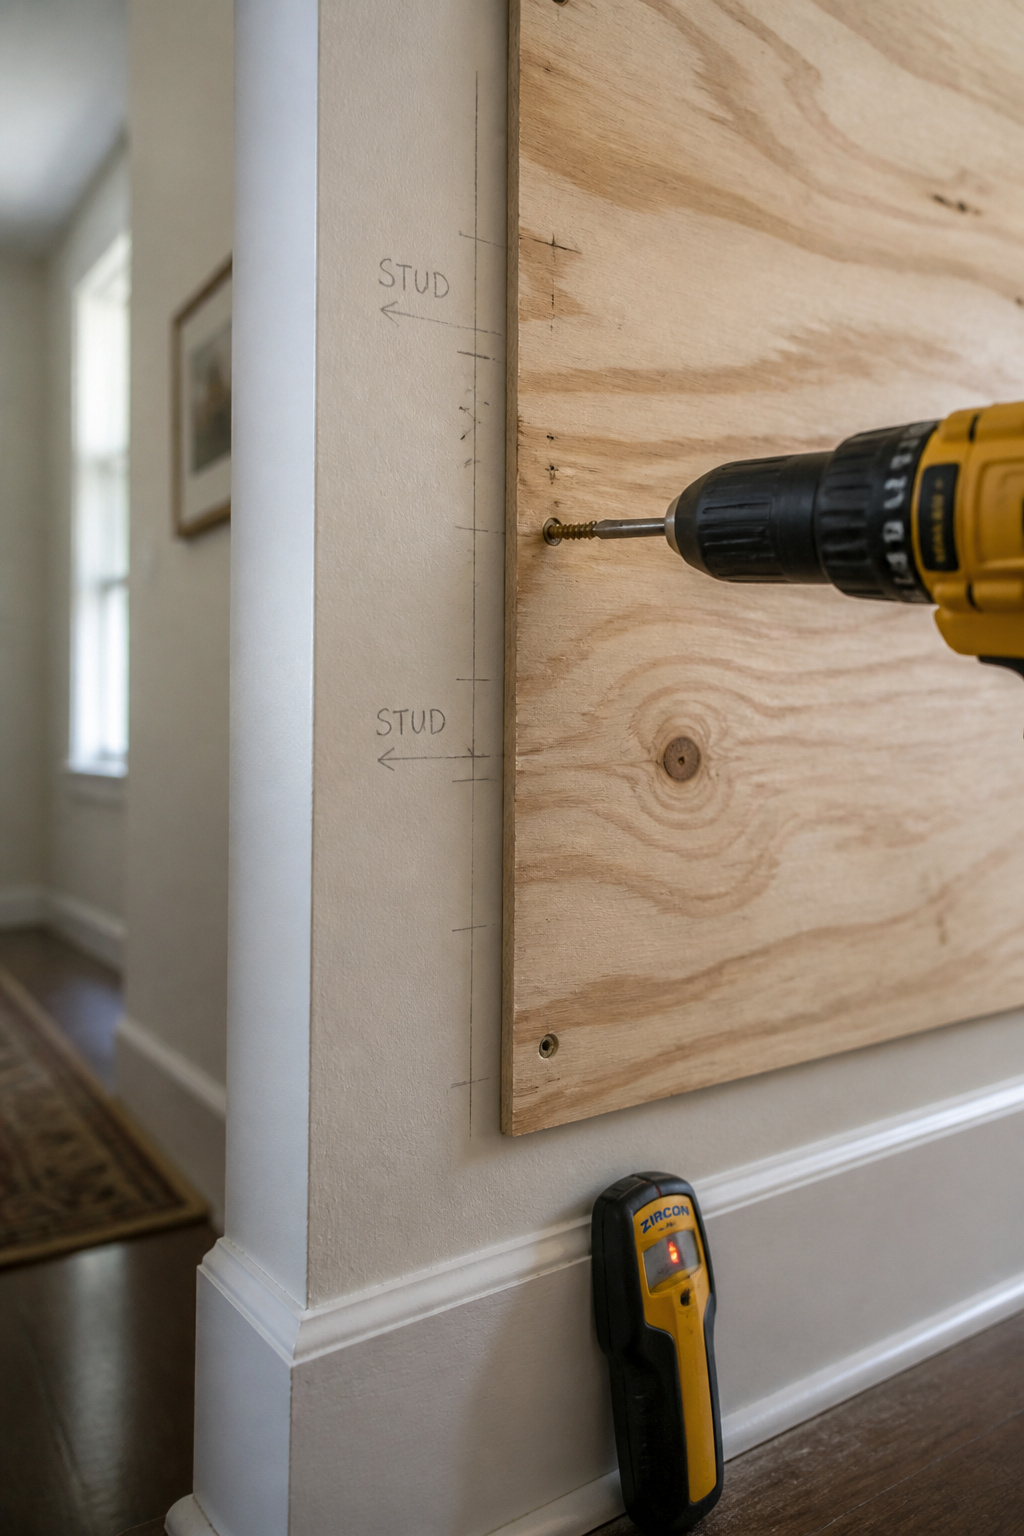
Use 3/4-inch plywood, the standard backer thickness for a weight-bearing panel, and screw it directly into studs. Don’t use 1/4-inch — that’s a skin material, not rated to hold hanging weight. Studs decide the whole thing, because capacity runs about 45 to 50 pounds per stud:
| Anchoring | Holds |
|---|---|
| One stud | 45–50 lbs (light hooks only) |
| Two studs | 90–100 lbs (most home panels) |
| Studs plus blocking | 200+ lbs |
Find studs first: slide a stud finder horizontally until it flags an edge, mark both edges, then mark the center before drilling. Framing is usually 16 inches on-center, so the next stud is a tape-measure away.
Finishing options: paint, stain, or leave it raw
Chalkboard paint is cheap and lasts, but makes dust and needs washing to prevent ghosting. Dry-erase erases cleaner with less dust, though it can glare. Leaving the plywood raw suits a farmhouse look and skips the cure step. If you do paint, check the product label for dry times; they vary by brand.
The mistake that ruins a mount: skipping the stud finder
This is the one that costs you drywall. Bare drywall holds only a few pounds, so under-rated anchors are the top cause of a panel pulling out and taking a chunk of wall with it. I’ve patched that hole for other people — it’s an extra afternoon and a bag of joint compound. Find the studs, and if a hook lands between them, that’s what a toggle bolt is for, not a plastic anchor and a hope.
Adding the Mail Sorter and Key Hooks
With the panel mounted, hardware goes fast — this layer turns a plywood rectangle into a working system.
Mounting a wall-mounted mail sorter or building a simple slot version
A basic three-slot sorter runs about 36 inches tall by 9.25 inches wide, built from a 1×10 back board with dividers at 5, 14.5 and 24.5 inches, leaving room at the bottom for hooks. Cut its back to sit flush over the baseboard, or a loaded sorter wobbles on the gap behind it.
Hook spacing and height for the whole household
Mount adult hooks on a 48-to-52-inch centerline, with a lower rail at 36 to 40 inches for kids, and space them 6 to 8 inches apart so coats and bags don’t overlap. Full coat hooks sit higher — around 60 to 66 inches for floor clearance — so keep your key rail below that.
Choosing hooks and hardware that hold real jacket weight
Anchoring is everything, and it’s the same call covered in depth in choosing the right hooks and shelving. The short version: a hook in drywall alone safely holds 15 to 30 pounds; the same hook in a stud holds 50 to 80. That matters, because a loaded backpack runs 20 to 30 pounds and a wet coat 8 to 10 — both blow past a bare drywall anchor. Pick hardware rated for double your heaviest load; for a hook that misses a stud, a heavy-duty toggle bolt carries 100-plus pounds in drywall.
Adding the Calendar and Chore Board
The schedule layer earns the “command center” name over “hook rail.” Pick a surface, lay out the week, and size it right.
Chalkboard, cork, or dry-erase panel trade-offs
Each surface trades off differently:
| Surface | Upside | Downside |
|---|---|---|
| Chalkboard | Cheap, lasts years | Dust, needs washing to avoid ghosting |
| Dry-erase | Clean erase, polished | Pricier markers, can glare and ghost |
| Cork | No wet cleaning, quiet | Pin-only, poor for a changing schedule |
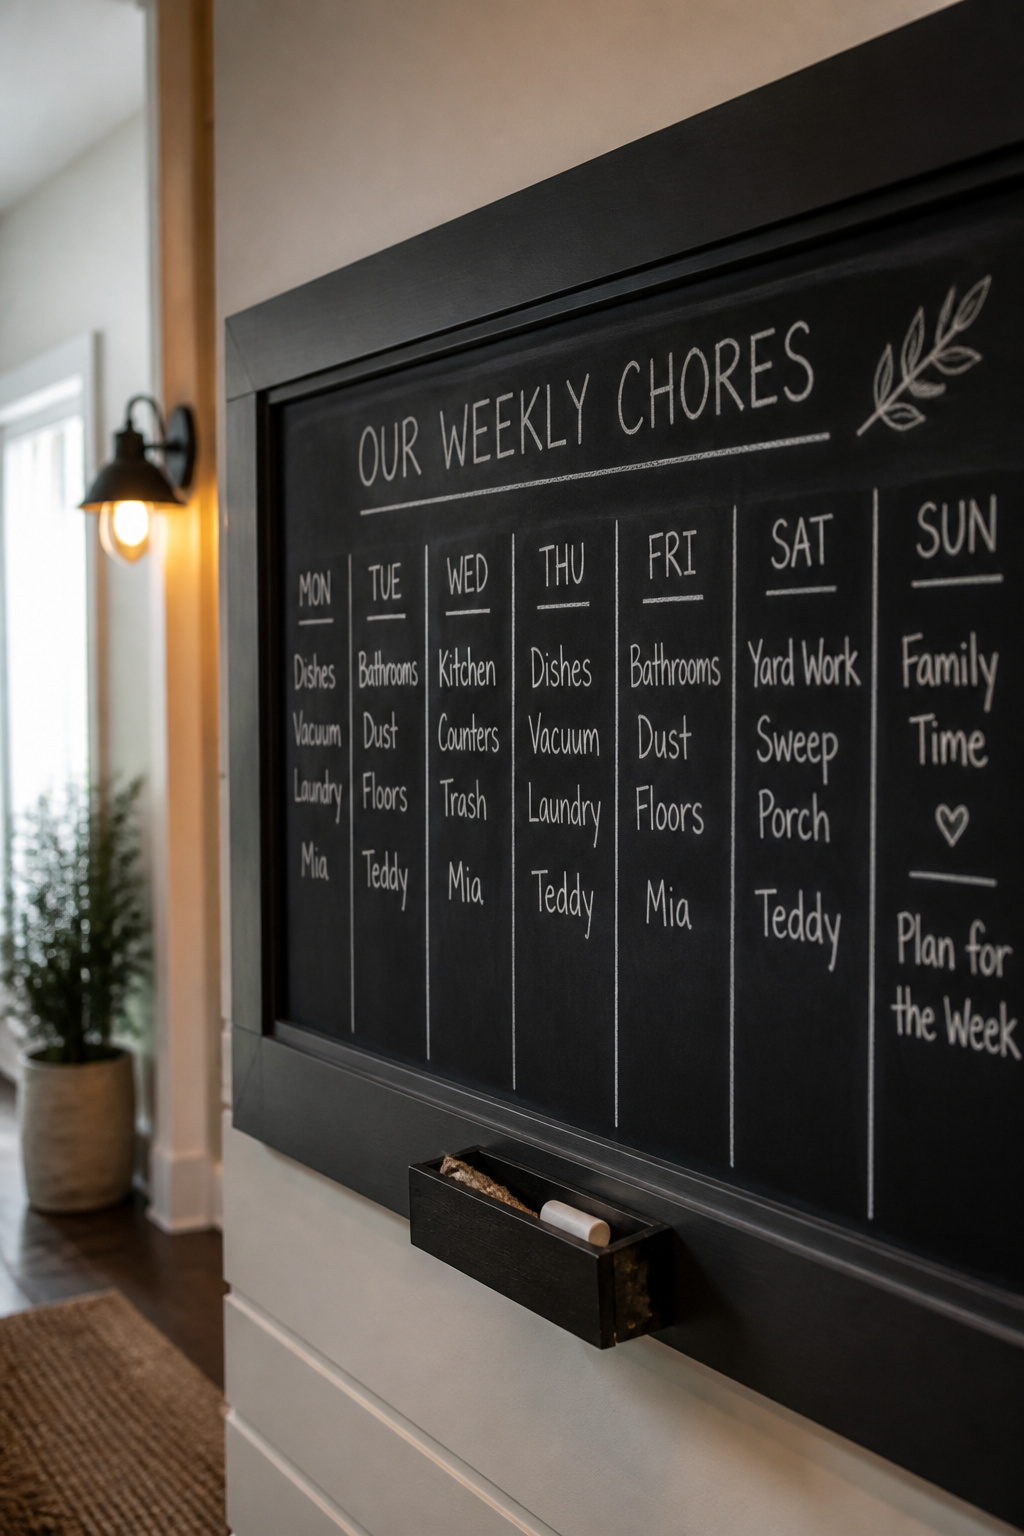
For a weekly schedule, chalk or dry-erase beats cork — cork pins rather than erases. If you already painted the panel chalkboard, you’re done here.
Laying out a weekly view that doesn’t need daily rewriting
Divide the board into seven equal columns, or five weekdays with the sixth split for the weekend. Give each zone — chores, meals, forms to sign — its own fixed section; designated spots mean less rewriting. Use magnets or movable pieces for what changes weekly, so you flex the system instead of erasing the whole grid every Sunday.
Sizing the board so it doesn’t dominate the wall
Size is a heuristic, not a standard — there’s no code number for a command center. The rule that works: tape out the footprint on the wall first, before you buy or cut. A compact layout needs as little as 2 feet of width at a shallow 10-to-12-inch depth.
Keeping the System From Becoming a Pile of Mail
Here’s what no build guide admits: the panel is the easy weekend, the system is the hard forever. A command center is the drop zone piece most likely to collapse — so know why.
Why command centers collapse first, before any other drop zone piece
Mail is why. It enters every day, and without an immediate sort it takes over the counter — the system fails at the point of entry, not from lack of storage. Opting out of catalogs and going paperless cuts the inflow at the source.
A weekly five-minute reset habit
A reset isn’t decluttering. It’s a few minutes returning the space to baseline — a quick nightly or weekly touch. The trick that makes it stick: stack it onto something you already do, like right after dinner, so it doesn’t need its own willpower.
When to shrink the system instead of adding more bins
Counterintuitive but true: when the system keeps overflowing, shrink it — don’t add another bin. A smaller footprint forces the one-touch habit back into use, where more capacity just gives clutter more places to spread. If the pile keeps winning, the full playbook is in keeping the system from becoming a pile.
You’ve now got a mail sorter, a labeled hook for every person, and a weekly board on one stud-mounted plate — the paper-and-schedule half of a working entry. For how it fits the rest, see the complete guide to drop zone ideas. Your first move tonight: find your studs and mark them in pencil. That one decision keeps this build on the wall instead of on the floor.
FAQ
What size should a family command center be?
Size follows your wall space and daily mail volume, not a fixed standard — tape out the footprint before you build. A workable minimum is about 2 feet of wall width at 10 to 12 inches deep, and corkboard layouts can go as narrow as 24 inches. A skinny, tall wall suits a vertical stack; a wider wall goes horizontal.
Can a command center work in a small hallway?
Yes. A wall-mounted panel needs as little as 2 feet of width and a shallow 10-to-12-inch depth, so it won’t intrude on walking space in a narrow hallway. The standard small-space move is going vertical — stacking the mail sorter, hooks and board on one narrow panel rather than spreading them out.
What’s the difference between a command center and a mudroom?
A mudroom is a physical transitional space for shedding shoes, coats and gear before you enter. A command center is a planning surface for mail, calendars and schedules. The two often overlap — many people build a command center beside a mudroom — but a command center works fine on its own hallway wall with no mudroom at all.