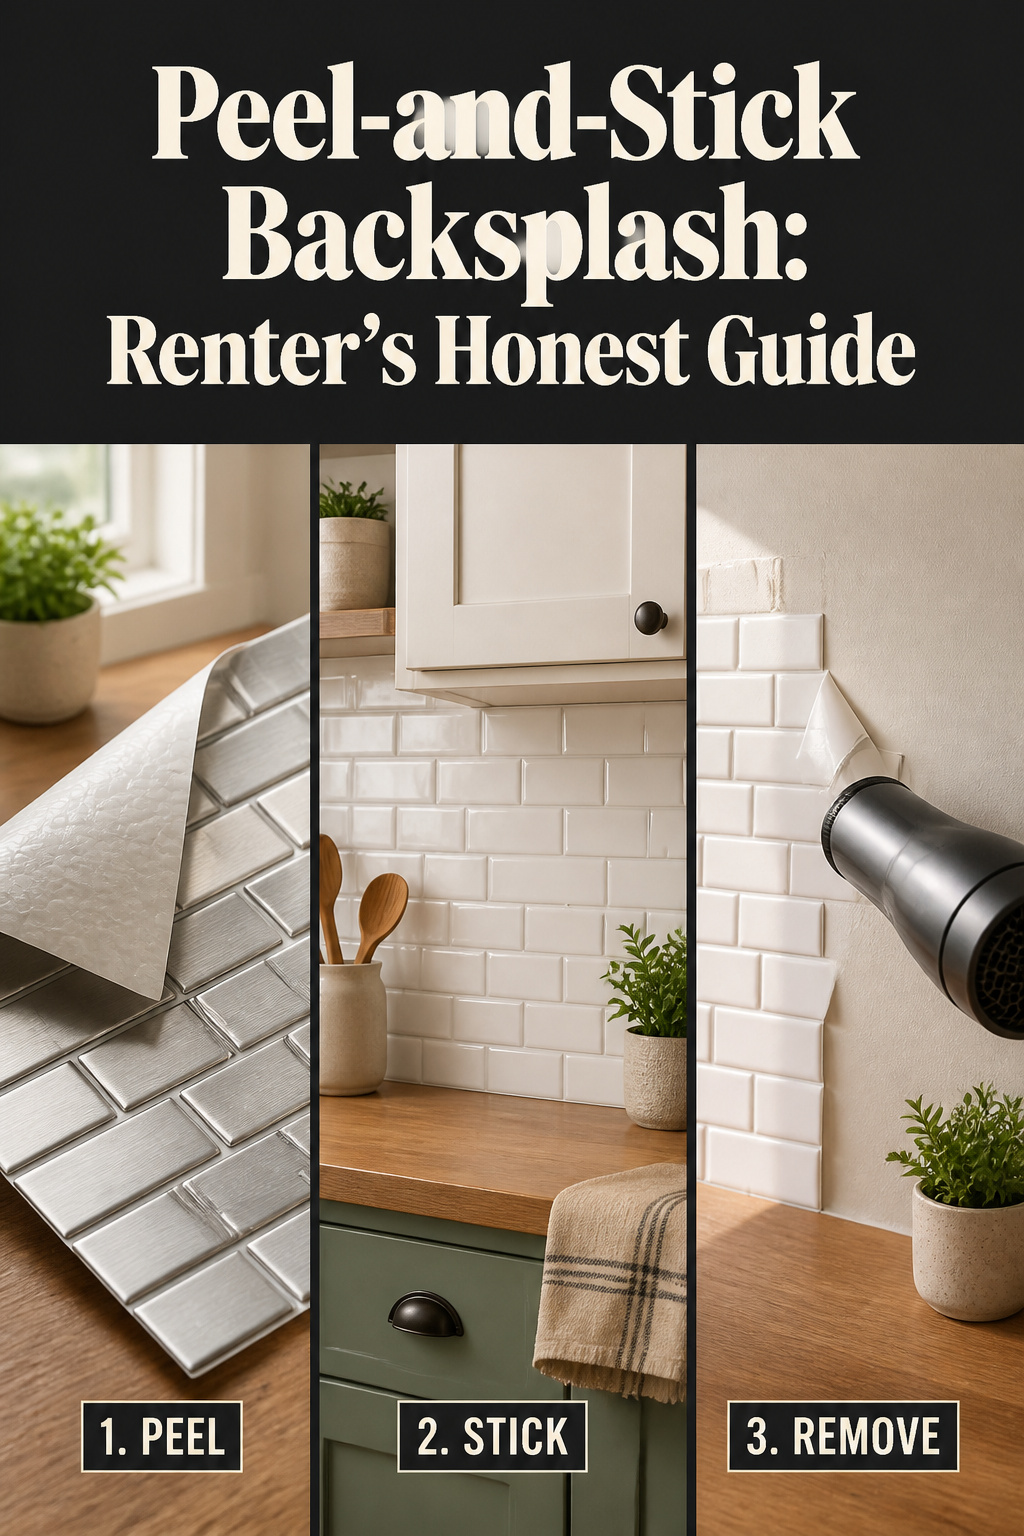
The first peel-and-stick backsplash I ever put up failed in three weeks. Not because the product was junk — because I stuck it on a wall I never degreased, two inches from a gas burner, and walked away proud. Within a month the corners curled and one sheet let go entirely. That job taught me the two things that decide whether a peel and stick backsplash works: where you put it, and how you prep the wall. Get those right and a renter has a real-looking backsplash for $200, then takes it down clean on move-out day. Get them wrong and you’ve lost the money and maybe your deposit.
TL;DR
- A peel and stick backsplash runs $4–$8 per sq ft DIY — about $130–$260 for a 30 sq ft kitchen, versus $550–$1,260 for professionally installed ceramic.
- Lifespan tracks tier and conditions: cheap vinyl gives 3–5 years, premium 3D gel 5–10 in low-heat zones — and never directly behind a gas burner, where the NKBA and NFPA 54 require noncombustible material within 6 inches of the flame.
- Remove it with a hairdryer on high, peeled at 45 degrees back against itself, and most walls come away paint-intact — budget 1–2 hours.
What Peel-and-Stick Actually Costs and Lasts
Here’s the cost-first version, because that’s why most renters land here: it’s cheap, and the cheapness is real, not a catch. Where it gets honest is lifespan — that number is all over the map.
The real per-square-foot numbers
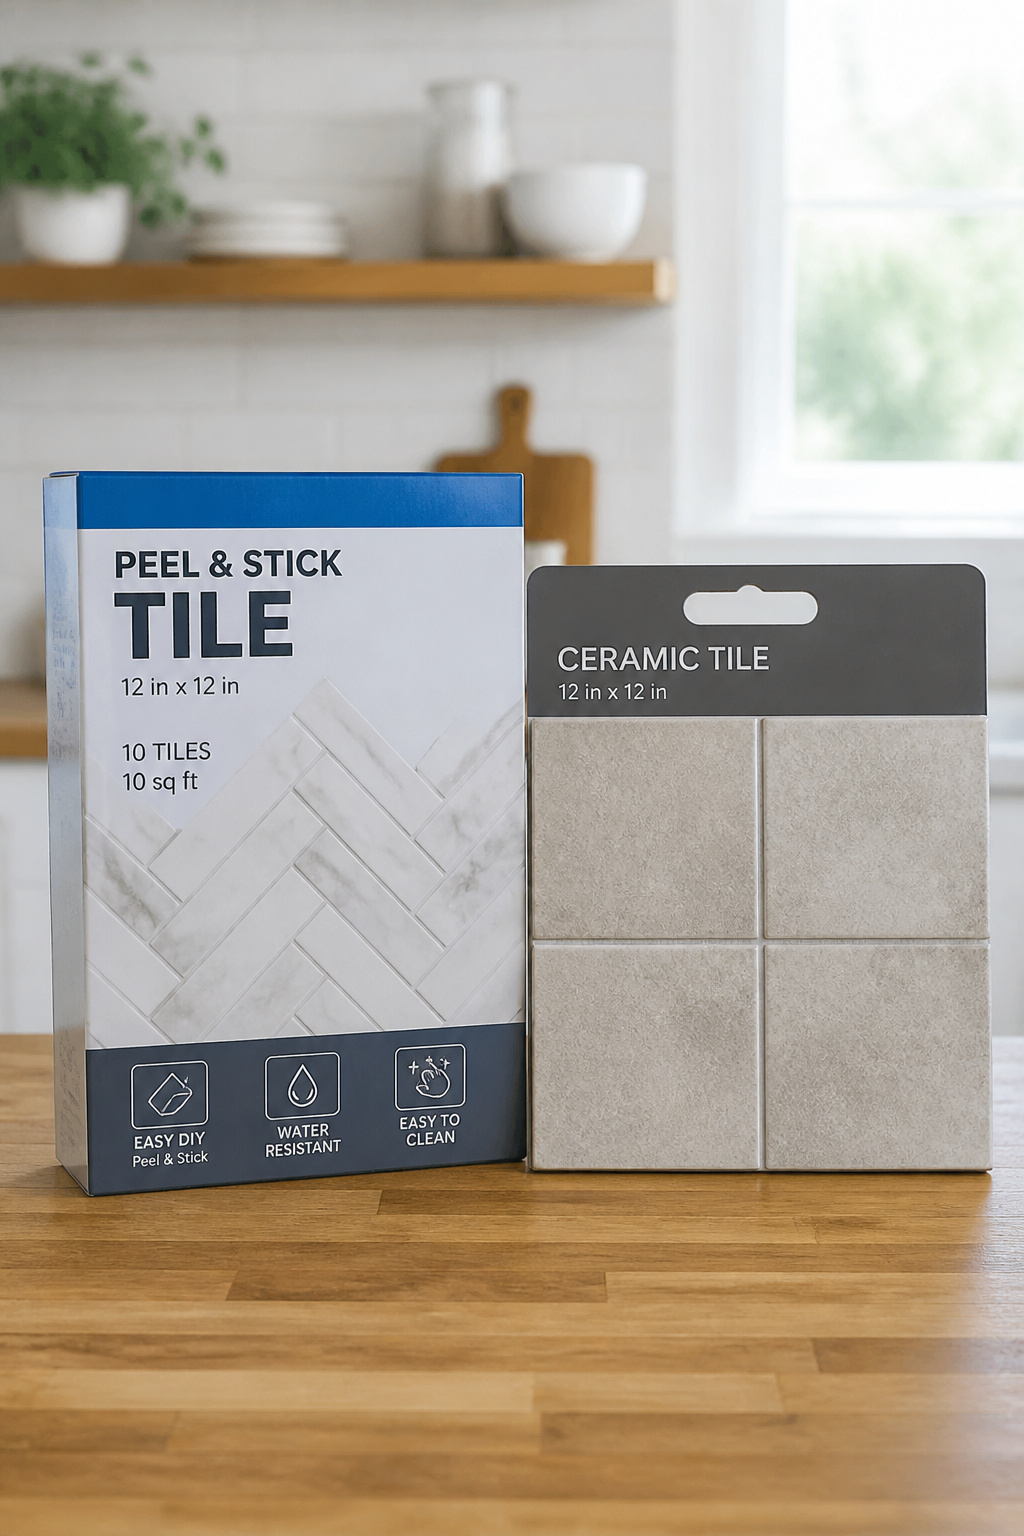
Mid-range peel-and-stick runs $4–$8 per square foot, DIY-installed; premium 3D gel or metallic sheets climb to $8–$15. For a standard 30 sq ft kitchen backsplash, that’s $130–$260 all in. Professionally installed ceramic runs $15–$25 per square foot — $550–$1,260 for the same wall. The $700-plus gap is almost entirely labor, the line item you skip by doing it yourself. One rule regardless of tier: buy 10–15% extra square footage for cuts around outlets and corners. Matching a pattern with no overage means a second trip to the store.
How long it holds up
This is where the range matters. A premium sheet installed right and kept away from heat and standing water lasts 5–10 years. Cheap thin vinyl under daily kitchen conditions degrades in 3–5. And real kitchens lean to the short end — the 10-year figure assumes a low-use, low-moisture wall, not the splash zone behind a sink you scrub nightly. Heat and moisture are the killers: the adhesive softens around 120–140°F, and water creeping behind an edge undoes the bond over months. Ceramic, for the record, lasts 20–50 years; the durability gap is real. But peel-and-stick wins on repair — a damaged sheet swaps out in ten minutes with a fresh replacement and a hairdryer, where a cracked ceramic tile means grinding grout and matching glaze.
The “looks cheap” question in 2026
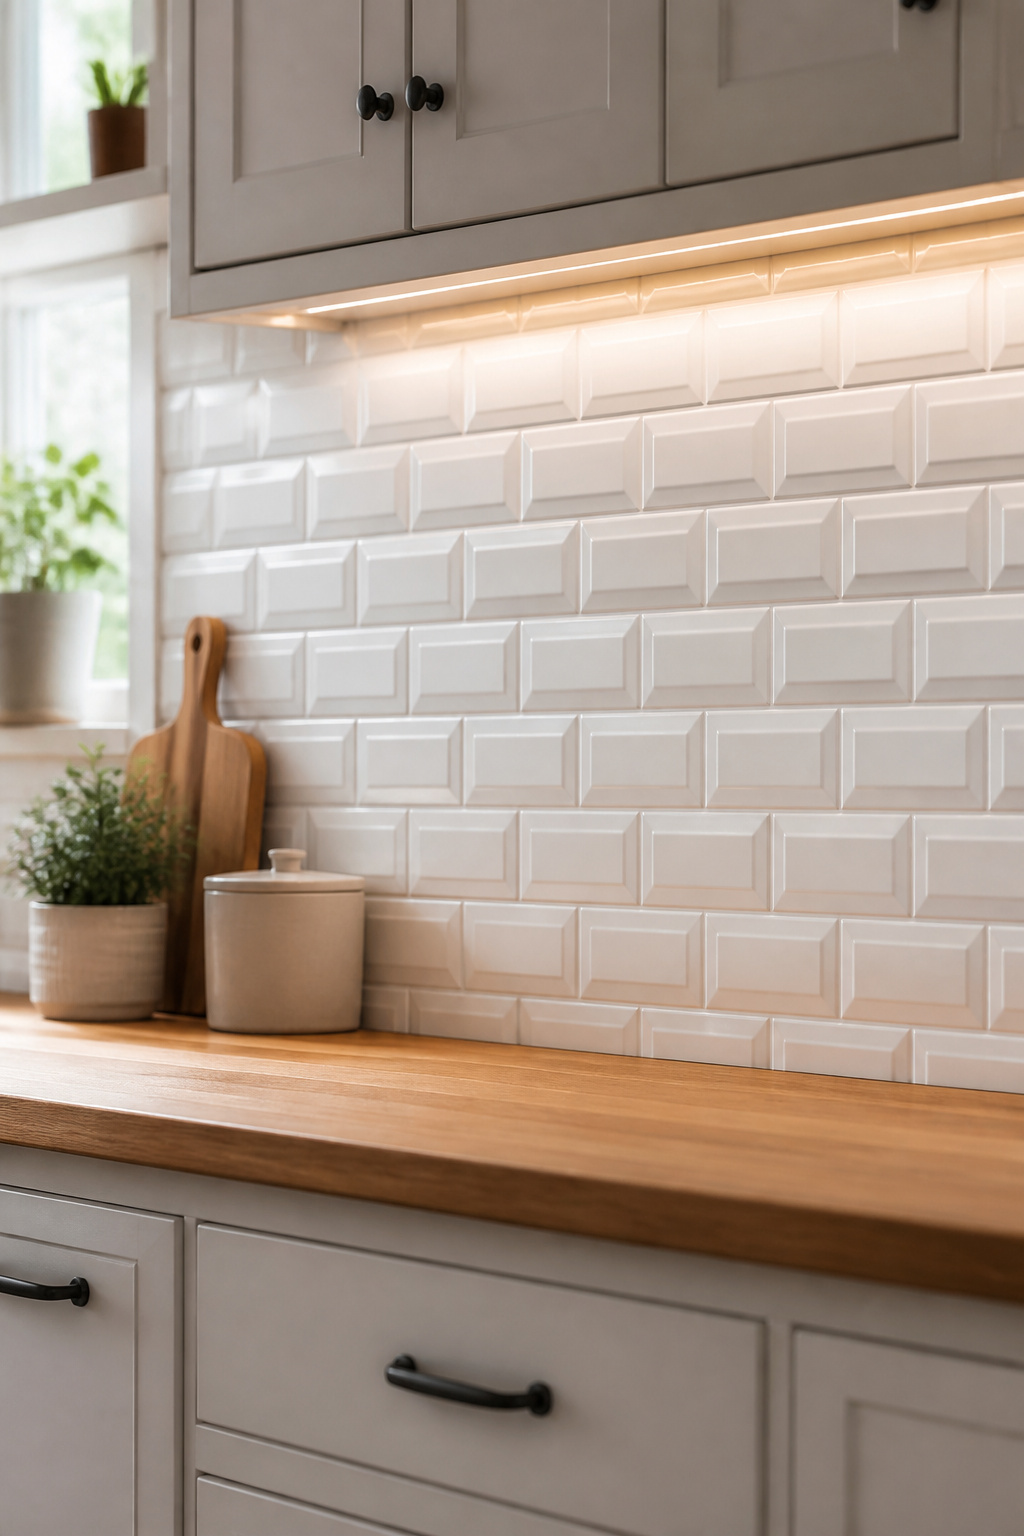
I was a skeptic for years, so I’ll be straight: the cheap stuff still looks cheap. Thin flat vinyl shows its seams, reads flat, and curls at the edges within months. But the premium tier has genuinely closed the gap. The 2026 products use multi-layer construction — a 3D texture layer, a printed design layer, an industrial adhesive — not a flat sticker. At three or four feet, normal kitchen viewing distance, good peel-and-stick is hard to tell from ceramic subway tile; get up close and you’ll see it. The tier distinction matters more here than almost anywhere, so this is not the place to buy the cheapest box.
Where It Works and Where It Fails
The most useful thing I can tell you is where this stuff belongs and where it’ll burn you — sometimes literally. The product isn’t the variable. Placement is.
Good: low-heat walls, rentals, trial runs
Peel-and-stick is reliable on low-heat walls: side walls, the run between counter and upper cabinets away from the stove, and the splash zone near a sink as long as water isn’t pooling behind the edges. Most modern sheets are water-resistant, which covers normal splashing. For renters it’s often the only route — landlords almost never approve permanent wet tile work. It’s also a smart trial run before committing real money to permanent tile. If you’re weighing this against that route, see how real tile materials compare on durability and cost first.
Bad: right behind a gas cooktop
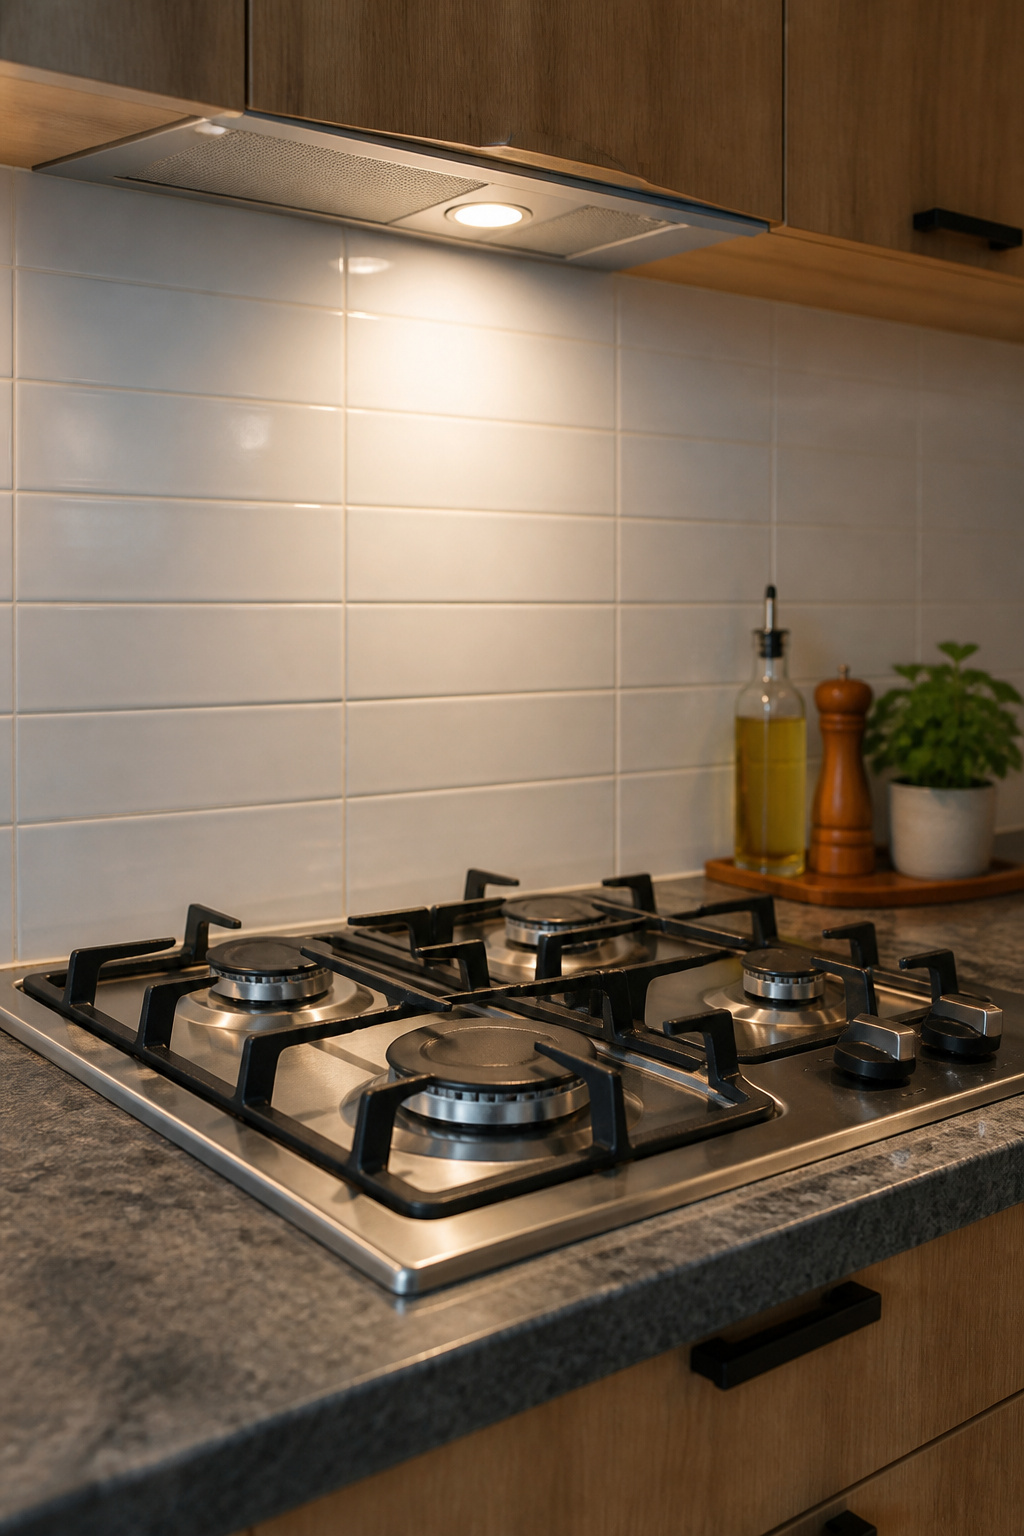
This is the failure mode that taught me my lesson, so I’ll be blunt. The wall behind and above gas burners routinely hits 200–300°F — high-BTU burners and long simmers push it higher. The adhesive gives up around 140°F. That’s not a slow fade; tiles let go mid-cooking, trapping grease and moisture in a cavity that grows mold you can’t see. There’s a code line too: the NKBA and NFPA 54 require materials within 6 inches of an open gas flame to be noncombustible and rated above 250°F. No peel-and-stick product meets that. Near the stove, keep it in the cool zone — at least 6 inches above the cooktop’s highest point and outside the vertical plane of the flames — and put a stainless steel guard or real tile in the hot zone.
The honest “pay for real tile instead” line
Sometimes the right answer is don’t. Staying more than five years? The math flips: an $800 ceramic install over 20-plus years beats two rounds of peel-and-stick replacement on cost per year, and it’s a finished wall. Buyers and agents read peel-and-stick as a stopgap — next to quartz counters and custom cabinets it signals an unfinished job. And if you cook hard daily over high heat, the lifespan claims don’t apply; they assume the occasional cook.
Install It So It Looks Real
A peel and stick backsplash rates first build — genuine beginner, no power tools. What separates a professional-looking wall from one curling in a month isn’t skill. It’s prep and patience.
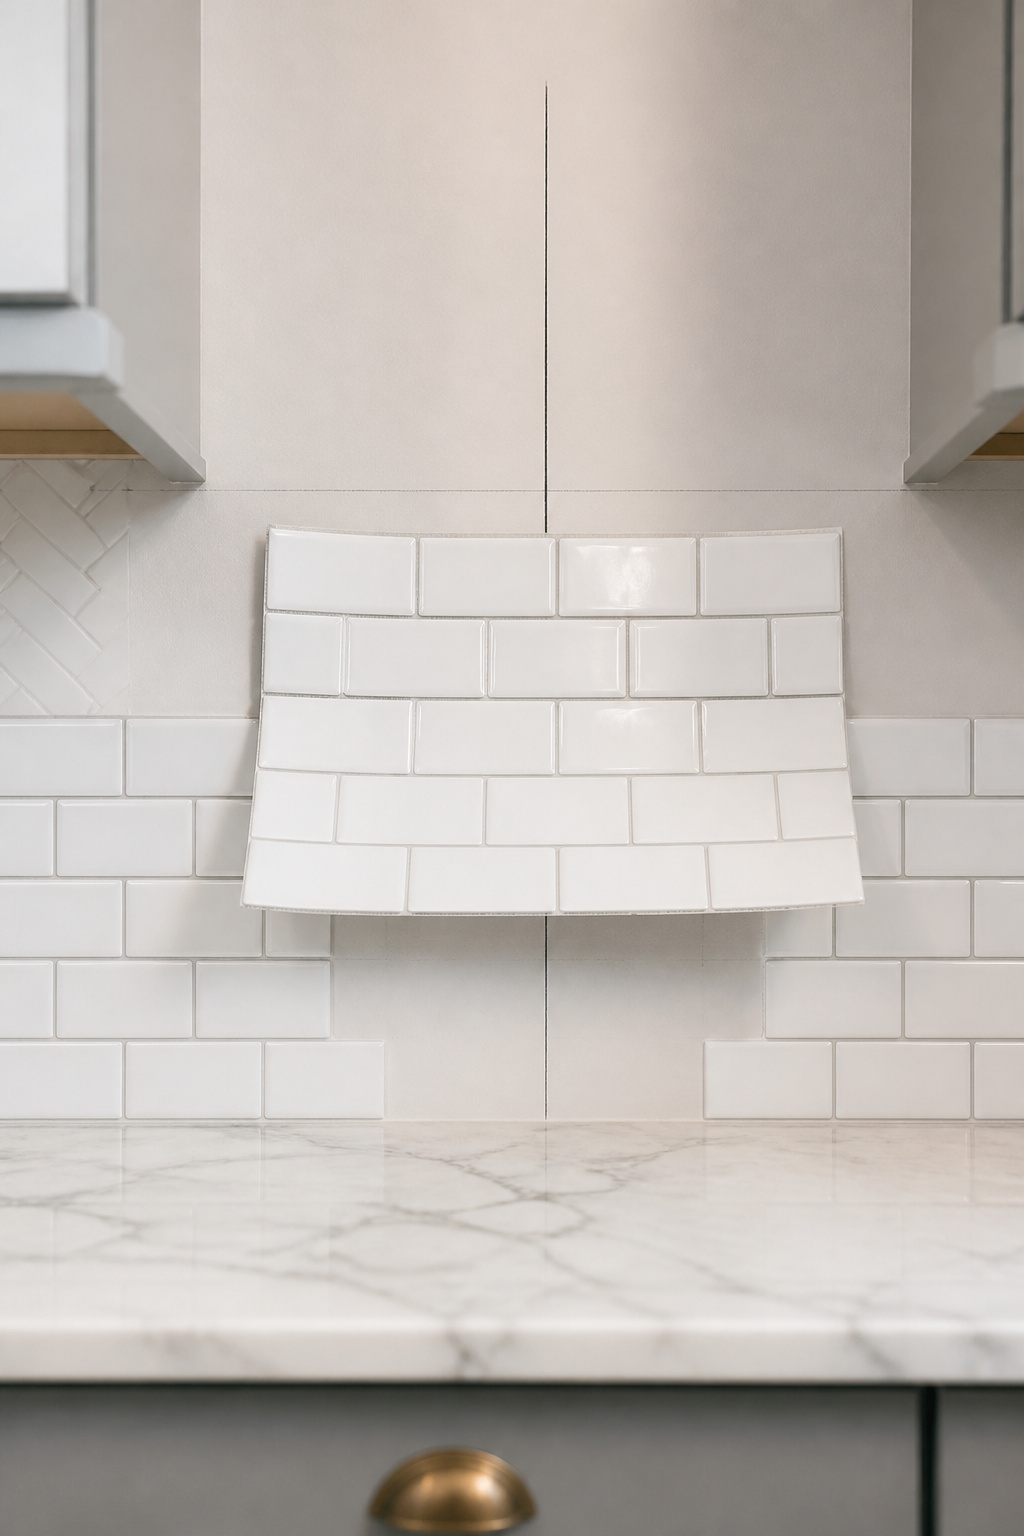
Surface prep that makes or breaks adhesion
- Degrease the wall. Kitchen walls carry an invisible grease film that blocks adhesion — wipe with rubbing alcohol or a degreaser and a microfiber cloth until it’s truly clean.
- Let it dry fully. Wait at least 24 hours; trapped moisture is the number-one cause of tiles failing within days.
- Knock down the gloss. Lightly sand glossy or orange-peel walls for full contact — any air gap becomes a future peel point.
- Test one tile overnight in a hidden corner. This is the step everyone skips and nobody should.
One hard rule: if you’ve just painted, wait 21 days before tiling. Paint keeps outgassing after it feels dry, and those gases stop the adhesive from bonding. The mistake that costs people here is skipping the corner test in their hurry to start — a wall that looks smooth can be subtly greasy or have an incompatible sheen, and 24 hours of waiting beats a full install peeling off in a week.
Cutting around outlets and corners
Kill the breaker, then unscrew the outlet cover plate — it’ll hide minor cutting imperfections when it goes back on. Mark the cutout on the back of the sheet with a pencil (it’s face-down, so mirror your measurements), then cut on a mat with a sharp utility knife. One clean pass beats three timid ones. A knife and straightedge handle most sheets; thicker composite cuts cleaner with an oscillating multi-tool. At inside corners, don’t fight to wrap one sheet — butt two pieces flush and press the seam hard. At outside corners, a trim strip or a bead of caulk seals the edge.
The center-out method and pressing technique
Find the horizontal center of the wall and draw a faint vertical line with a level. Start there — centering keeps the small awkward cuts at the least visible ends instead of dead center where the eye lands. For the first sheet, peel back only 2–3 inches of backing, press that strip to anchor it, then unroll the rest while pressing outward; that hinge trick stops bubbles before they start. After each sheet lands, press from center out with a squeegee or roller — hand pressure alone leaves micro-voids that bubble up within weeks. Then leave it 48 hours before washing or steam to reach full strength.
Take It Down Without Losing the Deposit
This is the part renters lose sleep over, and it’s the easiest to get right once you know the trick. The whole game is breaking the glue’s bond before you break the paint’s bond to the drywall — and heat is the tool.
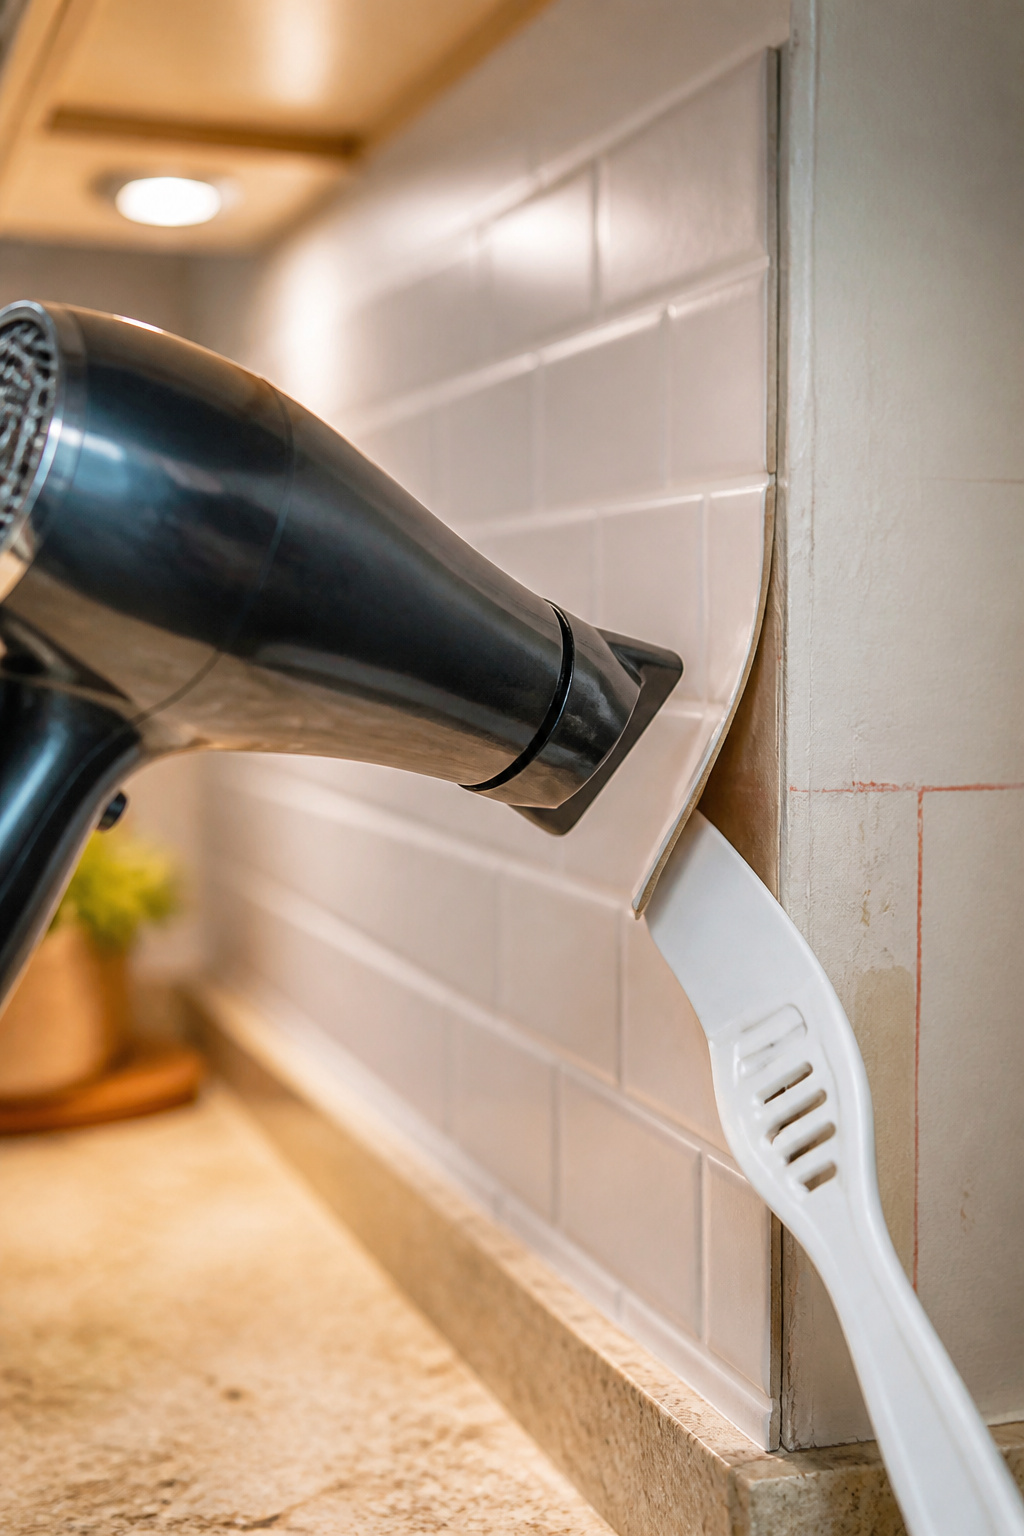
The hairdryer removal method
Set a hairdryer to high and hold it 3–4 inches from the tile, moving back and forth for 30–45 seconds until the sheet is warm but not too hot to handle. As you peel, chase the gap with the dryer — aim the heat at the separation point so the glue softens an inch ahead of your pull. Budget 2–3 minutes per square foot; a 30 sq ft backsplash is a 1–2 hour job done carefully, so put it in your move-out week, not the last frantic afternoon. Don’t try to reuse the sheets — the adhesive’s done once the bond breaks and the vinyl distorts coming off.
Protecting paint and drywall
The one rule that saves deposits: peel at a 45-degree angle, back against the tile itself — never straight out from the wall. Pulling perpendicular loads the drywall paper, and that’s what tears; 45 degrees loads the adhesive instead. If resistance climbs and you hear a ripping sound, stop — that’s the warning that paint is about to come with it. Reheat the spot for 15–20 seconds and continue. For leftover residue, put Goo Gone Painter’s Formula on a cloth (never spray it on the wall), dab, wait 30 seconds, wipe, then go over it with plain water. Skip rubbing alcohol — it dulls the eggshell and satin finishes common in kitchens. And next time you pick paint, semi-gloss and gloss release adhesive far more cleanly than flat or matte.
Testing a corner before you commit
That overnight corner test does double duty — it’s your removal insurance too. Stick one tile in a hidden spot, press firm, leave it overnight, then peel at a low angle. No paint lift means a bond-safe wall. If paint comes with it, your paint needs more cure time or a buffer layer. The fix renters use on soft matte or fragile paint is the “sandwich” method: removable peel-and-stick wallpaper first, tile on top, so the tile never touches the drywall — it comes down later as one clean unit. This is also a common budget route to budget farmhouse backsplash looks without committing to permanent tile.
Your First Sheet This Weekend
So here’s where you actually are: a 3–4 hour Saturday project, genuine first-build, and you can start tonight. The list and the order:
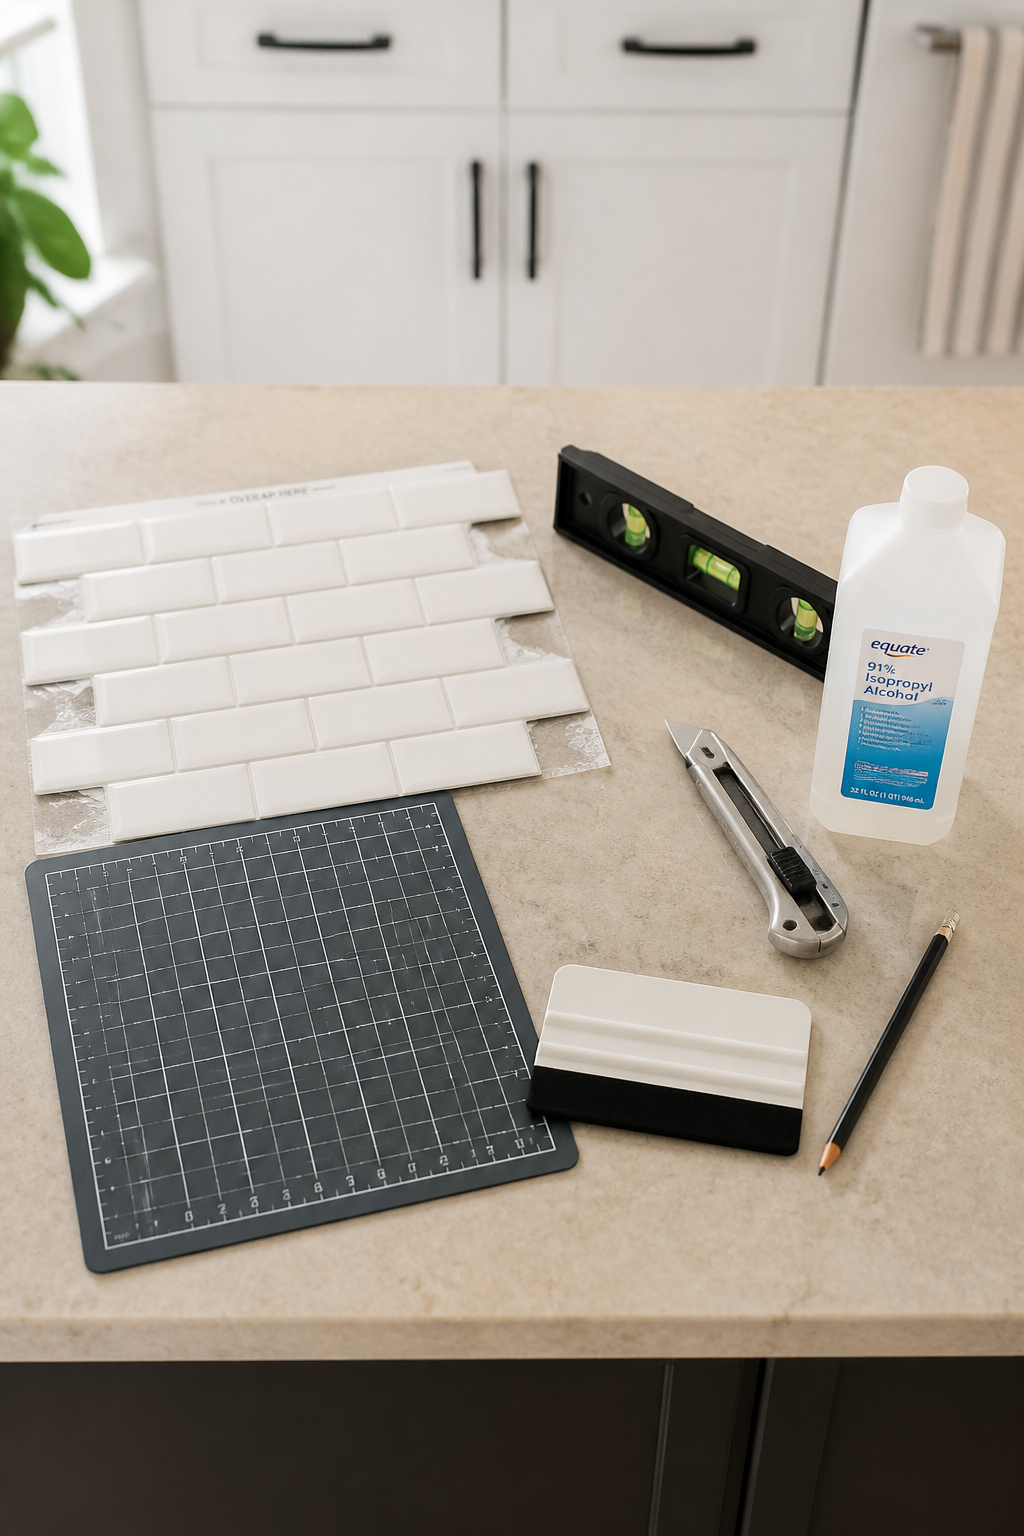
The shopping list and skill rating
For the install:
- Peel-and-stick tile sheets (wall area in sq ft, plus 10–15% for cuts)
- Isopropyl alcohol or kitchen degreaser
- Level and pencil
- Sharp utility knife with fresh blades
- Cutting mat or scrap plywood
- Roller or squeegee
No power tools required. For move-out day, add a plastic putty knife, Goo Gone Painter’s Formula, and microfiber cloths — under $15 for the removal kit. On brands, Smart Tiles (gel finish, $6–$9/sq ft) and Art3d (thicker rigid backing, $4–$7/sq ft) consistently out-stick generic boxes. Most of this you already own.
A realistic timeline
Cleaning and degreasing: 20–30 minutes. Marking the center line: 10. Tiling a 30 sq ft wall as a first-timer, cuts included: 2–3 hours. That’s 3–4 hours of active work. Then wait 48 hours before your first real cooking session — steam and heat before full cure lift the edges you worked to press down. Every one of my timelines builds in the boring step, because the boring step is what the videos cut out.
Where to start on the wall
Tonight, do the overnight corner test. Tomorrow, mark the horizontal center of the wall with a plumb line — the first full sheet goes right there. Work outward horizontally, then up from the counter to the cabinet undersides; that gives you clean alignment at eye level before the trickier cuts up top. Buy one sheet, test the corner tonight, start Saturday morning. That’s the whole job — and now you know where it works, where it doesn’t, and how to take it down clean. For the wider picture on materials, heights, and styles, the kitchen backsplash ideas guide ties it all together.
FAQ
Does peel-and-stick backsplash damage walls when removed?
With the correct heat-and-peel technique — hairdryer on high for 30–45 seconds per tile, peeled at 45 degrees back against itself — most peel-and-stick comes off without harming paint. The risk is highest with cheap products on matte-painted walls. Any leftover adhesive cleans up with Goo Gone Painter’s Formula on a cloth and a final water wipe.
Can you put peel-and-stick tile behind a stove?
Not directly behind a gas cooktop. The zone behind and above the burners routinely hits 200–300°F, far above the 140°F threshold where the adhesive fails, and the NKBA and NFPA 54 require noncombustible material within 6 inches of an open flame. Install only in the cool zone, and use real tile or a stainless guard in the hot zone.
How long does a peel-and-stick backsplash last?
Premium 3D gel or thick multi-layer products last 5–10 years in low-heat, low-moisture zones with proper prep and a 48-hour cure. Cheap thin vinyl degrades in 3–5 years; areas near the stove or sink fail fastest. Bonus: a damaged sheet swaps out in ten minutes with a replacement, stretching the useful life past the rated lifespan.