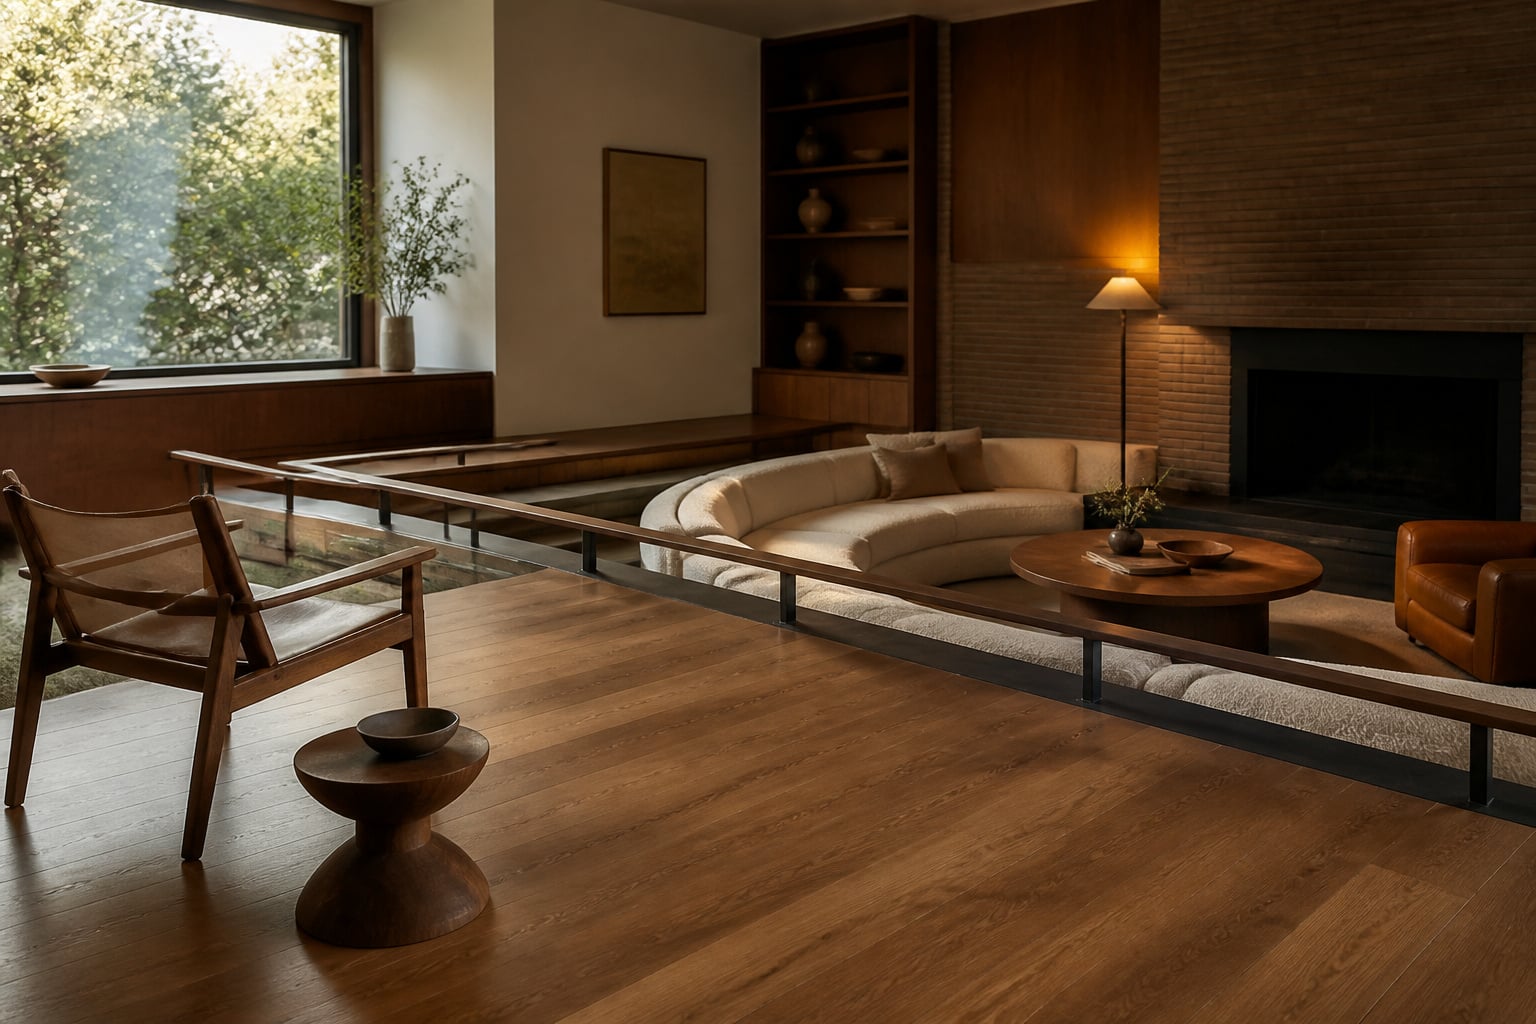
Most sunken living room ideas reach you as two piles that never quite meet: inspiration photos on one side, cost and safety warnings on the other. The drop in the floor asks you to make a single decision before any of the others — and the hard part is that almost no one tells you which decision that is.
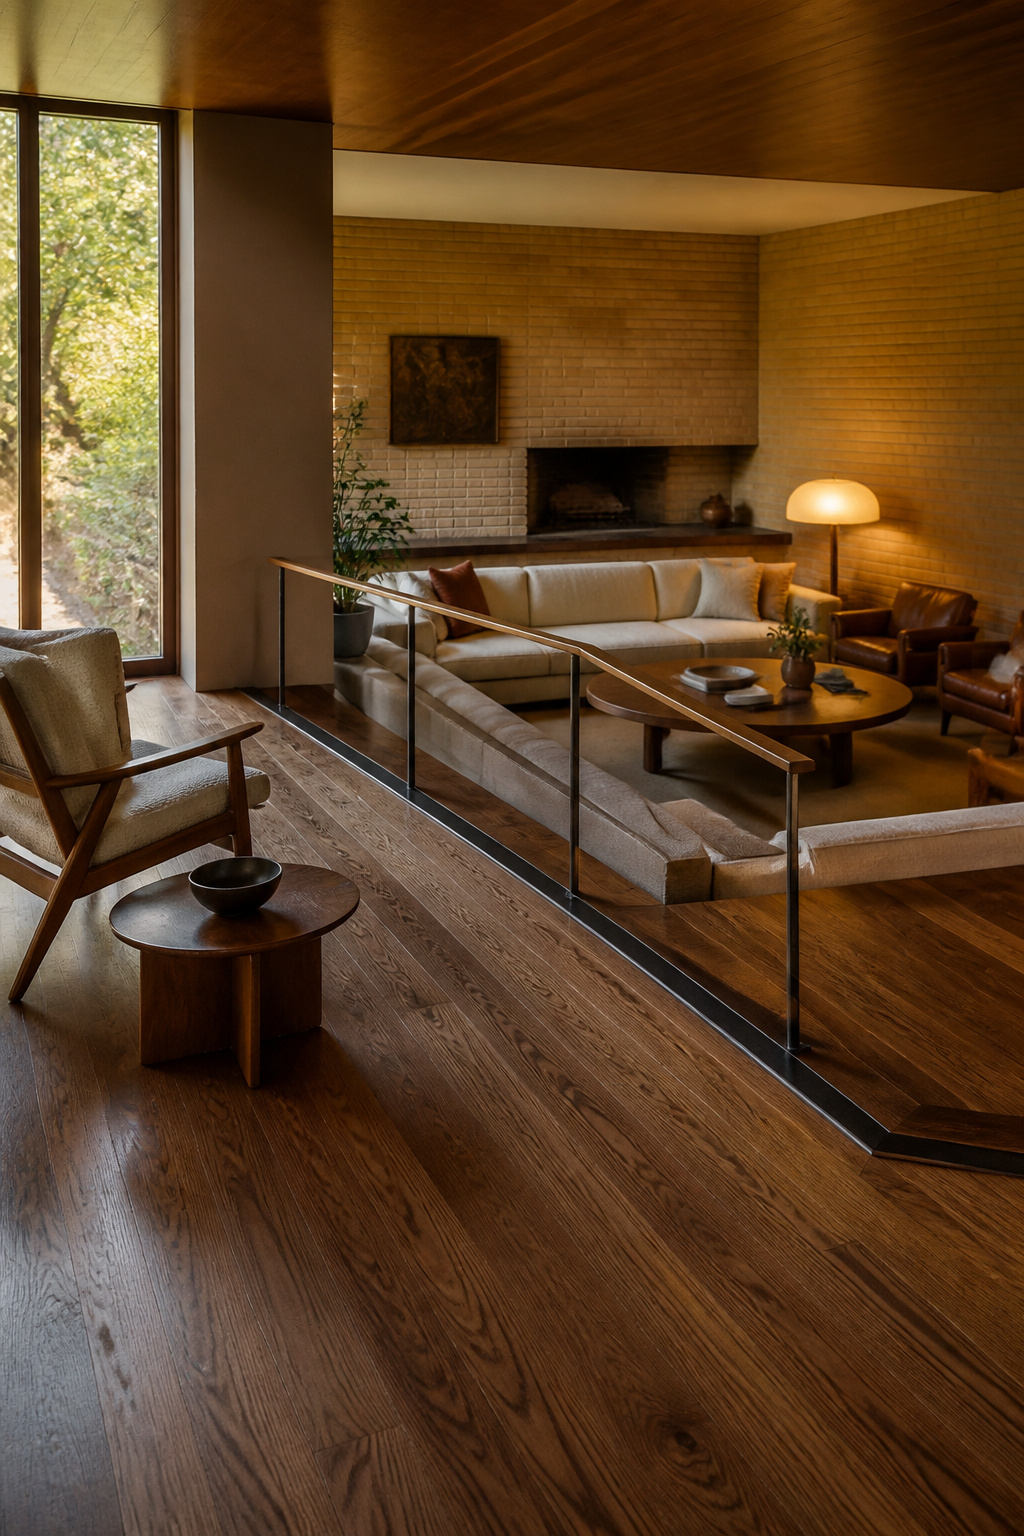
Two kinds of reader land here. One has seen the conversation-pit revival — the wraparound bench, the low lamp, a group folded into the floor — and wants that closeness without owning a sunken floor yet. The other already has a dated drop from the 1960s or ’70s and a stack of practical questions: is it safe, how do I furnish and light it, what does it cost to keep, and should I just fill it in? The photos and the warnings look like three unrelated subjects. They are really one question with four answers.
Years ago a client apologized for her small bathroom every time it came up — eighteen square feet she kept explaining away as a problem. The work only moved once we stopped apologizing and treated the constraint as the plan itself; the smallness was the clarity. A sunken floor is that kind of fixed fact. The drop is not a flaw to tolerate or a trend to chase. It is a tool for intimacy you design with — or, once it has stopped earning its keep, one you remove on purpose. Either way you decide it. You do not apologize for it.
So here is the map I use. These ideas sort into four paths — build one, restyle the one you have, safety-proof it, or fill it in. This guide walks all four at overview depth, hands each to the deeper guide that covers it, and closes on the single question that tells you which path is yours.
TL;DR
- The whole topic is four paths, not one project: build a conversation pit from scratch ($10,000–$30,000, or $60,000+ once excavation or underpinning is involved), restyle or safety-proof the drop you already have (roughly $500–$15,000), or fill it in ($5,000–$25,000+). Which one fits is set by your starting point, not your taste.
- A sunken living room is a genuinely recessed floor — historically 14 to 18 inches deep at about 10 by 10 feet — not a split-level house. The drop’s job is intimacy: a fixed, wraparound bench pulls people closer than a sofa and two chairs ever will.
- The question that decides everything: does changing the floor alter weight-bearing structure? Building and filling in both do (permits, a structural engineer, the widest cost range); lighting, furnishing and safety-proofing do not.
What Makes a Living Room ‘Sunken’ (And Why the Conversation Pit Is Back)
A sunken living room is a real recess in the floor, not a figure of speech.
What actually defines a sunken living room versus a split-level room
Architecturally, it is built-in seating set into a depressed section of flooring within a larger room, usually arranged around a central table. That is a different thing from a split-level home, where whole floor levels are staggered and joined by short flights of stairs — one up to bedrooms, one down toward a basement. One is a single room with a dropped zone; the other is a house built in half-levels. It matters at the planning stage, because the two get renovated in completely different ways. At their 1960s and ’70s peak, most of these rooms dropped 14 to 18 inches over a footprint around 10 by 10 feet.
Why the conversation pit is having a real comeback, not a nostalgia moment
This is a revival, not a nostalgia act. Architects are building new pits with fresh materials rather than only restoring old ones — a 250-square-foot pit in Cupertino, a concrete-floored sunken garden room in Perth that opens onto a courtyard. Montreal architect Sergio Morales calls his design a deliberate “clin d’oeil to the midcentury tradition” — a reference made on purpose, not by accident. And the argument for the drop is functional, not decorative: designer Kristin Korven notes that sunken seating denotes space through the change in level and delivers intimate lounging without leaning only on where you place the furniture. The floor does work the furniture cannot.
Who this room actually suits
Before any photo seduces you, it helps to know whether the room fits your household at all. It suits three situations in particular:
- Households that gather and entertain — architect Jeremy Bull calls a sunken lounge the “perfect place” for a family of six to sit together.
- Mid-century or contemporary open plans, where you are comfortable zoning a space without walls and want it to stay, as designer Jaqui Seerman puts it, “light and fluid.”
- It suits far less well where step-free mobility is a daily priority — accessibility is a genuine caveat here, not a footnote.
If your household gathers, the drop is worth the floor it takes. If step-free access is a real need, it isn’t — and that is worth admitting out loud before the mood board starts talking.
Conversation Pits: The Built-In Seating Everyone’s Talking About
What turns a dropped floor into a conversation pit? Fixed seating.
What a built-in conversation pit actually is
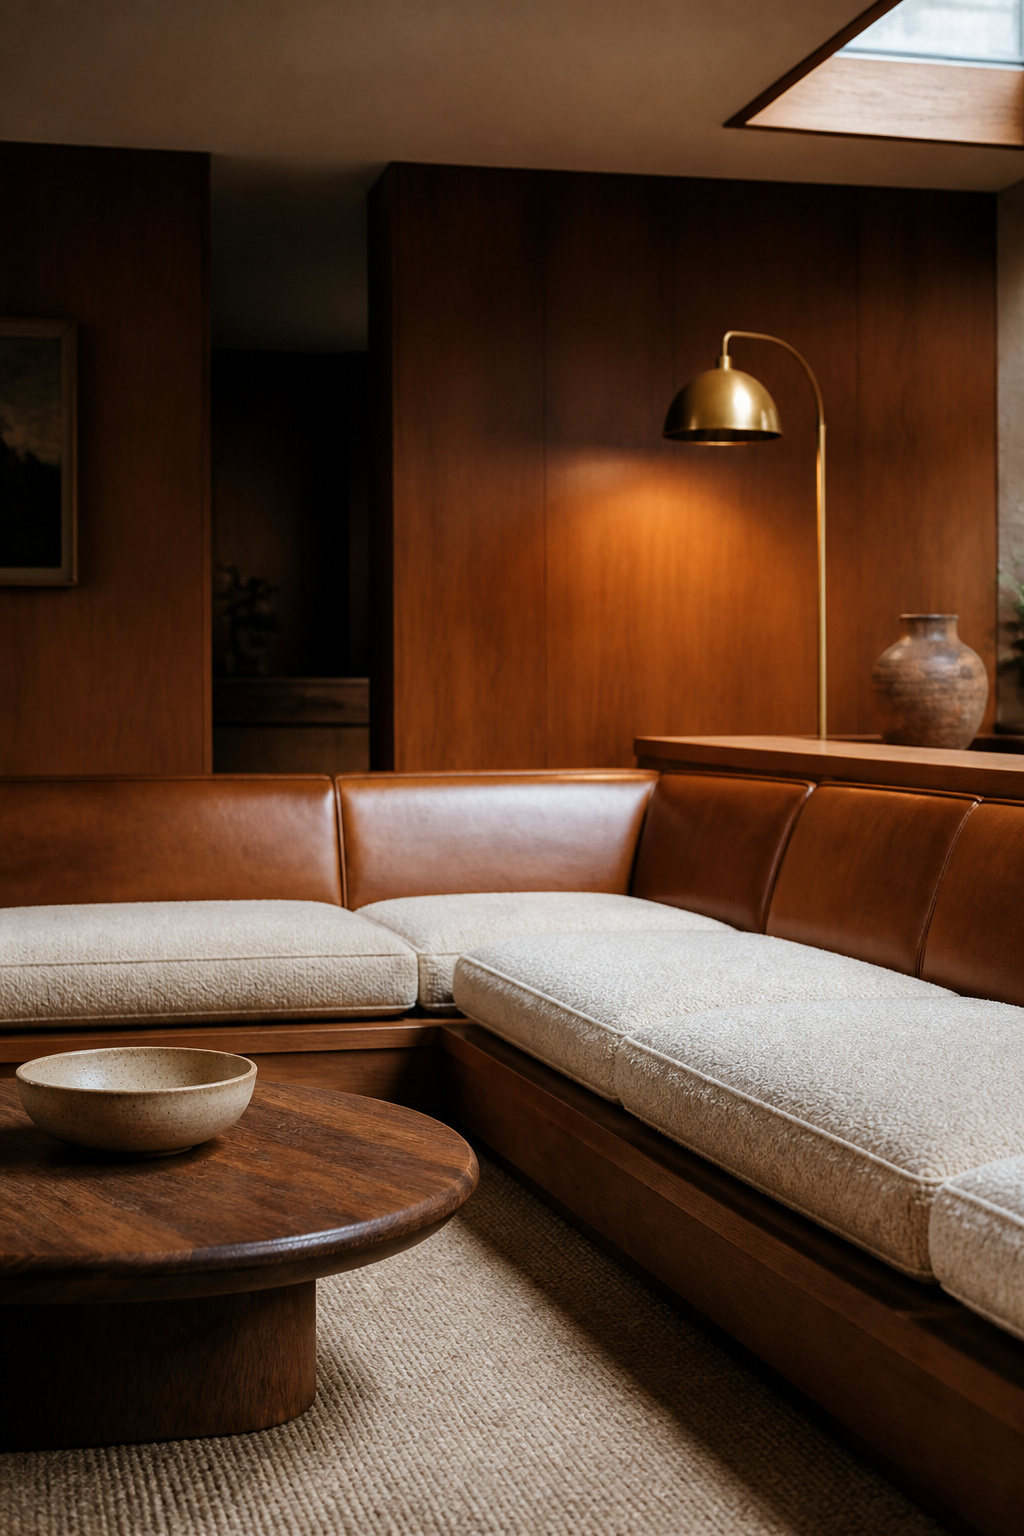
A pit is upholstered benches following the perimeter of the drop, orbiting a low central table or a fire feature — not loose furniture set on a flat floor. That closeness is the plainest version of hygge: warmth and people drawn in around a low centre, engineered into the architecture instead of hoped for. San Francisco architect Craig Steely sets the floor bluntly — “make sure your conversation pit is big enough. At least 12 by 12 feet.” One comfort detail worth committing to comes from interior designer Joanna Lavén, who builds the seat slightly above the surrounding floor so there is no sharp edge to lean back against.
Why it makes people sit closer and stay longer
A fixed, wraparound bench shortens the distance between seated people compared with a sofa and two chairs — and that shortened distance is the entire “conversation” in the name. It is why architect Peter Knight designed one client’s sunken lounge as a place to “lie back and watch the clouds and the sky, to have conversations, to read a book, to play with their pets.” A pit is somewhere to settle into, not pass through.
When a pit beats freestanding furniture
Here is the trade-off, stated plainly: a built-in pit is the least flexible seat in the house. Every other option — a sectional, a modular set, a mix — can be rearranged in an afternoon. A pit cannot, because it is structural. So build one only when you are certain how your household gathers. The shape, the social sizing and the upholstery that survives real family use are a decision of their own; the full set of modern conversation pit ideas lives in its own guide.
Furniture Layout for an Existing Sunken Room
The most common mistake in a sunken room is buying the sofa first.
Sectional versus modular versus mixed seating
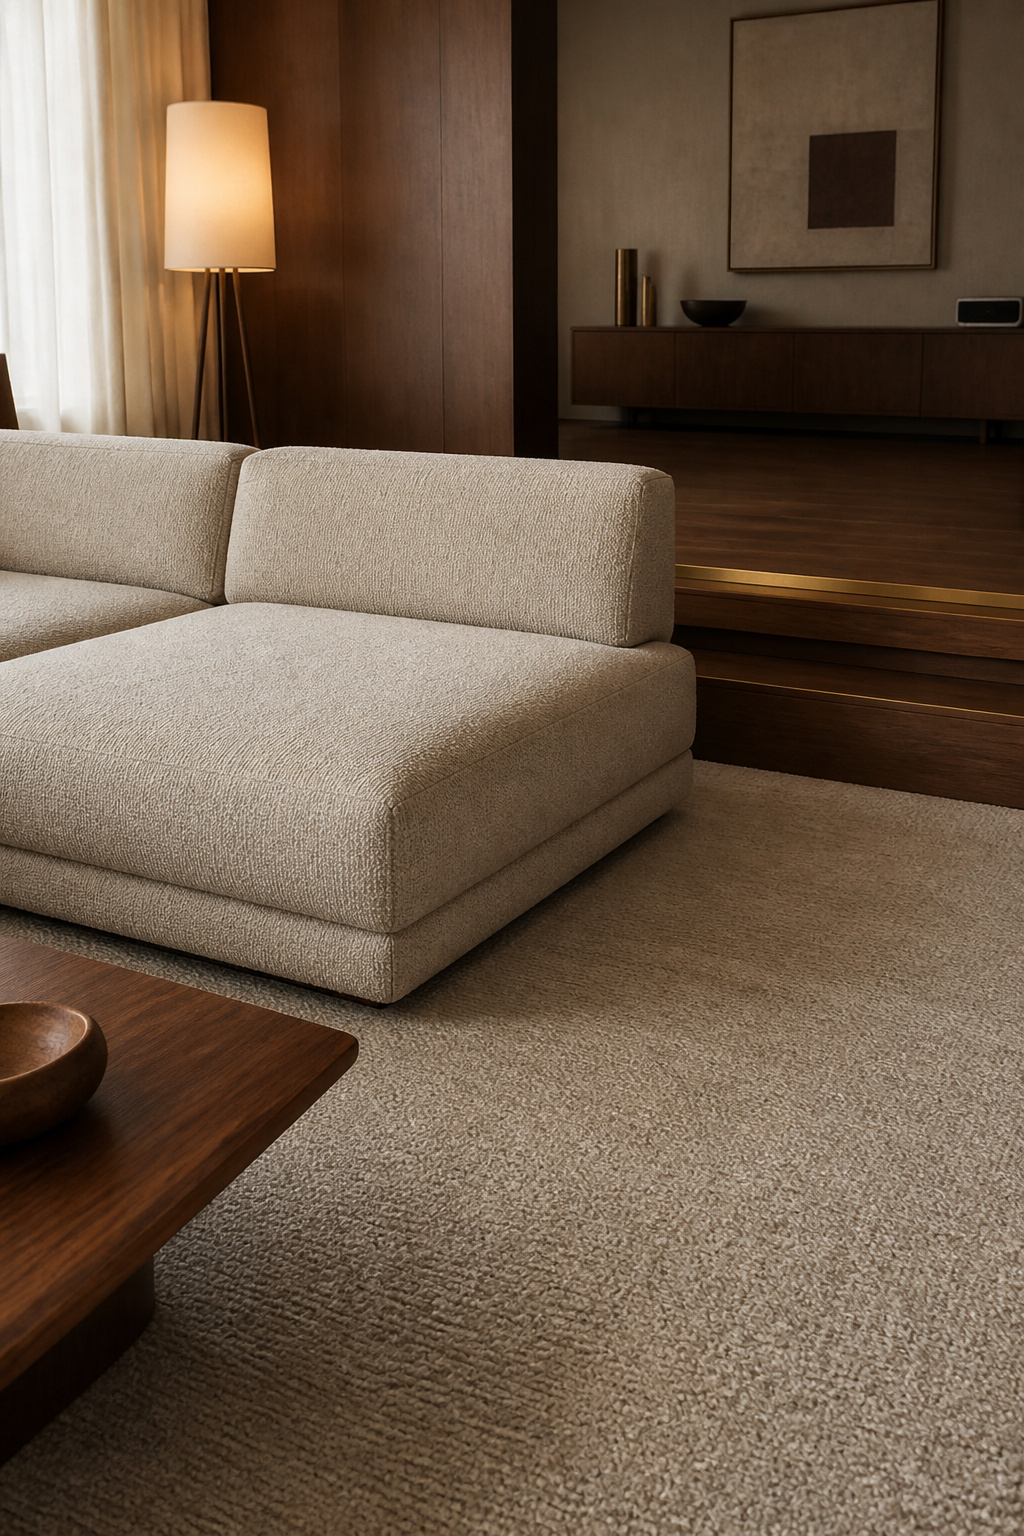
If you already own the drop and are furnishing it with freestanding pieces, three decisions carry the room: the seating type, how far you float furniture off the step, and the rug. A sectional suits a wide, regular pit; modular pieces forgive an odd shape and let you reconfigure later; a mix anchors the group with a bench and pulls chairs in for guests. The one rule that overrides taste is height — keep the whole grouping on a single low seat plane, or a standard-height chair dropped into a low group looks like leftover furniture.
Floating the arrangement off the step edge
Push every piece back to the walls and the lower level becomes a moat. Pull the seating inward and it becomes a room. Leave 30 to 36 inches of clearance wherever the step doubles as a walkway, and keep a clear landing at the base of the drop so the first stride down never meets a chair leg. The wall space you free then goes to shelving or art.
Rug sizing and traffic flow around the drop
Size the rug to the lower level, not the whole room. A seating group wants an 8-by-10-foot rug at the minimum, 9-by-12 as the size most designers prefer, with the front legs of every seat on it; a 9-by-12 sectional usually needs a 10-by-14 rug or larger, overhanging the piece 8 to 12 inches per side. Keep it fully inside the drop and stop it before the step. The specific placements — where the screen goes, how the rug meets the step, which path stays clear — are their own project, and the guide on how to lay out the furniture commits to exact arrangements.
Lighting a Room With a Step Down
At dusk a sunken room can do something a flat one cannot: gather the light instead of spreading it.
Why a lower ceiling plane changes the lighting math
Light is the first material of any room, and the drop changes how it behaves — think of this as reasoning rather than a code figure. Lowering the floor while the ceiling stays put raises the effective ceiling height over the pit, so the fixture heights and beam spread that suited the main floor no longer land the same way below the step line. The lower plane is its own small room, and it needs its own light.
Ambient, task and accent light in one space
The three standard layers still apply. Ambient is the base you sit inside — wide downlights or cove light that, as lighting designer Cecilia Ramos describes it, throw “a soft blanket of light” rather than aim at anything. Task light runs at a meaningfully higher output, set close to the activity, like a lamp beside a reading seat. Accent light is narrow and brighter, pointed at a feature — a fireplace, a piece of art. One overhead fixture trying to do all three is the classic sunken-room error.
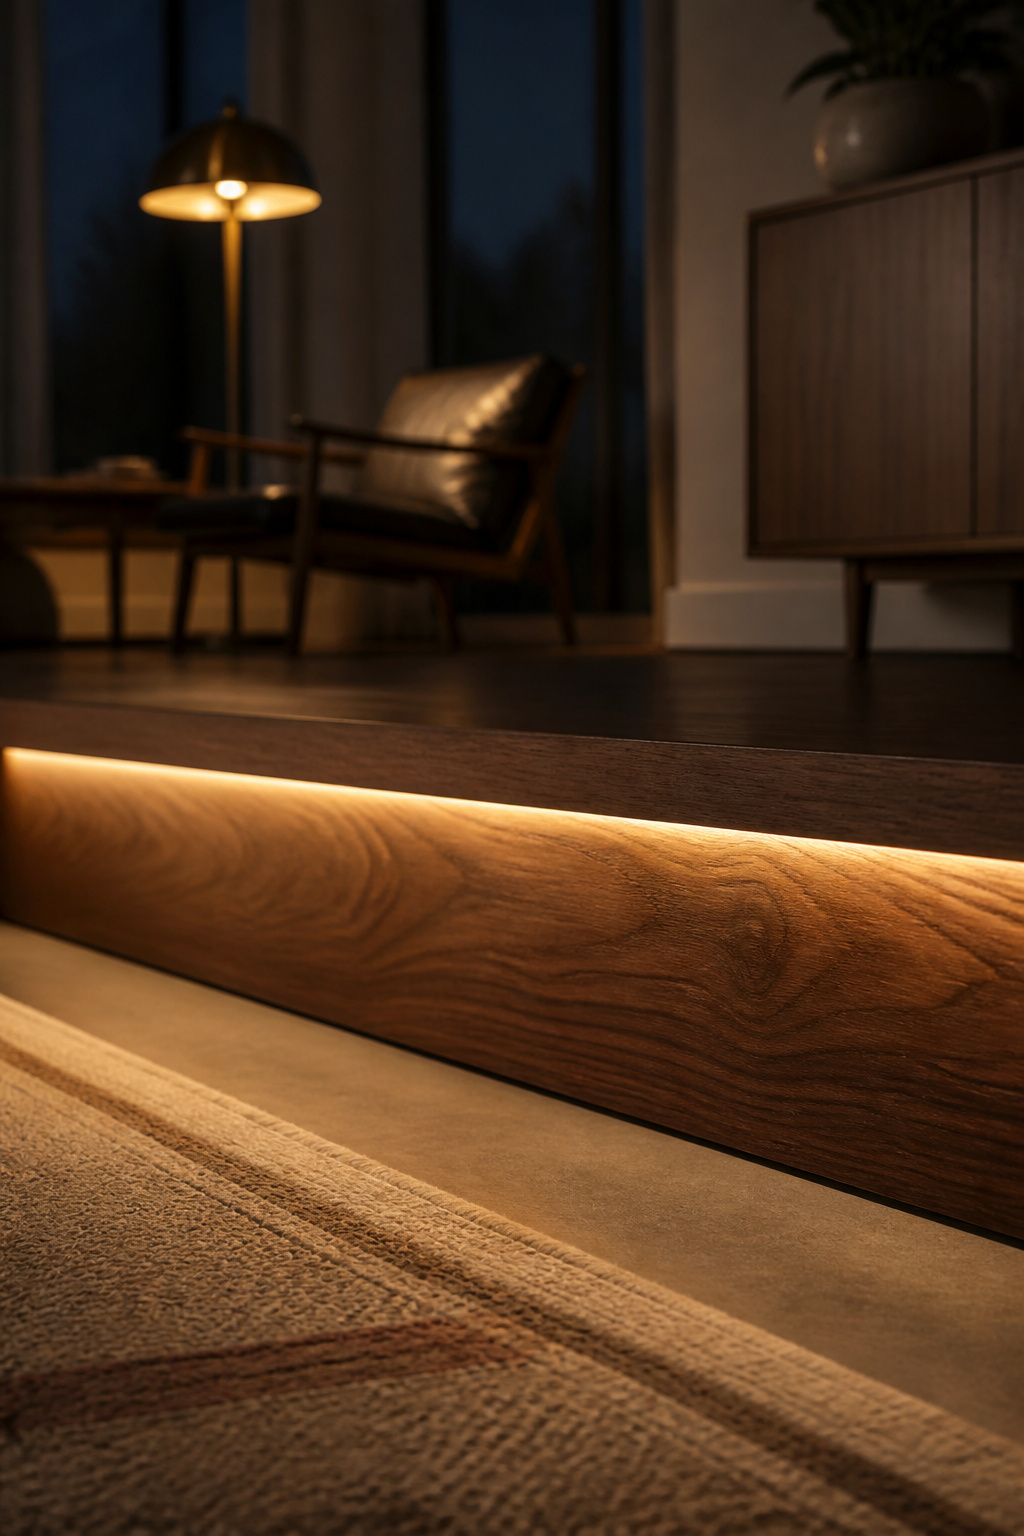
Step and edge lighting as ambiance and safety
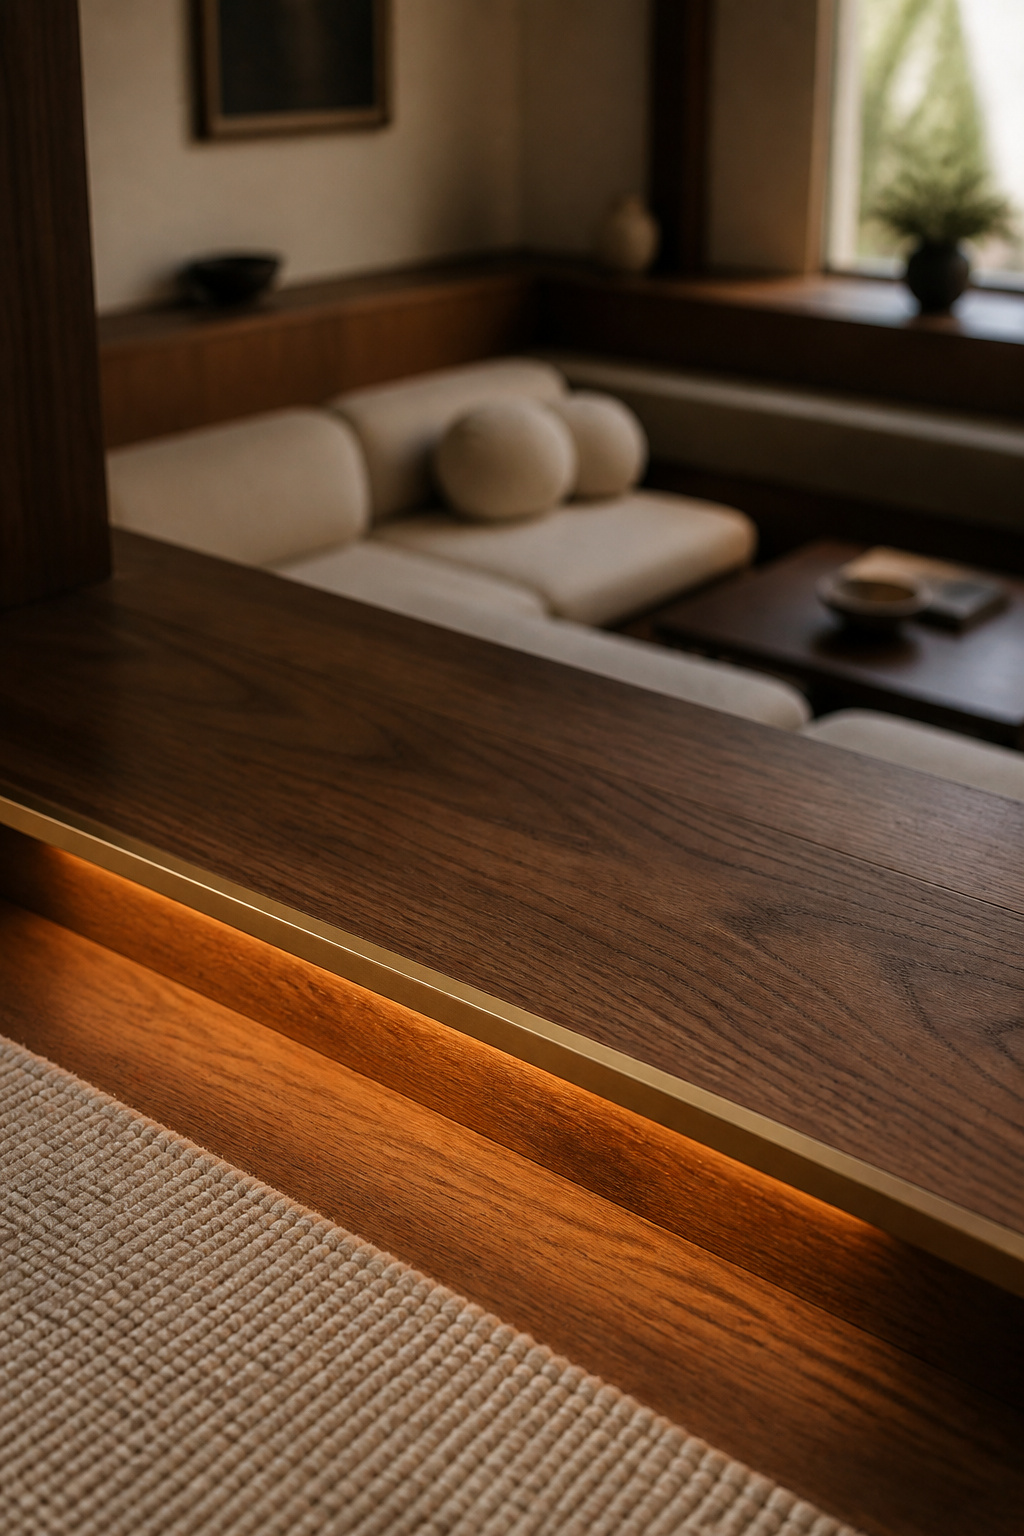
The drop adds a fourth job the flat room never had: the step itself has to be legible after dark. Roughly 800 lumens of overhead light at the transition, paired with a contrasting floor material at the edge, keeps it visible — and because falls are the most-cited complaint about these rooms, step light is a safety layer first and an atmosphere layer second. My committed version of all this is simple: put the overhead on a dimmer, light the step, and never rely on a single bright ceiling fixture. Fixtures, colour temperature and glare at a seated eye level are a specialist’s territory; James Bennett’s guide to lighting a sunken living room takes it fixture by fixture.
Keeping the Drop Safe: Railings, Steps and Edges
Falls are the single most-repeated complaint about sunken rooms — and the fix set is smaller than the worry suggests.
Low-profile railings and half-walls
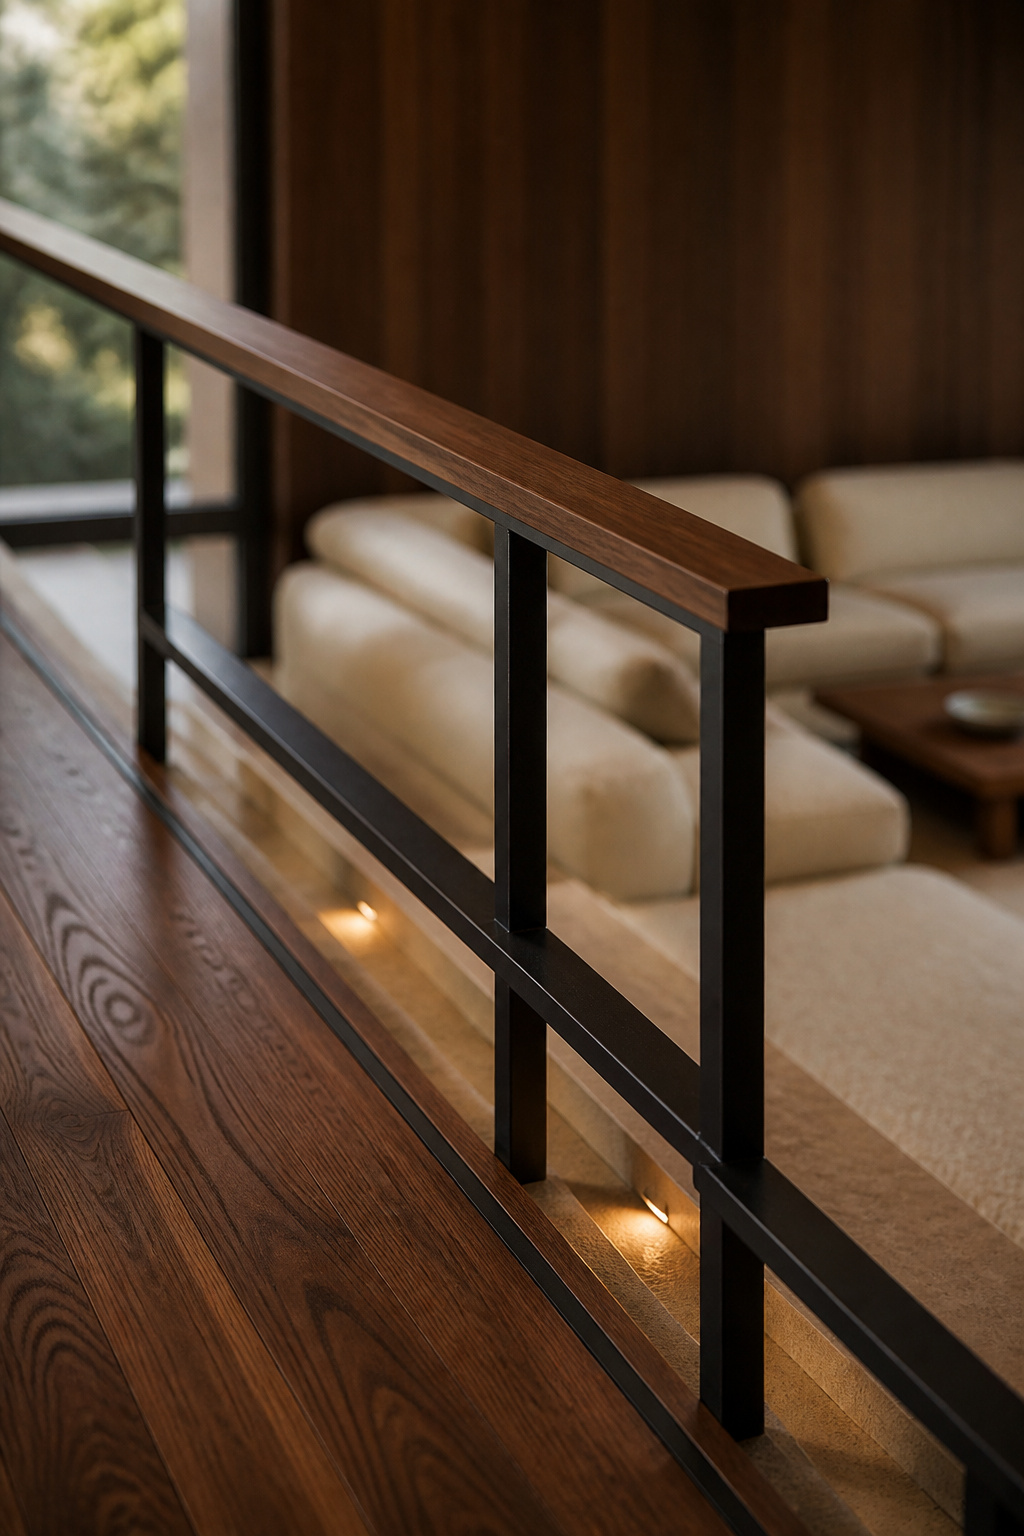
You do not have to wall the drop off to make it safe. A low cable rail, a standoff-glass panel, or a half-wall that doubles as a display ledge all mark the edge while keeping the view open. Most sunken rooms drop less than 30 inches, which sits under the usual residential guardrail trigger — code broadly requires a guard at 30 inches or more of elevation change, at a 36-inch minimum height. That is a useful benchmark even though your drop probably falls short of forcing one.
Step geometry and edge marking
How a step feels underfoot is set when the room is framed, not when it is decorated. A quick estimate: divide the total drop by about 6 inches for the step count, so a 20-inch drop split over four steps gives even 5-inch risers. Then mark the nosing with real contrast and light it — those two cues, contrast and roughly 800 lumens, repeat across every serious safety source because they are what put the edge back in front of an eye that scans ahead, not down.
Designing for kids, older adults and resale
Mark and light the edge whatever the code says — it is the highest-value, lowest-cost safety you can add. Resale opinion, meanwhile, is genuinely split: one realtor calls sunken rooms “dated eyesores” and recommends raising the floor before a sale, while the design press documents a real revival with named architects building new pits right now. Treat resale as unsettled, not decided. The code triggers, the tread-and-riser geometry and the family reasoning are Sofia Martinez-Chen’s ground; her guide to railings, steps and edge safety carries the detail.
What It Costs to Build One From Scratch
Dropping a floor into an existing house runs $10,000 to $30,000 for a straightforward job — and $60,000 or more once excavation, underpinning or a load-bearing wall enters the picture.
Slab versus joist construction and why it matters
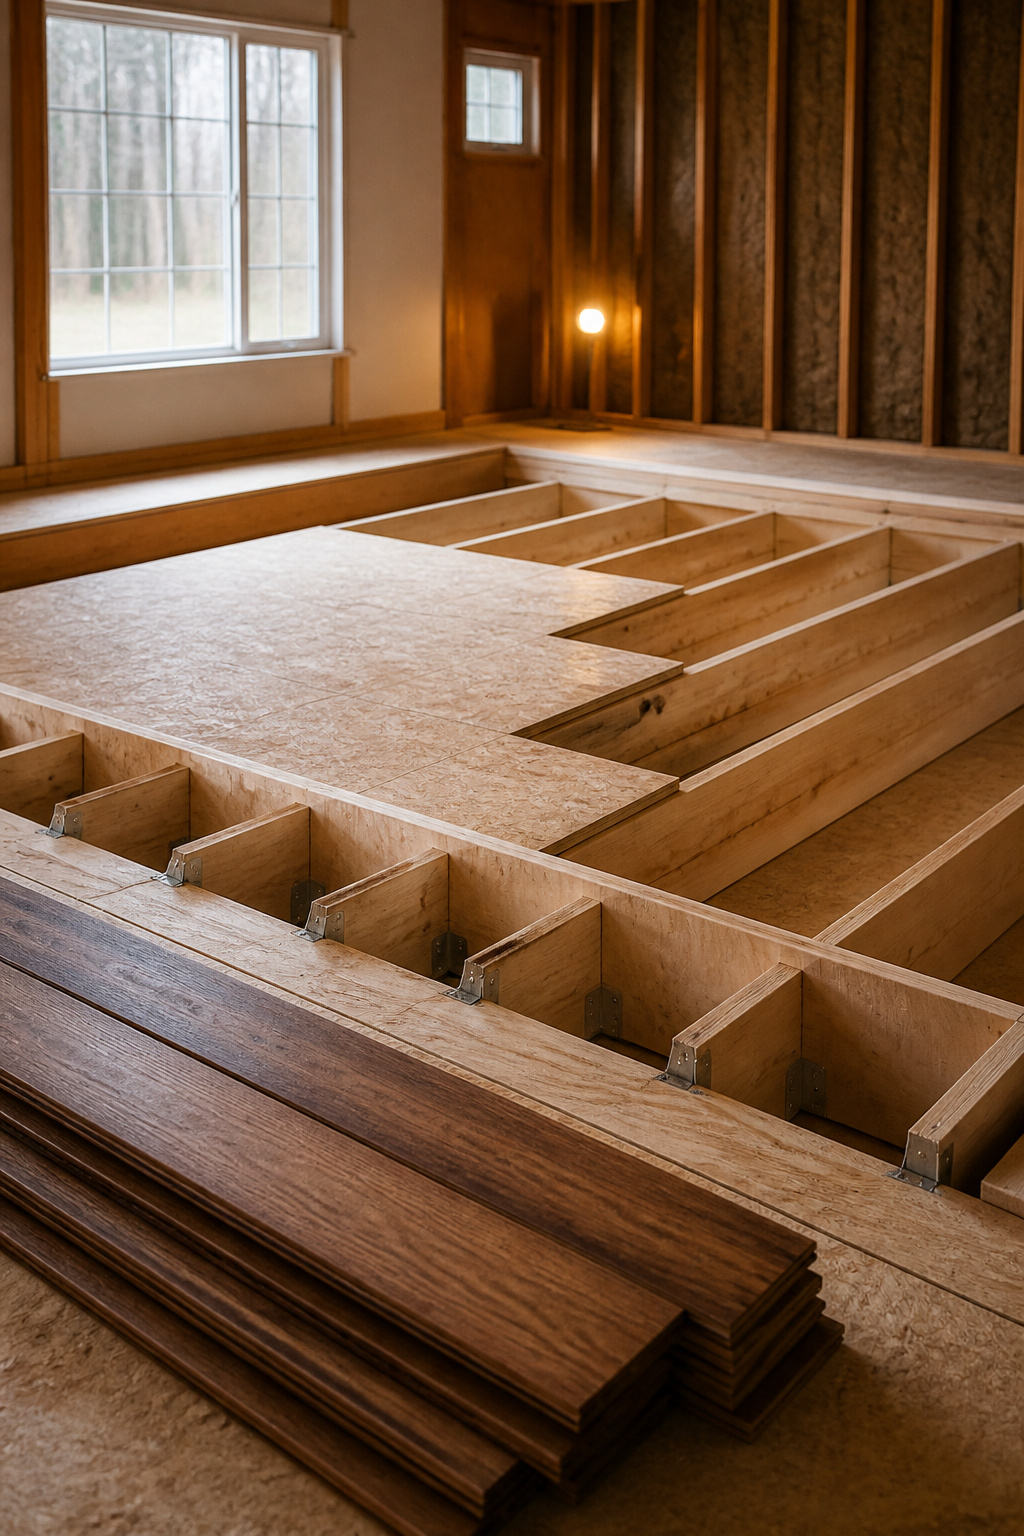
Building a sunken room means altering the foundation, which puts it in a different category from anything cosmetic in this guide. Concrete slab and crawl-space foundations work best; a basement rarely does, because the recess eats headroom you want to keep. On a slab the shape is cut and reinforced; over a crawl space it is framed from lumber — different techniques, but structural work either way.
What actually drives the price
The number moves with the pit’s depth and shape, the materials, any custom features like integrated sound or built-in lighting, and the furnishings. A shallow step stays close to a framing job; a deeper drop pushes further into structural work, and that is where the price climbs fastest. Finishes matter least to the total — pick them last, after the structural number is locked.
Permits and when you need a structural pro
Because it touches weight-bearing structure, permits are required and a structural assessment is not optional. This is the clearest line in the whole guide between a project you can hand to a general builder and one that needs a licensed professional. If you want the look without the excavation, a faux pit — a U-shaped sectional with floor cushions and a plush rug — buys the intimacy for none of the structural cost. My committed read: if your floor is a slab or crawl space and your household gathers often, building is feasible and worth the number; if it is a basement or a low-ceilinged room, spend the money elsewhere. Tess Carver’s guide to how to build one and what it costs breaks the figure down line by line and names exactly where a structural pro is mandatory.
When to Fill It In Instead
When does a sunken floor stop being worth keeping?
Why some owners raise the floor back up
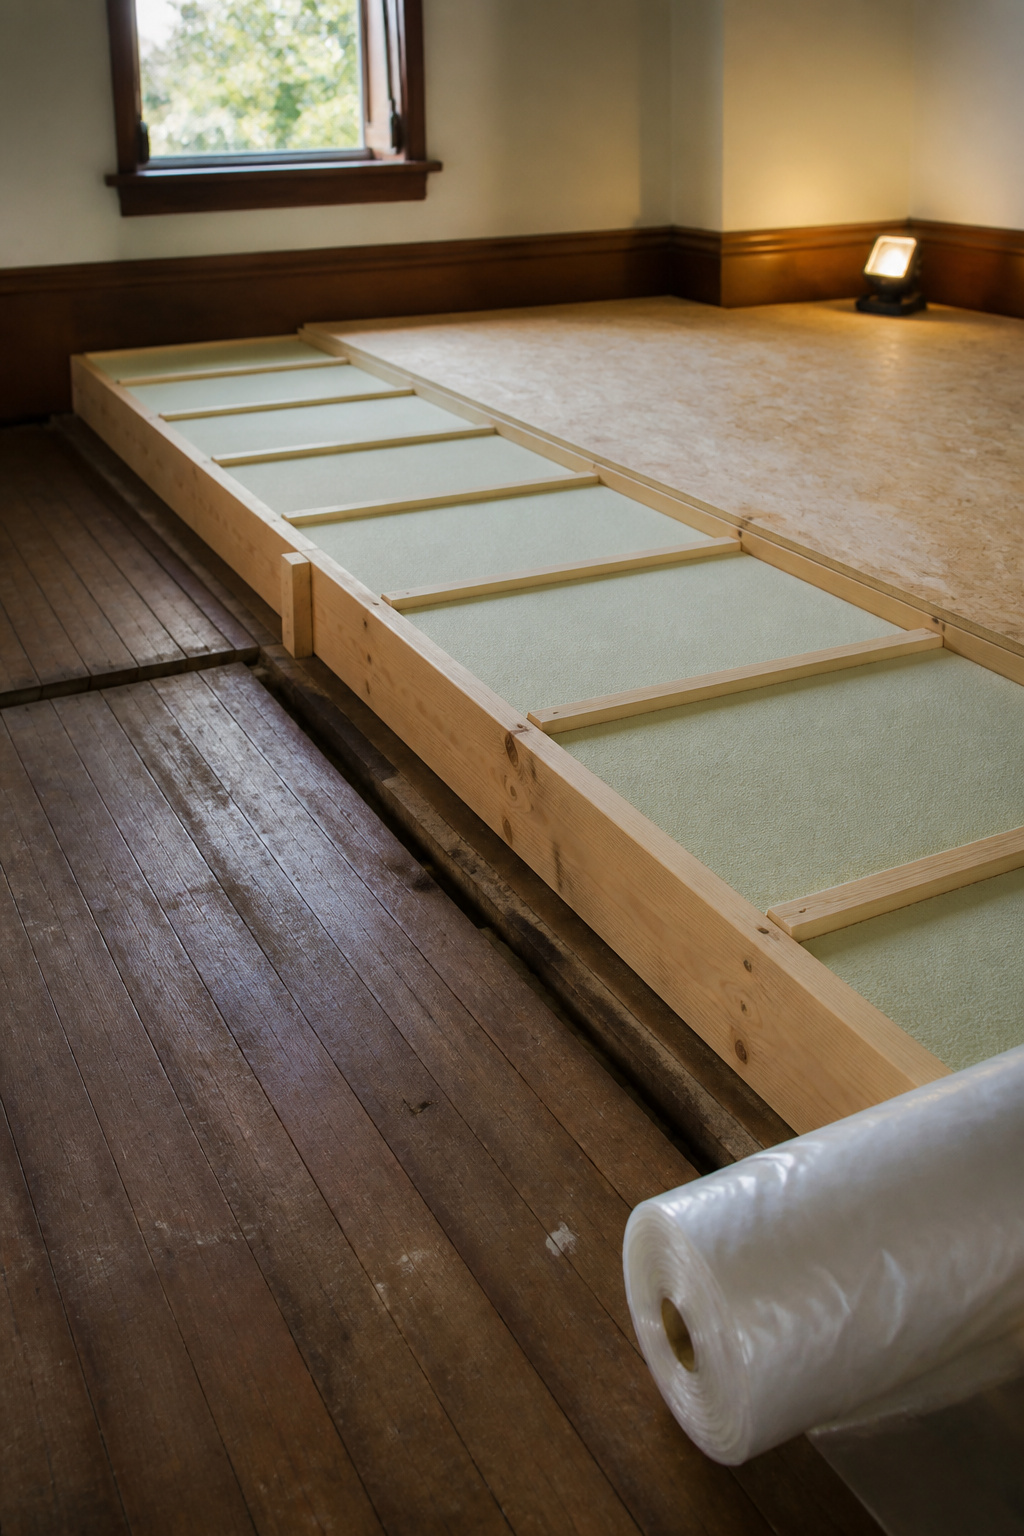
Raising a sunken floor is the inverse project, and for owners who have decided the drop no longer suits how they live, the cost is well documented — $5,000 to $25,000 or more, converging across three independent estimates. Two reasons dominate. The first is accessibility: a mobility need, or a real trip risk with young children or older adults in the house. The second is resale — the same “dated” argument, which cuts both ways.
What the reverse project involves
The method depends on depth. A deeper drop, over roughly 8 inches, gets a framed sleeper approach that leaves an air cavity for utilities; a shallower recess, under about 6 inches, takes a lightweight concrete or foam fill that trades that cavity for stability and quiet. Either way you relocate the electrical, HVAC and plumbing that were set for the lower level, and lay a vapor barrier before the new subfloor goes down. Framing itself runs one to two weeks; a concrete fill adds curing days; permitting can stretch the whole timeline to weeks or months.
The cost-versus-live-with-it trade-off
Here is the stance I will commit to: fill it in for a genuine need — accessibility, safety, a floor plan that never resolves around the step — not because a trend turned over. A room you tear out because it “looks dated” is usually a room you will wish you had only restyled. The sleeper framing, the height-matching and the honest count of weekends live in Tess Carver’s guide to filling in a sunken living room.
The Mid-Century Roots Behind the Trend
The sunken living room is older than the shag carpet most people picture under it.
Where the sunken living room came from
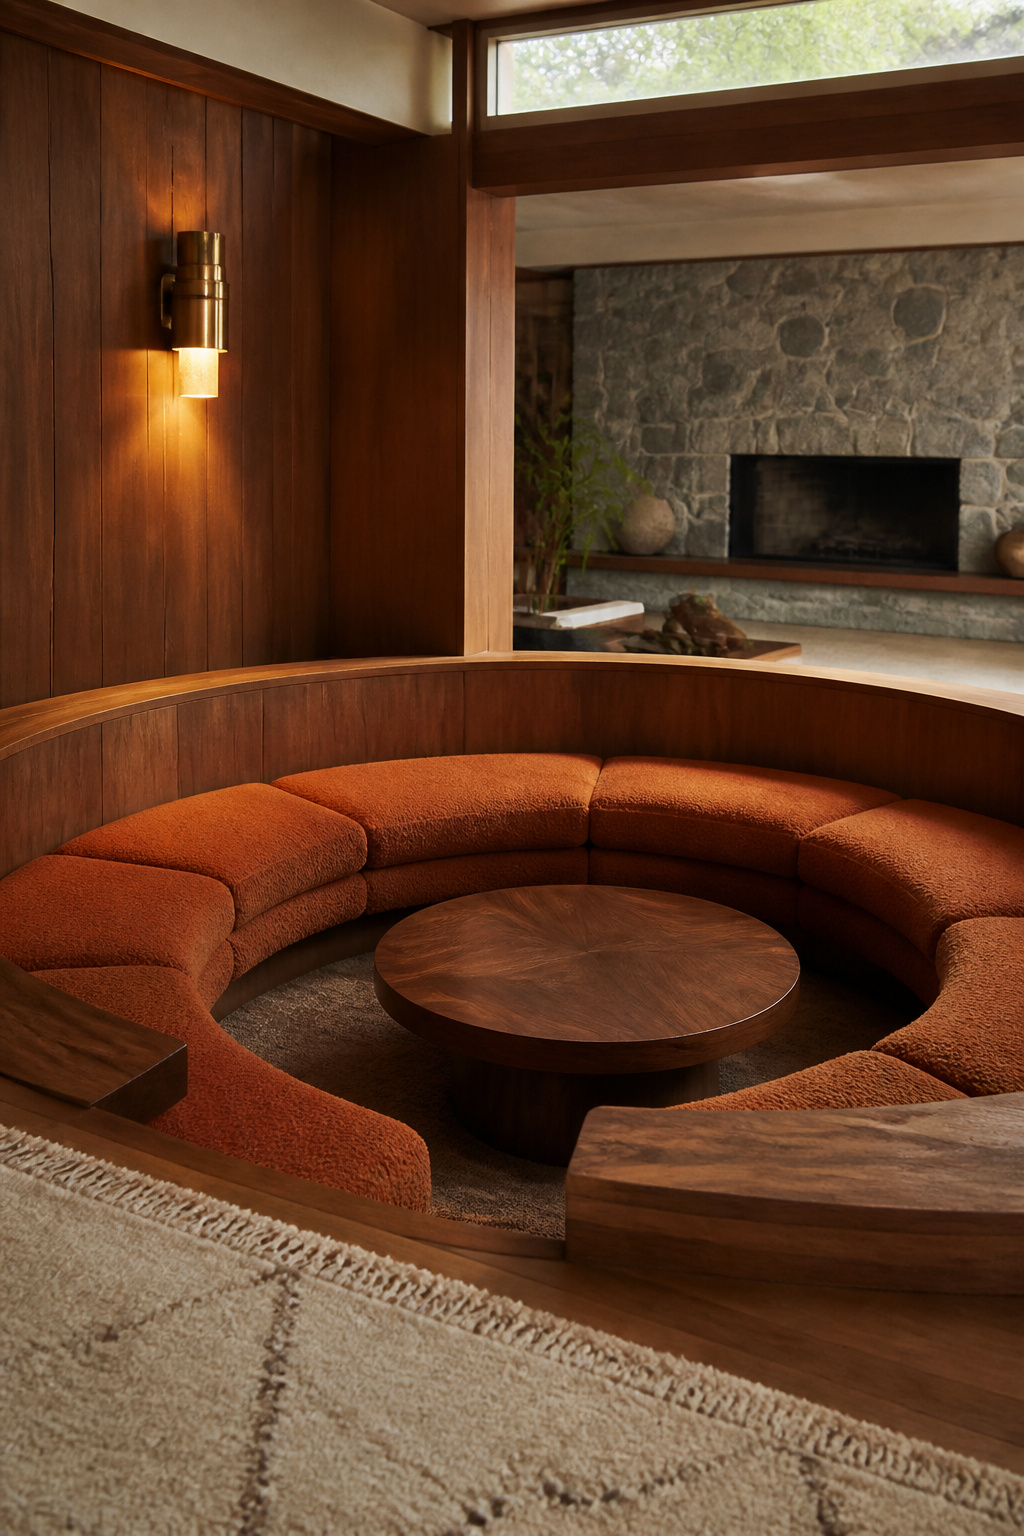
The earliest documented American example is credited to architect Bruce Goff, in a Tulsa home built around a fireplace set into a semicircular floor pit. The date is genuinely contested — sources spread across the 1920s, with some naming 1925 and others 1927 — so the honest answer is the mid-to-late 1920s, not a single year. The idea became a phenomenon decades later, when Eero Saarinen and Alexander Girard designed a sunken seating square for the Miller House in Columbus, Indiana — completed in 1957 or 1958, depending on the source — and gave the world the term “conversation pit.” Saarinen later sank a red pit into the TWA Flight Center, finished in 1962.
Why the era’s architects built the floor down
The pit spread through the 1960s and ’70s partly because it paired naturally with the era’s circular modular sofas and offered households an alternative to seating aimed flatly at a television. Paul Rudolph made it a signature element from the mid-1950s on. It was popular enough that magazine and television exposure drove real demand, though the sources cannot even agree on which sitcom deserves the credit — a good reminder to hold the history loosely where it is genuinely uncertain.
What it means to own a period feature today
One figure captures how seriously the era took it: a dedicated conversation-pit sofa sold for roughly $2,000 in 1976 — about $11,000 in today’s money. This was an investment purchase, not a throwaway fad. The design fell from favour in the 1980s over safety, accessibility and the same inflexibility a built-in always carries, and many pits were filled in during later renovations — which is why a genuinely intact original is rarer now than the era’s ubiquity suggests. Knowing the drop is a real period feature should change the keep-or-fill call, because you are deciding about architecture, not a dated quirk. What marks an authentic original — the terrazzo, the parquet, the coping — and how to update one without erasing it is Rachel Blackwood’s subject in the guide to its mid-century modern roots.
Choosing Between Sunken Living Room Ideas: Build, Restyle, Safety-Proof or Remove
So which of the four is actually yours? Everything above collapses into one decision, and it is not an aesthetic one.
A simple decision path based on what you already have
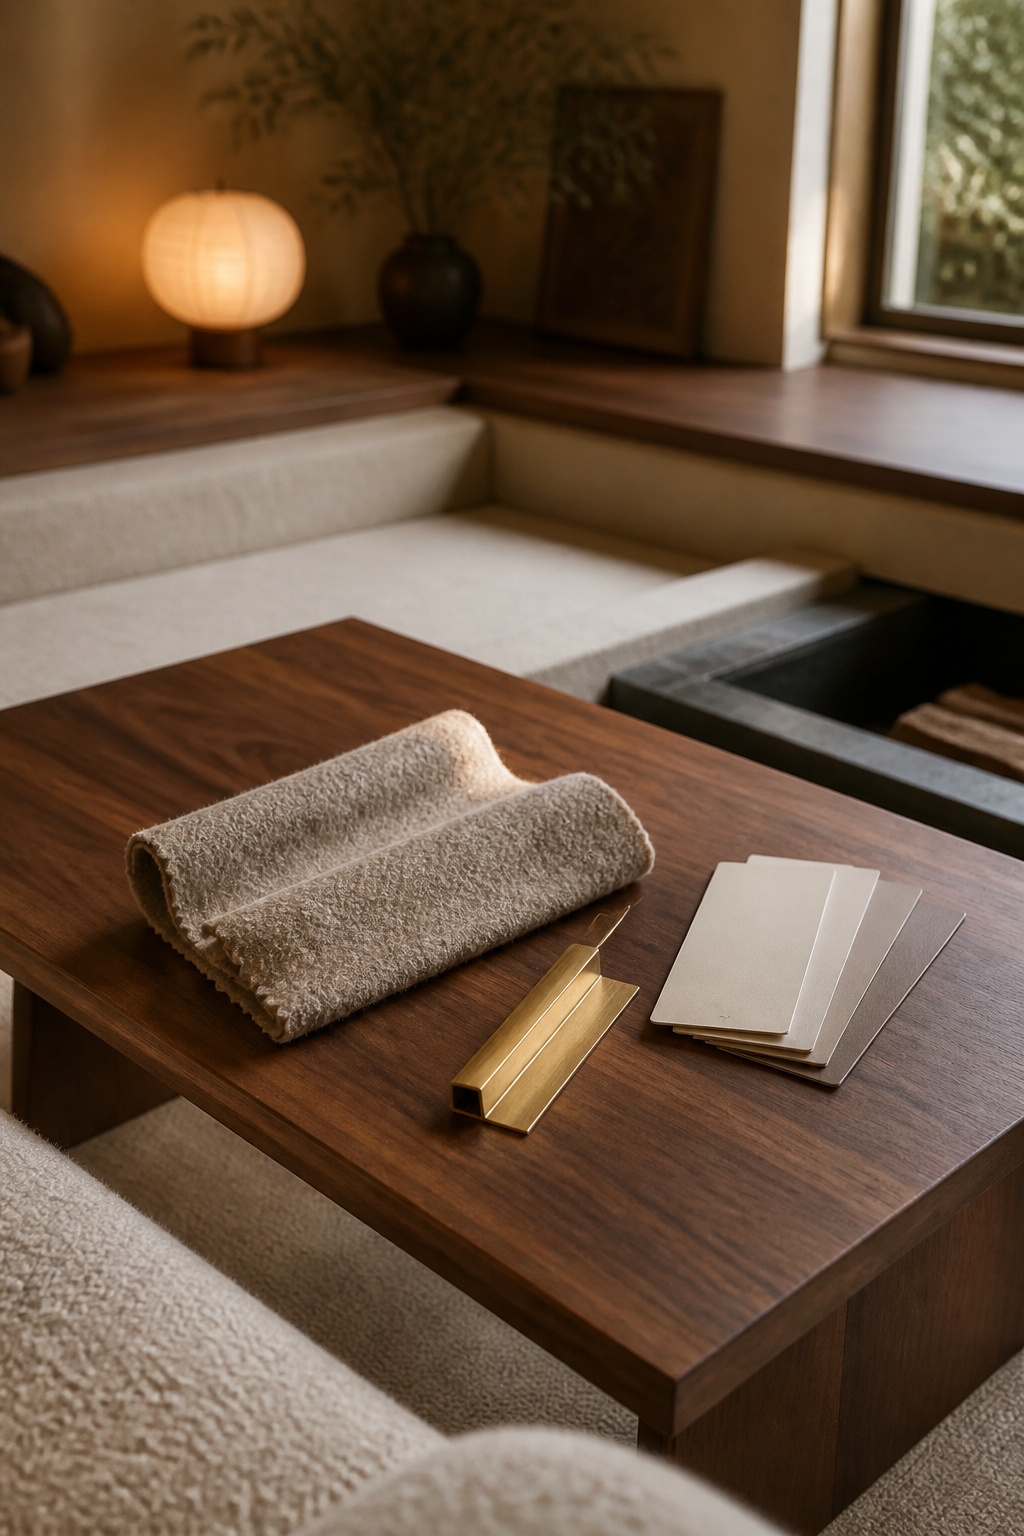
The four paths map to four starting situations, not four competing opinions. Already have a pit and like it? You need only the safety-proof or restyle paths. Don’t have one and want the look? You are on the build path. Have one and want it gone? You are on the fill-in path. Sort out which situation is yours first, and the rest of the decision narrows fast.
What each path costs, roughly, before you commit
Here is the whole field on one line:
| Path | Roughly what it costs | Timeline | Alters structure? |
|---|---|---|---|
| Safety-proof what you have | ~$500–$6,300, plus a few hundred for step lighting | Days | No |
| Restyle what you have | ~$8,000–$15,000 | Days to about two weeks | No |
| Build one from scratch | $10,000–$30,000, or $60,000+ for excavation/underpinning | Months, with permits | Yes |
| Fill it in | $5,000–$25,000+ | 1–2 weeks framing; weeks to months with permits | Yes |
Read the top two rows as approximate: the restyle and safety-proof figures rest on thinner, single sources, so treat them as a rough starting point. The build and fill-in numbers are firmer — each is triangulated across three independent estimates. If you already own the drop, commit to the cheapest honest fix first: safety-proof the edge before you price anything bigger, because most owners who think they need a fill-in actually need a railing and a light.
The one question that settles it
The decisive question is structural, not aesthetic: does changing the floor level require altering weight-bearing structure? Building and filling in both do, which is why both carry permits, a professional assessment and the widest cost range. Safety-proofing and restyling do not, which is why either can be a contractor-free weekend-to-two-week job. Answer that one question and your path names itself.
So place yourself. If you have a sunken room and love it, light and mark the step and furnish it low — you are two weekends from done. If you have one you cannot live with, filling it in is a real five-figure project with a permit, not a demo-bar afternoon. If you do not have one and your house gathers, building is feasible on a slab or crawl space and worth the structural number. And if step-free access is a daily need, the honest choice is the faux pit — the intimacy without the drop. You do not have to love the whole trend. You only have to know which of the four paths is yours — and now you can name it, along with the single guide to open next.