


Plumbing arrived in most old houses as an afterthought. The room you are planning was a bedroom or a box room before anyone ran a drain to it, and its joists were sized to carry a floor, not a soil pipe crossing them at a fall. So an old house bathroom remodel starts as a structural question and only later becomes a design one, and the building answers in a fixed order: joists, then stack, then walls.
TL;DR
- No notching in the middle third of a joist span, notches no deeper than one-sixth of the joist, and drains need 1/4 inch of fall per foot at 2.5 inches or under.
- Cast-iron drain pipe gets 50 to 65 years of service life, and flaking on any exposed length usually indicts the whole run rather than one joint.
- Lath and plaster is a finish that carries no load, and a continuous surface wants a substrate flat to 1/8 inch over 10 feet.
Read all three before you order anything.
What the joists allow before you move a drain
A notch is permanent, and every cut made in this floor is something the next owner inherits.
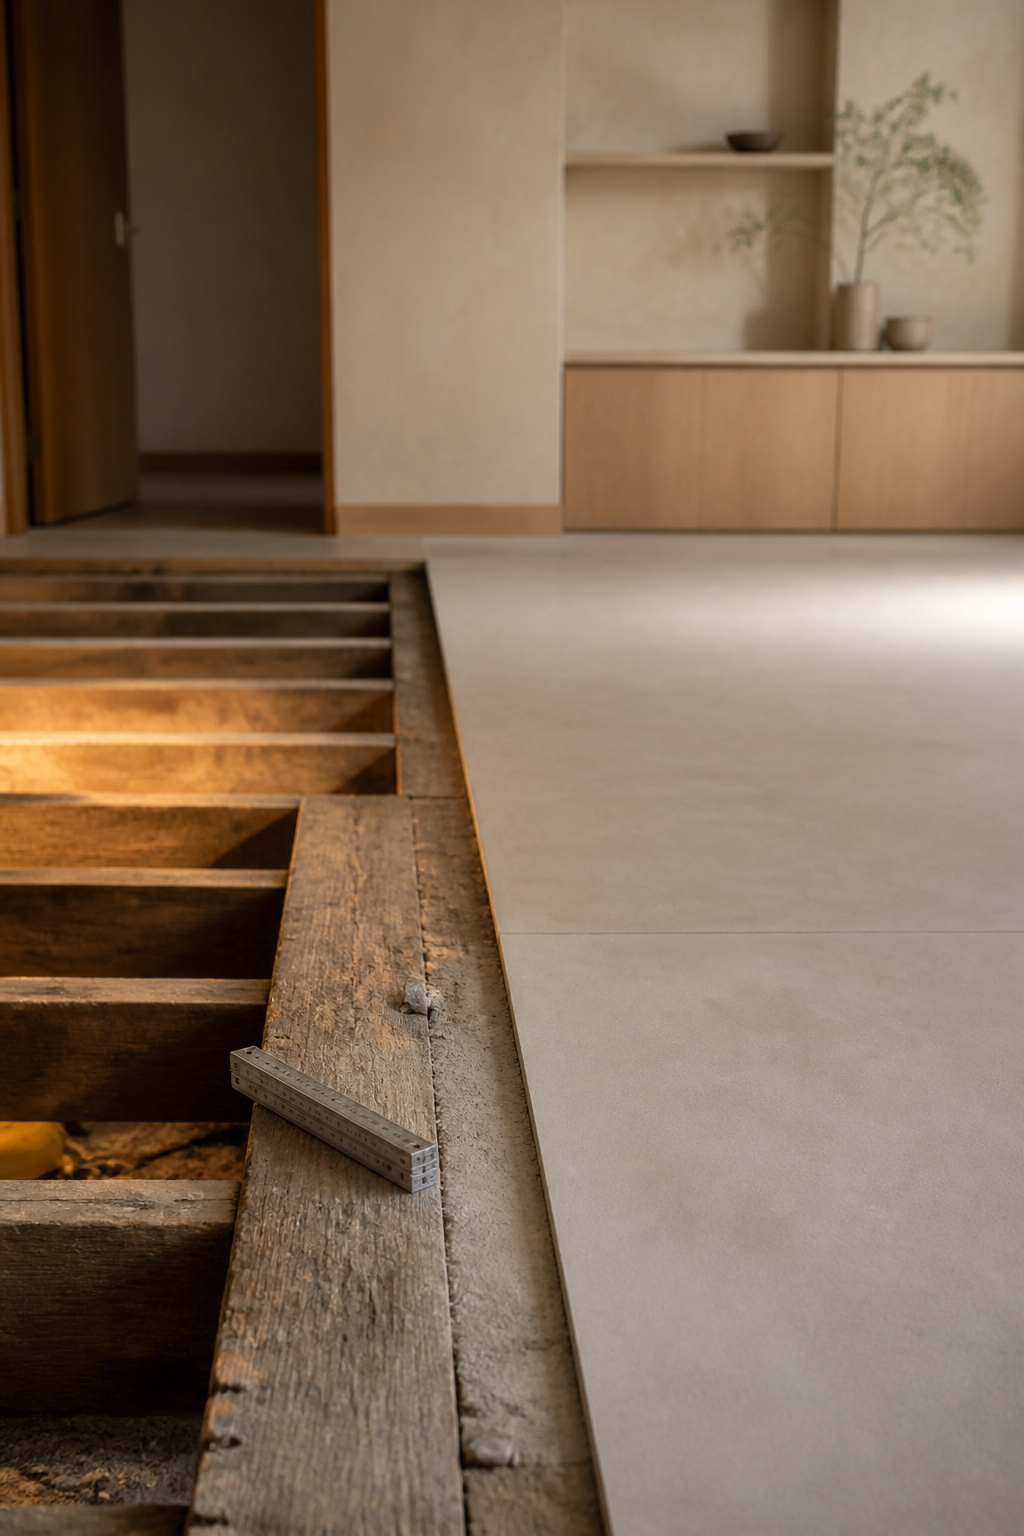
Joist direction and span
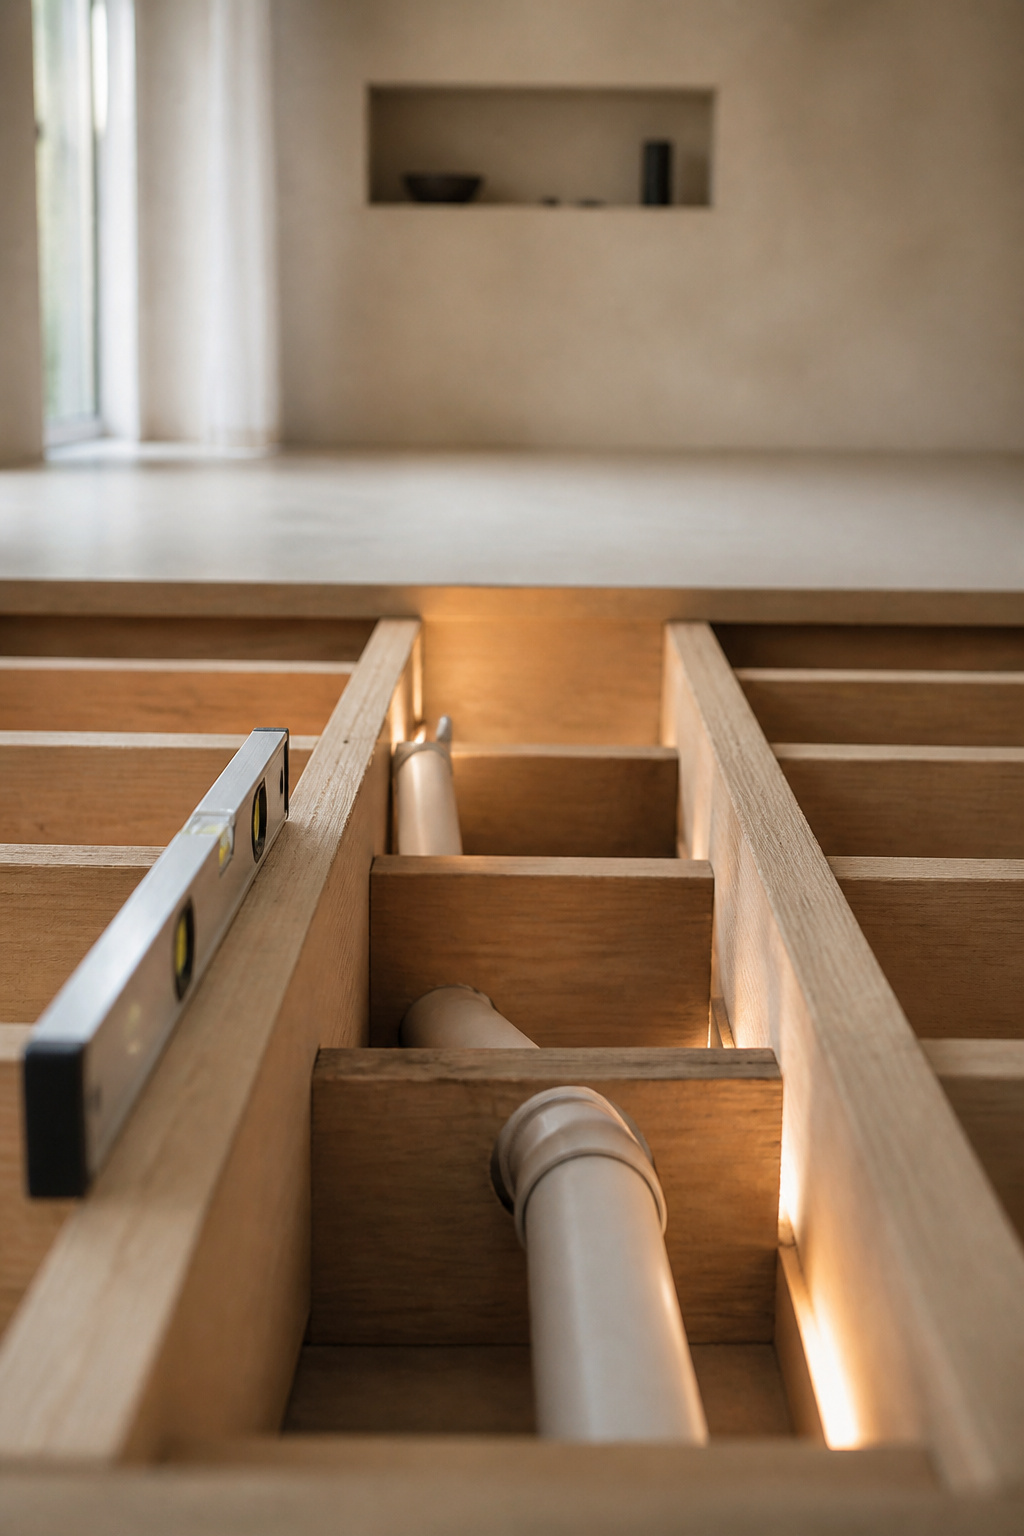
Joists run the shorter way across a room, so in a 12-by-24-foot space they cross the 12-foot dimension. Confirm it from below, though; a look from the basement or crawlspace is the reliable check. Measure the spacing too instead of assuming it. Sixteen inches on center is standard, but older houses turn up framed at 12-inch or 24-inch centers.
Relocating a drain without cutting a load-bearing joist
For solid-sawn lumber, the IRC sets binding limits on every cut:
| Cut in a solid-sawn floor joist | Limit |
|---|---|
| Notch depth, general span | 1/6 of joist depth |
| Notch length | 1/3 of joist depth |
| Notching in the middle third of the span | Not permitted at all |
| Drilled hole diameter | 1/3 of joist depth |
| Hole edge clearance | 2 in from joist top and bottom, and from any other hole or notch |
The middle-third ban is the one that reshapes plans. On a 12-foot joist, notching is confined to the outer 4 feet at either end, and the middle, which is exactly where a relocated drain wants to run, takes drilled holes only.
Slope decides the rest: 1/4 inch of drop per foot for drains 2.5 inches and under, 1/8 inch per foot for 3 to 6 inch pipe.
Venting that was never there
Houses built before modern plumbing code rarely have a vent near where the new bathroom wants to go. For a single fixture, an air admittance valve is a legitimate fix. It’s a one-way valve, recognised under IRC Section P3114 and IPC Section 918, that lets air in and keeps sewer gas out.
Placement is prescribed too. A branch-type valve sits at least 4 inches above the drain it serves; a stack-type valve sits at least 6 inches above the flood-level rim of the highest fixture it vents. That six inches is measured up from the rim, so don’t read it as a wall depth or a floor dimension. An AAV is never a whole house’s vent, though, because code still requires one open pipe reaching outdoor air. It also has to stay reachable behind a panel, since the mechanism eventually fails.
Cast-iron stacks: what replacing one involves
The two years I spent on a terrace house with my father are where I stopped reading buildings as history and started reading them as material. Lift enough old first-floor boards on a job like that and you learn to expect a cast-iron stack flaking rust into the joist bay before you ever see it; the pipe taught me what the degree hadn’t.
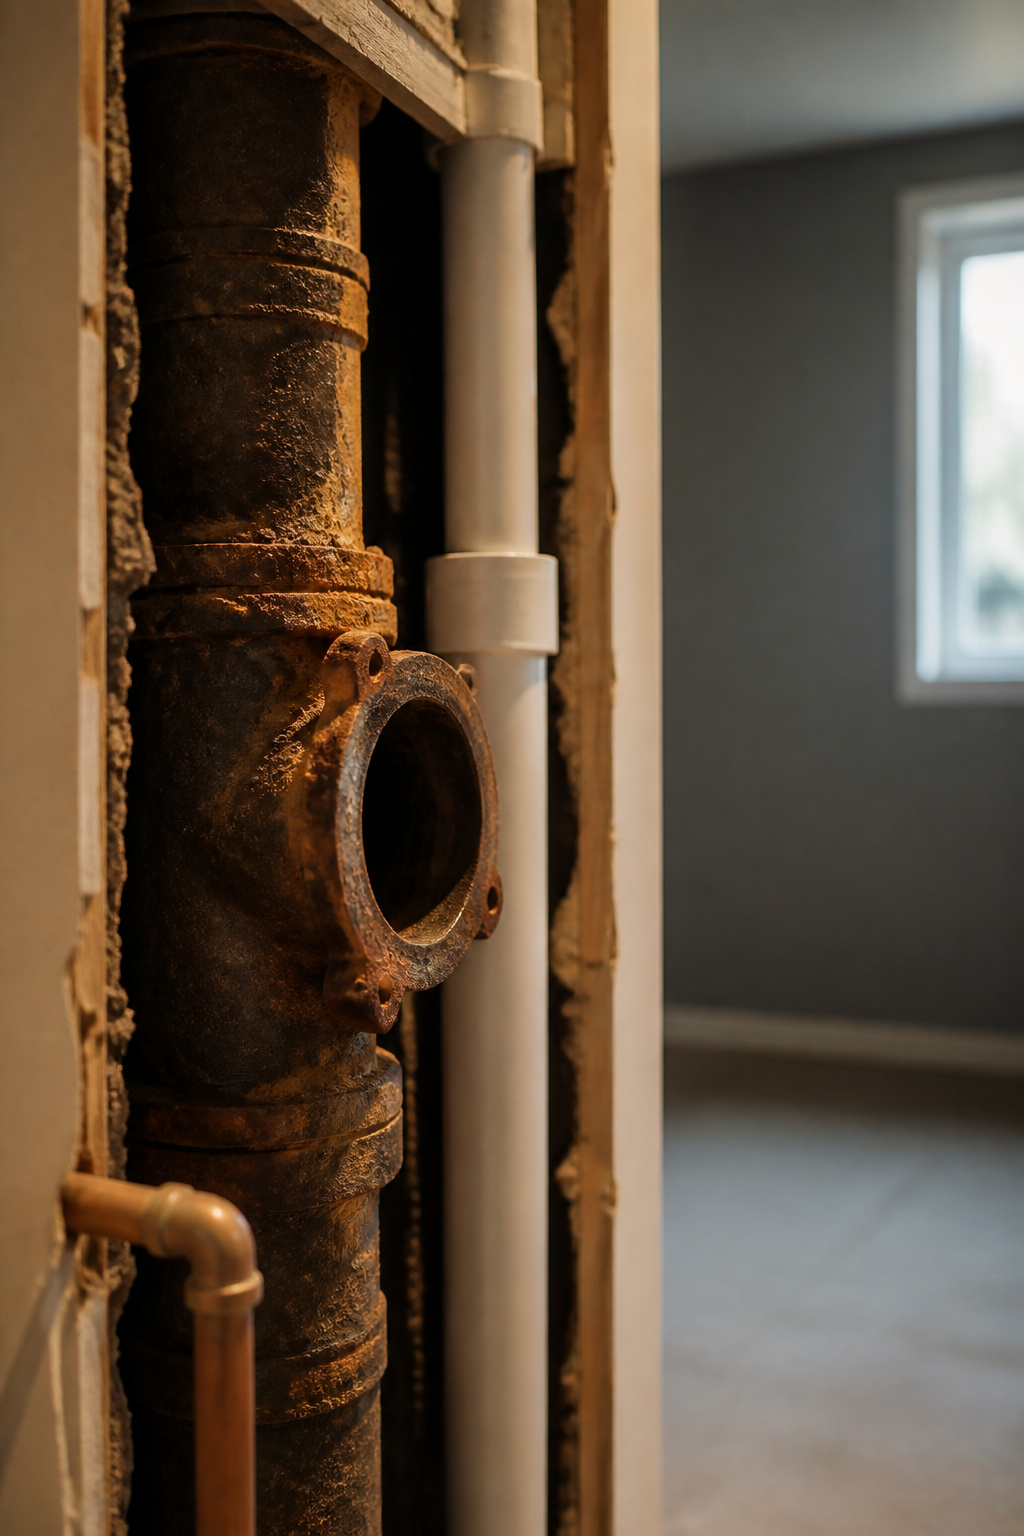
Cast iron is a good material with a finite life. Drain pipe typically gives 50 to 65 years of service, depending on installation and soil conditions. That figure is the pipe’s own service life, separate from any warranty on what sits above it. It corrodes from the inside, so the fixtures tell you nothing. Look instead for rust-coloured water, sewer odour indoors, slow drains that never clear, and flaking on exposed lengths.
Recurring leaks are the sign people misread. A second leak is rarely a bad fitting. More often the pipe wall is thinning across the whole run, and repairing joint by joint buys time at full price.
Cost swings with access, meaning how much has to be opened up to reach the failing length. Partial replacement of that length is quoted at roughly $1,500 to $4,000. Treat that as a proxy for the price: it comes from a single trade source, and no source I found says whether it covers one bathroom’s worth of stack or a whole-house job. By coincidence, it is also the same bracket quoted for installing a wall-hung toilet, which is unrelated work.
Lath-and-plaster walls and what they can carry
Plaster is a finish: lime and hair pushed through riven wooden lath and keyed behind the strips, over a timber frame. None of it carries load, because none of it was ever asked to. What matters is what the studs behind it are already carrying.
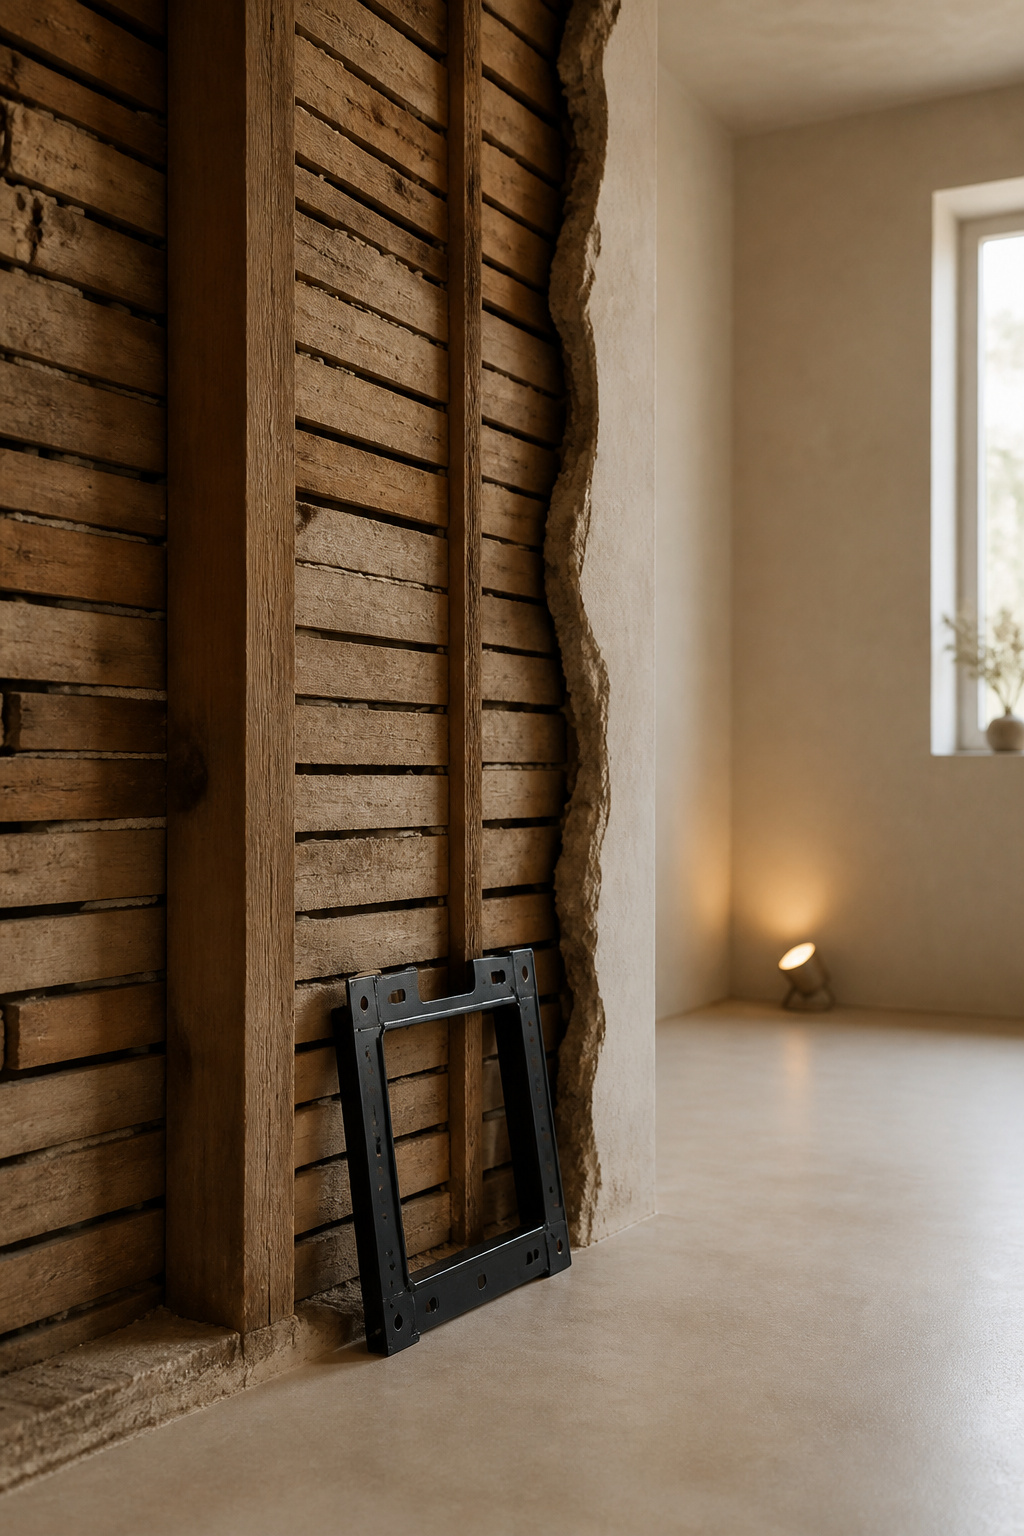
Often it’s plenty, since timber-frame walls hold houses up. The clues are in the structure rather than the plaster: joists or roof framing landing on the wall, alignment with a wall above or below, cracked corners or skirting gone out of line. If you find any of those, get an engineer to confirm it before anything comes down.
A wall-hung fixture raises a separate question about the same wall. Its carrier needs blocking rated to the load and more finished depth than old narrow stud stock offers, so that wall gets rebuilt or furred out. The wall-hung toilet guide on this site has the depth and the rating.
Out-of-square rooms and continuous surfaces
Century-old rooms were built to the eye, to the timber on site, and to a floor that has moved since. Tile used to forgive that: small tiles and a grout joint absorb a surprising amount of wander, which is why old bathrooms were tiled that way.
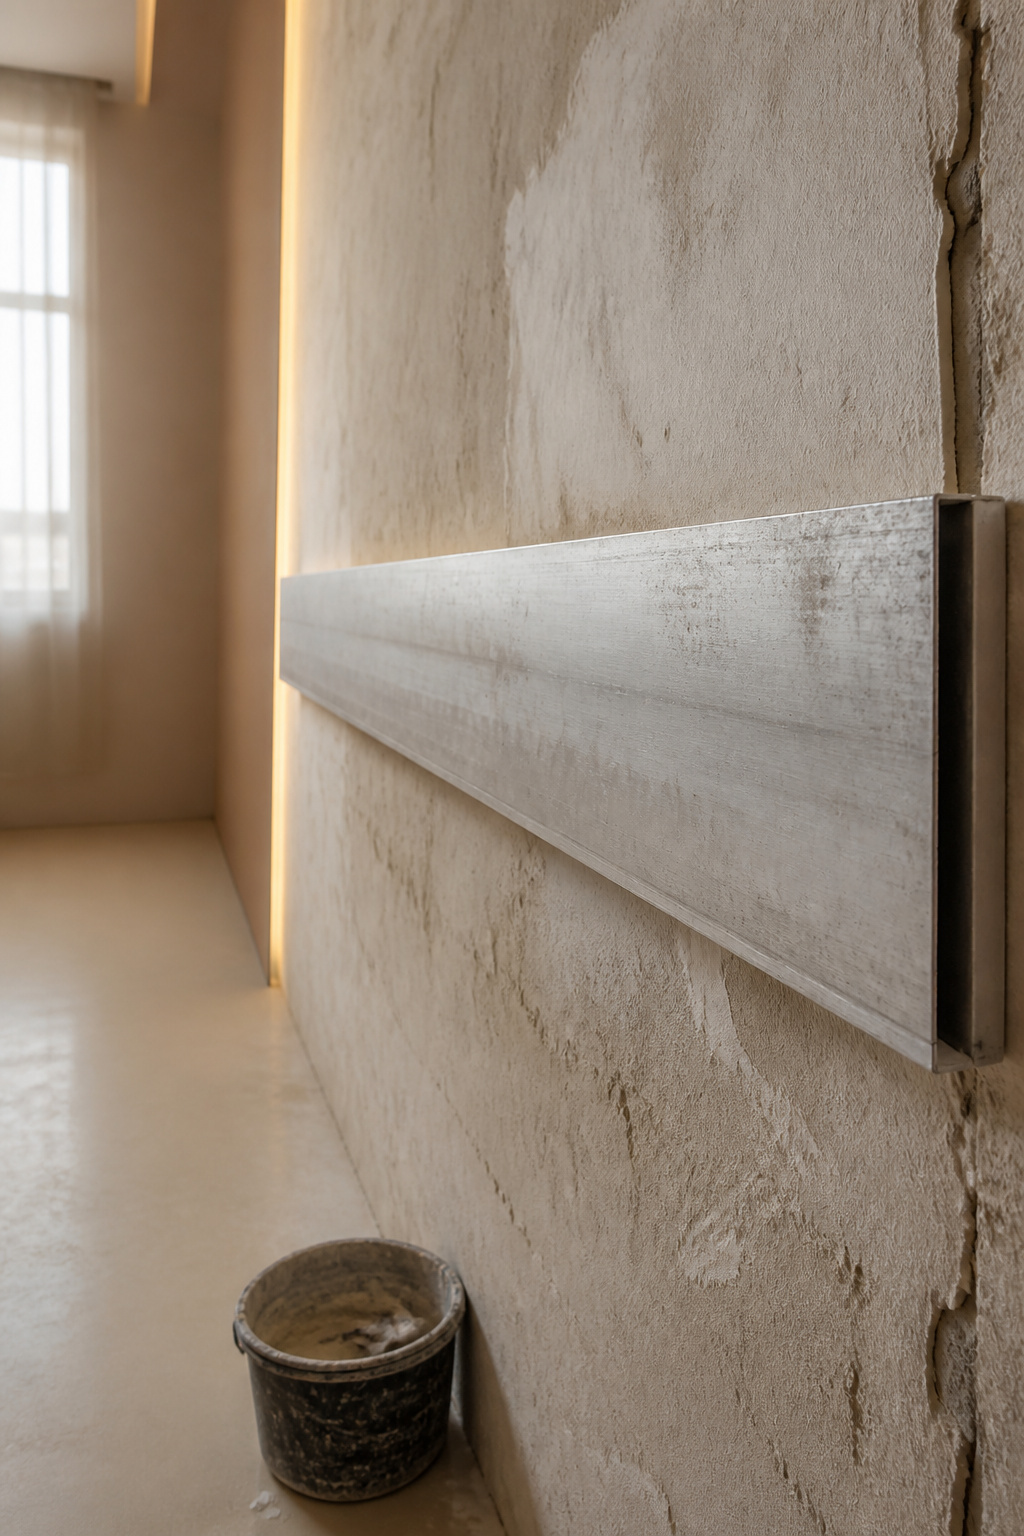
A wide continuous surface forgives none of it. The tolerance that applies is the one published for large-format tile: a substrate flat to within 1/8 inch over a 10-foot span. It holds for any rigid wide surface for the same physical reason, and no separate figure exists for seamless mineral finishes.
Checking it is unglamorous. Lay a 10-foot straightedge across floor and walls, mark the highs and lows against it, then grind the high spots and fill the low ones with cementitious patch or self-leveling compound. Never build plane with thin-set; it isn’t designed to correct one.
The old house bathroom remodel order that avoids mid-project discoveries
Sequence is where this saves money or doesn’t, and the order puts reading the building before buying anything:
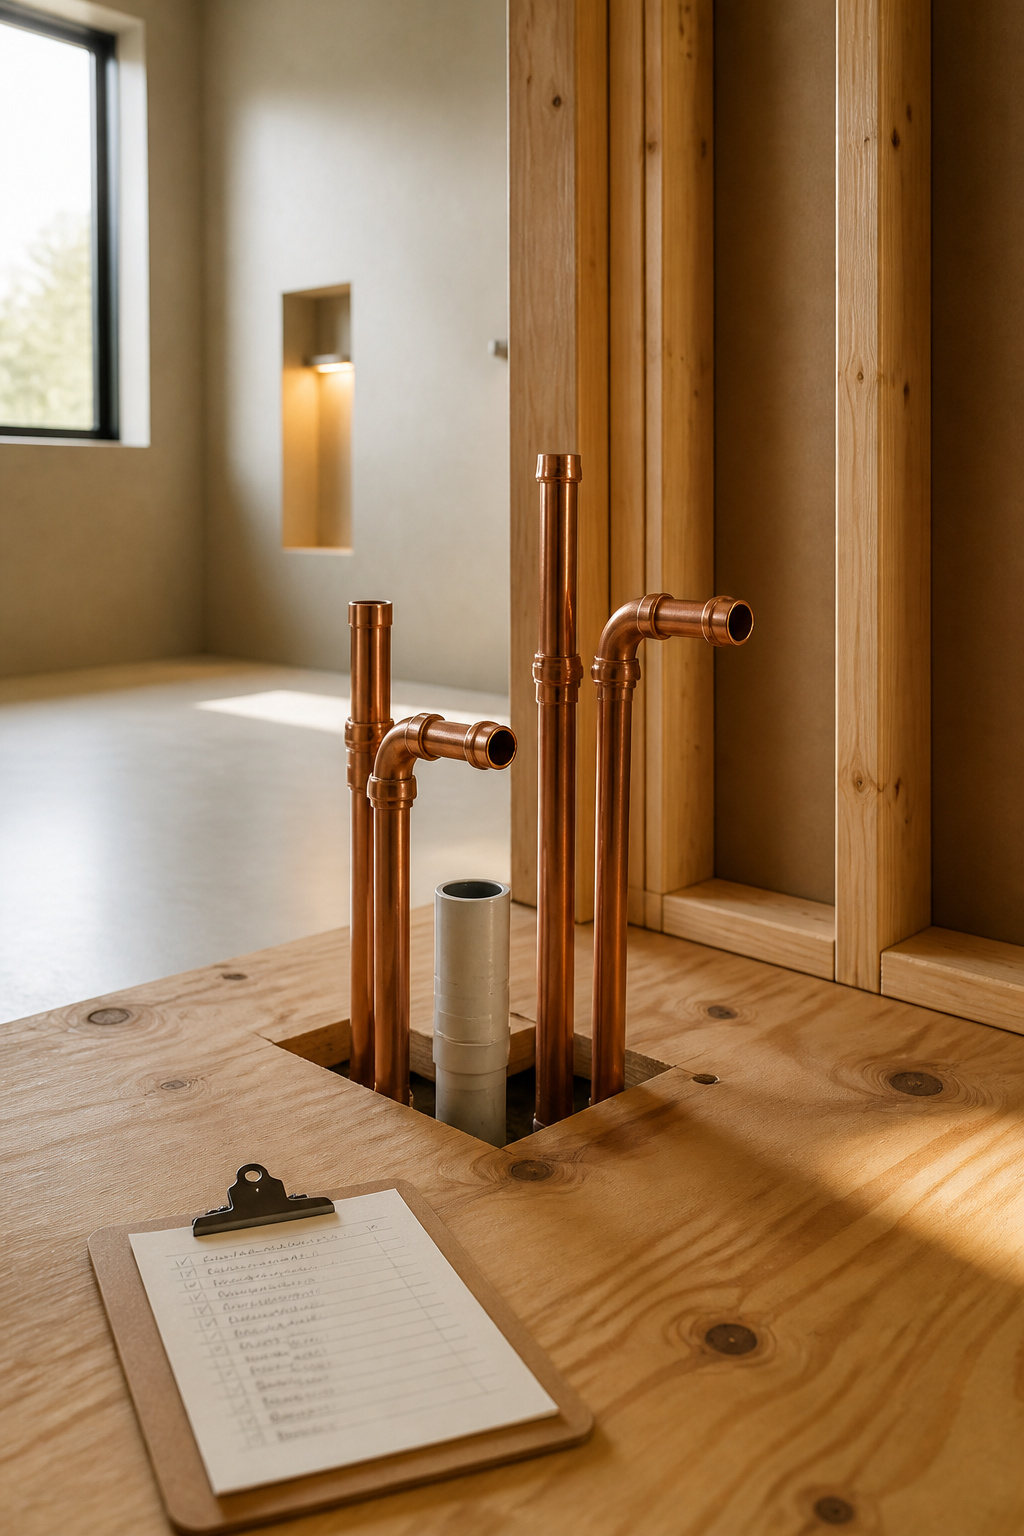
- Read the building first (joist direction and span, stack condition, wall type), because the rough-in plan depends on all three.
- Demolish in order: fixtures, then walls, then flooring.
- Inspect what demolition exposes. Moisture damage, mildew and old wiring are cheap to deal with now and expensive later.
- Rough in plumbing, electrical and HVAC to a plan the structure has agreed to.
- Get the rough-in signed off before anything closes.
- Then do waterproofing, wallboard, finish surface and fixtures, with lighting and hardware last.
Steps 1 and 5 are where the savings come from. A problem caught at rough-in gets corrected in place; found later, it means demolishing work you have already paid for.
Working out the plan around them
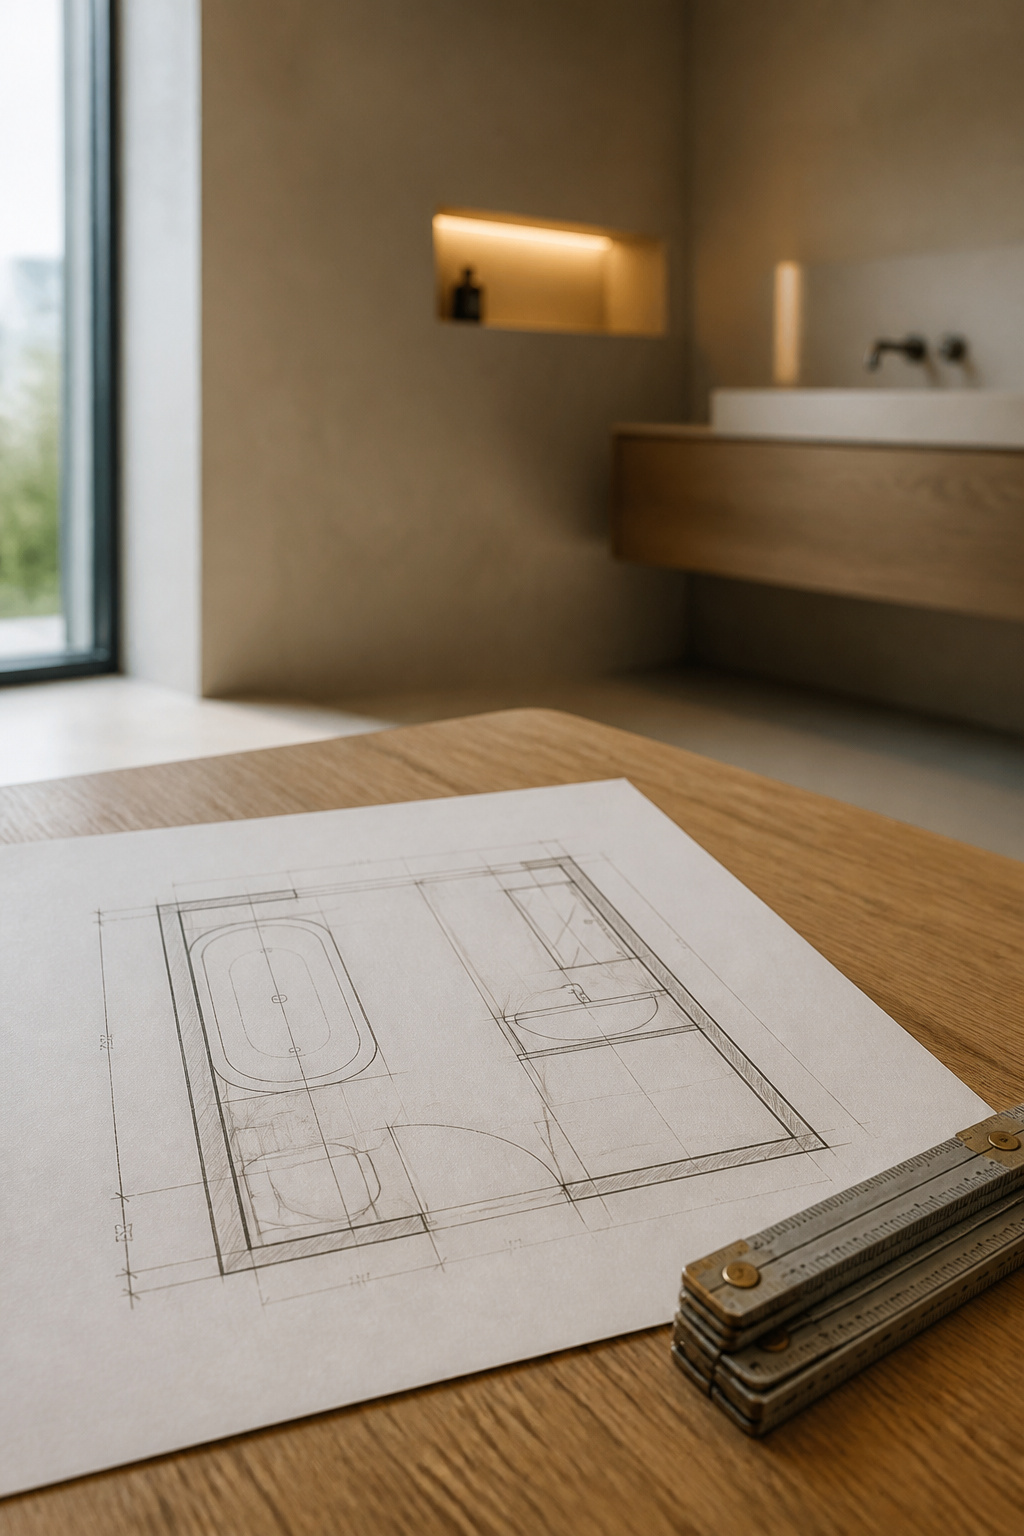
Once the joists, the stack, the vent route and the wall types are known, they become fixed points and the plan gets drawn around them. A layout drawn first almost always gets redrawn, so treat working out the plan around them as the next step.
Matching new metal to what stays
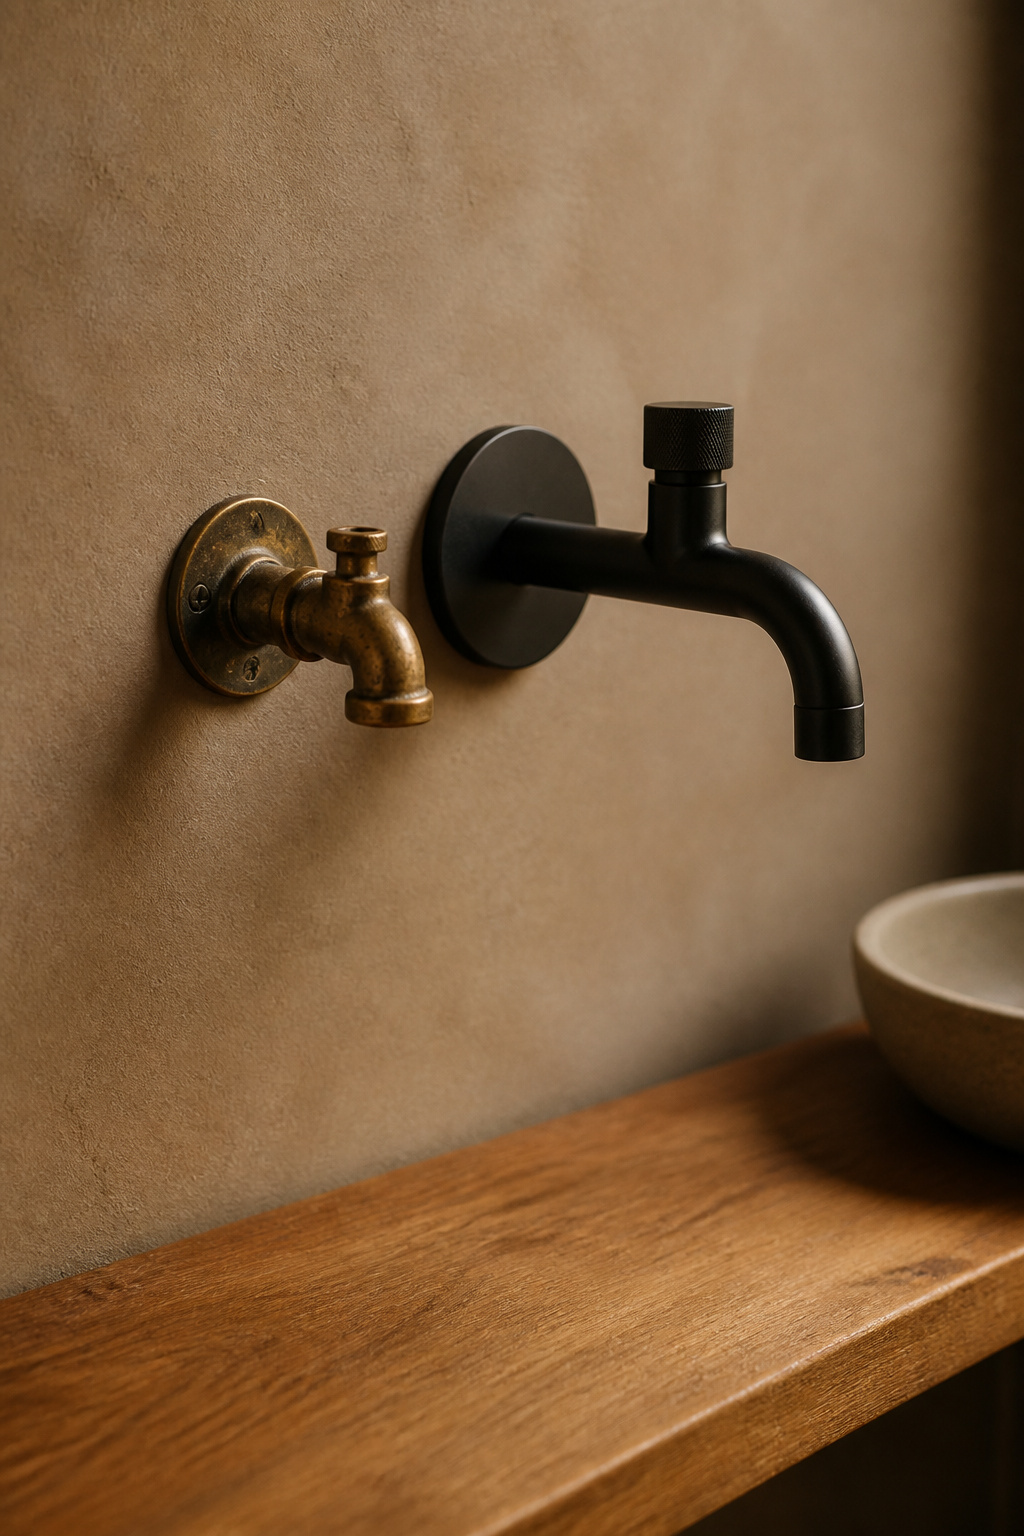
Old bathrooms usually keep one original metal element, whether a bracket, an exposed fitting or a hook older than anyone living, and everything new has to look deliberate beside it. Which finish survives daily use is a durability question, so matching new metal to what stays gets its own guide, alongside the order these decisions have to happen in.
Three readings decide an old bathroom: what the joists let you cut, what the stack has left, and what the walls are made of. Order nothing until you have all three. Go down to the crawlspace this weekend with a torch and a tape; the building will tell you most of it in twenty minutes.
FAQ
How much does it typically cost to replace a cast-iron drain stack?
Full replacement runs $4,000 to $15,000 by method: trenchless relining at the lower-to-mid end, conventional excavation at $50 to $450 per linear foot. Partial replacement of the failing section is quoted at $1,500 to $4,000 by a single trade source not scoped to one bathroom’s stack versus a whole house, so treat it as a proxy.
Can a bathroom be relocated to a floor with no plumbing below it?
It depends on whether the new drain can hold its required fall across the available joist depth: 1/4 inch per foot for pipe 2.5 inches and under, 1/8 inch per foot for 3 to 6 inch pipe. A long horizontal run can eat more of that depth than the joists offer, calling for a contractor’s on-site engineering call.
How do you tell if a wall is load-bearing before adding a toilet carrier?
Check whether joists or roof framing land directly on the wall, whether it aligns with a wall above or below, and whether it shows cracked corners or misaligned skirting. The plaster tells you nothing alone, so an uncertain wall needs a structural engineer’s confirmation first.
