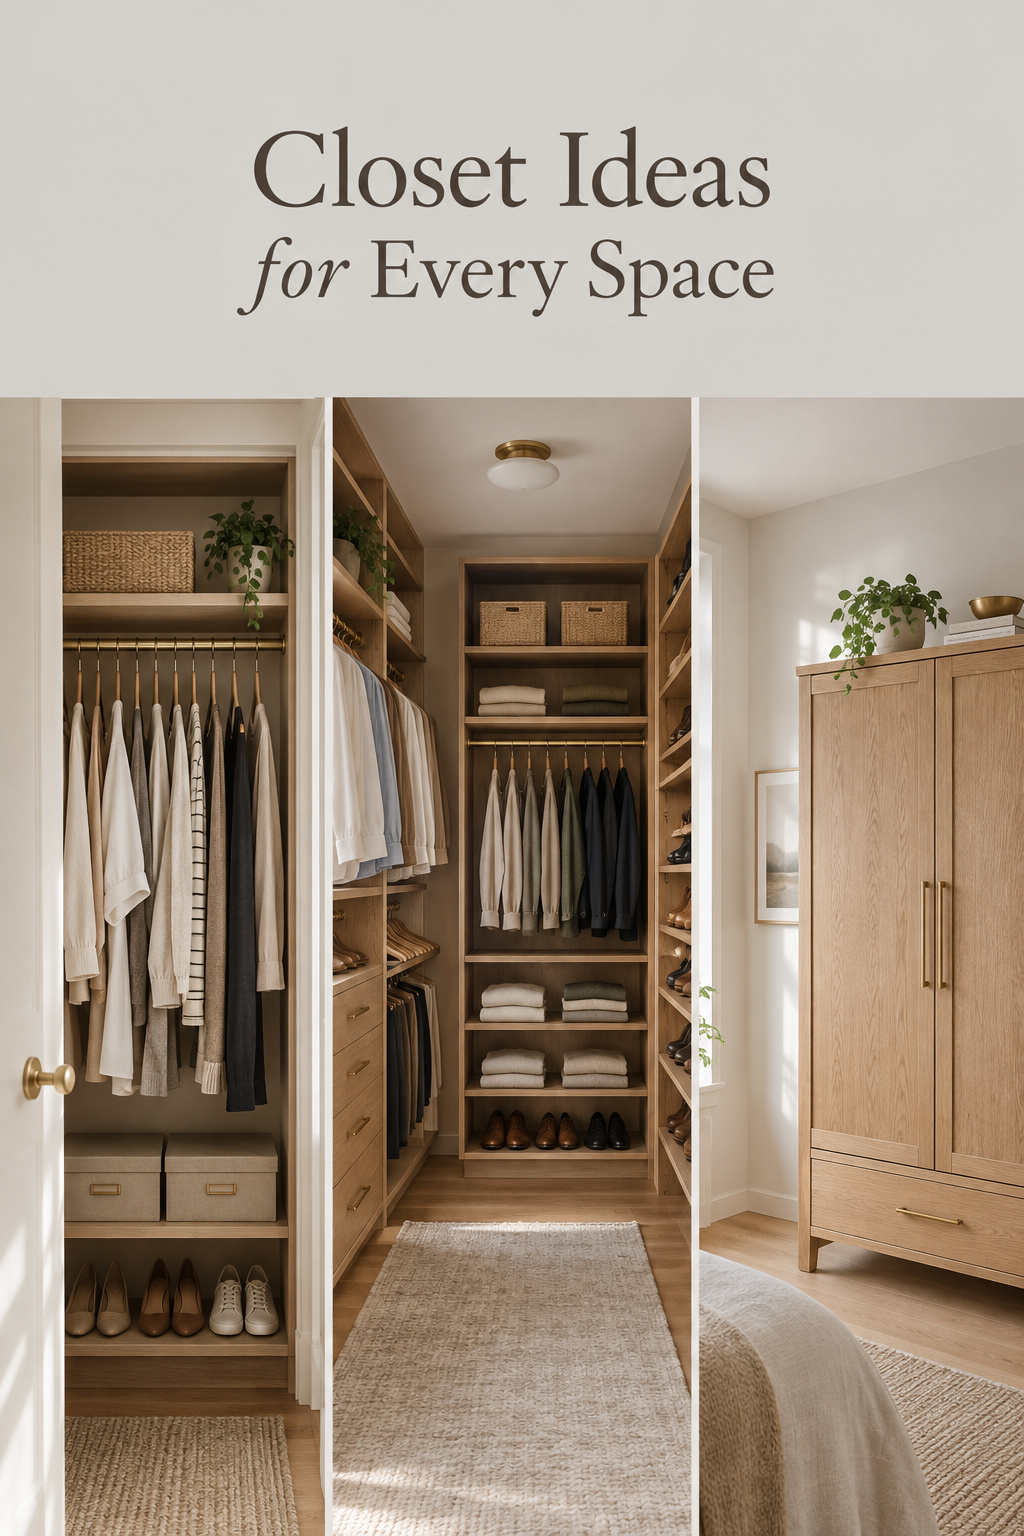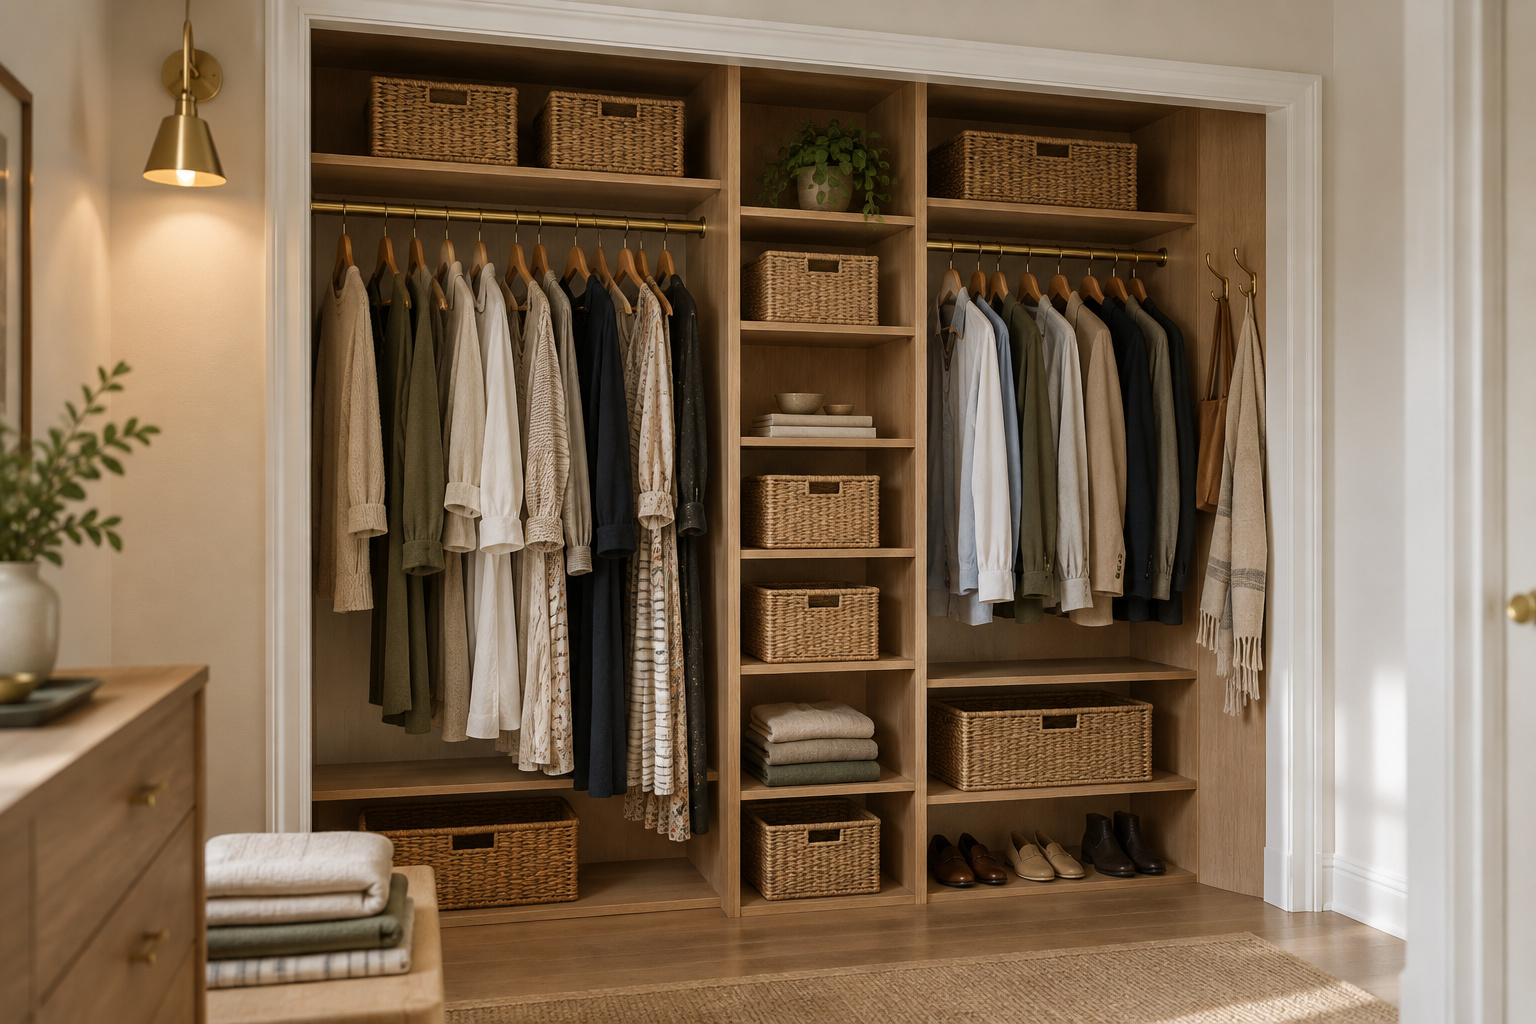

An organized closet at seven on a Tuesday morning looks nothing like a photograph. Shoes sit at floor level, every pair visible at once. There is air between the hangers. Folded sweaters live in bins you don’t have to open to know what’s inside. Almost none of that is expensive, and almost none of it comes down to products.
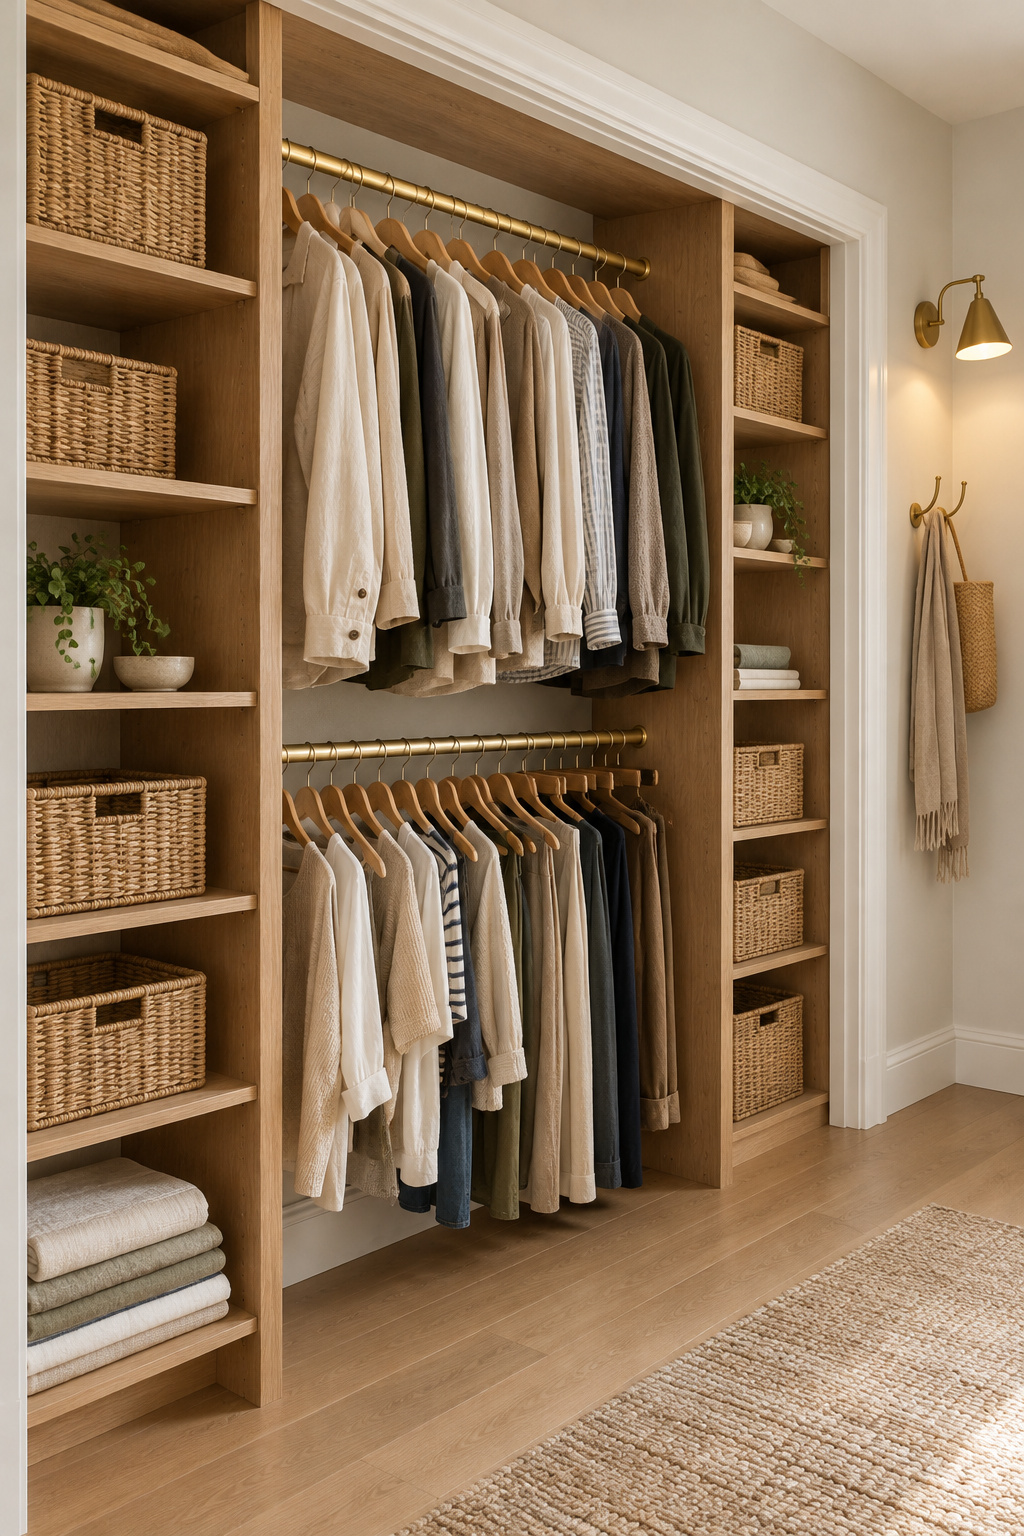
Most closet organization ideas sell you the products anyway, and they assume your closet is the same as everyone else’s. It isn’t. A four-foot reach-in, a rental you can’t drill, a bedroom with no closet opening at all and a ten-foot walk-in are four separate problems with four separate fixes.
This guide sorts first. It covers what “organized” looks like and costs to maintain, then maps every closet situation to the guide that handles it. Find yours, take that route and skip the seven that aren’t.
What an Organized Closet Actually Looks Like — and Which Situation Is Yours
Open a closet that works and you notice what’s missing, which is the pile of decisions more than the pile of clothes. Every item has one place, and the closet shows you where at a glance.
Zones, containment and sightlines: the three things that actually work
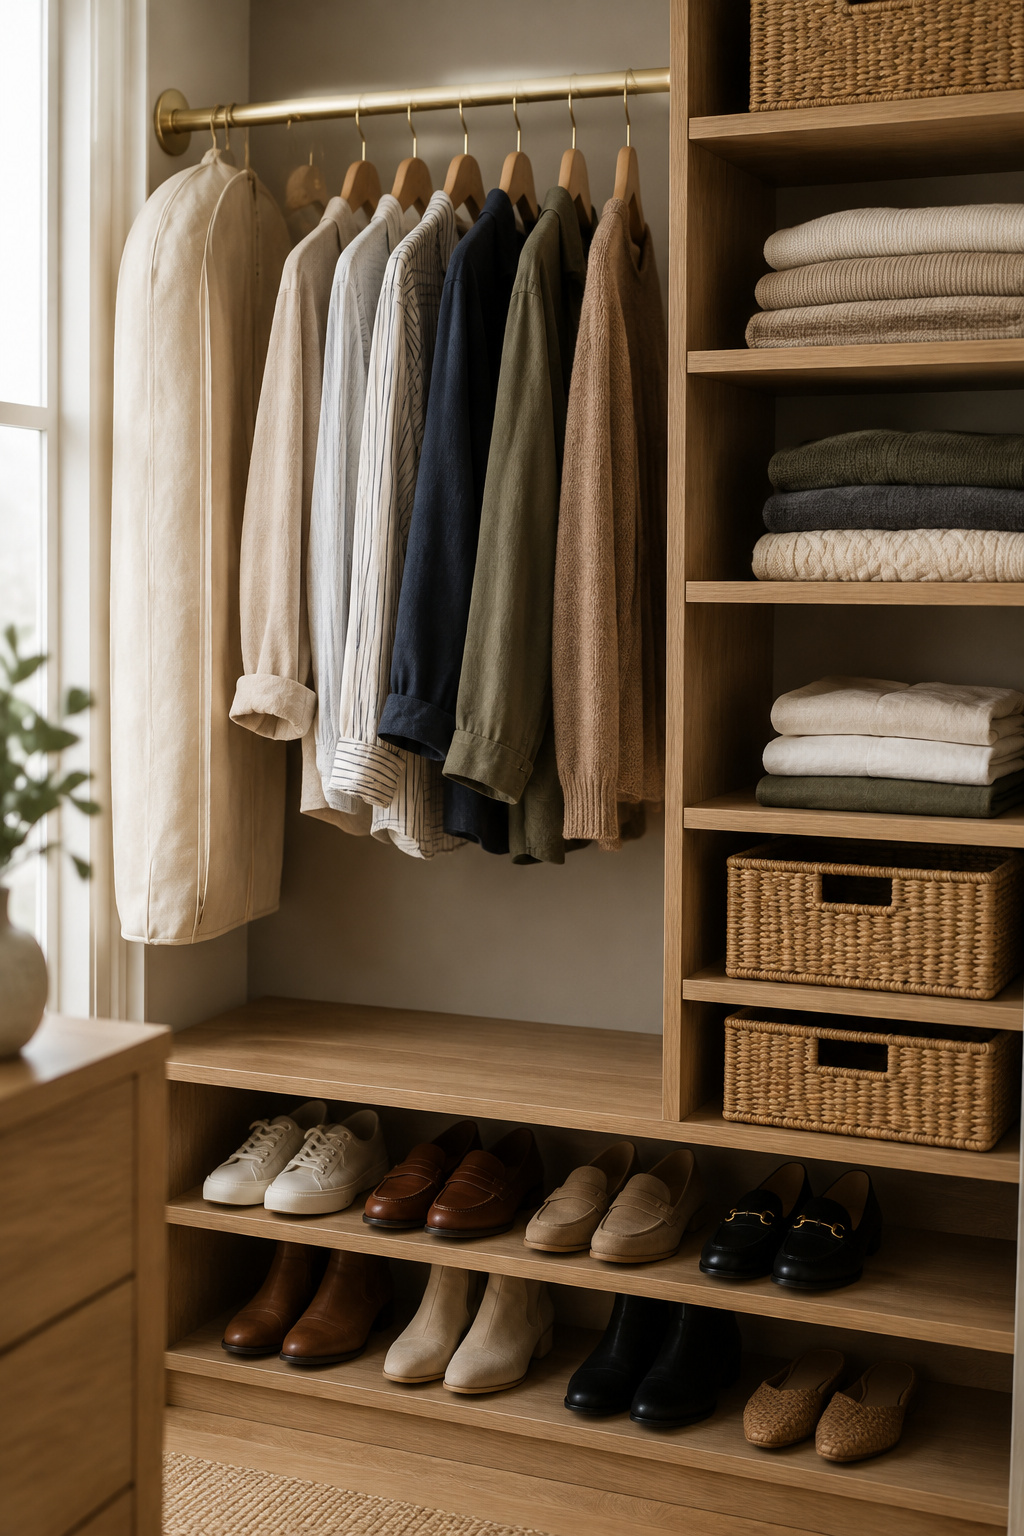
Designers organize by function first. Shoes stay low and visible, coats hang with breathing space, and drawers hold small items instead of becoming catch-alls. Each zone has one job.
Category zoning is what makes a closet work: shirts here, pants there, shoes in a defined area. Bins come second, and they have one specific job, containment. Clear-front drawers keep folded items visible and dust-free without opening anything, and wire shelving stays popular because it adjusts as a wardrobe changes or a closet gets shared.
People skip the third piece, sightlines, because it feels cosmetic. Sorting hanging garments by color, light running into dark, speeds up outfit-building and gives the closet what designers call instant clarity. Breathing room between hung items does the same work, and a rod packed solid reads as clutter even when everything on it is clean and yours.
Quick finder: match your closet to the right plan
Find your closet’s row; the sections below follow in order.
| Your situation | The real constraint | Your first move |
|---|---|---|
| Closet exists, but it’s small | Wasted vertical inches | Add a second rod before you buy a single bin |
| Building a system from scratch | Time, not money | Price the hours alongside the plywood |
| Choosing between DIY, PAX and custom | Cost per year, not sticker price | Compare all three per linear foot |
| Walk-in with room to spare | No plan, not no space | Count garments by length before drawing zones |
| No closet opening at all | Furniture has to do the whole job | Size the wardrobe to the room, not to your wish list |
| Renting, can’t drill | Permission, not square footage | Freestanding and tension only, nothing fastened |
| A child’s closet | Reach, not tidiness | Set the rod where the kid can reach it |
| Full closet, any size | Volume, not capacity | Edit before you buy |
What “organized” costs in real maintenance, not just money
The product photos leave out the ongoing price of an organized closet, and it isn’t paid in dollars.
Professional organizer Briana Bazail puts the failure squarely on upkeep: “The biggest mistake I see is not editing your wardrobe consistently.” She recommends a full edit every three to six months, plus a twenty to thirty minute refresh monthly. That is half an hour, forever, rather than a weekend overhaul. Her method runs in three stages: remove, refine, reset.
Between edits, one-in-one-out holds the line, with one item leaving for every new item that arrives. Organizers Lauren Saltman and Liora Seltzer land on it independently. Without it, a closet refills until it’s full again and nobody notices.
My position, and every section below rests on it: the best closet system is the one a tired person will actually put things back into at eleven at night. A system that needs you at your best doesn’t work. Bazail’s core kit is matching hangers, consistent bins and drawer dividers, and nothing more. Buy the maintenance, not the hardware.
Small Closet? Maximize Every Inch
The standard reach-in is twenty-four inches deep, sized around a hanger at seventeen to nineteen inches wide plus two or three for a coat. Bulky storage pushes it to twenty-eight or thirty. You can’t change that without a demolition permit, so every small-closet tactic works inside it.
Vertical space over floor space
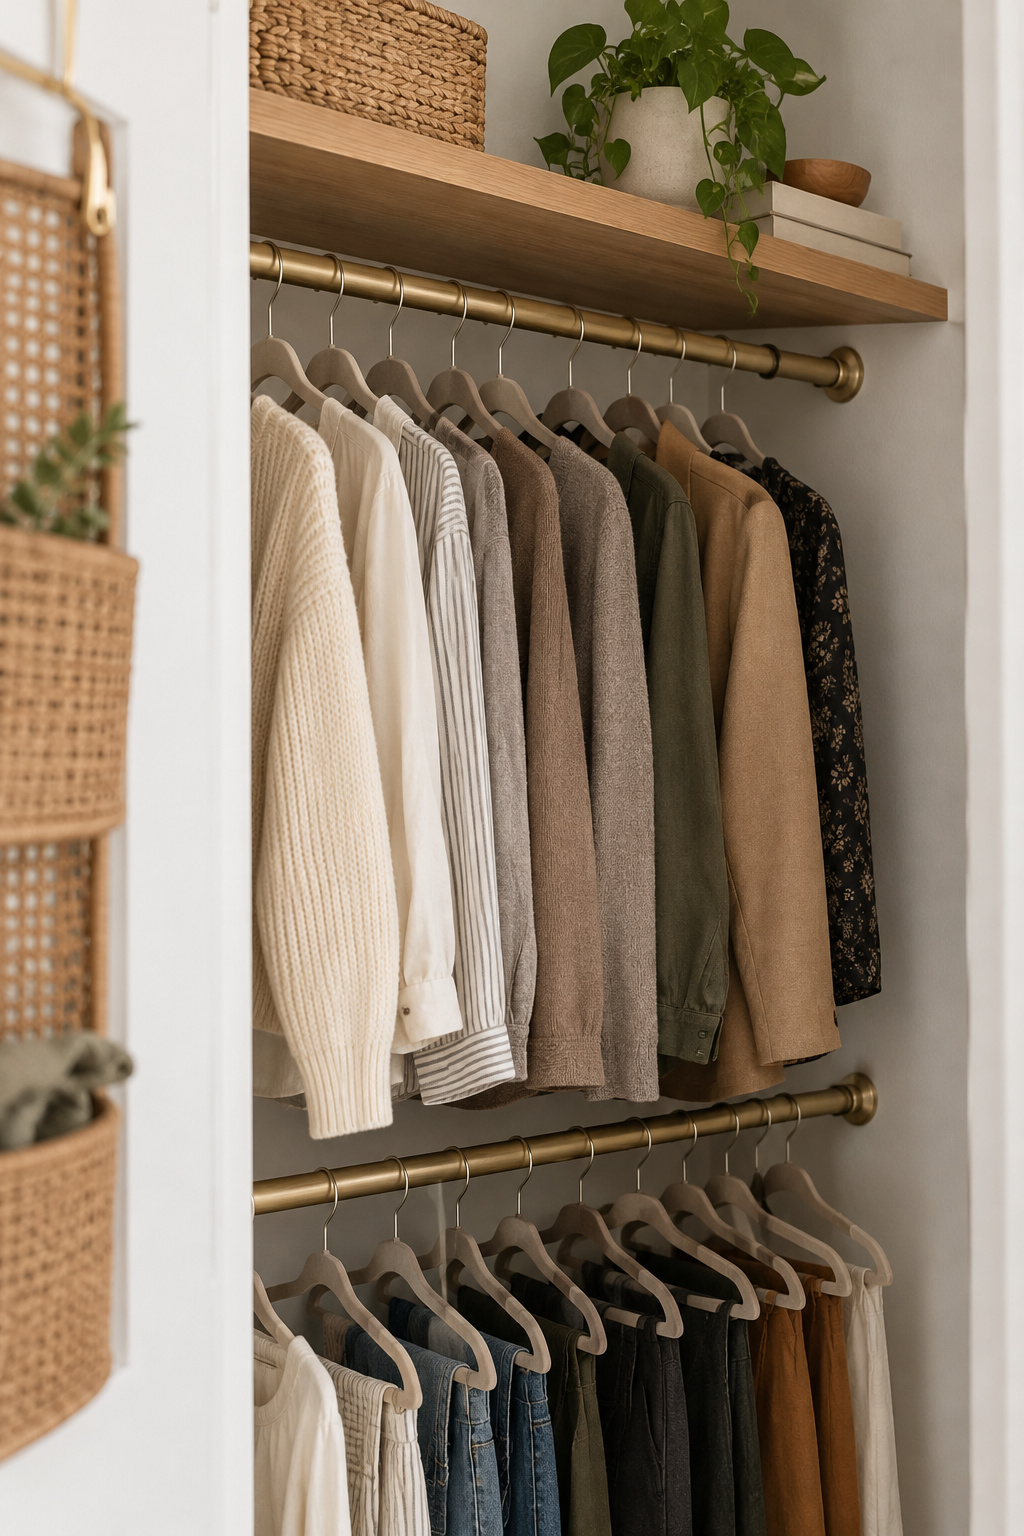
The air above the top rod is the most wasted zone in a small closet. One shelf up there, holding off-season bins, reclaims capacity without touching the footprint. Stack closed bins vertically on that shelf instead of spreading them across the floor, because floor space in a reach-in is the scarcest thing in the box.
Slimline hangers and double-hanging
Velvet slimline hangers are roughly half the width of standard plastic ones, so swapping out a full closet reclaims rod inches with no tools and no drilling. It’s the cheapest capacity you will ever buy.
Double-hanging comes next. A second, lower rod for shirts and folded pants roughly doubles hanging capacity in the same footprint, but it only suits garments short enough to clear that lower rod. Dresses and coats still need a long-hang zone. Conventional heights are 66 inches for a single rod, splitting to 81.75 and 40.5 for a double-hang pair, and the walk-in layout guide below covers those values in full.
Door- and wall-mounted add-ons
Over-the-door organizers need no drilling, which makes them the one small-closet tactic a renter can use without a second thought. Wall-mounted shelving is the opposite. It holds more, but it needs studs or rated anchors, because drywall alone fails under folded goods.
Every small closet also has a ceiling. Once you’ve used the vertical space, doubled the rod and hung the door, the next item belongs elsewhere in the room. Our guide to closet ideas for small spaces covers the hanger-thickness comparison, the dead zone above the door, and the signs that you need overflow instead of another bin.
Building Your Own Closet Organizer
A few years back I built my sister a kitchen island out of $212 of stock lumber. The family still calls it “the showroom one,” which annoys me slightly, because nobody asks about the part that mattered: two unglamorous hours of sanding every cut edge and finishing it, which is what made it read as furniture instead of a box.
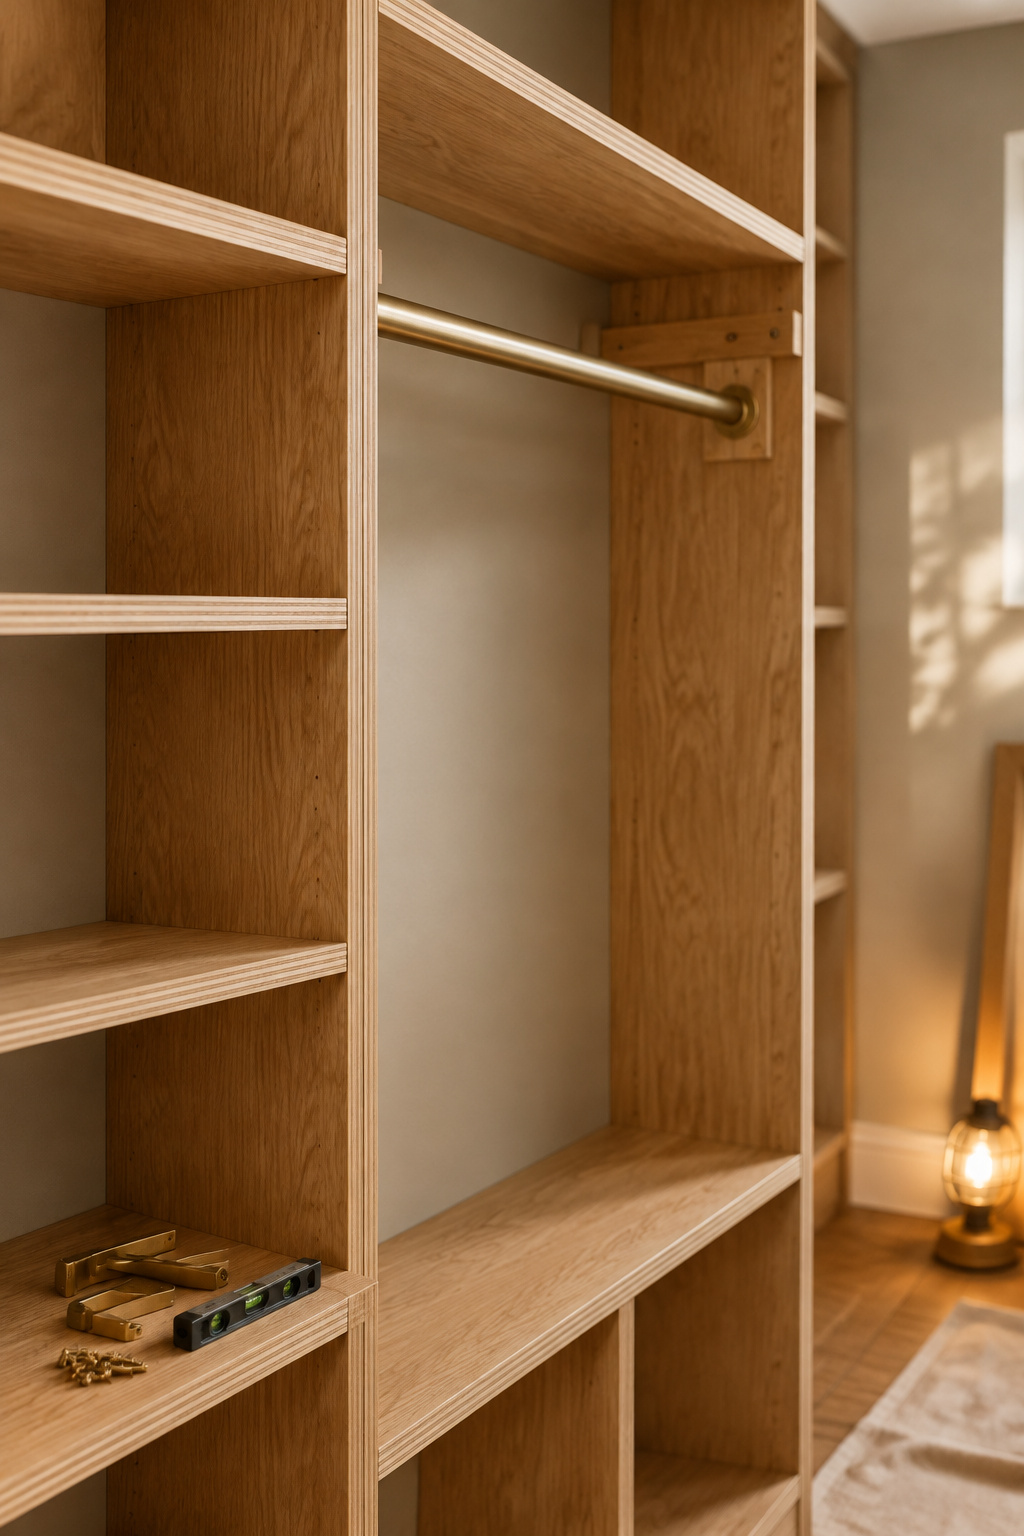
Plywood closet shelving works on the same trick. A documented closet organizer build came in at $76 of a $100 budget: two sheets of three-quarter-inch plywood at about $35 each, plus $3 in three-eighth-inch square dowels for cleats, with glue, nails and finish already on hand. Cheap material, custom result. Skip the finishing pass, though, and rough plywood edges snag every garment hung past them.
What it actually costs and takes
That $76 build ran over a month-long room challenge, not a single Saturday, and that matches how I count hours. Real build time includes glue drying, finish curing and the drive back for the fastener you didn’t know you needed. Anyone calling it a weekend project is timing the video.
The tool list, with cheaper workarounds
That build called for a circular saw, router, level, nail gun, four six-inch clamps plus a twenty-four-inch clamp, an orbital sander and a hammer. A table saw is an upgrade you can do without.
Substitutions, in the order I’d make them. A circular saw with a straightedge guide replaces a table saw on straight rip cuts. Most home centers break down full sheets for free or close to it, removing the hardest cuts entirely. And a hammer with finish nails and glue holds a low-load organizer fine, since the nail gun buys speed only.
Load-bearing basics: cleats, studs and rod support
DIY closets fail here. In that same build, the upper shelf supports went in with construction adhesive plus two-and-a-half-inch nails driven into as many studs as could be reached. The guidance was explicit: maximize stud contact instead of trusting drywall anchors under load. Square dowels served as cleats for baskets and plywood strips supported the upper shelves, so no pocket holes were needed.
Our guide to building your own closet organizer carries the shelf depth, rod clearance and pounds per linear foot, along with the cut list, the install order and the error that costs beginners a whole sheet of plywood.
Custom Closet, IKEA PAX, or DIY: What Each Costs
So which is actually cheaper? A sticker price can’t answer that, because the three paths sell three different things.
Price per linear foot, side by side
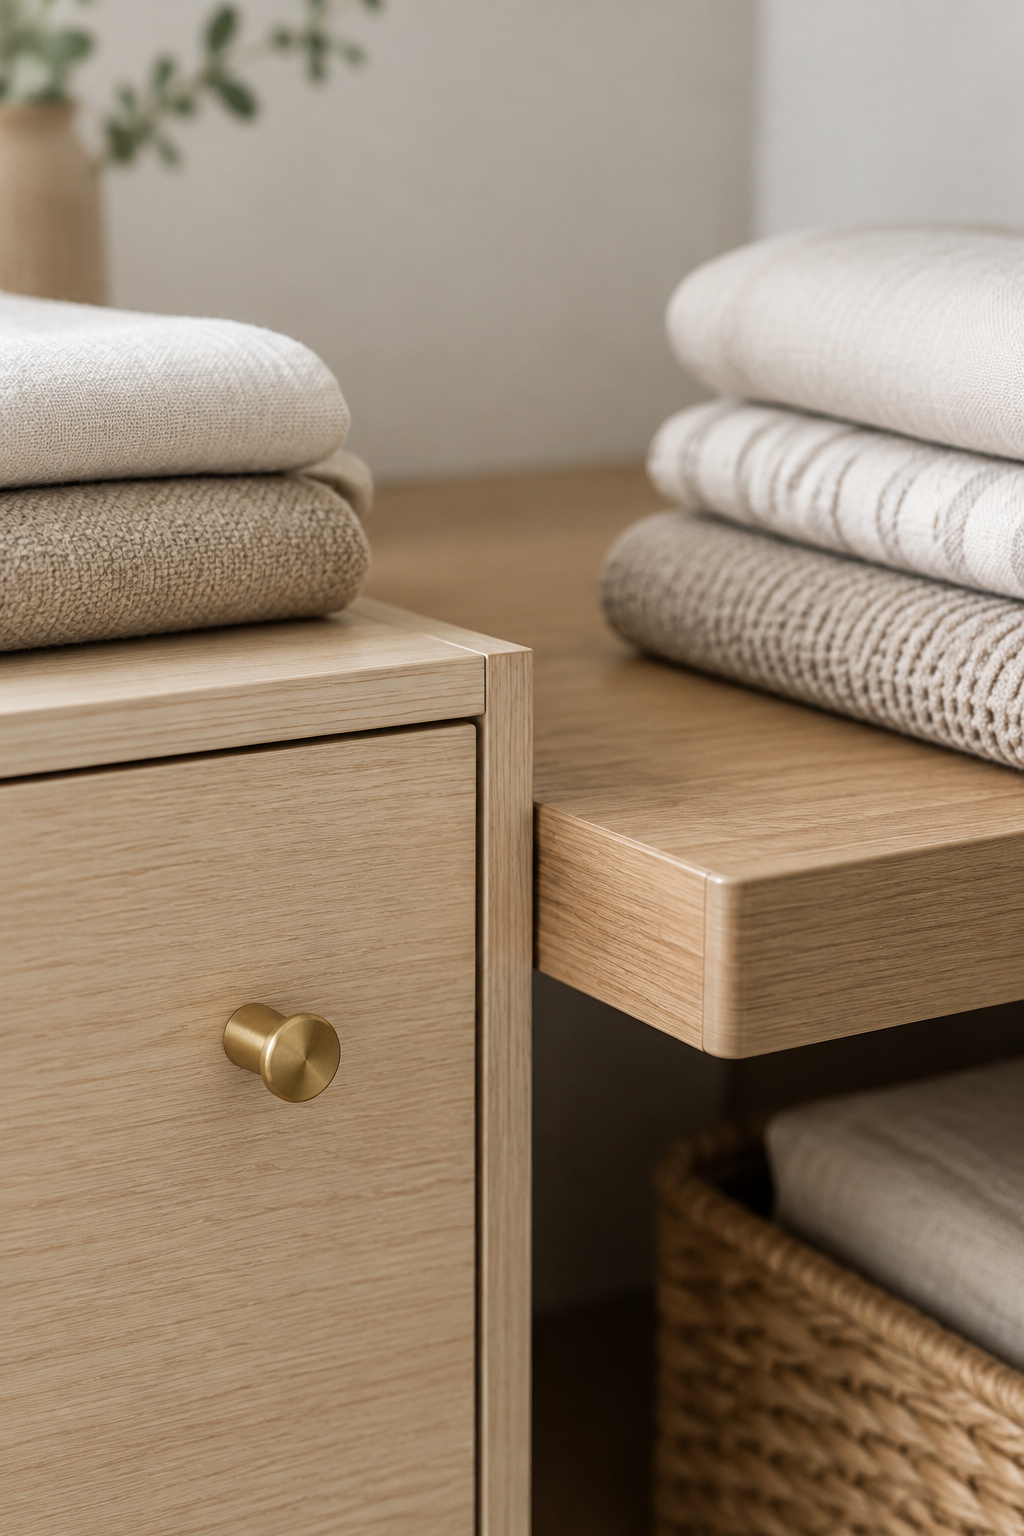
Keep the three per-foot numbers separate and never average them. DIY stock plywood runs $20 to $60 a linear foot in materials, or $100 to $150 fully trimmed. A fitted IKEA PAX wall lands between $117 and $291. Full custom runs $150 to $345, standard through upgraded. The cost comparison sources each path separately.
What you’re really paying for
Custom systems typically use three-quarter-inch thermally fused laminate with PVC edge banding, which is thicker than PAX’s particleboard, and they carry a limited lifetime warranty against PAX’s parts-only coverage. Professional installation wraps in one to two days. A full PAX walk-in takes roughly eight to fourteen hours of your own assembly, before wall prep. That labor is real cost, though it never appears on an invoice.
The other split shows up when you move. A custom system is a built-in that stays with the house, while PAX is furniture and leaves with you.
Cost-per-year-of-use, not sticker price
I judge every build-versus-buy call the same way, by dividing the price by the years the thing will actually work. Against a lifetime warranty and a system that stays with the house, a higher sticker price can cost less per year than a cheaper one you replace at the next move. Run that math on your own timeline in our breakdown of custom closets vs IKEA PAX cost, which prices four documented PAX builds foot by foot and names where each path shows wear after five years.
Walk-In Closet? Plan It by Zone
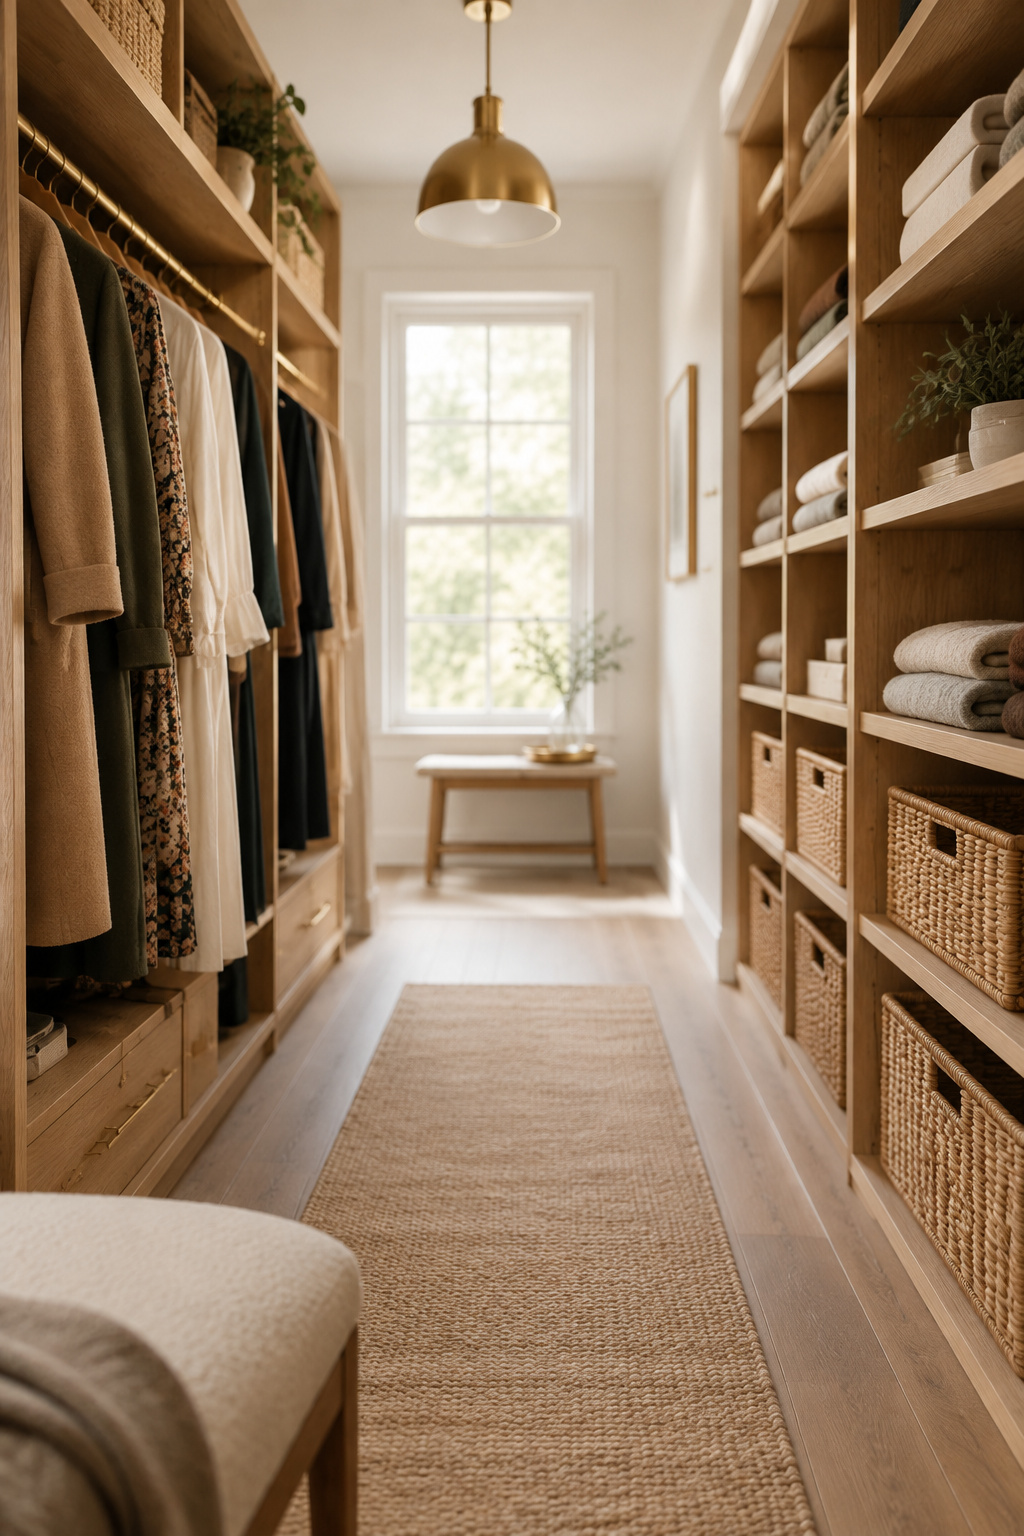
Six feet of clear interior width is the working minimum for a walk-in that functions as one, enough for hanging sections on both facing walls plus a walkable aisle between them. Below five feet the second hanging wall stops working, and you have a single-wall closet with extra floor.
Hanging by category and length
Start from inventory, not layout. Count what needs long-hang space (dresses, coats), what’s short-hang (shirts, blazers), what gets folded, and how many pairs of shoes there really are, then let those counts assign wall space. Draw the zones first and find your wardrobe doesn’t match them, and you get a beautiful walk-in with a chair full of clothes in it.
The folded-goods wall
A rod sits roughly twelve to fourteen inches from the back wall, measured to its center, and that dimension also governs how deep the facing shelf wall can go before it crowds the aisle. Open shelving keeps shirts, sweaters and linens visible without opening a drawer, and woven bins absorb what you reach for less often: containment, scaled up.
When a bench or island earns its floor space
An island needs about 36 inches of clearance on every side, which realistically means a closet around ten by eleven feet. In anything smaller, the island narrows the walkway instead of adding function. That is why new-construction walk-ins get drawn at seven to eight feet wide.
Our guide to planning a walk-in closet layout has the full rod-height table, the aisle-width test and the accessory zone, including what to leave alone structurally in an older house.
No Closet at All? Furniture Can Do the Job
The story that people were once taxed for owning a closet is folklore. The duller explanation is that the clothes hanger didn’t exist until after the Civil War, so there was nothing to hang, and people folded their few garments into chests.
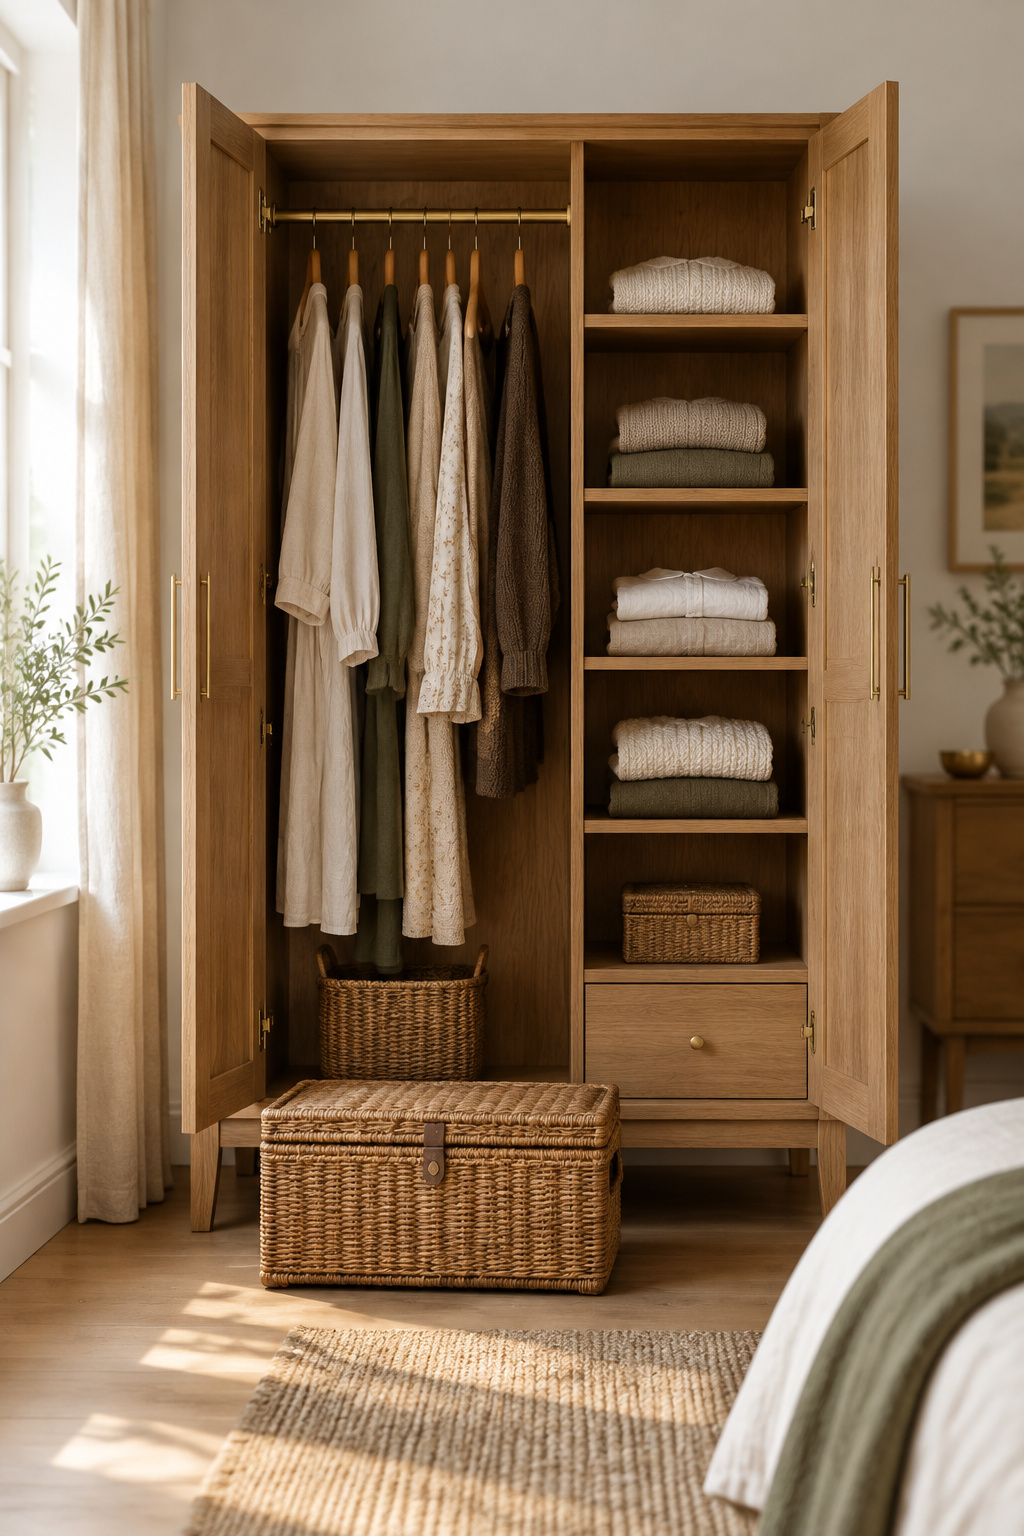
That makes this a genuinely different problem from a small closet. There’s no opening to modify, so furniture has to take over the closet’s whole job instead of supplementing it.
Sizing a wardrobe or armoire to the room
An armoire is a tall standalone piece whose doors open onto hanging space, shelves and drawers, and it comes in enough sizes to suit different rooms. Match it to the room’s proportions and your real inventory, and don’t default to the largest piece that fits. An oversized armoire in a small bedroom recreates the crowding of a too-small closet, except that now it crowds the room.
Open racks as an alternative
Splitting the job across two pieces often beats asking one cabinet to do everything. Open shelving above a dresser handles folded goods while a rolling garment rack takes the hanging. Set those shelves at varied heights for different garment lengths, which is walk-in zoning logic applied to furniture instead of framing.
A seasonal-rotation companion piece
A trunk, a storage suitcase or an under-bed box does one job: it stops the wardrobe from having to be sized for all your clothing at once. Rotate by season, or by how often something gets worn, and pair that with a smaller working wardrobe so the two tactics compound.
Our guide to storage solutions when you have no closet adds a sizing framework by room tier and a way to date a salvaged wardrobe’s joinery before you pay for it.
Renting? Storage That Leaves No Trace
Published tension rod ratings are real numbers, and they are smaller than people assume. Full-width rods from common manufacturers top out around twenty-five to thirty pounds, and lighter models rate well below that. Load one past its rating and it doesn’t sag politely. It drops, usually taking a stripe of paint with it.
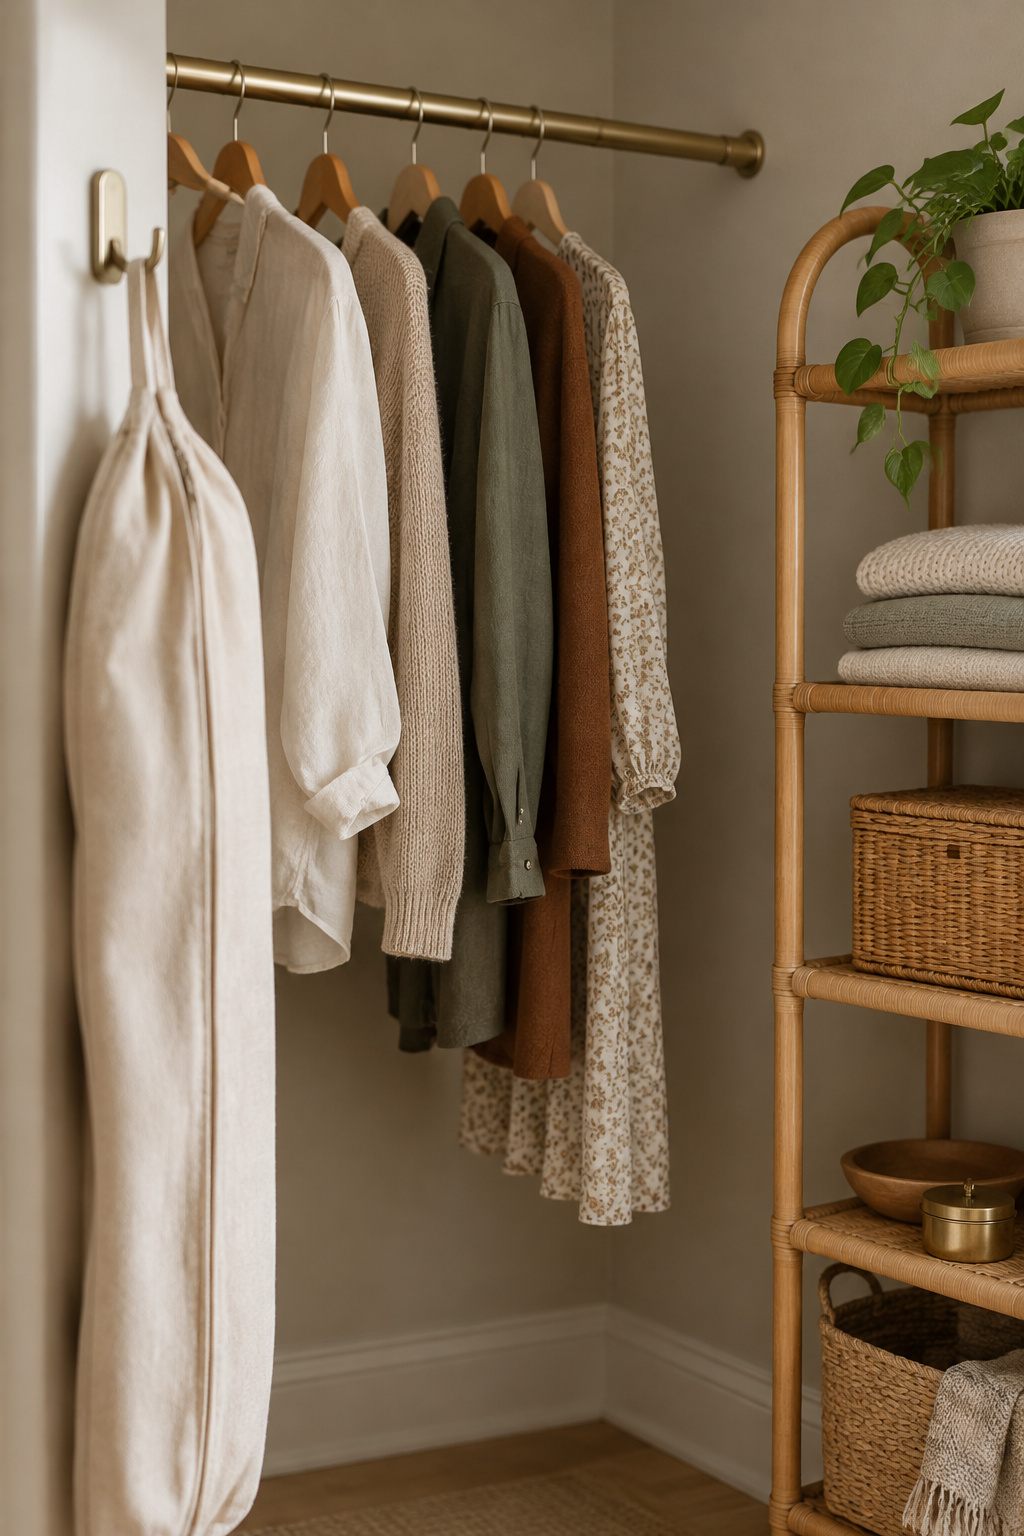
Tension rods and weight-rated adhesive hooks
Tension rods are the baseline no-drill tool because they hold by pressure alone, with no hardware, no anchors and nothing to patch. The principle scales down too: short spring rods of twelve to twenty inches divide drawers and shelves without a single fastener.
Freestanding units that do real work
For anything heavy, put the load on the floor. A freestanding shelving unit inside or beside an existing closet is the renter-safe equivalent of wall-mounted shelving, and it carries far more than adhesive ever will. A rolling garment rack does the same job for hanging space when the closet’s rod is full.
What to skip if you want your deposit back
Skip drilled wall-mounted shelving and stud-mounted cleats. In an owned home they’re the highest-capacity tactic here, but in a rental they’re exactly wrong, because they leave anchor holes a landlord sees from the doorway. Our guide to renter-friendly closet storage covers how much rated adhesive strength you lose on textured walls, plus a five-minute walkthrough before you hand back the keys.
Kids’ Closets That Grow With Them
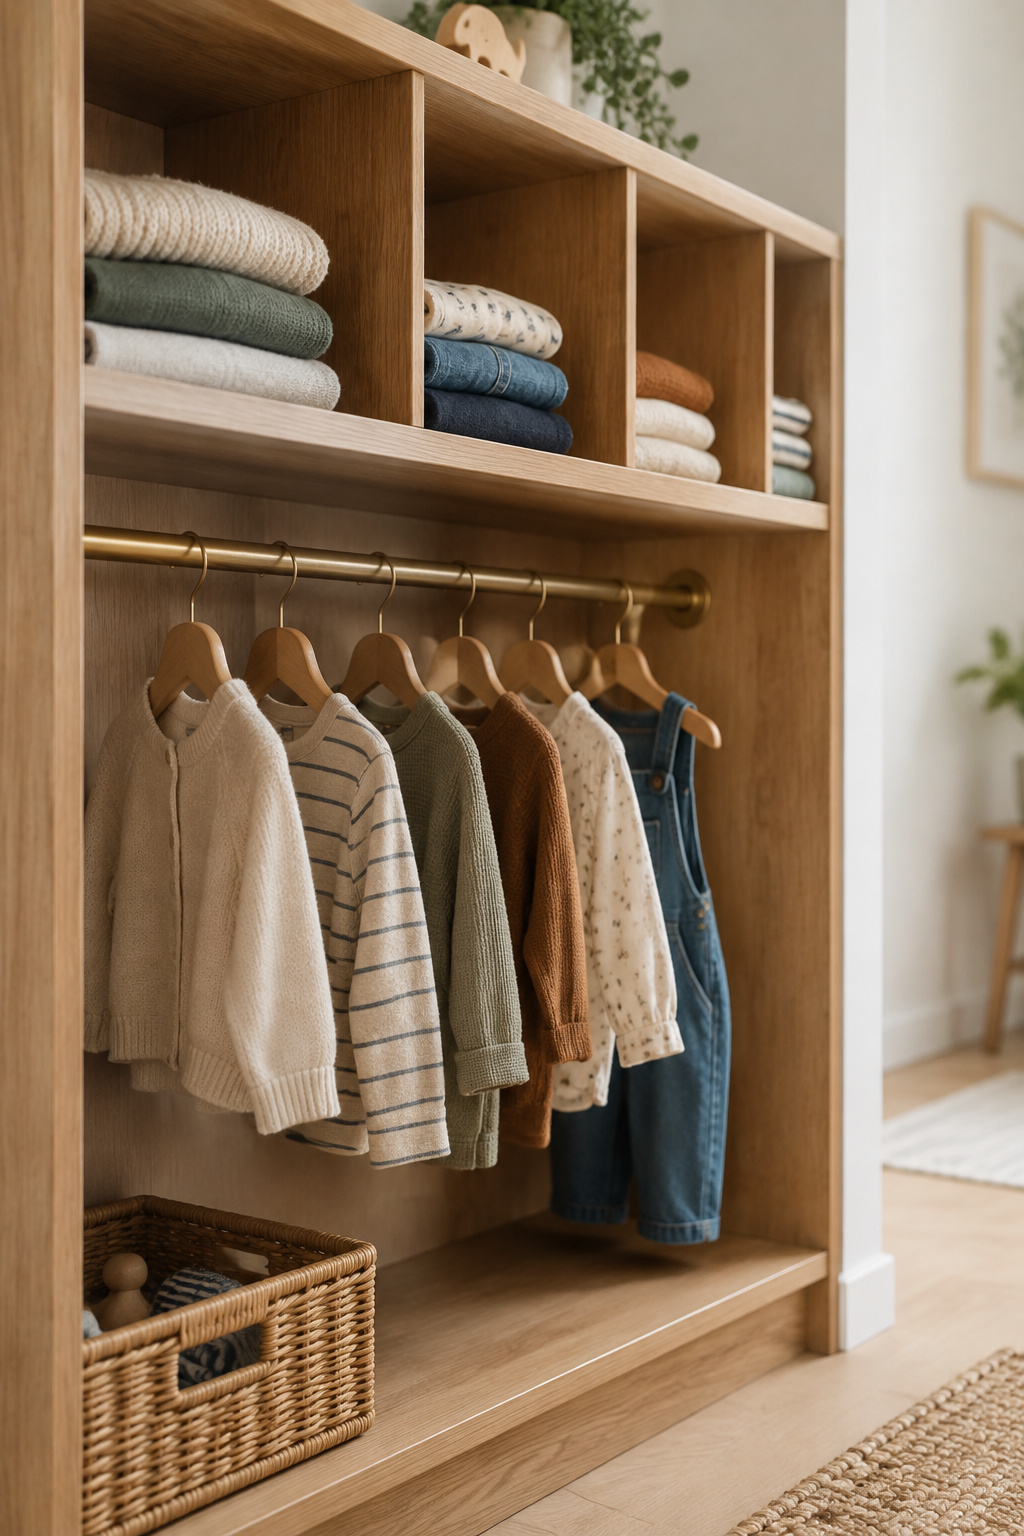
Can she reach it? That’s the entire design brief, and it disqualifies most of what the builder installed. A child-accessible rod sits around thirty inches off the floor, a figure the walk-in closet layout guide covers alongside the 66-inch adult standard it’s measured against. Hang a kid’s clothes at adult height and you’ve given yourself the job of dressing them every morning.
Reachable heights by stage
Low rods paired with open cubbies at eye level are the standard recommendation for toddlers and early-elementary kids, because that combination makes independent putting-away physically possible. Then the requirements multiply to backpacks, sports gear and shoes, and a single fixed rod stops working within a few years unless the closet gained zones along the way.
Sharing a closet between siblings
Adjustable wire shelving suits a shared closet because two children’s needs never change on the same schedule. Split zones by child, with a defined hanging section, a shelf and a bin each, instead of pooling everything. It’s category zoning used to head off a daily argument, not to look tidy.
Systems that adjust instead of getting rebuilt
Vertical mounting tracks let shelves move to new heights without tools, and a double rod hung for a five-year-old converts to a single full-length rod later on the same hardware. Design for adjustment instead of one precise measurement, because a system sized to one age expires on a schedule you can predict. Our guide to organizing a kids’ closet puts reach against age band in a table and compares what each adjustable system costs.
Or the Fastest Fix: Owning Less
Every section above assumed you keep everything you currently own. Drop that assumption and several of them become unnecessary.
Why more storage isn’t always the answer
Bazail’s fix for a closet that won’t stay organized isn’t a product, it’s a cadence: edit every three to six months. Organizer Stephanie Deininger of The Organized Flamingo adds a layer on top, recording items and planning outfits in an app so a reduced wardrobe doesn’t expand again.
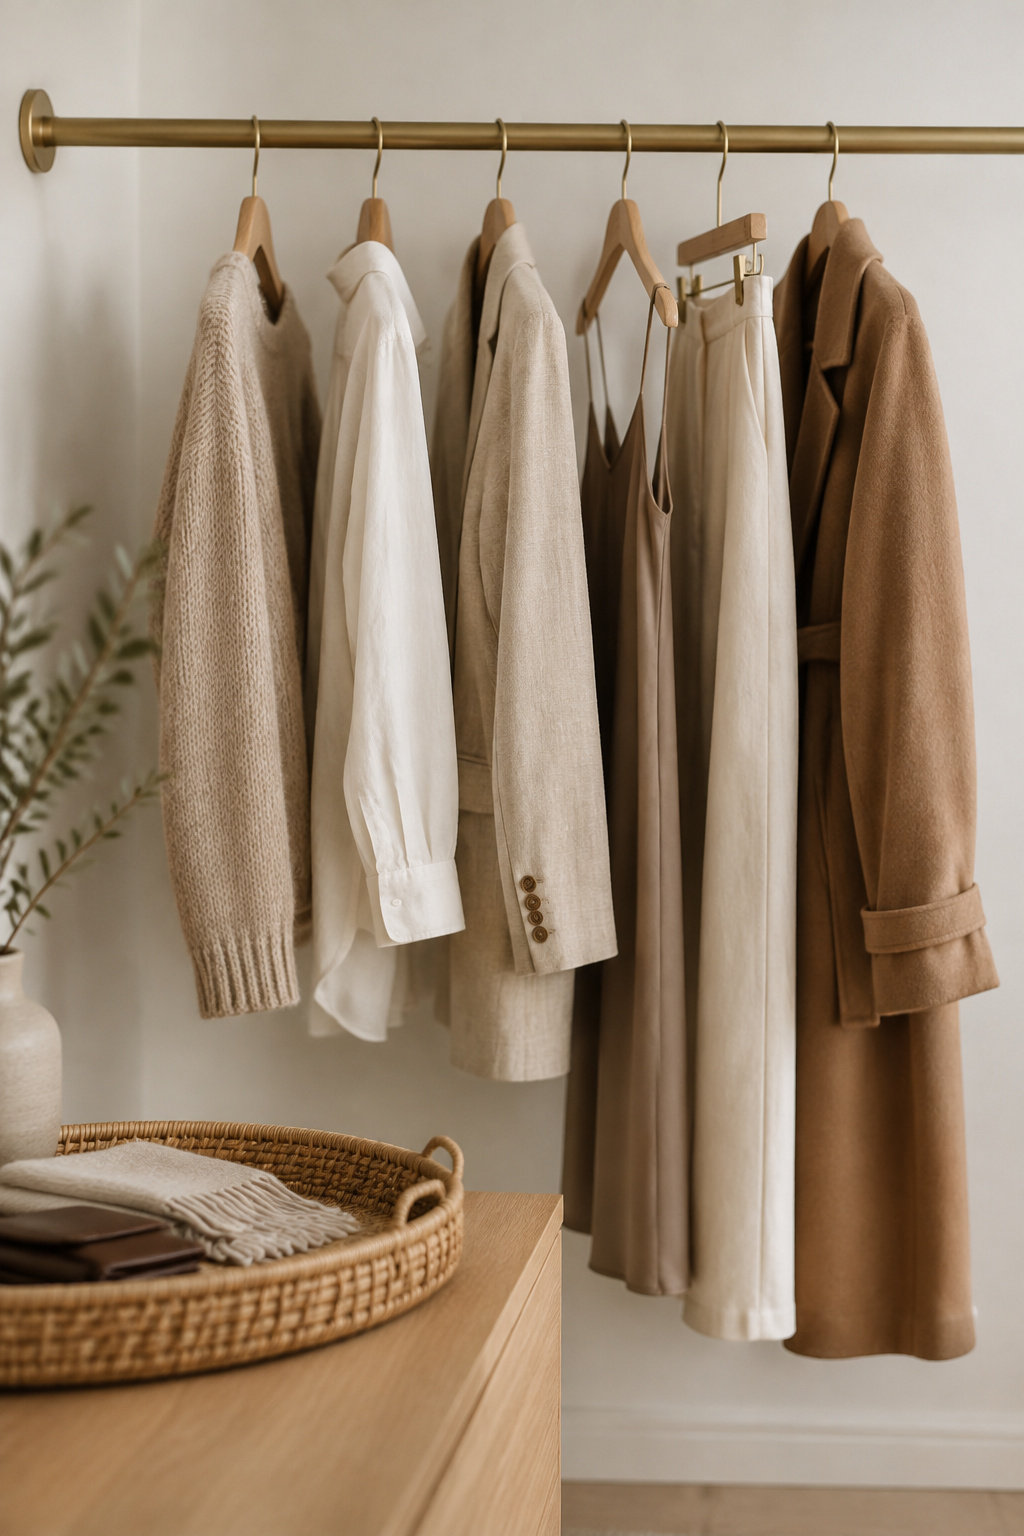
The structural point is that fewer garments change what storage the closet needs at all. The rod carries less, and the case for double-hanging, add-on shelving or a bigger wardrobe weakens. Cutting volume substitutes for build-out and costs nothing but attention.
What a capsule wardrobe changes about any closet
A commonly cited capsule range sits around thirty to forty items, though the number varies by source and by how you actually live. The capsule wardrobe guide presents that range with its reasoning instead of as a hard rule.
One-in-one-out reappears when you hold the line afterward, and Saltman, Seltzer and Amelie Saint Jacques each recommend it independently. Organizer Ebony Deloatch reframes it as a question asked before buying instead of a purge scheduled after: what will this replace? Our guide to building a capsule wardrobe closet shows where the counting systems come from and what to do the week the rule breaks down.
Which Closet Organization Ideas Actually Apply to You
Three principles survive every closet situation here.
Zones before products. Decide what each area holds before you buy anything to hold it, or you’ll own bins that make mixed-use shelving look intentional for about three weeks.
Match the fix to the constraint, not to the closet’s size. Permission, reach, volume and square footage are four different limits. A renter and a homeowner with identical closets need different answers, and a child’s closet fails on reach long before it fails on space.
Price the upkeep before the build. Twenty to thirty minutes a month, plus an edit every three to six months, is the real cost of an organized closet. A system you won’t maintain at eleven at night is one you’re going to rebuild.
What to avoid: buying organizers before defining zones, treating an organizing day as a permanent fix, and adding capacity before testing whether owning less would solve it for free.
Name your row in the finder table, take the guide attached to it, and start with that one first move. You don’t need eight plans, only the one that matches the closet you actually have.