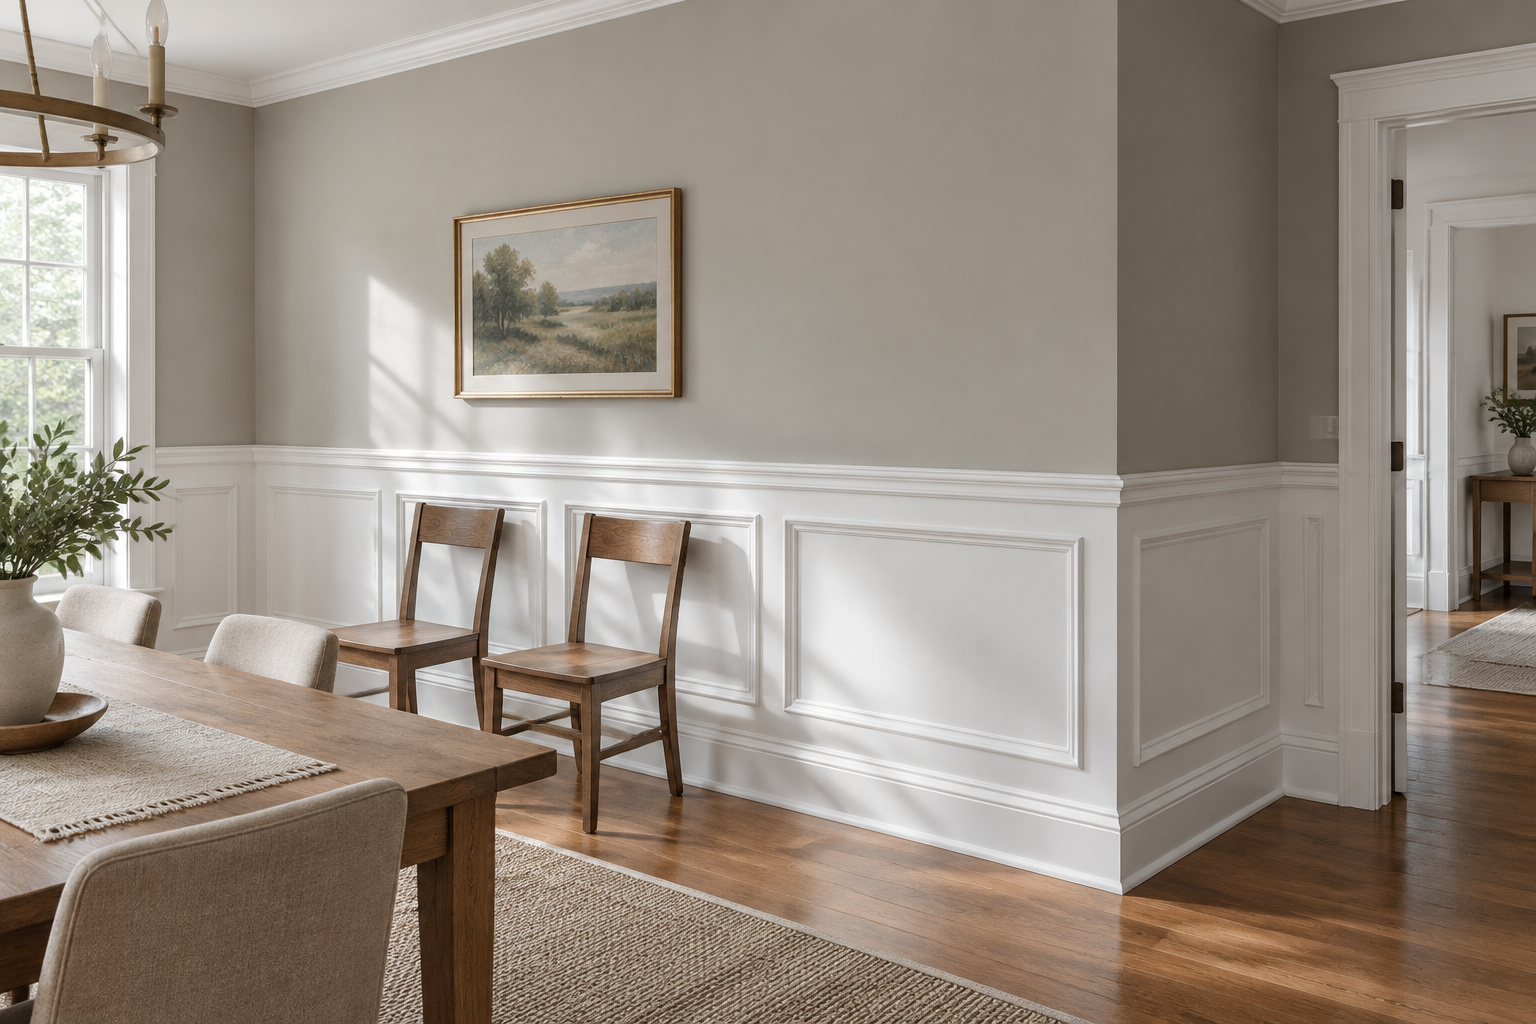
Look at the trim around your dining room doorway. It’s a plain or molded band of wood nailed over the seam between the door jamb and the drywall, painted the same white as everything else, and nobody in the house has thought about it in years. On a dining room wainscoting job it’s the most important piece of wood in the room. It decides where the paneling starts, where it stops, and whether the cap along the top lands neatly against it or sticks out past its face.
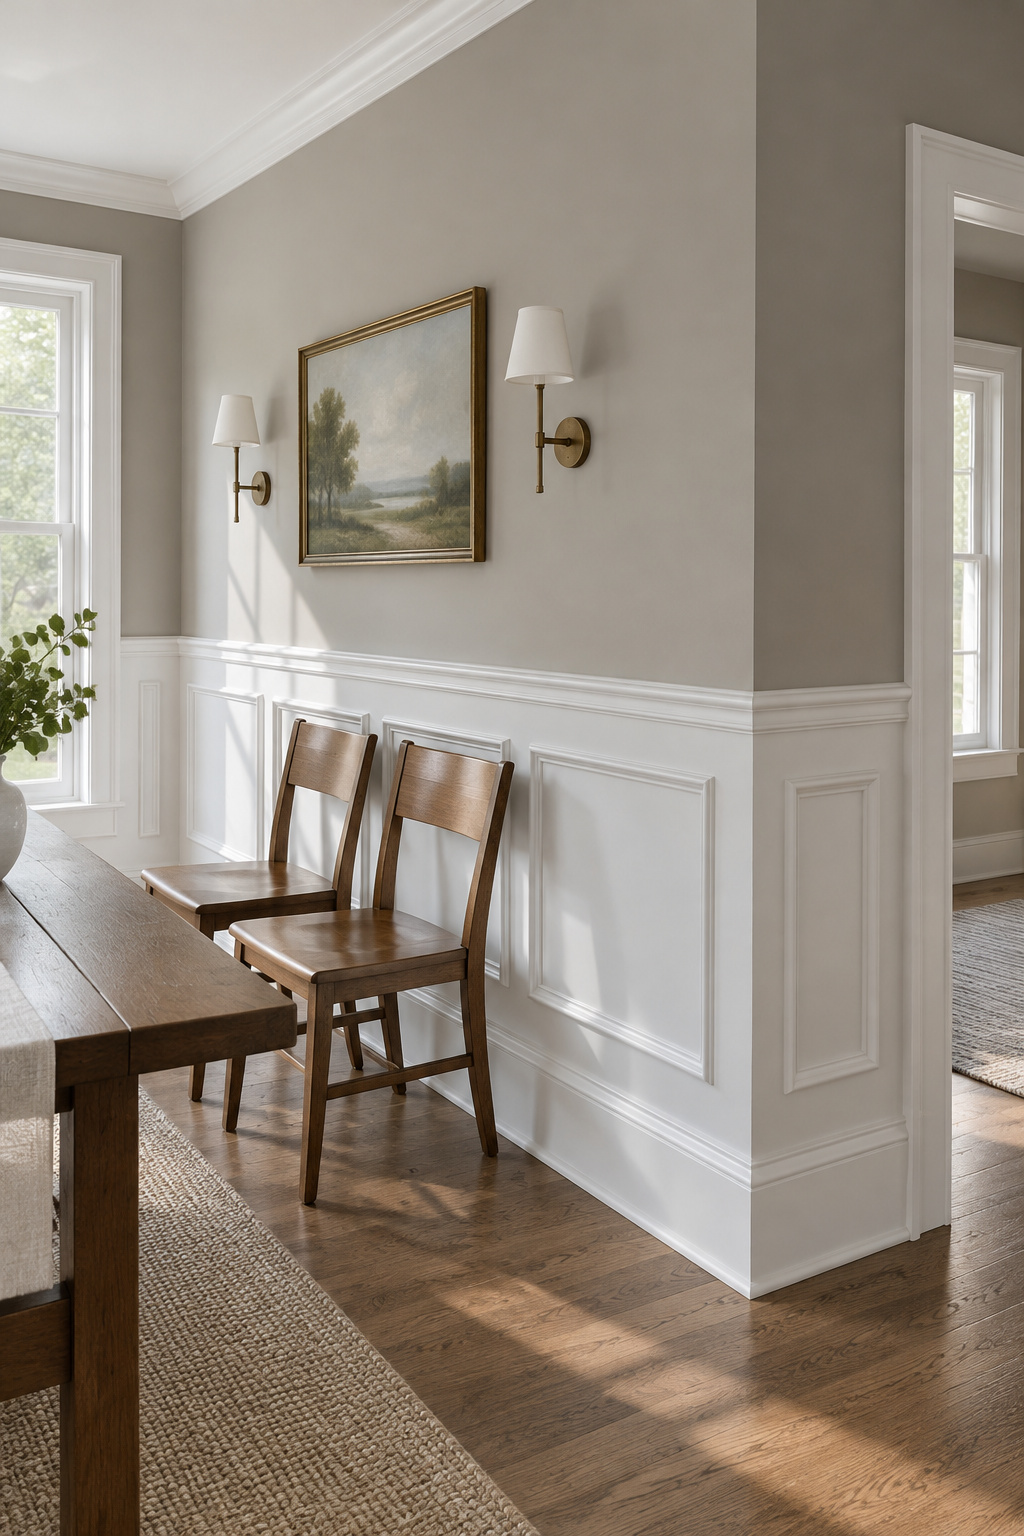
Walk the room the way I’d walk a job. Start at that casing and go around: the long wall with the window in it, the corner where the wall turns toward the kitchen, the outlet that’s going to end up right where a rail wants to be. Then think about the money. Installed, wainscoting runs from about $9 a square foot for flat panel to over $40 for elaborate applied molding, and the work takes anywhere from an afternoon for simple frames to days of fitting for real raised panel.
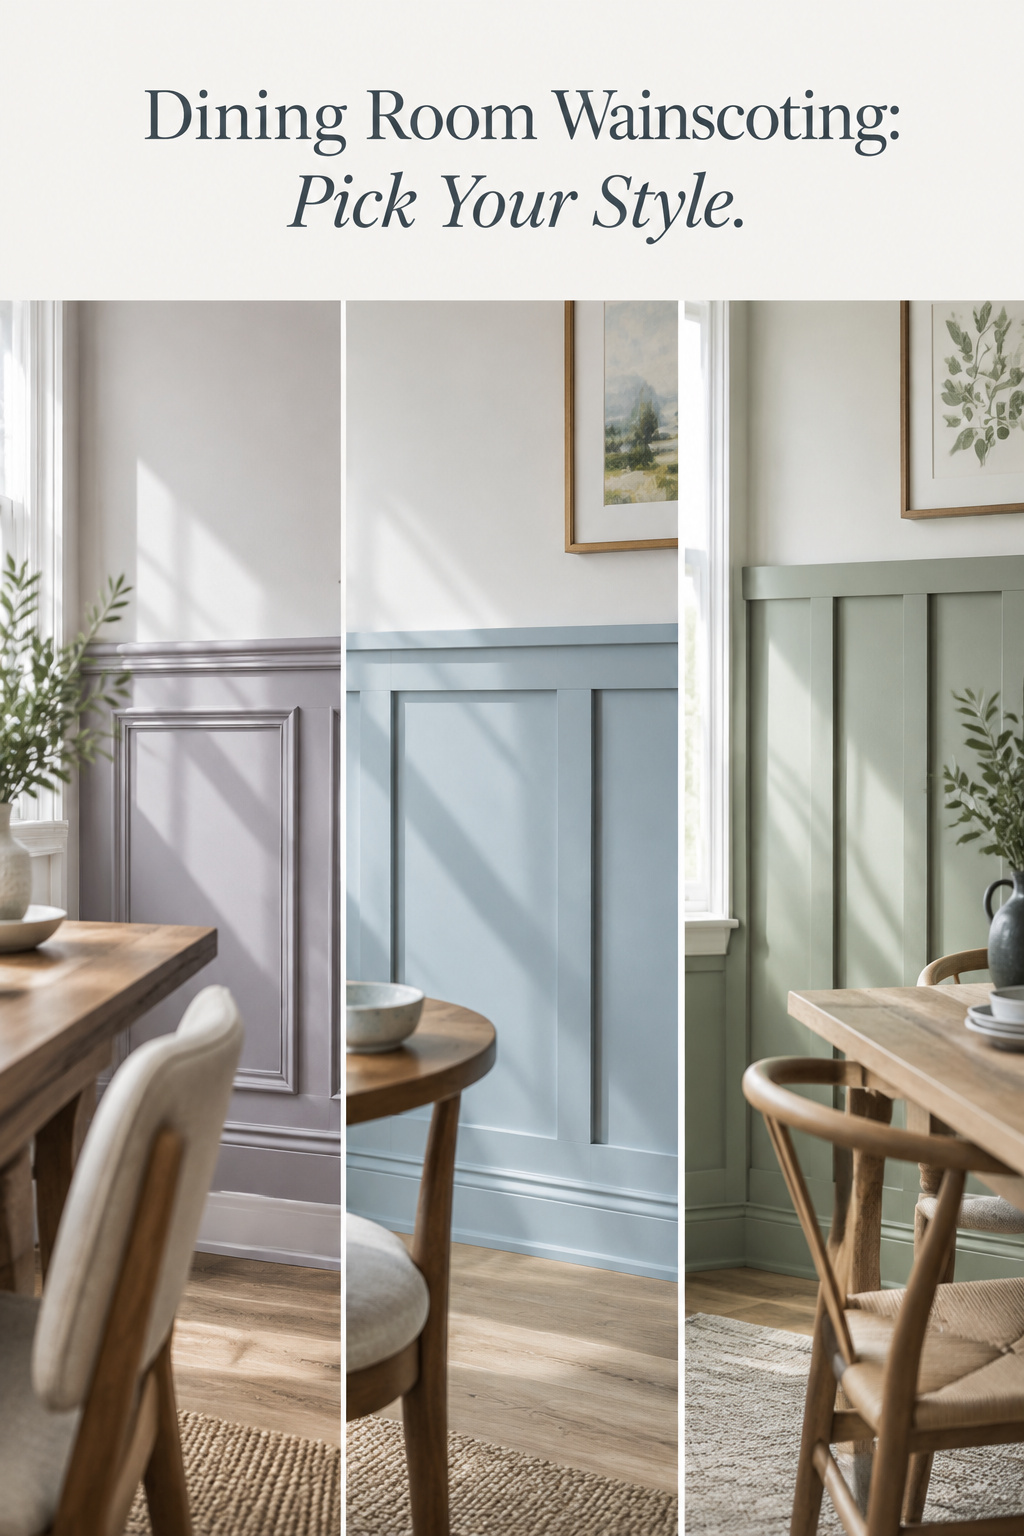
That’s a lot to choose between: six styles that look alike in photos, two national cost guides that don’t agree with each other, and plenty of advice to just do one accent wall. Four moves cut through it. Your house picks the style. A real edge decides where it stops. Painted MDF is the default material. The difficulty of the style decides whether you, a kit or a carpenter puts it up.
The Six Dining Room Wainscoting Styles in One Table
Gallery photos mix six styles together and call them all wainscoting. Side by side, with my rating for who should put each one up, they sort out quickly.
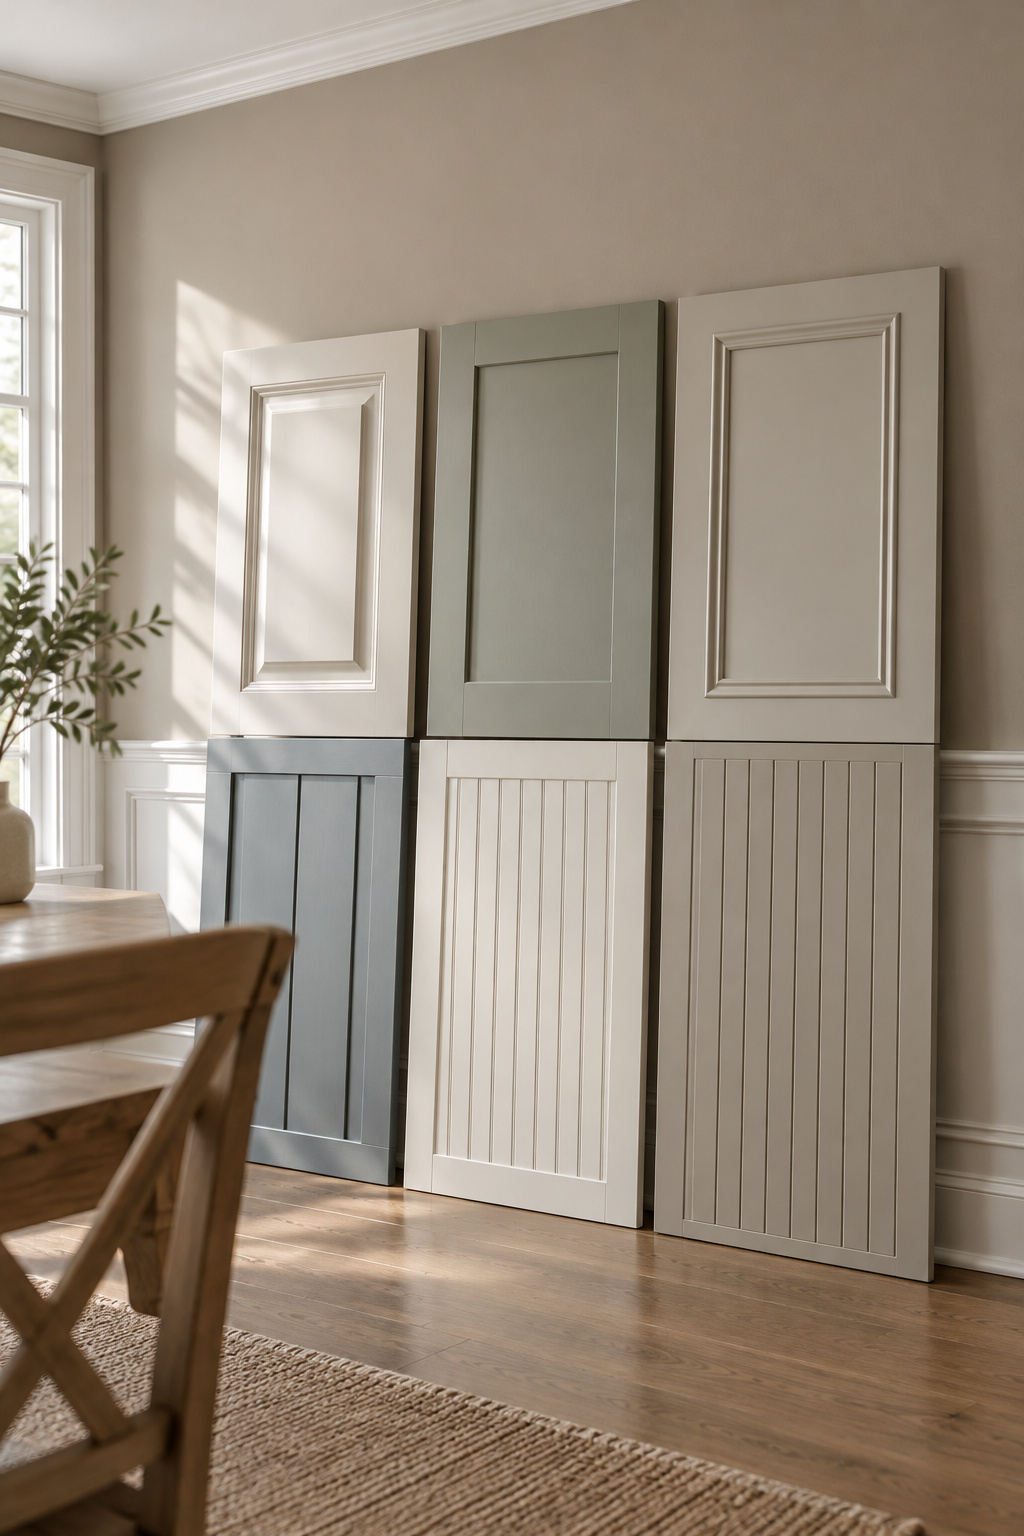
| Style | What it is | The house it suits | Who should install it | Relative installed cost |
|---|---|---|---|---|
| Raised panel | A beveled panel sitting in a joined frame of stiles and rails | Colonial-style and older formal houses | A carpenter, or a confident builder | Among the highest |
| Flat (Shaker) panel | Flat panels inside square-edged frames | Plainer houses and tight budgets | Some builds | Lowest panel line in both cost guides |
| Picture-frame molding | Boxes of molding fixed to smooth drywall | Almost any painted room | First-timer | Priced as overlay, with a wide range |
| Board and batten | Vertical battens over a flat lower wall | Farmhouse and casual rooms | First-timer | Middle |
| Beadboard | Narrow vertical boards with a bead cut between them | Older houses | Sheets: first-timer. Tongue-and-groove planks: a carpenter, or a confident builder | Middle |
| Modern slat or tone-on-tone | Vertical slats, or slim boxes painted the wall color | Plain and newer houses | Some builds | No installed price; Lowe’s prices a DIY 10 by 10 ft pine slat wall at about $300 in materials |
Two of those names cause most of the confusion. Picture-frame molding, overlay and applied molding are the same idea under three labels: molding fixed flat to the wall. And a lot of what’s sold as raised panel is applied molding imitating one, nailed and glued to drywall, with none of the joinery that makes the real thing expensive. If you want to know which kind your house actually calls for, start with raised and flat panel wainscoting by house age.
The cost column is relative on purpose. The two national cost guides disagree on the dollars, and you should see both side by side before you trust either.
One Line of Verdict per Style, Including Who Should Skip It
I teach a Saturday beginners’ class at a community workshop, and true raised panel is the one style I’d keep off a beginner’s project list. Everything else can be learned. My verdict on each:
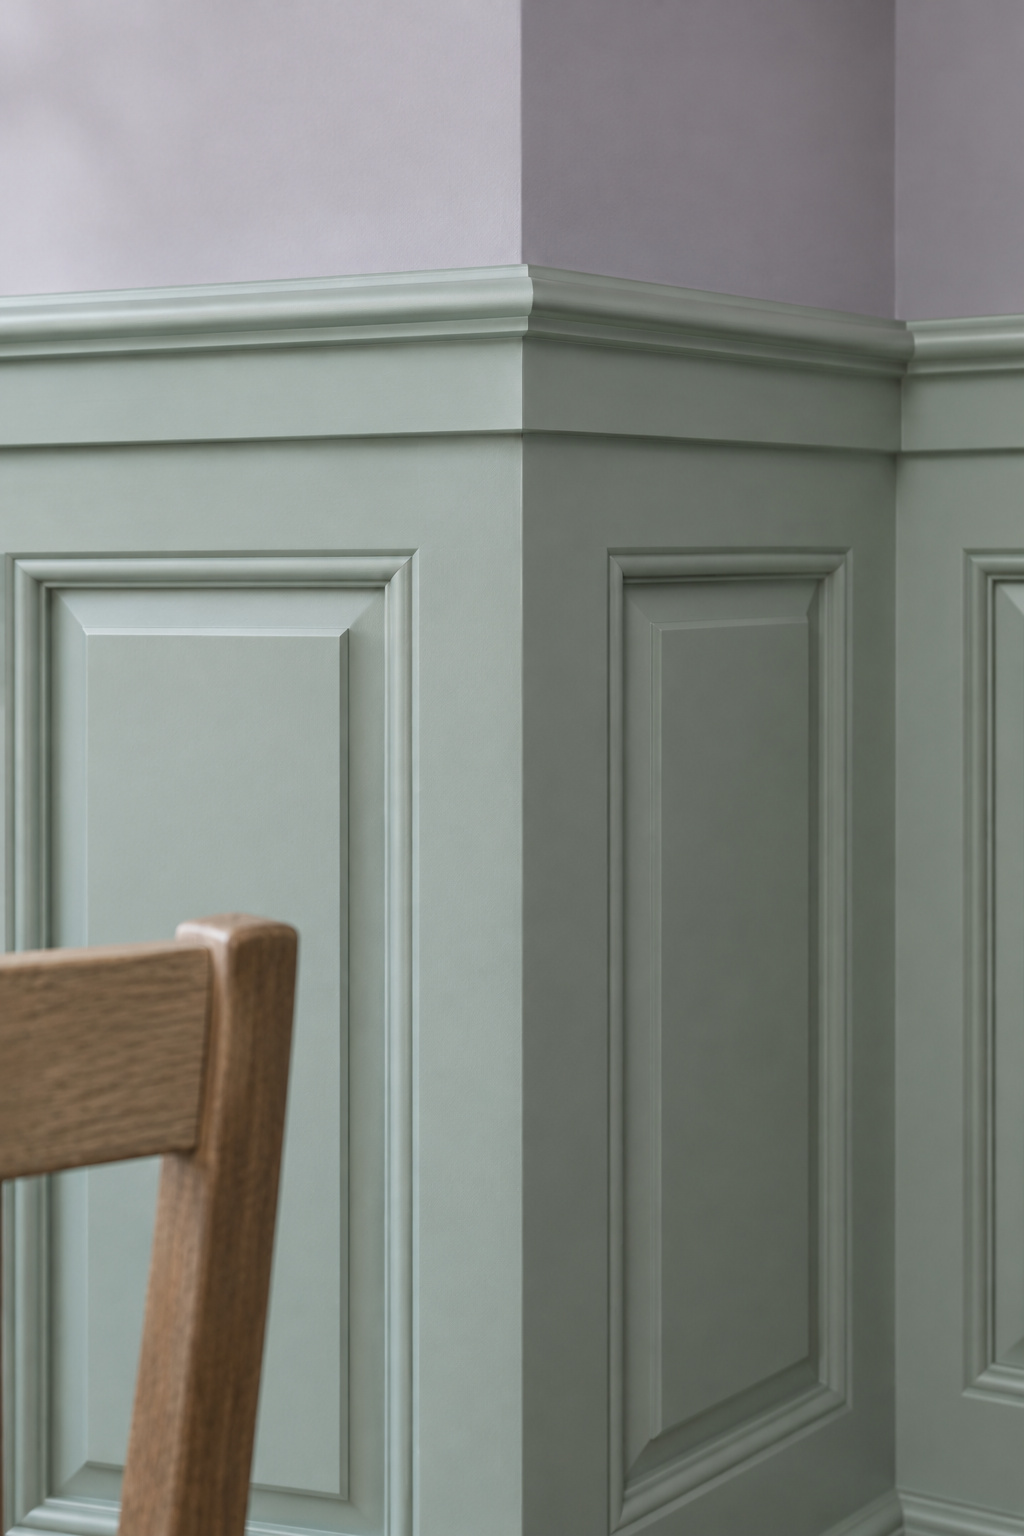
- Raised panel is a carpenter’s job. It needs beveled panels, a table saw and a lot of fitting, and the trade rates it the hardest of the lot. Skip it in a house that can’t carry the formality, or it ends up looking like a costume instead of part of the room.
- Flat panel is the safest pick for most dining rooms, and the cheapest panel line in both cost guides. Skip it only if the house already has real raised paneling you’d be competing with.
- Picture-frame molding is a first-timer job. It’s stock molding on smooth drywall, and the real work is the layout. Skip it if you hate measuring.
- Board and batten is a first-timer job, and that one gets an argument. Angi rates it moderate to high; most other guides call it a beginner project. I side with the beginners, because every cut is a straight cut, and straight cuts are what a new builder gets right. Decorfull already covers it in the farmhouse dining accent wall and the powder room board and batten build, so the grid isn’t repeated here.
- Beadboard sheets are a first-timer job. Tongue-and-groove planks are pro-level work, so skip planks unless you’ve done finish carpentry before.
- Modern slat or tone-on-tone takes some builds, mostly because slats demand patience with spacing. If your house has plain casings and no crown, look at modern wainscoting ideas with slimmer lines before you reach for boxes.
Dark and saturated paneling is its own look. If you want the lower wall in navy or forest green, decorfull’s moody dining room articles cover that properly.
Does Wainscoting Go on Every Wall? Wrap the Room or Stop at a Real Edge
No, it doesn’t have to go on every wall. But every run has to end somewhere real. That’s my first rule, and I don’t bend it: wainscoting wraps the whole room, or it stops at a door or window casing, a cased opening or an inside corner. At an outside corner it turns and keeps going. It never stops in the middle of a wall.
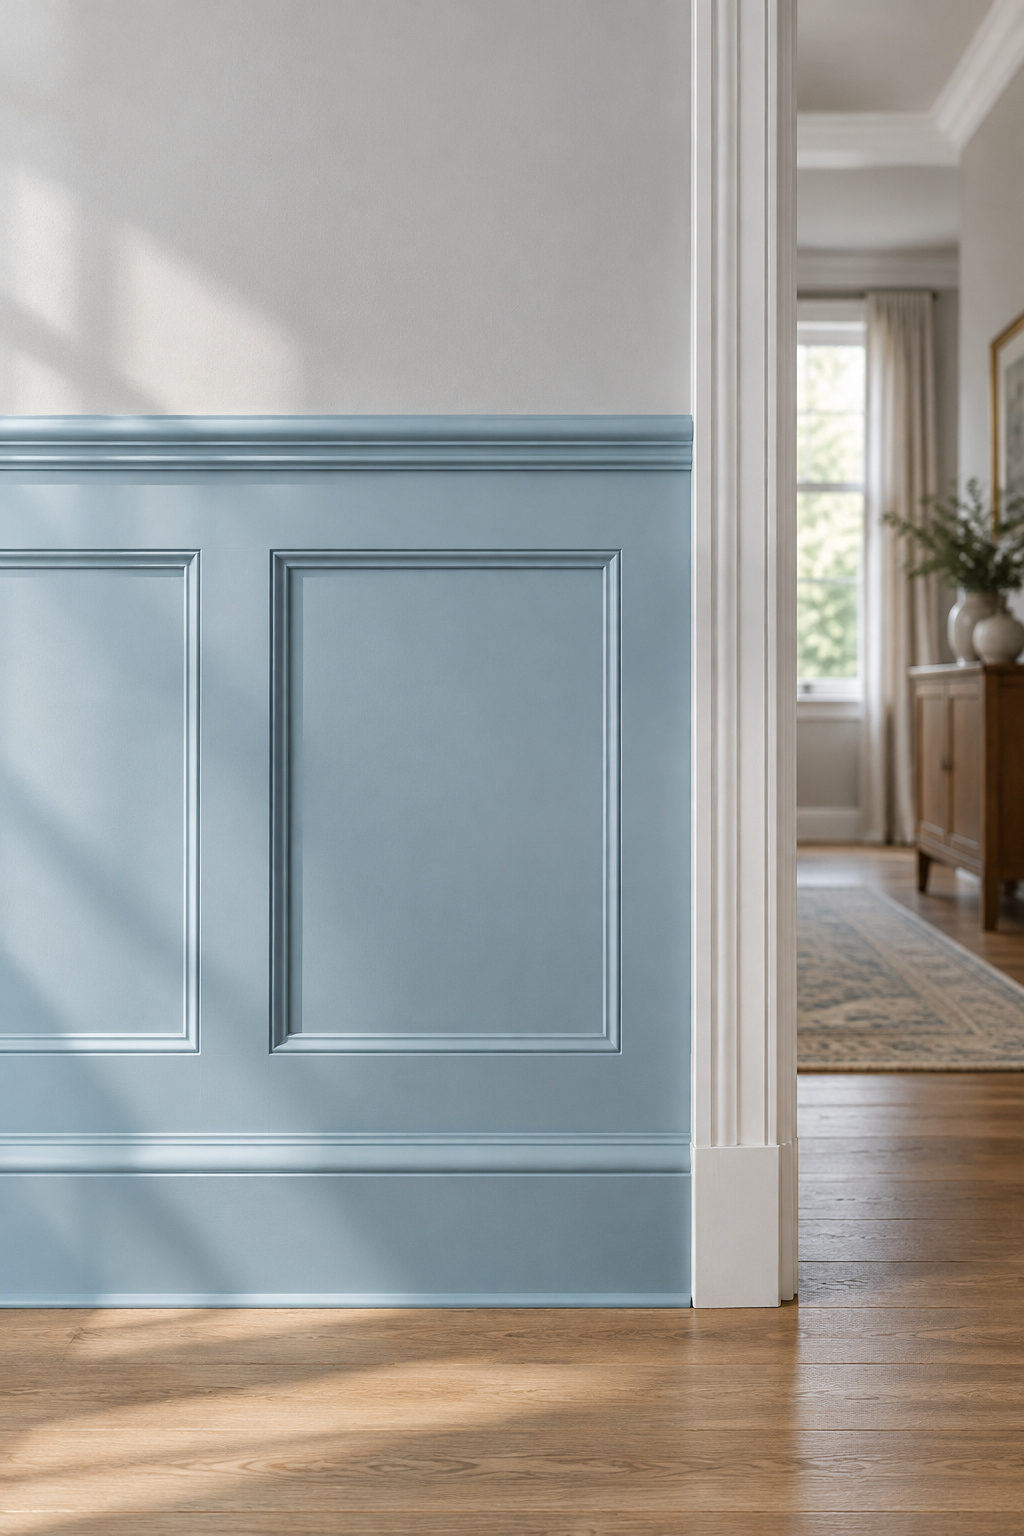
Good trim carpenters work in that order. Gary Striegler, writing in Fine Homebuilding’s Project House series, says wainscot always starts the same way, by trimming the windows and doors, and the panels are sized after. The casings set the edges. Built-ins do the same job; classic wainscot dies into the cabinet. A run that ends against nothing needs a terminal cap or a mitered return to look finished, and even then it looks like a decision you made because the layout ran short.
Wainscoting that stops in the middle of a wall looks like the money ran out.
The height is a separate decision. A low dado, a mid-height wainscot or tall paneling up to a plate rail can all wrap or stop by the same rule, and picking between them is a matter of your chairs, sills and switches. That’s all laid out in setting the wainscoting height for your ceiling.
Why a single accent wall is the weakest option
This one is my judgement, and plenty of people disagree. One trade site sells the single wainscoted wall as a legitimate focal point, and I understand the appeal. One wall is cheaper and fits in a weekend.
Try it and you’ll see the problem. A cap rail is a line, and a line meant to tie a room together does very little on one wall. It runs into two corners and stops, and the three bare walls look unfinished next to it. In a dining room, somebody at the table always has their back to the wall you picked. And you’ve spent the money on the one surface that has to carry the whole idea alone. If the budget only covers one wall, I’d rather you did a cheaper style around the whole room than a fancy one on a single wall.
Slats are the exception, because a slat wall is built to be a feature.
One Real Dining Room Walked Through: The Wall, the Outside Corner and the Doorway
Take a common room: about 12 by 16 feet, the size that seats eight with a sideboard. It has one long wall with a window, a short wall that turns an outside corner into a cased opening to the kitchen, and a doorway to the hall.
The wall that decided everything
The long wall goes first, because it’s the one you see from the table and the one with the most interruptions. Trim the window before anything else, so the panels can be sized to the casing instead of the casing being fudged to the panels.
Then lay out from the edges you can see. Start with a full-width piece at a casing or an outside corner and work toward the inside corners, so any narrow leftover lands in a corner where nobody looks. Do it on paper before you buy a stick of material. Lynn Hopkins put it well in Fine Homebuilding: it’s better to work through these problems on paper than in wood.
The outside corner
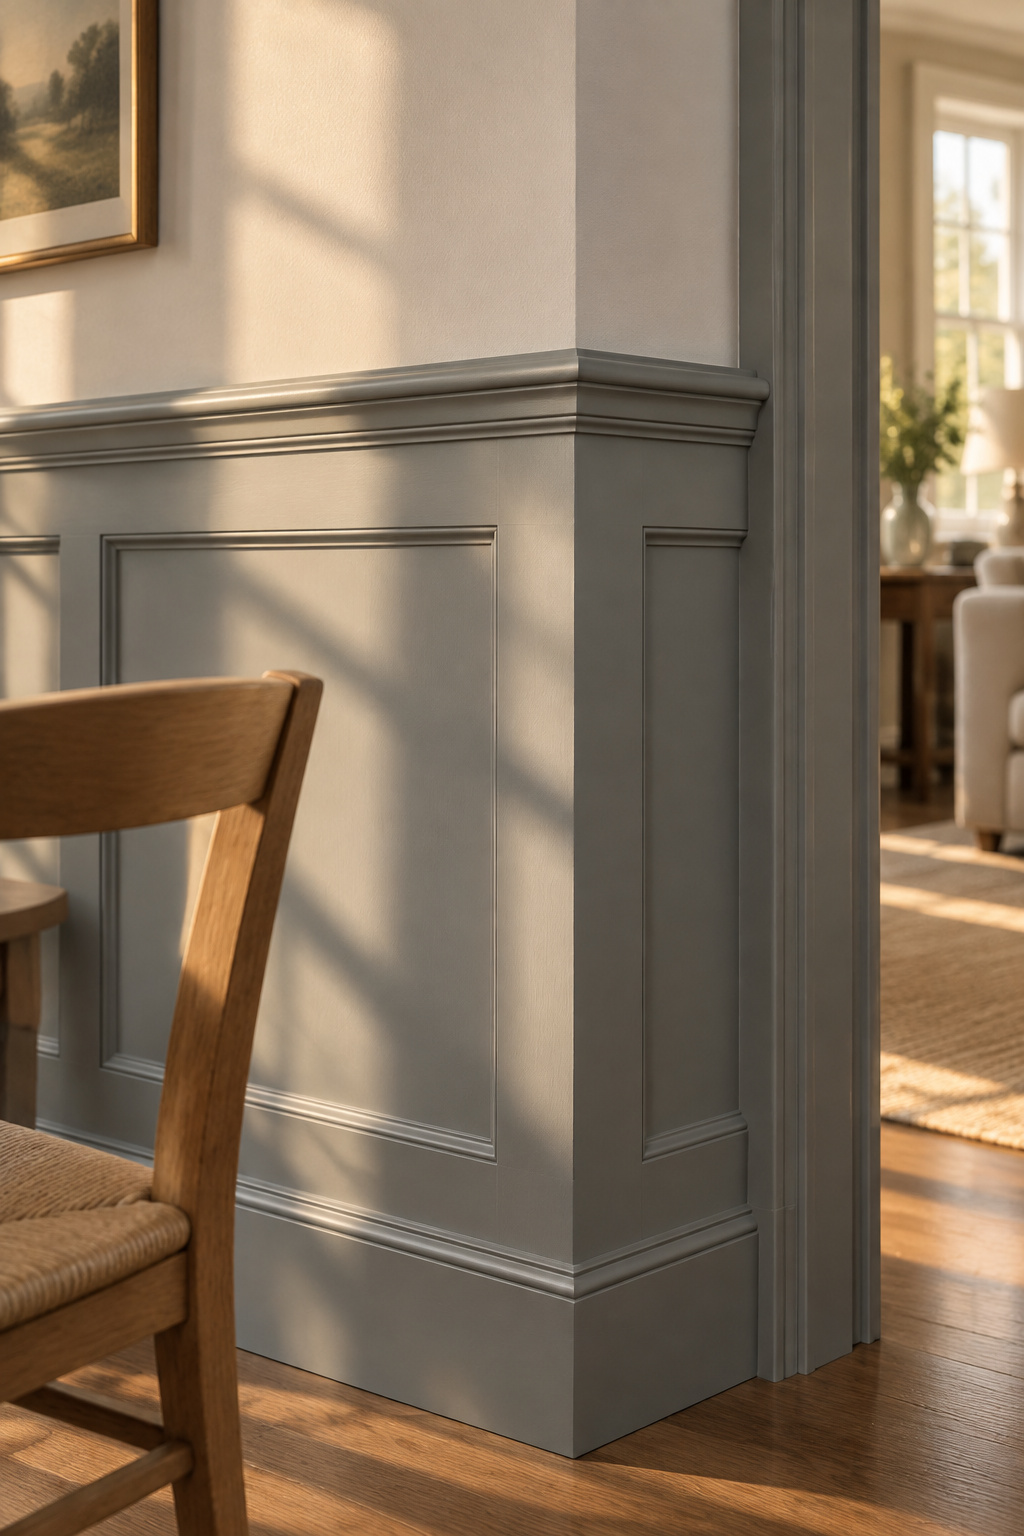
Where the short wall turns toward the kitchen, the paneling turns with it. Ending it flat on an outside corner leaves you looking at the thin edge of the stock, and the whole wainscot suddenly looks like a veneer stuck on the wall. Wrapped around the corner, it looks like part of the wall.
You’ve got two clean ways to do it. Return the paneling around the corner with a stile on each side, mitered at the cap. Or stand a plain corner board up the corner, a hair proud of the paneling, and stop both sides against it.
The cased opening into the kitchen is where open plans trip people up. The kitchen side isn’t the dining room, so the wainscot shouldn’t wander in. It stops at the opening’s casing, or it returns a few inches into the opening and dies there. What it doesn’t do is stop at some invisible line on the wall where you’ve decided the kitchen starts.
The doorway into the next room
The mistake that catches people happens here. Interior casing usually runs 2 1/4 to 3 1/2 in wide, and in most houses built in the last fifty years it’s 5/8 or 3/4 in thick. Buy a cap thicker than that and bring it up to the door, and it sticks out past the face of the casing like a small shelf.
There are two recoveries. Cut the end of the cap back at 45 degrees so it dies into the casing. Or fix the casing instead: stand it proud of the cap, or wrap it in a thicker backband so the cap butts into something solid. The backband is more work. How the rail itself ends at the casing, butted or returned, is a profile question, and it’s covered in chair rail ideas for a dining room.
The whole walk, as a sequence you can use on your own room:
- Trim the doors and windows first.
- Lay out the long wall from a full-width piece at a casing or outside corner, working toward the inside corners.
- At every outside corner, decide wrap or corner board. Never a bare end.
- At each doorway, check the cap against the casing thickness, then cut it back or add a backband.
- At a cased opening, stop at the casing or return the profile into the opening.
Painted MDF Is the Right Default for a Dining Room
If you’re painting it, use MDF. That’s my default, and it’s the one I’d give a friend.
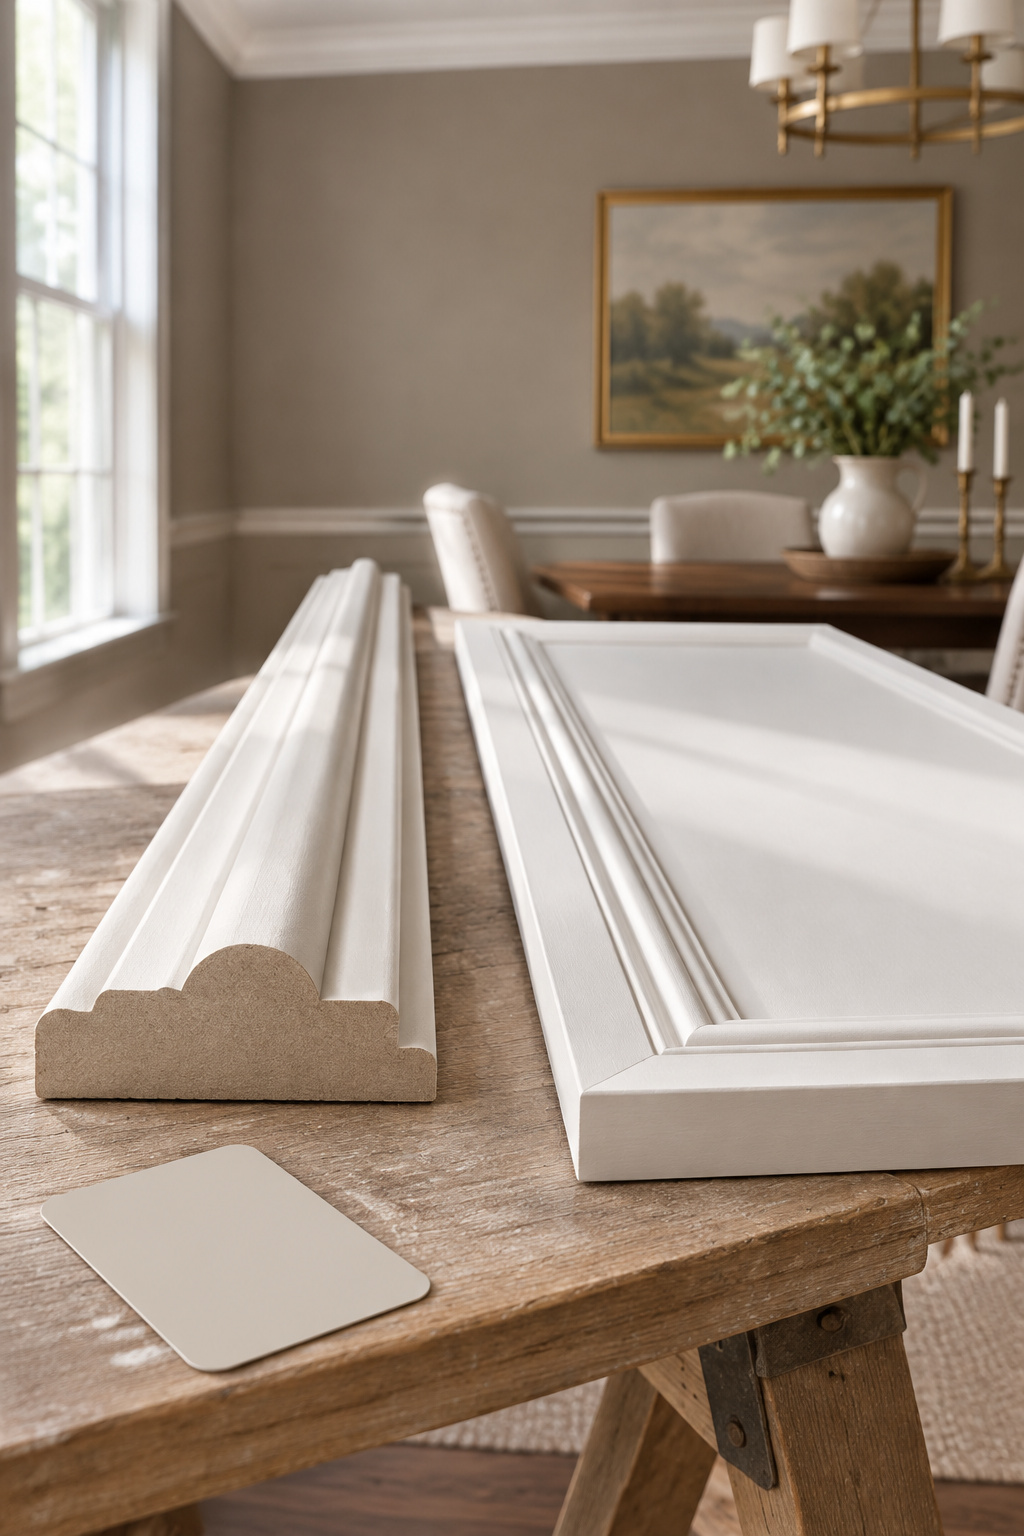
The argument is the room. MDF has one serious weakness: it swells when it gets wet, and once it has swollen past its original size it doesn’t go back. A dining room doesn’t have that problem. There’s no shower and no sink splash on the lower wall, and nothing keeps the board damp. Take away the one weakness and what’s left is a stable board that moves less with the seasons than wood and costs less.
The main choices line up like this:
- MDF is the default for painted work in a dining room. Long runs go up without joints and miters stay tight. Its edges are delicate and its profiles come out softer than wood, so seal or fill every raw cut edge before paint goes on.
- Poplar is the paint-grade standard, with crisper profiles and more durable edges, at a higher price. Worth it for a cap you’ll bump all the time.
- Pine sits between the two on price.
- PVC is the answer for wet rooms. A dining room doesn’t need it.
Material prices follow the same order. MDF beadboard sheet runs $0.80 to $1.00 a square foot against $1.79 to $1.99 for real beaded pine panel, and board-and-batten materials run about $3 to $8 a square foot if you put it up yourself.
If water can reach the bottom edge, as on a sink wall or beside a back door, step up to moisture-resistant MDF, marked MR10 or MR30.
When solid wood is worth paying for
Two cases. The first is stain. Stain shows the material, so the face has to be real wood, though not necessarily solid wood all the way through: veneered plywood panels in a solid frame take stain well. The second is real stile-and-rail raised panel, where the construction is the whole point. There, poplar for paint and oak or other hardwoods for stain are the usual choices.
For everyone else, the paint does the work. What goes on it is its own decision, worked through in choosing wainscoting paint colors.
What Dining Room Wainscoting Costs Installed, Per Square Foot, by Style
Two national cost guides publish installed prices by style, and they don’t agree. I’d rather you saw both than a blended number, so they sit side by side, per square foot of paneled wall.
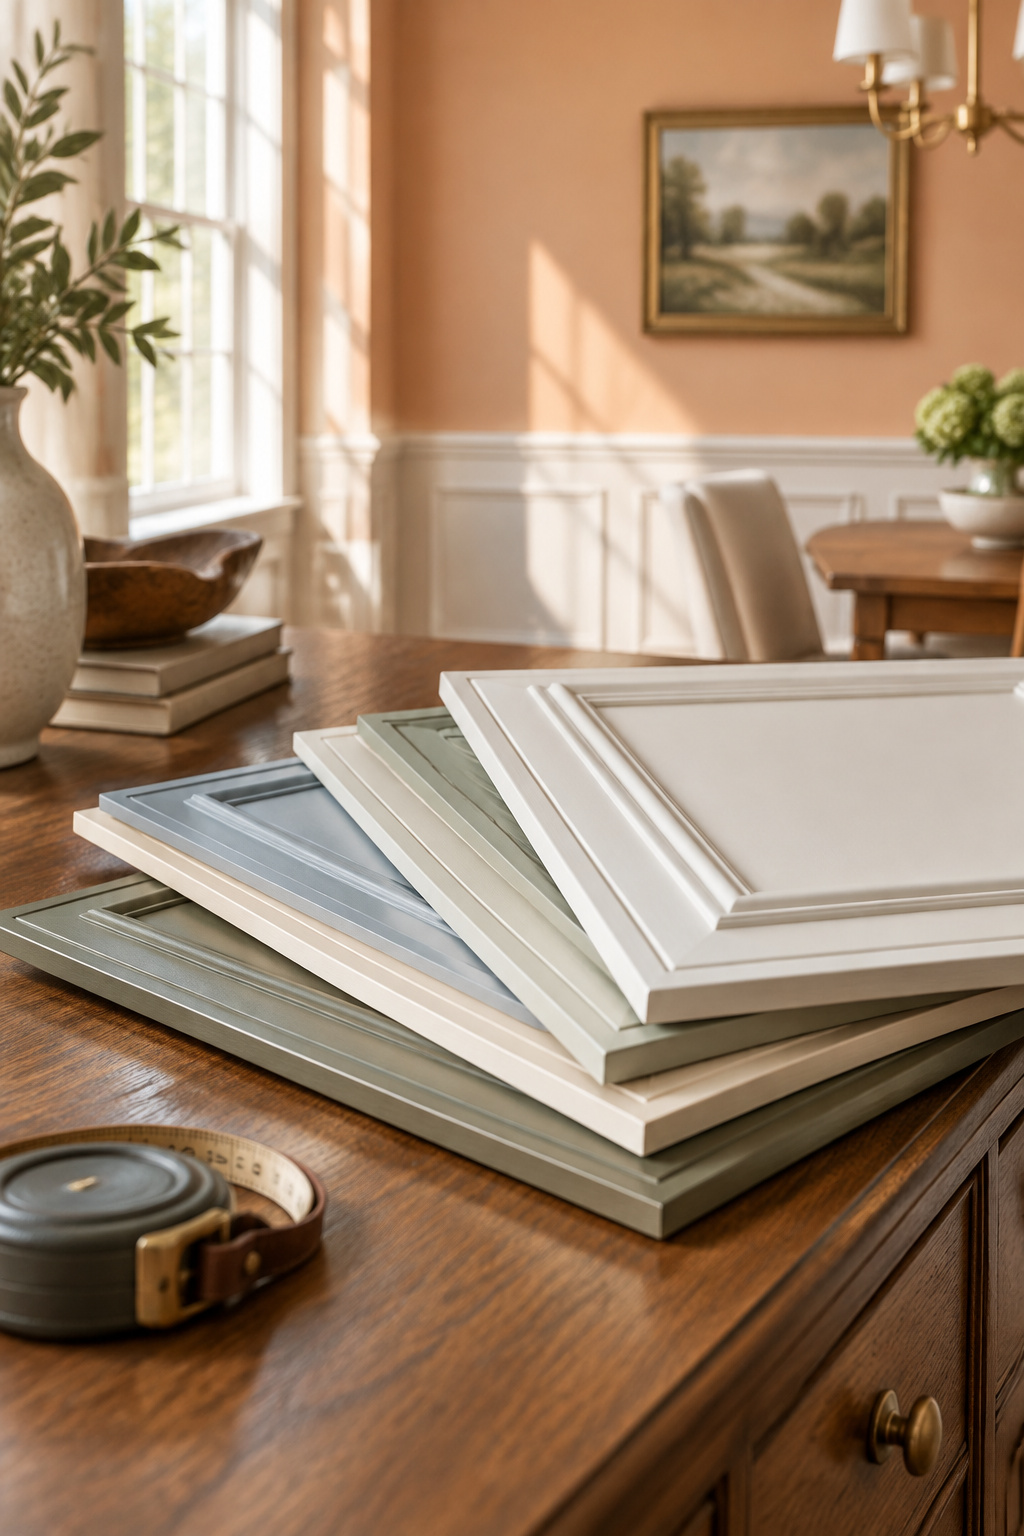
| Style | Fixr, installed (Jan 2025) | HomeGuide, installed (Sep 2025) |
|---|---|---|
| Flat panel | $9 to $12 | $10 to $15 |
| Beadboard | $9 to $23 | $10 to $20 |
| Board and batten | $9 to $23 | $10 to $23 |
| Raised panel | $12 to $33 | $12 to $30 |
| Overlay (the nearest line to picture frame) | $12 to $43 | $15 to $40 |
| Modern slat | No line | No line |
It can get expensive. HomeGuide’s overall range is $10 to $40 a square foot, a fourfold spread, and the style and material drive it, not the installer’s hourly rate. Put it on 100 square feet of wall and flat panel comes to $900 to $1,200 on Fixr’s numbers, or $1,000 to $1,500 on HomeGuide’s. Raised panel on the same wall is $1,200 to $3,300 on Fixr’s, or $1,200 to $3,000 on HomeGuide’s.
Note the unit. These prices are per square foot of paneled wall, not of floor. A room’s floor area tells you nothing until you know how far up the wall the paneling goes, so price it from the wall.
Why the two sources disagree
They were published months apart and don’t define their lines quite the same way. Only one of them lists shiplap, and both lump applied molding into a broad overlay line with a high top end. A third national guide runs lower again, and one trade site quotes raised panel far above both.
The differences between the two guides are a few dollars. The bigger lesson is the range inside each one: the top of a style’s range is often two or three times the bottom. Get two quotes, and ask each installer which style and material the number covers.
DIY, Kit or Carpenter: Who Should Install Which Style
I sort the jobs into three piles:
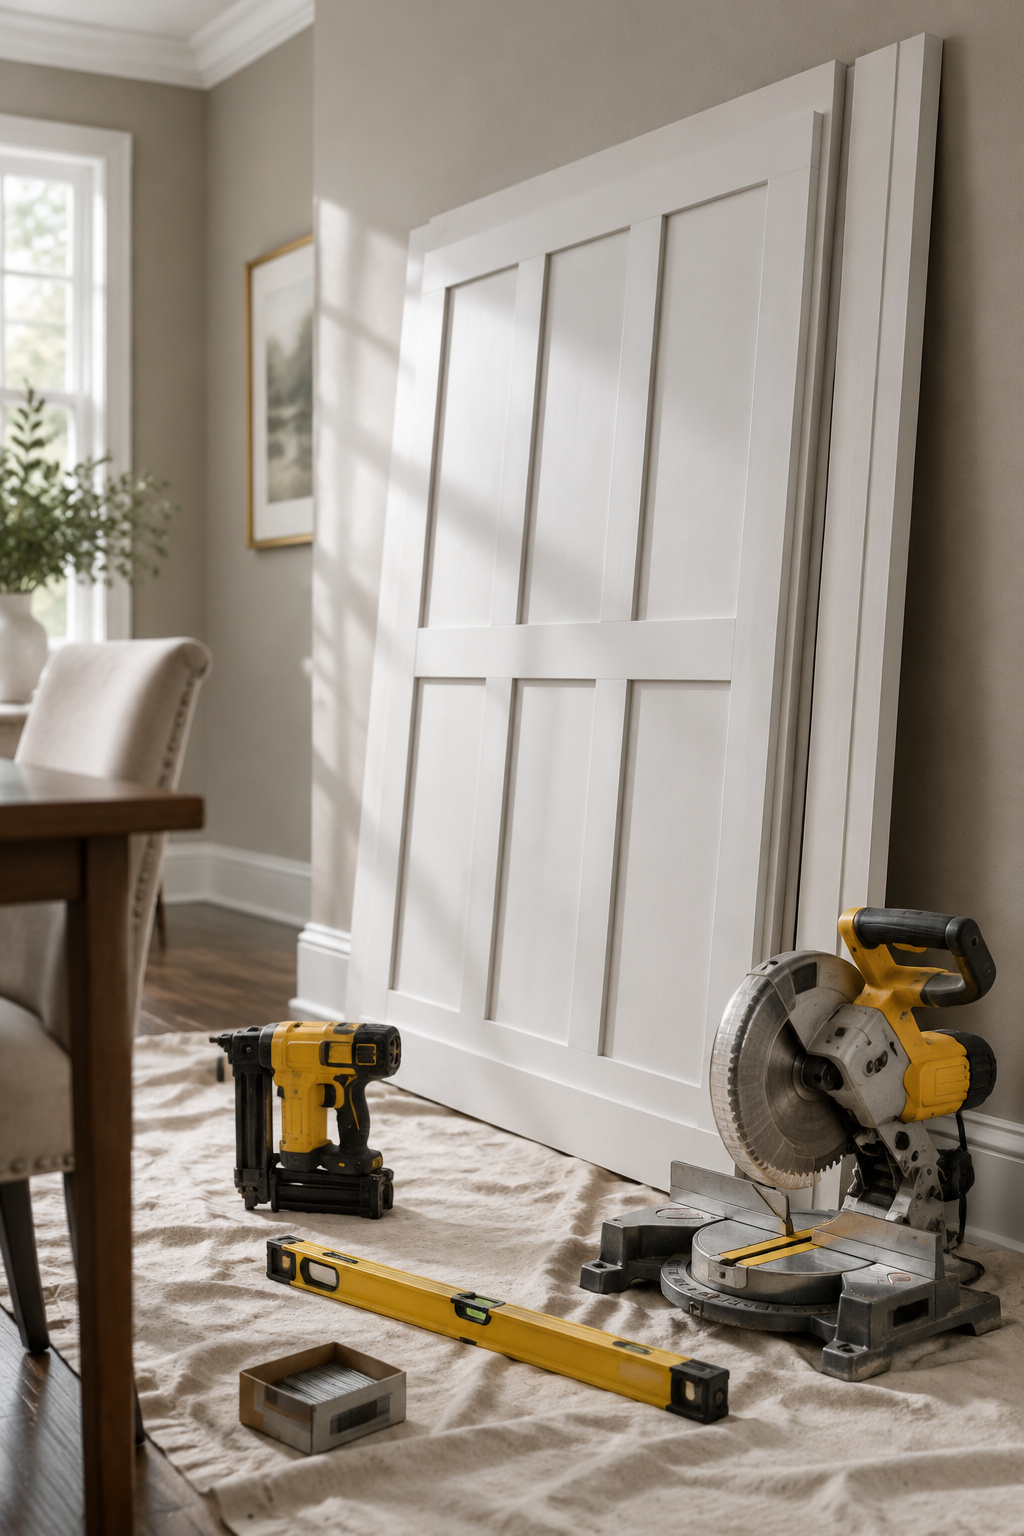
- First-timer jobs: picture-frame molding, board and batten, sheet beadboard and a simple flat-batten grid. Budget the materials plus a miter saw, a brad nailer and a level if you don’t own them. Tom Silva’s frame method on This Old House is the yardstick: rated 3 out of 5 for skill, 4 to 5 hours, under $200, and the method can cover 33 linear feet of wall in a day.
- Some-builds jobs: flat panel, where the frames have to line up across the room, and beadboard on an uneven floor, where the sheets have to be scribed. Budget extra time for the fitting.
- Carpenter jobs: true raised panel, tongue-and-groove beadboard planks, and anything that has to be scribed to old, uneven walls. Raised panel needs a table saw and a coping saw on top of the basic kit.
The math on hiring is simple. HomeGuide puts a 10 by 10 ft room at 10 to 15 installer hours, and at its $70 to $100 an hour that’s $700 to $1,500 in labor before materials. Doing it yourself can save up to half the project. What you pay instead is your weekend, and the trip back to the store for the one stick you miscut.
A few things make the DIY side easier. One trick worth stealing: build the frames on a bench, join them with pocket screws, and hang them in finished sections. And the hardware store’s cut counter is a legitimate tool; there’s no shame in having your sheet goods cut there. Ask before you load the cart, though, because not every store will cut MDF.
A cap and rail want studs behind them all the way around the room. A shelf I put up for a neighbor should have taken an hour. It took three, because the stud finder was wrong twice. Check the studs yourself before you trust the mark.
Outlets are the other surprise. If thicker paneling leaves an outlet sunk behind the surface, a box extender brings it back flush. Moving the box to clear the cap is electrical work. That’s a pro job, and so is anything involving gas or the main panel.
If picture-frame boxes are your style, laying out picture frame molding box by box walks the whole layout and install.
Where a nail-on MDF kit fits
Kits sit between DIY molding and a carpenter. You get pre-primed MDF panels that nail up, with no joinery to cut. A shaker-style panel from Lowe’s is 32 by 48 in, about 10.67 square feet, primed and rated for interior use only. One trade source puts pre-made MDF raised-panel kits at about $8 to $18 a square foot before installation. A kit makes sense when you want the panel look in a traditional room and a millwork shop is out of the budget.
The renter exception
If you rent and the lease won’t allow nail holes, the nailed styles are out. No-nail versions exist, but removal is where they cost you. Read peel and stick wainscoting for renters before you buy anything that sticks.
What I Would Do in Your Room, by House Type
What I’d put in each kind of house, with style, walls, material and installer decided together:
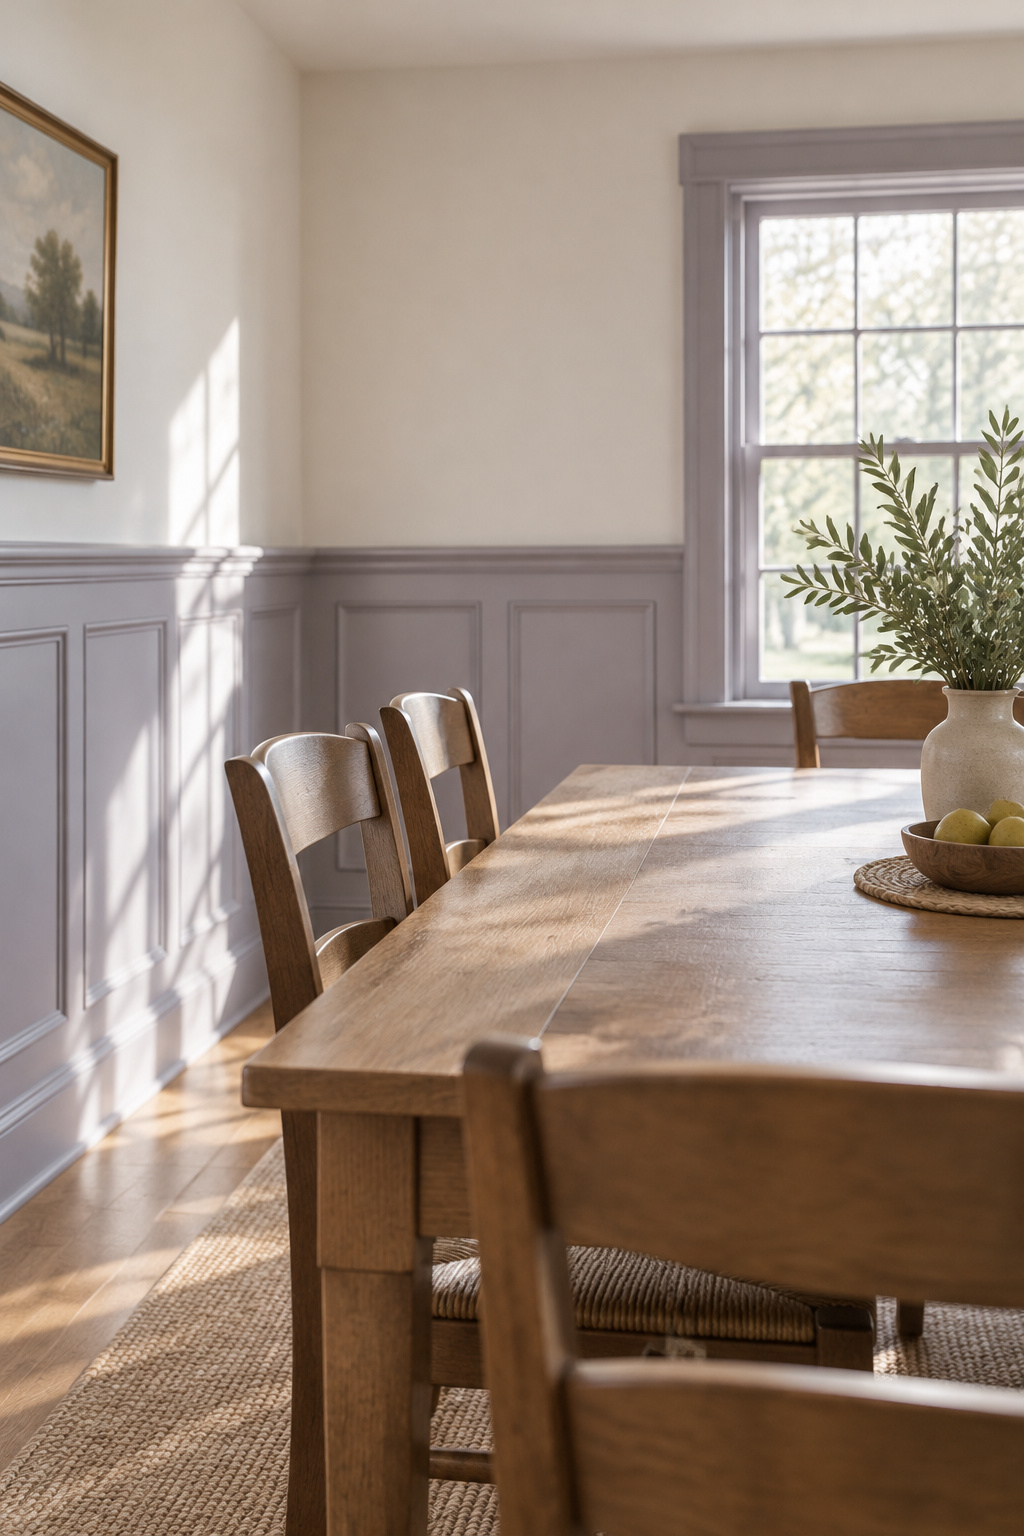
- An older center-hall house: panel work that wraps the whole room. Take a piece of the original casing or baseboard to a millwork shop and match the profile, because the thing people notice in renovated old houses is a profile that’s a little off from the next room. Painted MDF fields with a poplar cap. If it’s true raised panel, hire a carpenter.
- A ranch: picture-frame or flat panel in painted MDF, wrapped around the room or stopped at the casings, with a plain cap. It’s a DIY job.
- A new build: picture-frame or flat panel in painted MDF, as a weekend DIY. Pick a cap no thicker than the door casing, so it lands flat against it.
Whatever the house, the one thing I’d never do is end a run bare in the middle of a wall.
That leaves one decision for your room, and it comes before style, color or price: the edge where your wainscot stops. Pick it, whether that’s the kitchen opening, the hall doorway or the corner it wraps, and every other choice in your room has something solid to land against.