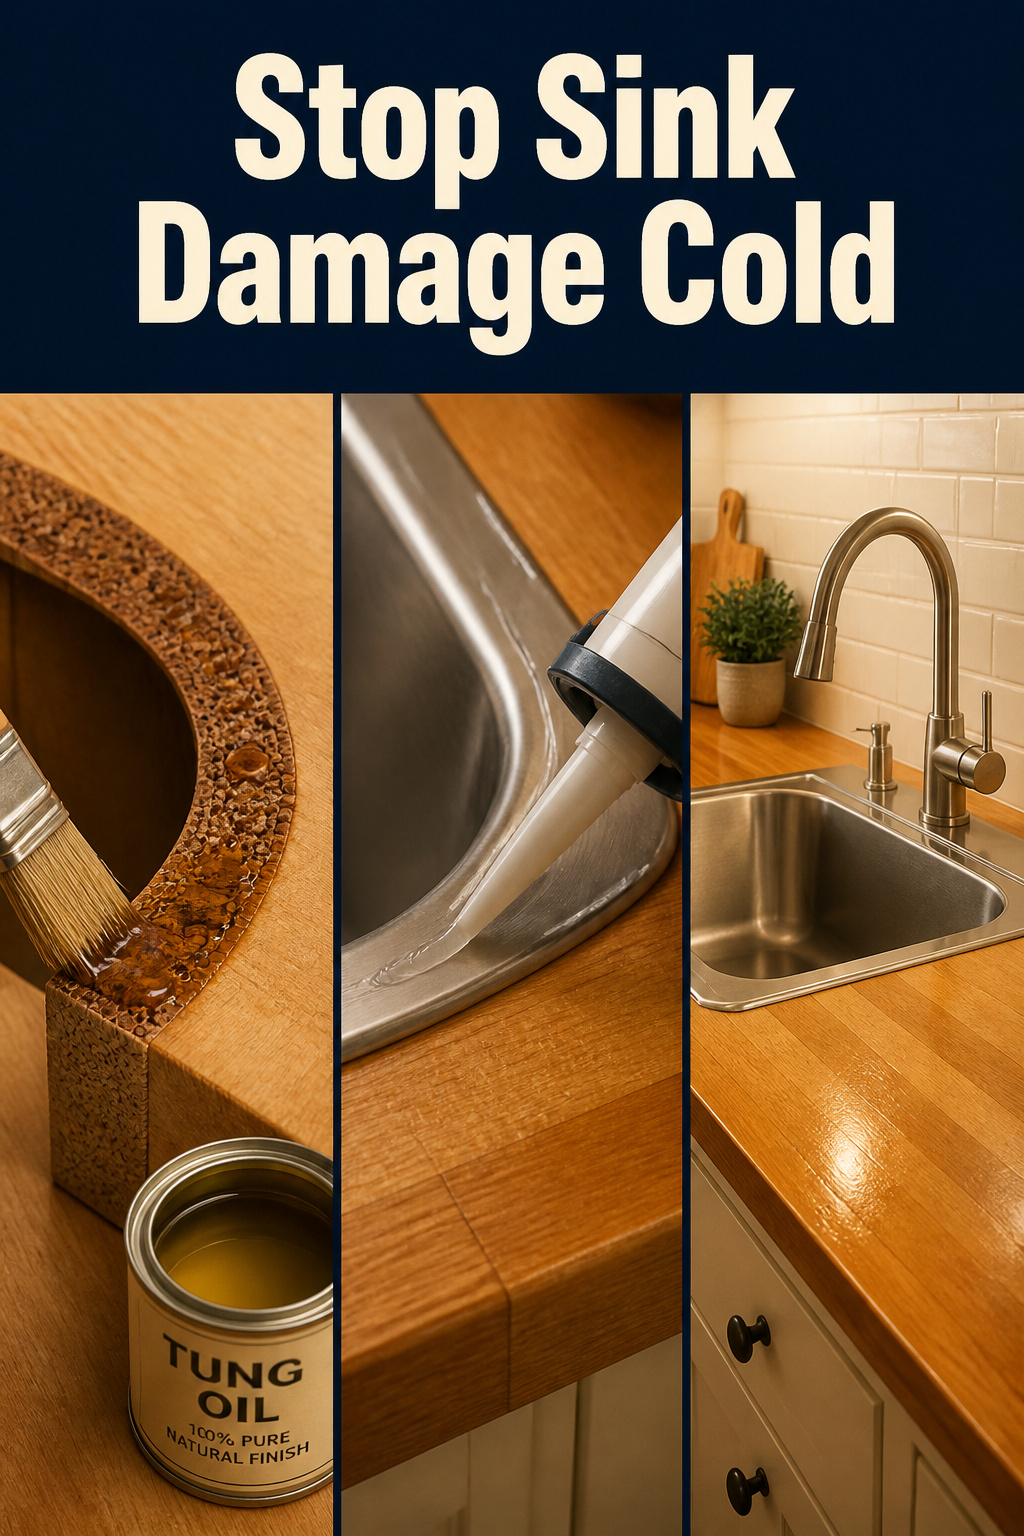
A water-damaged sink run is the most expensive mistake on a butcher block top, and it is almost always avoidable. Once the dark patches set in, the fix means pulling the sink, sanding the cutout to clean wood — sometimes to 80 grit — and resealing the zone: a weekend and a plumber’s callout for a problem a few dollars of sealer and one step in the right order would have prevented. The sink is where butcher block around a sink earns its bad reputation, and the order of operations decides whether the wood lasts.
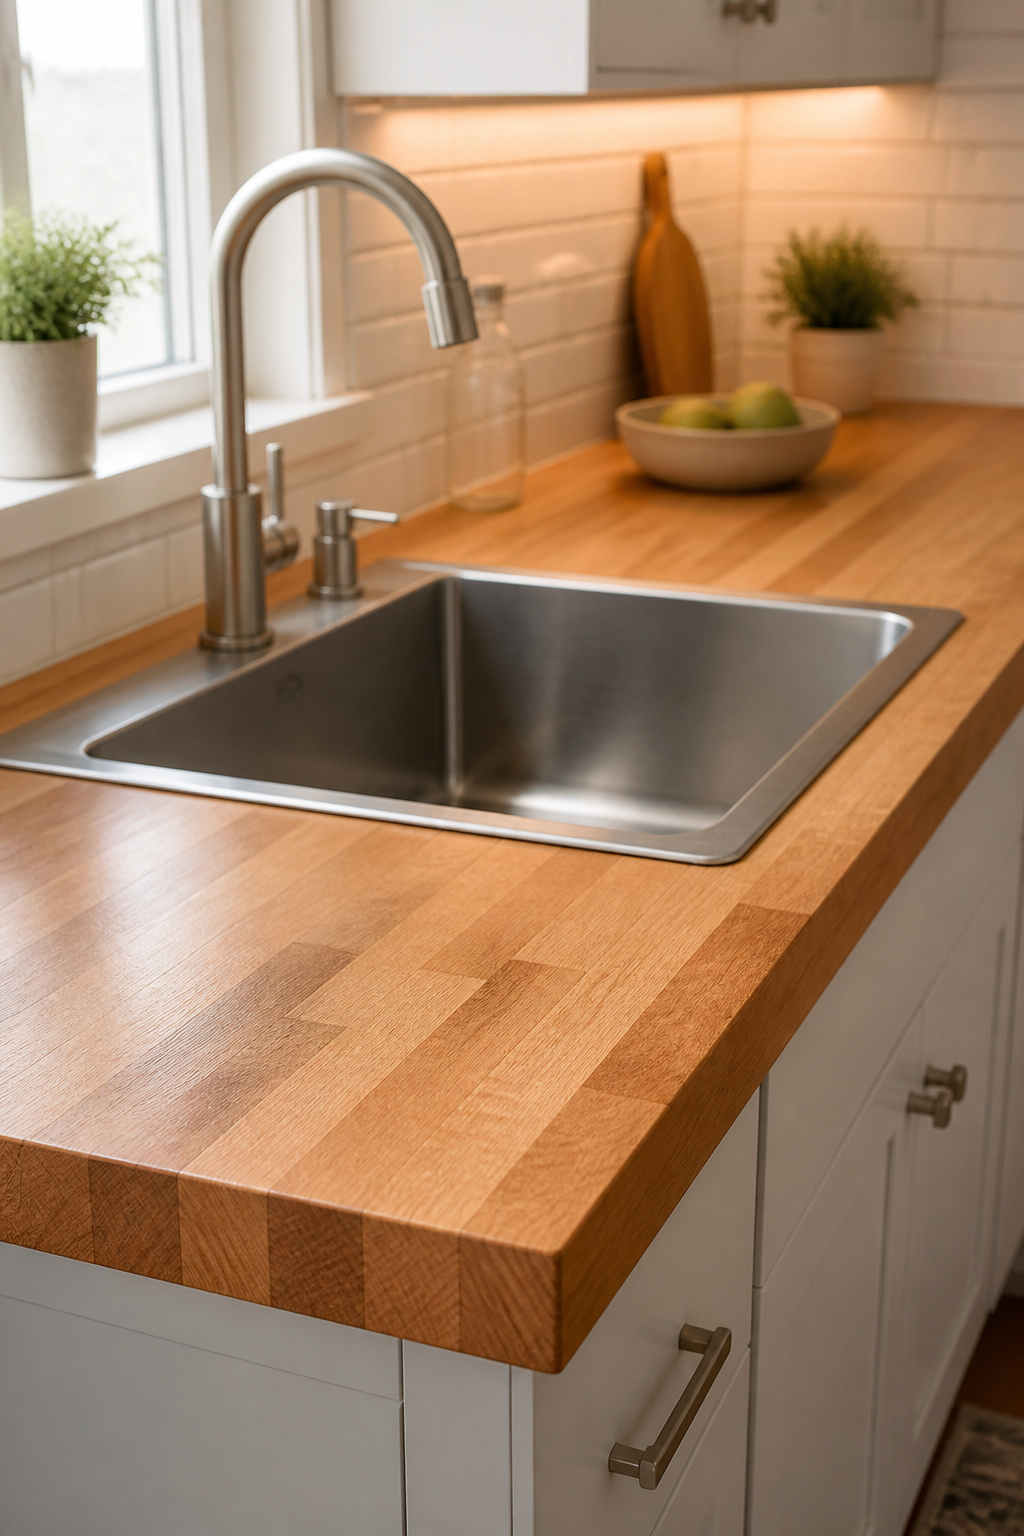
TL;DR
- Seal the cutout end grain before the sink goes in — a penetrating oil coat then a film finish on every exposed face. Once the plumbing is connected you can never reach the underside again.
- Use a film finish (Waterlox Original or Rubio Monocoat Oil Plus 2C) in the splash zone, not plain mineral oil, and run a bead of kitchen-grade silicone (GE Supreme Silicone Kitchen & Bath) at the sink rim and the faucet base.
- Drop-in sinks protect the cutout with their rim and are the lower-risk DIY choice; whichever sink you pick, wipe the rim dry after every use.
Why Butcher Block Around a Sink Is Where It Fails
The rest of a butcher block top is long grain, which sheds water reasonably well. The sink zone takes water from two directions at once — and understanding both routes makes every step that follows make sense.
The two water routes that cause darkening and warping
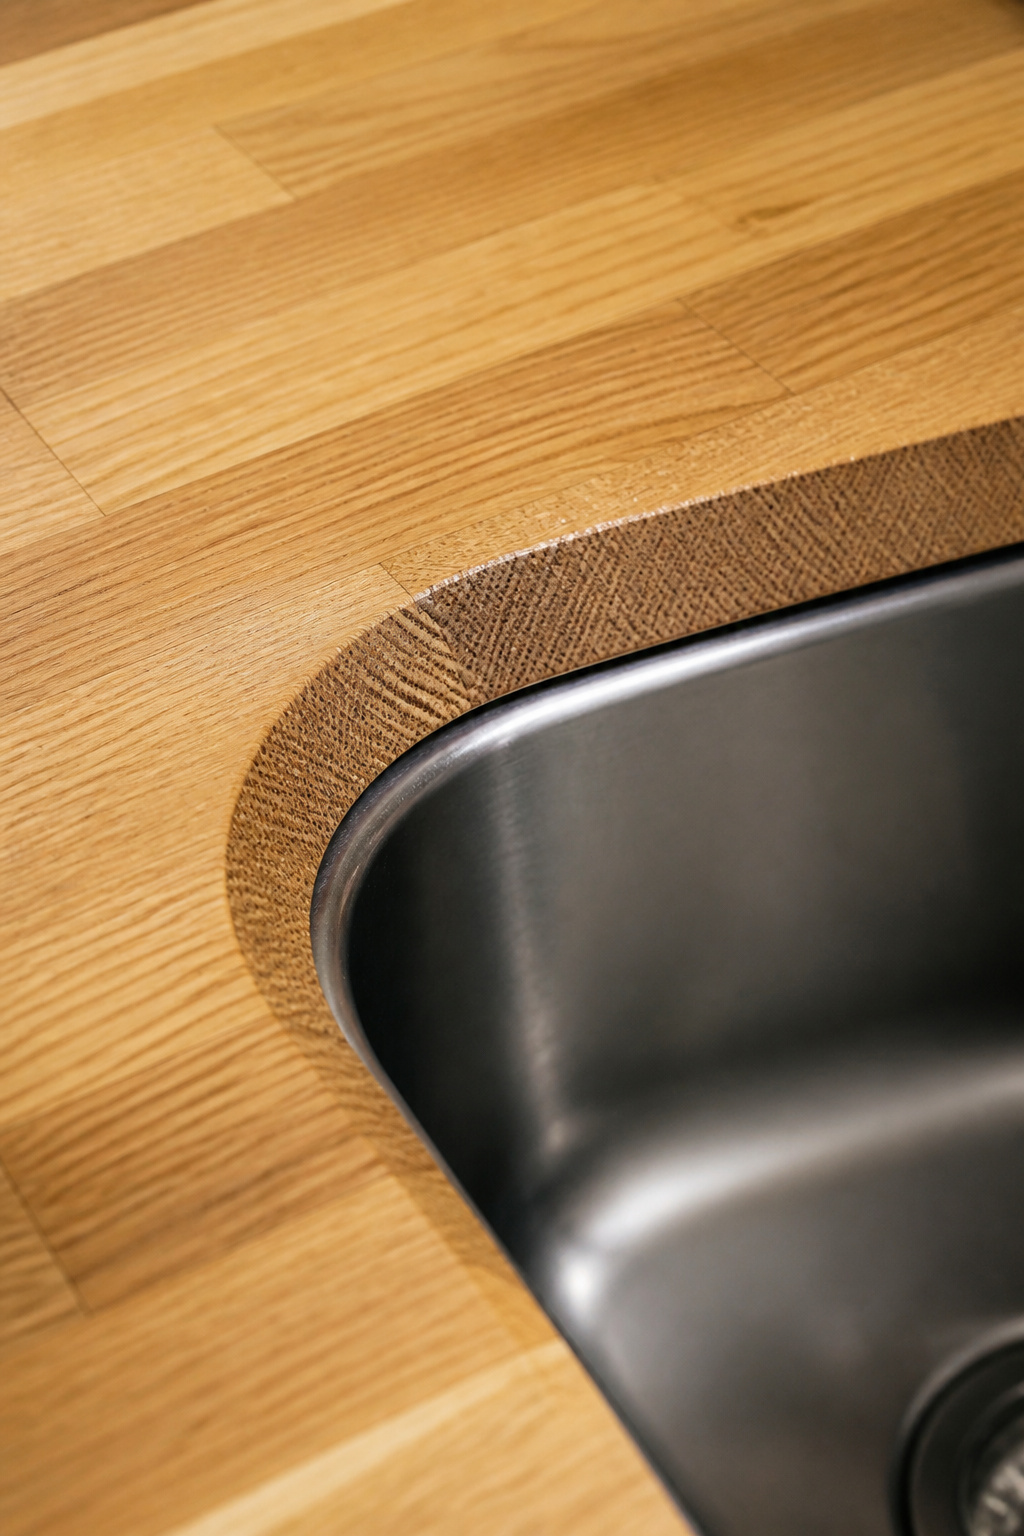
The first route is surface water. Dishwashing, rinsing produce, and shutting the tap off with a wet hand soak the same two-to-three-inch band of wood beside the sink, over and over, so it never dries. The second route is worse: infiltration through the exposed end grain at the cutout. End grain absorbs water at roughly five times the rate of the surface, so anything dripping into the cutout gap wicks deep before it can evaporate. Apartment Therapy notes that even meticulous wiping leaves a ring of distortion if the wood underneath was never sealed. Standing water is the fast track to swelling — wipe it immediately.
Cutout end grain: why it absorbs water faster than the surface
End grain is the cross-section of the wood fibres, cut perpendicular to their length. The tube-like vessels that carried water up the living tree sit open at that cut face, so they drink water far faster than the flat surface. The cutout creates a ring of this exposed end grain right around the opening — a 360-degree band that is the most vulnerable spot on the whole top. One prep caution: end grain over-sands quickly, so keep light pressure near the cutout or you will dish a low spot that traps water.
What happens when the sink-area wood fails — and the cost to fix it
Failure runs in stages, and catching it early is the difference between a wipe and a rebuild:
- Dark patches at or near the cutout — tannins reacting with moisture, which do not dry back to the original colour without sanding.
- Raised or fuzzy grain along the rim, where the surface used to be smooth.
- Glue-joint separation, the deep-end failure, where water has reached the seams between staves.
Repair means sanding the dark wood out — sometimes to 80 grit — then resealing, and a warped top may have to come off and dry flat first. J. Aaron Wood Countertops warranties their wood kitchen countertops against glue-joint separation for life when they are properly sealed — which tells you the controlling variable is not luck. It is the seal.
Sealing the Sink Cutout: The Step That Protects the Most Vulnerable Edge
This is the highest-value step in the job, and the catch is timing. It happens during the install, before the sink goes in — because once the plumbing connects, the underside of the cutout rim is gone for good.
End-grain sealing before the sink goes in: oil, then film finish
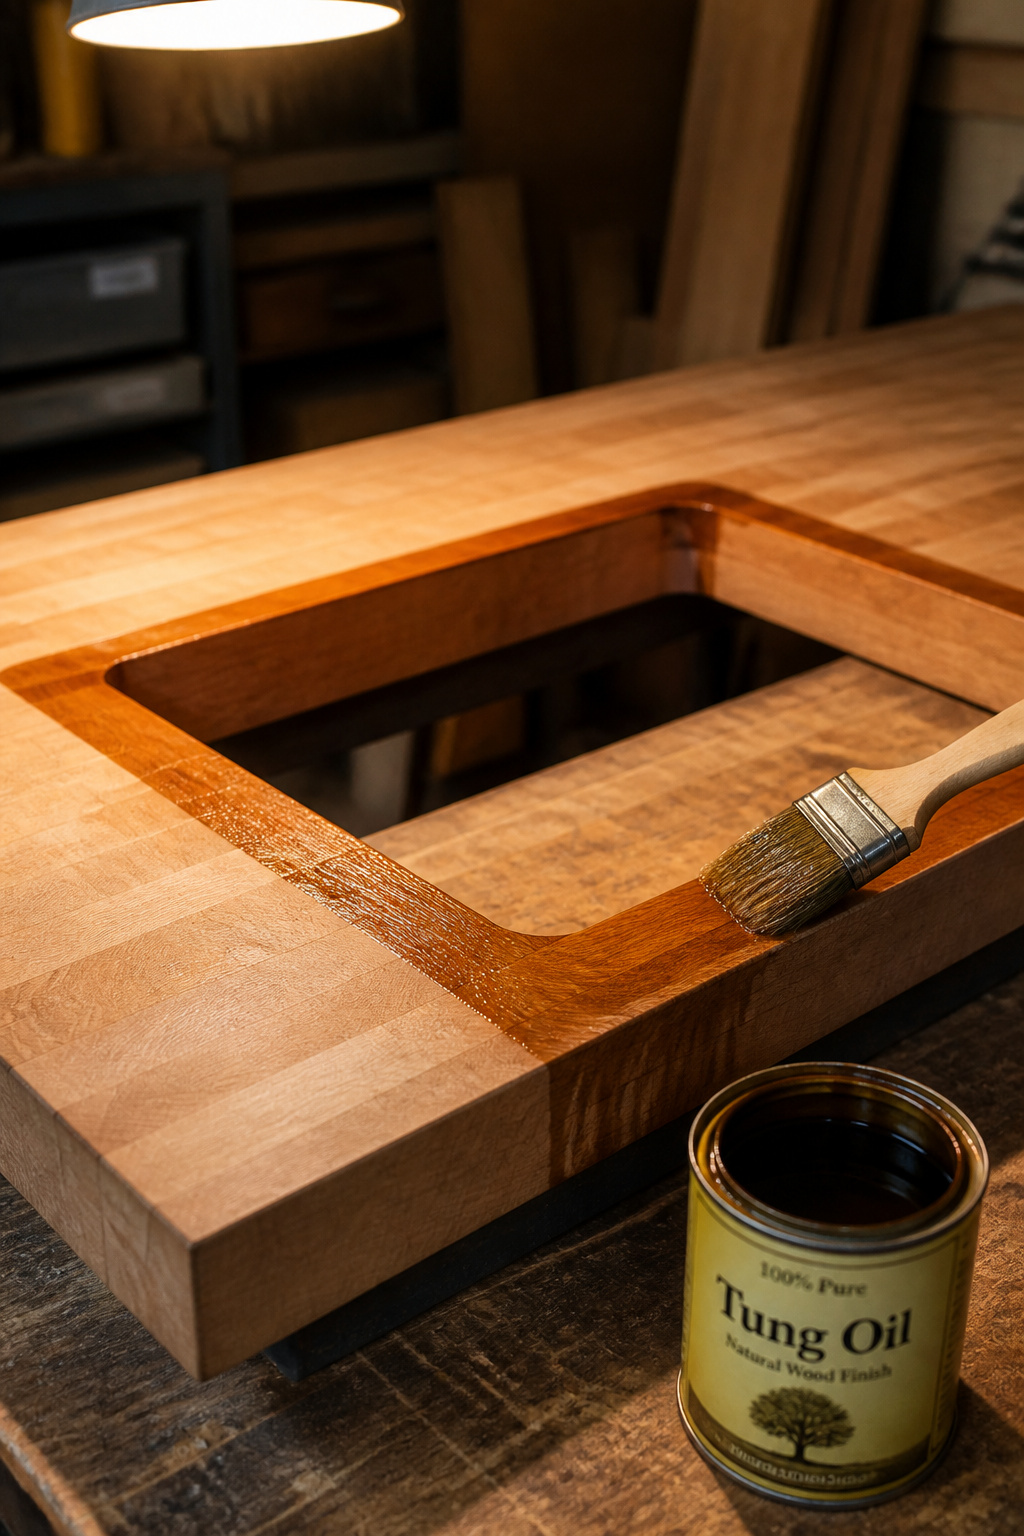
Seal the cutout like end grain anywhere — oil first to fill the open tubes, then film on top to lock it. Work in order, after the opening is cut but before the sink goes near it:
- Sand the cutout face: 80 grit to level, 150 to open the pores, 220 to smooth. Light pressure on the end grain.
- Brush a penetrating coat — tung oil or thinned epoxy — into the raw end grain and let it cure. This fills the tubes instead of sitting on top.
- Apply at least three coats of film finish to every exposed face, including the underside of the lip that meets the sink rim. Use a small brush.
- Let each coat dry fully before the next, and before the sink goes in.
Brooks Custom recommends an oil coat at the cutout even on heavily finished commercial tops — proof this point earns extra treatment.
The products that actually work on cutout end grain
Two named products have the track record. Waterlox Original Sealer & Semi-Gloss Finish is a tung-oil-and-resin blend made for countertops; the manufacturer names sink zones as where it shows its strength. It is food-safe once cured — three to five coats, 24 hours apart. Rubio Monocoat Oil Plus 2C is the other strong pick: a hard-wax oil that bonds molecularly with the wood, food-safe, easy to spot-repair, and the finish J. Aaron Wood Countertops uses on their own sink installs. One catch with Rubio — sand to 120 grit maximum, or it will not penetrate. You will also see spar urethane recommended, but its food-safety in the splash zone is murky, so I would steer to these two food-safe picks.
Tess’s mistake paragraph: what happens if you skip this step
Here is what skipping the cutout seal looks like in practice — a documented pattern across years of forum threads, not a one-off. You oil the top, drop the sink in, and the cutout end grain, never film-sealed, quietly wicks water from everyday use. Within about six months, dark patches show up at the rim, and the only fix is sanding them out, which means pulling the sink you just plumbed. The common version is trusting mineral oil at the cutout: it beads surface water but never forms the film that blocks it from the open end grain.
Undermount vs Drop-In Sinks: Which Works Better with Butcher Block
Both sink types work with butcher block. They just hand you a different water problem, and the choice is about how much sealing discipline you are signing up for.
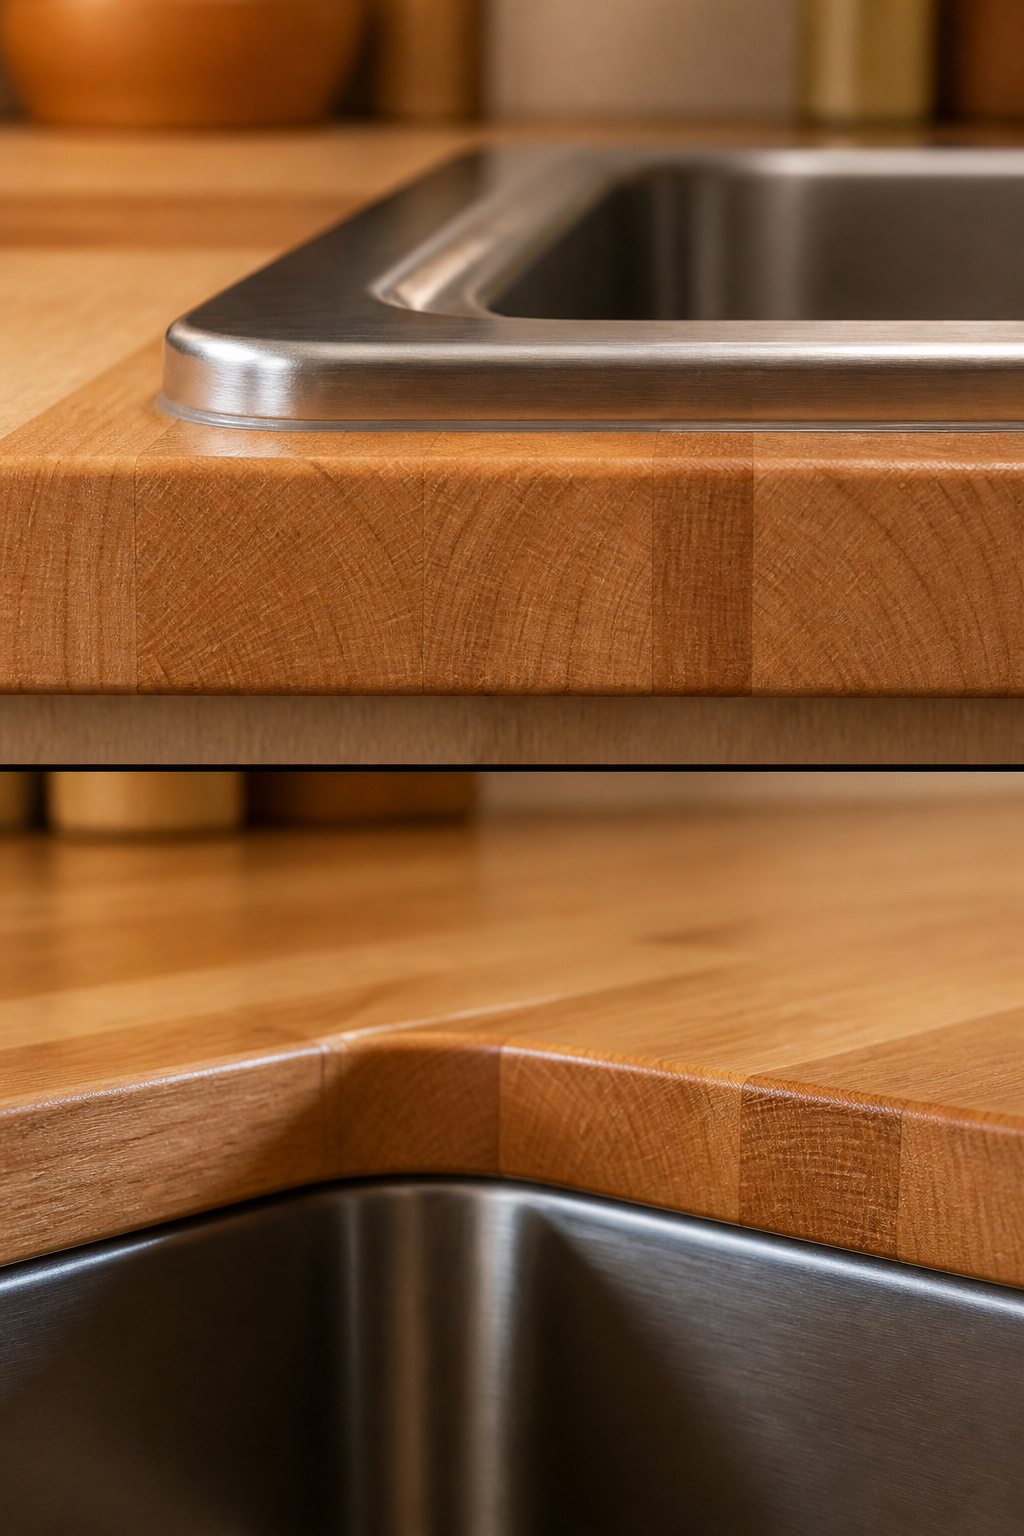
| Sink type | Water exposure | Seal requirement | Tess verdict |
|---|---|---|---|
| Drop-in | Pools at the raised rim ledge | Silicone bead at the rim | Lower-risk DIY default |
| Undermount | Full cutout end grain exposed | Film finish on the cutout + underside silicone | Worth it if you do the work |
Undermount: cleaner but more demanding on the wood seal
An undermount sink hangs below the counter, leaving the full wood edge of the cutout exposed above the basin with no rim to block water. The payoff is a rim-free surface that lets you sweep crumbs and water straight into the sink. The cost: the exposed end grain has to be film-finished meticulously and the underside seam siliconed, and Brooks Custom recommends re-treating the cutout with oil periodically — maintenance a drop-in never asks for.
Drop-in: easier to seal but water pools at the rim
A drop-in sink sits with its rim on top of the counter, covering the cutout end grain. Most water that reaches the cutout hits the rim instead of the wood, which is why it is the forgiving choice. The downside is the small ledge the raised rim creates, where water and soap residue collect and, left sitting, can seep under to the wood. So the silicone bead at the rim is not optional — it is the whole moisture barrier.
The honest verdict on which Tess would install
For a first butcher block install or a budget renovation, drop-in is the call. The rim protects the cutout, the install is DIY-accessible, and your sealing job is a silicone bead rather than full-perimeter film-finishing on an exposed end-grain edge. Undermount earns its place when you want the sweep-in surface and are prepared to film-finish the cutout and silicone the underside seam. A farmhouse apron-front sink protects the cutout much like a drop-in, but its weight usually needs extra cabinet support and a pro to hang it.
Choosing a Finish for the Wet Zone: Oil vs Film
Plain mineral oil does the job everywhere else on the counter. At the sink it falls short.
Why straight mineral oil is not enough for the splash zone
Mineral oil never polymerises — it does not cure or form a film. It soaks into the fibres and makes water bead, but washing displaces it constantly, so the splash zone needs re-oiling every few months. Kris Jarrett at Driven by Decor switched from mineral oil to Waterlox for exactly this reason — the oil gave too little protection in daily use, and the Waterlox top has held years with no recoat. Oil still suits the body of the counter; the sink needs more.
Film finishes (hard-wax, polyurethane) at the sink: trade-offs
The named picks differ in feel. Waterlox penetrates then cures to a film; a four-year owner review found it held up with only light scratches and no recoat, the main note being an amber tint it adds. Oil-based polyurethane gives the hardest film of the standard DIY options — but once it chips at the rim, water gets under it and the only fix is stripping and refinishing. Rubio Monocoat keeps the natural wood feel and spot-repairs easily, at the price of fussier prep. For the splash zone, I would run Waterlox or Rubio: both are food-safe and spot-repair without a full strip.
The seam-and-silicone step that ties it together
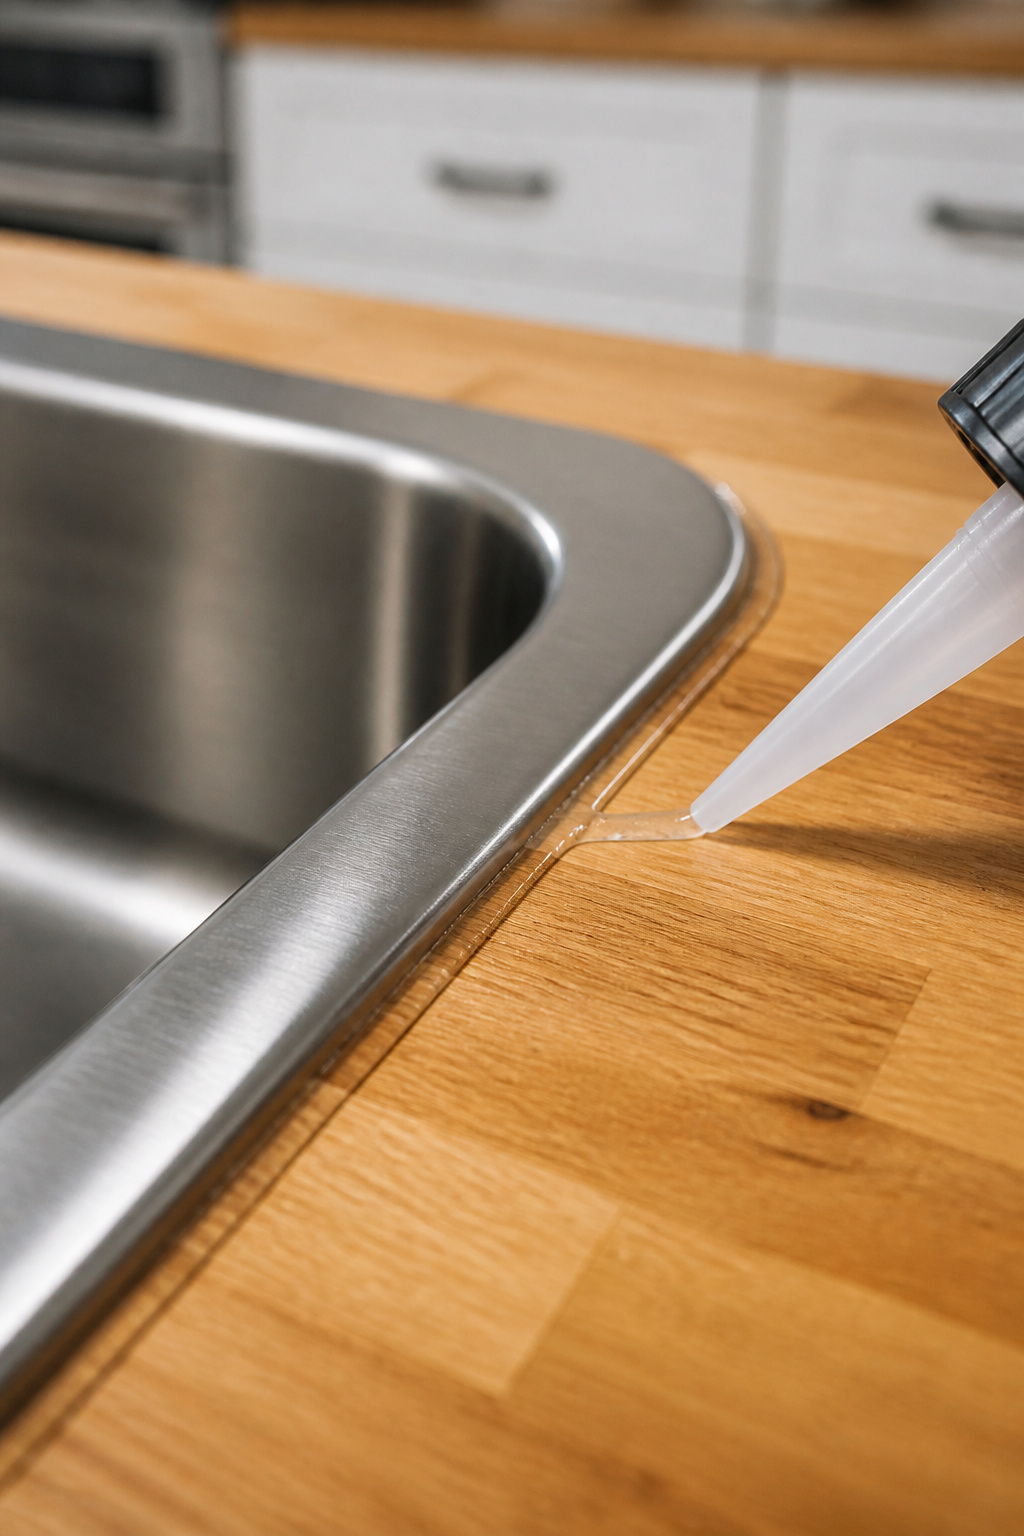
The finish protects the wood; the silicone protects the joints — and there are two. GE Sealants calls the sink seam arguably the most critical place to seal in a kitchen, since the smallest gap lets water seep under and swell the wood. Run kitchen-grade silicone — GE Supreme Silicone Kitchen & Bath, 100% waterproof and water-ready in 30 minutes — at the sink rim, then around the faucet base, which leaks slowly as its gasket compresses. Standard exterior caulk does not belong here; it lacks the mildew resistance. Let it cure a full 24 hours before water hits it. The cutout finish and the silicone seam together are the complete wet-zone system — and the sink is one piece of the full oiling routine for the rest of the counter.
Daily Habits That Keep the Sink Area Safe
Once the top is sealed and the seam is run, daily habits decide how long it lasts — and none take extra time once they are routine.
Drying the counter after use: what that actually means
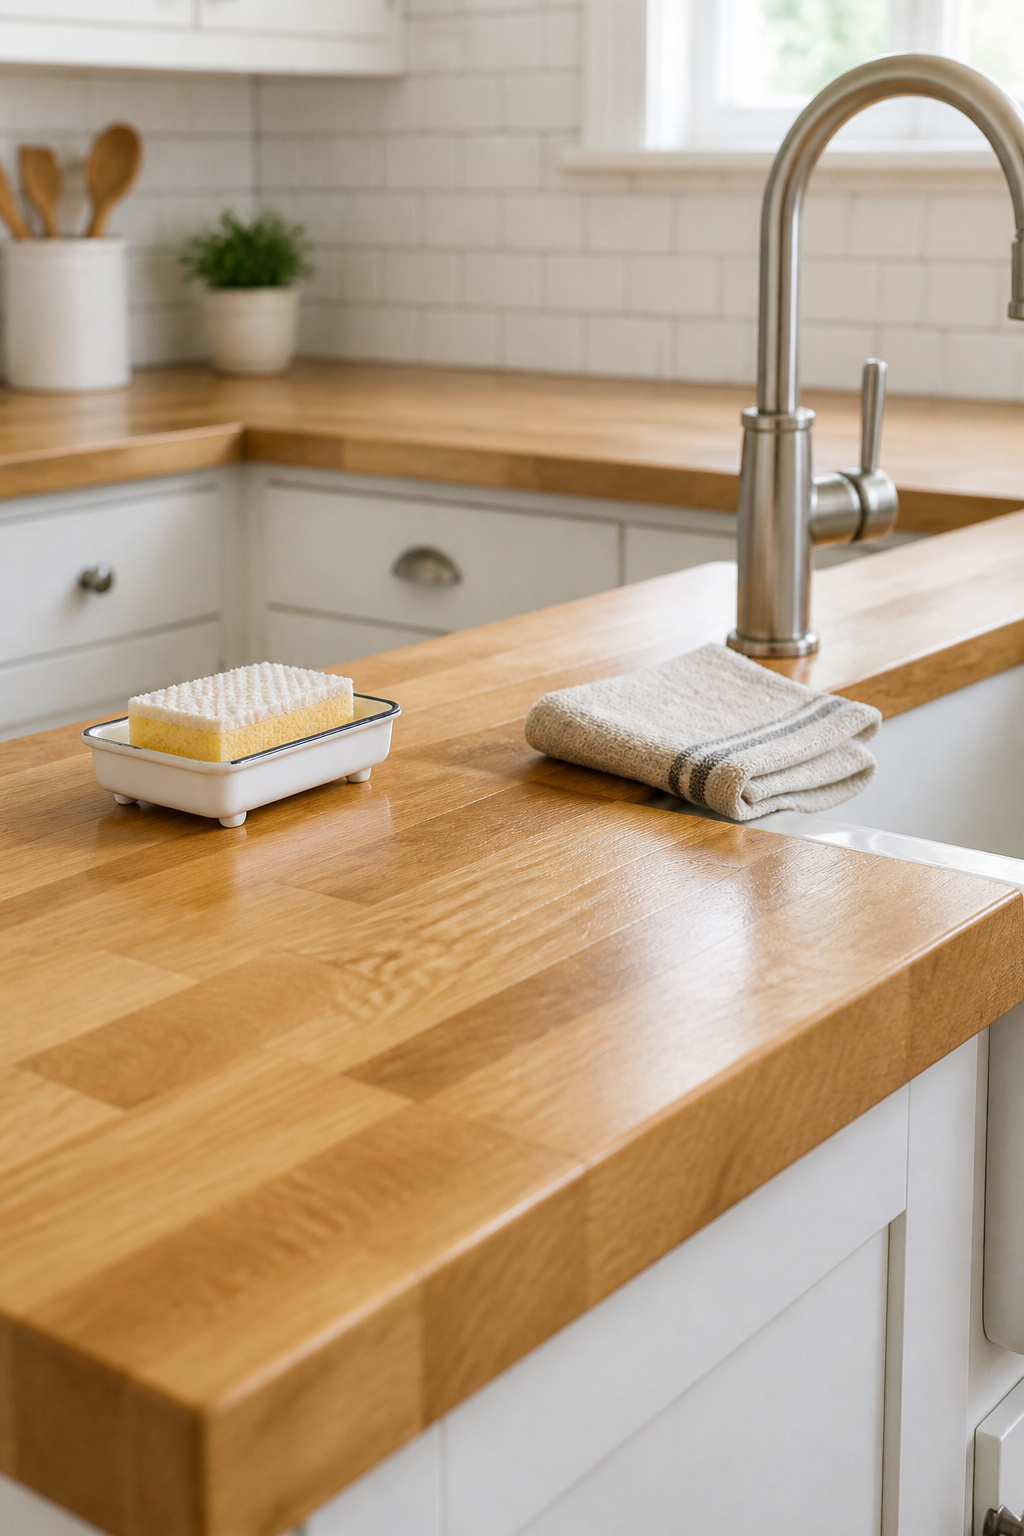
“Wipe it dry” has a specific version. Keep a small towel at the sink and wipe the two-to-three-inch band around the rim and faucet after each use — the faucet side first, since hand-turning the tap drips most there. Brooks Custom’s guidance is to wipe, not scrub, since scrubbing harms the finish. And angle a single-handle faucet so its handle sits over the basin — shut-off drips then land in the sink, not on the wood.
Avoiding standing water at the sink rim and faucet base
Standing water, not the occasional splash, is the real culprit. A splash wiped within minutes does almost nothing; the same water sitting 30 minutes can creep under a film at a micro-scratch or through a separated bead. So stop water from sitting: get sponges, dish brushes, and soap bottles off the wood — their wet undersides pool water, and a small drainer rack or raised dish solves it. And wipe the faucet base, where a tired gasket lets water into the counter.
Catching early signs of water damage before it goes deep
The water-bead test catches trouble early. Run a little water near the sink: if it beads and rolls, the finish is intact; if it soaks in flat or leaves a dark slow-drying patch, that zone has failed. Other early tells are slight grain lift, a greyish tint at the cutout edge, or a musty smell from the cabinet below — meaning water has reached the substrate. The fix at first sign is cheap: scuff with 220 grit, clean, dry, and lay two or three fresh coats of the same finish — an hour’s work that heads off the sink-pulling rebuild this article opened on.
FAQ
Can you have butcher block countertops around a sink?
Yes. Butcher block works around a sink as long as the cutout end grain is film-sealed before installation, the rim is caulked with kitchen-grade silicone, and the counter is wiped dry after use. Professional makers like J. Aaron Wood Countertops warranty their tops against glue-joint separation for life when properly finished.
What is the best finish for butcher block around a sink?
For the splash zone and cutout, a film finish beats plain mineral oil. Waterlox Original Sealer & Semi-Gloss Finish, a food-safe tung-oil-resin blend, is the most-recommended pick — three to five coats, 24 hours apart. Rubio Monocoat Oil Plus 2C is the professional alternative. Add a silicone seam at the rim and faucet base.
How do you waterproof a butcher block countertop?
Sand through 80, 150, then 220 grit, clean, and apply three to five coats of a film-forming finish like Waterlox Original, with 24 hours between coats. At the cutout, brush a penetrating coat into the raw end grain before installation, cure it, then film-finish every exposed face. Mineral oil conditions the wood but does not waterproof the open end grain.