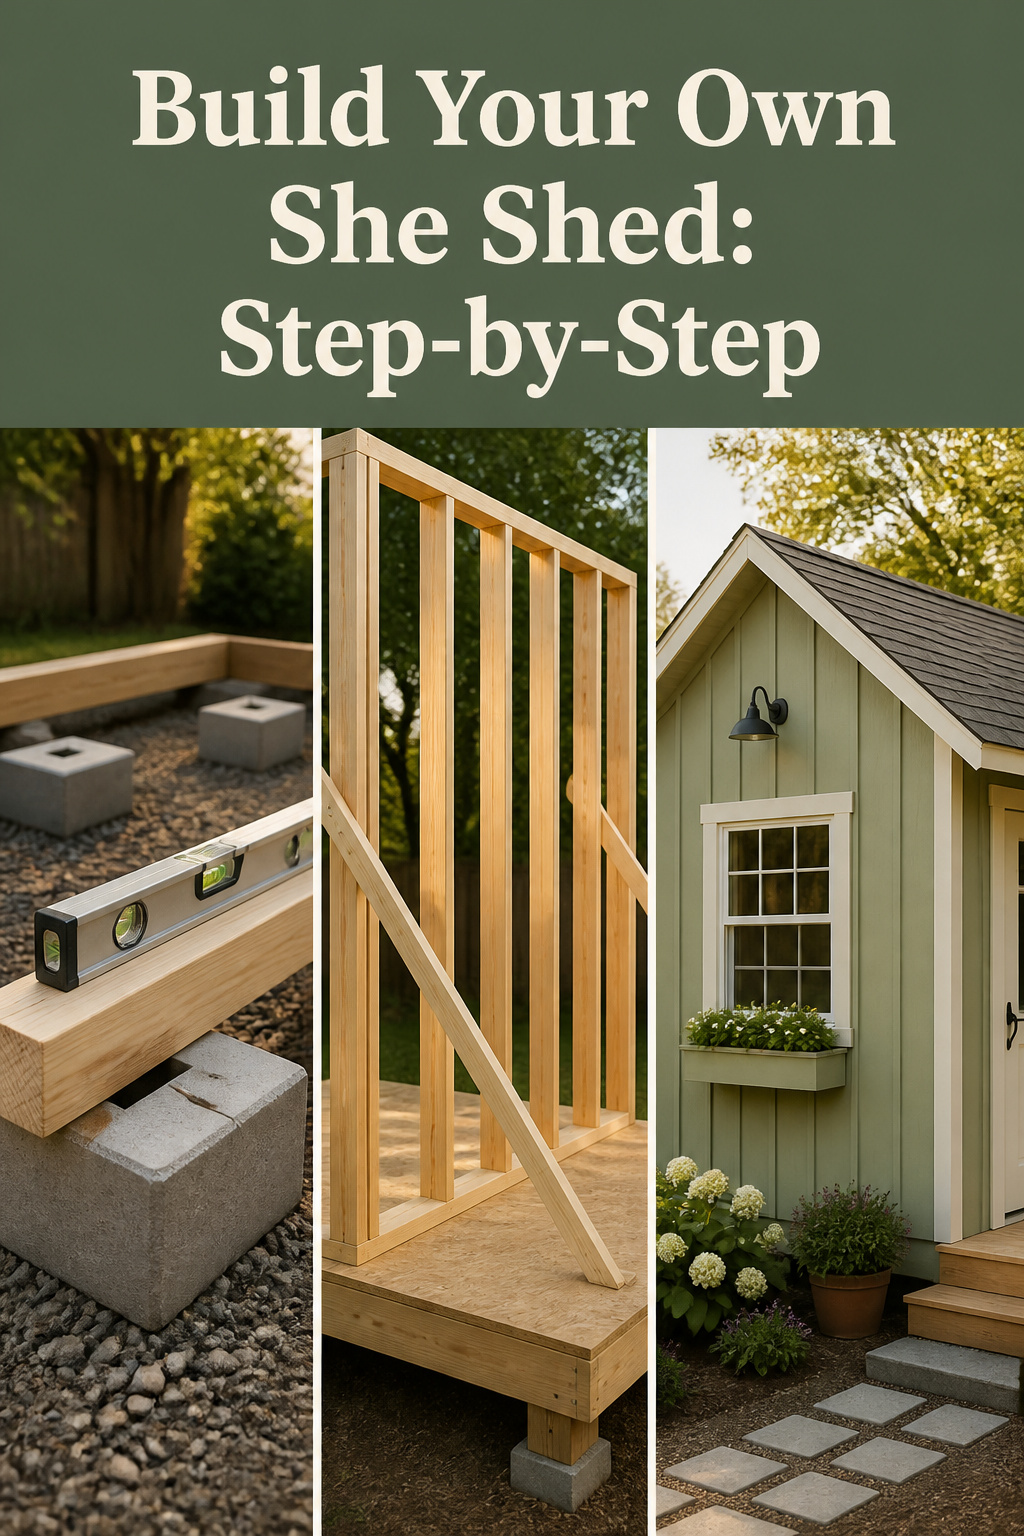
The weekend I lost to a “two-hour” floating-shelf video taught me to never trust a build timeline I didn’t pad. So before I tell you how to build a she shed, here’s what the inspiration posts skip: a 10×12 from scratch is two to three weekends, not one, and the real budget runs $3,000–$8,000 once you count the foundation and finishing nobody photographs. You just deserve the honest version first.
TL;DR
- Three paths: a kit shell from $350–$2,500 in hardware, a 2×4 scratch build at $1,200–$2,500 in materials, or converting an existing shed for $2,000–$5,000 if the shell is sound.
- Budget 1–3 weekends depending on path, plus permit time and a slab’s 24–48 hour cure — check setbacks before you buy anything.
- Frame and side it yourself; hire a licensed electrician for the subpanel connection. That boundary is non-negotiable.
What It Actually Costs and How Long It Takes
Cost and time decide which path you can actually finish. A self-assembled kit’s hardware starts at $350–$2,500. A scratch build runs $10–$150 per square foot — a 120-square-foot shell lands at $1,200–$3,600 in materials. A conversion costs $2,000–$5,000 if the existing shell is sound.
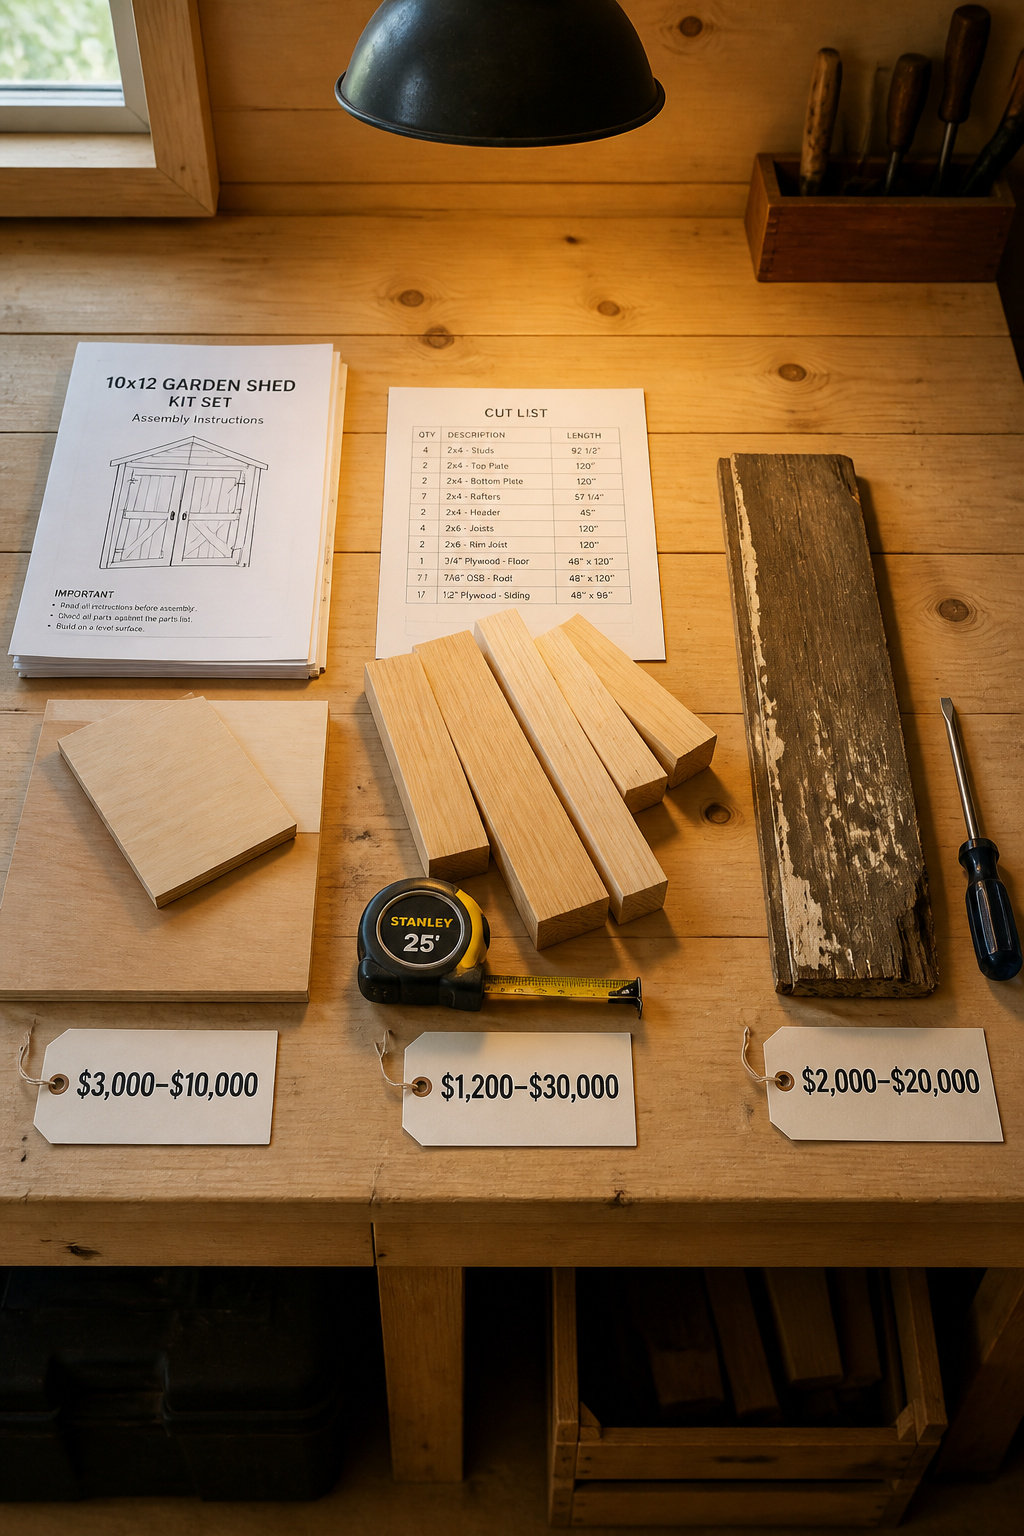
Three build paths and their honest price tags
Here’s what most cost guides hide: those numbers are structure only. Site levelling adds $500–$1,000, a gravel base or slab $100–$1,200, power another $1,000–$2,500 installed, insulation $100–$450. A 10×12 scratch build is realistically $3,000–$8,000 all-in.
| Build path | Material cost | Weekend timeline | Skill rating |
|---|---|---|---|
| Kit (self-assembled) | $350–$2,500 hardware | 1 weekend (6×8) to 2–3 days (10×12) | First build |
| Scratch (2×4 frame) | $1,200–$2,500 | 2–3 weekends | Some builds |
| Conversion | $2,000–$5,000 | 1–2 weekends (if sound) | Confident builder |
Weekend timeline and skill ratings
A small kit goes up in a weekend with two people; a 10×12 kit takes two to three days. A scratch 8×10 needs one to two weekends, a 10×12 two to three — 20–40 hands-on hours, plus 25–50% more for a first build. Kit rates first build: pre-cut pieces, a drill, patience to shim level. Scratch rates some builds — read a cut list, square a wall. Conversion rates confident builder: you don’t know what you’re dealing with until you open the walls. The she shed ideas pillar covers the full design range once you’ve settled your path.
Choosing Your Build Path: Kit, Scratch or Conversion
Kit sheds: what you get, what you give up
A kit buys speed and forgiveness; you give up longevity and options. Big-box kits average 5–10 years against 30+ for a custom timber frame — thinner lumber and particle-board parts. Most kits won’t take insulated windows or wall insulation without serious modification, so check before you buy. Solid brands: Cedarshed and Summerwood for wood-framed kits, Handy Home and Arrow mid-price, Palram or Juliana greenhouse hybrids for natural light.
Scratch builds with stock lumber: the 2×4 frame method
Scratch gives you exact dimensions, window placement, and ceiling height. Standard 8-foot studs mean no ripping. Frame at 16 inches on centre — the IRC permits up to 24, but 16 stiffens the wall and makes insulating easier. Budget $800–$1,500 in lumber for a 10×12 shell, $1,200–$2,500 with sheathing, roofing, and siding.
Converting an existing shed: the fastest path with the most unknowns
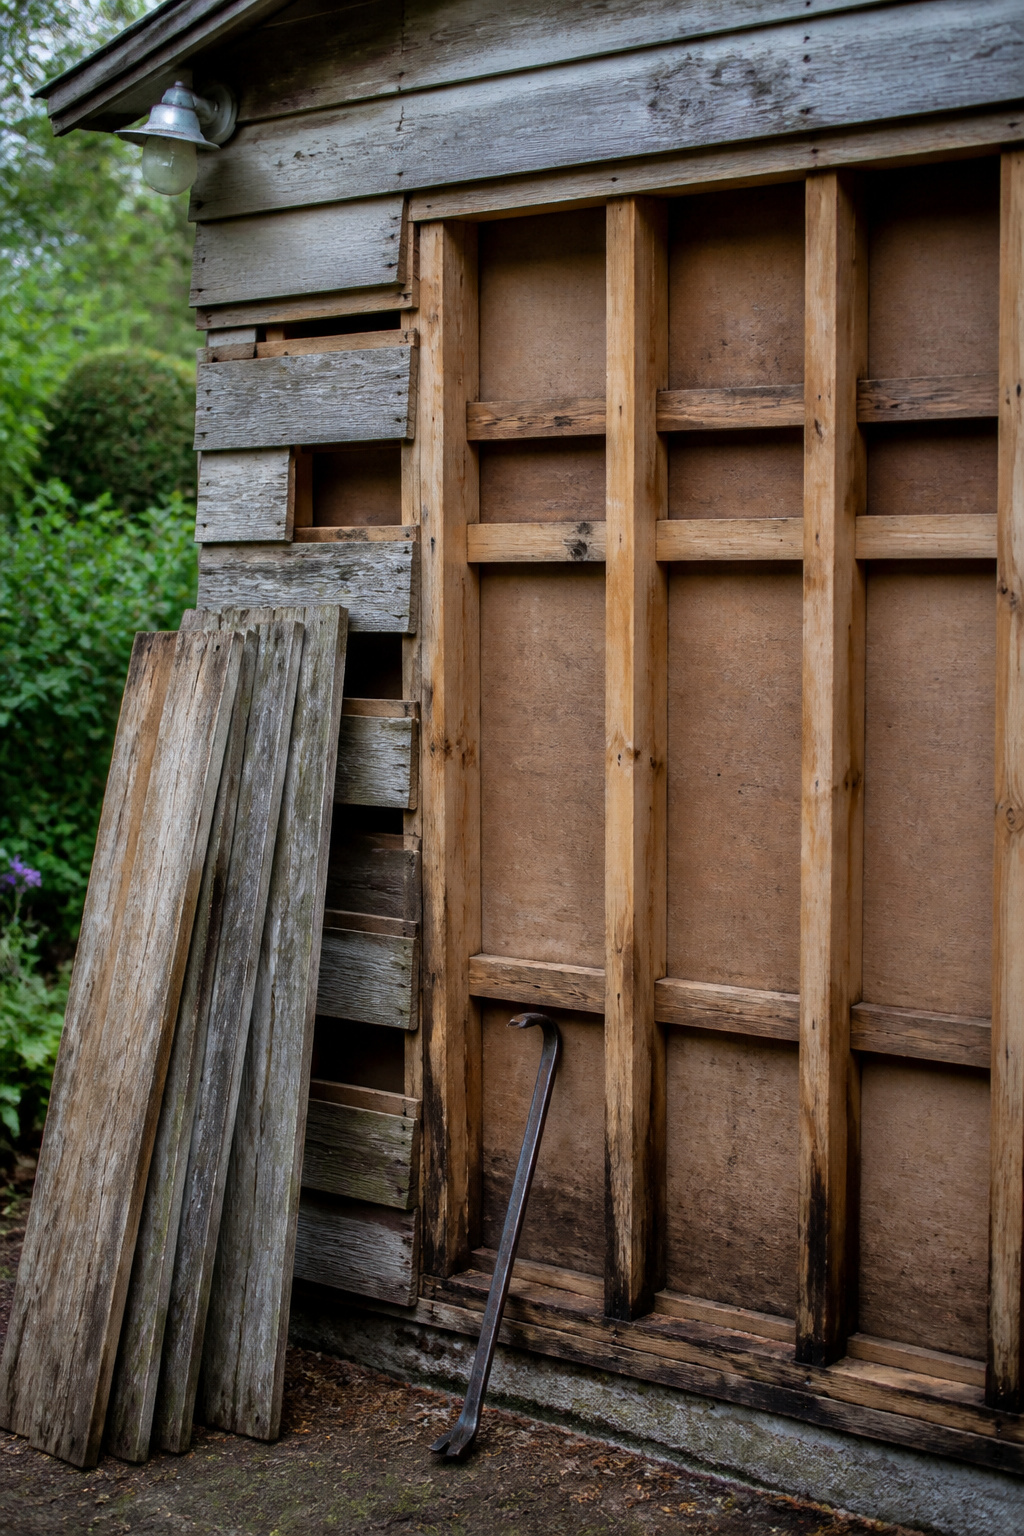
A sound shed converts in a weekend or two — but you don’t know if it’s sound until you open it. Fixing rot and re-framing for insulation can add $1,000–$3,000 (Waltons’ conversion guide). Run this before buying anything:
- Probe the sole plate with a screwdriver — soft wood means rot and full replacement.
- Check the roof for sag or broken rafters.
- Bounce on the floor; flex or soft spots mean undersized joists.
- Confirm wall framing is plumb.
- Look for moisture staining or mould inside.
Single-skin walls need an internal stud wall for insulation — 3–4 inches of floor lost per side. Many sheds also use 2×4 floor joists at 24-inch centres that flex under furniture; you’ll sister in new joists. Settle your small she shed layout before committing so you know whether lost floor space matters.
Site Prep and Foundation: The Step Most Beginners Rush
Water finds the low point. If that’s under your floor, the shed’s already failing.
Permits and setbacks — check before you buy materials
In many US areas a shed under 100–120 square feet is permit-exempt, but a she shed you’ll occupy, insulate, or wire is classified differently regardless of size. Electrical work always needs its own permit. Setbacks run 3–10 feet from property lines (Seattle requires 5); HOA rules can add more. Before spending a dollar on lumber:
- Call your local building department and ask for accessory structure rules.
- Check your HOA CC&Rs.
- Locate property lines via survey or county GIS map.
- Call 811 to flag underground utilities — free, and digging blind is a genuine hazard.
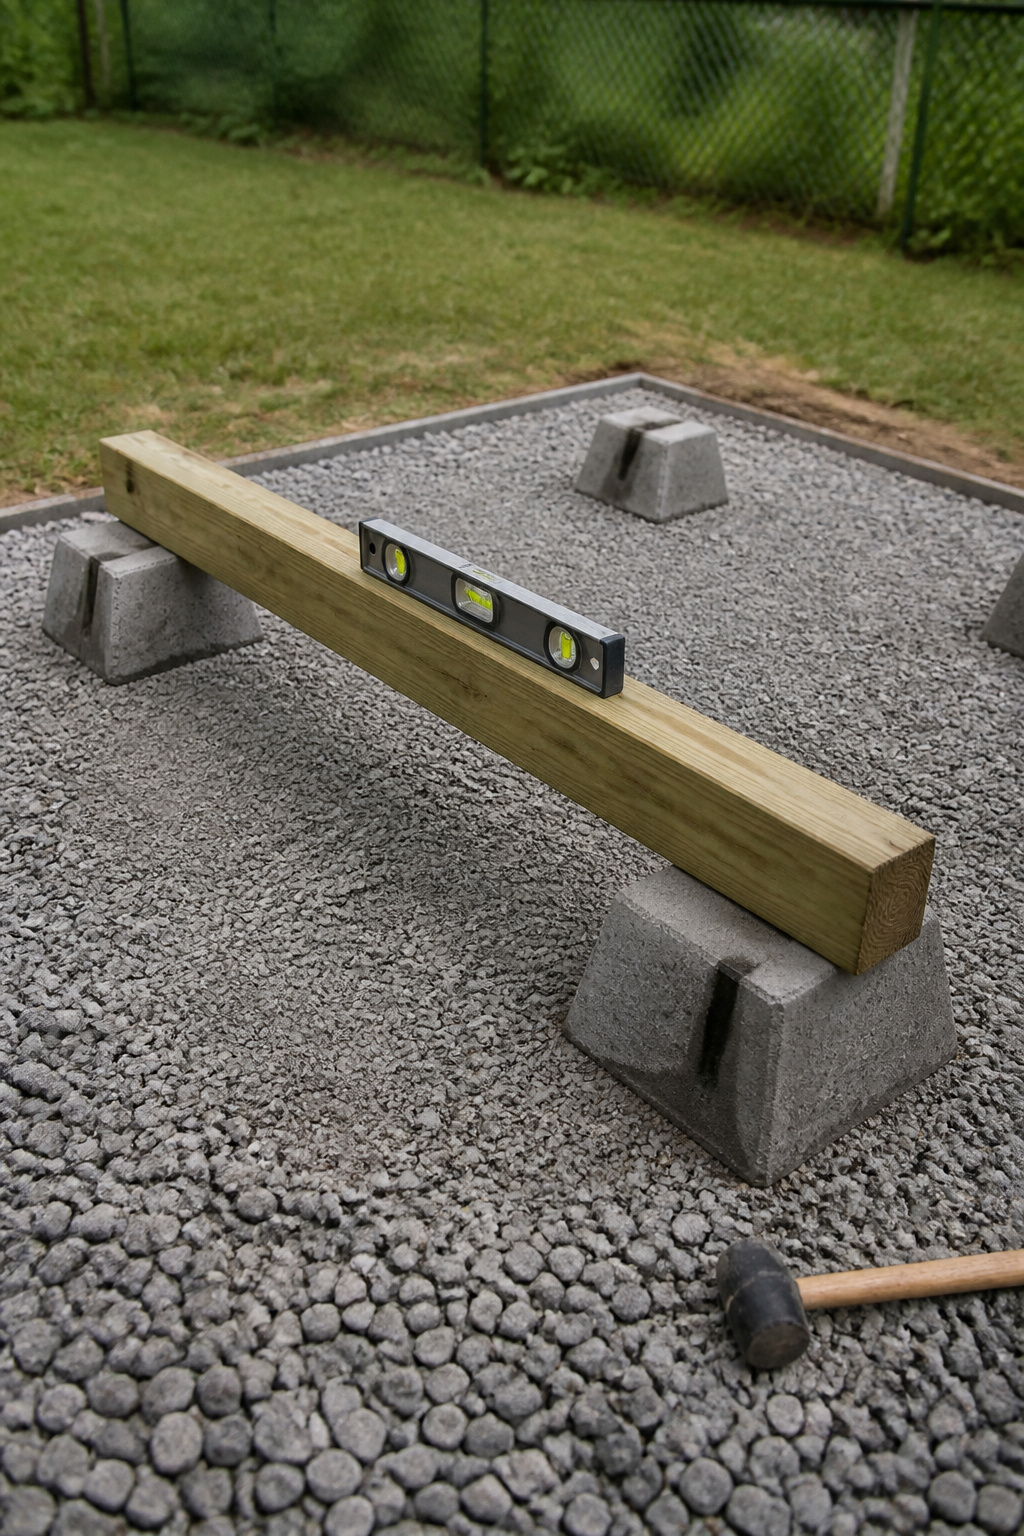
Four foundation options and when each makes sense
| Foundation | Best for | Approx cost | DIY or pro |
|---|---|---|---|
| Concrete deck blocks | Sheds under 120 sq ft, mild climates | $50–$200 | DIY |
| Gravel pad | Most climates, good drainage | $100–$500 | DIY |
| Pressure-treated skids | Smaller sheds, good-draining soil | Low | DIY |
| Concrete slab | Permanent, heavy, cold climates | $800–$3,000 | Usually pro |
Grading and drainage: what happens if you skip this
Slope the ground away — a 6-inch drop over the first 10 feet is the standard. Skip it and saturated soil rots a wood floor in two to five years and shoves deck blocks out of level. Grading before you build costs $500–$1,000; fixing it after runs $2,000+.
Framing, Windows and Doors: Building the Shell
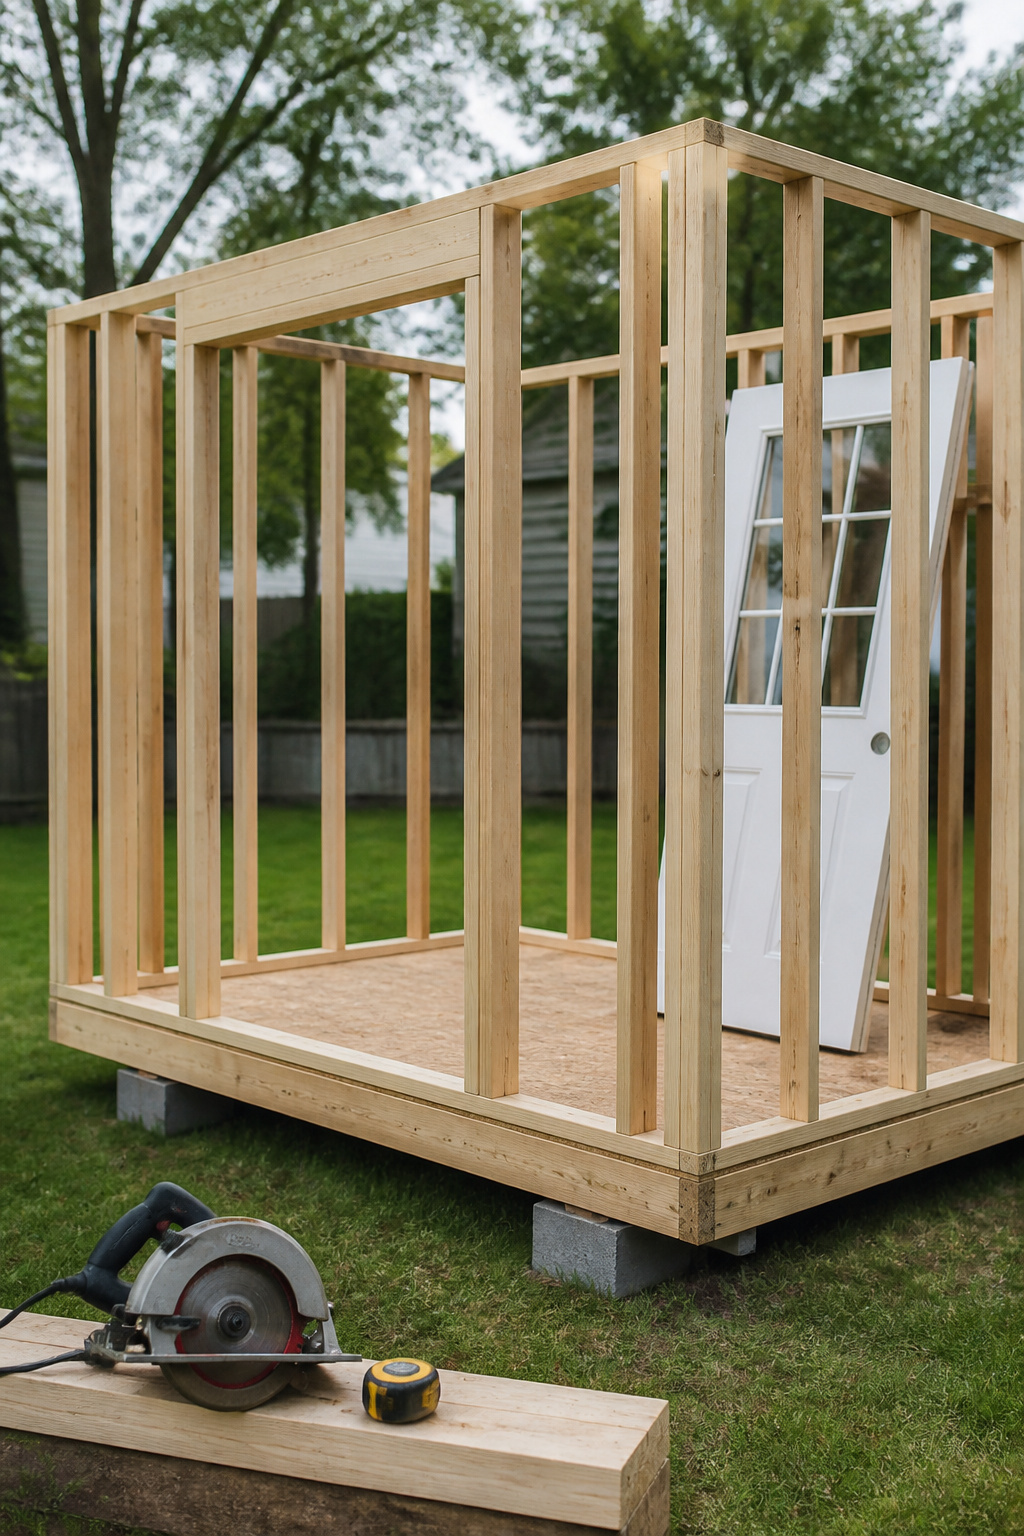
Here’s the wall sequence:
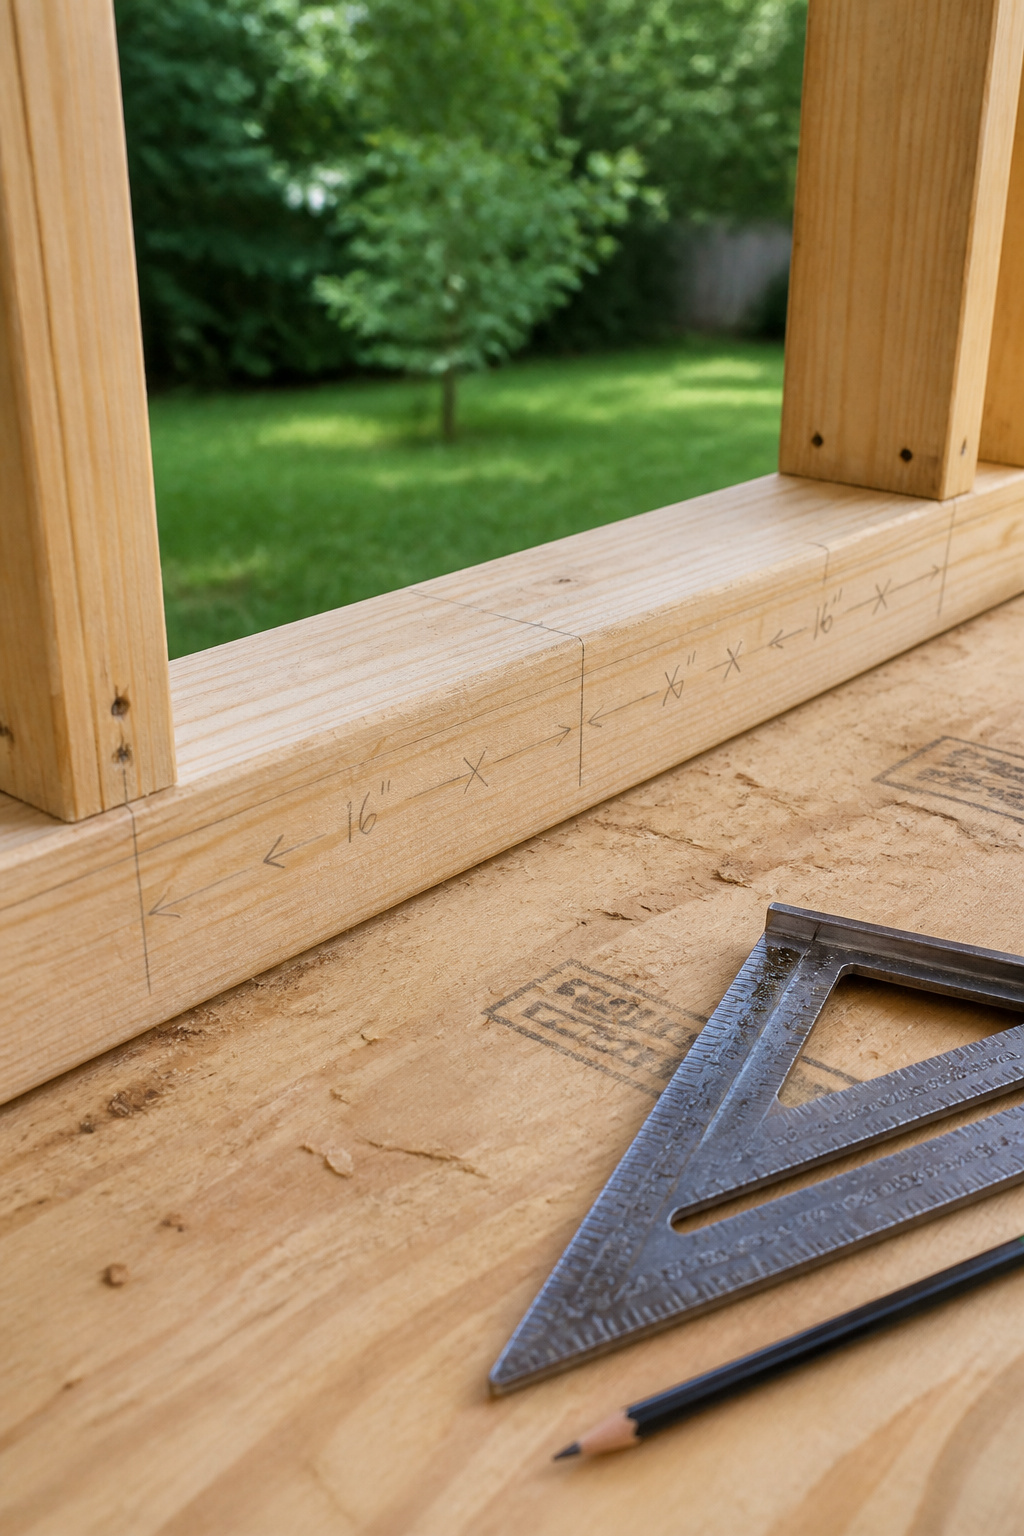
- Cut and nail the bottom plate to the floor deck.
- Mark stud layout at 16 inches on centre.
- Cut all studs; nail end studs, then intermediate ones, through the plates.
- Build each opening with king studs, jack studs, a header, and cripples.
- Add the double top plate; brace and square the wall before raising.
Wall framing: stud spacing and header sizing
Standard 8-foot walls give a clean 7-foot ceiling. For headers in a 2×4 wall: a 30–36 inch door uses doubled 2×6, a 48-inch window doubled 2×8, a 72-inch double door doubled 2×10 — each with a 1/2-inch OSB spacer. Check both diagonals before raising; equal diagonals mean a square wall. Raise a racked wall and every measurement after it is wrong.
Window placement for light and ventilation
Put operable windows on opposite walls; set one higher than the other and warm air exits the top, cooler air enters below. South-facing glass gives the most all-day light; north-facing gives the soft, shadowless light an art studio needs. Set a workbench window at 36–48 inches to the sill to cut glare.
Door options — pre-hung vs slab — and the mistake paragraph
Buy a pre-hung door for your first build — frame, hinges, and weatherstrip assembled and square, $125–$400 for a standard 32-inch exterior door. A slab ($60–$300) is just the panel; it needs a built frame, mortised hinges, and a drilled lock bore — intermediate work. The classic pre-hung mistake: nailing it off out of plumb. A door hung even 1/8 inch out swings open or shut on its own forever. Check plumb on both the hinge and latch sides before driving a finish nail. Frame the rough opening 2 inches wider and 2.5 inches taller for shim room.
Roofing, Cladding and Weatherproofing
Roof pitch and material choices for your climate
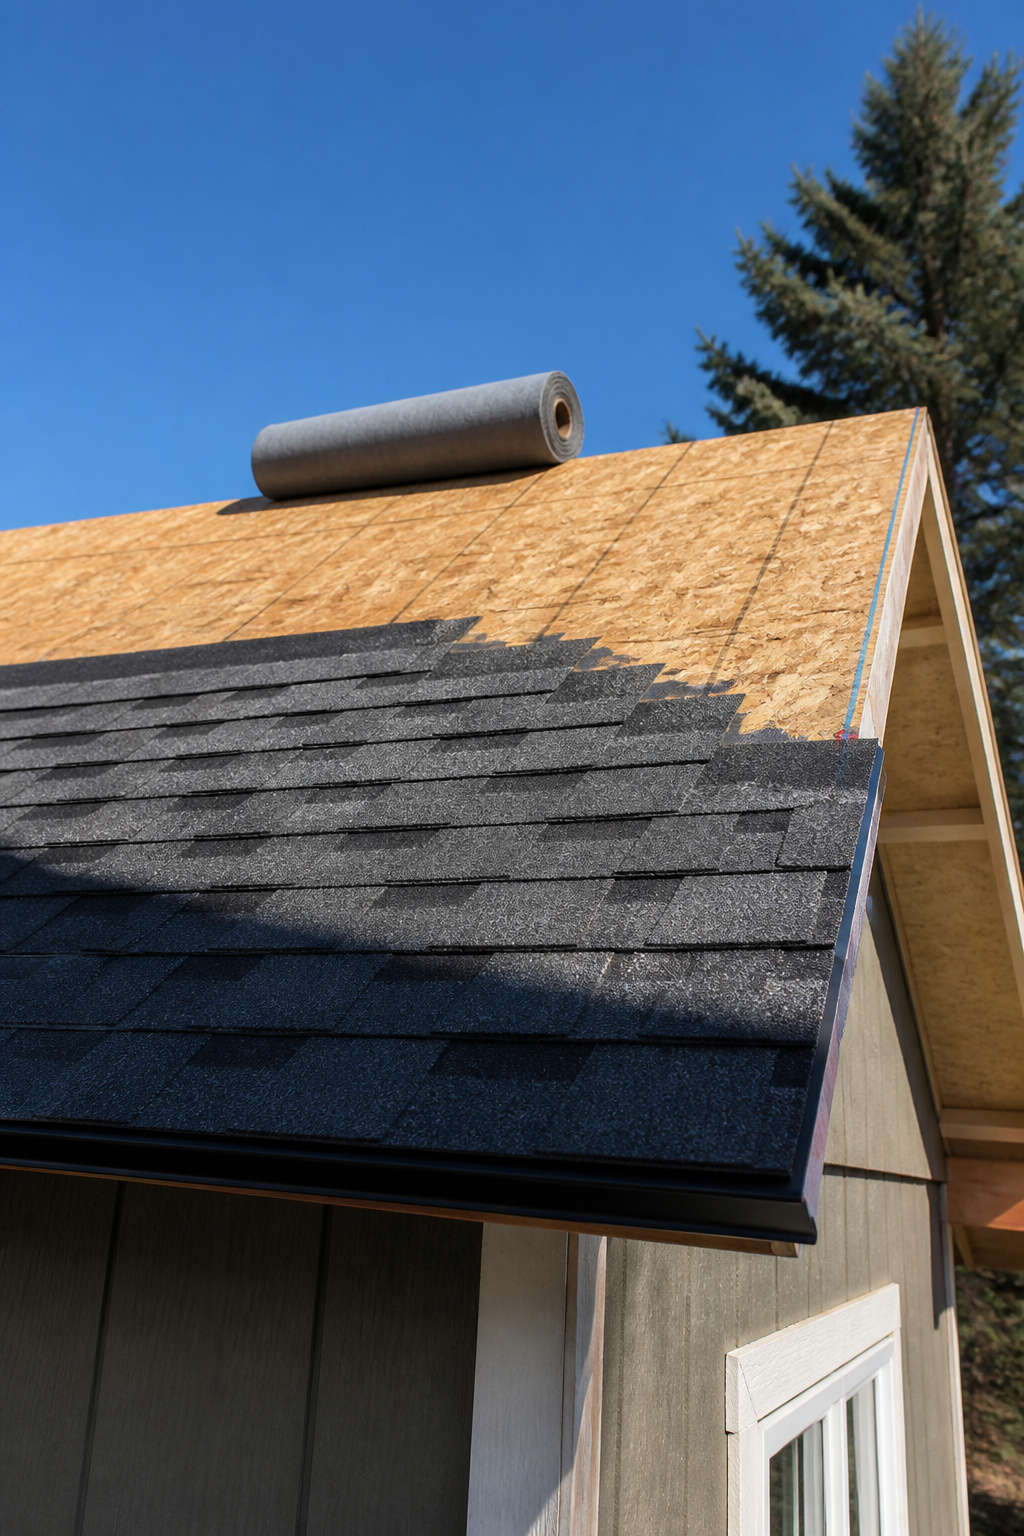
A 4:12 pitch is the easy default — sheds rain and moderate snow, walks safely, uses standard shingles. Asphalt shingles want at least 3:12, cost $3.43–$5.57 per square foot installed, last 15–20 years. Metal works down to 1:12–2:12, runs $7–$16, lasts 30–80 years. In snow country use 3:12–4:12 or steeper; keep any DIY roof at or below 6:12 so you can work without scaffolding.
Cladding options: T1-11, cedar board-and-batten, metal
T1-11 is the budget default: siding and sheathing in one panel, but needs paint or seal every 3–5 years or it rots. Cedar board-and-batten looks best on a cottage shed. Metal wins on long-run maintenance.
| Cladding | Cost per sq ft | Maintenance | Lifespan |
|---|---|---|---|
| T1-11 | $4–$8 installed | Repaint every 3–5 yrs | 20+ yrs with upkeep |
| Cedar board-and-batten | $25–$68 (material) | Restain every 3–5 yrs | 30+ yrs |
| Metal panels | $3–$8 | None (no painting) | 30+ yrs |
Sealing and flashing: where water gets in
Water gets in at four spots: the roof-to-wall junction, around windows and doors, the base of the cladding, and roof penetrations. Skip the drip edge and water runs back under the shingles, rotting your wall tops — a $30 fix now or a $500 problem later. Run sealant along joints and fastener heads, and leave a 1–2 inch gap between any wood siding and the ground or it rots within two to three years.
Interior Rough-In: Insulation, Wiring and Flooring
Insulating walls and ceiling before you close them up
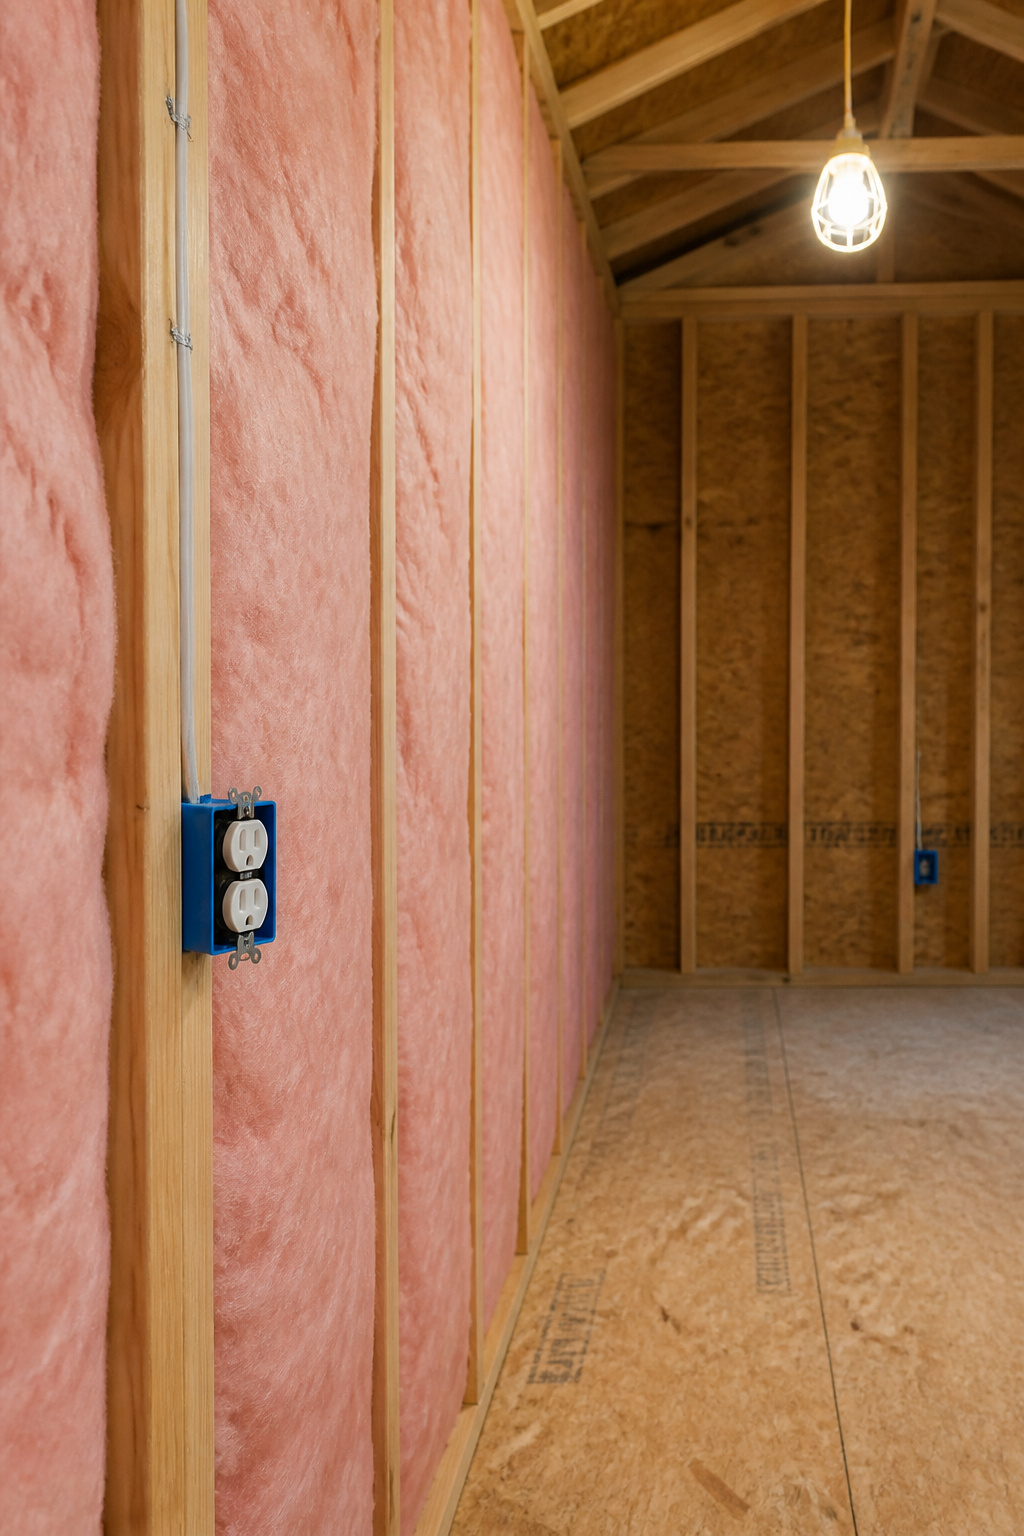
Insulate before you cover the walls. For a 2×4 wall, R-13 or R-15 fiberglass batt is the standard pick at $0.30–$0.80 per square foot depending on brand and thickness. Target R-13 to R-23 in walls (R-23 needs 2×6 framing) and R-30 to R-49 in the ceiling — prioritise the ceiling in cold climates. For single-skin conversion walls, glue rigid foam inside (XPS at R-5 per inch, polyiso at R-6+) and cover with thin plywood. If you pulled a permit, the cover inspection comes before drywall.
Running a subpanel: what you do yourself and where to stop
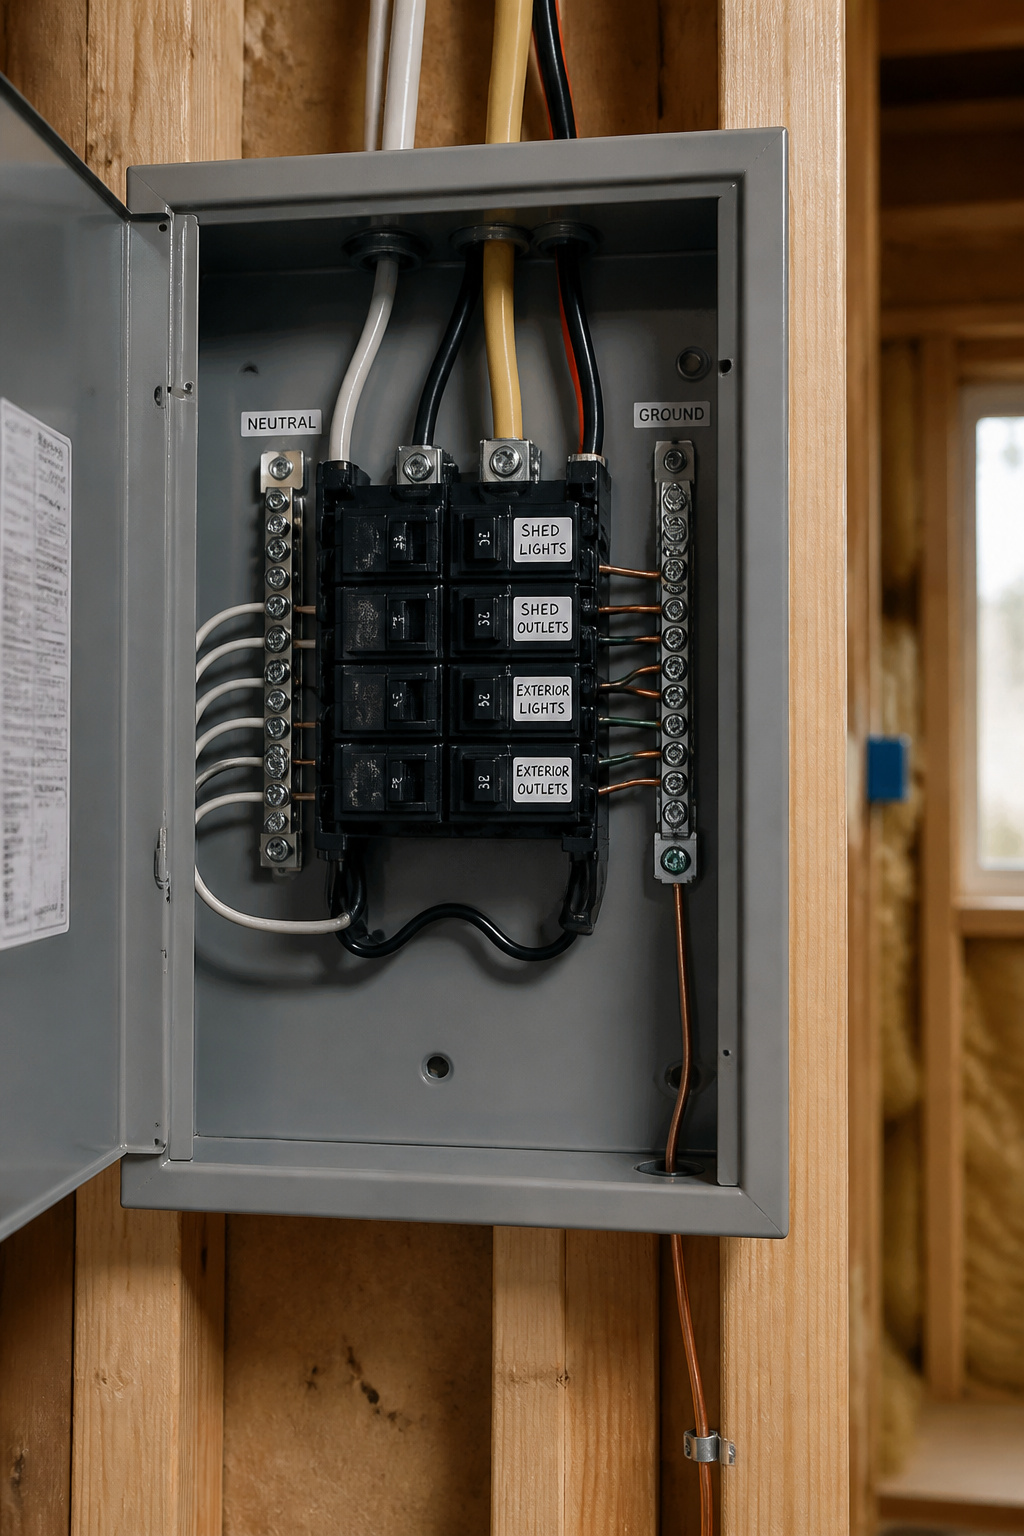
DIY the trenching, boxes, and wire-pulling — UF-B cable buries 24 inches deep, PVC conduit 18. What you can’t DIY: tying the feeder to your main panel, wiring the subpanel bars, driving grounding rods. That’s licensed-electrician work. Power runs $1,000–$2,500 installed, trenching $5–$10 per linear foot. Once the shell’s built, insulating and powering the finished shed is the logical next project.
Flooring options: plywood, vinyl plank, concrete
A 3/4-inch plywood subfloor costs under $1.50 per square foot — about $180 for a 10×12 — and most scratch builds already have one. Vinyl plank works over a flat floor but not in an unheated shed; freeze-thaw buckles it. A sealed concrete slab ($4–$8 installed) is toughest, just cold underfoot — add rugs or foam mats.
When to Call a Pro as You Build a She Shed: The Honest Checklist
Structural work you shouldn’t guess at
A scratch build following IRC prescriptive tables generally doesn’t need an engineer. A conversion can — call one if you see horizontal cracks in masonry, bowed walls, or a roof sagging more than an inch at the ridge. A loft changes the math too: code wants 40 psf of live load, meaning 2×6 joists at 16-inch centres, not 2×4.
Panel-level electrical and gas: non-negotiable pro territory
The subpanel connection to your main panel is licensed-electrician work in virtually every US jurisdiction — and the shed needs its own grounding electrode system: two 8-foot copper rods, at least 6 feet apart. Gas lines go to a licensed plumber or gas fitter; DIY gas work is illegal and voids homeowners insurance.
Getting the build inspected before you close the walls
If you pulled a permit, get the rough-in inspection signed off before drywall goes up. Without a permit, a $200–$400 pre-finish walkthrough on a conversion can catch problems that would cost $5,000+ once walls are closed. Unpermitted structures can stall a home sale and fall outside insurance coverage.
Pick your path, make two calls — the building department and 811 — and let the foundation be the first thing you get dead level.
FAQ
Do you need a permit to build a she shed?
In most US jurisdictions a shed under 100–120 square feet is permit-exempt, but a she shed you’ll occupy, insulate, or wire is classified differently regardless of size. Electrical work always needs its own permit. Setbacks of 3–10 feet apply either way — call your building department before you start.
How long does it take to build a she shed from scratch?
A small 8×8 or 8×10 shell takes 1–2 weekends (20–30 hours) with basic tools and a helper. A 10×12 with windows, insulation, and a door takes 2–3 weekends. Add buffer for permit approval (1–6 weeks), slab cure (24–48 hours), and electrician scheduling.
Can I convert an existing garden shed into a she shed myself?
Yes — but probe the sole plate with a screwdriver for rot first. Soft wood means repairs before anything else. Single-skin walls need an internal stud wall for insulation, losing 3–4 inches of floor per side. Sound-shell conversion: $2,000–$5,000; structural repairs can push it to $8,000–$15,000.